
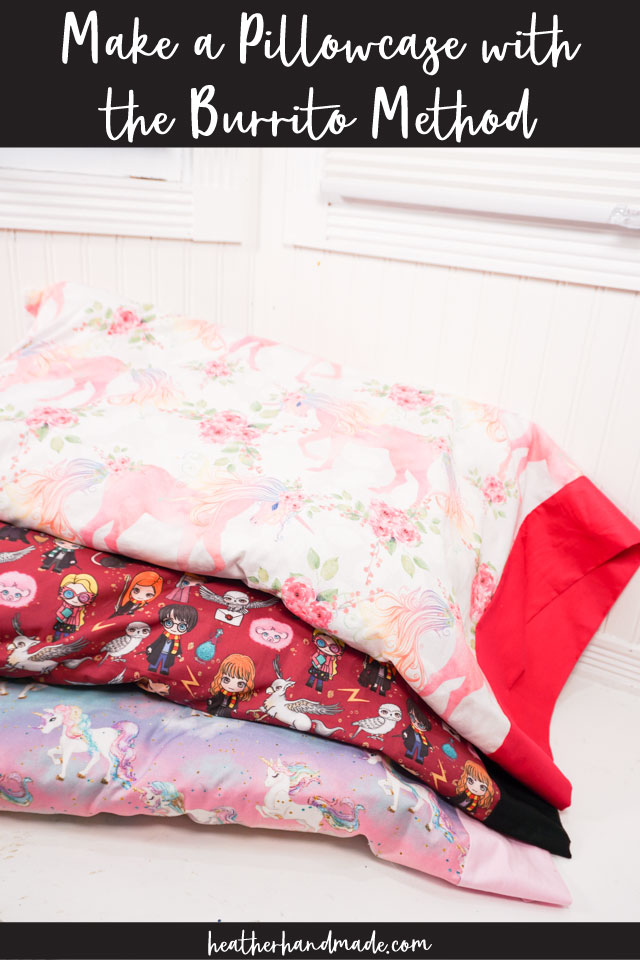
Make a Pillowcase with the Burrito Method

This post may contain affiliate links.
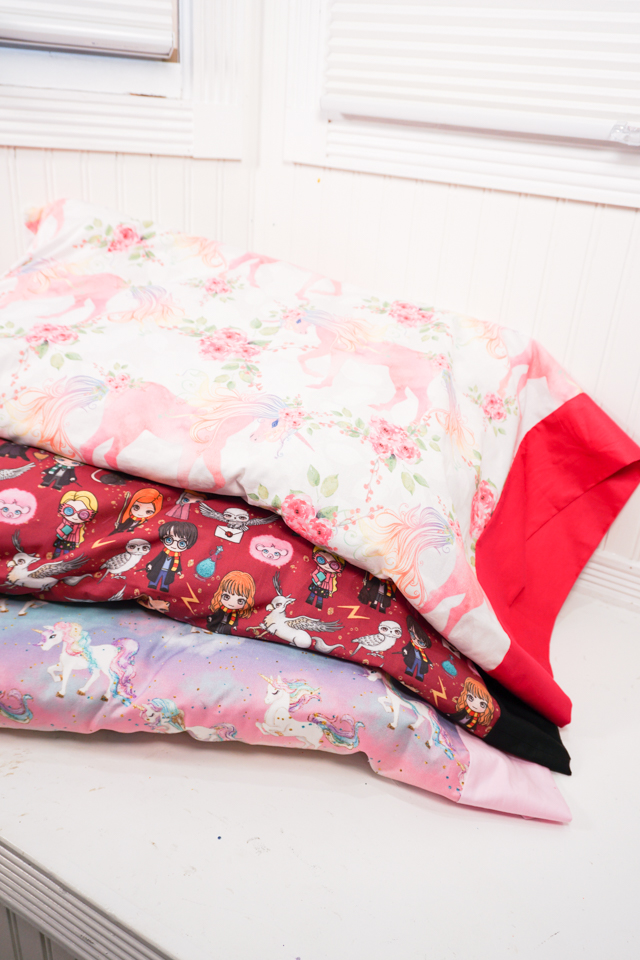
Learn how to make a pillowcase with the burrito method. This is a great beginner sewing project, and it makes a great gift for kids!
Involving my kids in the sewing process can be really enjoyable. I haven’t taught them how to sew on their own yet, but I love letting them pick fabrics when I make them something. That way there’s a much higher chance for them to like the finished project.
I’ve never purchased or made my kids their own pillowcases, so as I slowly decorate their bedrooms I thought adding a special pillowcase would be the perfect touch. We started looking at fabric online, and they got to choose the fabric they wanted.
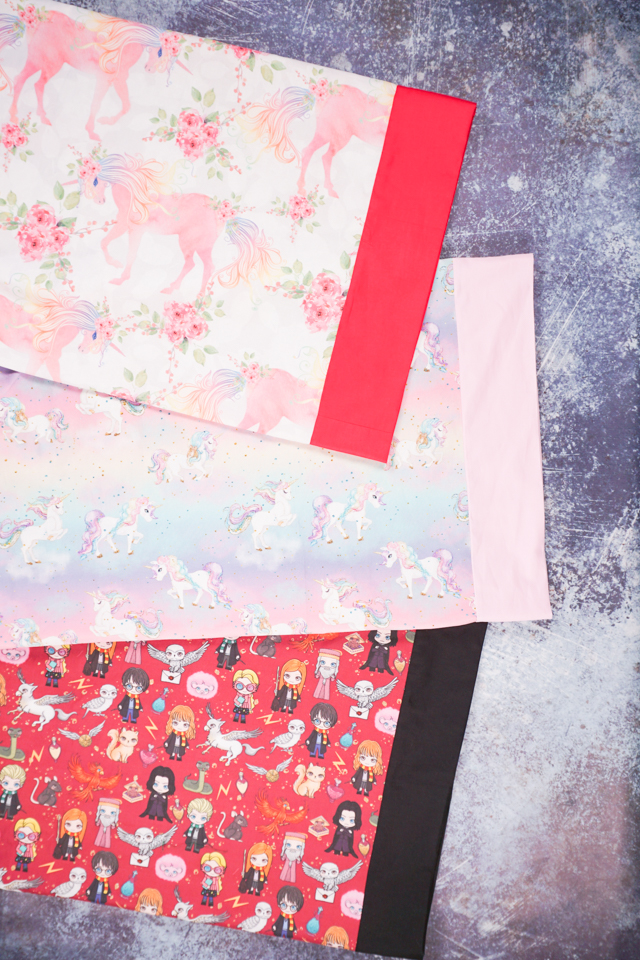
The great thing about these pillowcases is that they use about 1.5 yards of fabric. You can pick from so many fun prints, and the sewing is all straight lines!
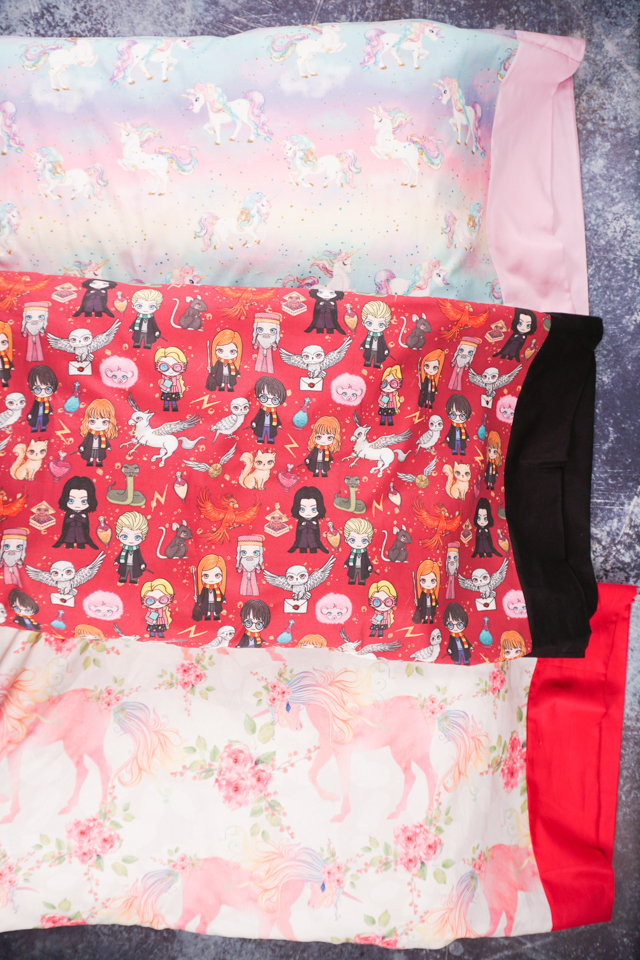
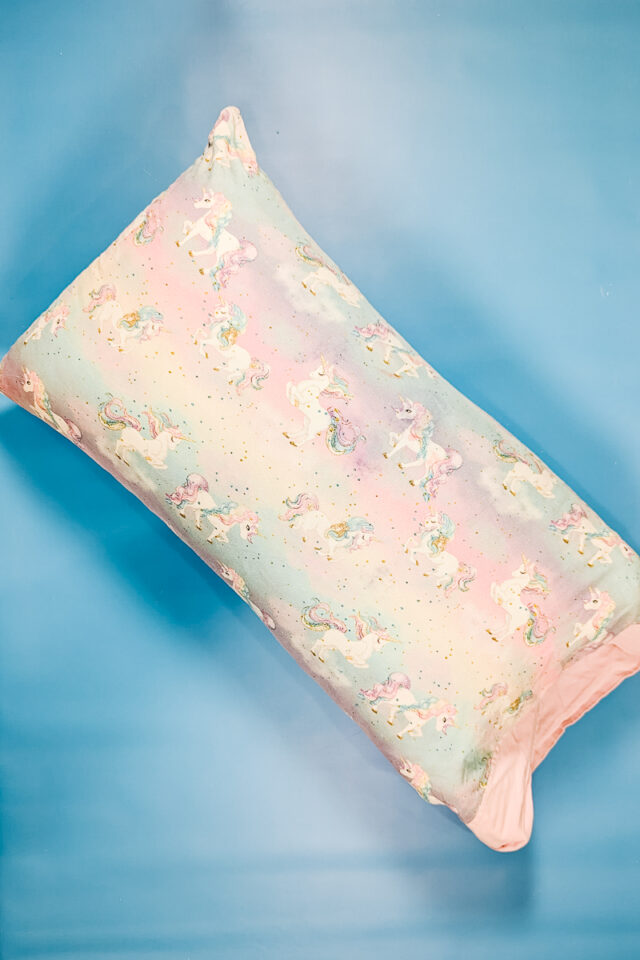
I tried to not sway my kids choices as I let them look through different fabrics. My son chose a Harry Potter inspired print, and my daughters each chose their own unicorn print. I love that the girls chose unicorns so it can kind of coordinate in their bedroom.
Do you love to sew? Try one of these fun sewing projects:
- Beginner sewing projects
- Easy gift ideas to sew
- Quilting cotton sewing projects
- home sewing projects
- Cozy sewing projects
- Sewing projects for kids
- One yard sewing projects
- Ways to sew a pillow
How much fabric is needed to make a pillowcase?
If you are using a non-directional print you will need 1 yard of fabric for the main section and 1/4 yard of fabric for the contrast edge. You can also use a fat quarter for the constrast edge.
If you are using a directional print you will need 1.25 yard of fabric for the main section and 1/4 yard of fabric for the contrast edge. You can also use a fat quarter for the constrast edge.
All three fabrics I used were directional so I used that amount. I used a fat quarter for the edges as I will explain in the tutorial.
Make a pillowcase with the burrito method
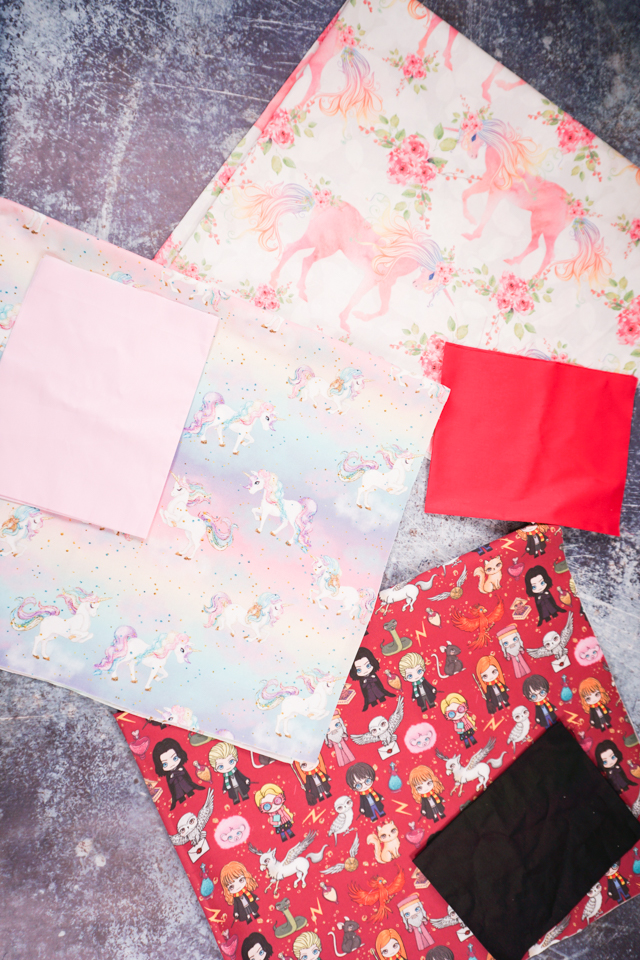
Supplies
- 1-1.5 yard of Quilting cotton (check above for exact amount) for main section
- .25 yard or fat quarter of quilting cotton for contrast edge
- Sewing tools
- Sewing machine
Do you just want the pattern and tutorial as a PDF? Get the pattern and tutorial for just $5. You won’t need to access the internet every time you want to make it. Or get the Pattern Bundle with ALL the PDF tutorials!
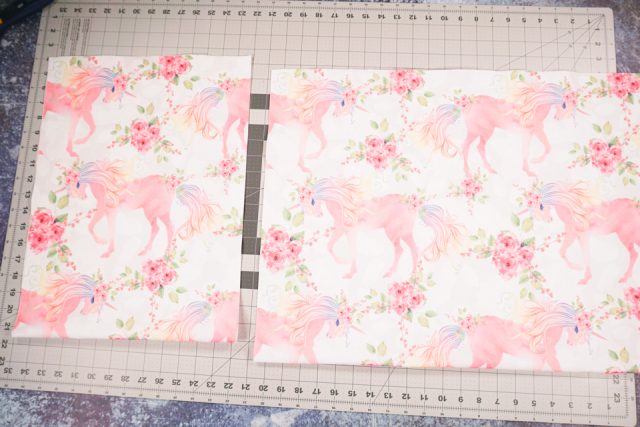
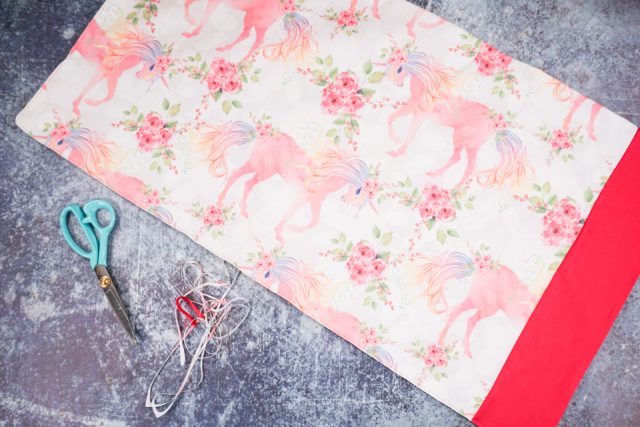
Start by cutting your large yardage fabric to the right size. I will call this the large rectangle.
You need a large rectangle that is 27 inches wide by 40 inches tall. The small rectangle needs to be 9 inches wide by 40 inches tall (you can use a fat quarter which you can read about below).
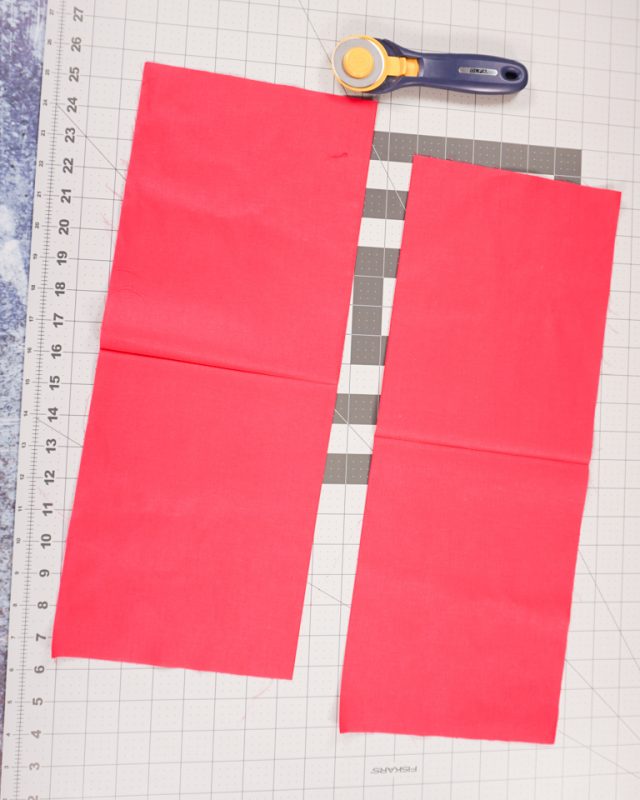
Cut your contrast fabric to the right size. I will call this the small rectangle.
If you are using a fat quarter you can cut it in half lengthwise and sew the short edges together.
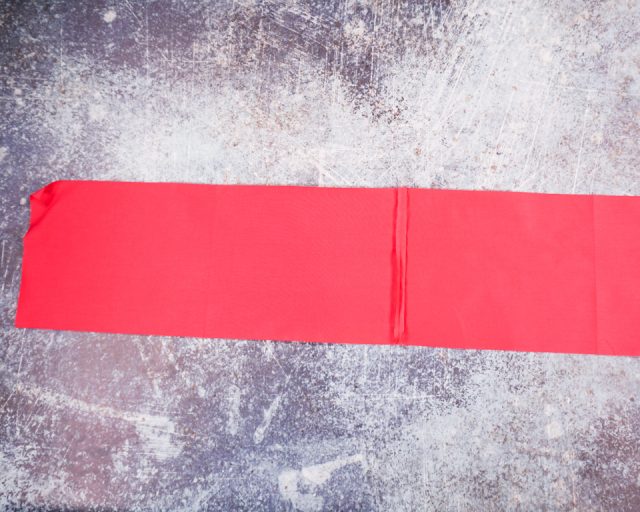
When you sew the short edges together press open the seam. This might be a little longer than needed so be prepared to trim a little bit off if needed.
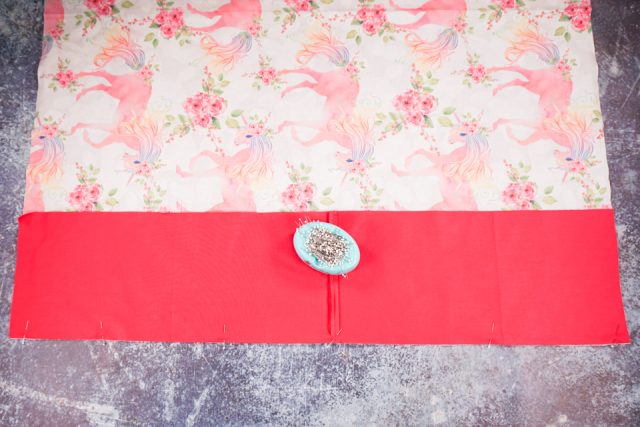
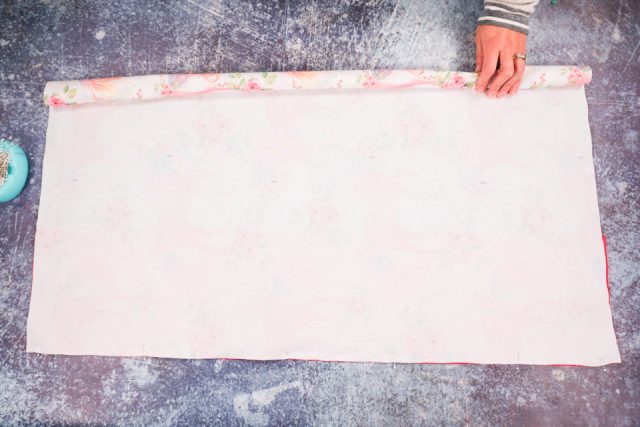
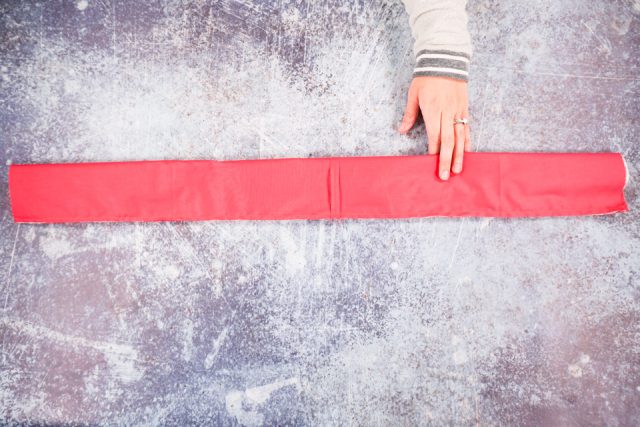
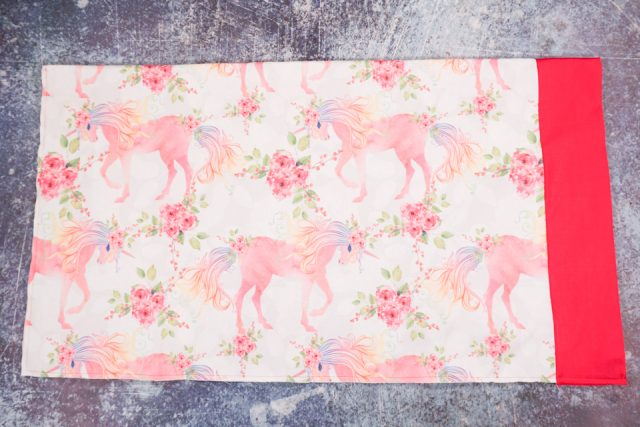
Lay the large rectangle down flat with the right side up. Place the small rectangle with the right side down. The long edge of each rectangle should match up on one side. Pin these two long edges together.
Flip the whole thing over so that the small rectangle is on the bottom. Start on the opposite long edge and start rolling it in a tight tube.
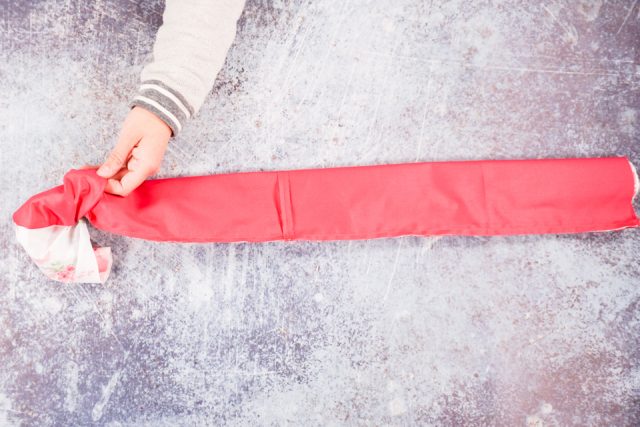
Keep rolling the fabric into a tube until you start to see the contrast fabric underneath.
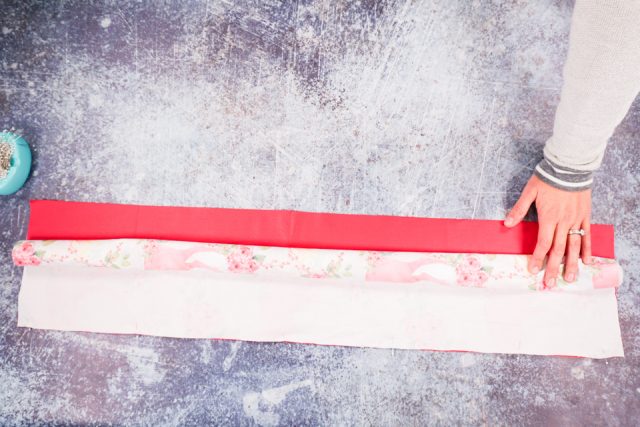
Grab the long edge of the small rectangle and bring it up over the tube of fabric. Match it to the pinned edge.
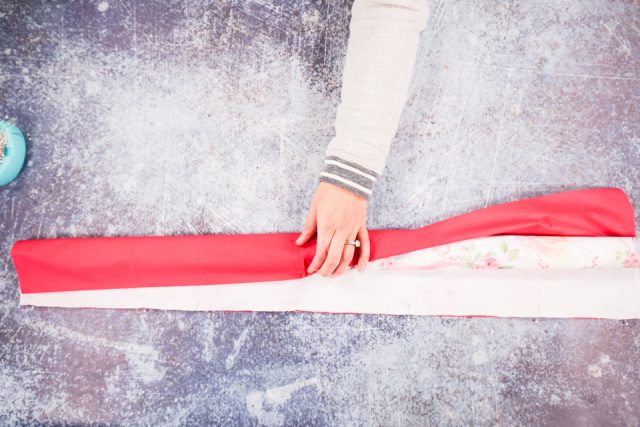
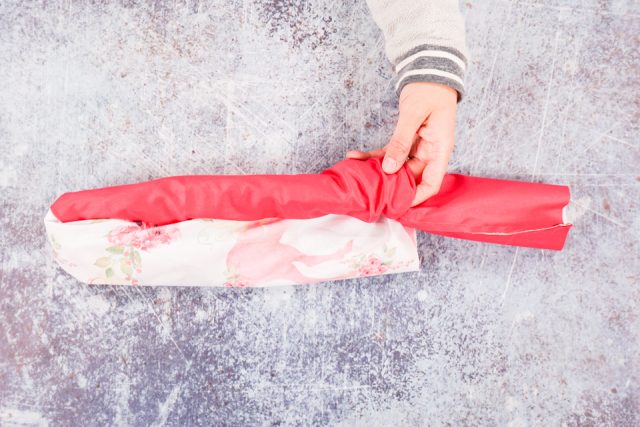
Remove the pins and pin all three layers of the long edges together: two sides of the small rectangle and one side of the large rectangle. This is your “burrito”.
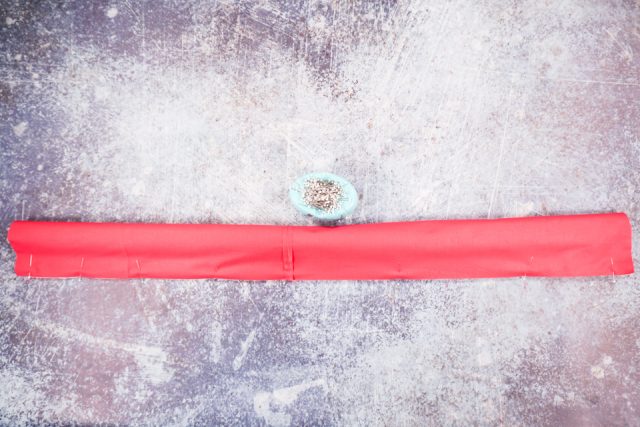
Sew the three layers together with a 1/4 inch seam allowance along the long straight edge (the bottom long edge in the picture below). Backstitch when you start and stop.
Start pulling the tube out from inside the contrast fabric “burrito”.
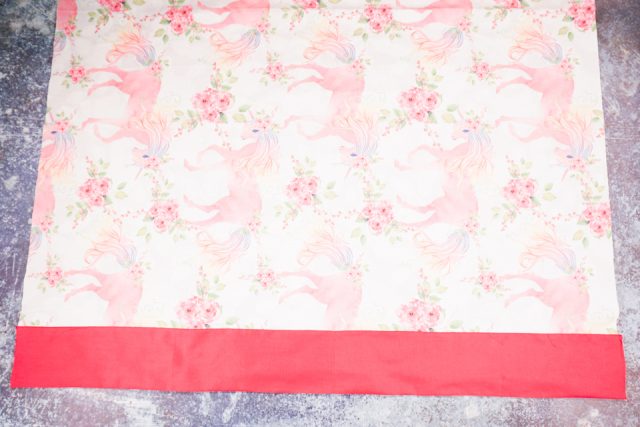
Keep pulling until the whole thing is turned right side out.
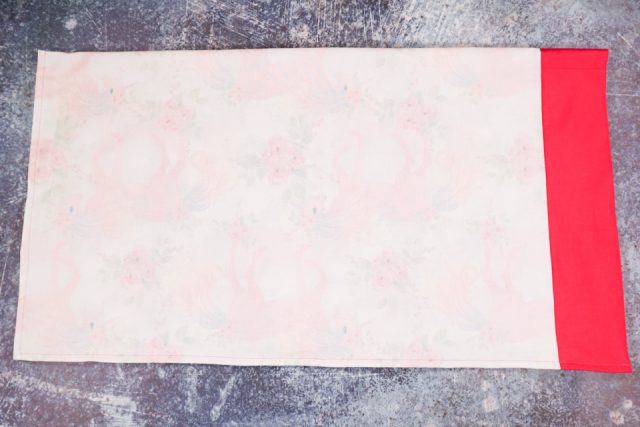
Unroll the fabric. Press the contrast edge on both sides to make it nice and crisp.
Fold the pillowcase in half with WRONG sides together matching the short edges. The contrast should match up at the same side. Pin the bottom of the pillowcase and the side of the pillowcase.
Sew the two seams with a 1/4 inch seam allowance.
Trim the seam allowance down to 1/8 inch.
Turn the pillowcase right side in and poke out the corners. Sew along the previous seam at 3/8 inch seam allowance. Backstitch when you start and stop.
Turn the pillowcase right side out and push out the corners.
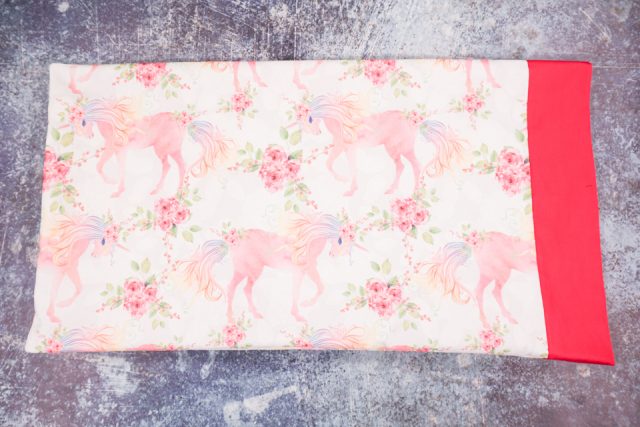
Make lots of fun pillowcases!
If you make something using this sewing project, I’d love to see! Please share it on social media with the hashtag #heatherhandmade and tag me!

I believe small sewing moments can create great joy. Find your own “right” way to sew. -Heather
im making this for class will u send me an outline for a regular pillow case?
What size of pillow will these fit? Standard Pillow 20×26, Standard Queen 20×28, Queen 20×30 or King size?
Standard pillow 20×26
Picture that says sew the 3 layers together doesn’t show WHERE to sew, just shows rolled up fabric. Completely unclear.
If you look at the picture right above you can see the pins keeping the three layers together along the long edge. If you look at the picture right below you can see the stitching line along the bottom of the fabric along the straight edge.
Any chance you could make your pattern instructions downloadable? I find all the adverts in between steps confusing.
I could work on that!
The video is helpful and I’d love to try this! I can’t seem to find the actual dimensions for the fabric listed. Can you provide this detail as well?
It’s up above in the fabric requirements heading. It depends if the fabric is directional or not.
I realized I didn’t put them in originally, but I fixed it and bolded it!
Saw you on fb for this pattern and loved how quickly you made the case.
I made a different a long time ago. Yours is much easier. I’m going to try yours this weekend. After Thanksgiving 2020.
Yay! I can’t wait to hear how it goes!