
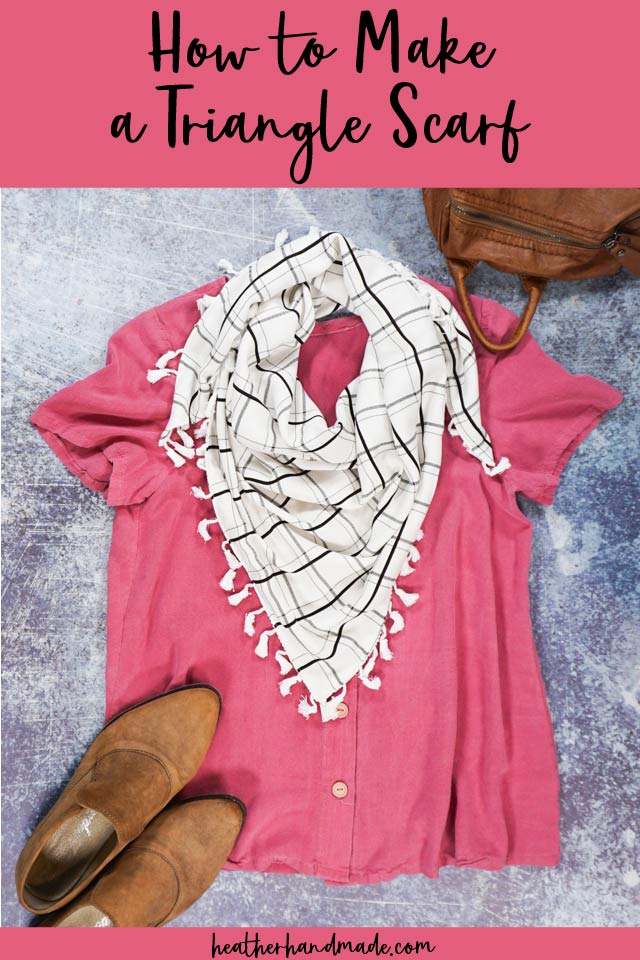
How to Make a Triangle Scarf

This post may contain affiliate links.
Learn how to make a triangle scarf with just a yard of fabric and some tassels or pompoms. This is a great beginner sewing project that makes the perfect gift!
There’s something about plaid that brings to mind falling leaves, bonfires, and snuggling in blankets. It makes me think of hot chocolate and a snow covered ground.
I love wearing a pretty plaid scarf in the wintertime, and I came up with a DIY triangle scarf that is really easy to sew! It’s a perfect beginner sewing project, and since it’s so easy it would make a really easy handmade gift!
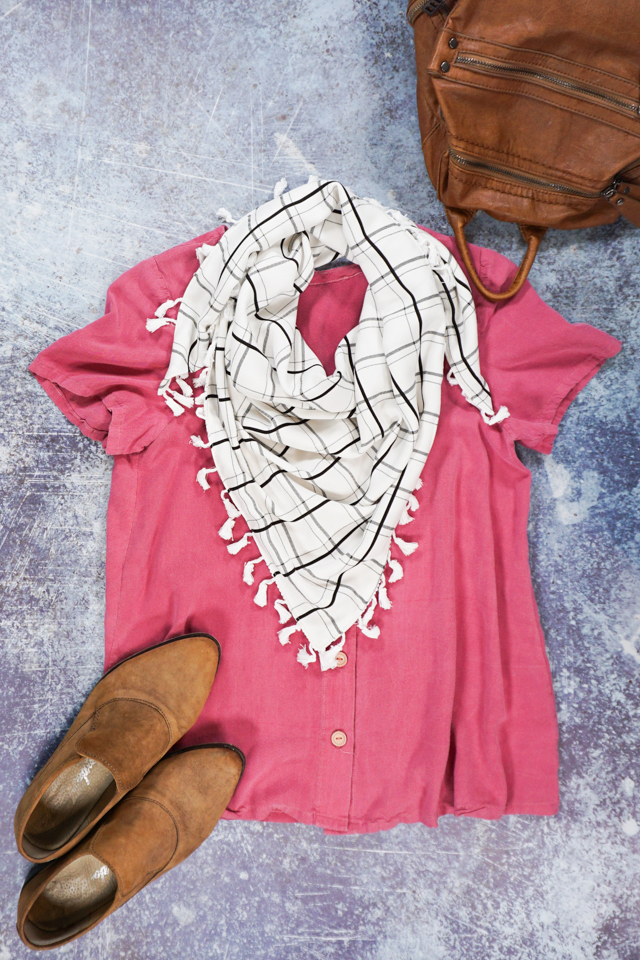
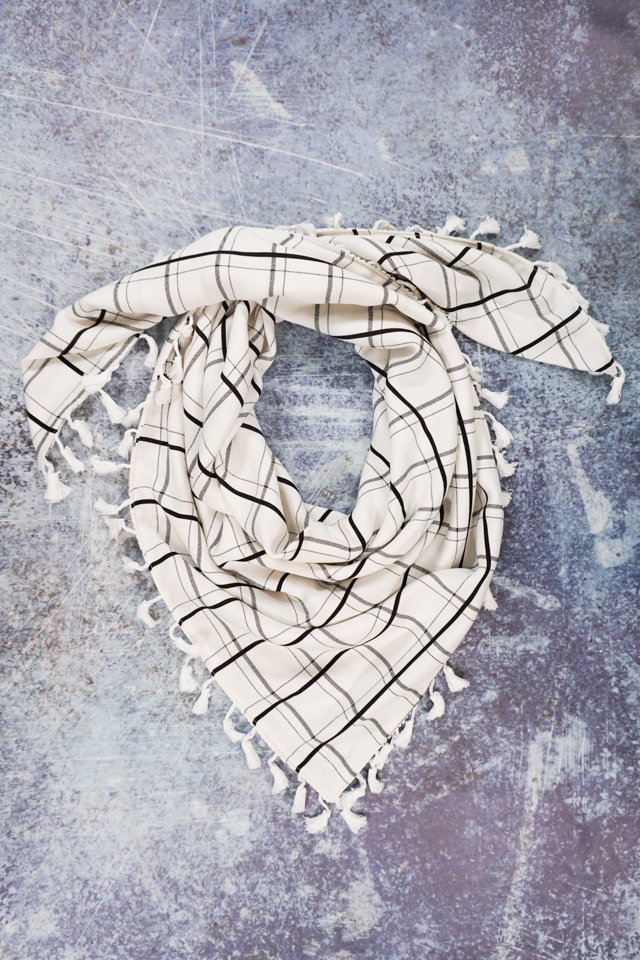
I chose an ivory and black plaid fabric drape because the colors will go with anything in my wardrobe. The fabric is really lightweight so it’s comfortable to wear in hot or cold weather, it has a beautiful drape, but the fabric isn’t too hard to sew.
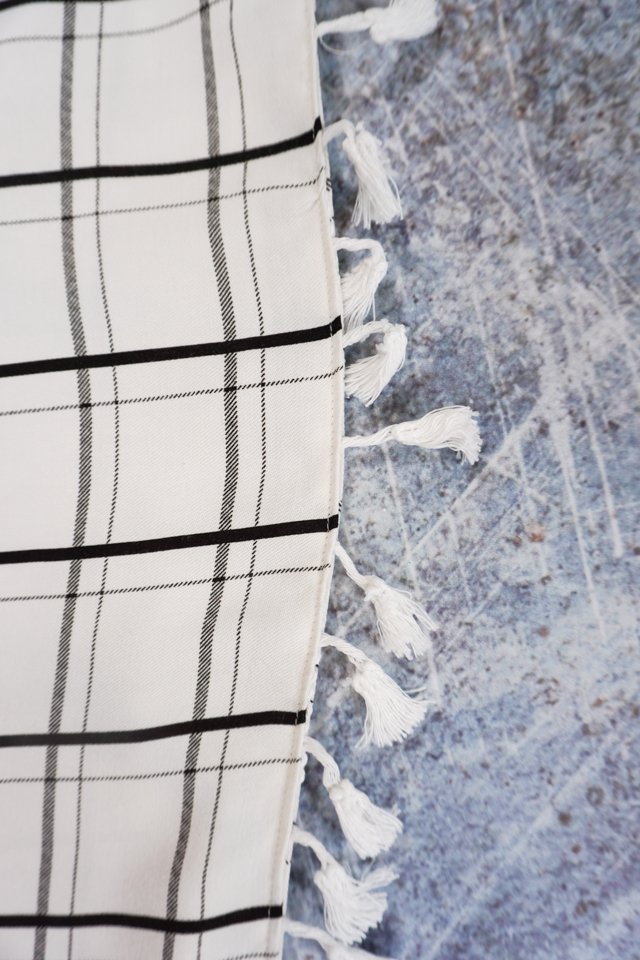
I add the tassels because I adore tassels, but you could choose lace or pompoms instead. The tassels make the scarf look so nice!
What fabric should I use to make a DIY triangle scarf?
The best fabric to use for a triangle scarf is a rayon, tencel, viscose, or lyocell. These fabrics are very lightweight and soft to make the triangle comfortable to wear, but they come in lots of beautiful prints and colors.
Do you like to sew? Try one of these fun projects:
- Beginner sewing projects
- Sewing gift ideas
- Ways to sew a scarf
- Fall sewing projects
- Cozy sewing projects
How to make a Triangle scarf
Supplies
- 1 yard of rayon fabric
- 2.5 yards of tassels, pompoms, or lace
- How to sew lightweight fabric
- Sewing tools
- Sewing machine
Instructions
When choosing fabric for this scarf, it’s important that you get the right kind. You want something soft and lightweight like rayon or tencel. These fabrics drape well, but they aren’t too slippery to sew.
Most of the time these fabrics are dyed one color or the print is printed on. This is okay since we will be enclosing the wrong side.
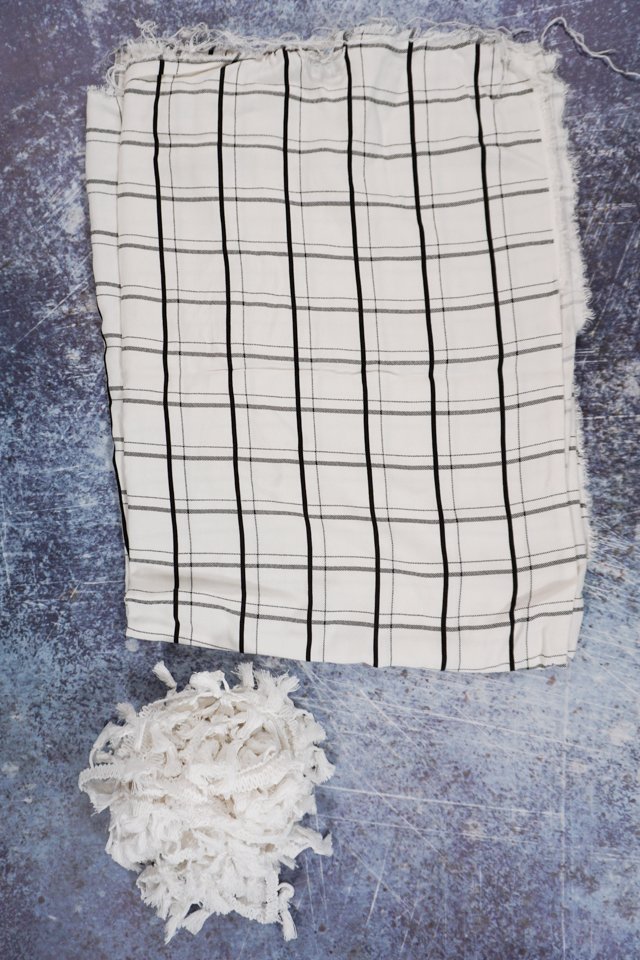
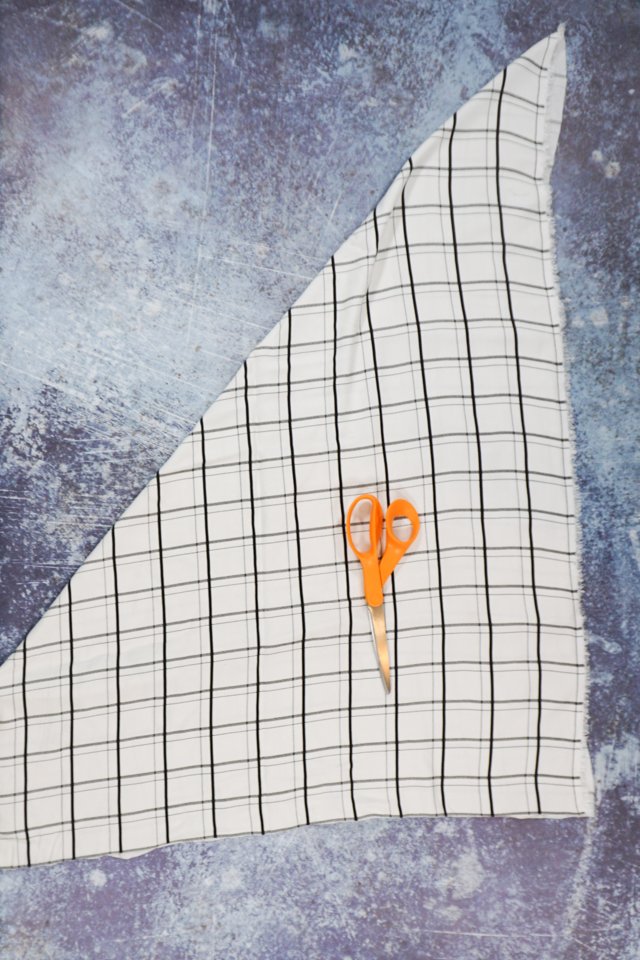
Cut the selvedge off of one side. Cut your fabric into a perfect square about 36 inches by 36 inches. I used the lines of my plaid print to cut straight lines.
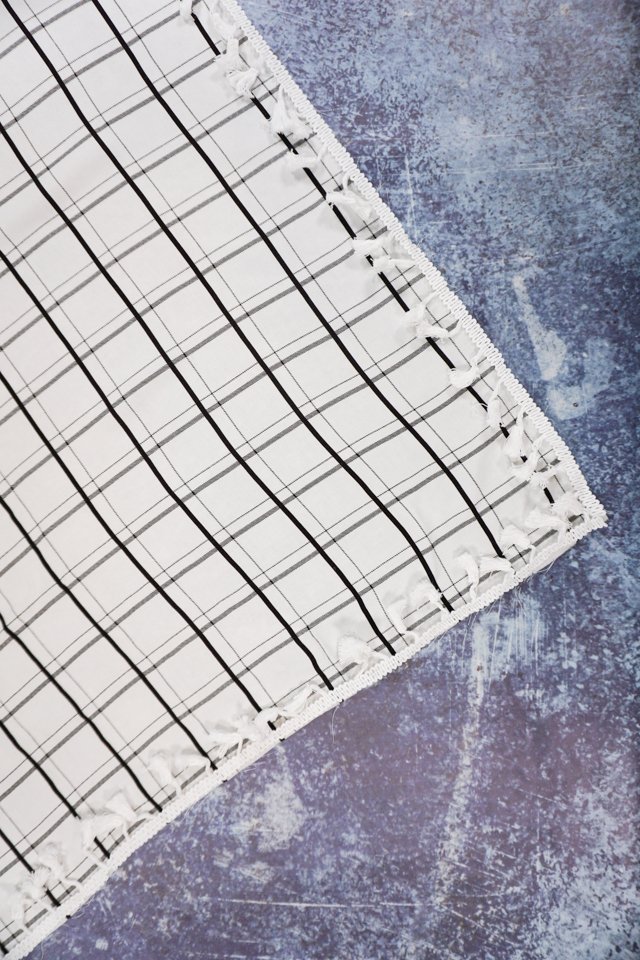
Pin the trim to TWO adjacent sides of the square with the trim facing the inside of the scarf. Baste it onto the edge of the fabric.
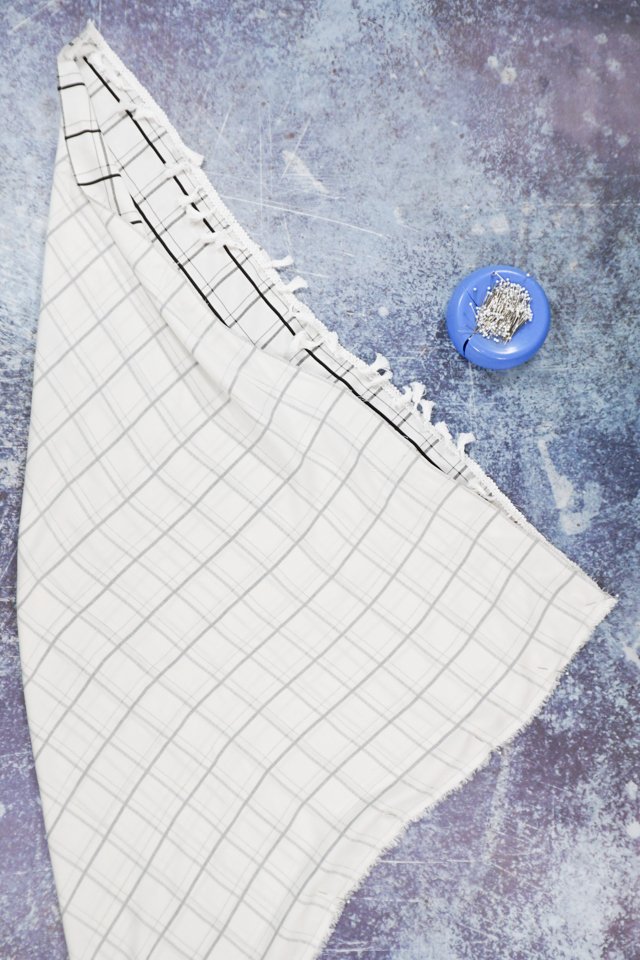
Fold the fabric in half from corner to corner. Match up one corner that doesn’t have trim with the corner that does have trim. Pin the two layers together.
Sew the scarf together starting and one point, sewing to the corner and pivoting, and then sewing to the other point. Backstitch at the beginning and the end. Make sure to leave a 4 inch hole near the corner to be able to turn the scarf right side out.
Trim the bulk out of the three points.
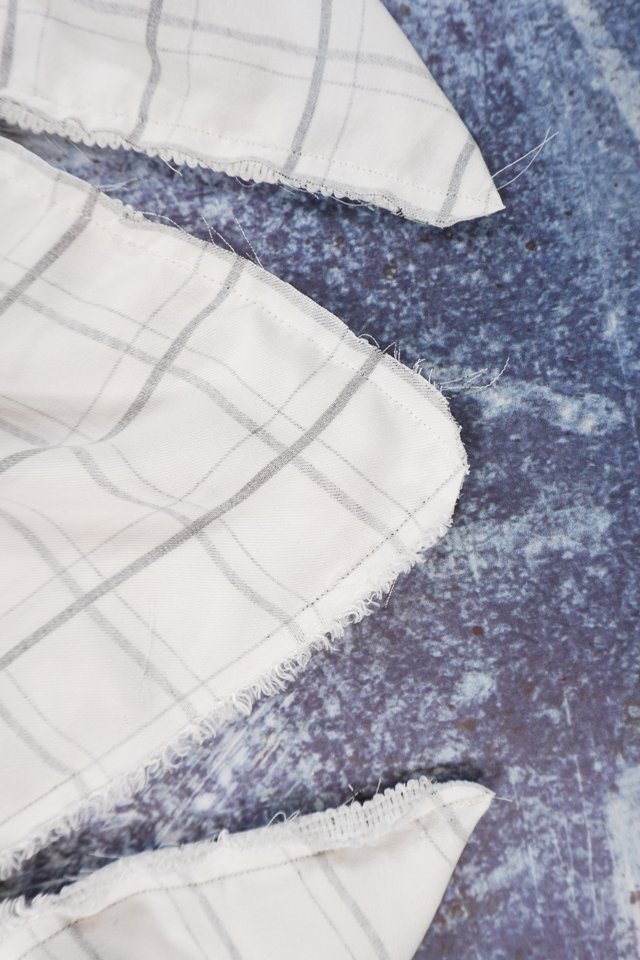
Turn the scarf right side out through the hole. Press the edges with the tassels. You might need to roll the seam before pressing to pull it out completely.
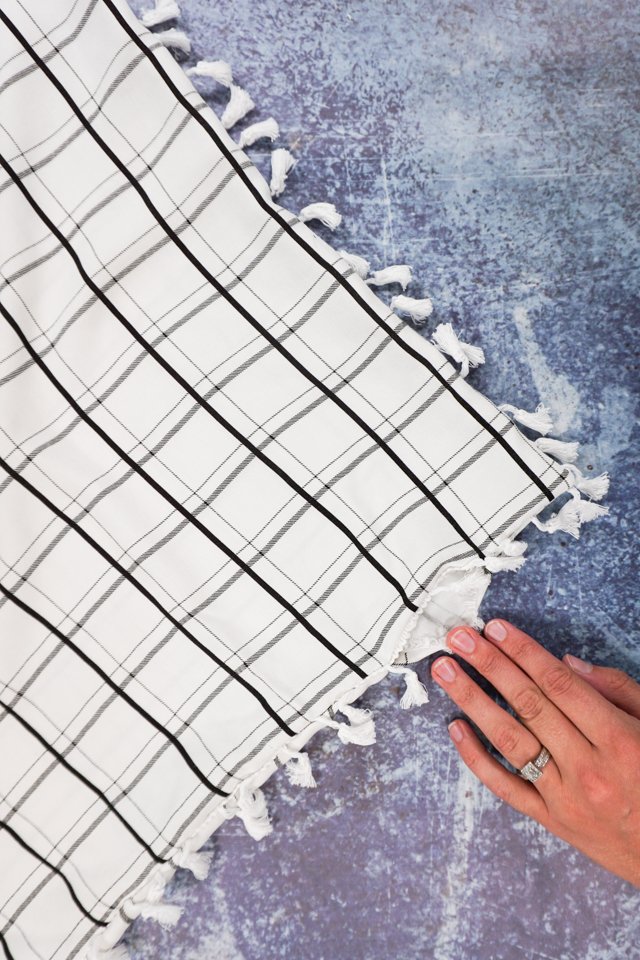
Topstitch around two sides of the scarf where the tassels are. Topstitch over the hole to sew it closed.
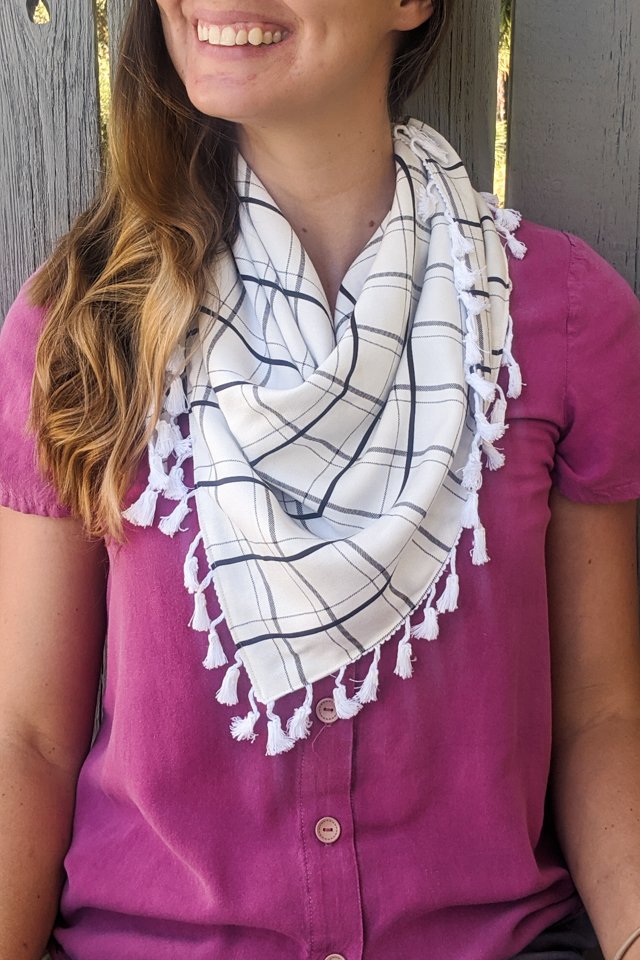
To wear the scarf put the two thin points around your neck with the point hanging down under your neck. If you scarf seems to fall off easily you can tie a loose knot in the back with the two thin points.
If you make something using this sewing project, I’d love to see! Please share it on social media with the hashtag #heatherhandmade and tag me!

I believe small sewing moments can create great joy. Find your own “right” way to sew. -Heather
Looks quick and easy. I am going to try making for a “bib” to wear when eating out to save my clothing from drips but yet look a bit elegant instead of juvenile!
Such a great idea and simple too!!
Beautiful! I love the tassels, they really make this something special.