
How to Make a Duster Cloth

This post may contain affiliate links.
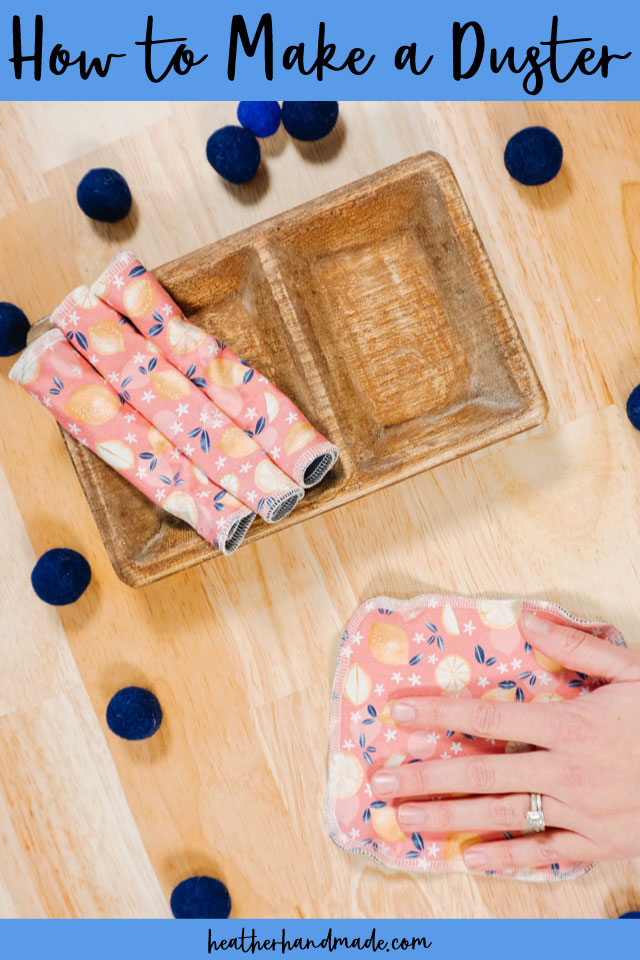
Learn how to make a duster to keep your space dust free. This DIY dusting cloth is an easy beginner sewing project.
When I was young, my favorite chore was dusting because it was so quick and easy. To encourage myself and my kids to do our dusting chores, I’ve sewn some dusters with some pretty fabric.
These cloth dusters are great for dusting since they are made from polyester fabric, they wash really well, and they can be used over and over again. The size is the perfect hand size, but it would be easy to make them smaller or larger.
What fabric should I use to make a duster?
The best fabric to use for a duster is a polyester based fabric. The dust just clings to polyester. Most dust cloths that you can buy at the store are microfiber which is a polyester based fabric.
Microfiber does have some texture which has a little more surface area for picking up and holding dust. I used some old leggings and double brushed poly for these cloths I made, and I was very impressed with how much dust it picked up and held.
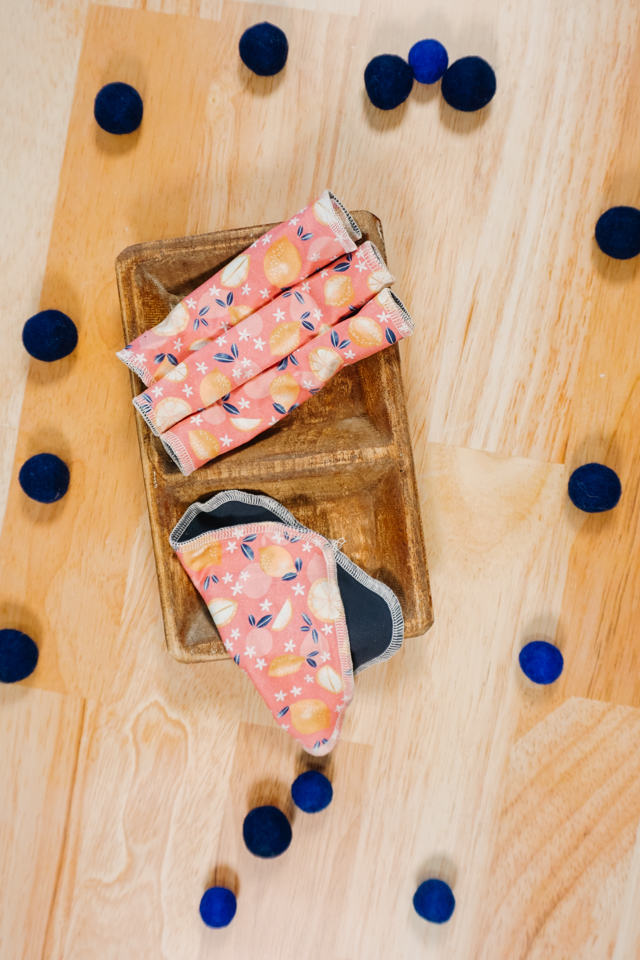
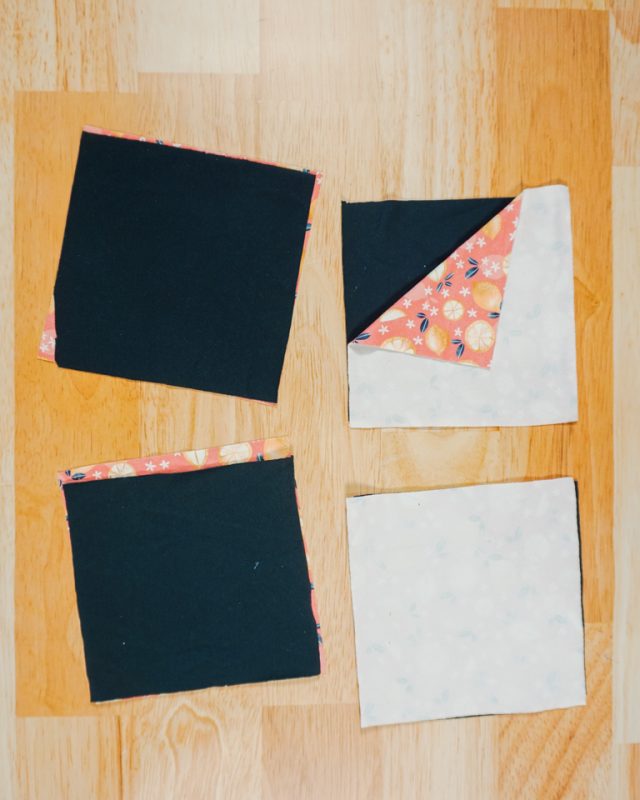
I did two layers of fabric for each cloth for extra strength and durability, and the extra capacity to pick up dust. I love that these dusters are washable!
How should I finish the edges of the duster?
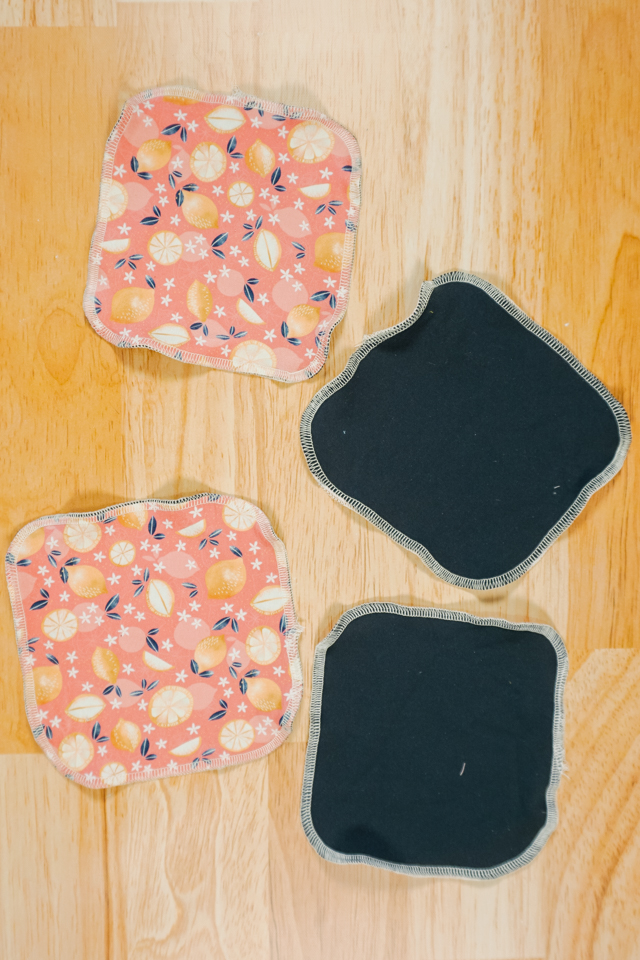
I used a serger to finish the edges of my duster, but you could also used a zigzag stitch and a sewing machine for similar results. It would give you a slightly wavier edge, but it wouldn’t change the duster’s ability to pick up dust.
Do you love to sew? Try one of these sewing projects:
- Beginner sewing projects
- Eco friendly sewing projects
- Kitchen sewing projects
- Home sewing projects
- Spring cleaning sewing projects
How to Make a Duster
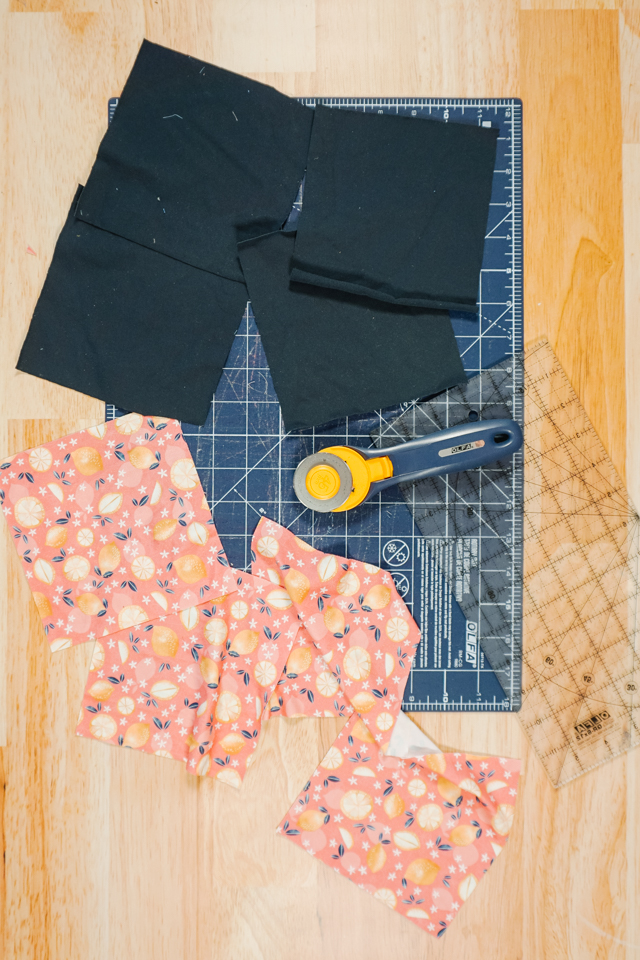
Supplies
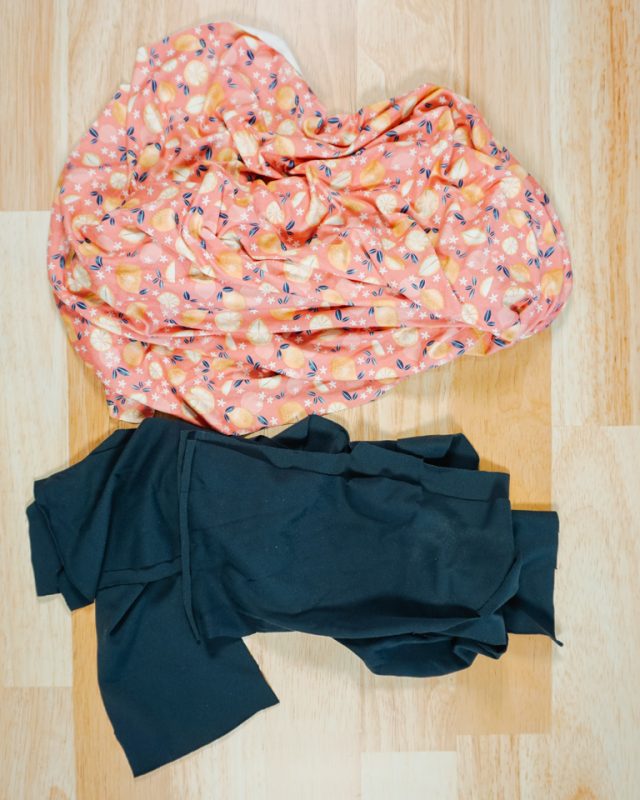
- Polyester or microfiber fabric
- I used double brushed poly (the pink fruit fabric) for one side and some legging fabric for the other side. I love cutting up old leggings (or turning leggings into shorts) for fabric!
- Sewing tools
- Sewing machine or serger
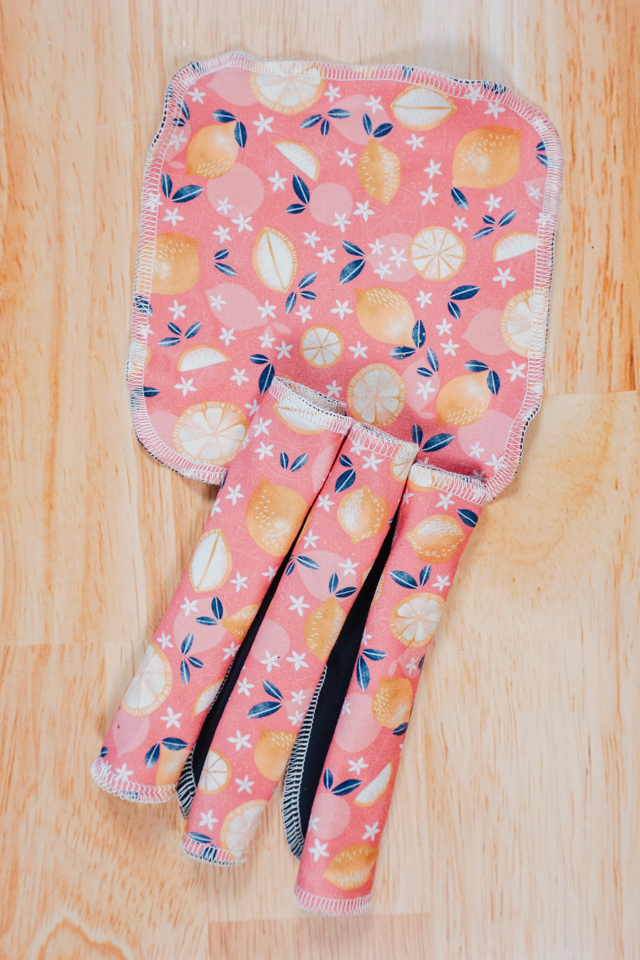
Cut up your fabric into squares. I did 6 inches by 6 inches for a small hand sized cloth, but you can go bigger or smaller. Since I serged the edges I didn’t lose any width or height, but I did lose all my corners to curves.
A 10 inch by 10 inch size would be nice a large for lots of dusting without being to big to hold with your hand.
If you are serging or sewing a zigzag on the edges, then place your fabric wrong sides together.
If you are sewing a zigzag and turning the cloths right side out, then place your fabric right sides together.
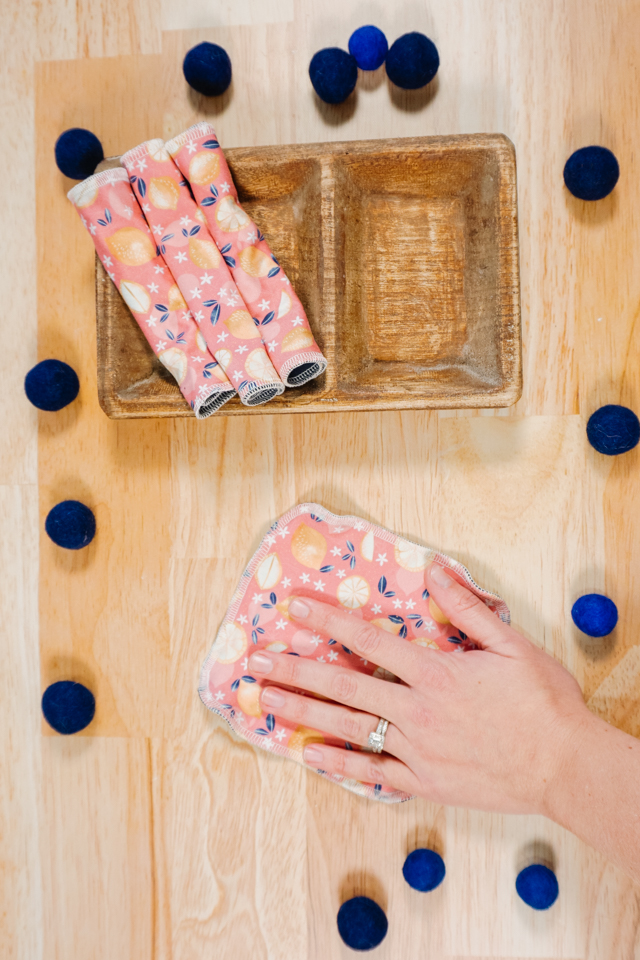
Finish the edges of your duster cloth however you want. You finished!
Get everything dusted with these great washable duster cloths!
If you make something using this sewing project, I’d love to see! Please share it on social media with the hashtag #heatherhandmade and tag me!

I believe small sewing moments can create great joy. Find your own “right” way to sew. -Heather
I’m going to make me some of these.
Awesome!