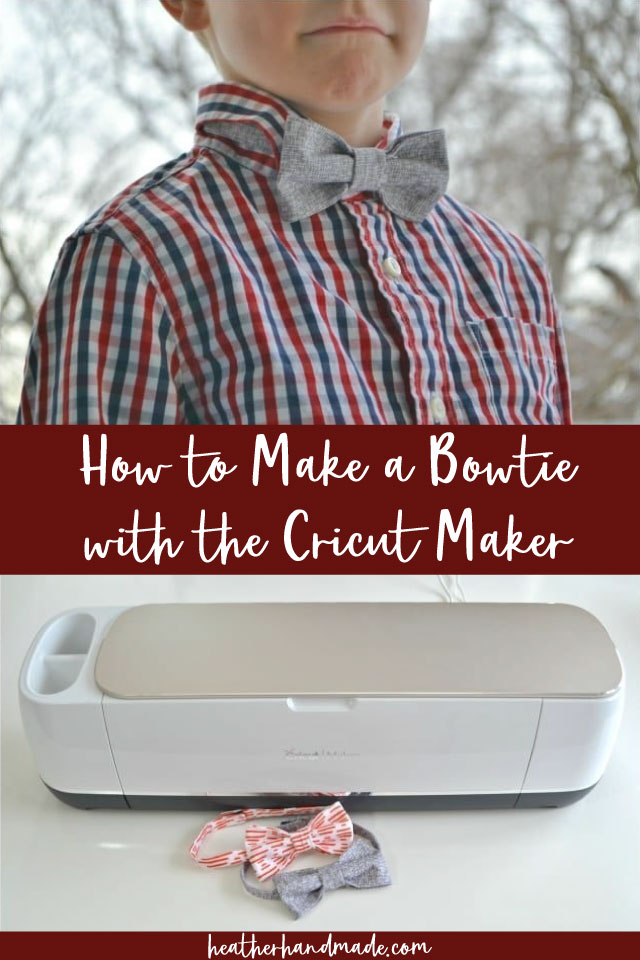
How to Make a Bowtie with the Cricut Maker

This post may contain affiliate links.
Learn how to make a bowtie with the Cricut Maker and quilting cotton. It’s so easy to make, and little boy’s look so cute!
This is a sponsored conversation written by me on behalf of Cricut. The opinions and text are all mine.
Having a son first gave me a deep love of sewing for boys. I loved the limits of boy sewing because it pushed me to be more creative. I will always remember that love of sewing for boys.
I don’t have as much time to sew for him as I used to so I love the when I do get to sew for him and when that chance is made easier and quicker.
I recently received the Cricut Maker* to test out and review and the first project I wanted to do was something I could sew for my son. I loved being able to make a bowtie with the Cricut Maker*.
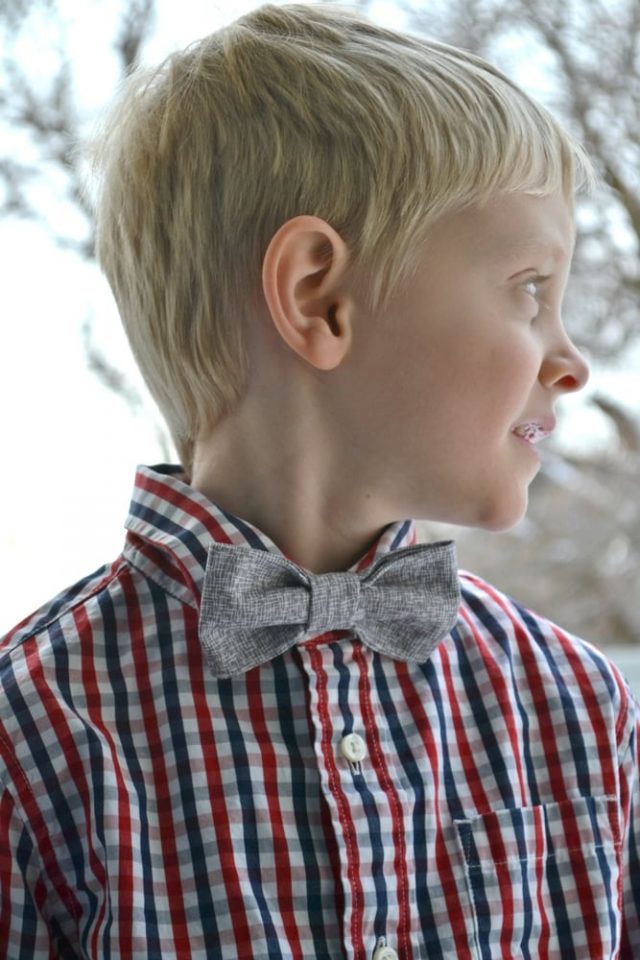
I wanted to used some Riley Blake fabric cuts because they definitely looked like boy fabrics to me, and I knew they would be perfect for bowties. (I’ve also made a DIY baby tie from a men’s tie with great success!)
The Cricut Maker is very similar to other Cricut cut machines I’ve seen in the past so it wasn’t that hard to navigate. I wanted to start with a simple project to get a feel of the Maker before trying something crazy. I also used a fabric mat 12 inch x 24 inch.
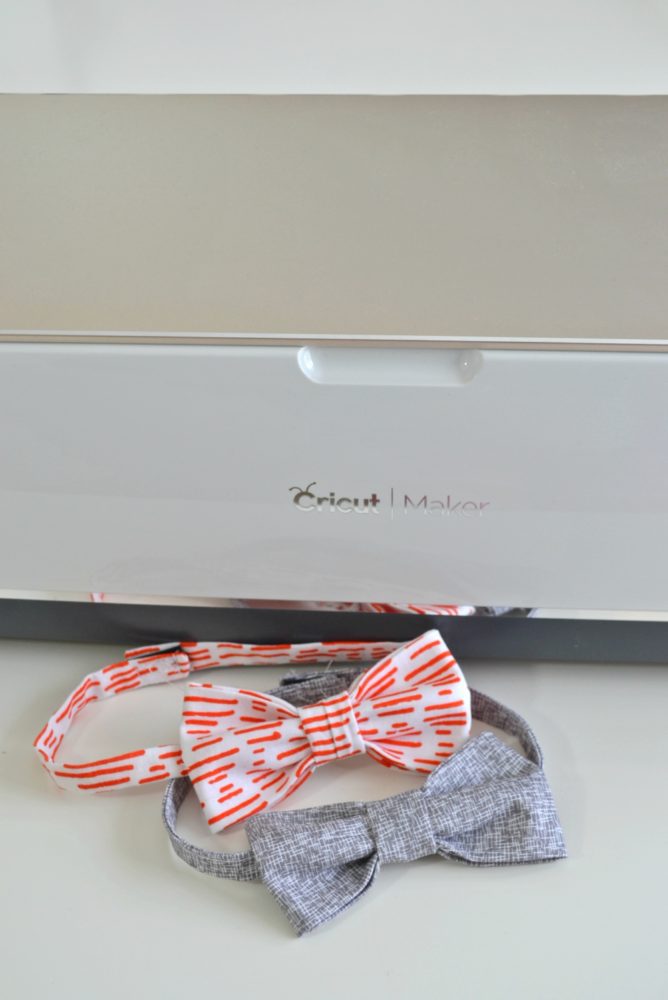
I have some ideas for future projects that I can’t wait to try and share! I love a fun and easy Cricut Maker sewing project!
I also have a free bow tie pattern you can download and print, so that you can make one without a Cricut Maker!
How to Make a Bowtie with the Cricut Maker
Cutting the fabric
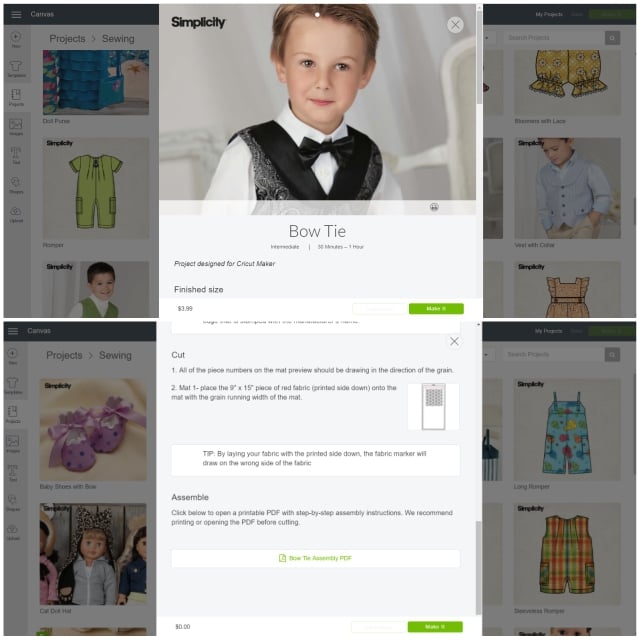
To make a bowtie with the Cricut Maker I first looked through all of the sewing projects in Design Space until I found the Bowtie pattern that I wanted to use. It had all the instructions right there. I bought the pattern and hooked up my computer to the Cricut Maker.
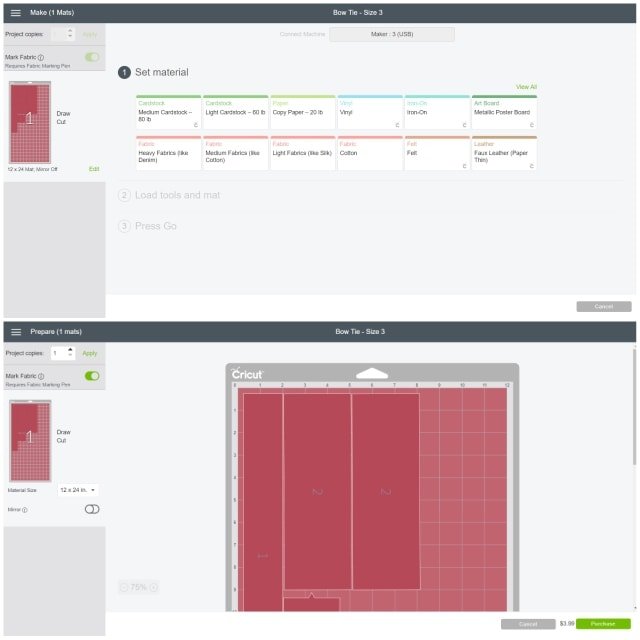
Design Space tells you what size cutting mat you need and where to place the fabric. I had to choose what kind of fabric I was using so that the machine would cut correctly. Then I purchased and had the machine cut the fabric.
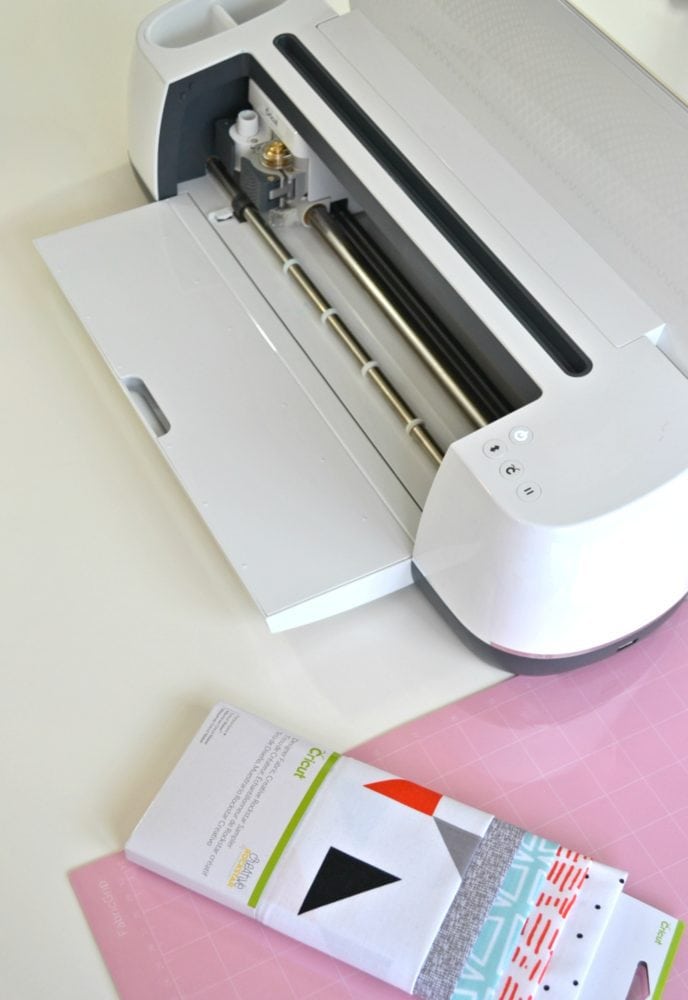
It was pretty amazing to watch how the machine cut the fabric quickly and more precisely than I ever have. (I’m not a perfectionist so I let a lot of things slide when I’m cutting and sewing.)
The one thing I didn’t like was when I pulled the excess fabric off and the cut pieces off there were a lot of threads that stuck to the mat. I felt like there was some waste while you pull off the fabric.
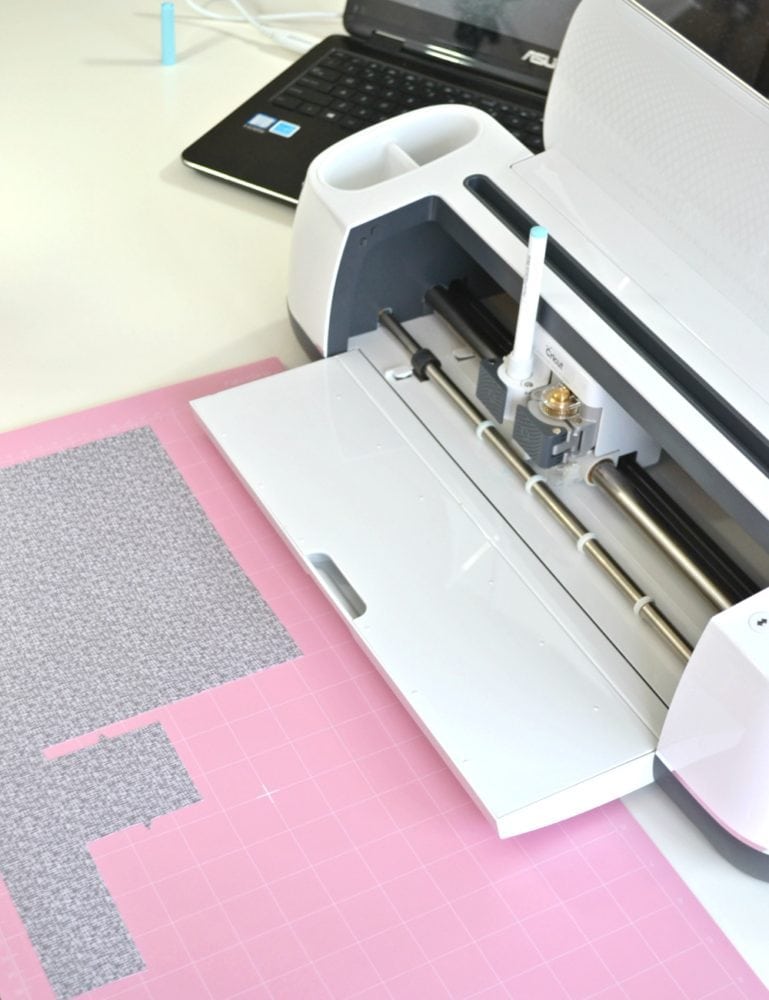
But the frayed edges of the fabric turned out to be in the seam allowance and there will always be waste when you cut out fabric.
Sewing the Bow Tie
I then used the sewing instructions to quickly sew the bowtie together. I decided to cut two bowties out at the same time and then sew two bowties together at the same time. It went a lot faster since I was doing two at the same time.
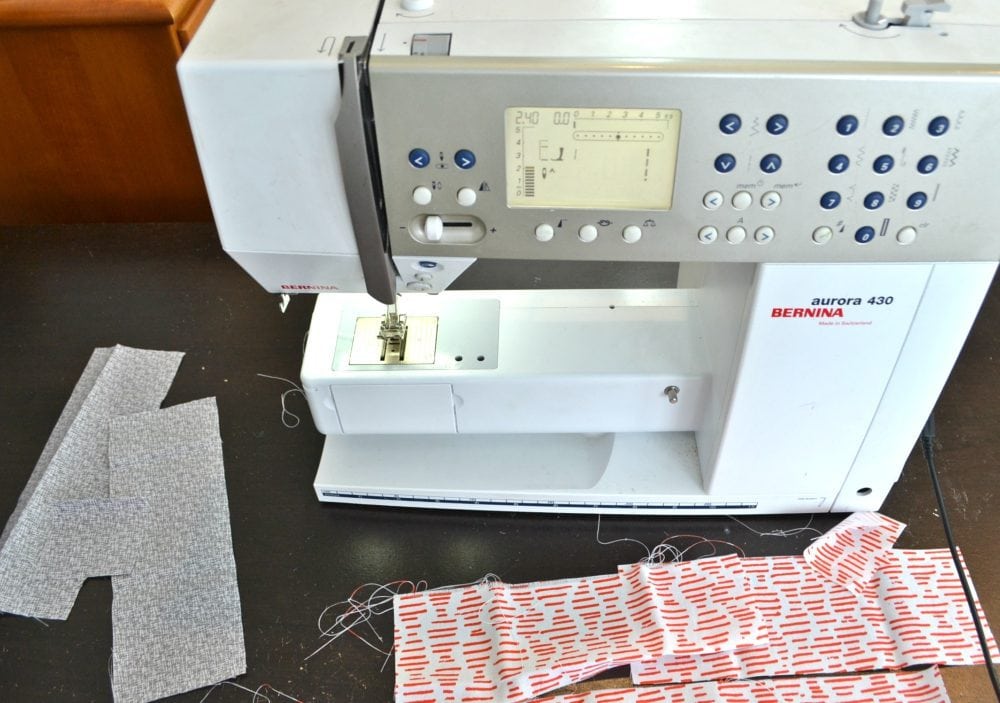
The great thing about the Cricut Maker is that you can cut quickly, precisely and lots of projects. If I were creating and selling handmade products, this machine would be very helpful.
I’m really happy with my bowties, and I’m excited to cut out more projects! I can’t believe that the Cricut Maker* can cut all fabrics with no interfacing. It can cut leather, satin, chiffon, quilting cotton, fur, velvet, denim, etc. If I want a stiffer bowtie I would have the Maker cut out interfacing and then apply it to the cotton.
If I ever wanted to make a quilt with lots of pieces, I would cut them all with the Cricut Maker*.
If I ever wanted to cut multiples of the same thing (like bowties for all the nephews), I would cut them all with the Cricut Maker*.
There are lots of sewing patterns that can be purchased in Design Space, which you get to keep forever, to give you ideas of things you can make.
As an apparel sewist it doesn’t help a whole ton with anything that I’ll make for myself. I can’t cut a tshirt or skirt. I could cut short sleeves or appliques though. I might try something like that for the future so see how helpful it would be.
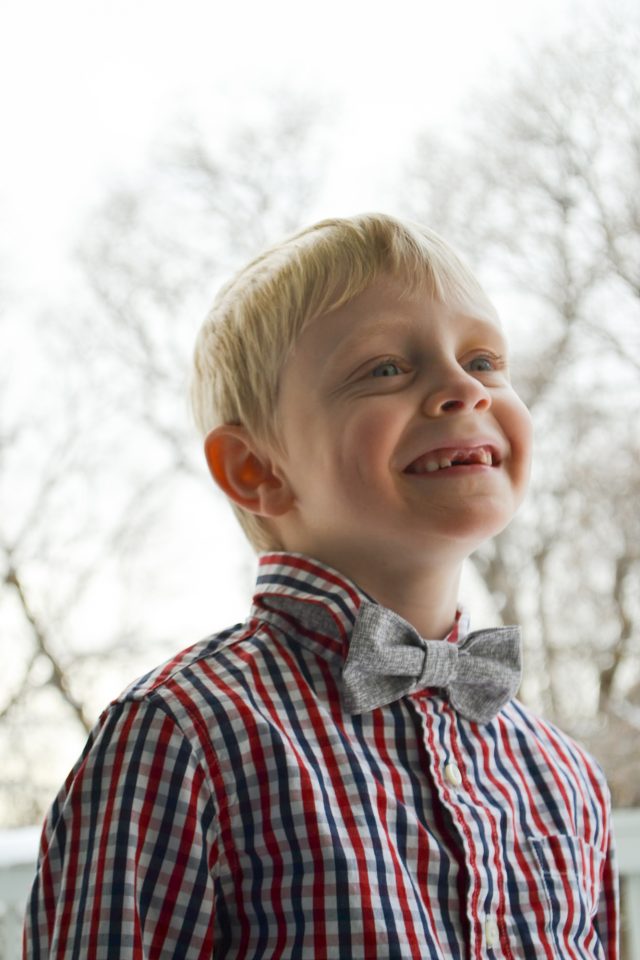
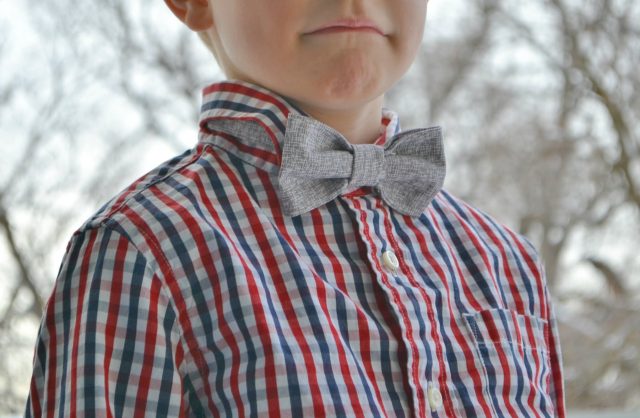
He looks so handsome! The pattern claimed to be a size 3T. My son is older, but it still fit him perfectly.
The things I changed to the original pattern were to sew the neckband like double fold bias binding instead of sew and turning. I’m too impatient to turn a tiny tube. I also used velcro on the ends instead of snaps. I prefer to sew the velcro on with a machine than to sew the snaps on by hand.
If you make something using this sewing project, I’d love to see! Please share it on social media with the hashtag #heatherhandmade and tag me!

I believe small sewing moments can create great joy. Find your own “right” way to sew. -Heather

Cute project!
Love the bow tie! I would love to cut some fabric on a cricut for a lap quilt!
What a cute project! Thank you for this opportunity. I’d make die cuts for cards and home decor pieces, and definitely spruce up various items with vinyl.
We’ve tried the cashew chicken and it was already on our planned menu this week…how funny!
That’s where I found it! It looks delish!
Super cute bowtie
I would love to make the bow ties for my grandson! Love this!
I would love to finally finish the quiet book I started years ago since this machine can cut felt! I’ve also wanted to try making a felt flower garland and this would make it so much easier. I would also use this to make the doll quilt I promised my daughter.
I want one of these to use with my embroidery machine!
I’m thinking this could be really useful for cutting bra/lingerie pieces! And of course for quilting.
I did not know Cricut teamed up with pattern companies where you can download patterns directly! This would be fabulous to cut bias binding! I always mess it up somehow. I can’t wait to work with this machine 🙂
I would love to use it for quilting! I love pieced quilts, but hate cutting all the pieces out!
I would love to use for cutting doll clothes.