
Free Elf and Santa Hat Sewing Pattern for Christmas

This post may contain affiliate links.
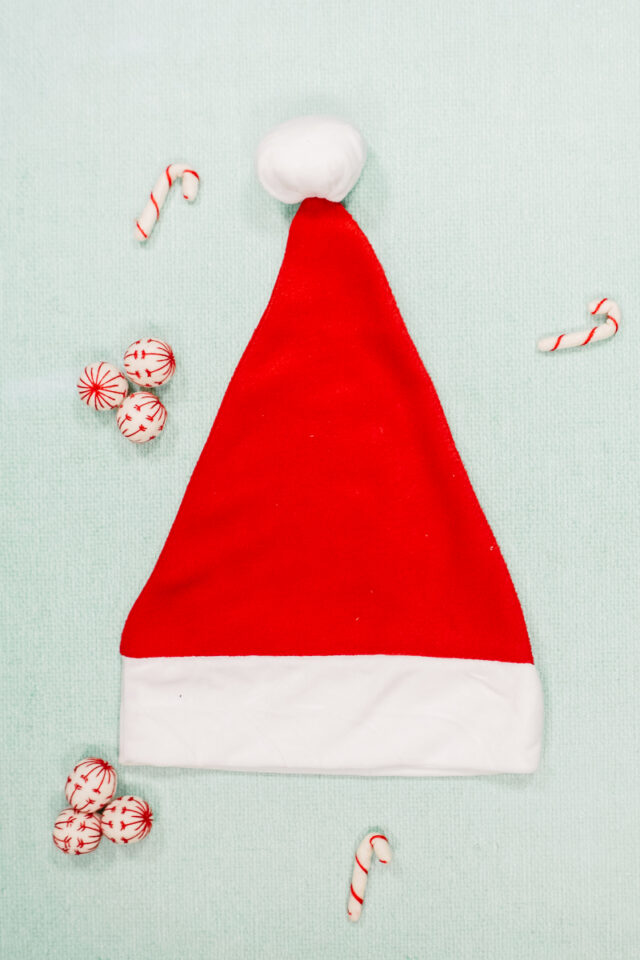
Learn how to sew an elf or santa hat with a free sewing pattern. This Christmas sewing project comes in sizes for kids, teens, and adults.
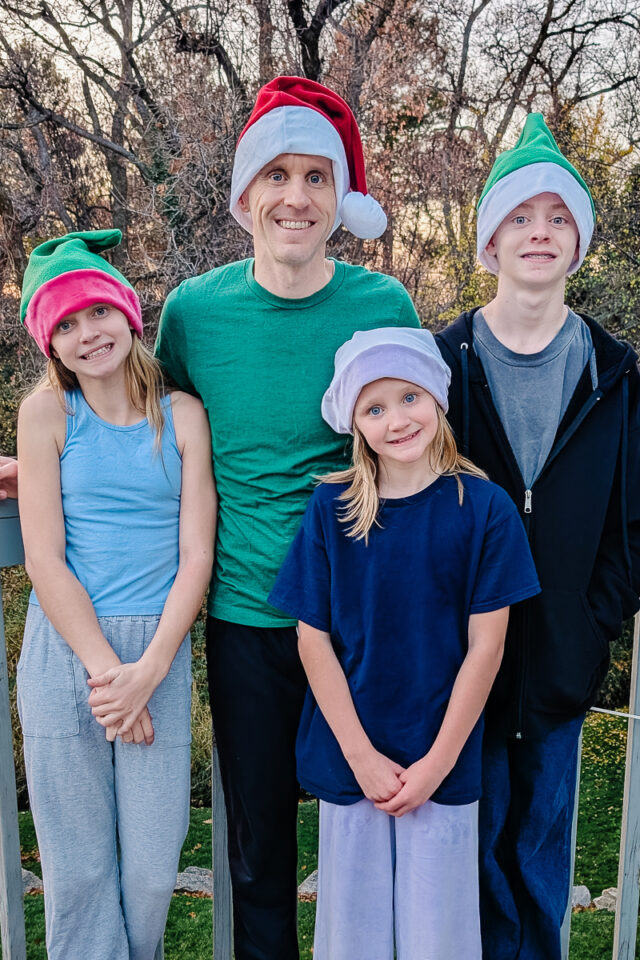
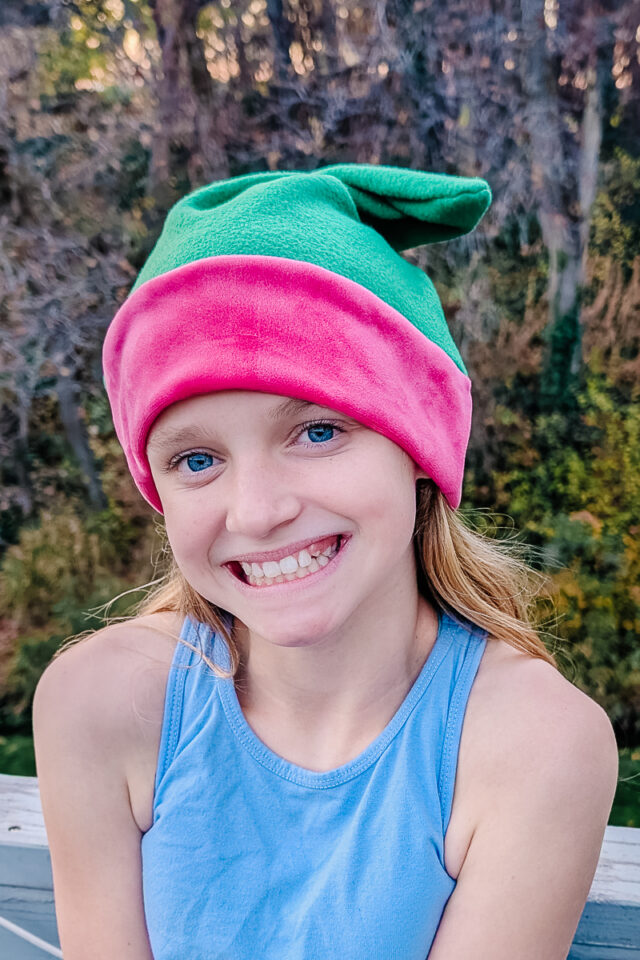
It’s the Christmas season, and a fun part of the holidays is the silly elf and Santa dressing. It’s so fun to see all the grandkids in elf hats or some adults in Santa hats.
I designed a simple pointed hat that works great for both Santa or an elf. Make it out of a stable knit fabric so it’s easy to make and comfortable to wear. You can use lots of different colors and prints for a fun hat.
Get the free sewing pattern at the end of the post!
What fabric should I use?
This winter hat is designed to be used with a stable knit fabric. A stable knit fabric stretches along the horizontal line, but it does not stretch along the vertical line. Stable knit fabrics are polar fleece, sweatshirt fleece, French terry, minky and more. Just check the stretch before you sew.
The hat should be cut so that the horizontal stretch should go around the head to make the hat comfortable and snug as it’s being worn.

Should I prewash the fabric?
Yes! Wash and dry the fabric on hot so that any shrinkage will be removed.

What size does the hat pattern come it?
The hat pattern comes in toddler, young child, child, teen, adult small, adult medium, and adult large. The sizes are very flexible since the stretchy fabric can stretch to fit different heads.
Measure the person’s head by measuring around the forehead and down to the base of the head in the back. Use this to find the closest head measurement to choose the right size.


What is a PDF sewing pattern?
A PDF pattern is a sewing pattern designed on the computer and organized so that it can be printed on several letter or A4 size pieces of paper.
I love using PDF sewing patterns because if the pattern gets ruined or if my children or I changed sizes, I can always print it again. It’ll never be destroyed since I have a digital version!

How do you use a PDF sewing pattern?
Open the PDF on a computer and click print. When printing make sure that the scaling is set to 100% or no scaling so that the pattern prints at the correct size. Learn how to use PDF sewing patterns.

Do you love to sew? Try one of these sewing projects:
- Christmas sewing projects
- Free Christmas sewing patterns
- Beginner sewing projects
- Free PDF sewing patterns
- Ponytail beanie sewing pattern
How to Make a Santa Hat
Supplies
- Free santa hat sewing pattern – get it at the end of the post
- 1/3 yard of stable knit fabric like polar fleece, sweatshirt fleece, French terry, etc for the pointed hat
- 1/4 yard of stable knit fabric for the brim and pompom
- Bits of stuffing
- Sewing tools
- Sewing machine
Do you just want the pattern and tutorial as a PDF? Get the pattern and tutorial for just $6. You won’t need to access the internet every time you want to make it.
Instructions
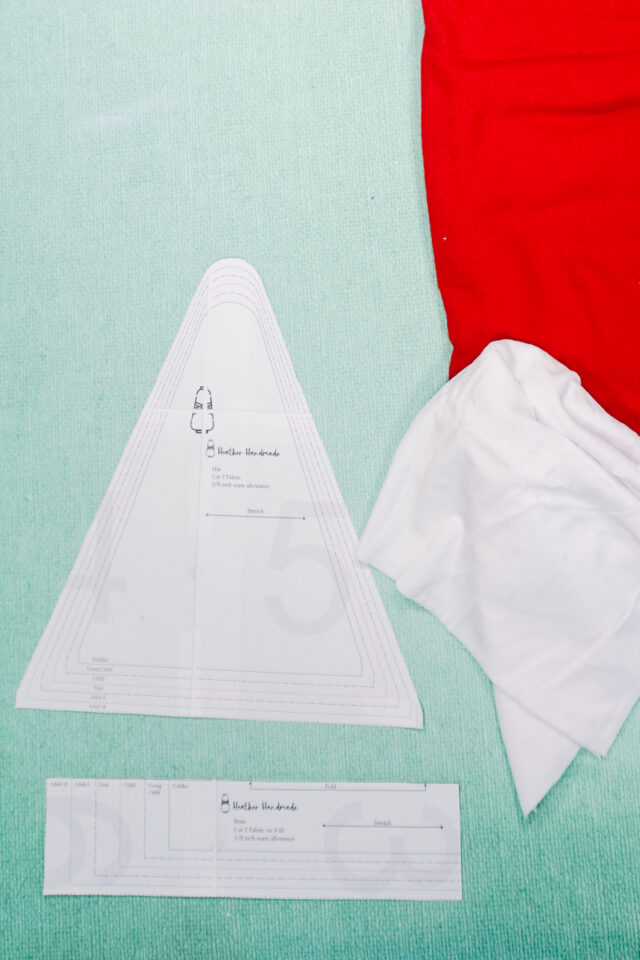
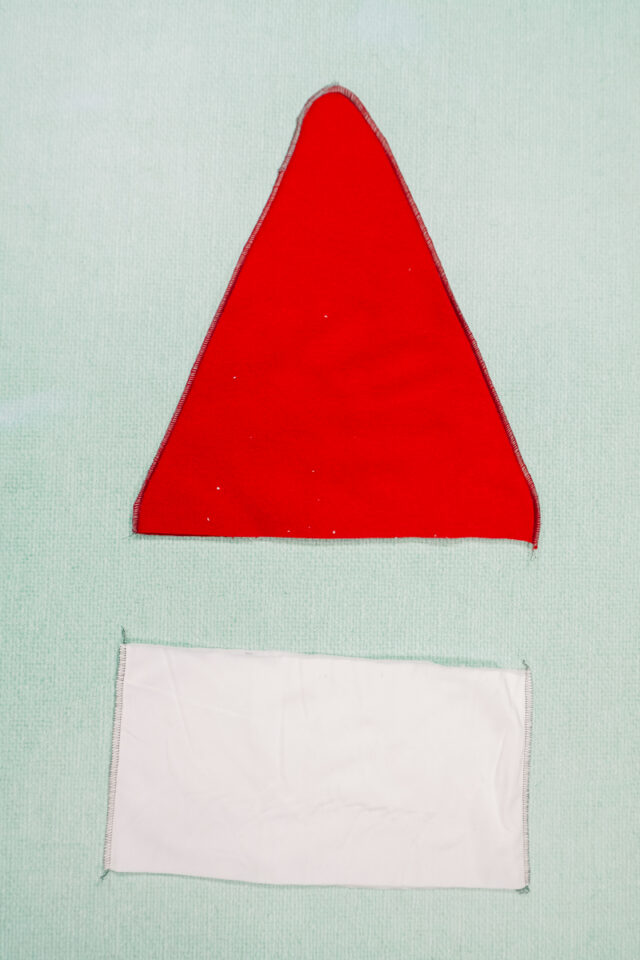
Cut out two hat pieces and two brim pieces.

With right sides together sew the top edges of the hat. Use a 3/8 inch seam allowance and use a serger or a zigzag stitch.
With right sides together sew the short sides of the brim. Use a 3/8 inch seam allowance and use a serger or a zigzag stitch.
Turn the hat right side out.

Fold the brim in half wrong sides together matching the long edges. Pin and sew those edges to the bottom edge of the hat. Use a 3/8 inch seam allowance and use a serger or a zigzag stitch.

Fold the brim down. You finished! (Keep going if you want to add a pompom.)

To add a pompom
(Learn how to make a fur pompom.)
Cut out a circle. To get the right size, the radius will end up being about the diameter of the final pompom.

Sew a basting stitch around the edge.

Pull the bobbin thread to gather the edges. Be careful not to break the thread.

Add stuffing to the pompom. Pull the bobbin thread tight and tie in a knot.

Since gathering doesn’t usually close the hole, I add some stitches in a “X” design to close it all the way.

Hand sew the pompom to the tip of the hat. Tie off.

You finished!

Get the Free Sewing Pattern here!

If you make something using this sewing project, I’d love to see! Please share it on social media with the hashtag #heatherhandmade and tag me!

I believe small sewing moments can create great joy. Find your own “right” way to sew. -Heather
Could you please check the link you are sharing? When I click it, it just takes me to a photo up above, but clicking there doesn’t open a pattern. Thanks!
https://www.heatherhandmade.com/free-santa-hat-sewing-pattern/#get-the-free-sewing-pattern-here
I don’t see the pattern. I was hoping to use this pattern in our 4-H sewing class. Thank you very much for all your great ideas.
https://www.heatherhandmade.com/free-santa-hat-sewing-pattern/#get-the-free-sewing-pattern-here
Where is the free pattern?
https://www.heatherhandmade.com/free-santa-hat-sewing-pattern/#get-the-free-sewing-pattern-here