
Easy DIY Harvest Apron

This post may contain affiliate links.
Learn how to make an easy DIY harvest apron for the garden. It works as an apron, and it can turn into a bag for carrying all your produce.
I love having fresh vegetables, and I plant a garden every year. I’m only a beginner gardener and am only successful with a few vegetables, but I love going out and harvesting what does grow.
When I pick vegetables I’m usually weeding and watering at the same time, and I like to protect what I’m wearing and have something to wipe my hands on. I made a DIY harvest apron that works as an apron and can turn into a large pocket to hold the fresh produce.

I usually only successful with zucchini, yellow squash, and tomatoes. I love planting those plants because I know I’ll always get something. They must do well where I live.
These vegetables would work well in this harvest apron because they are a little firmer. I have to be careful of tomatoes though. I wouldn’t use this apron with soft fruit or vegetables.
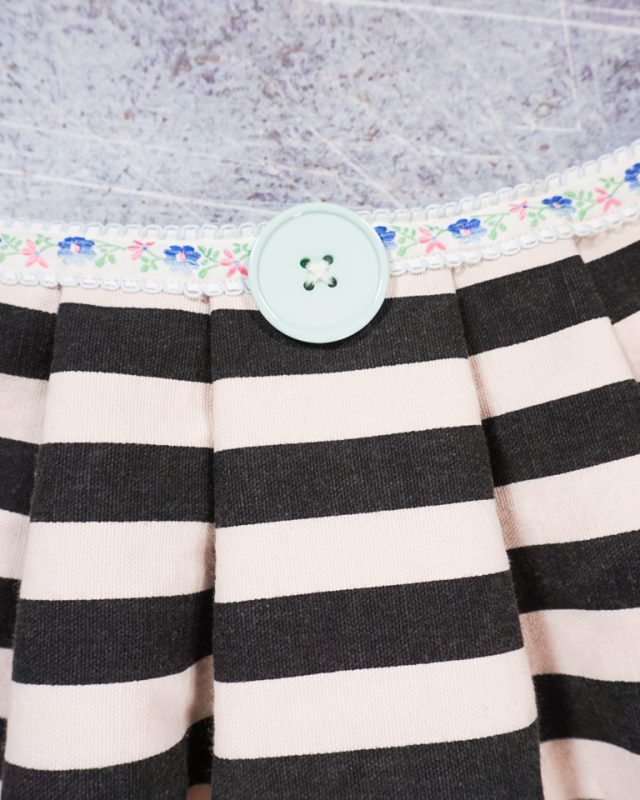
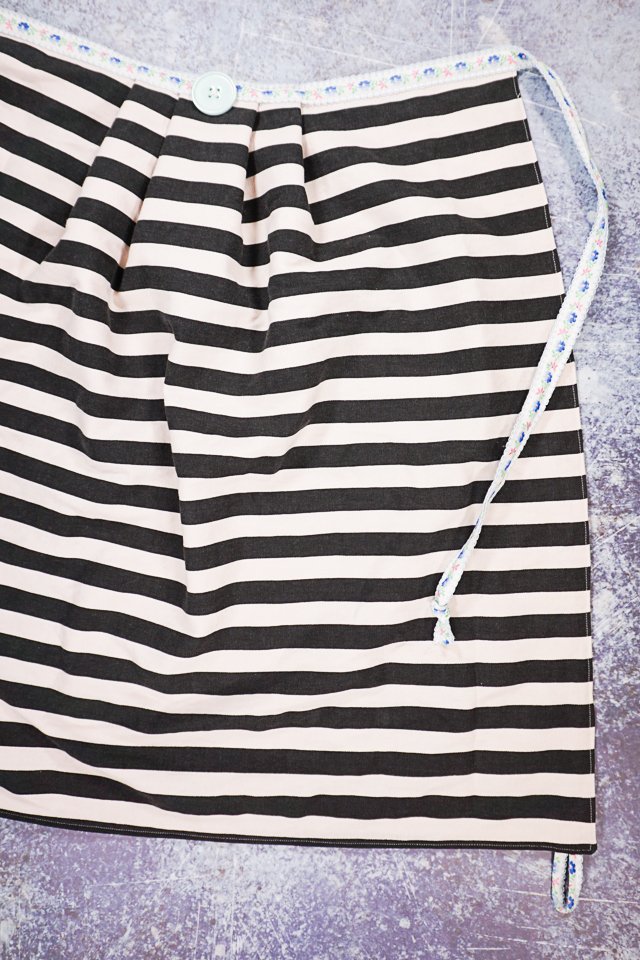
The way this apron works is there’s a large button at the top in the center. There’s also a loop at the bottom of each corner of the apron.
You grab one of the loops and bring it up over the button. Then grab the other loop and bring it up over the button. It’s not a fully enclosed pocket, but it will hold lots of veggies.

What is a harvest apron?
A harvest apron is a kind of apron that is designed for harvesting produce from a garden or small orchard. It usually has a large pocket or pouch on the front that is big enough to hold a lot of produce.
This allows you to keep your hands free while you are picking, and it also helps to prevent the produce from getting dirty or bruised. It’s also great for wiping your hands while you work.
Do you love sewing? Check out these other sewing projects:
- Free apron patterns and tutorials
- summer sewing projects
- beginner sewing projects
- DIY tea towel apron
- fat quarter kid’s apron
- Easy gifts to sew
- Canvas sewing projects

Easy DIY Harvest Apron
Supplies
- 2 yards of quilting cotton
- 2 yards of 1 inch ribbon
- 1 large button
- sewing tools
- sewing machine

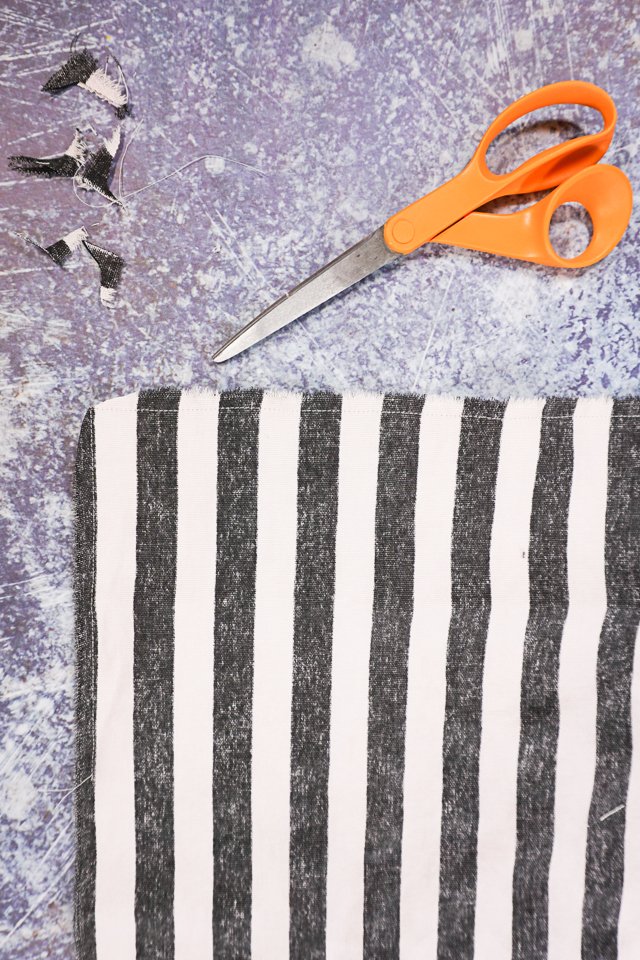
First cut out two squares, 30 inches by 30 inches, from the quilting cotton.

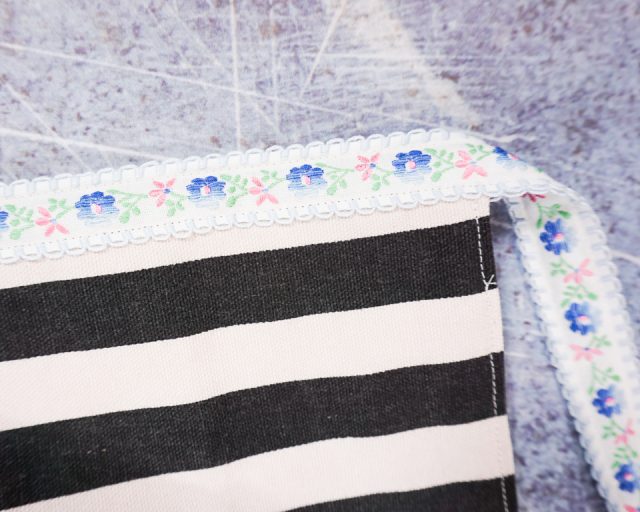
Cut two pieces of ribbon 6 inches long. Fold it in half and sew down the open side to enclose it.
Fold it in half and baste it to the bottom corner of one of the squares. Leave 1/2 inch seam allowance on the side where the seam will be.

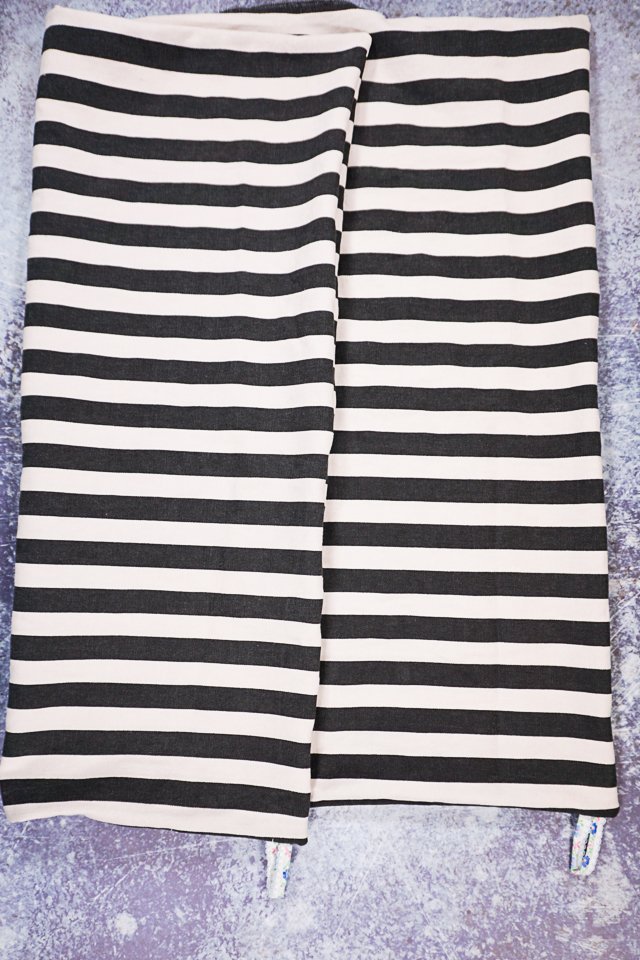
With right sides together pin the squares together matching up all the corners.
Sew all the way around with a 3/8 inch seam allowance. Leave a 6 inch hole for turning.

Trim each corner to reduce bulk.
Turn the apron right side out. Poke out the corners.
Press all the edges flat.
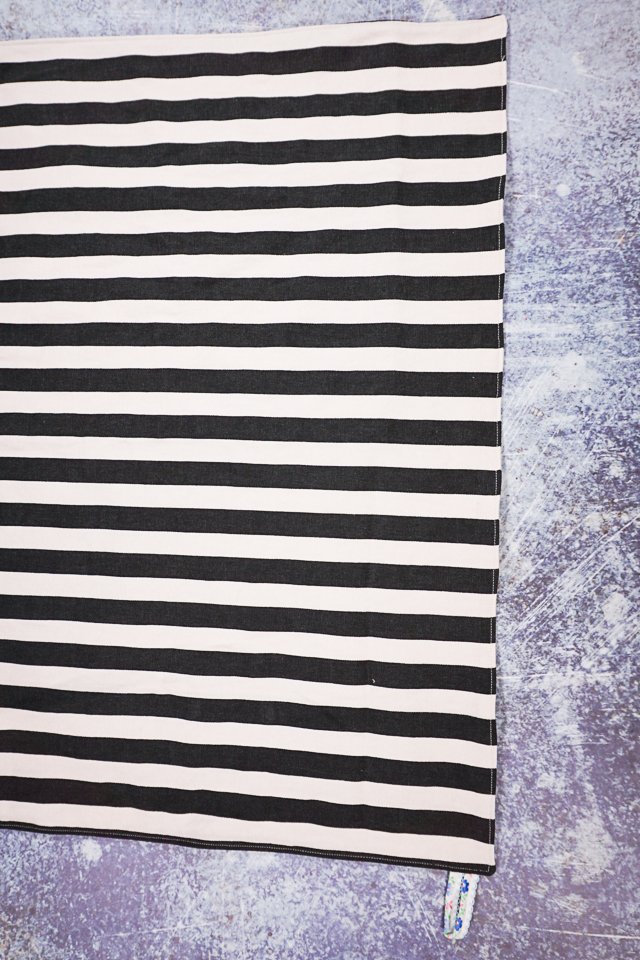
Topstitch around all the edges 1/8 inch from the edge. This is how you’ll close the hole.
At the top center of the apron create pleats. I created two pleats on each side that were 1 inch wide. This pulled the top of the apron in 8 inches.
Baste the pleats in place.

With the rest of the ribbon fold it in half to find the center. Fold the top of the apron in half to find the center.
Match up the center of the ribbon to the center of the apron. Clip in place.

Sew the ribbon onto the top of the apron creating the waistband and ties. I overlapped my 1 inch ribbon 1/2 over the top of the apron.
Hand sew the button at the top center of the apron. I sewed it once and tied it off, and then I sewed it again and tied it off. I didn’t want the button to be coming off while I was carrying vegetables.
Tie the ends of the ribbons into knots to finish the edges.
If you make something using this sewing project, I’d love to see! Please share it on social media with the hashtag #heatherhandmade and tag me!


I believe small sewing moments can create great joy. Find your own “right” way to sew. -Heather
I finished up my version of this tonight. I added 2 pockets and an extra loop in the middle at the bottom. Thank you for the tutorial.
Oh that’s awesome! I bet it’s great!
I am new to sewing and this looks like the perfect project. Any info for settings on my machine would be helpful. (Singer heavy duty model #4411). Also, a straight stitch? Thanks!
A regular straight stitch would be great for this project. If you are worried about the thickness of the fabric, you can use all quilting cotton instead of canvas. That will be a lot easier to sew!
Thank you! Glad I found your blog! Can’t wait to try more of your sewing projects!
Thanks for this – perfect timing with the garden full to the brim.
Yay! The best time of year!
Love this and nice and easy. Thank You for sharing