
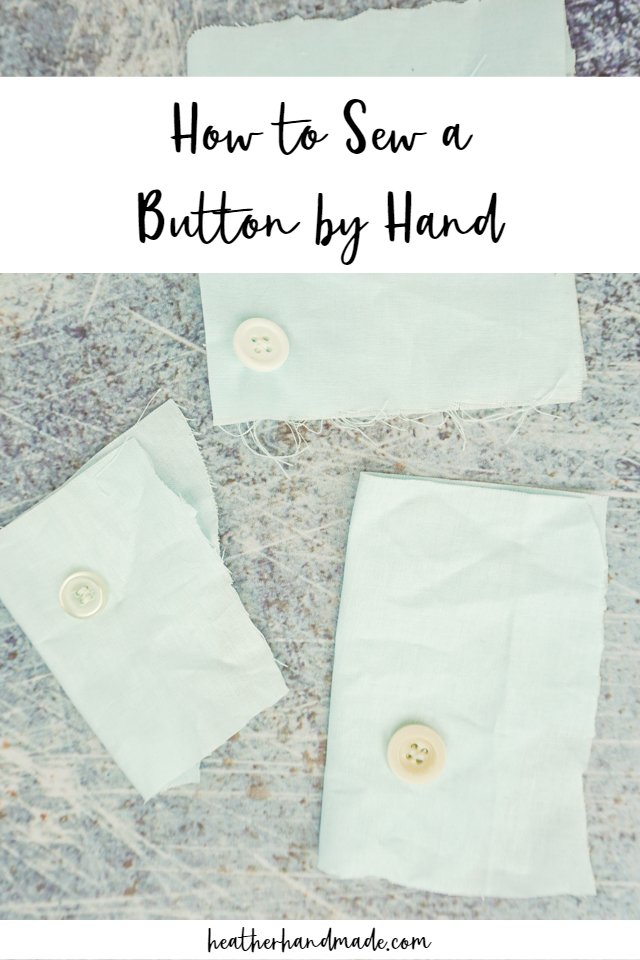
How to Sew a Button by Hand

This post may contain affiliate links.
Learn how to sew a button by hand after it’s fallen off or when you are sewing a handmade item. This is an easy, quick, and strong way to sew on a button.
Everyone has there own way of sewing on buttons, and I’ve tried lots of different ways. I’ve found a method that I love, that works every time, and it lasts a long time. I love making and wearing button up shirts, so I’m often sewing buttons on.
This is the method I learned while working in a tailor shop, and it’s very strong and very quick. It’s also really easy, and you only need a hand needle, thread, and a button.
If you want to sew the buttons on quicker and you have a sewing machine, you can learn how to sew a button with a sewing machine. Also, learn how to open a buttonhole.
If you want a more in depth tutorial you can check out how to sew a button on pants for a similar method.

How to Sew a Button by Hand
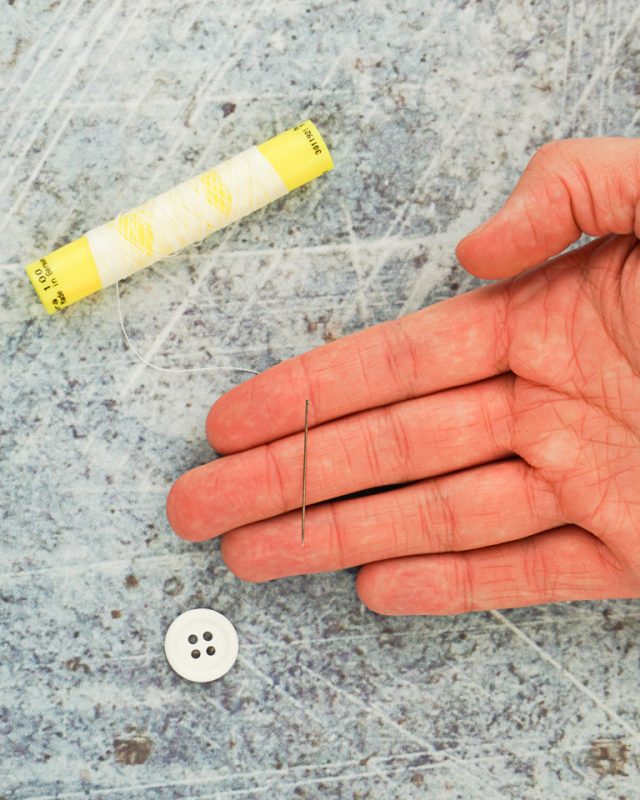
supplies
- Thread
- Scissors
- Hand Needle
- Button (the right size)
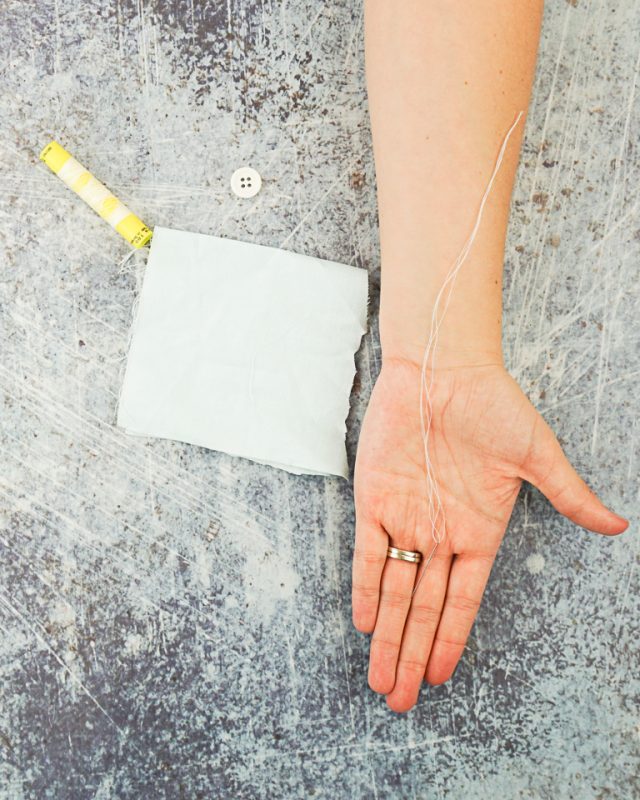
Cut a piece of thread about 24 inches long.
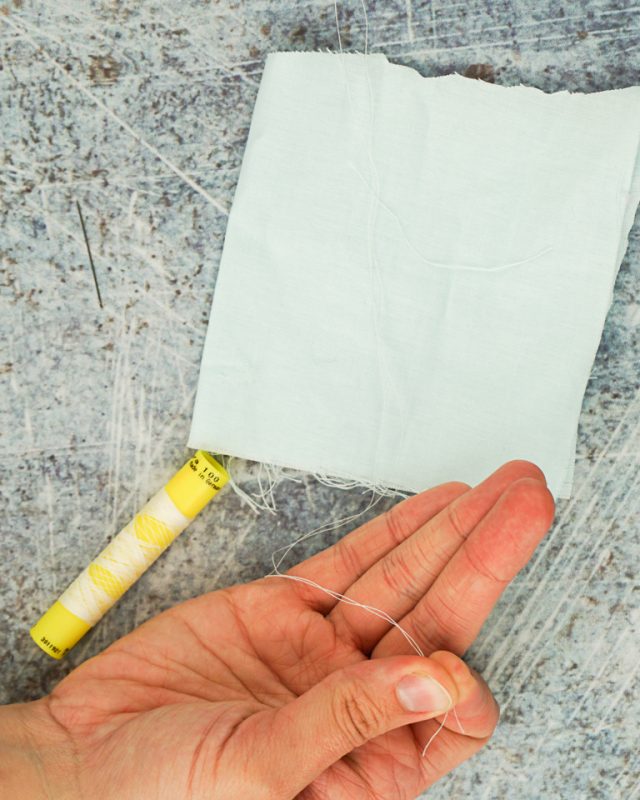
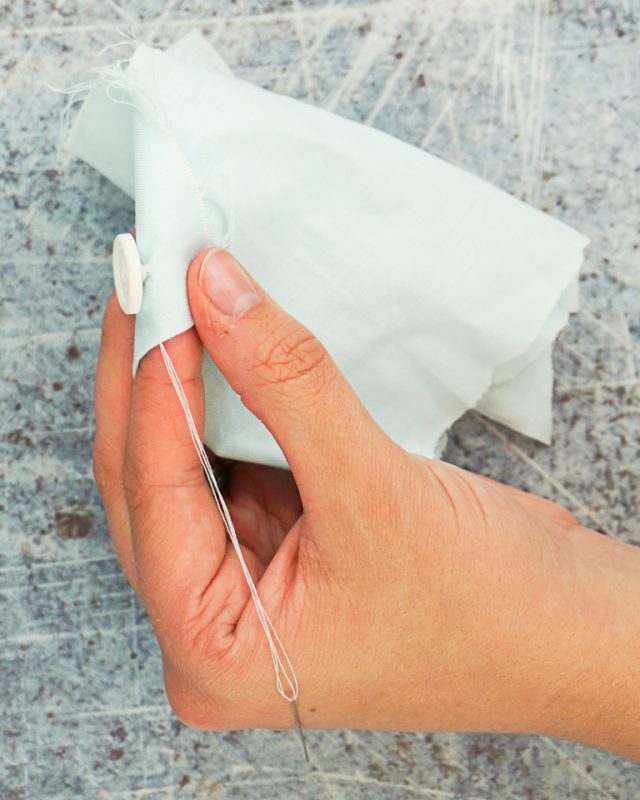
Thread the needle with both ends of the thread and pull in line with the fold on the other side. Tie a knot with all four threads.
Each time you go in or out of the fabric, you will have four threads.
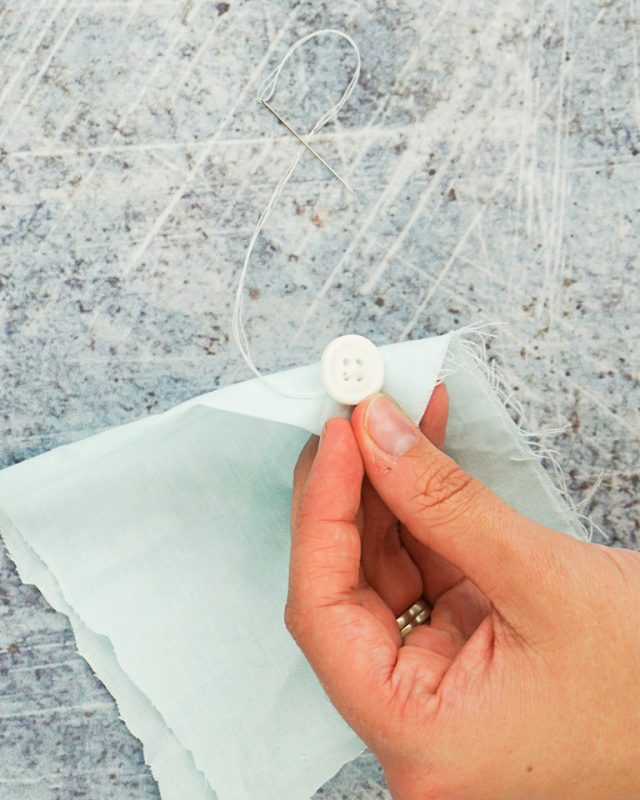
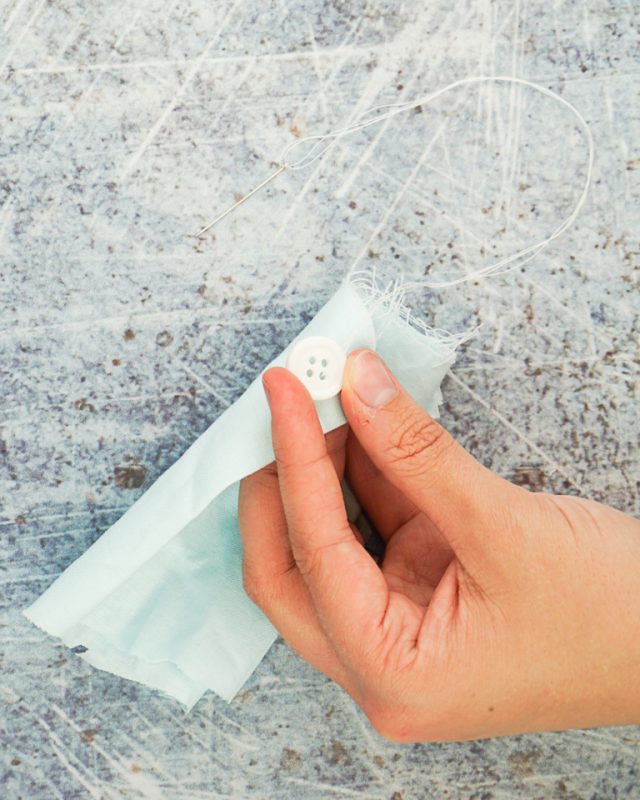
Hold the button in place on the fabric but only hold one side. You want to give the button a little room to breathe so don’t pull the thread too tight.
Start by pushing the needle into the fabric from the bottom so that the knot will be hidden in the back. Come up through one hole.
Come down through the hole that is opposite of what you just came through, and down into the fabric to the back.
Come up through the fabric, up through the first hole, down through the second hole, and down into the fabric again.
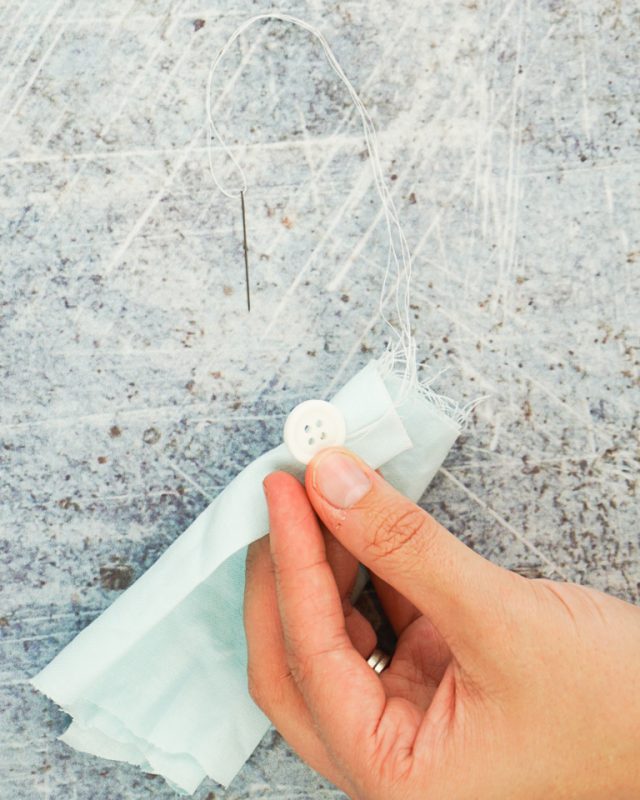
Start coming up through an empty hole and go down in the last empty hole. Repeat again.
You’ll go through each hole twice.
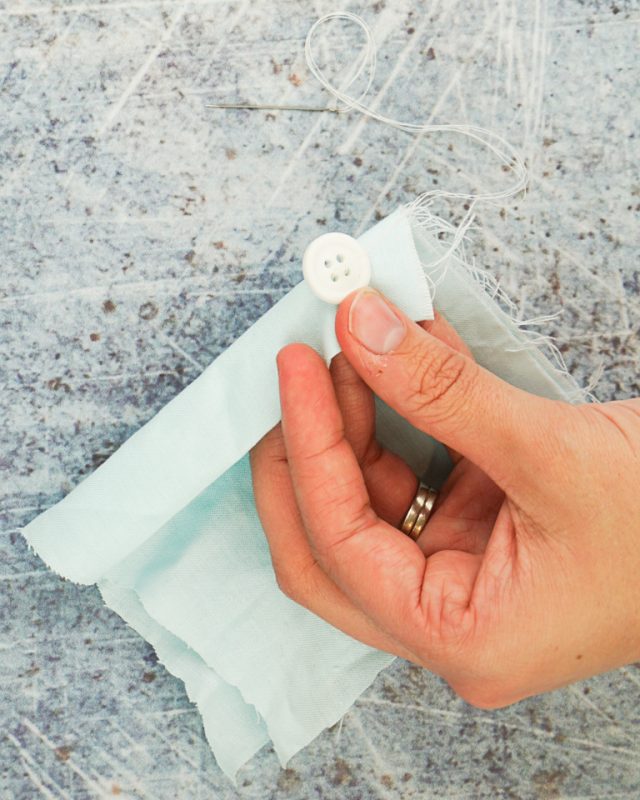
Don’t pull too tight so that you will have room for a thread shank.

Wrap your thread around the button threads about 4 times to create a thread shank. This gives room for the buttonhole fabric to sit between the fabric and the button.
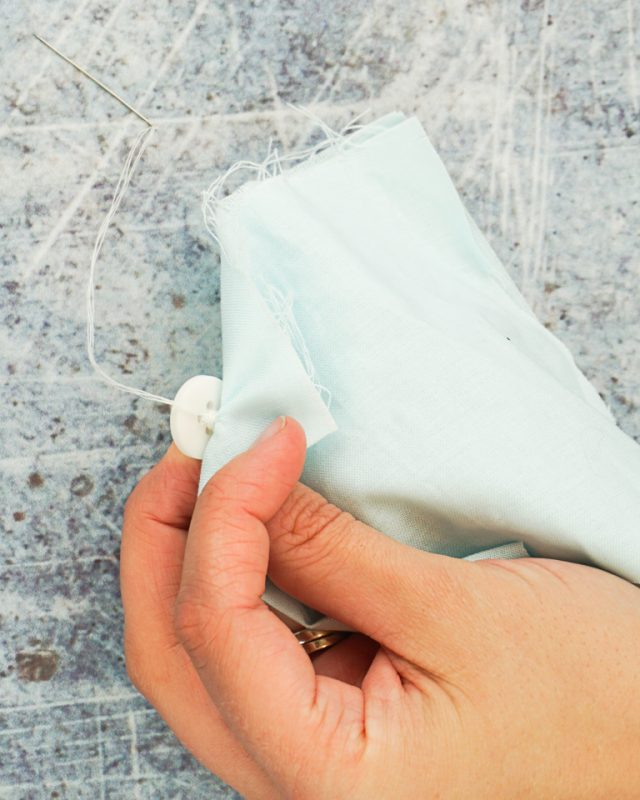
Tie a square knot to finish off by going up and through the loop and then down and through the loop. The main thing is to start on one side to tie a knot and then go to the other side.
Put needle into fabric near the knot and under the button, and then come up out of the fabric about an inch away.
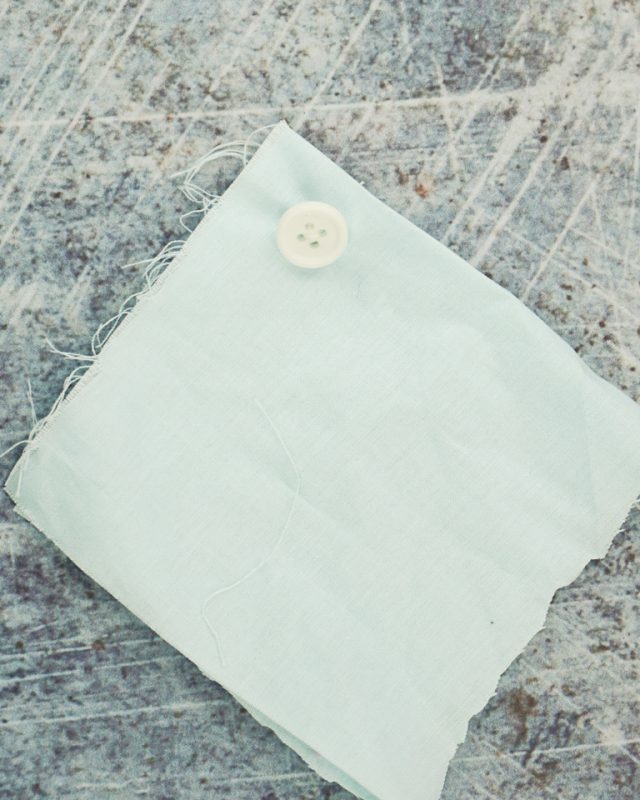
Cut the thread close to the fabric. Now there aren’t any stray threads to show and the long end will help prevent the knots from coming undone.
You finished the strong and quick button sewing!
If you learn how to sew a button by hand using this tutorial, I’d love to see! Please share it on social media with the hashtag #heatherhandmade and tag me!

I believe small sewing moments can create great joy. Find your own “right” way to sew. -Heather
Best button replacement video and demonstration ever! Been sewing all my life and I CAN learn new tricks! 😇
Oh good! I’m so glad!