
DIY Felted Wool Storage Basket

This post may contain affiliate links.
Easily turn a wool sweater into a felted wool storage basket with this simple sewing tutorial. It’s a great way to use those extra sweaters!
I have a thing with baskets and bins. It’s so fun to organize with cute organizing items. An easy way to to make your own storage basket is to felt a sweater and then sew it into a bin. It’s a quick sewing project that would be perfect for a gift.
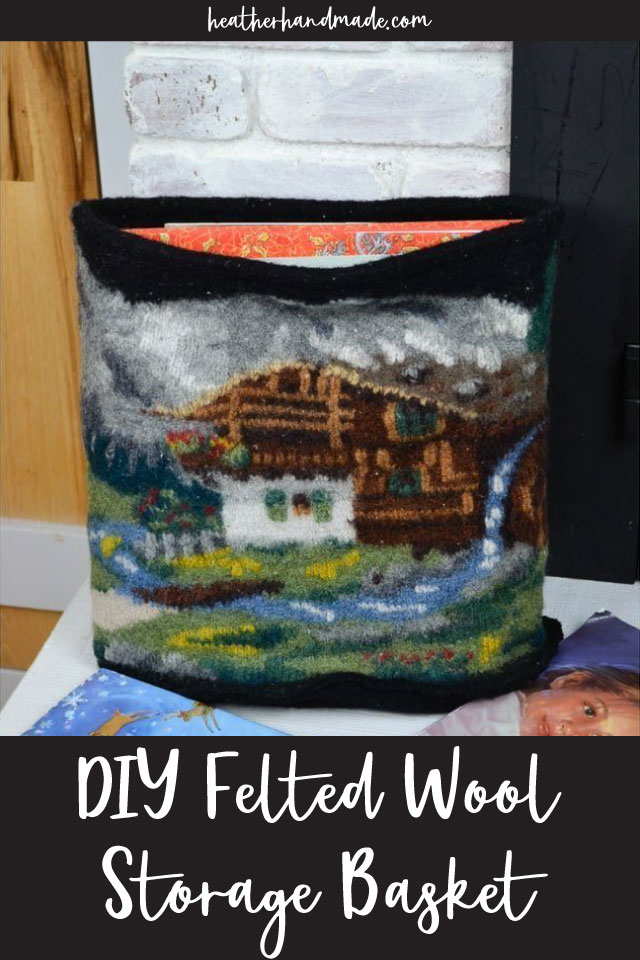
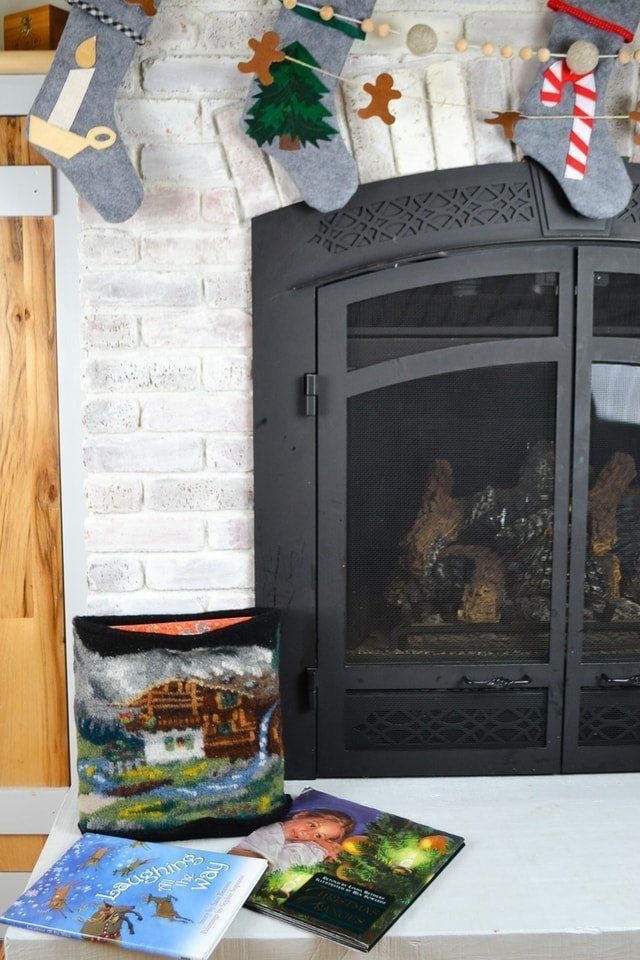
I love this felted wool storage basket because we put our Christmas books in them. The kids come and pick a book out to read every night, and then they have a place to put them back. I love how the felt basket looks under our felt stockings and gingerbread garland.
I love having fabric baskets to organize everything. I’ve also made large DIY fabric baskets and upcycled jean fabric baskets.
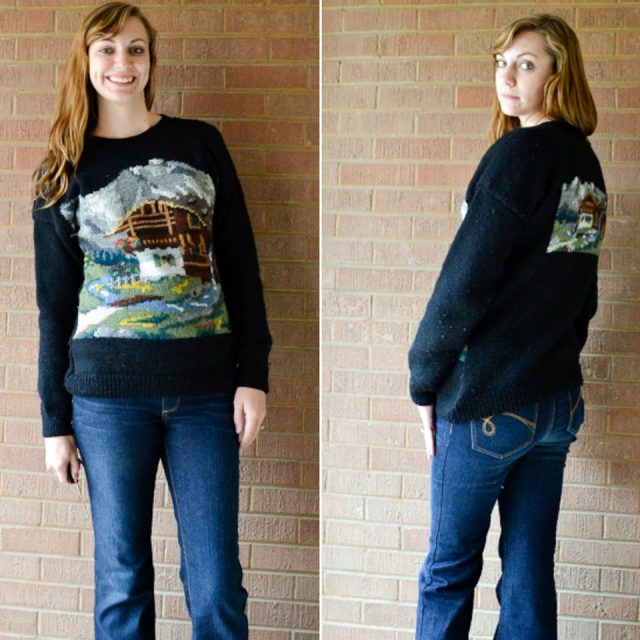
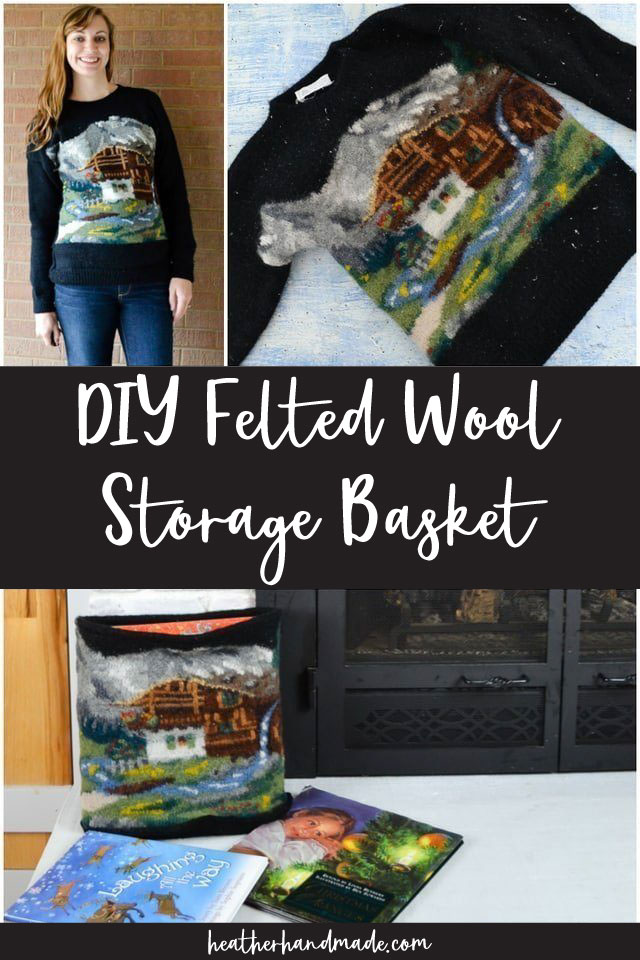
I bought this 100% wool sweater about five years ago. The knitted scene is just so pretty. First, I tried sewing in the sides to see if I would wear it, but it turns out I don’t really wear black.
Then I purposely washed and dried it to felt it to see what I would do with it. It’s been sitting in my stash for a couple of years. I couldn’t get rid of it because someone put so much work into it.
DIY felted wool storage basket
supplies
- 100% wool sweater
- sewing tools
1. Throw your wool sweater in the washer and dryer to felt it. It will shrink and become stiffer.

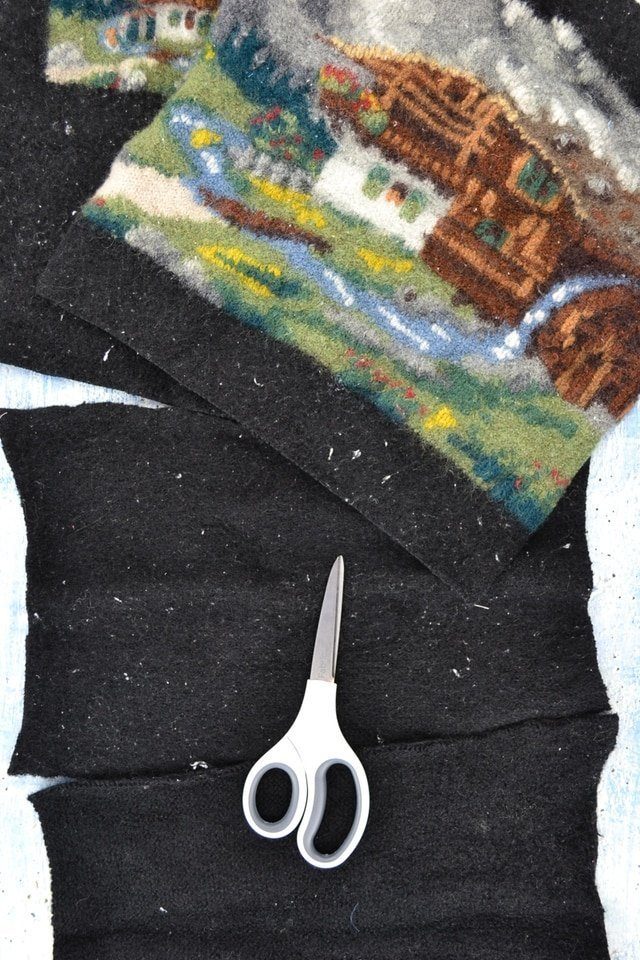
2. Cut the front and back off of the sweater in a giant rectangle. Cut the sleeves off and open the seam.
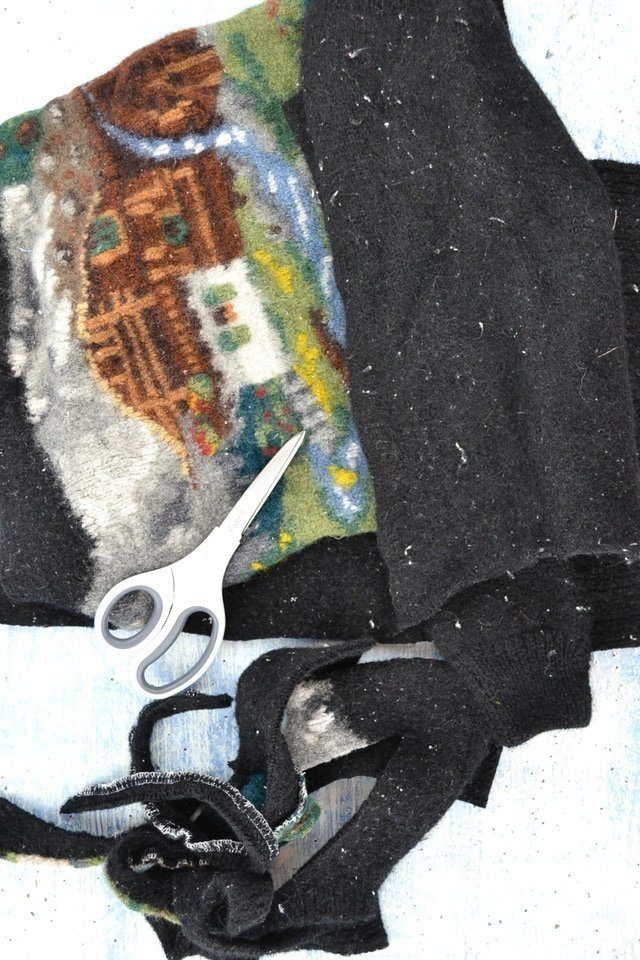
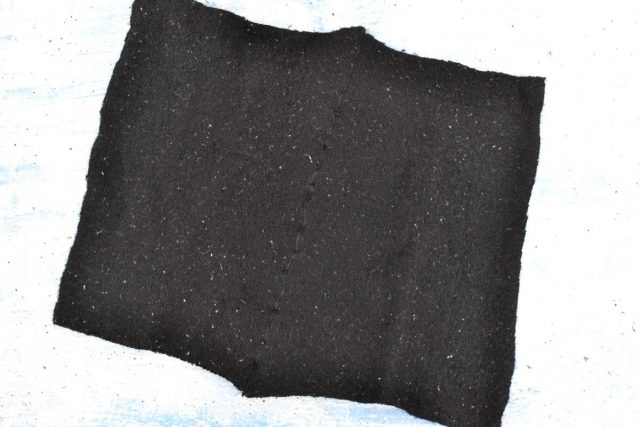
3. Cut the ribbing off of the sleeves and the hem of the sleeves. (Save the wool scraps to make wool felt balls!)
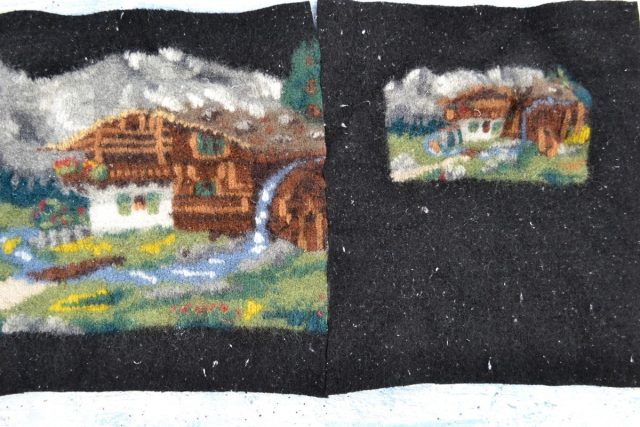
4. Square the corners of the front and back rectangles. The shorter the rectangle the stronger the sides of the felt basket will be.

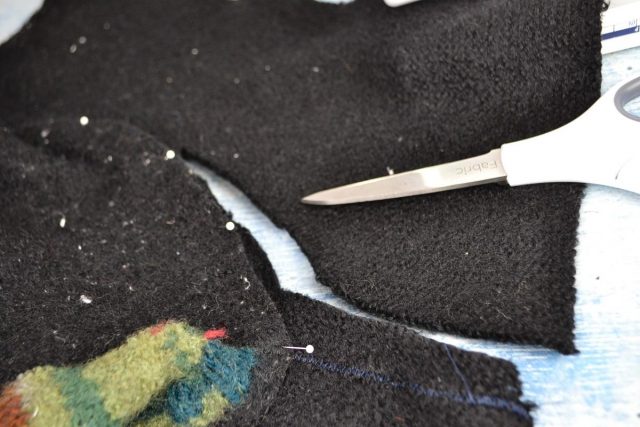
5. Line up the two rectangles side by side. You are going to use a wide zigzag stitch to sew them together. Sew the other side together to form a cylinder.
Sewing the felt will make it a little wavy, but pressing it will make the waviness go away.
6. Put the sleeves together in opposite direction to make a big rectangle.
7. Place the the cylinder on top of the arm rectangle and pin the edges towards the outside of the felt basket. Sew the base onto the cylinder with a wide zigzag stitch.
8. Fold the top over 5/8 inch and sew it with a zigzag stitch.
If you want to make your basket stronger line the basket with interfaced quilting cotton and fold the felt over the lining.

9. Press any wavy seams to make the seams straight and flat. Fill it up with books or toys or games.

If you make a felted wool storage basket using this tutorial, I’d love to see! Please share it on social media with the hashtag #heatherhandmade and tag me!

I believe small sewing moments can create great joy. Find your own “right” way to sew. -Heather