
How to Make a DIY Fabric Tray

This post may contain affiliate links.
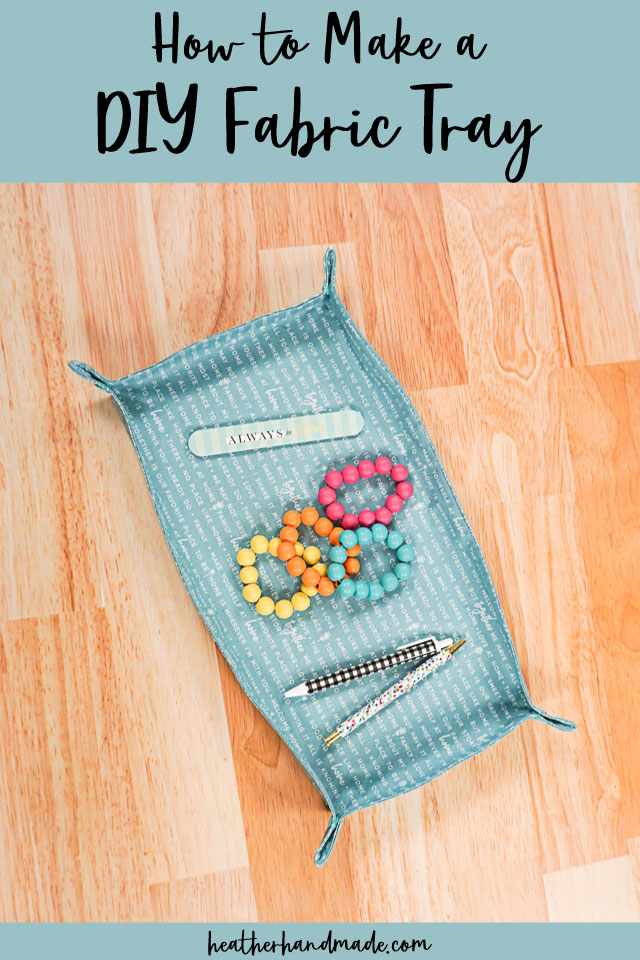
Learn how to make a DIY fabric tray with fabric scraps for simple organizing. It’s a great beginner sewing project that makes an easy gift!
One of my side passions is organizing. I don’t claim to be all that good at it, but I like to have as many boxes, baskets, and bins as possible. It can get expensive quickly so making some from fabric helps offset the cost.
I made some DIY fabric trays with fabric and interfacing, and I love the result. They hold a lot of little stuff and I got to choose some really fun fabrics. I made one that is permanently sewn, and one that snaps so it can be unsnapped and stored flat.
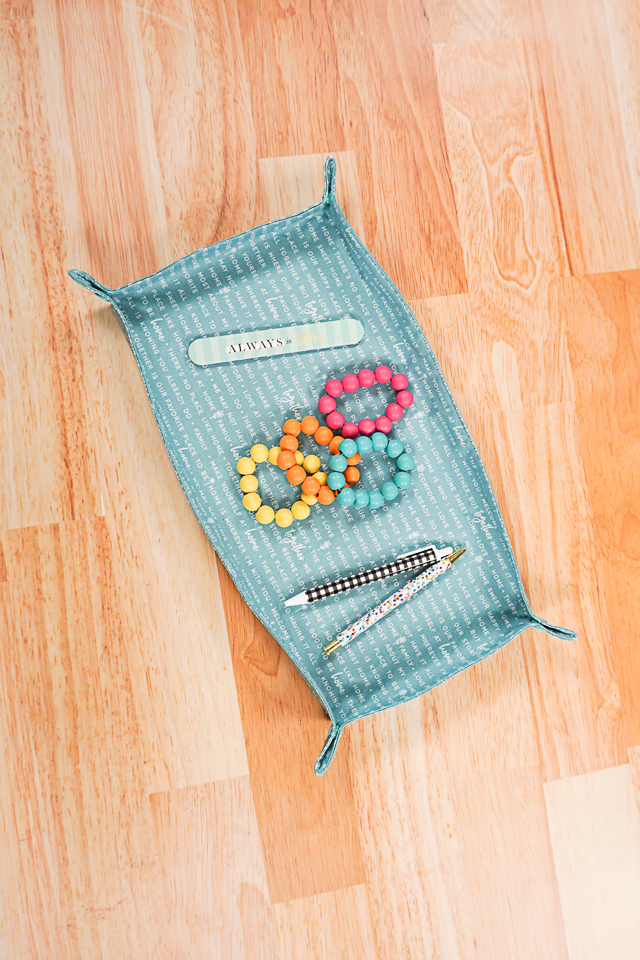
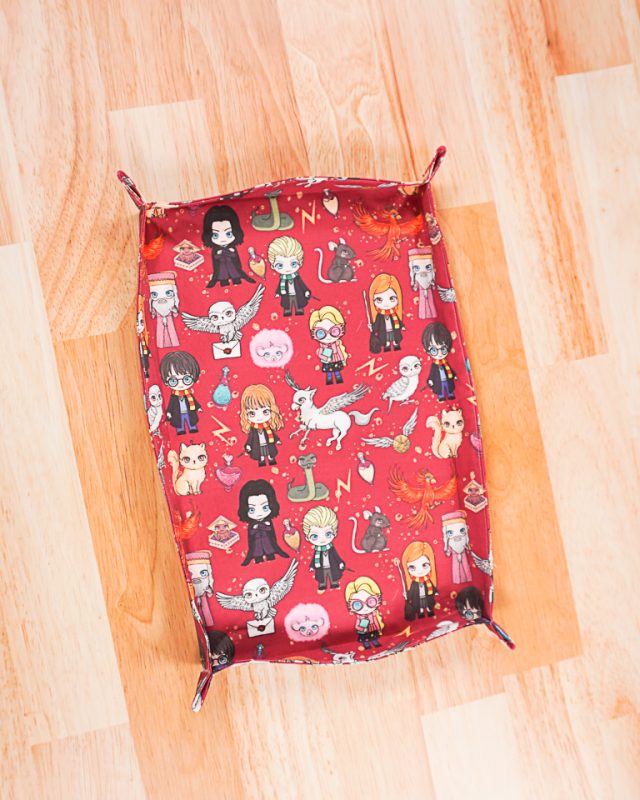
I made one with quilting cotton that has lots of family and together phrases. I like to store my small stuff in it. Then I made one with Harry Potter fabric for my sons room. He often collects rocks and small toys that need a space.
How much fabric do I need?
If you are making a small tray you can use one fat quarter. If you are making a slightly larger tray you can use 1/3 of a yard. You’ll need the same amount of interfacing.
What fabric should I use to make a DIY fabric tray?
Quilting cotton and canvas work best for a fabric tray. You’ll need some medium weight to heavy weight interfacing to make your tray stiff enough to hold it’s shape.
How big can the fabric tray be?
The tray can’t be too large or the fabric will stop holding it’s shape at the sides. I recommend using fabric rectangles that are 18 inch by 12 inch or smaller.
Do you love to sew? Try one of these sewing projects:
- Beginner sewing projects
- Scrap fabric sewing projects
- Quilting cotton sewing projects
- Fat quarter sewing projects
- Gifts to sew
- DIY reusable makeup remover pads
- DIY reusable cotton rounds
- home sewing projects
How to Make a DIY Fabric Tray
supplies
- Fat quarter or 1/3 yard of fabric – quilting cotton or canvas
- Fat quarter or 1/3 yard or medium weight or heavy weight interfacing
- Optional: plastic snaps and snap pliers
- Sewing tools
- Sewing machine
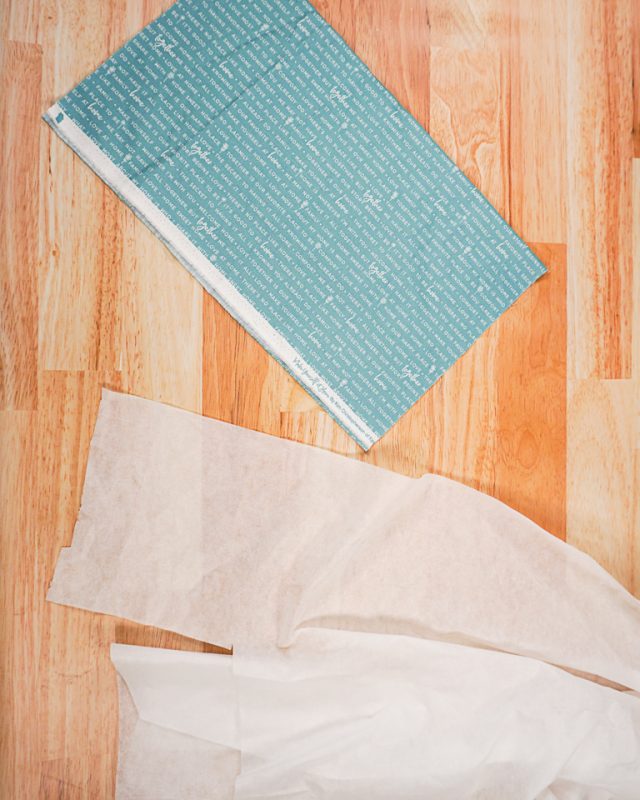
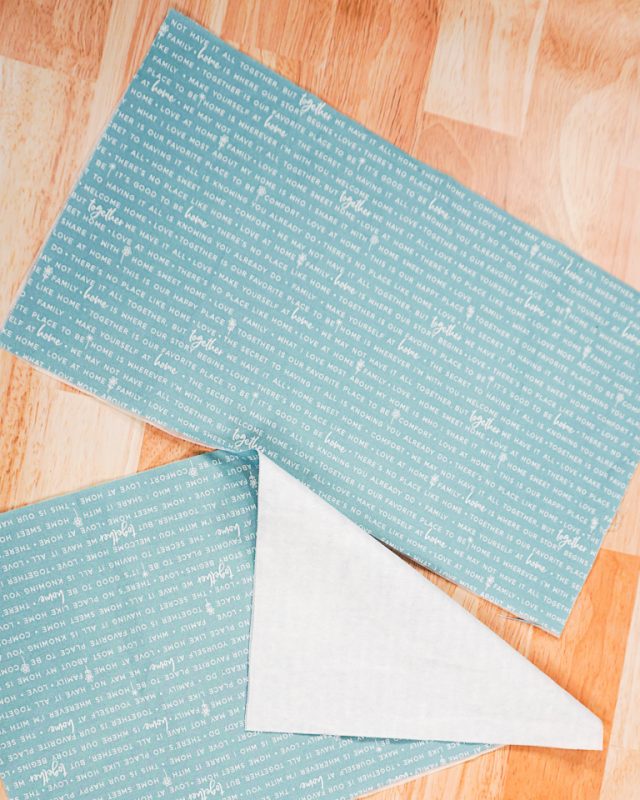
Cut out two matching rectangles as small as 6 inch by 6 inch to as large as 18 inch by 12 inch. You can use a rectangle or square shape. Cut two of the same pieces from interfacing.
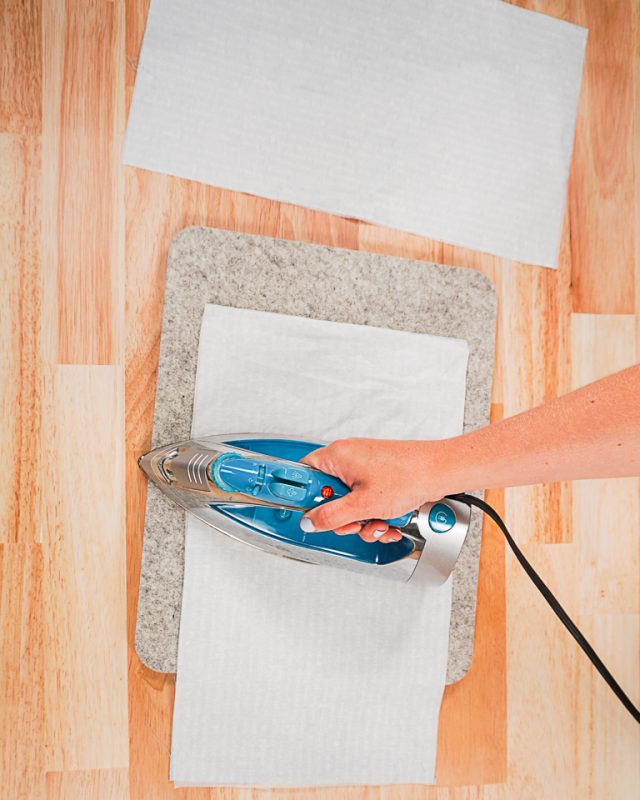
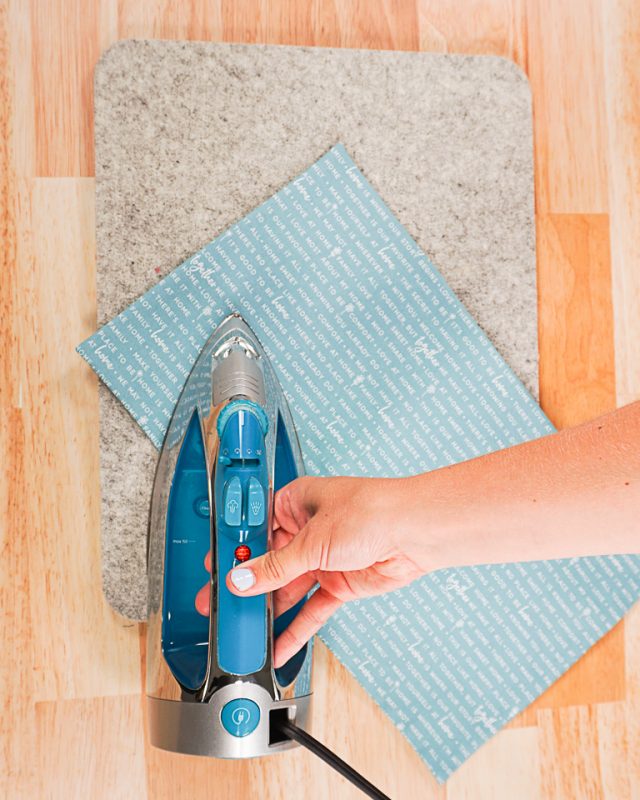
Fuse the interfacing pieces to the back of the fabric pieces.
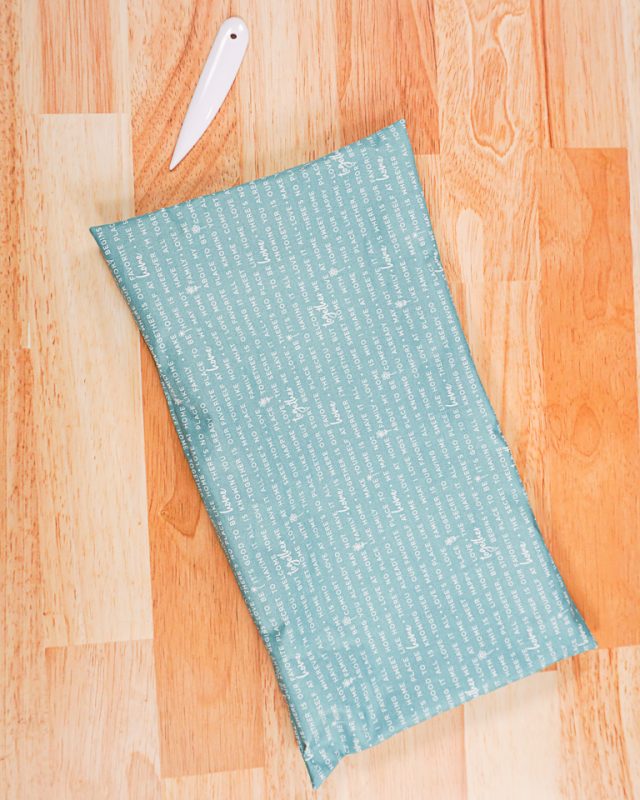
Place the fabric pieces right sides together and pin.
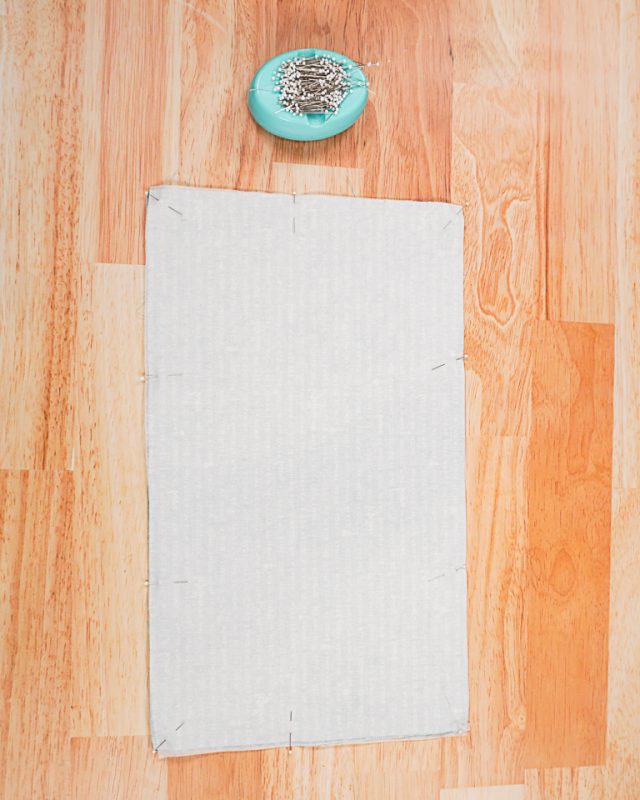
Sew around the edges with a 3/8 inch seam allowance pivoting at the corners. Leave a 4 inch hole open backstitching when you start and when you stop.

Trim all the corners to reduce bulk.
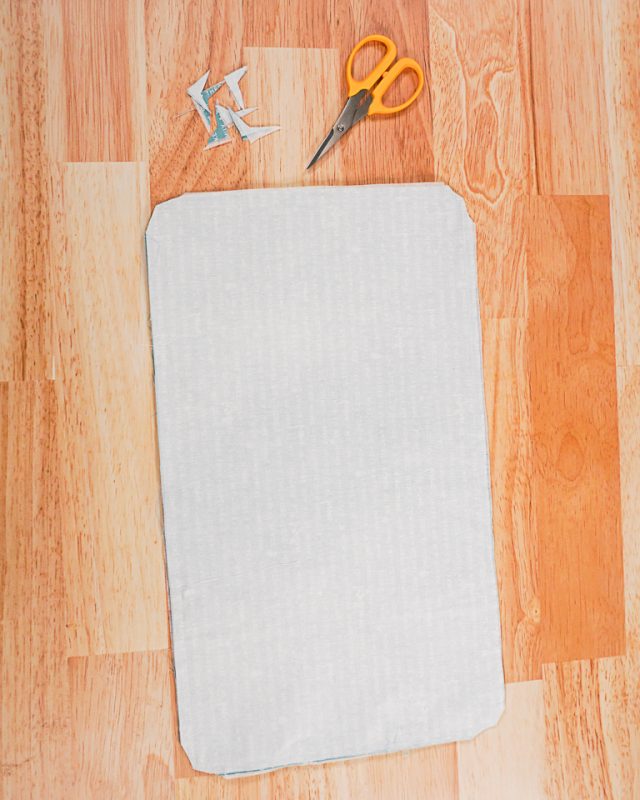
Turn it right side out and then poke out the corners with a point turner.
Press the fabric flat rolling out the seams. Make sure that when you press that the seam allowances of the hole are folded inside and pressed carefully.
DIY Fabric Tray with Snap Corners
Fold the fabric at the corner lining up the two straight edges. Measure one inch in from the corner. Add plastic snaps to the 1 inch line near the top of the fabric.
One side of snap will be on one side of the corner and the other side of the snap will be on the other side of the corner.
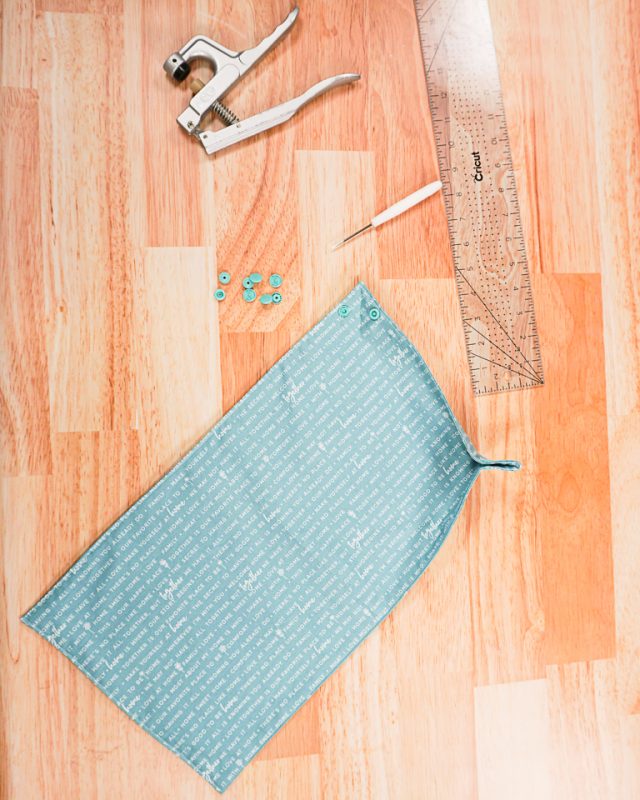
Snap all the snaps to create the sides of the trays or unsap all the snaps to store in flat.

DIY Fabric Tray with Sewn Corners
Fold the fabric at the corner lining up the two straight edges. Measure one inch in from the corner. Draw a line perpendicular to the straight edge.
Pin the corner at the line you drew, and sew through the line with a straight sitch. Backstitch when you start and when you stop.
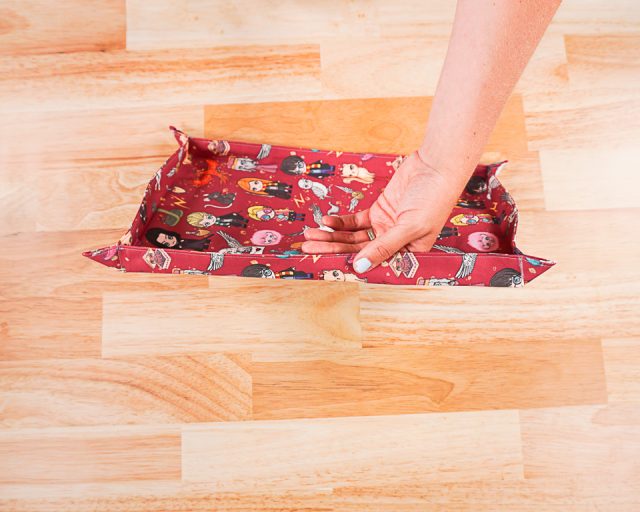
The tray is finished. Sometimes I like to fold the sides in and press it flat to help the sides stand up better. I can only do this with the permanently sewn tray because it never has to lay flat.
If you make something using this sewing project, I’d love to see! Please share it on social media with the hashtag #heatherhandmade and tag me!

I believe small sewing moments can create great joy. Find your own “right” way to sew. -Heather
Could I use a button with buttonhole to make the corners instead of snaps or sewing?
yes! that would work great!
My Husby LOVES his fabric trays for all his “pocket stuff” and they are SO much cuter than a dish towel with all his junk piled on top of it! I use mine for jewelry and watch. They’re so fun and easy for a newbie like me. THANK YOU!
That’s awesome!
This is just what I was looking for but didn’t know it. This will be perfect for using the fabric weavings my grandkids and I made.
Thanks for a great tutorial.
What a great idea! I love that!
OMG!!!! THESE ARE AMAZING!!! I HAVE TONS OF SCRAPS; I’ll stitch them together and make these!!!