
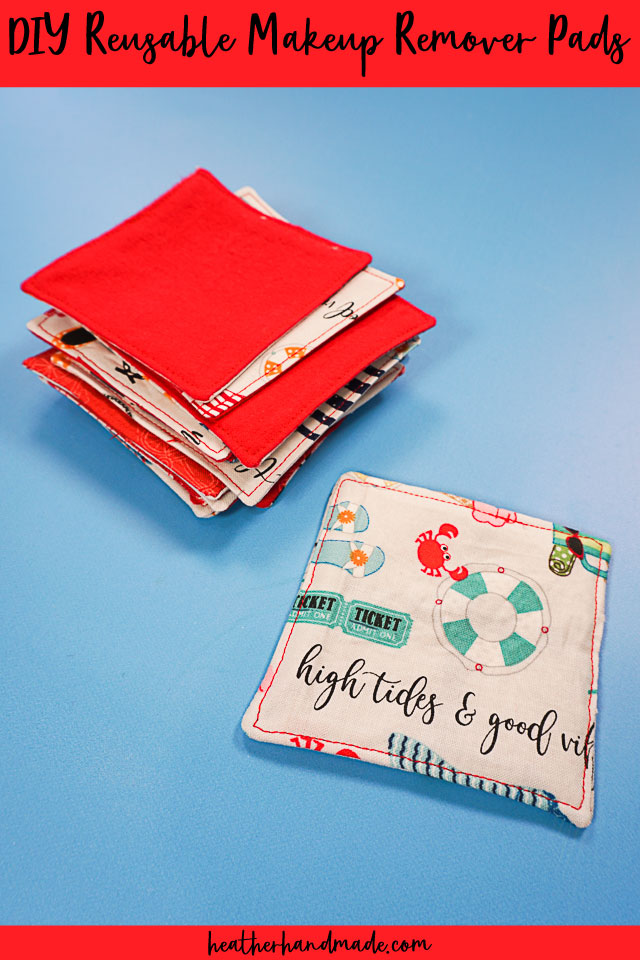
How to Make DIY Reusable Makeup Remover Pads

This post may contain affiliate links.
Learn how to make DIY reusable makeup remover pads to help you save money and create less waste. It’s a great scrap fabric sewing project!
When you sew you always end up with lots and lots of fabric scraps. Sometimes I feel guilty about throwing them away, and sometimes I don’t. If it’s larger than my hand I usually keep it unless I really love it.
A really easy way to use up those scraps of fabric is to turn them into DIY reusable makeup remover pads. I love using these every night as part of my night time routine. I don’t mind having to wash them every week to keep up.
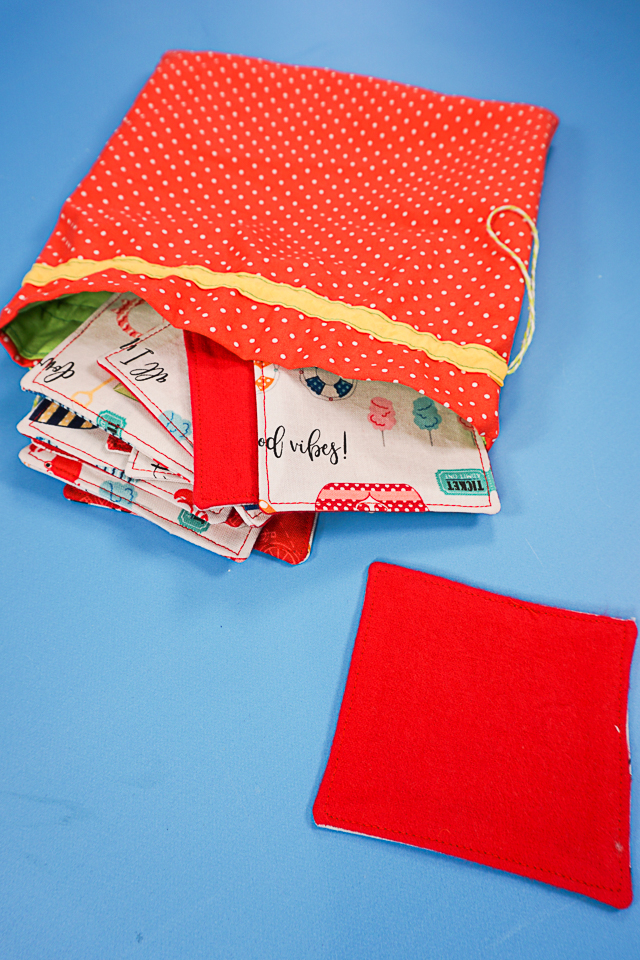
This scrap fabric project is great for saving money, saving time, and saving the environment! I don’t actually use mine to remove my make up, but I do use it to wipe toner on my face every night and every morning.
You will save time with this sewing project because you’ll never have to buy cotton balls again, and this project is very fast. It’s a great makeup remover if you need it! This is such a great beginner sewing project!
Why reusable?
You’ll save money because you’ll use up scraps that you already have, and you won’t have to buy cotton balls. I think it would be perfect to send off with your college student to school so they don’t have to worry about buying cotton balls!
You’ll save the environment because you won’t be creating more waste or creating a need for more cotton.
Do you love to sew? Try one of these sewing projects:
- DIY reusable cotton rounds
- scrap fabric projects
- beginner sewing projects
- Fat quarter sewing projects
- What to do with old towels
- Small sewing projects

How to Make DIY Reusable Makeup Remover Pads
supplies
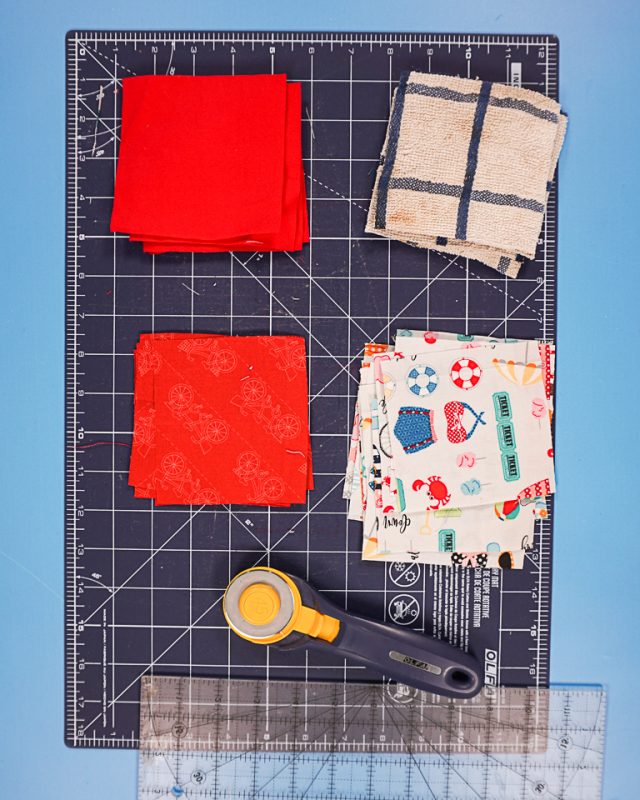
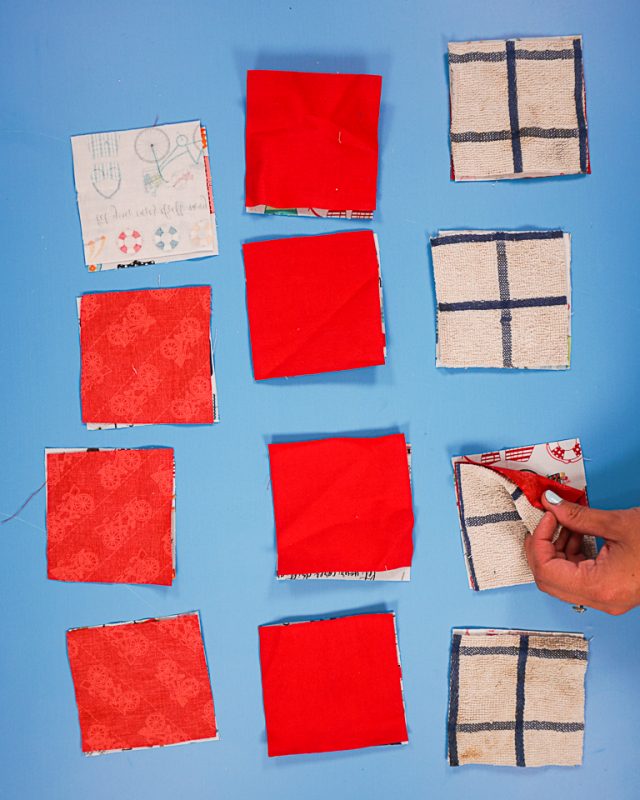
- Scraps of cotton woven or flannel, I recommend organic cotton if possible.
- Optional: scraps of a towel or washcloth
- Sewing Tools
- sewing machine
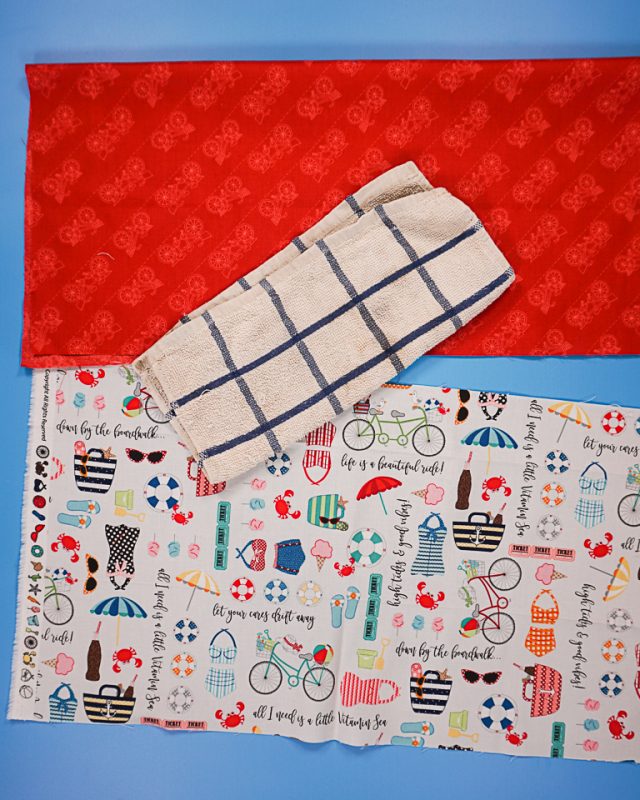
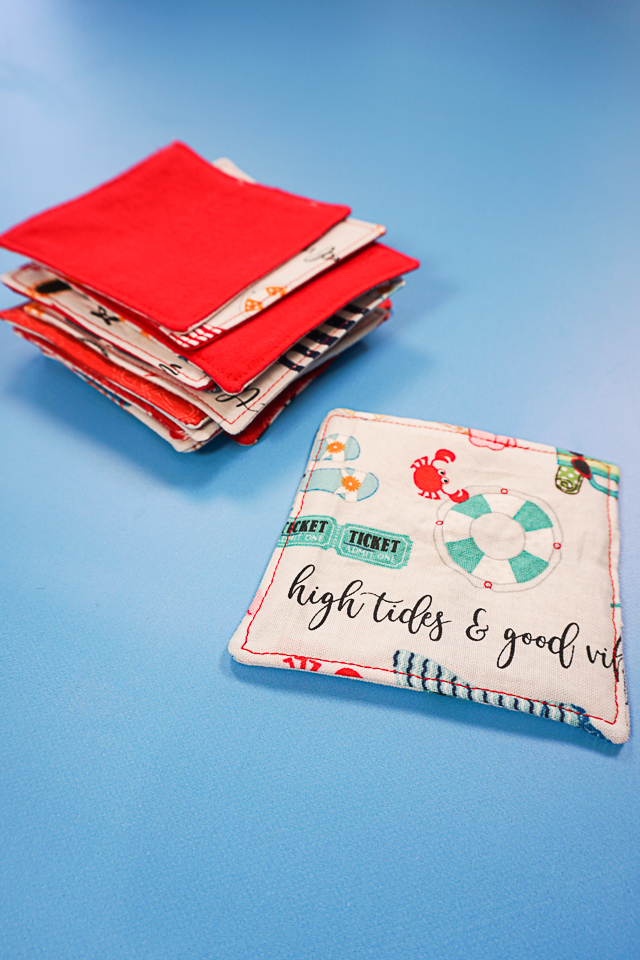
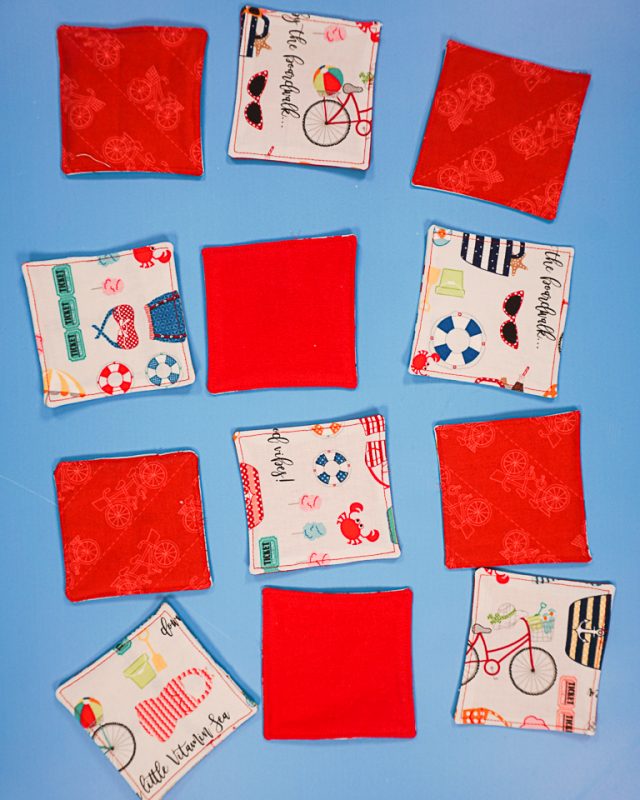
Cut out squares that are 4 inches by 4 inches. Each makeup remover pad needs two squares of fabric. Optionally, you can cut a piece of a towel or washcloth into a 4 inch by 4 inch square, and it will become the inside of the pad.
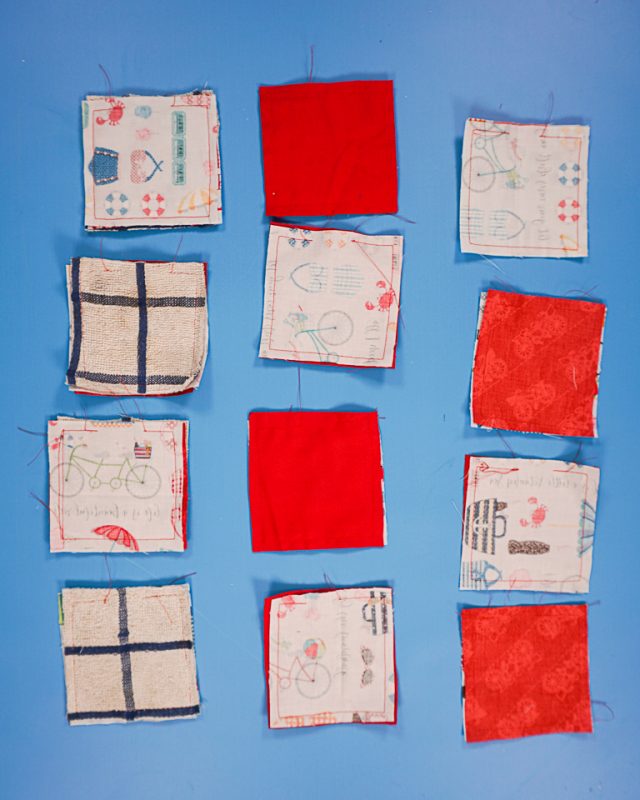
Pin the squares right sides together. If you are adding a towel to the pad for absorbancy, place it on the top or outside of the right sides.
Sew around the edges 3/8 inch from the edge. Backstitch when you start and when you stop, and leave 1 inch hole for turning.
Trim the corners to reduce the bulk.
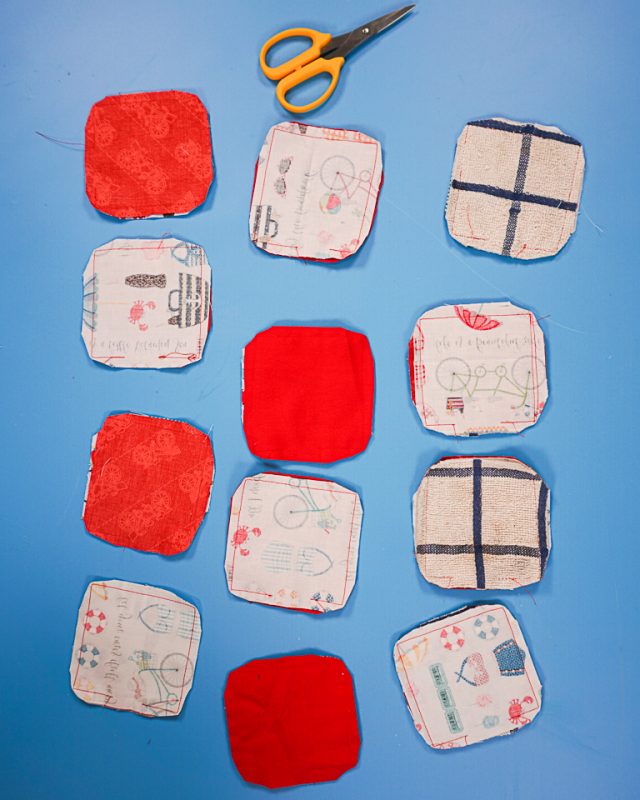
Turn the makeup pads right side out and poke out the corners.
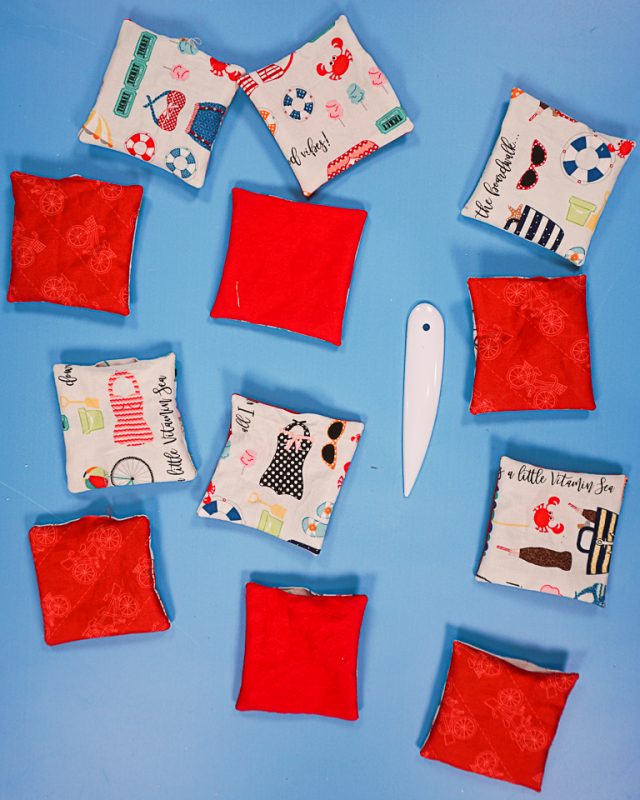
Press the makeup pads flat.
Edgestitch around the pads and close the holes. Backstitch when you start and when you stop.
If you make something using this sewing project, I’d love to see! Please share it on social media with the hashtag #heatherhandmade and tag me!

I believe small sewing moments can create great joy. Find your own “right” way to sew. -Heather