
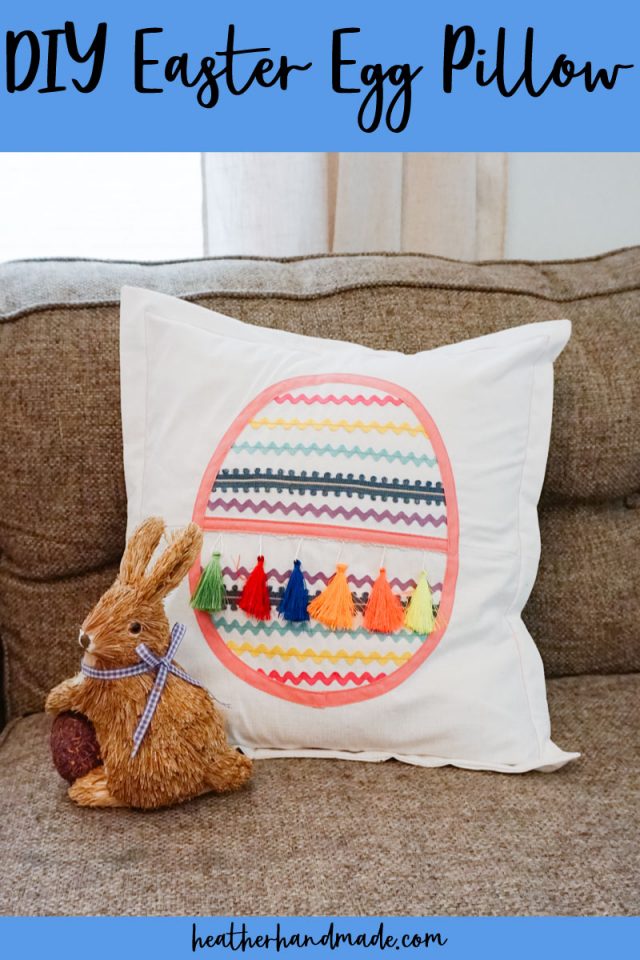
How to Make a DIY Easter Egg Throw Pillow

This post may contain affiliate links.
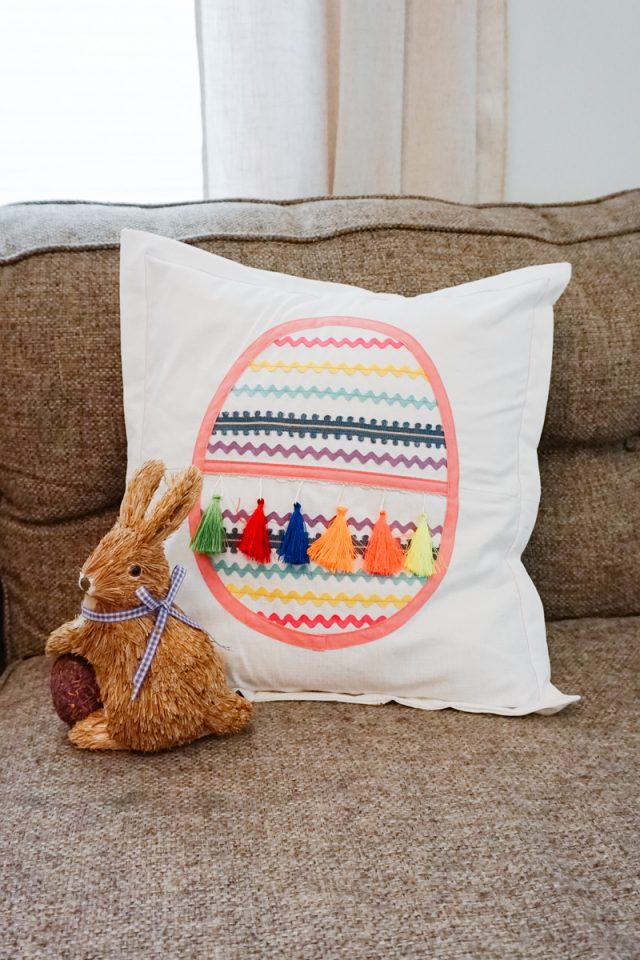
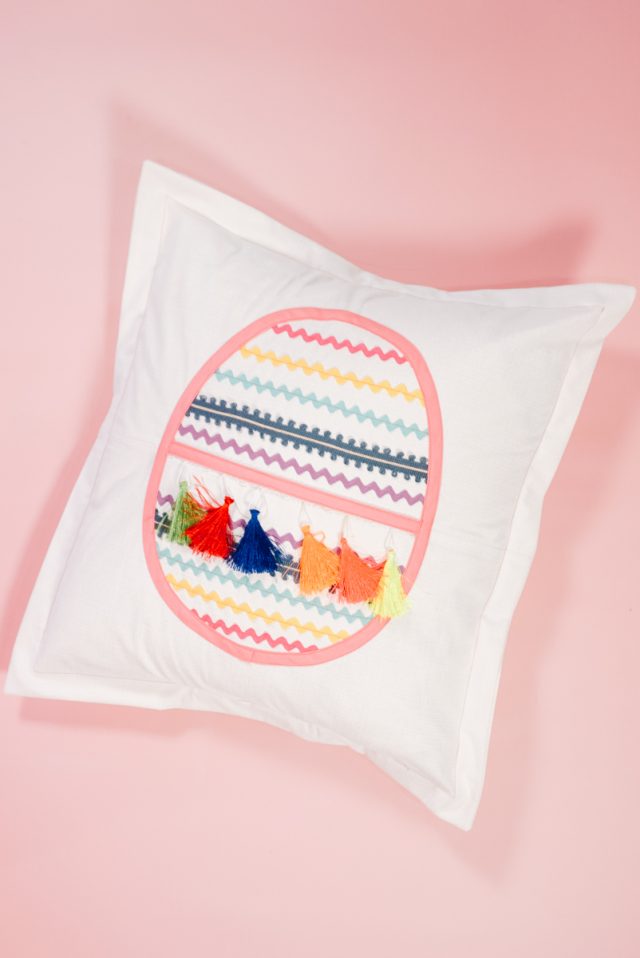
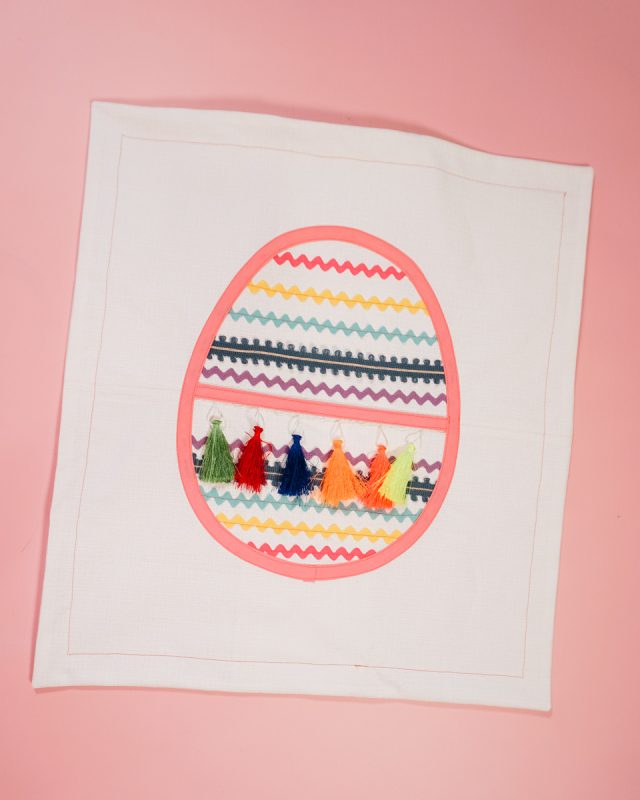
Learn how to make a DIY Easter egg pillow cover with rickrack and bias binding. This Easter sewing project is such a fun decoration.
Every Spring I get excited to decorate with flowers, plants, and baby animals. I just love living in a place where I get four seasons and get to see the changing seasons.
Get decorating for Easter with this cute DIY Easter egg pillow cover. It’s a great way to use up all your lace, rick rack, pompom trim, and tassel trim.
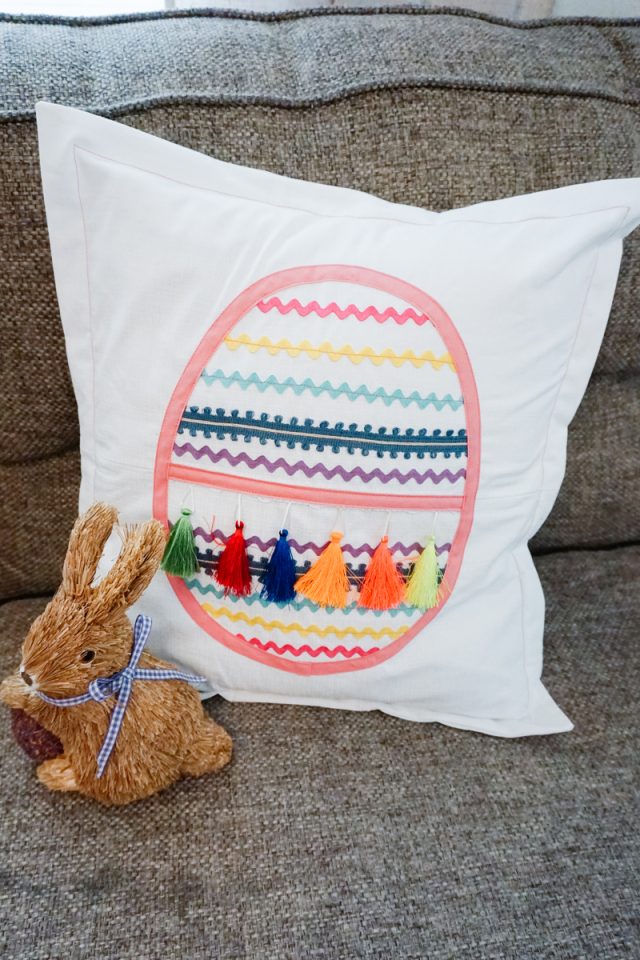
I love that the rick rack looks so much like a cute decorated Easter Egg. I had a bunch of ribbon and other trim, but I think the rick rack looks the best for this design.
What fabric is best for a pillow cover?
The fabric that works well for a pillow cover is quilting cotton fabric and canvas fabric. These fabrics are easy to find and easy to sew. I used a solid color so that the egg design would pop.
Make either an envelope pillow cover or an invisible zipper pillow cover after making the egg design.
What trim is best for the Easter egg designs?
Any trim will work well for the Easter egg design. It’s a great way to use up a bunch of small pieces of trim to do the egg. You could do all pastel Easter colors, all neutrals, or all black and white.
I used ribbons, tassel trim, and rick rack. You can also use pompom trim, lace, and single fold bias binding.
Do you love to sew? Try one of these sewing projects:
- Easter sewing projects
- Spring sewing projects
- Beginner sewing projects
- Home sewing projects
- Quilting cotton sewing projects
- Canvas sewing projects
- Ways to sew a pillow
DIY Easter Egg Pillow
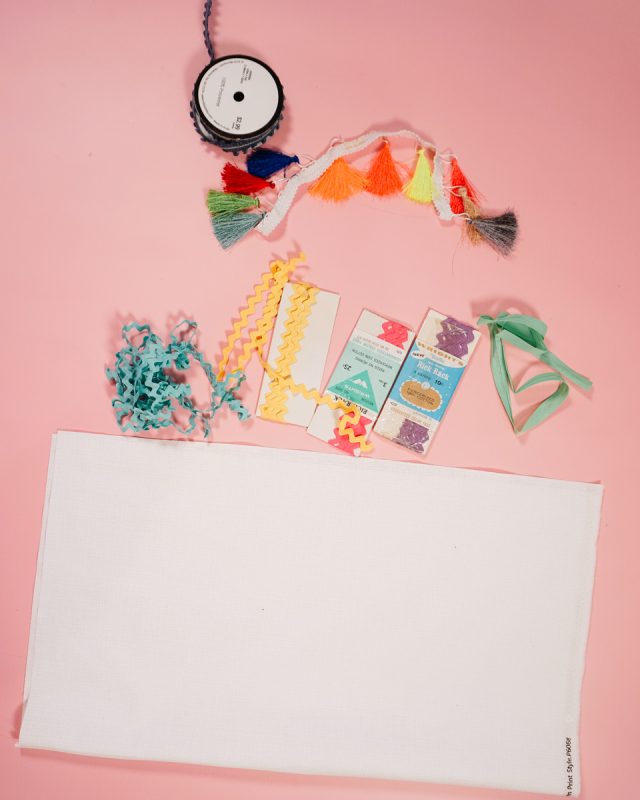
Supplies
- 1/2 yard of quilting cotton fabric or canvas fabric
- Small pieces of lace, tassle trim, ribbon, rick rack, etc
- 1/2 yard of single fold bias binding
- Sewing tools
- Sewing machine
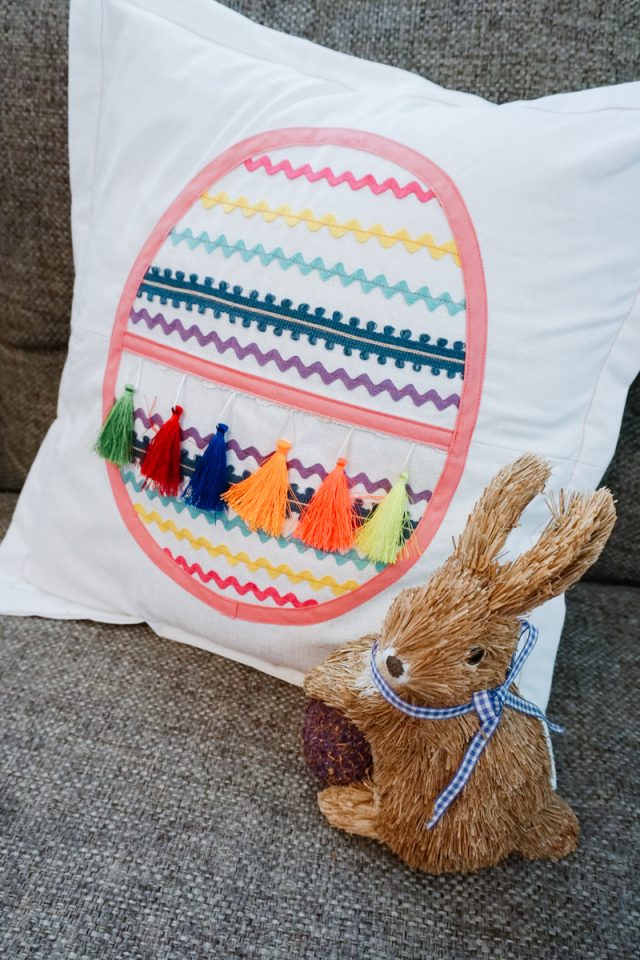
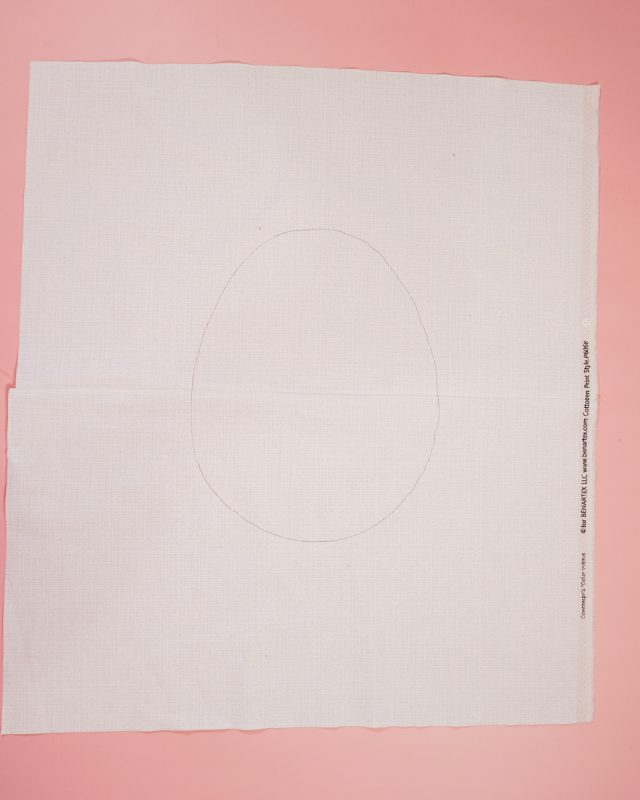
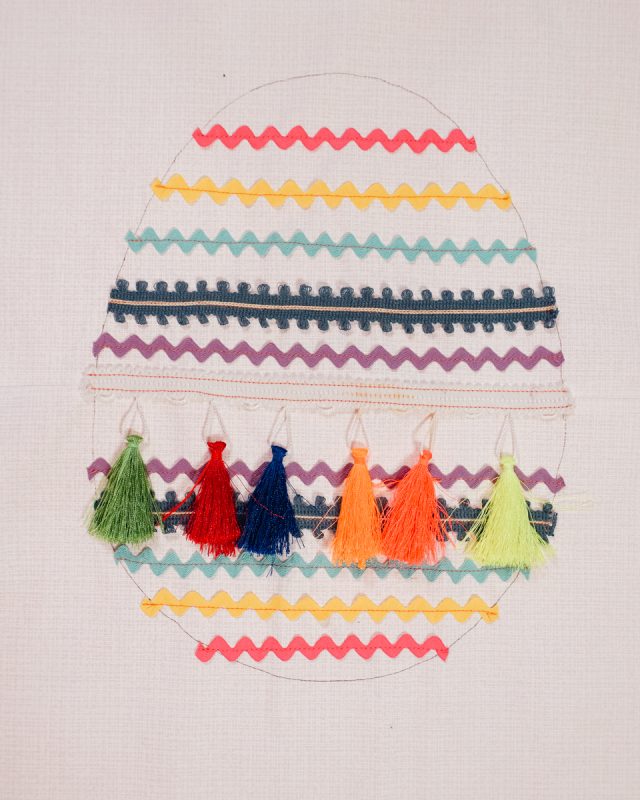
Cut out your fabric pieces for whichever fabric cover you are going to use. Draw an egg shape on the front pillow cover piece. Make it as big or as small as you want it to be.
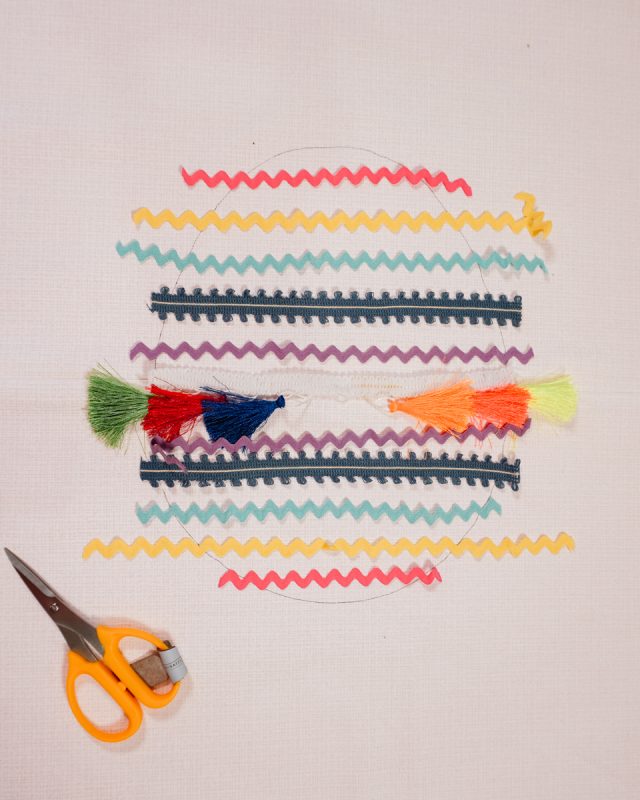
Place your trim pieces across the egg in the design that you want.
Sew all the trims in place starting at the line on one side and ending at the line on the other side. Backstitch when you start and when you stop.
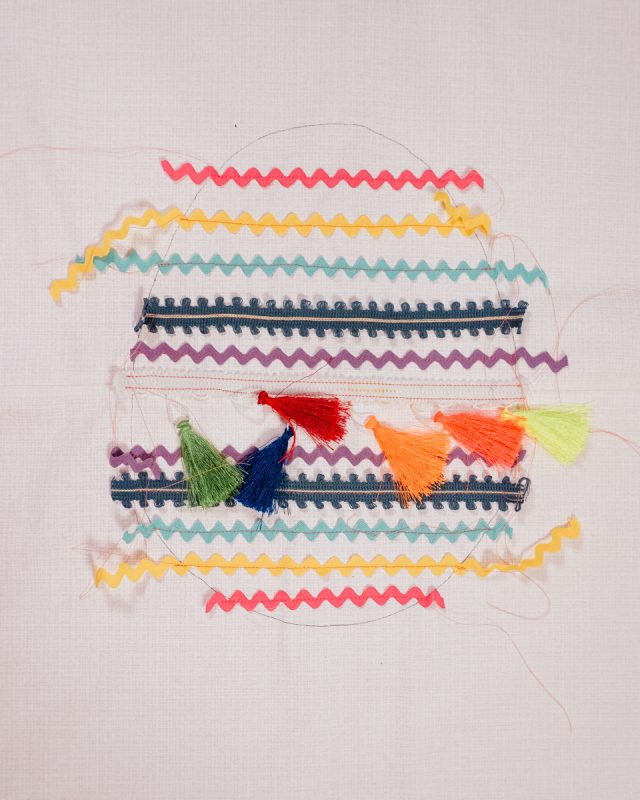
Trim each end of the trim off at the lines.
Carfeully pin the single fold bias tape over the line all the way around the egg. Use a lot of pins to keep all the curves and edges in the right place.
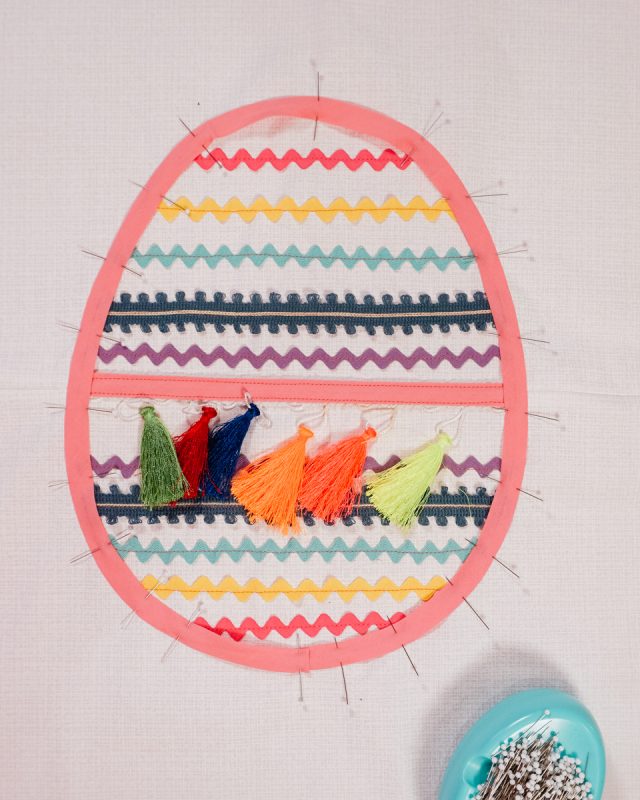
Before sewing, iron the bias binding to set all the curves in place.
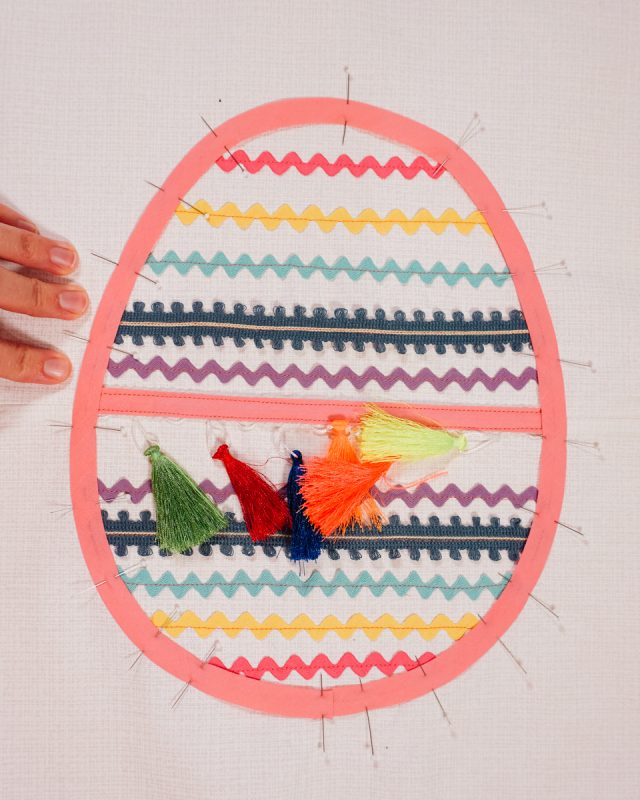
Sew around each side of the bias binding right along the folds. Backstitch when you sew and when you stop.
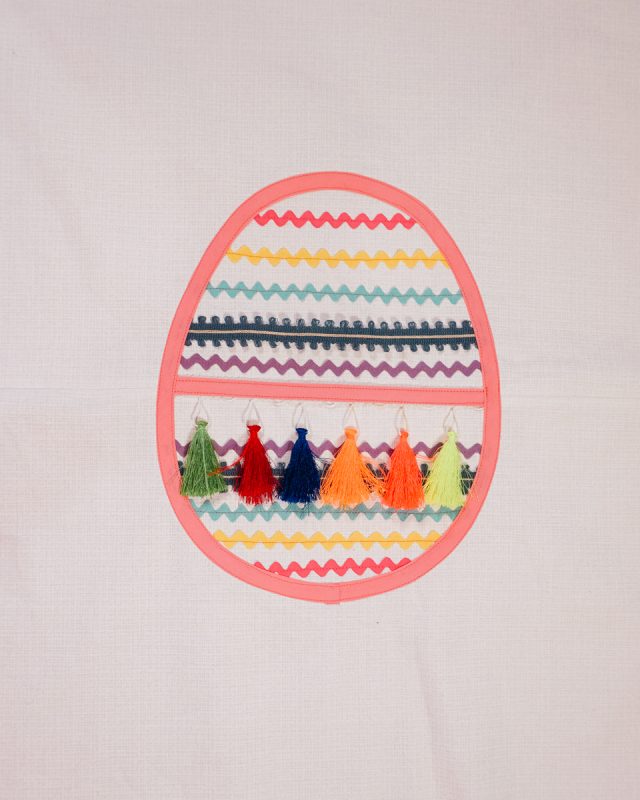
Turn the egg design fabric into a pillow cover however you want it to be.
Stuff a pillow form into the pillow cover. You finished!

If you make something using this sewing project, I’d love to see! Please share it on social media with the hashtag #heatherhandmade and tag me!

I believe small sewing moments can create great joy. Find your own “right” way to sew. -Heather
It’s absolutely gorgeous. I’m going to make one for my adult daughter for Easter. Thanks for this cute project.
Thank you!