
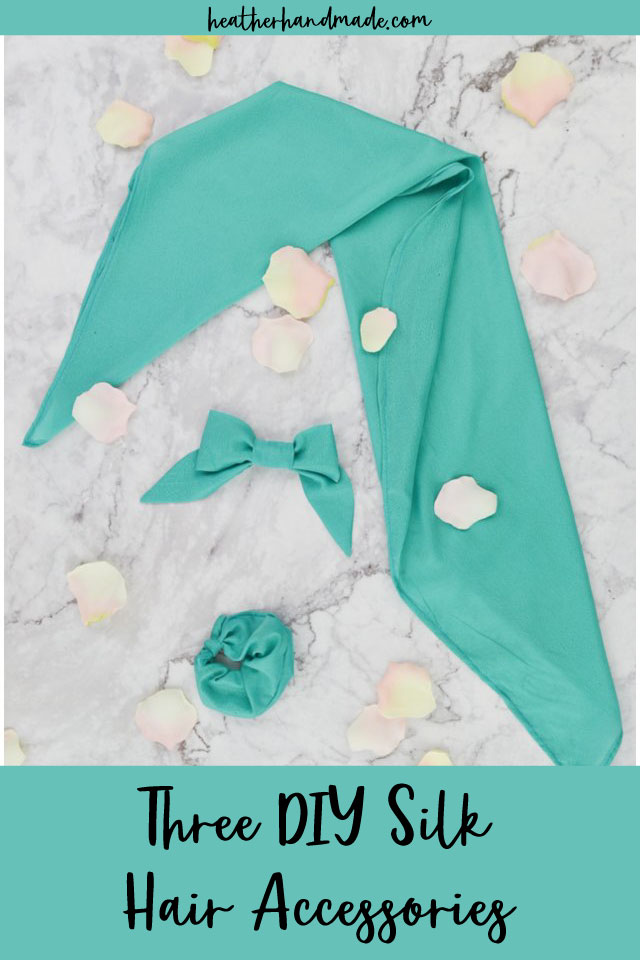
3 DIY Silk Hair Accessories: Scrunchie, Scarf, and Bow

This post may contain affiliate links.
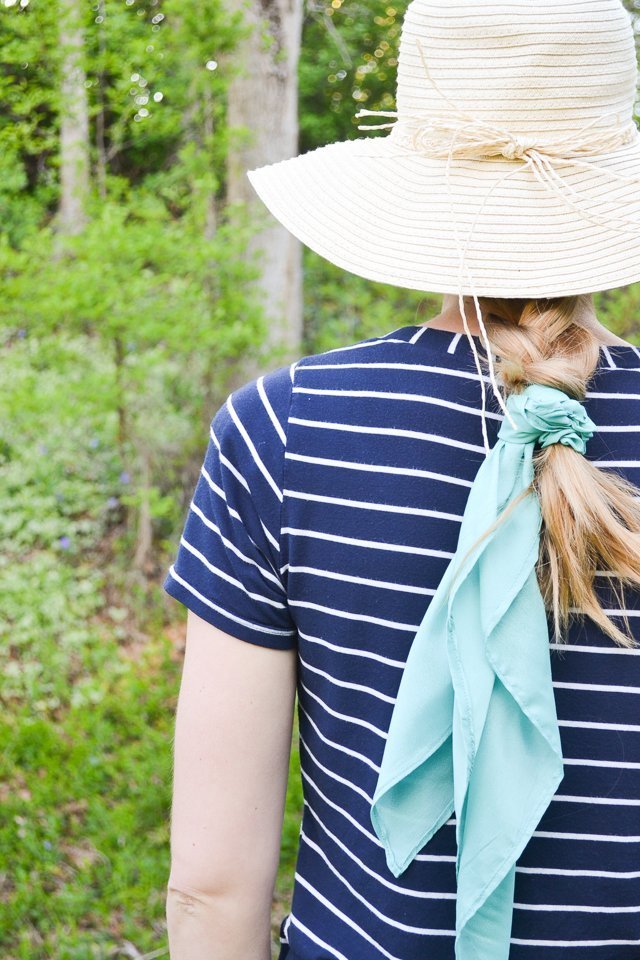
Use upcycled silk to make these three DIY hair accessories! The scrunchie, scarf, and bow can be used together or separately.
I love recycling and upcycling fabric. It’s so satisfying to put fabric scraps to good use!
Silk is a wonderful and beautiful fabric to work with, and it’s really good for your hair. Make one of these three DIY hair accessories with recycled silk fabric.
I was given silk fabric to review from Darn Good Yarn. All opinions are my own.
Not only are these silk hair accessories beautiful, fun to wear, and good for your hair, they can be made out of scraps for a lovely handmade gift.
I love using silk for my hair because it keeps my hair soft and smooth. It’s especially great for natural hair, and these are also really easy to sew! This is such a great beginner sewing project!
These would be the perfect Mother’s day gift, girlfriend gift, or stocking stuffer. I love wearing the silk scrunchie at night to keep my hair soft and smooth.
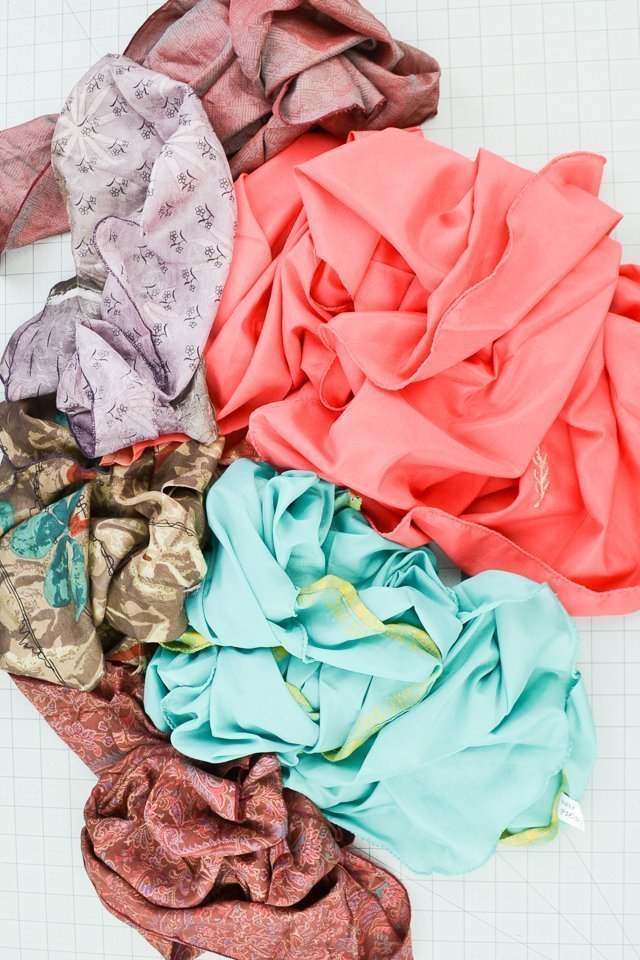
There are lots of places to find scrap silk fabric. I love these places to buy silk for cheap, but you can also get some recycled sari silk fabric* at Darn Good Yarn.
Saris that are going to be thrown away are washed sustainably in fair trade jobs, and then they are cut apart and sold. Get 15% off your entire order with the code “HEATHERHANDMADE15”!
Want some silk sewing projects to make?
3 DIY Hair Accessories
Supplies
- Upcycled sari silk fabric* or scrap silk fabric
- sewing tools
- 1/4″ elastic – here are some ideas for finding elastic to reuse
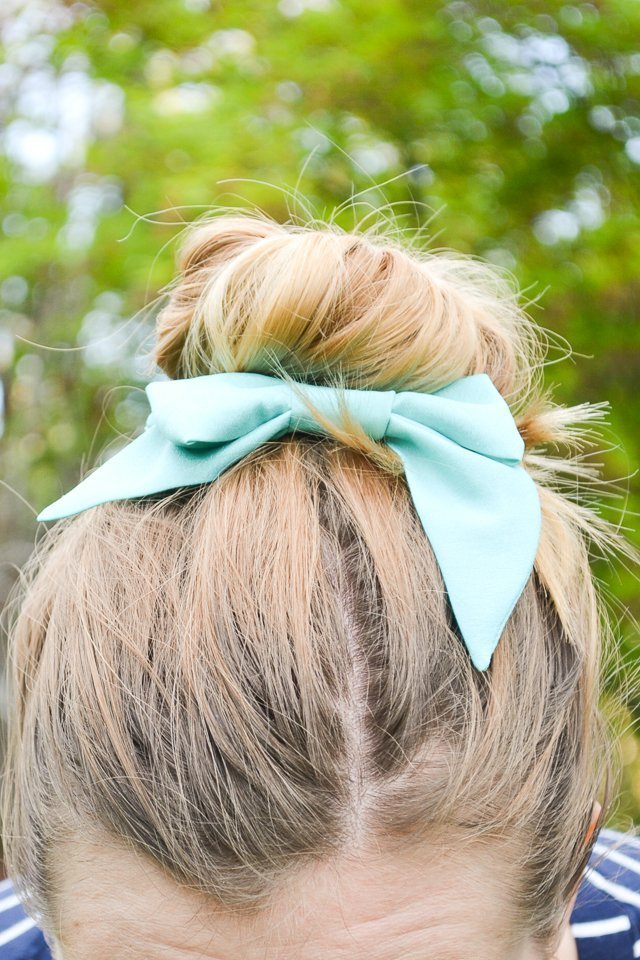
DIY Silk Bow
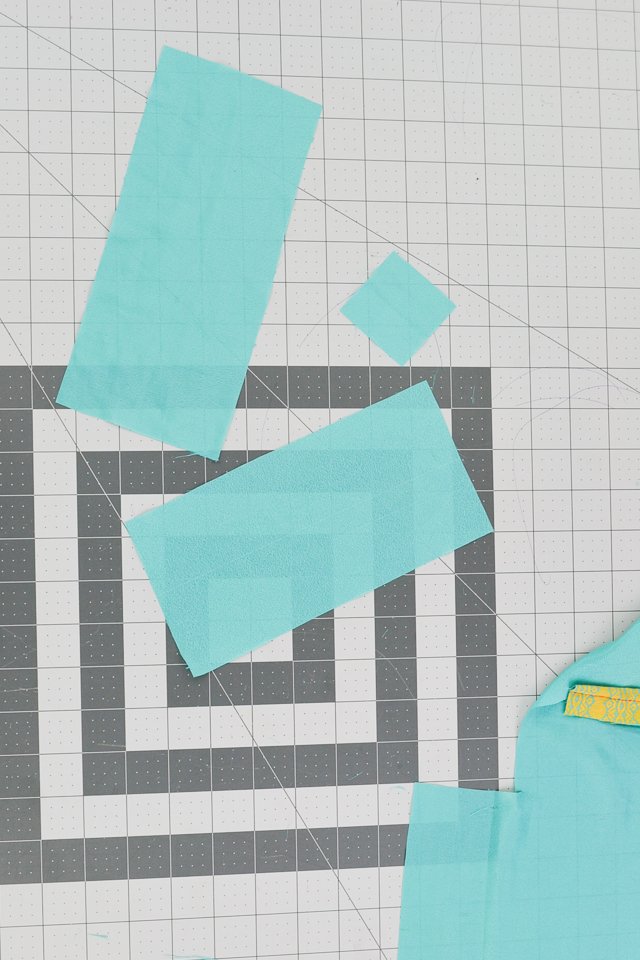
Cut three pieces of fabric: one 12″x4″, one 3″x3″, and one 9.5″x4.
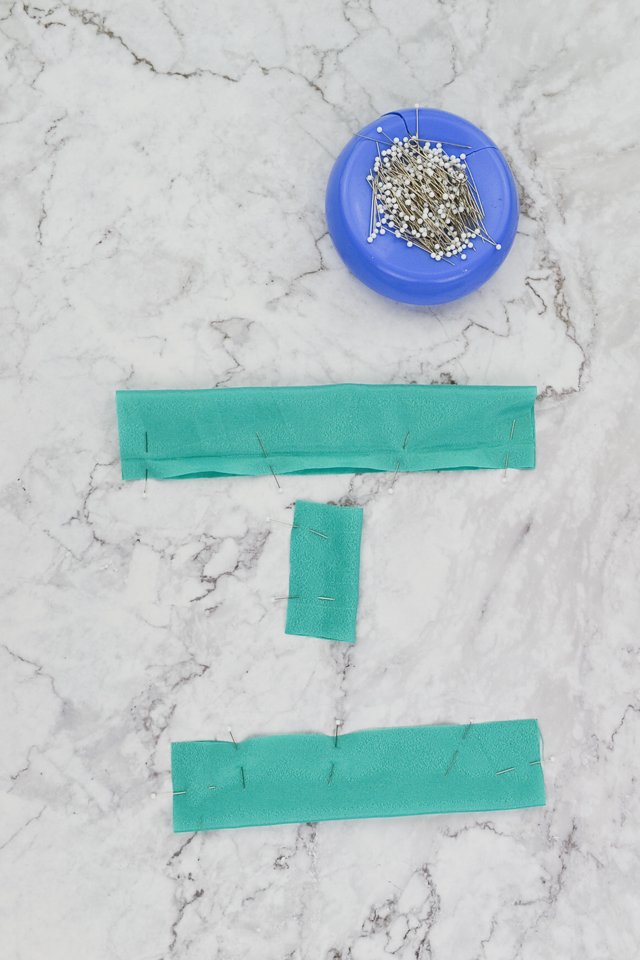
Fold them in half right sides together and pin.
Sew one side of the long rectangle and one side of the square.
With the last rectangle start at the folded point and sew at an angle, sew across the straight, leave a hole in the middle, and back to the folded point.
You will be sewing a trapezoid shape.
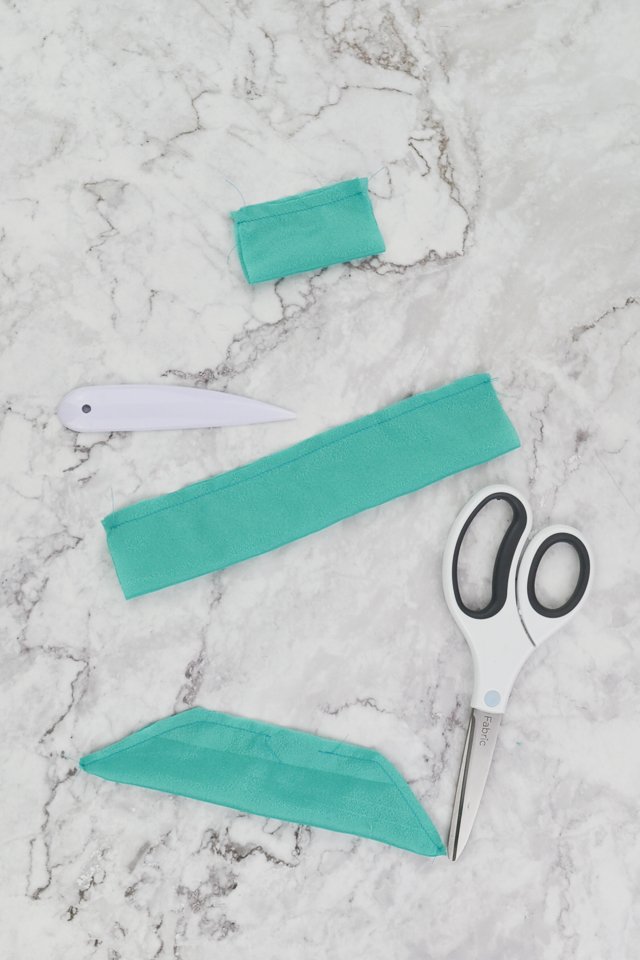
Trim the corners of the trapezoid shape.
Turn all the pieces right side out. Poke out the corners with a point turner*.
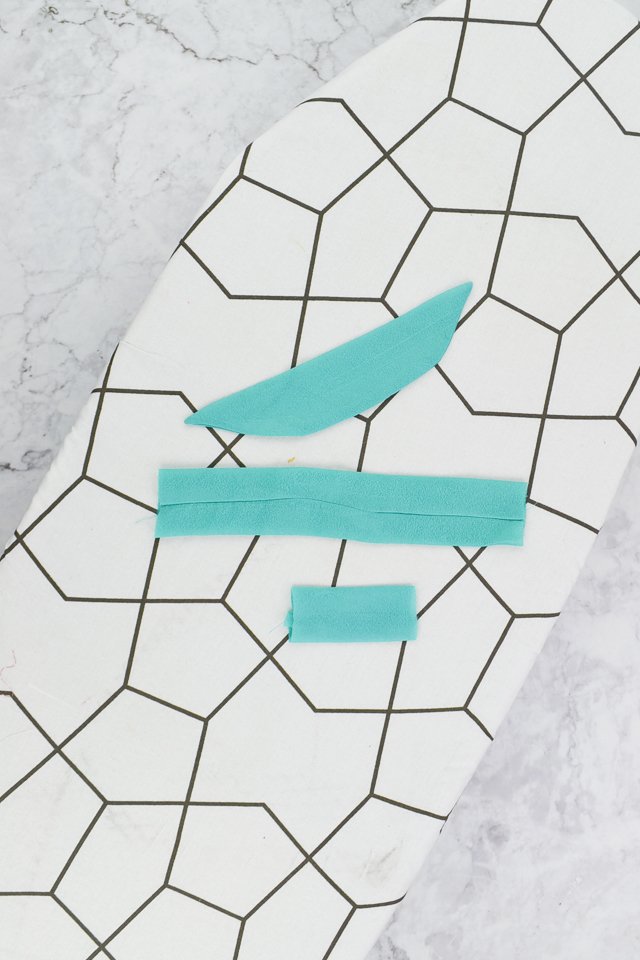
Press the pieces flat with the seams on the fold or on one side.
Close the hole on the trapezoid by edgestitching.
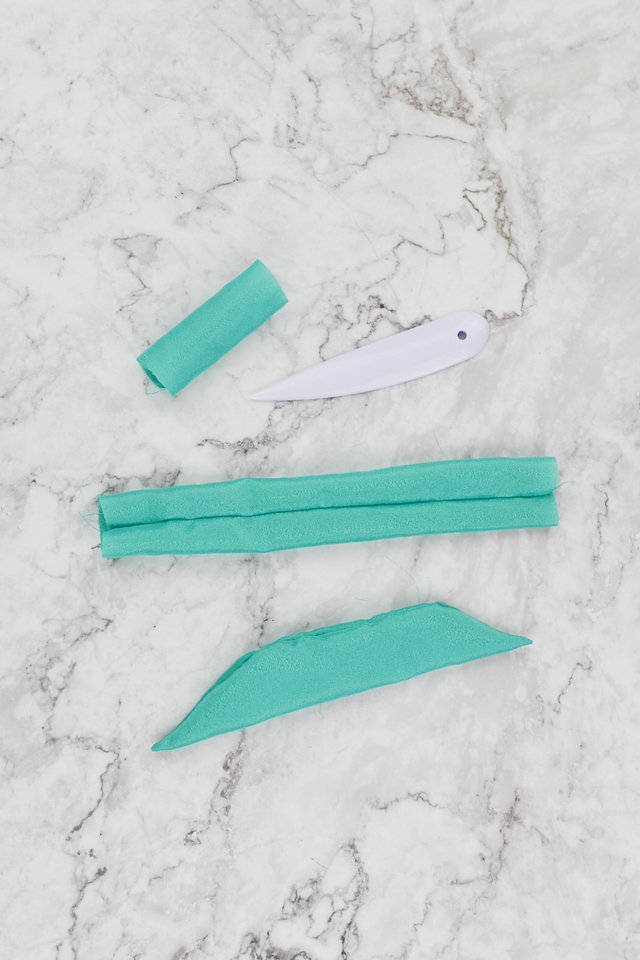
Fold the long rectangle in half with right sides together and sew the short end.
Fold the square in half with right sides together and sew the short end with a 1/2″ seam allowance.
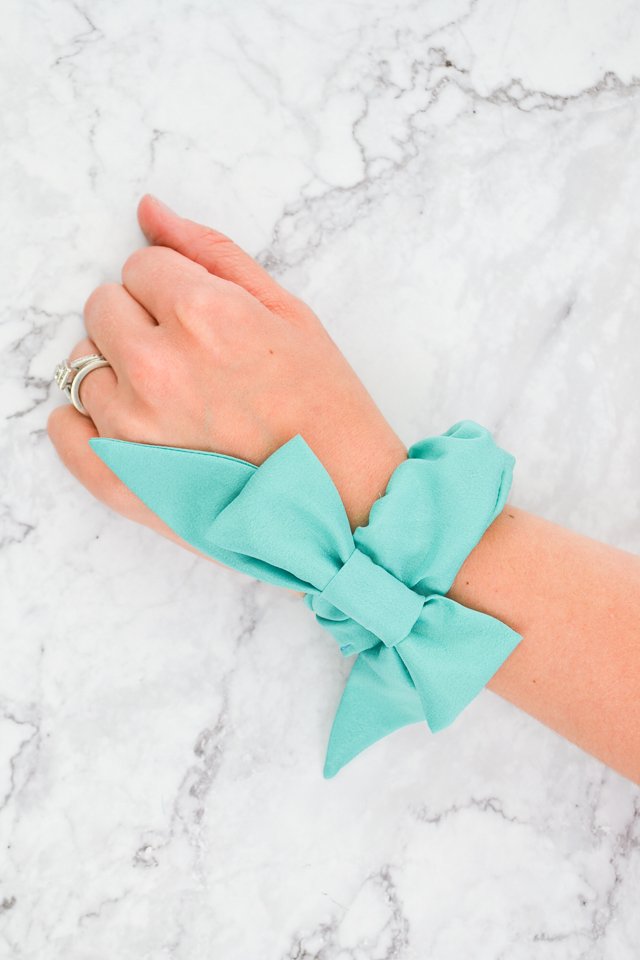
Assemble the bow by inserting the long rectangle and trapezoid into the small square.
Pull so that it’s equal and has nice pleats. Add an alligator clip to the back of the bow.
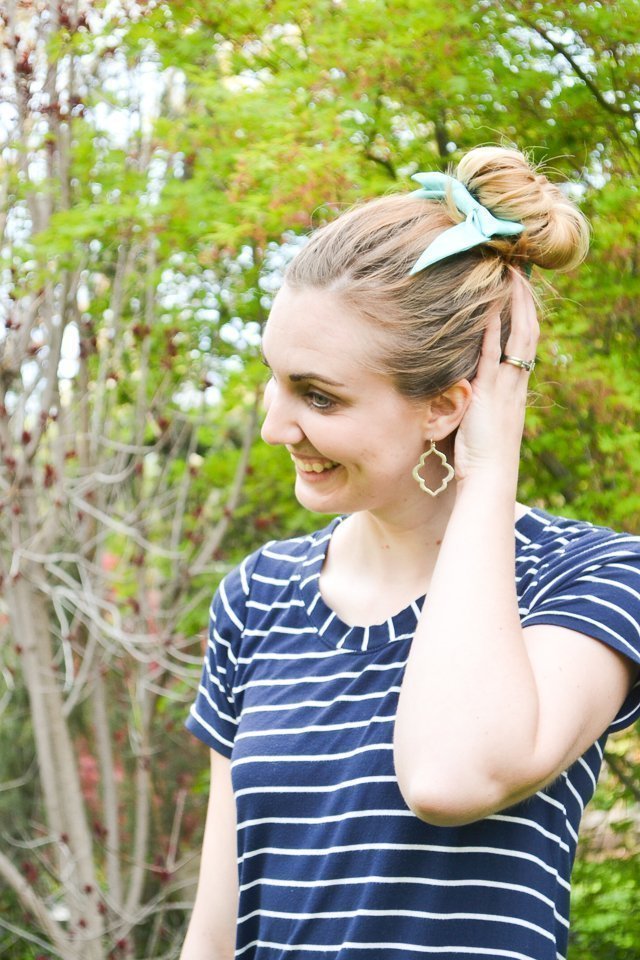
DIY Silk Scrunchie
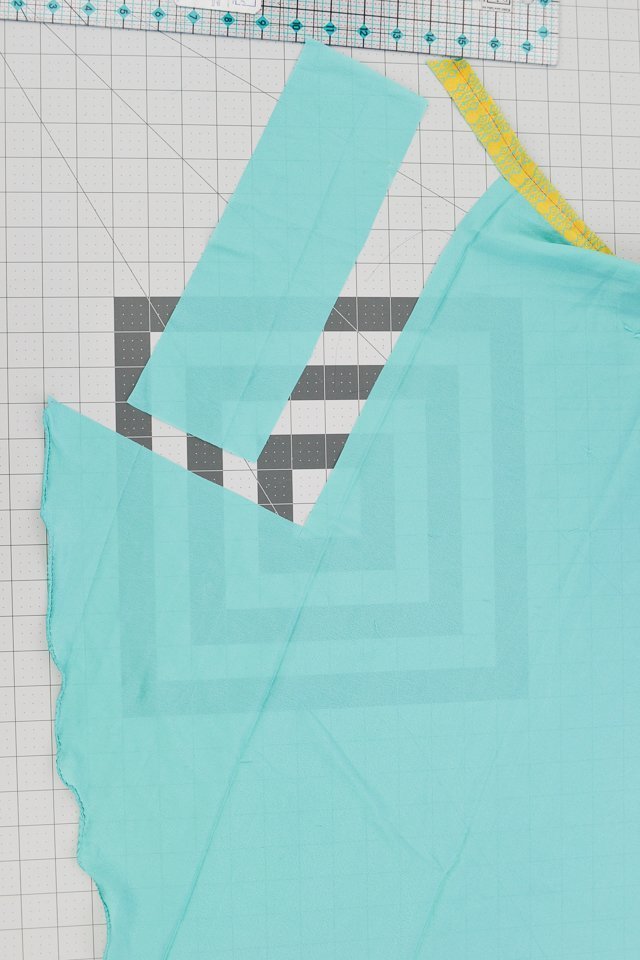
Cut a rectangle 12″x4″.
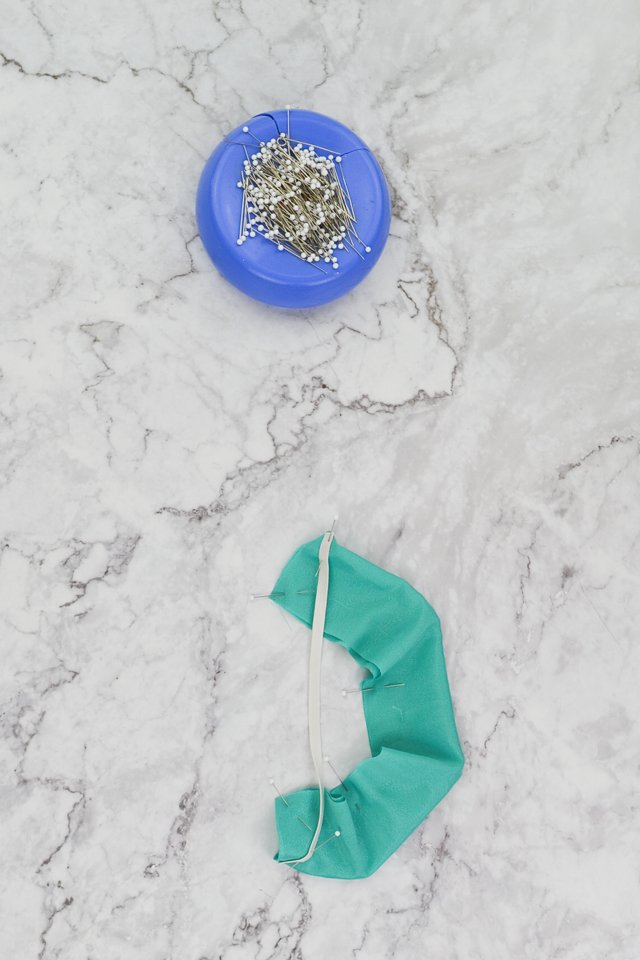
Fold it in half lengthwise and pin. Pin a 8″ piece of 1/4″ elastic from corner to corner.
Sew a trapezoid shape on the rectangle.
The first and last inch of sew should be on the elastic. Leave a hole for turning.
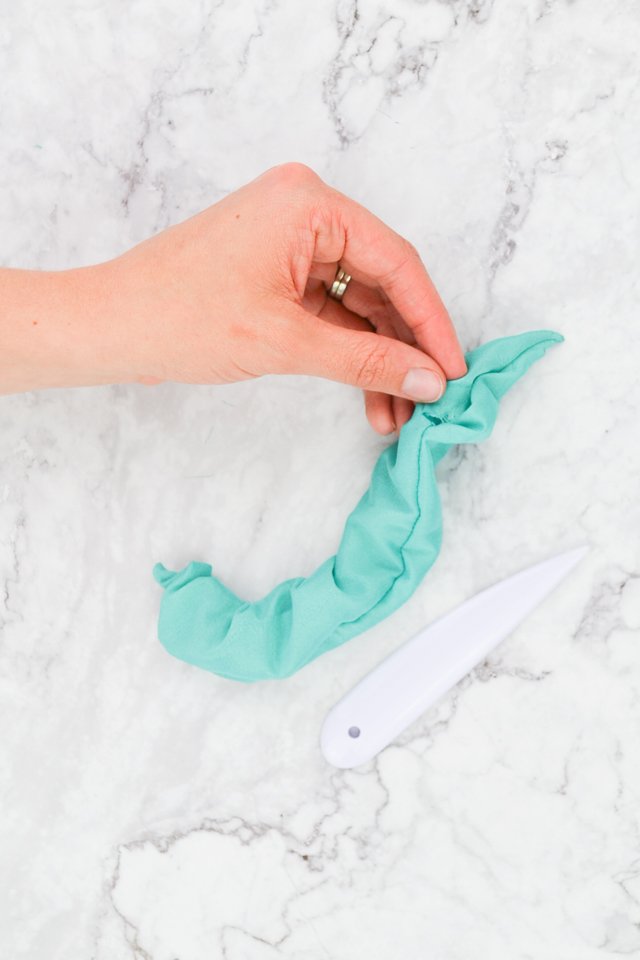
Use a point turner to turn the scrunchie right side out. Push out all the corners.
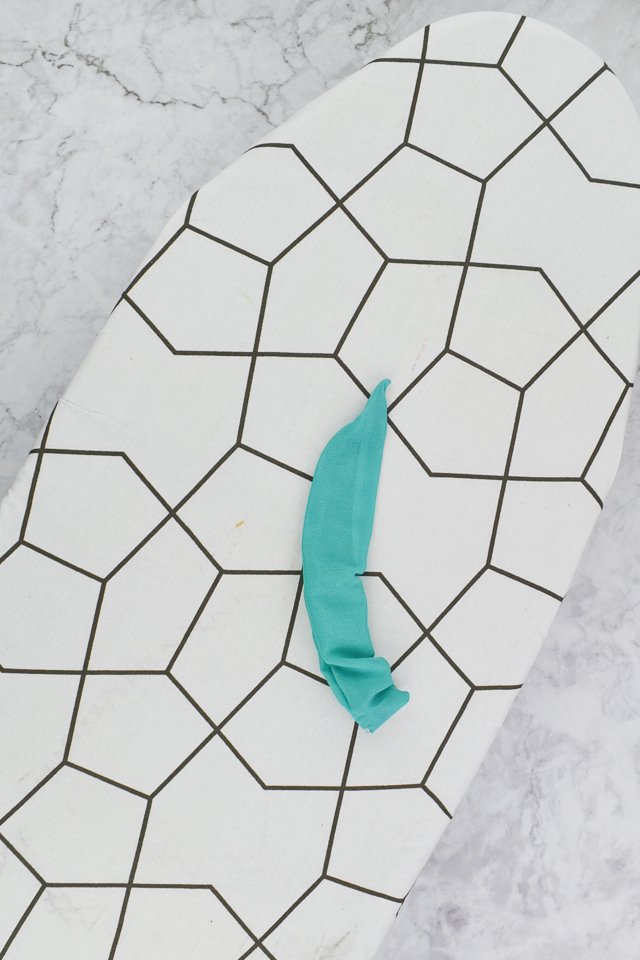
Carefully iron the srunchie flat.
Sew the hole closed with an edgestitch.
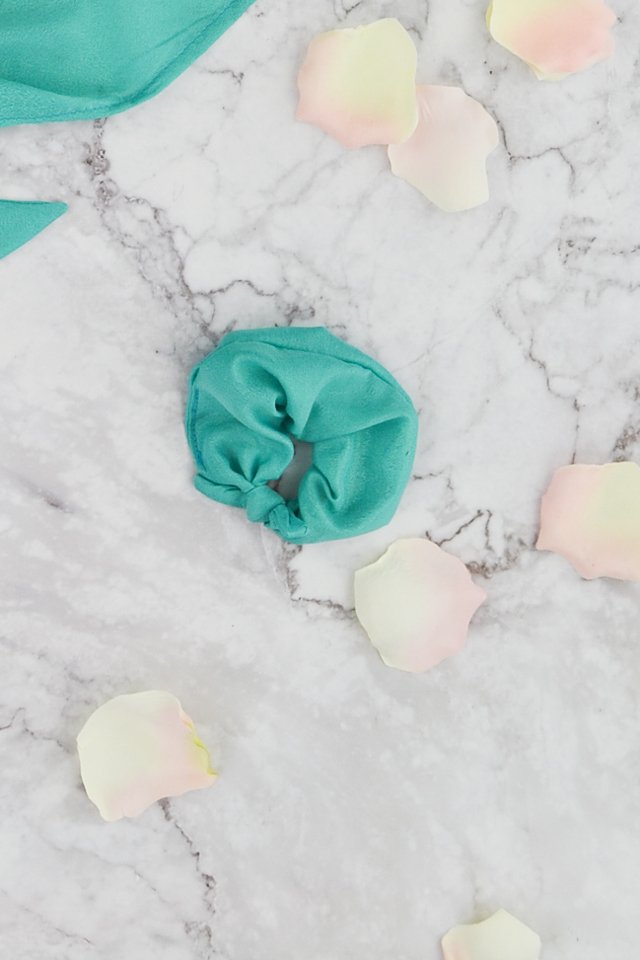
Tie the ends in a small square knot to finish the scrunchie.
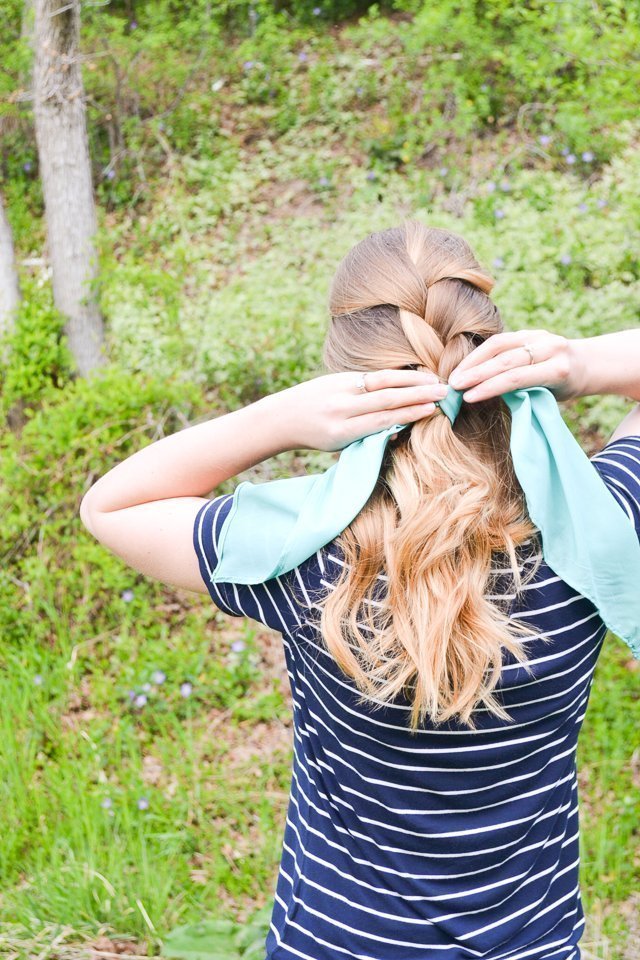
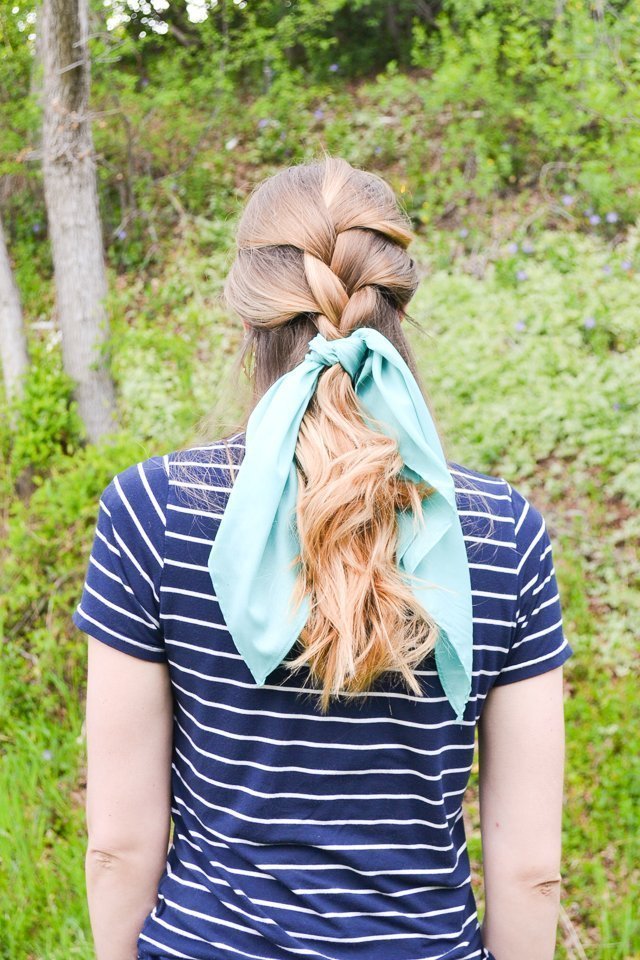
DIY Hair Scarf

Cut a giant rounded diamond 10 inches wide by 36 inches long.
Sew a 1/2″ stitching line around the whole scarf.
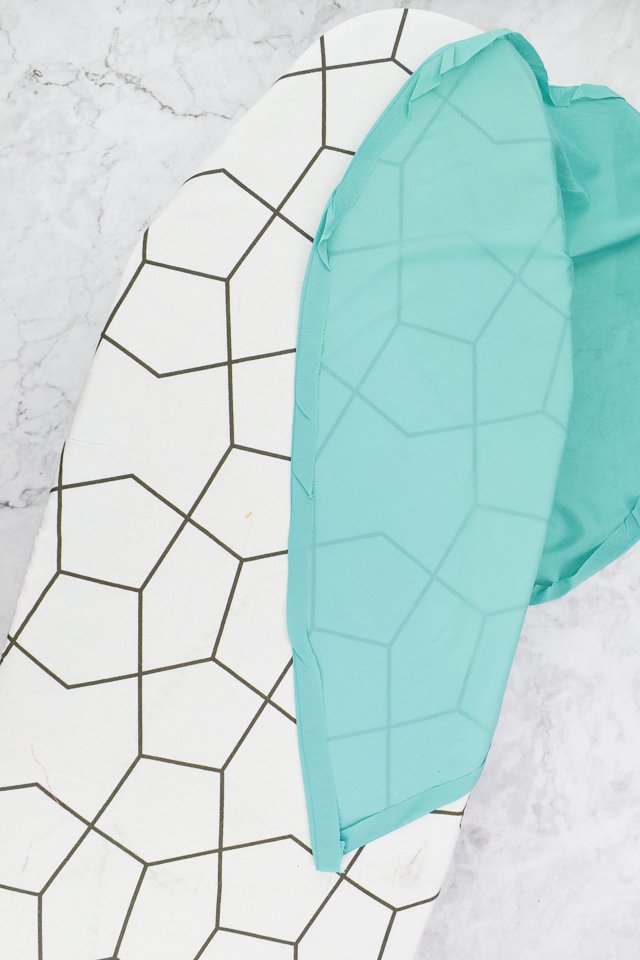
Press a fold in the scarf at the stitching line.
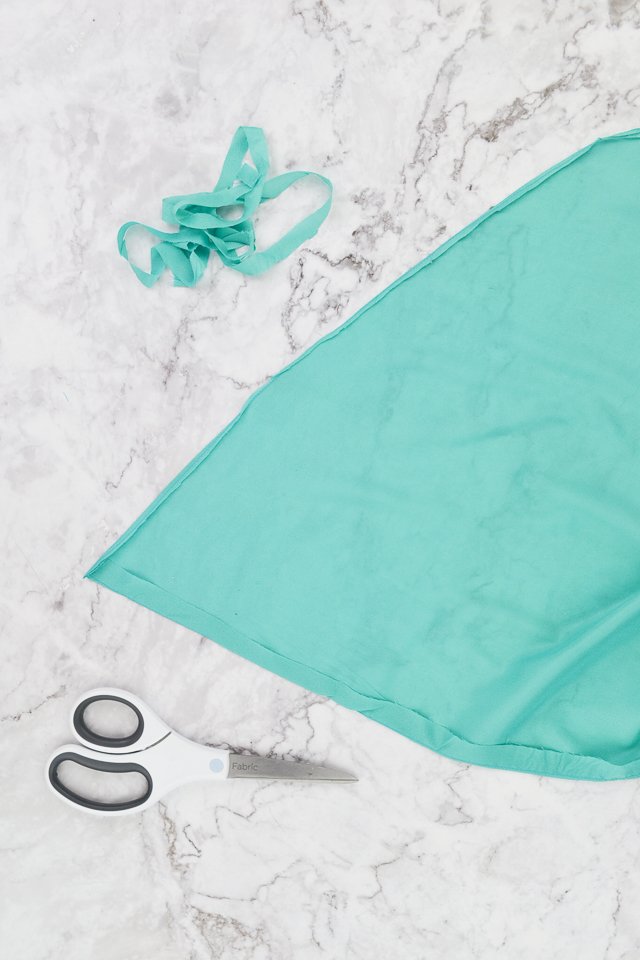
Trim the folded hem allowance down to 1/8″.
Fold the small hem allowance one more time and stitch down. This is how to sew a rolled hem without a rolled hem foot.
If you make something using this sewing project, I’d love to see! Please share it on social media with the hashtag #heatherhandmade and tag me!

I believe small sewing moments can create great joy. Find your own “right” way to sew. -Heather
Hello,
I just found your blog and I am so glad I did! Do you have a place where I can suscribe? Thanks!
-Esse
Yes! Right here: https://www.subscribepage.com/t3b5b7
Hi Heather, I realise this post is some months old now, not sure you will see this comment. Anyway, thank you for sharing this diy. I have not seen anyone else making scrunchies the way you showed here, and I was wondering if you mind if I use this method to make scrunchies to sell as I think it would make a scrunchie more adjustable for each customer as they could tighten it if needed. Did you learn this method from somewhere or did you think it up yourself? It’s very clever 🙂
I just came up with it myself because I wanted an easy way to make a scrunchie. You are kind to ask to use this method. I don’t really own anything, and you are welcome to use it to sell! Feel free to adjust the measurements for your preference!