How to Upcycle T-Shirt Hems

This post may contain affiliate links.
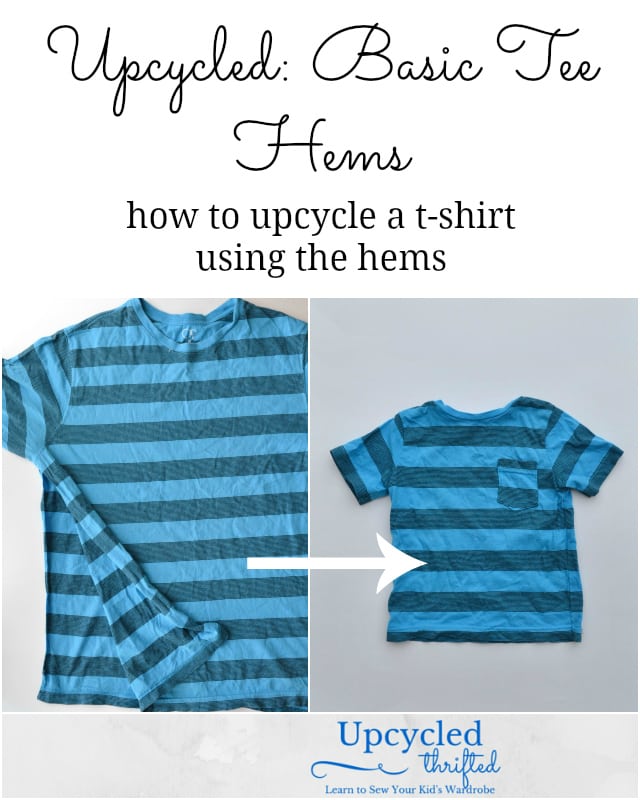
Learn how to upcycle t-shirt hems to turn an adult t-shirt into a child sized t-shirt using a free sewing pattern. I love skipping hems!
One of the most basic upcycles is to use an adult shirt to make a child’s shirt. It is fun and quick and satisfying.
I really dislike sewing hems. It’s often the last step in constructing a garment, so I feel finished but there’s that one short, nagging thing left to do. If I can skip sewing hems, I do!
In this quick tutorial, I’ll show you how to reuse the hems of an adult t-shirt.
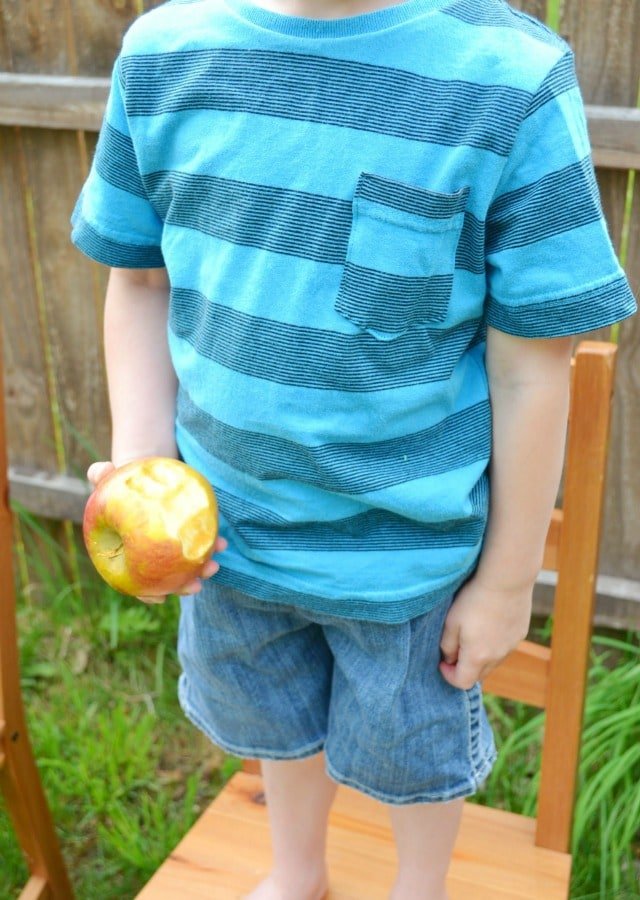
The pocket’s stripes fit perfectly in between the shirt’s stripes. It was a happy accident which often happens while upcycling! If you are sewing stripes this is how to match stripes.
Here’s some tips for sewing knit fabric.
what is upcycling?
Upcycling is to reuse material to create something better than the original. I usually use this to describe when I’m sewing adult clothing into clothing for children or I’m sewing clothing into an accessory or house item.
Upcycling saves time, saves money, saves the environment, and saves memories.
Save time by reusing details from the original shirt. Save money by using something you already have.
Save the environment by keeping t-shirts out of the landfill. Save memories by reusing a favorite adult t-shirt for your toddler or child.
How to Upcycle t-shirt hems
Supplies
- T-shirt
- Sewing Supplies
- T-shirt Pattern – I used the free tee shirt in the Day Camp Set from Peek-a-boo Pattern Shop.
Instructions
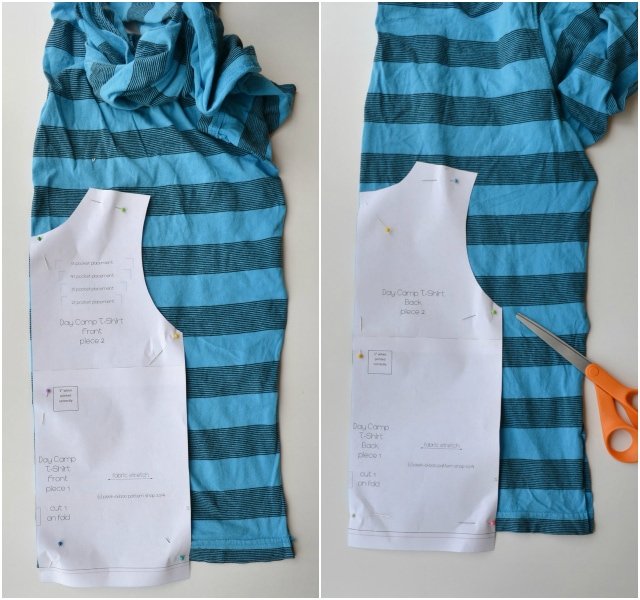
1. I like to draw in my hem allowances very first. Then I know where to line up the hemlines of the pattern and the shirt. Draw the hem allowance on the front, the back, and the sleeves.
2. Cut along the side seam of the shirt through the sleeve.
3. Fold the shirt along the center front. Line up the center front of the pattern with the fold of the shirt. Also, line up the hem line with the hem of the shirt. Pin and cut out.
4. Do the same for the back.
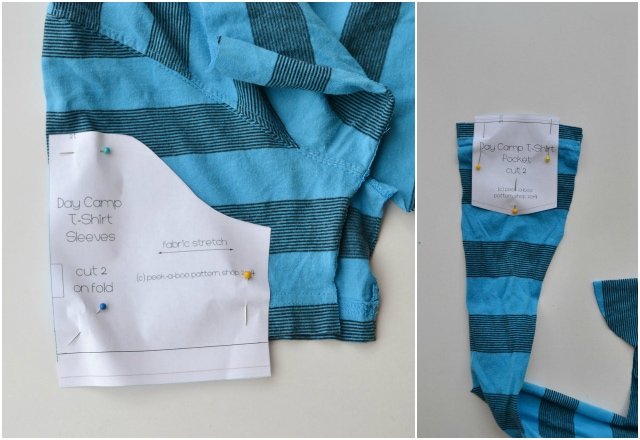
5. Fold the sleeves in half and line up the hem allowance with the hem of the sleeves. Cut out each sleeve.
6. This pattern came with a pocket piece so I cut out a pocket along the leftover hem. (I drew on the hem allowance and let that hang over the hem.)
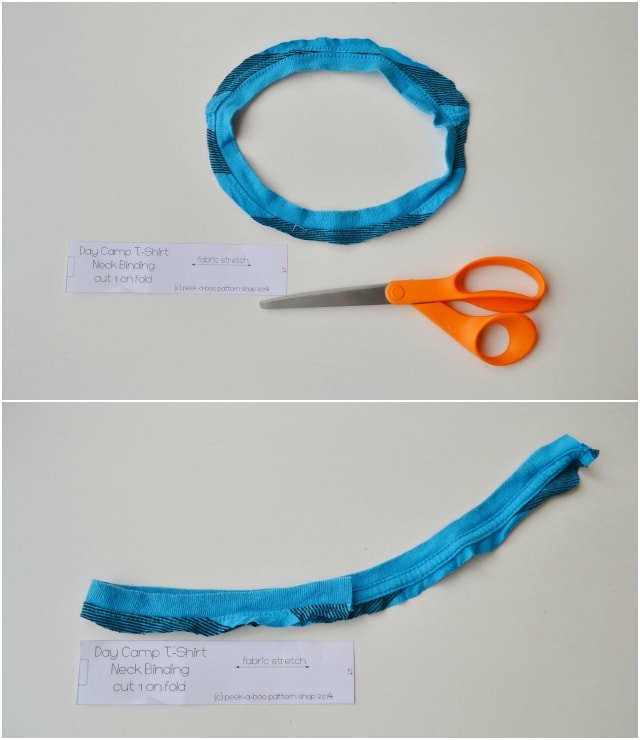
7. Cut off the neckband and cut it in half.
8. Fold the neckband in half and line up the pattern. (I use the least amount of the back of the neckband as possible because it’s harder to unpick.)
9. After cutting the neckband the right length, unpick the shirt fabric to separate it from the neckband.
10. Construct the pieces as instructed in the pattern skipping the part about hemming the shirt.
11. Once I’m done sewing I like to tack the seam allowances at the hem towards the back. It makes the ends look good and tacks the serging down.
Yay, for quick, simple, easy, and great looking tees for all summer long!
Share any upcycle inspired projects for your children with the hashtag #upcycledkid!
Find the big list of all the upcycling tutorials I’ve created!

I believe small sewing moments can create great joy. Find your own “right” way to sew. -Heather




You know I have never thought to count out the seam allowances when I am doing hems. But that said I am usually trying to reuse hems on my girls shirts, so for me any extra length is always great in covering their bums!