
How to Upcycle Kids Clothes to Last Longer

This post may contain affiliate links.
Learn how to upcycle kids clothes to last longer. Either make the clothing bigger, cut the clothing smaller, or piece the clothing together.
It’s the time of year when we are switching between wardrobes either because of size changes or weather. When the sun starts shining and it gets warmer outside, my kids suddenly want to wear shorts and t-shirts.
My favorite thing to do is see how I can make any of their winter clothes last through the summer with some simple changes. Sometimes they don’t want to give up their favorite item of clothing, and I have to figure out how to make it work even though they grew.
I put together a list of ideas to upcycle kids clothes to last longer. I love giving them “new” clothes without spending any money!

What is upcycling?
Upcycling is to reuse material to create something better than the original. I usually use this to describe when I’m sewing adult clothing into clothing for children or I’m sewing clothing into an accessory or house item.
I love upcycling because it saves time, money, memories, and the environment. It saves times since you can reuse details. It saves money since you are using what you already have. It saves memories because you can do something with a loved ones clothing. It saves the environment by keeping fabric out of landfills.

Love to Sew? Try these fun sewing projects:
- How to upcycle clothing for kids
- Dress upcycle and refashion ideas
- T-shirt upcycle and refashion ideas
- Men’s shirt upcycle and refashion ideas
How to Upcycle Kids Clothes to Last Longer
This is not an exhaustive list of ideas, but more recent projects I have done. Some ideas I didn’t include are:
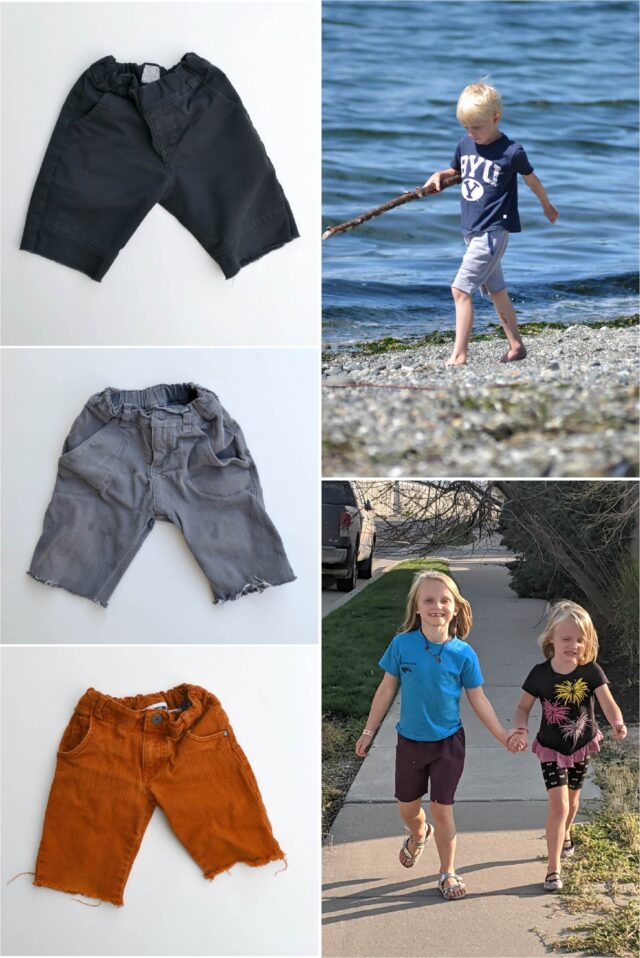
- Pants or leggings with stains/holes in the knees – cut them into shorts, and either hem them or leave them raw. I’ve done both with no problems. This is a great way to get more time out of pants or leggings.
- Long sleeve shirts with stains/holes at the sleeve hem or cuff – cut them into short sleeves, and either hem them (for woven fabric) or leave them raw (for knit fabric). This is a great way to get more time out of a shirt.
Cutting
I started with a long sleeve shirt that was too small and the cuffs were stained, and a dress that was too small and faded.
My goal was to make the sleeves short and to lengthen the body by combining the two items.

First I cut the sleeves off and left the edge raw. Then I cut the hem off of the body of the t-shirt. For the dress I cut the bottom 3 inches off, gathered the cut edge, and sewed the ruffle onto the body of the t-shirt.
I love how the stripes look gathered and how the dark stripe picks up the dark spots of the animals. Now this shirt can continue to be worn through the summer.

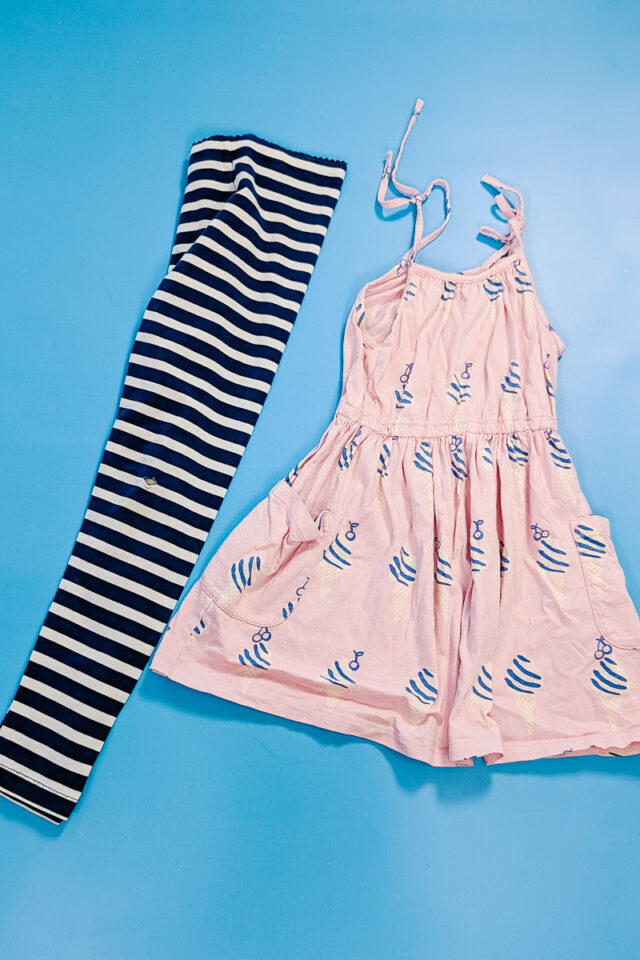
I started with a drop waist dress with a couple holes and a pair of leggings with worn out knees.
My goal was to make the dress into two pieces: a top and a skort combined with the leggings.

I cut the leggings into shorts. Then I cut through the waistband of the dress. I sewed a waistband to the bottom of the shirt to finish the edges without losing any length. I gathered the skirt and sewed it onto the shorts just below the waistband.
Make sure to sew the skirt on with a zigzag stitch to keep the stretch! This is a great way to get flexibility with length, and the pieces can be worn together or separate.

The leggings had a hole in the knee, and the dress was much to small for my girls.
My goal was to cut the leggings into shorts and to cut the skirt off of the dress to turn into a skirt. I knew it would work best if I combined them to make a skort because my girls always ask for them!
I cut the leggings into shorts, and I made sure they would be short enough to hide under the skirt. Then I cut the skirt off of the dress. I gathered the top edge and then sewed the skirt onto the leggings just below the waistband with a zigzag stitch.

Resizing
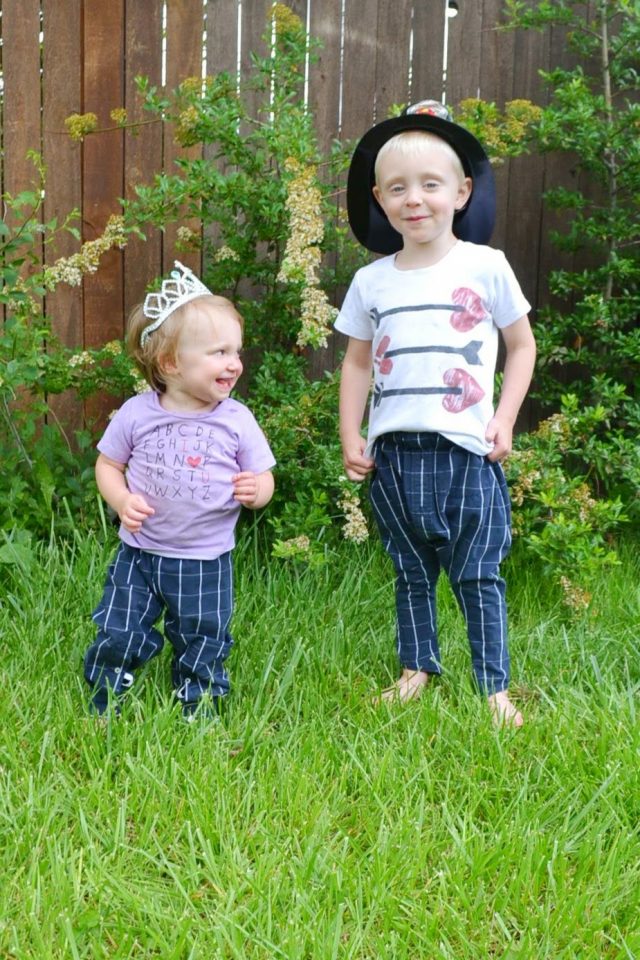
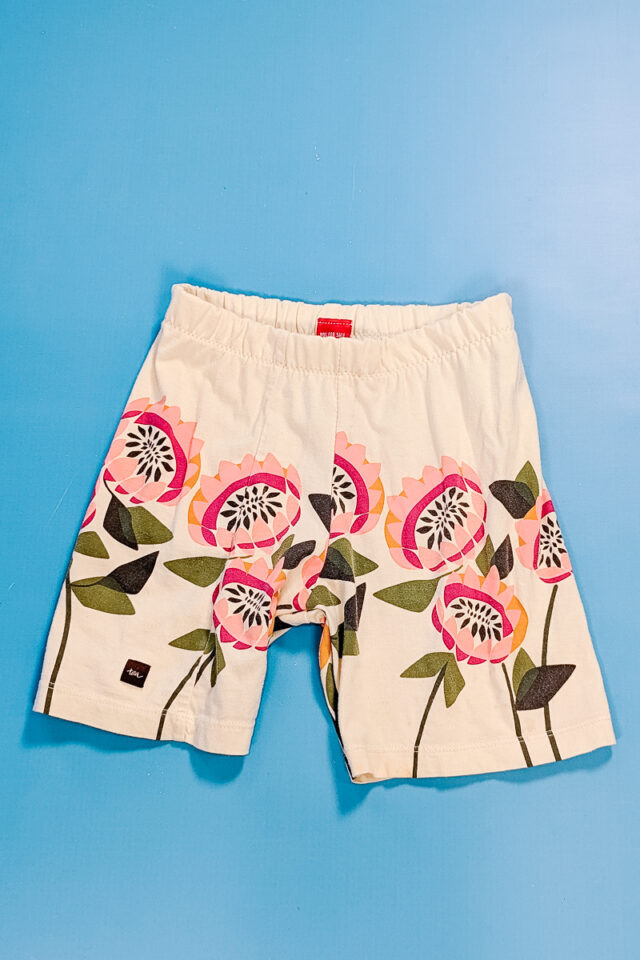
This dress was much to small for any of my kids and it had some stains, but it had such a cute print and it had a lot of fabric to work with.
My goal was to cut the dress with a shorts sewing pattern so that it could be resized and worn in a completely different way.

First, I cut the skirt off of the dress. Then I used a bike short sewing pattern in my daughters size to cut a shorts shape. I did my best to avoid the stains so there are a couple of original seams in a weird place, but these shorts turned out so cute.
Patching
This t-shirt was too small and a little fading. The pants had holes in the knees and backside, and they were too short.
My goal was to turn the pants into shorts and to use the fish to patch some of the holes.

First, I cut the pants into shorts just above the knee. Then I cut out the fish and interfaced the back with lightweight tricot interfacing. I pinned the fish to the backside of the pants over the holes and stitched it in place.
It’s a little silly with the big fish on the back, but I think it’ll be so fun for a toddler boy to run around in.

This penguin shirt was in really good shape but there was a stain on the center front button placket. My goal was to cover the button placket with black fabric to cover the stain, and to make the shirt more interesting.

I cut a piece of black knit fabric from my stash the exact size of the button placket. I sewed the outside of the fabric onto the front button placket first. Then I sewed the bottom of the fabric to the double layer of the button placket at the bottom next.
Last, I sewed around each button hole (looking at the placket from the back) to secure the fabric, and I cut a slit through the knit fabric. Now the button placket is covered, but the buttons are still functional.

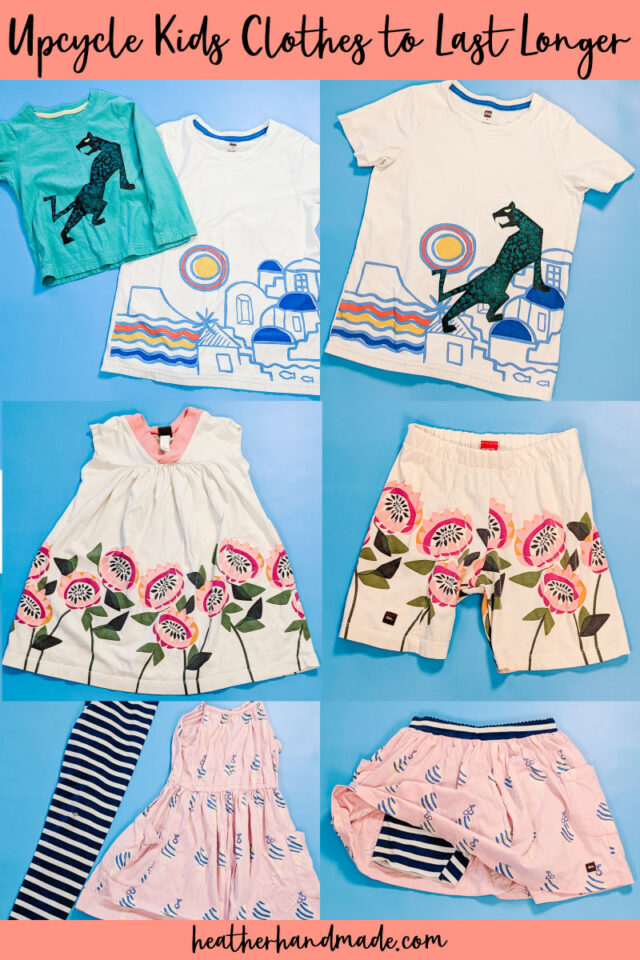
Both of these t-shirts had some stains in the center of the, and the jaguar t-shirt was much too small. My goal was to add the jaguar to the city t-shirt to cover the stains and make it more interesting.

I interfaced the back of the jaguar with lightweight tricot interfacing and cut carefully around the shape. Then I pinned and sewed the jaguar onto the buildings to cover the stain and make it look like its climbing up.

This horse t-shirt was too small, and the dress had a couple of holes in it. My goal was to use the horses to cover the holes, and to cut the sleeves of the dress to make it work for the summer weather.

I cut the sleeves off to make the dress short sleeves. Then I cut out all the strips of horses running. I interfaced all the horse pieces and pinned them onto the dress around the section with holes. I also pinned some horses to the front of the dress.
Then I sewed all the horse pieces in place. I loved that the colors of the horses matched the colors of the dress. The bold print of the dress helps the horses stand out and blend in at the same time. This will be a great dress for the summer!

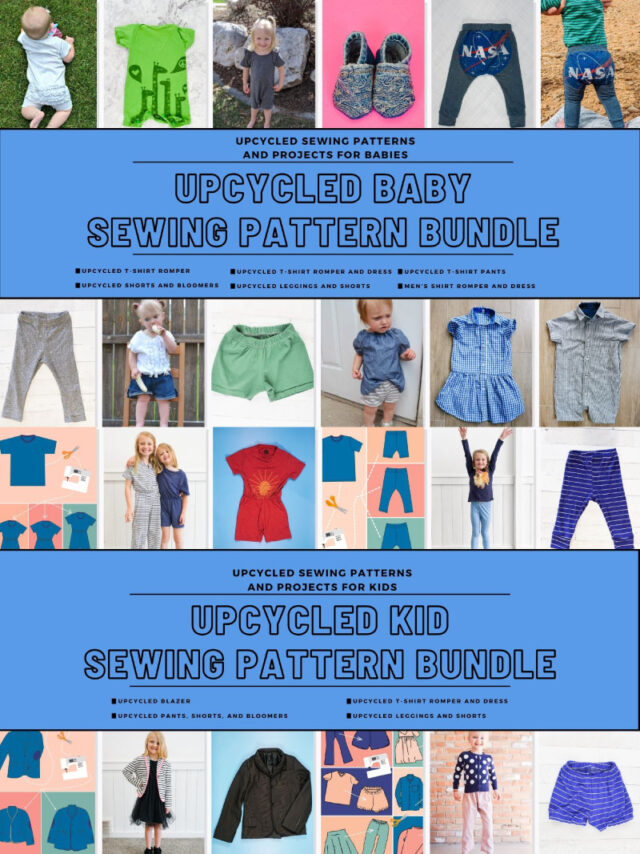
Get one of the Upcycled Sewing Pattern Bundles!
The Upcycled Baby Sewing Pattern Bundle includes 6 easy illustrated instructions in printable sewing patterns. This is a great way to get enjoy sewing while making fun projects for your babies.
The Upcycled Kid Sewing Pattern Bundle includes 4 easy illustrated instructions in printable sewing patterns. This is a great way to get enjoy sewing while making fun projects for your kids.
If you make something using this sewing project, I’d love to see! Please share it on social media with the hashtag #heatherhandmade and tag me!

I believe small sewing moments can create great joy. Find your own “right” way to sew. -Heather