
DIY T-Shirt Romper + FREE PATTERN

This post may contain affiliate links.
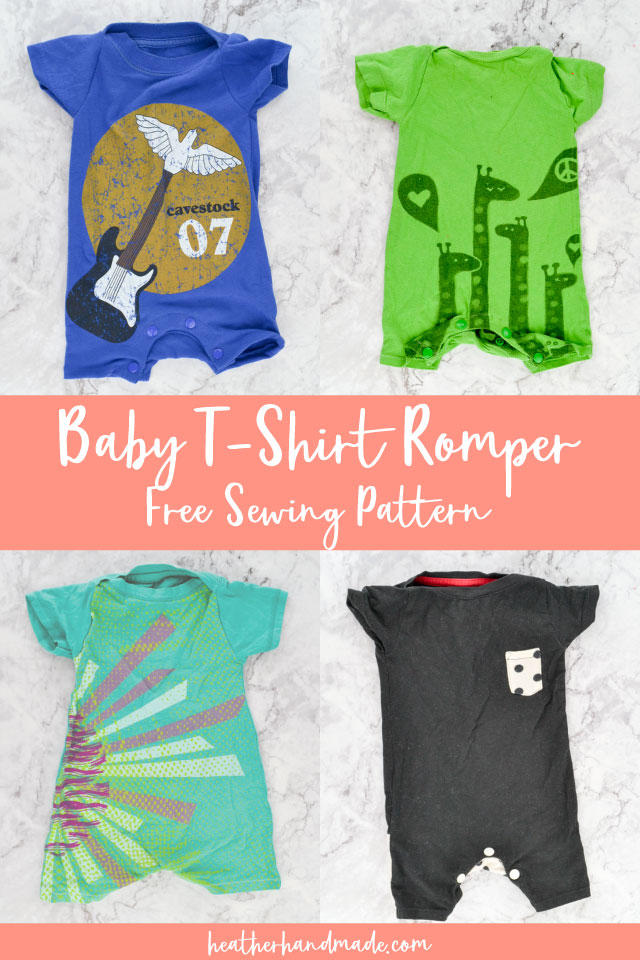
Upcycle an adult t-shirt into a baby DIY t-shirt romper with this free sewing pattern in size 6 mos. It’s a great way to save money and save time!
Do you ever have a t-shirt that you just love, and you wear it out until it’s soft and comfortable? Turn it into a baby t-shirt romper with a free sewing pattern!
I love cutting up clothing to make something new. It’s so great to be able to reuse something I have and to save time and money! Enjoy this free pattern for a DIY t-shirt romper for your baby.
I just love baby sewing projects! They are so sweet and tiny and cute!
To get the free sewing pattern, scroll to the end of the tutorial. Put your email address in the form under “Get the Free Sewing Pattern Here.” Once you confirm that you want to receive emails from Heather Handmade, the free pattern will be sent to your email address. Check your spam and promotions for the email.
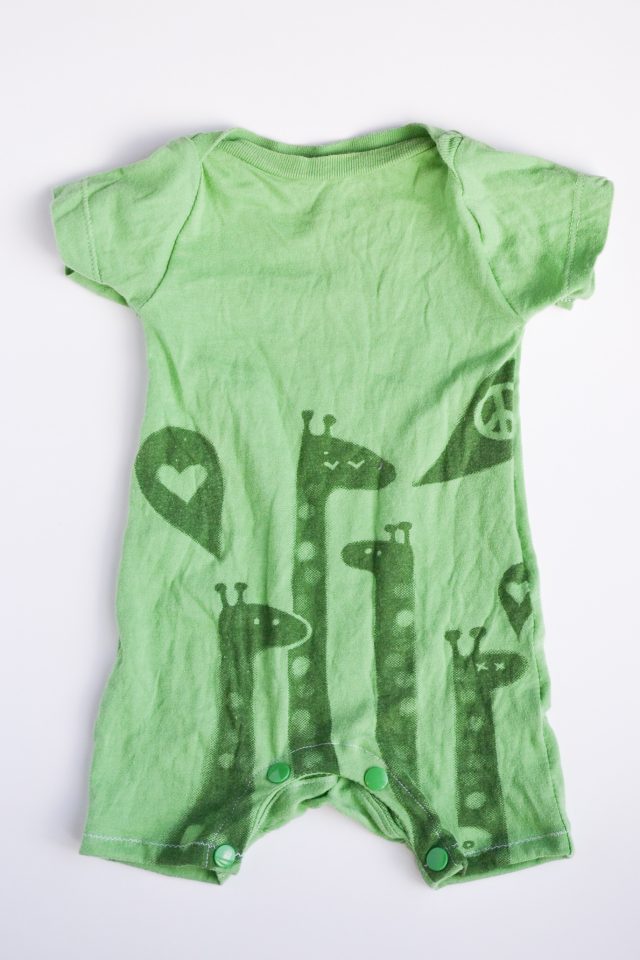
Do you remember the original upcycled t-shirt romper? I’ve reworked the pattern and redid the pictures to give you the best tutorial possible.
I hope it’s easier to use and easier to understand! I’ve also released a multi-size upcycled t-shirt romper and dress sewing pattern. It has multiple views and multiple sizes.
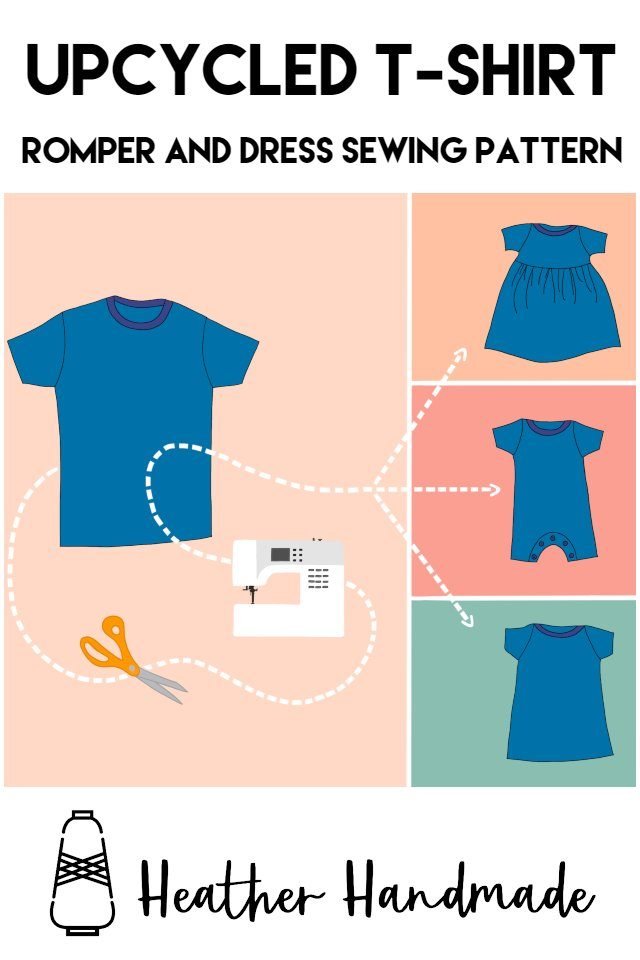
I’ve come up with a bunch of easy variations to customize your t-shirt romper so you can make lots of different ones!!
Here’s a list of all the variation ideas:
- Add a drawstring to the waist
- Mix up fabric from different t-shirts for a colorblocked t-shirt romper
- Add a ruffle bum to the back of the t-shirt romper
- Add Gathered sleeves and a gathered hem t-shirt romper
What is a PDF sewing pattern?
A PDF pattern is a sewing pattern designed on the computer and organized so that it can be printed on several letter or A4 size pieces of paper.
I love using PDF sewing patterns because if the pattern gets ruined or if my children or I changed sizes, I can always print it again. It’ll never be destroyed since I have a digital version!
How do you use a PDF sewing pattern?
Open the PDF on a computer and click print. When printing make sure that the scaling is set to 100% or no scaling so that the pattern prints at the correct size.
Once the pattern is printed it can be taped together to get the full size. Then the pattern can be cut for each pattern piece size or individual sizes can be traced so that the pattern can be used again and again. Learn how to use PDF sewing patterns.
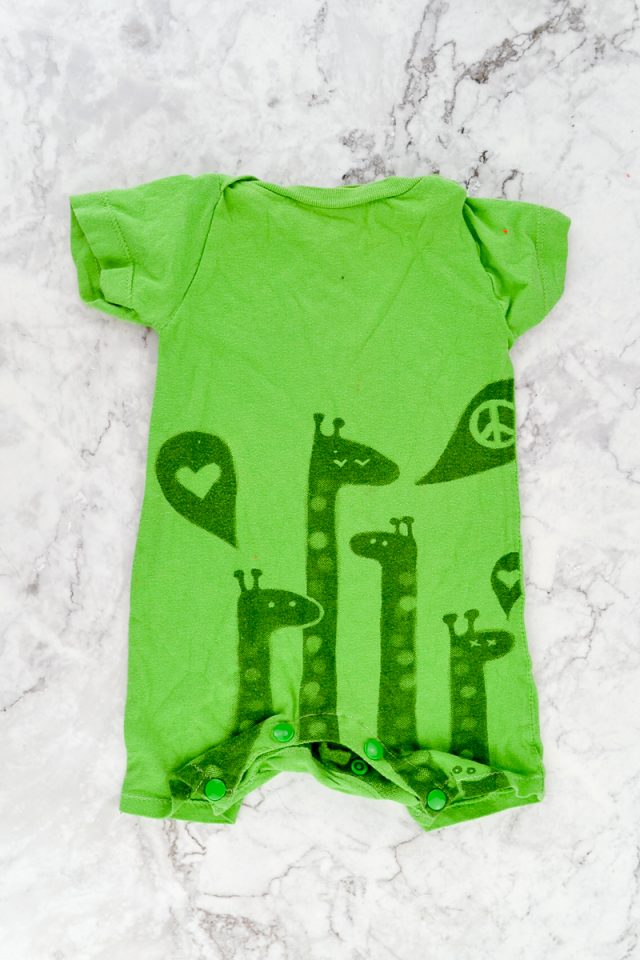
DIY T-Shirt Romper + FREE PATTERN
Supplies
- Free 6 mos Romper Pattern – get it at the end of the post
- T-shirt to cut up
- Interfacing
- Plastic snaps
- Sewing tools
- Sewing machine
Cutting Instructions
1. Cut the side seams of your tee to open it up. Fold the front in half along the center front.
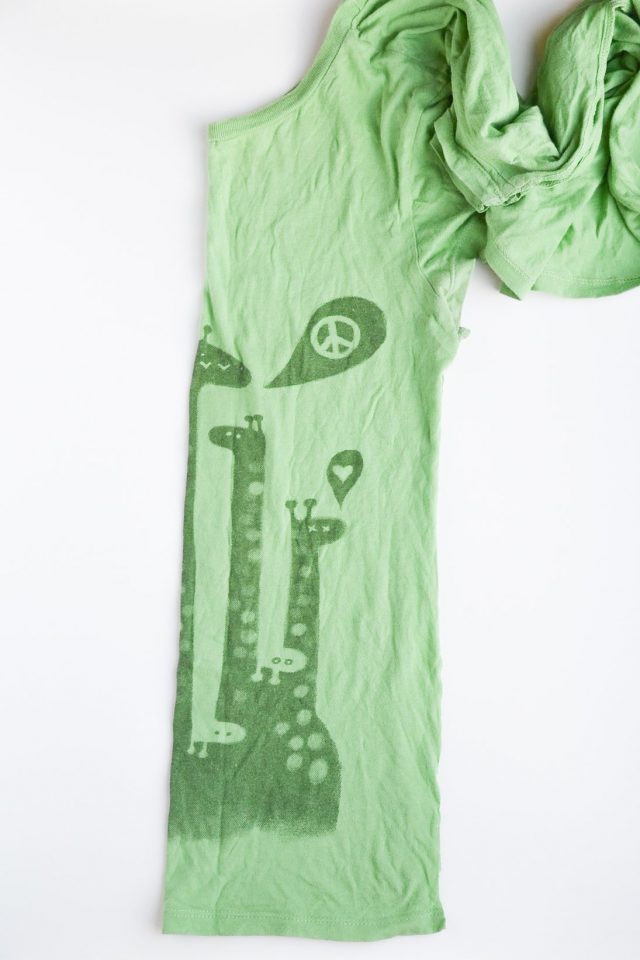
2. Lay the pattern with the fold on the fold and the neckline lining up with the neckline. *The neckline might be a slightly different shape, but line it up the best you can.
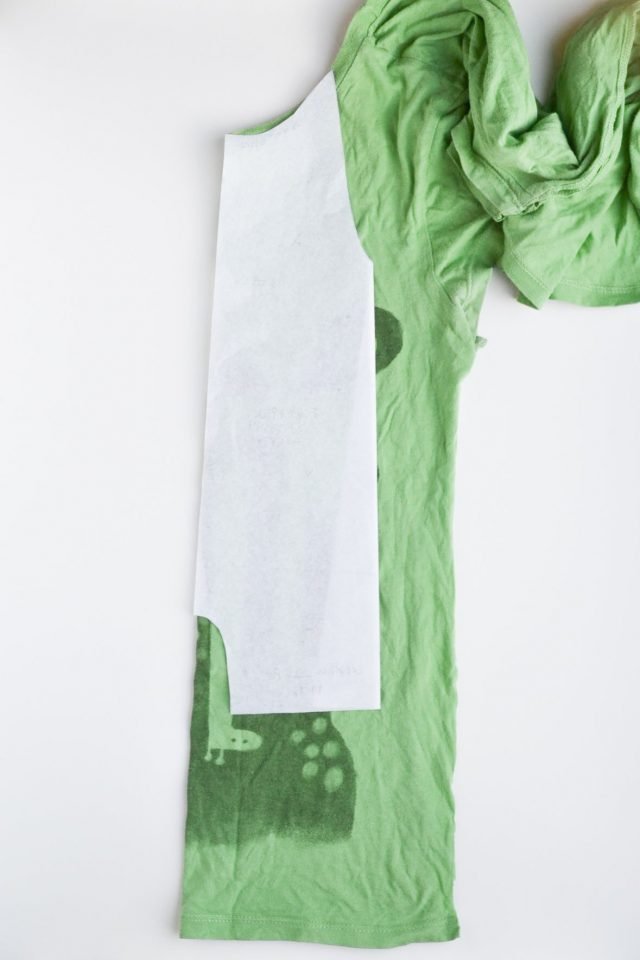
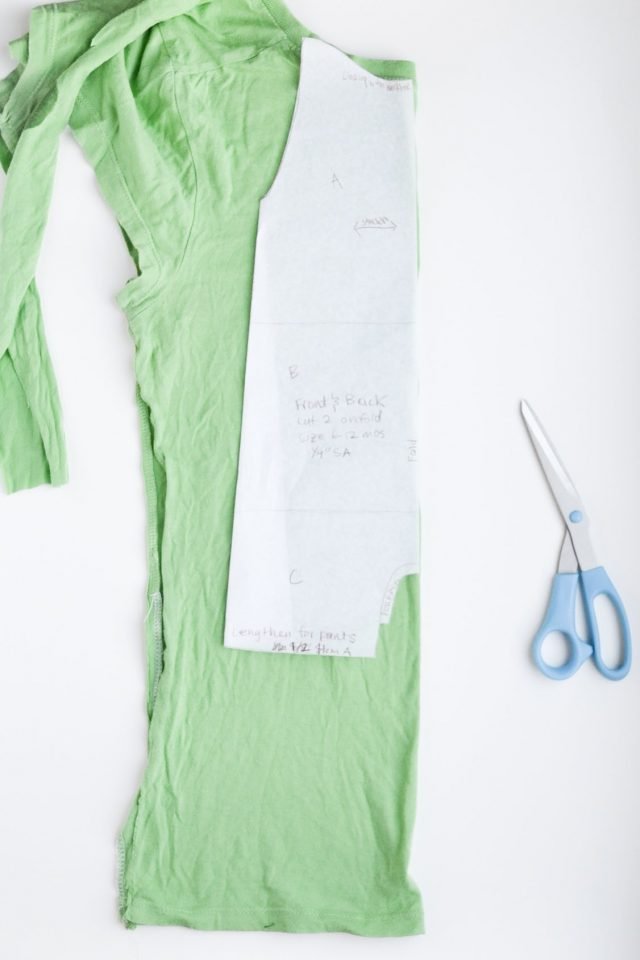
3. Do the same with the back to cut out a back piece.
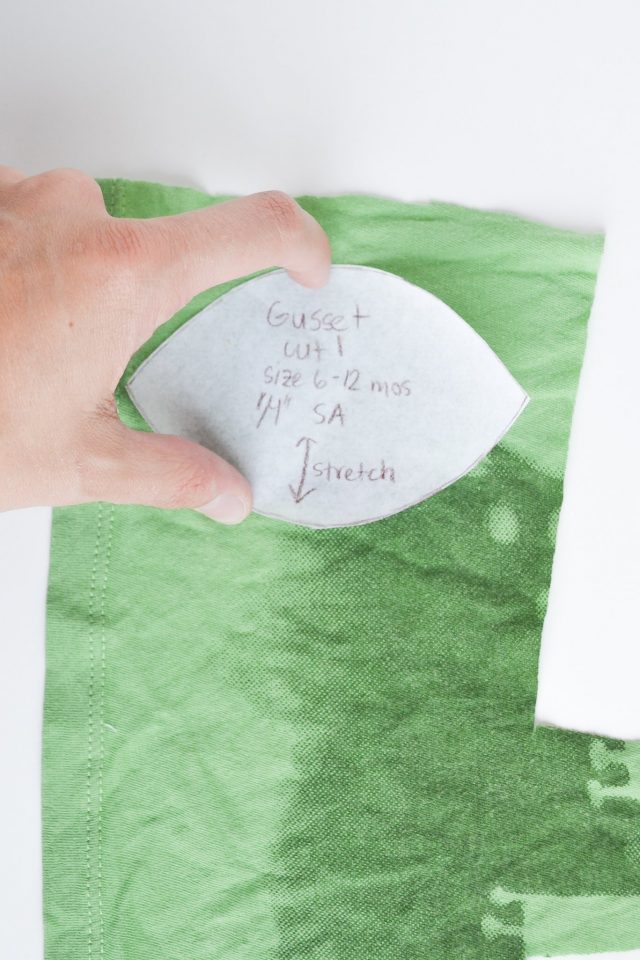
4. Cut out one gusset. Make sure the stretch is going the right way.
5. Lay the sleeves on top of each other. Line up the bottom of the sleeve pattern with the hem of the sleeves. Cut out two sleeves.
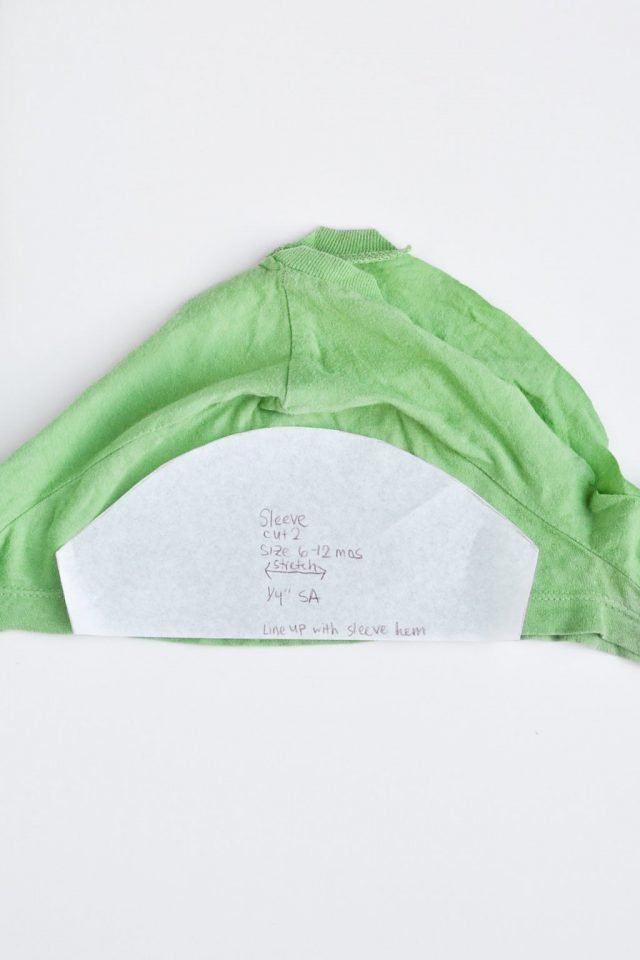
6. Cut out three facings. I layered my layers together so I only had to cut it out once.
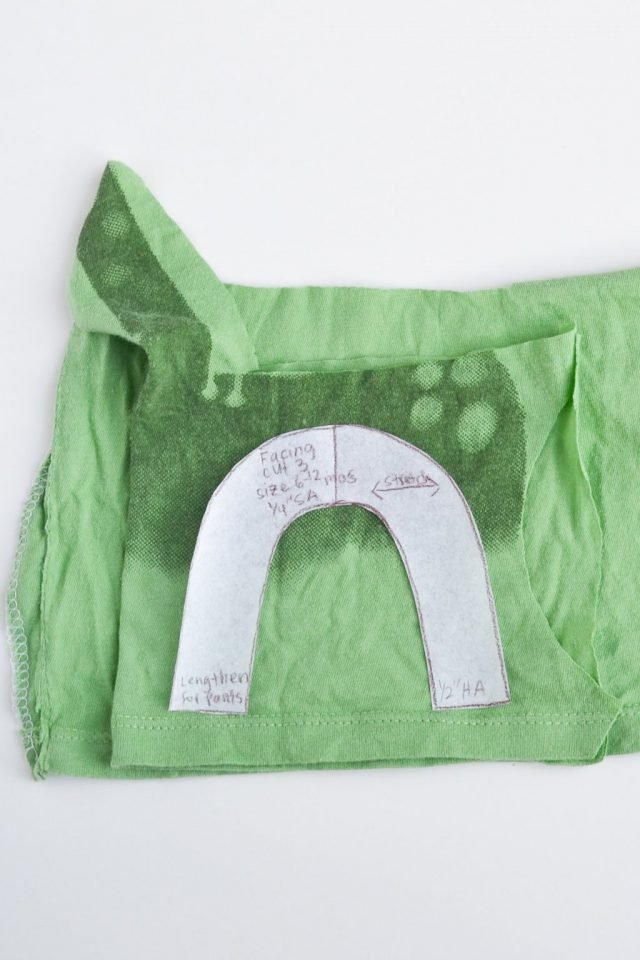
The pieces you need: one front, one back, two sleeves, one gusset, and three facings.
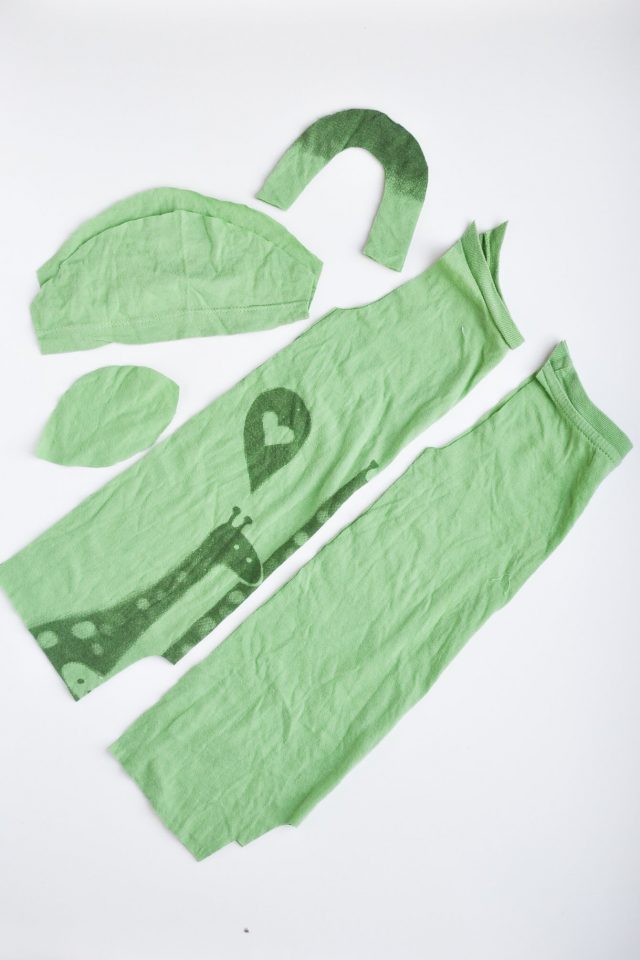
Sewing Instructions
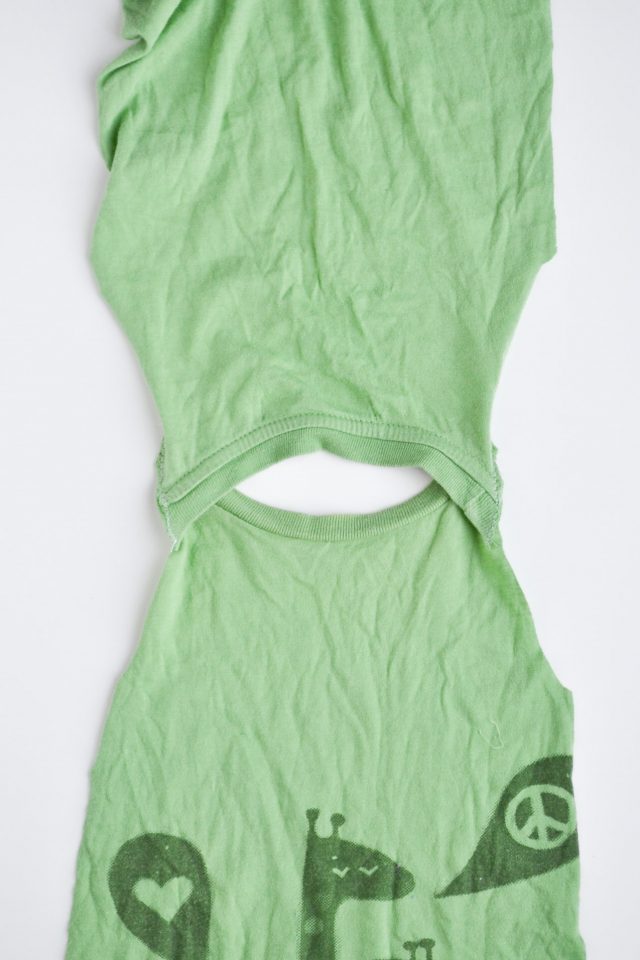
1. Overlap the back neckline over the front neckline by 2.5″. Pin and sew with a zigzag stitch along the edge.
2. Line up the sleeves with right sides together with the armscye. Pin and sew with a zigzag stitch with 1/4″ seam allowance. Finish the edges with a zigzag or serger.
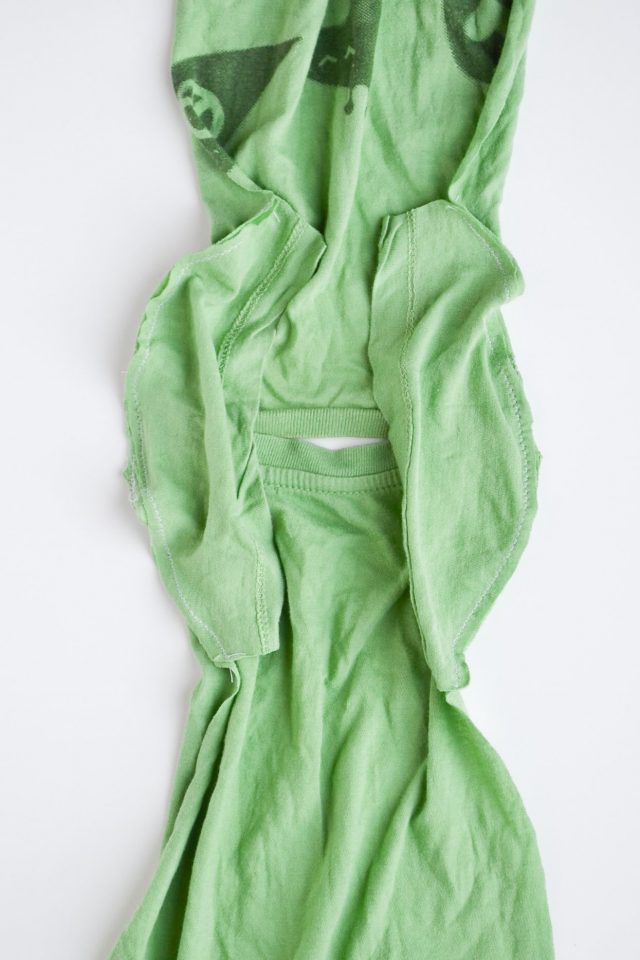
3. With right sides together line up the sleeves and edges of the romper with 1/4″ seam allowance. Zigzag or serge the edges.
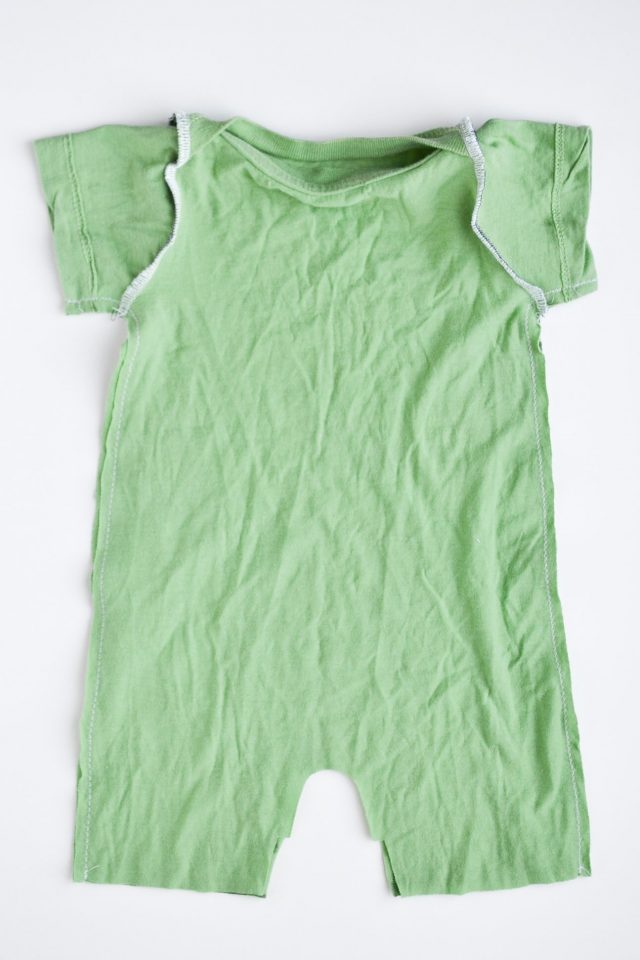
4. Take one of the facings. Line up the inside curve with the front inseam. With right sides together sew with 1/4″ seam allowance.
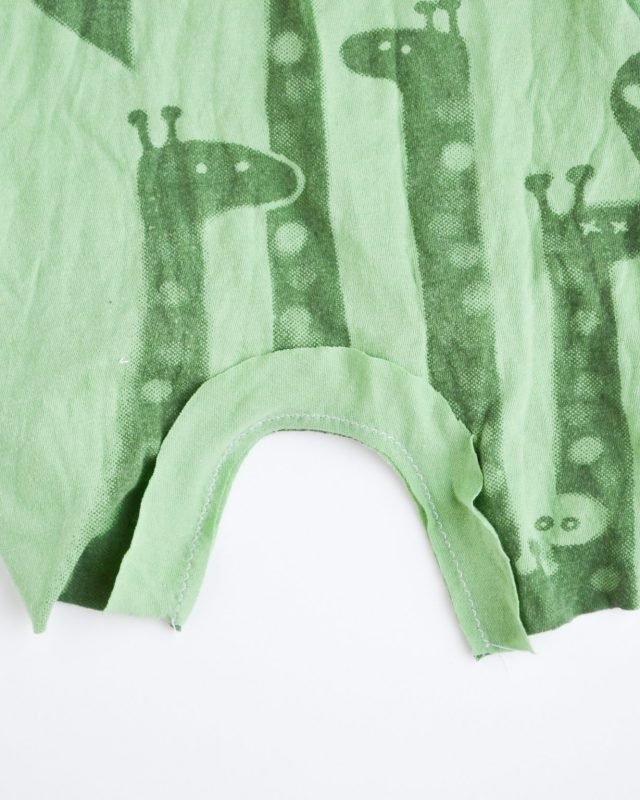
5. Finish the outer curve of the front inseam.
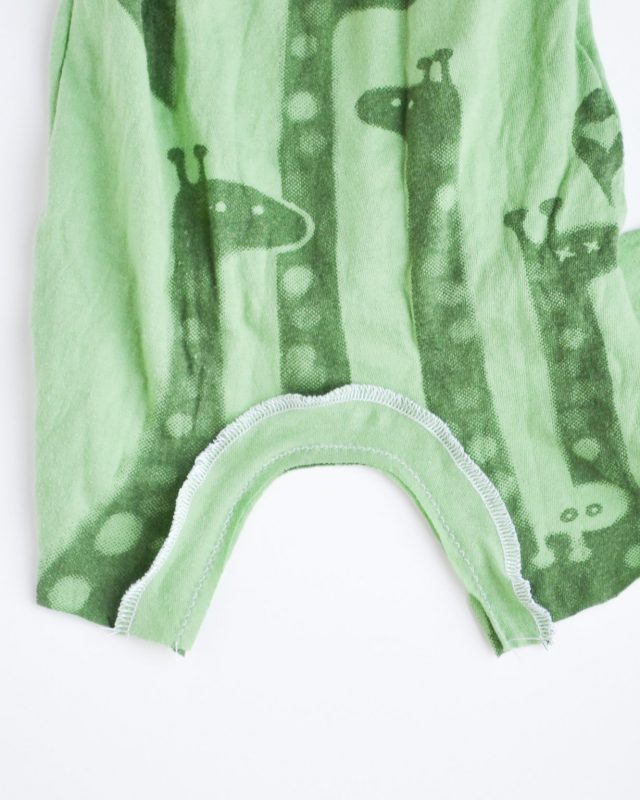
6. Flip the facing around into the inside of the romper. Sew with a straight stitch .75″ from the edge to tack the facing to the inside.
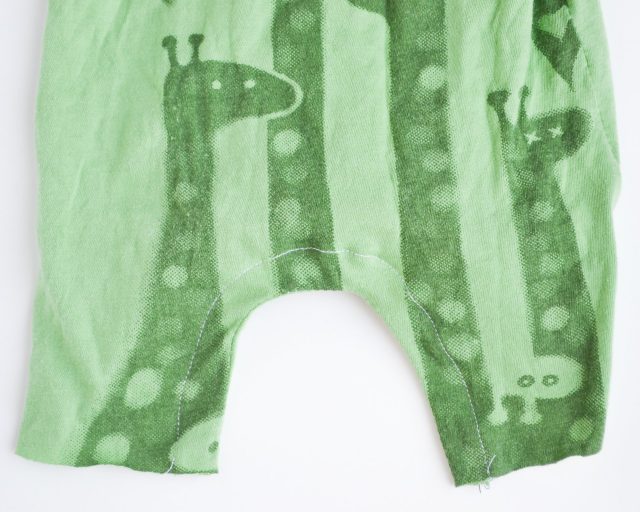
7. With right sides together line up the gusset with the back inseam curve. The gusset will fit right into the extra seam allowance on the back. The curve of the gusset is opposite to the curve of the inseam so it’s a little tricky to sew. Sew with a zigzag at 1/4″ seam allowance.
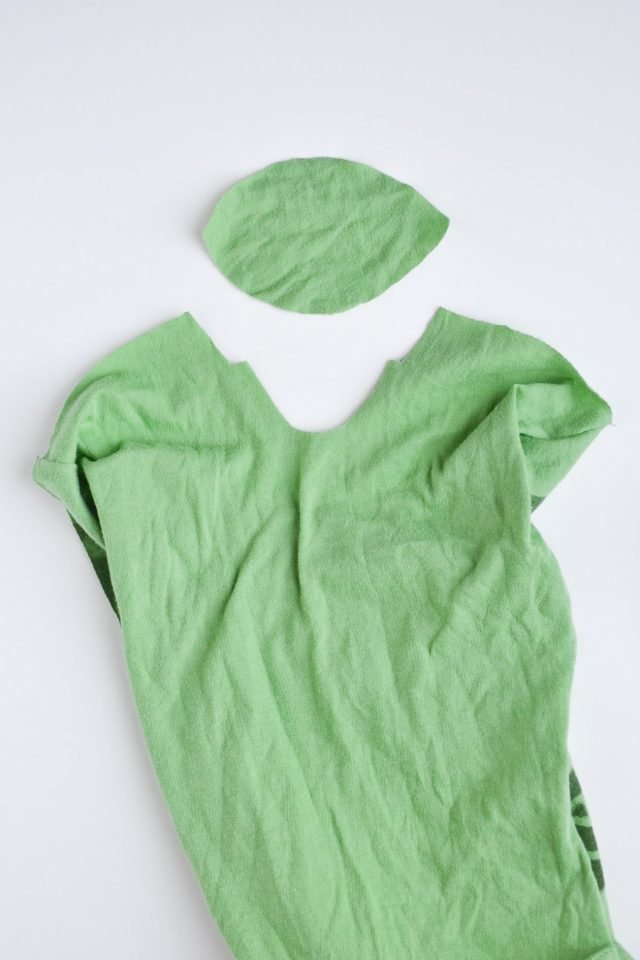
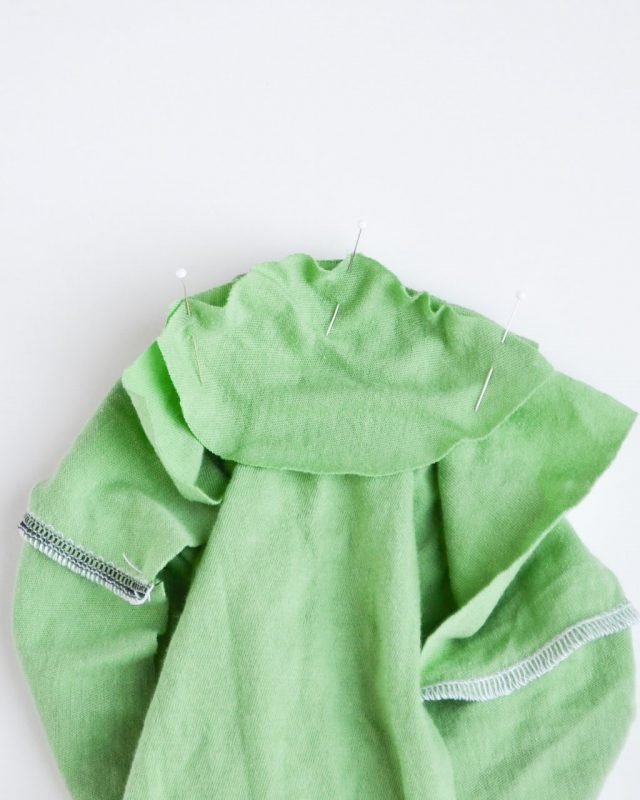
8. Take the last two facings. With right sides together sew around the outer curve with a zigzag stitch with a 1/4″ seam allowance.
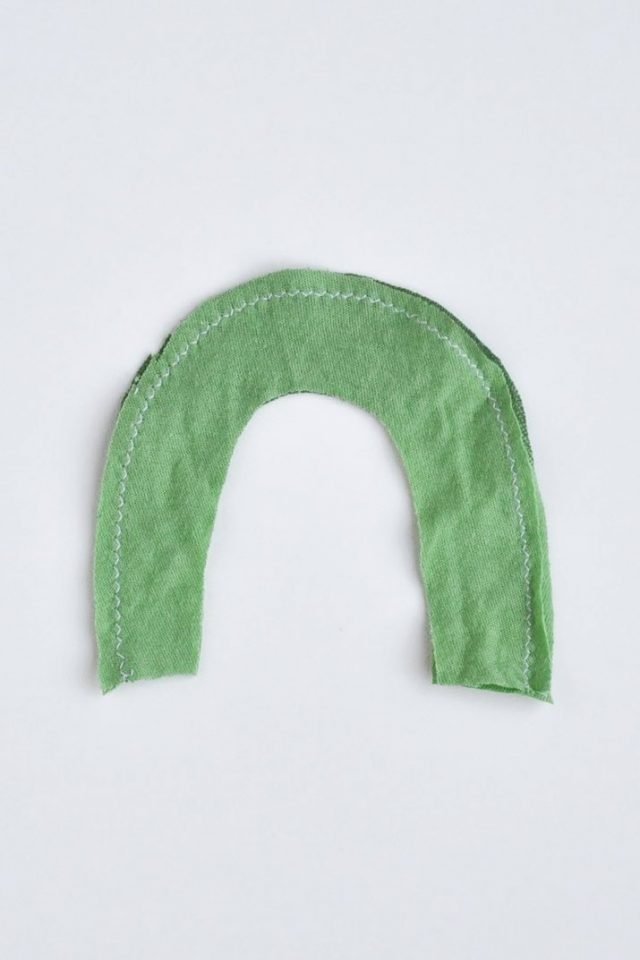
9. Turn right side out.
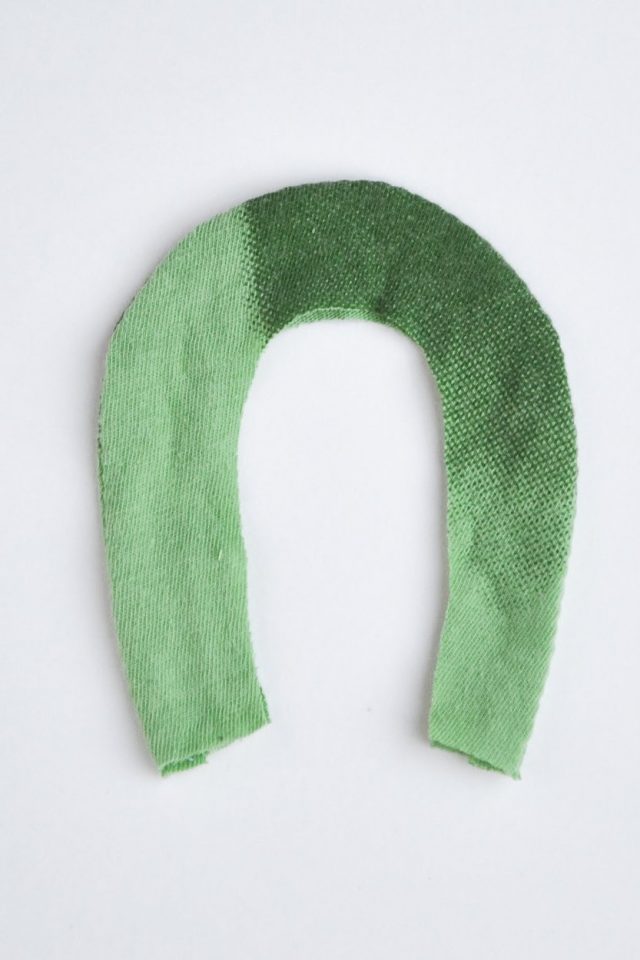
10. With right sides together line up the inside curve of the facing with the back inseam going around the gusset. Sew with a zigzag stitch at 1/4″ seam allowance.
11. Serge or zigzag the edges.
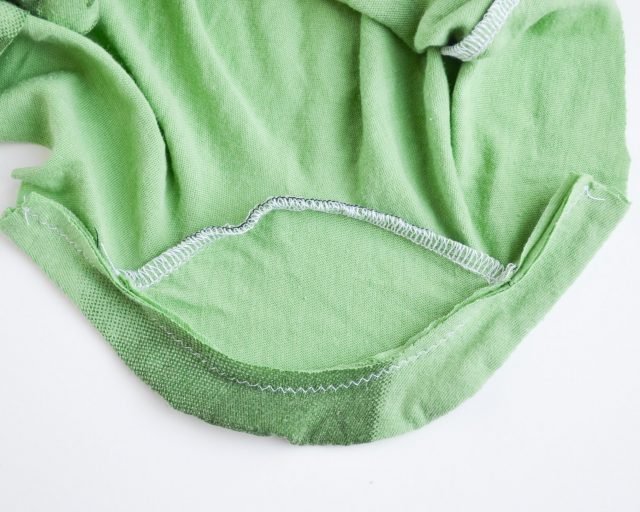
12. Sew the seam allowance of the facing up towards the body of the romper with a straight stitch.
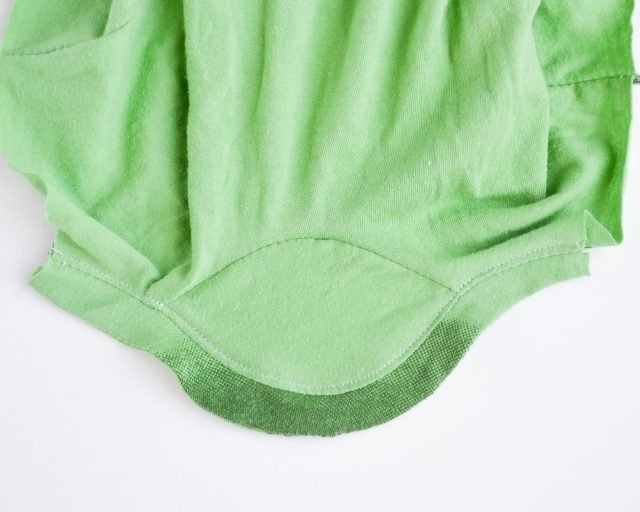
13. Fold up the legs 1/2″ (including the front and back facings) and sew with a zigzag.
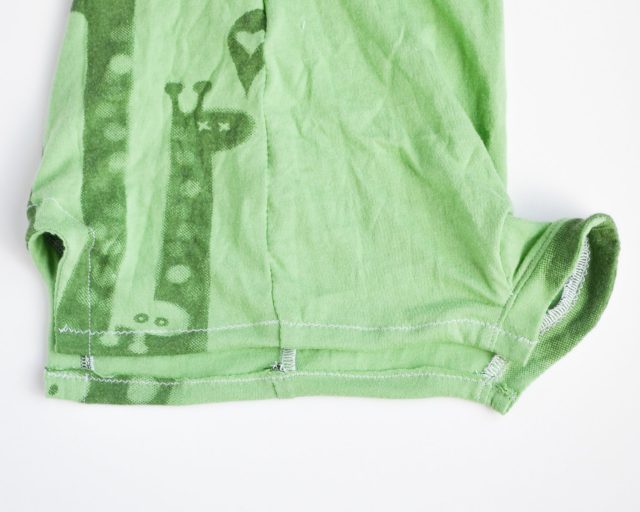
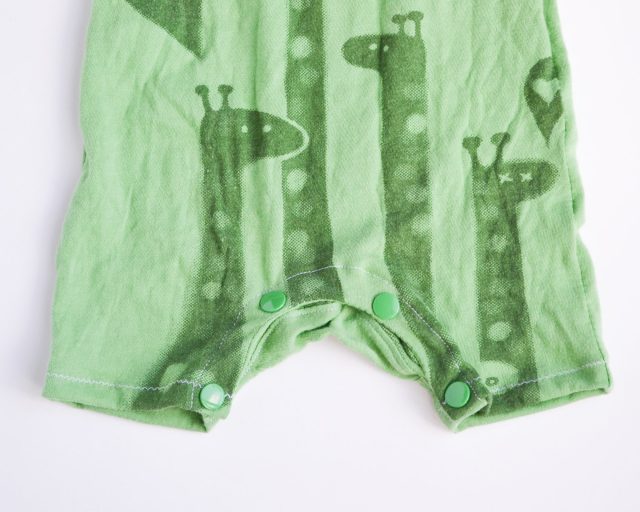
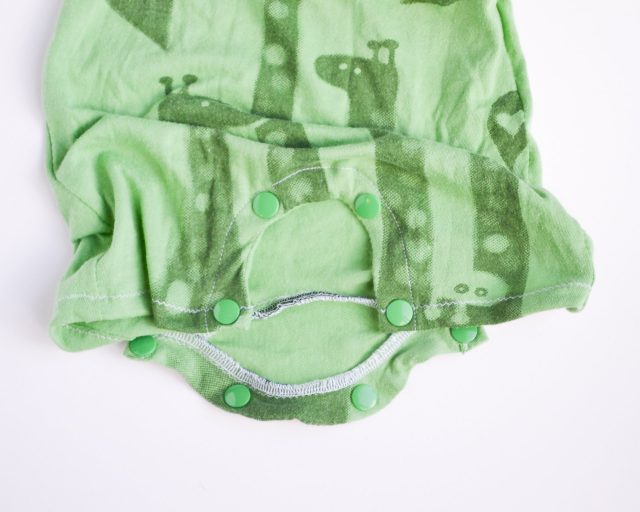
14. Add snaps or buttons to the faced inseams.
Get the Free Sewing Pattern here!
If you make something using this tutorial, I’d love to see! Please share it on social media with the hashtag #heatherhandmade and tag me!

I believe small sewing moments can create great joy. Find your own “right” way to sew. -Heather
so, had downloaded the pattern, I just cant see the way to place the pieces where they are supposed to match
Please can you help I can’t find pattern ?
https://www.heatherhandmade.com/t-shirt-romper-free-pattern-updated/#get-the-free-sewing-pattern-here
Fabulous tutorial! I am an experienced sewist, but still loved your thorough tutorial. Thank you!
PLease – I had joined several times already and await patterns eagerly.Thx
I joined the mailing list. Where is the free pattern? Can’t seem to locate it
So cute and thank you for this pattern and tutorial. I plan on making a few of these! Curious if the giraffe shirt is something I can still find? Do you know the brand? thanks.
Awesome! The giraffe shirt is probably fifteen years old but here are couple of similar options:
https://www.amazon.com/Womens-Giraffe-Graphic-Printed-T-Shirt/dp/B0C2PRG27T/
https://www.amazon.com/Giraffe-Animal-Graphic-Lovers-Shirts/dp/B0C9J1RKVQ/
I’d love to make this for my great grandson but can’t seem to access the larger sizes. It comes up as page not found. Please tell me what I’m doing wrong?
I fixed the link but I’ll put it here too: https://heatherhandmade.shop/products/upcycled-t-shirt-romper-and-dress
Is this some kind of a joke?
There’s no free PDF File or Link on this page.
Hello, I will say that I wanted to say thank you for the pattern. I must say I am a little confused. I downloaded the free pattern ( just to try it out) becasue my nephew is in the 9-12 mo range. Once I downloaded I guess the update is for 6-9 mo? Also the pattern I printed out has triangular bits on the side labeled “gather”- is that the dress option. I do not see gathering mentioned. I am an experienced sewer- but new to baby clothes. I think the different version of the pattern and tutorial got me a little turned around. I am gonna make it and see how it fits.
The gathered sections are for this girly version https://www.heatherhandmade.com/gathered-sleeves-and-hem-tshirt-romper/.
They are not needed for the regular romper version.
Hello, I will say that I was going to just say thank you for the pattern- but I must say I am pretty confused. I downloaded the free pattern ( just to try it out) becasue my nephew is in the 9-12 mo range. Once I downloaded I guess the update is for 6-9 mo? Also the pattern I printed out has triangular bits on the side labeled “gather”. I do not see gathering mentioned- but with I may be mixed up on the version? I am an experienced sewer- but new to baby clothes. I generally use commercial patterns on patterns I have made myself. In this instance I am lost.
So excited to make this so my son and husband can be twinsies! I can’t access the library and patterns yet although I subscribed. Could I have some assistance please?
Did you confirm that you want to be on my list in the email sent to you? What’s your email and I’ll look you up on my list.
This is a wonderful idea and it looks absolutely fantastic – but I can't seem to find the download link for the pattern?
When printing, do we print actual size, or scale to fit? There's no 1" test square to make sure it's printing out the intended size.
These are really, really cute and I can't wait to make some!
Hi, I'm trying to print the 2T pattern out but it's coming out huge…? Any advice on with percentage I should be printing it at? Also have you updated the 2T pattern or only the smaller size?
Thanks,
Beccy
For some reason, the pattern is no longer showing up! 🙁
Is there a way to make the romper without snaps so I could just pull it on and off with ease??
Thank you for designing and sharing this. Its a great patter and so generous of you to give it to others. I'll share a link when I sew one up :-0
These are so fun! Do you have a tutorial (or at least a pattern, if it follows the same basic instructions) for the long sleeved one that you have in the picture?
I love this idea! Are you able to give a pattern for bigger sizes like 12-24months too? Or ideas how to modify it for bigger bubs? Thanks heaps!
I only have a 6 mos size and a 2t size at the moment. Here's a link to the larger size!
https://www.heatherhandmade.com/2013/06/2t-t-shirt-romper.html
Thank you. The age range on this is perfect for some cute nephews I'll have next summer! Now to find the perfect t-shirts.