How to Sew an Invisible Zipper with an Invisible Zipper Foot

This post may contain affiliate links.
Learn how to sew an invisible zipper with an invisible zipper foot. The foot takes the guesswork out of sewing it and creates a beautifully straight line.
I often prefer to stay away from zippers, if possible, but when I insert a zipper into skirts or dresses I always choose an invisible zipper. I think they are the easiest zipper to sew, and they look so professional.
I learned how to insert an invisible zipper without an invisible zipper foot which requires a bit of finesse. Learn how to sew an invisible zipper with an invisible zipper foot to make it just a little bit easier.
What is an Invisible Zipper?
An invisible zipper is a zipper that is inserted without any topstitching. The zipper tape is curled so that the zipper tape is curled to the inside of the garment. They are the weakest of the zippers, but they are the least visible zipper.
What is an Invisible Zipper foot?
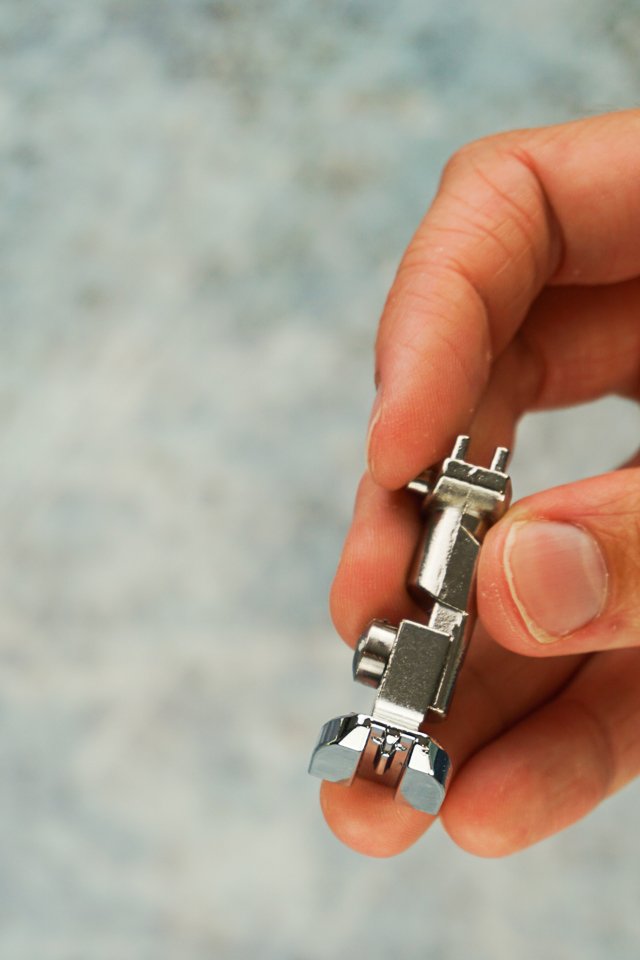
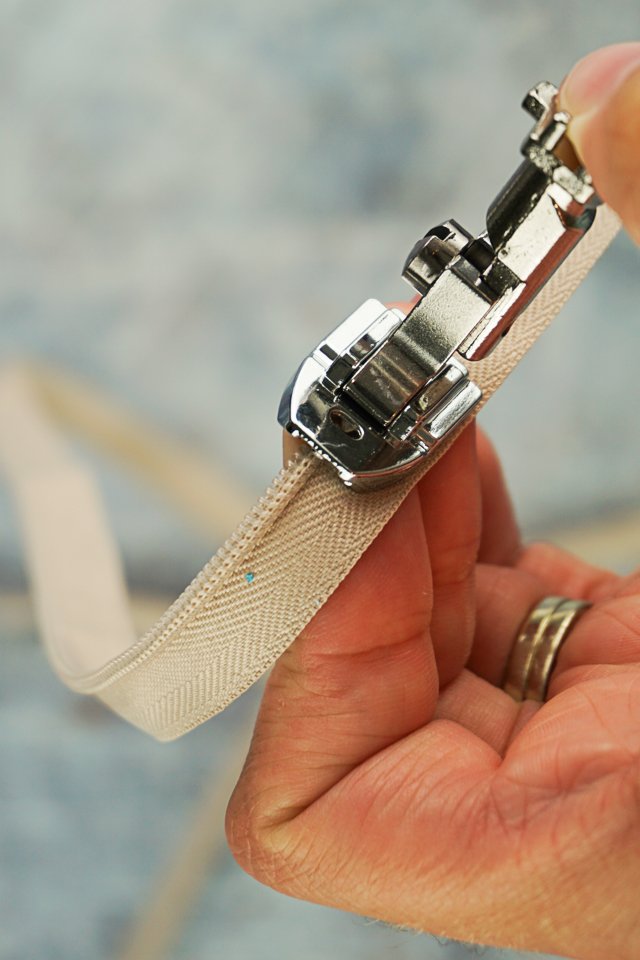
An invisible zipper foot is a sewing machine foot that has grooves on the bottom of the foot. The zipper teeth of the invisible zipper fit right in the groove and hold them in place while the zipper is moved along.
The sewing machine needle is able to sew right next to the zipper teeth in a straight line without sewing on them. It is nice to have an invisible zipper foot, and it makes an invisible zipper easier to sew.
Projects to Make with an Invisible Zipper
How to Sew an Invisible Zipper with an Invisible Zipper Foot
supplies
- Invisible zipper foot
- Invsible zipper
- skirt, dress, or pants needing a zipper
- sewing tools
- sewing machine

The first thing you need to do is make sure that the edge of the fabric where the zipper will be sewn is finished. You can do this by either serging or zigzagging the edges.

Lay out the zipper and each side of the fabric in the way it will be finished. (If this were a dress or a skirt, there will be lots more fabric and seams.) This helps me visualize correctly when I start flipping the zipper over.
Open the zipper.

Take the left side of the zipper and flip it over. Match the edge of the zipper tape with the edge of the finished fabric. The zipper teeth should be in towards the main part of the fabric. Match up the top of the zipper tape with the top of the fabric.

Using the invisible zipper foot, sew the zipper to the fabric. The zipper teeth should be opened slightly when placed in the groove of the invisible zipper foot. Backstitch at the top and the bottom.

Close the zipper. Using a marking tool, mark where the seam intersects with the zipper. Mark on both sides of the zipper tape all the way across.
Do this when you have a waist or bust seam that crosses the zipper. If you don’t have a seam that crosses, then skip this step.

Flip the right side of the zipper over to match with the right side of the fabric. Match the edge of the zipper tape with the edge of the finished fabric. The zipper teeth should be in towards the main part of the fabric.
Match up the top of the zipper tape with the top of the fabric. Match the mark with the seam.
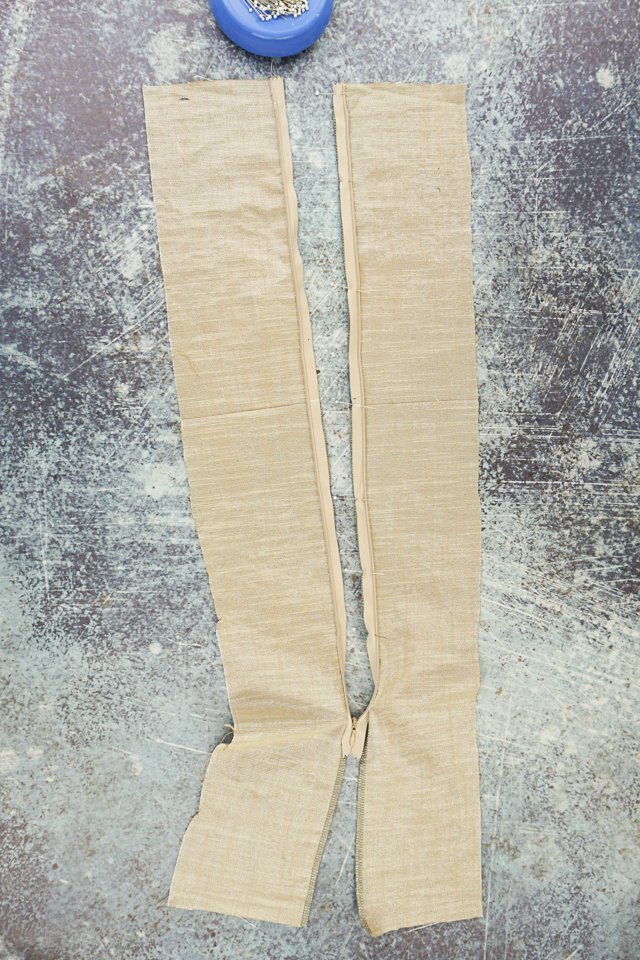
Using the invisible zipper foot, sew the zipper to the fabric. Backstitch at the top and the bottom.
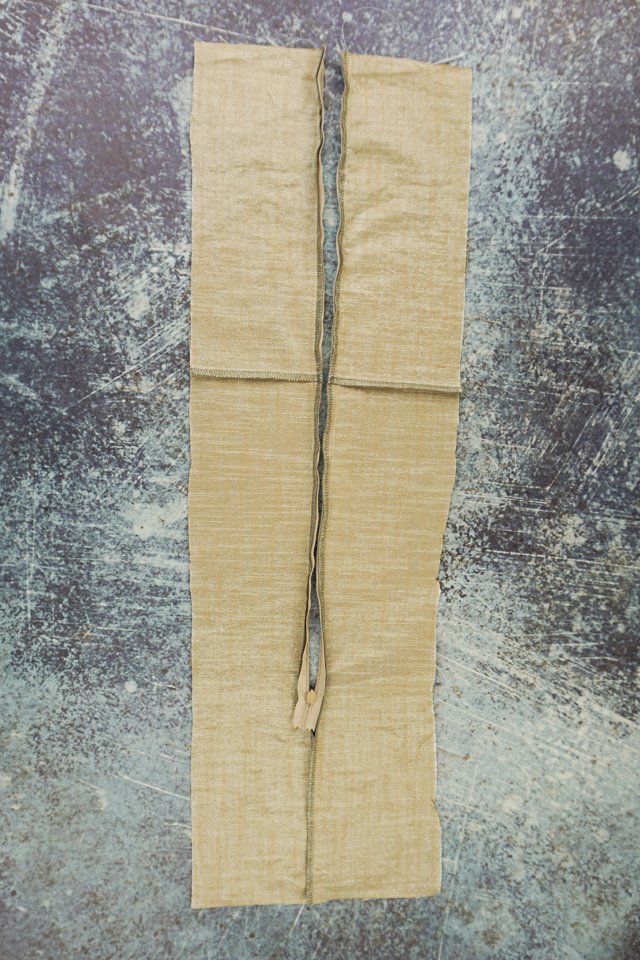
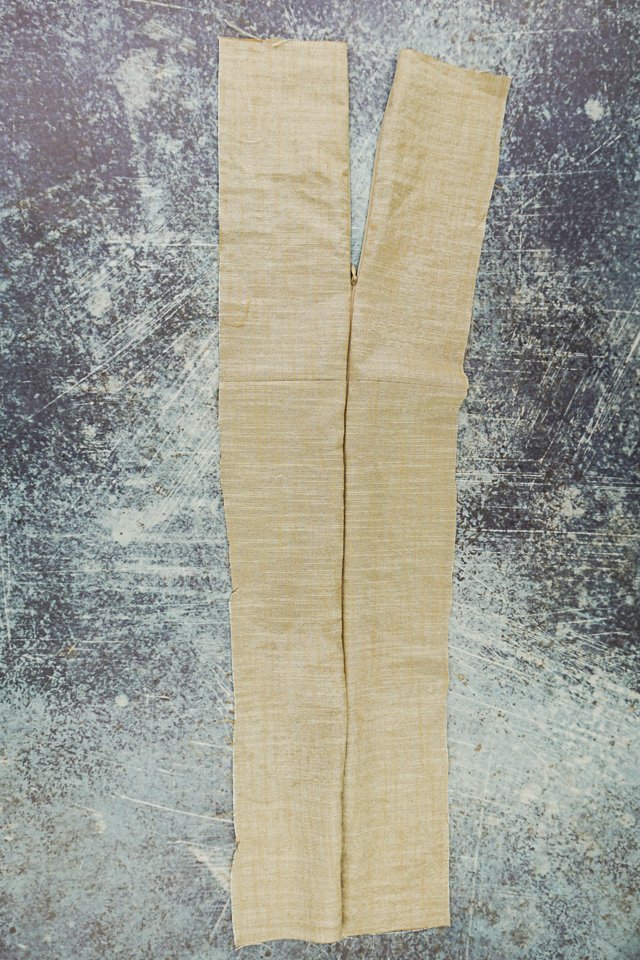
Close the zippe to see if the seam matches across the zipper. If it doesn’t match, it’s worth it to unpick and redo it.

With right sides together pin the seam underneath the zipper. Using a regular zipper foot start sewing about 1/2 inch above where the zipper stitches stop. Get as close as you can to the stitches which is 1/8 inch away.
Sew the seam below the zipper. Backstitch at the top and the bottom.

You finished inserting the invisible zipper. Press the seams open.
If you make something using this sewing project, I’d love to see! Please share it on social media with the hashtag #heatherhandmade and tag me!

I believe small sewing moments can create great joy. Find your own “right” way to sew. -Heather
