
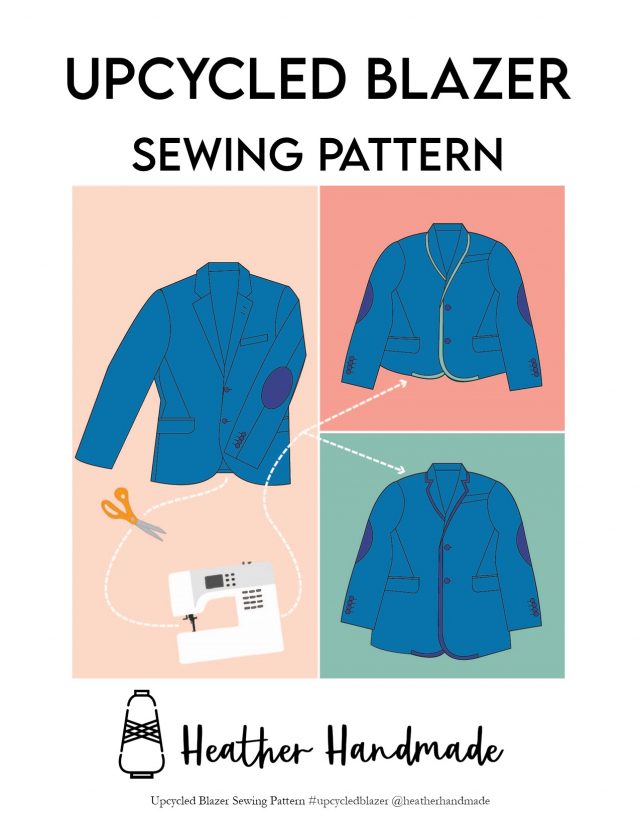
FREE Upcycled Blazer Pattern

This post may contain affiliate links.
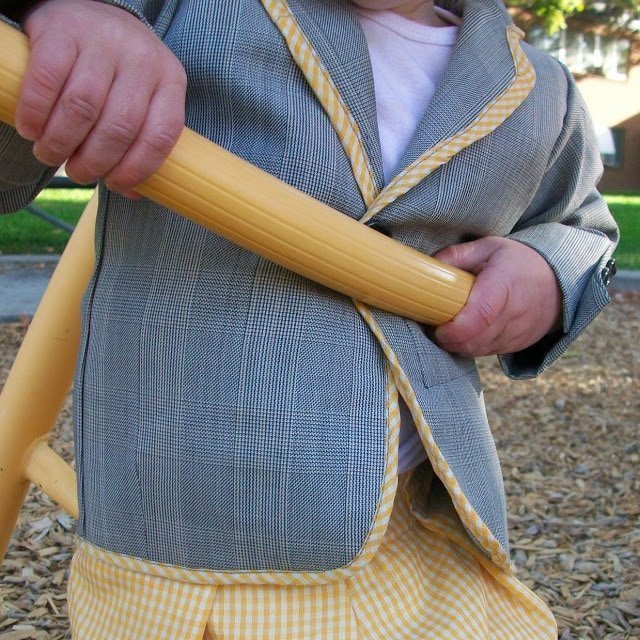
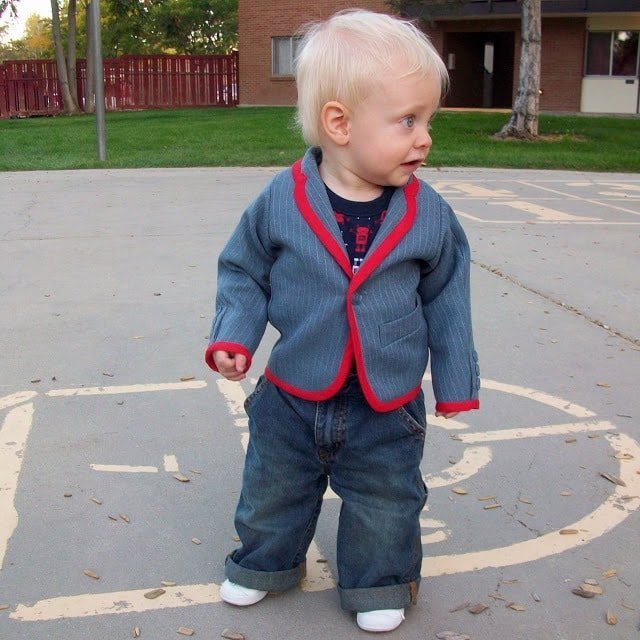
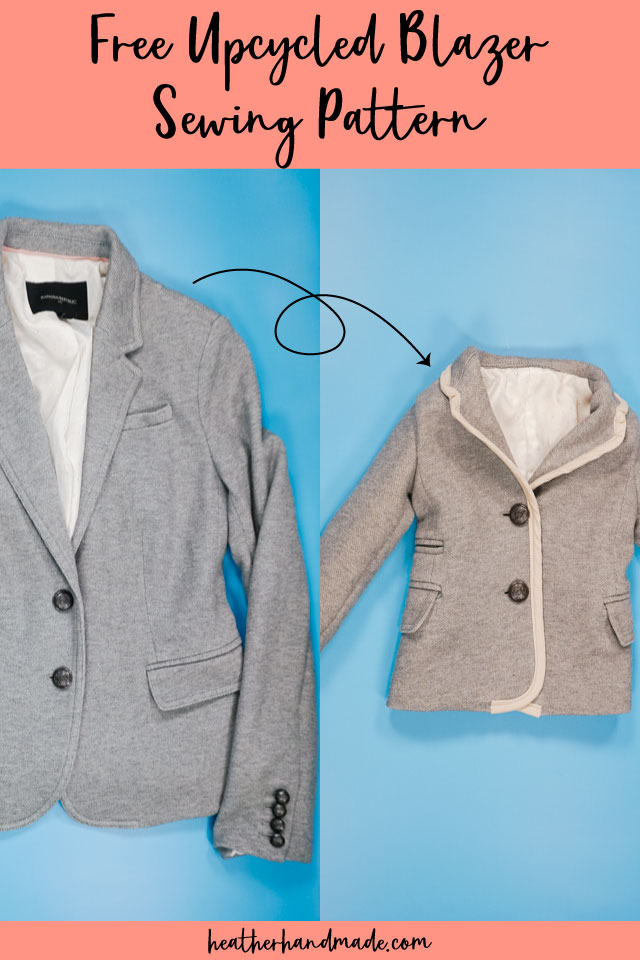
This free upcycled blazer sewing pattern is a great baby sewing project. Get the 12 mos blazer to turn an adult blazer into a kid blazer.
I love sewing for my little boy. It makes me so excited. I knew I could make a little boy’s suit jacket out of a men’s suit jacket by upcycling.
I worked to make a free sewing pattern for a size 12 mos with either a notched collar or a shawl collar that reuses an adult suit jacket. Upcycling takes away the hardest parts of making a jacket to make it quick and easy!
To get the free sewing pattern, scroll to the end of the tutorial. Put your email address in the form under “Get the Free Sewing Pattern Here.” Once you confirm that you want to receive emails from Heather Handmade, the free pattern will be sent to your email address. Check your spam and promotions for the email.
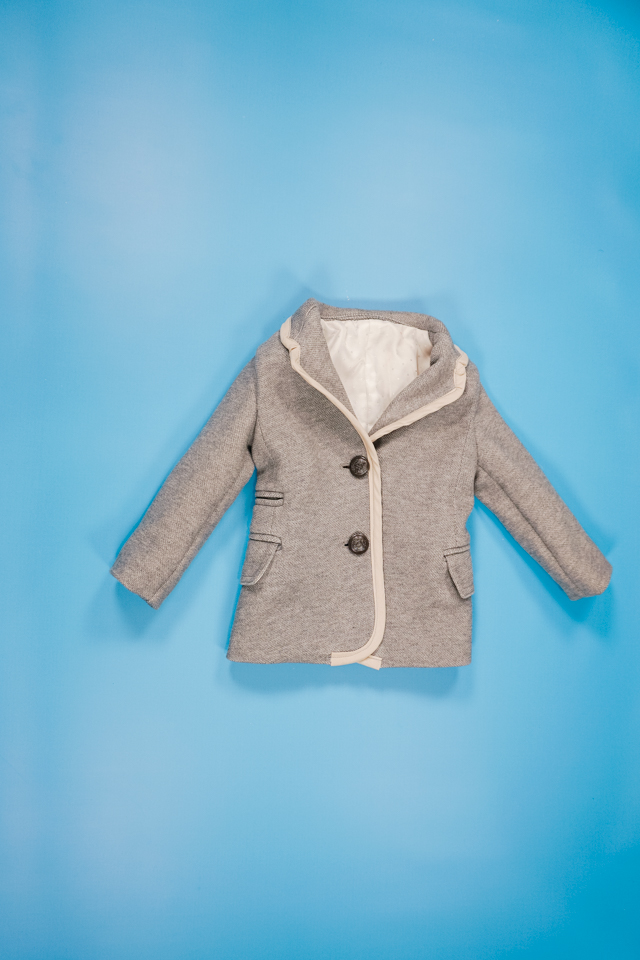
I have an expanded Upcycled Blazer sewing pattern for size 18 mos to size 10 (that’s ten sizes) with two lengths and two collar options. It’s great for holidays or weddings, and it’s a great way to make a blazer for any child.
I’ve thought about making my son a little suit jacket, but didn’t want to start because it would take so long with lots of little details.
By using an old suit jacket, you get some of the fun details without the time and advanced construction.
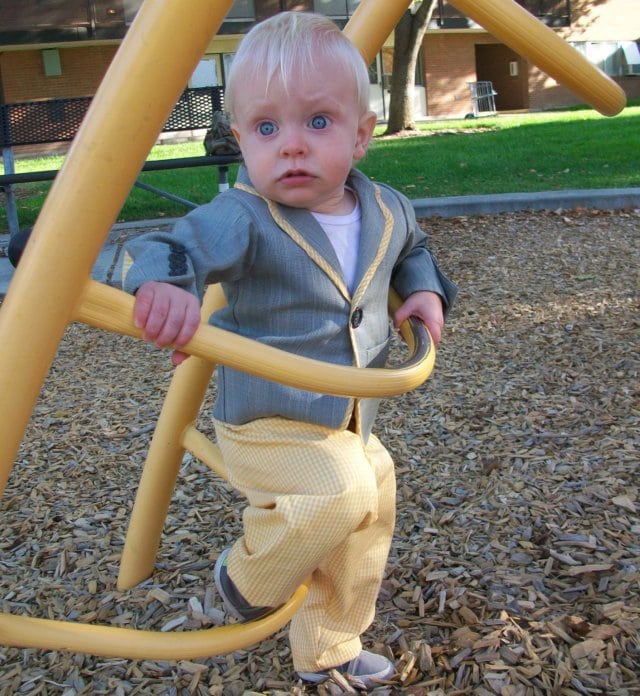
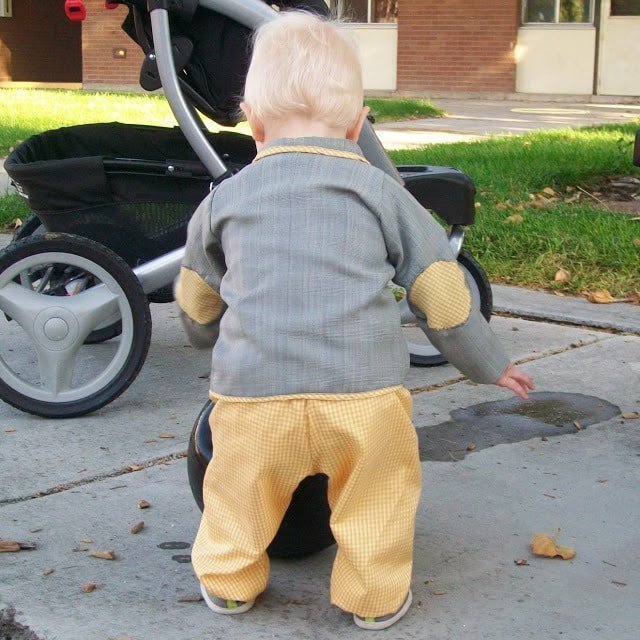
It’s so fun to dress little boys up even if it’s not that practical. Sometimes I indulge myself.
I would love to see this in a black suit and black satin bias binding. It would look like a tux! Or if you make your own bias binding, use the same fabric to make matching pants!
What is a PDF sewing pattern?
A PDF pattern is a sewing pattern designed on the computer and organized so that it can be printed on several letter or A4 size pieces of paper.
I love using PDF sewing patterns because if the pattern gets ruined or if my children or I changed sizes, I can always print it again. It’ll never be destroyed since I have a digital version!
How do you use a PDF sewing pattern?
Open the PDF on a computer and click print. When printing make sure that the scaling is set to 100% or no scaling so that the pattern prints at the correct size.
Once the pattern is printed it can be taped together to get the full size. Then the pattern can be cut for each pattern piece size or individual sizes can be traced so that the pattern can be used again and again. Learn how to use PDF sewing patterns.
Do you love to sew? Try one of these fun sewing projects:
- Free upcycled t-shirt romper pattern
- Free upcycled men’s shirt romper pattern
- Free baby shorts sewing pattern
- Free baby sewing patterns
- Baby sewing projects
Free Baby Blazer Sewing Pattern and Tutorial
Supplies:
- 12 mos upcycled blazer sewing pattern – Get the pattern at the end of the post!
- Old adult suit jacket or blazer
- sewing tools
- sewing machine
- 3 yards of1/2 inch double fold bias binding – learn how to make and use bias tape
Do you just want the pattern and tutorial as a PDF? Get the 12 mos pattern and tutorial for just $4. You won’t need to access the internet every time you want to make it. Or get the Pattern Bundle with ALL the PDF tutorials!
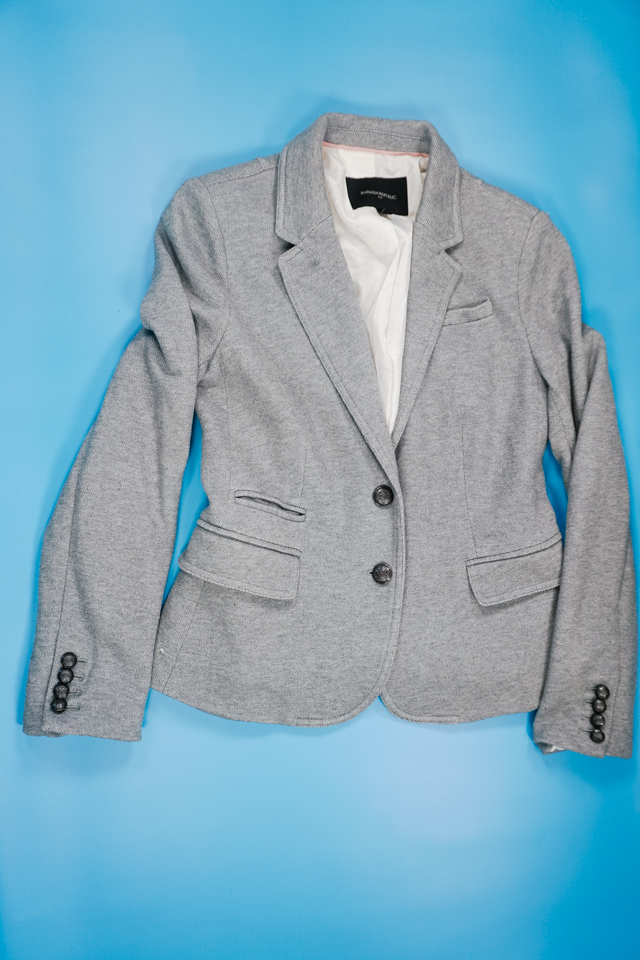
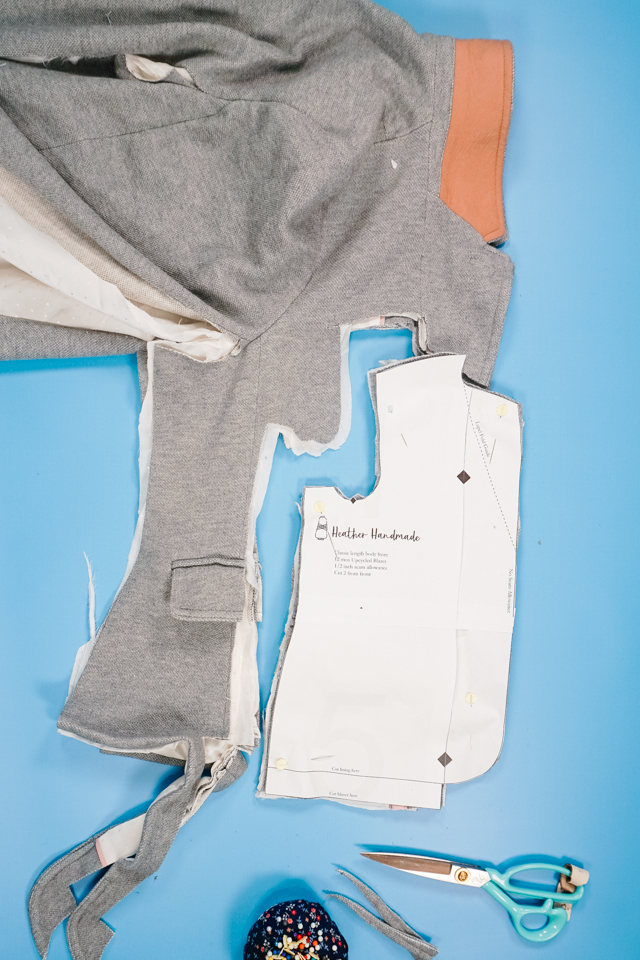
Cutting Instructions
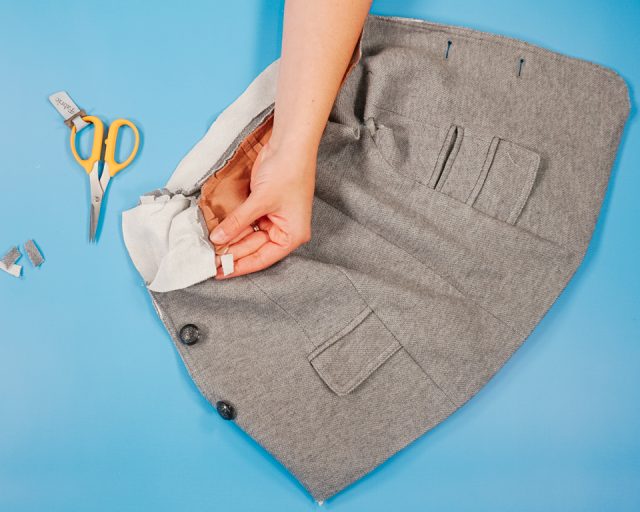
Cut up the side back seam, through the bottom of the armhole, and through the bottom sleeve seam. Do the same to the other side. This makes cutting out the pattern pieces easier.
Lay out front pieces with fold line matching the fold line of the jacket lapel.
You will be cutting the blazer fabric and lining fabric at the same time.
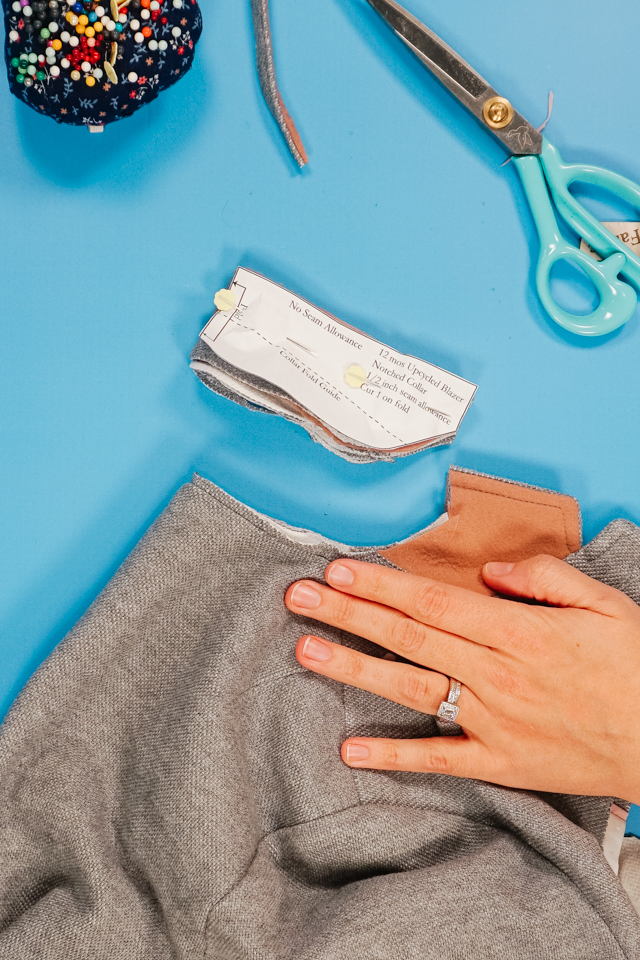
Fold the collar in half. Put the pattern on the fold. Line up the the fold line with the fold line of the collar. Cut out two collar pieces on the fold, under collar and upper collar.
The fold lines only need to match up at each end. You will have a fabric collar and a felt collar.
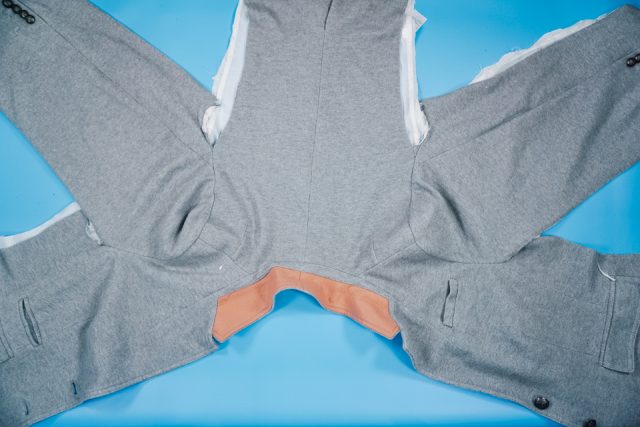
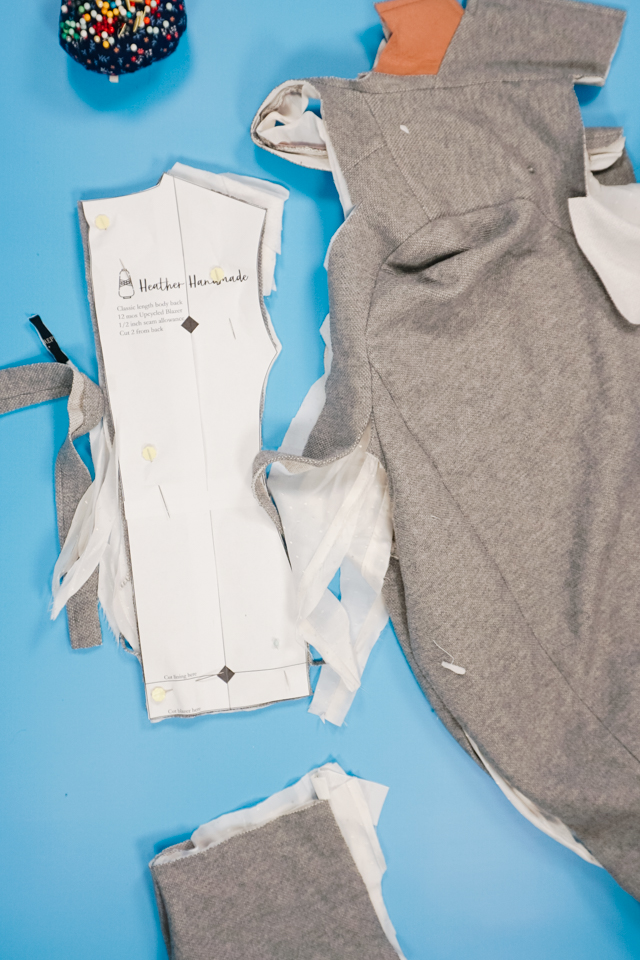
Fold the back of the jacket on the center back. Place the back pattern piece on the back and cut out two blazer fabric pieces and two lining fabric pieces. The back piece is not cut on the fold.
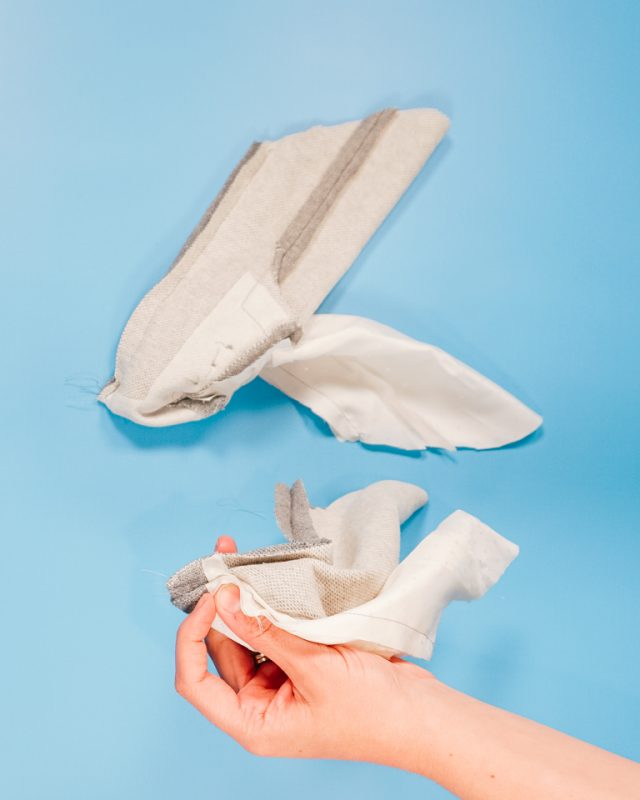
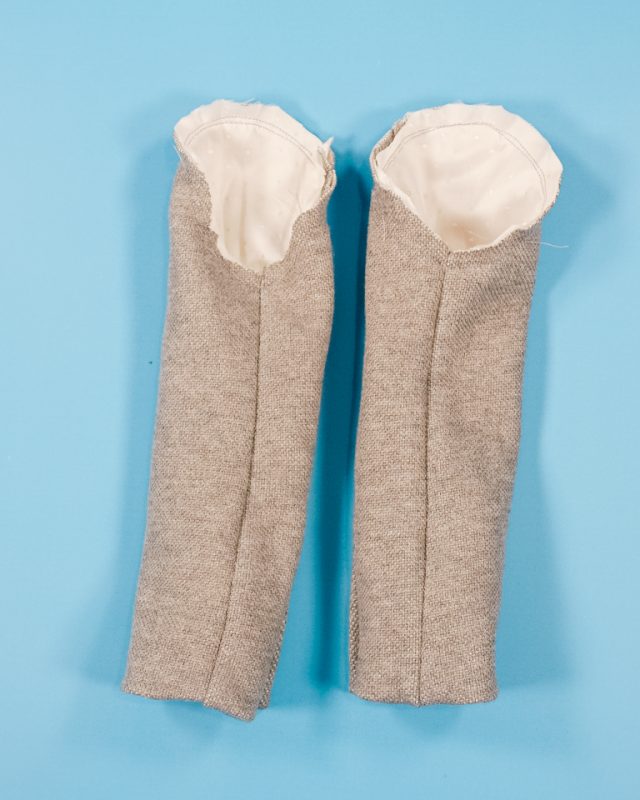
Lay the sleeves on top of each other with lining facing each other. Line up the bottom of the sleeve with the hem cut out two blazer sleeves and two lining sleeves that will still be connected at the hem.
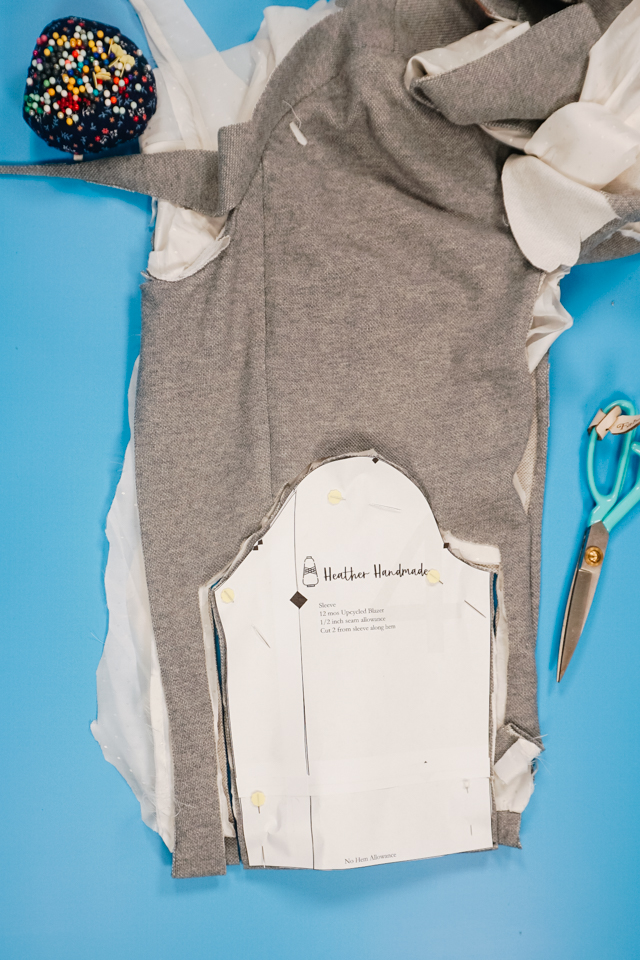
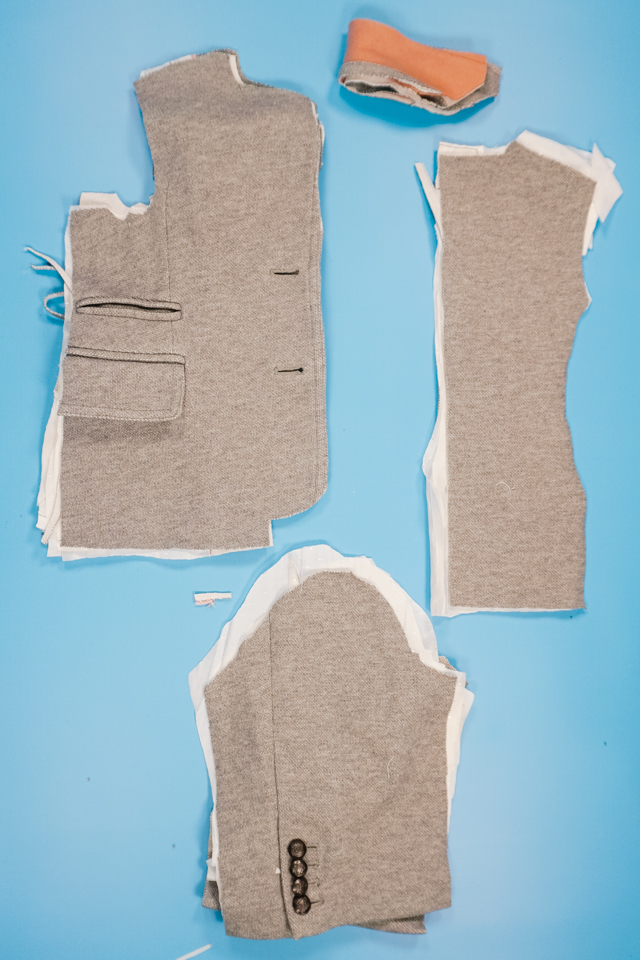
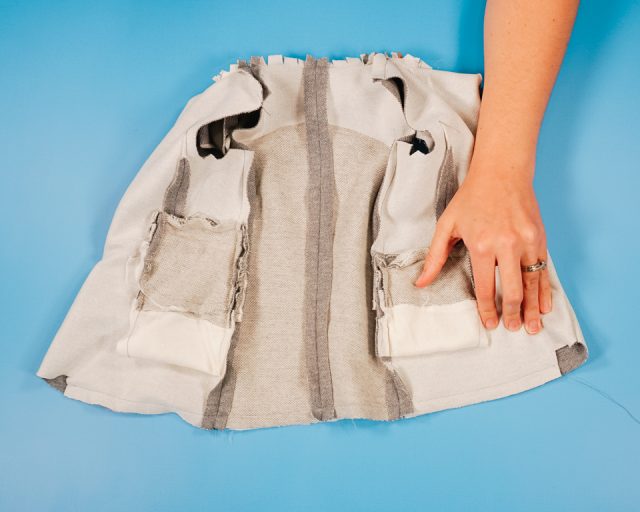
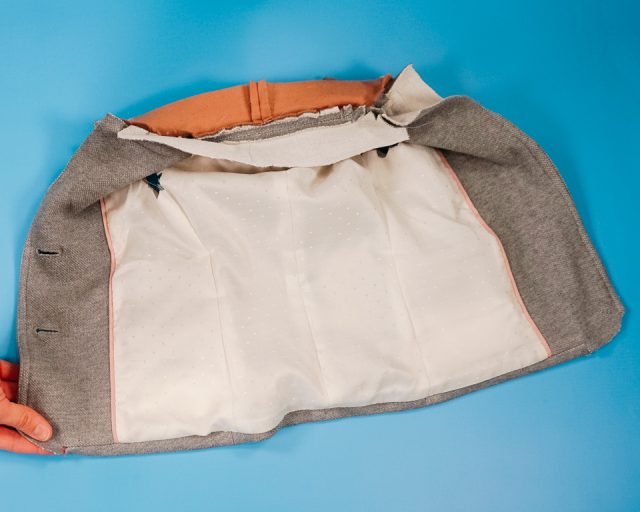
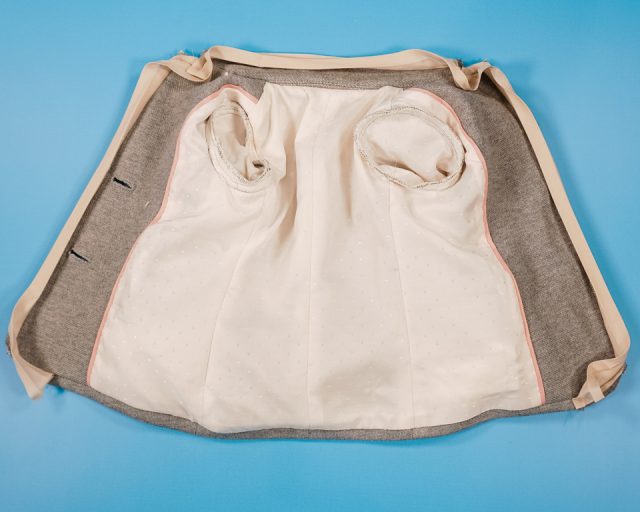
You will have two blazer fronts, two lining fronts, one upper collar, one under collar, two blazer backs, two lining backs, two blazer sleeves, and two lining sleeves.
Separate all the pieces and cut out any extra layers like padding or extra interfacing to get rid of extra bulk.
Sewing Instructions
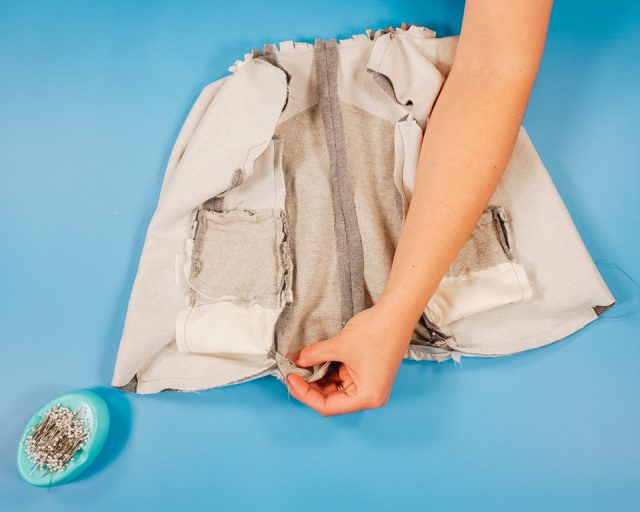
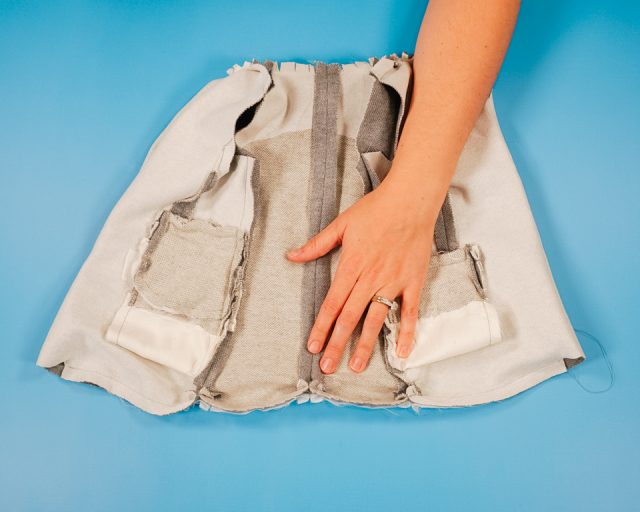
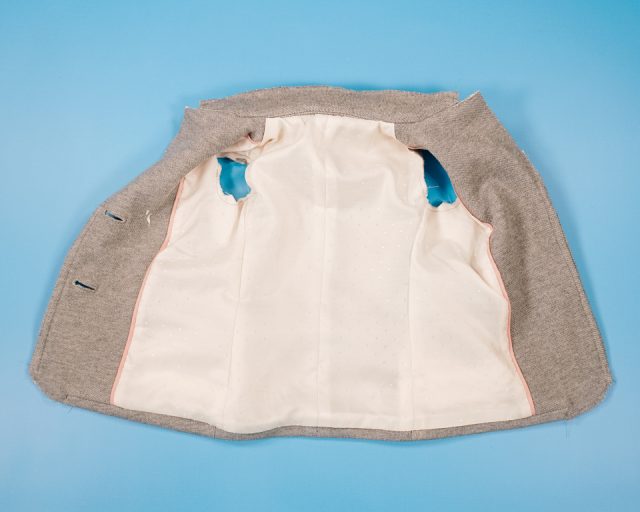
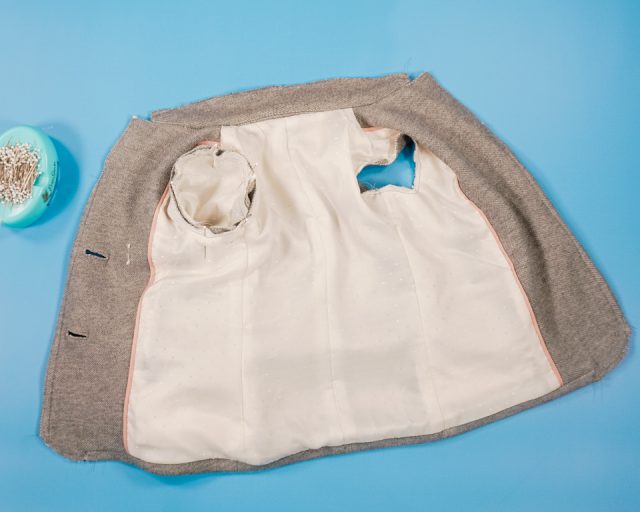
With right sides together sew the back seams together on the blazer pieces and the lining pieces. Iron seams open.
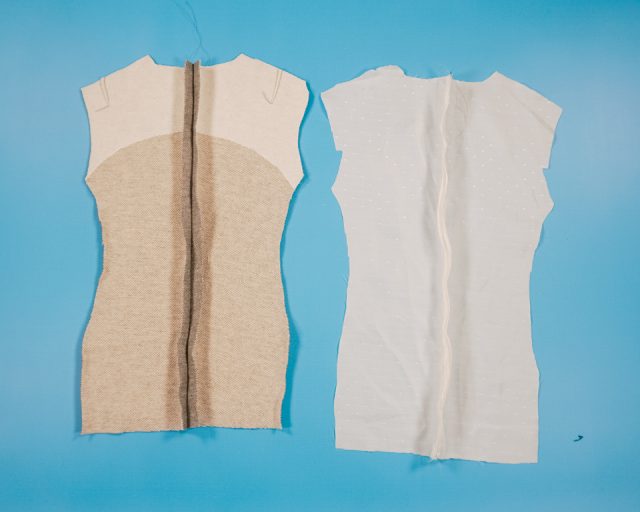
With right sides together sew the shoulder seams and sides on the blazer pieces and the lining pieces. Iron seams towards the back.

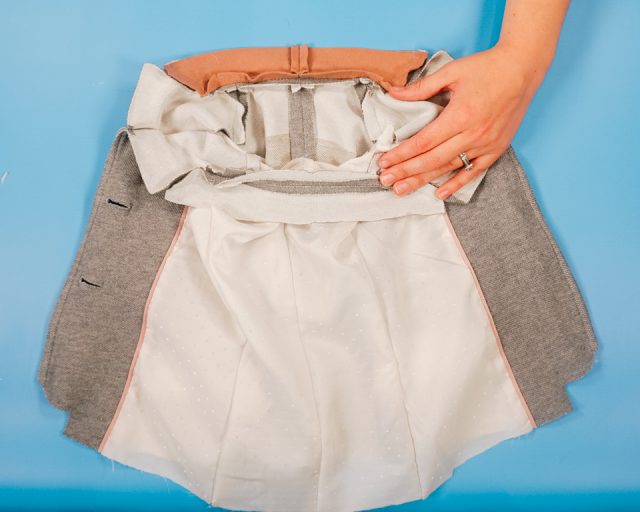
Make three 3/8 inch clips into the curve of the neckline above the lapel on both the blazer and lining. Do the same to the other side.
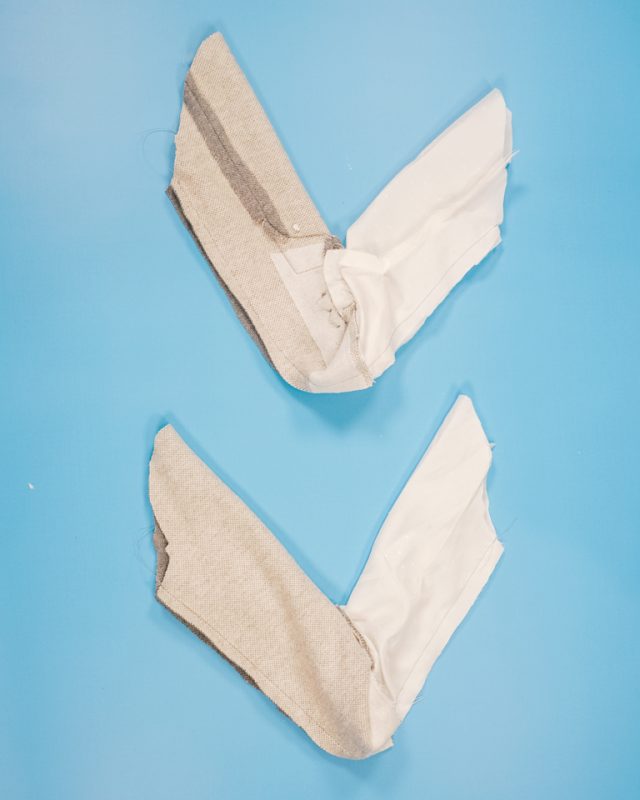
Next, you’re going to sew the collars on. The felt collar (under collar) will go on the blazer and the fabric collar (upper collar) will go on the lining.
Match center backs with neck edge toward the jacket. The edge of the collar will be 1 inch in from the lapel edge. Sew right sides together.
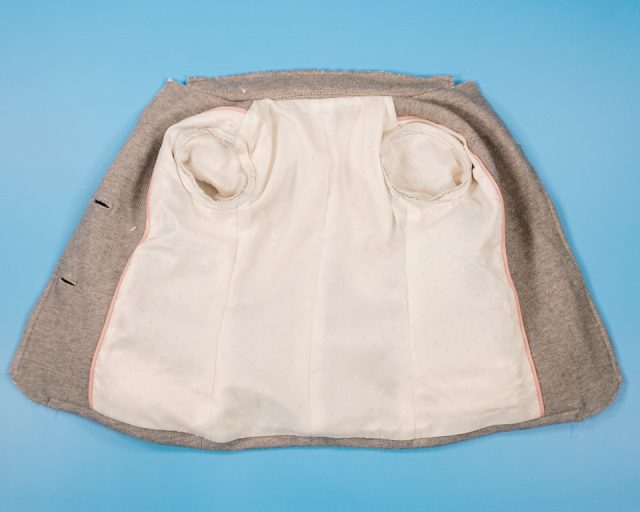
Iron seams open.

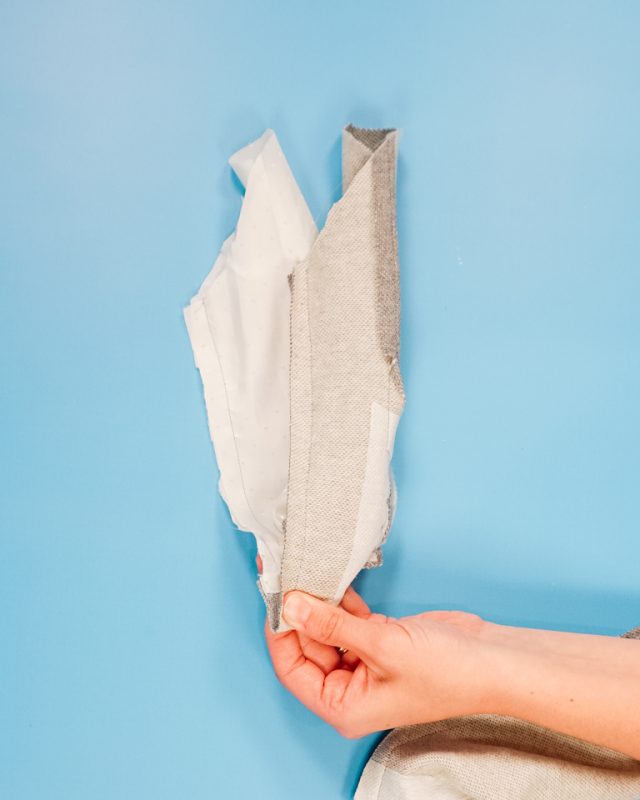
Clip and notch the neckline and collar seam allowance so that the seams lay as flat as possible.
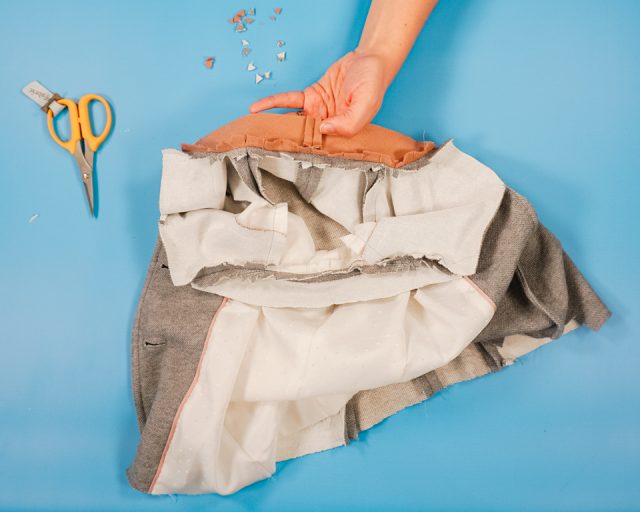
Match up the open neckline seams together. Sew the collar seam allowances together on one side to keep the neckline seam open and flat. It will keep the blazer and lining together nicely and reduce bulk right at the neckline.
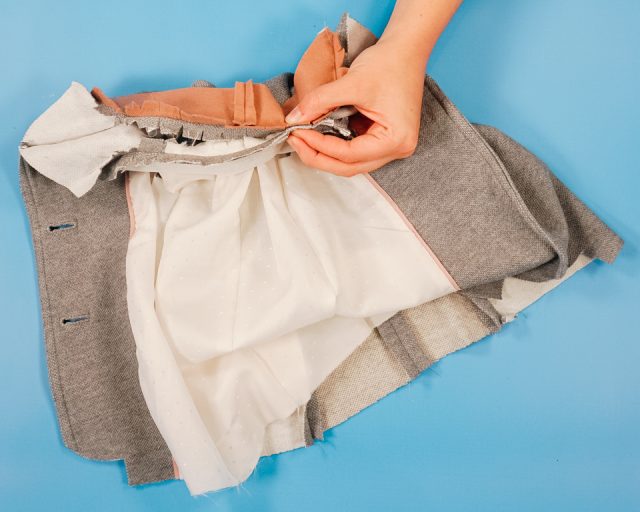

Trim the 1 inch of seam allowance off between the collar and the edge of the lapel.
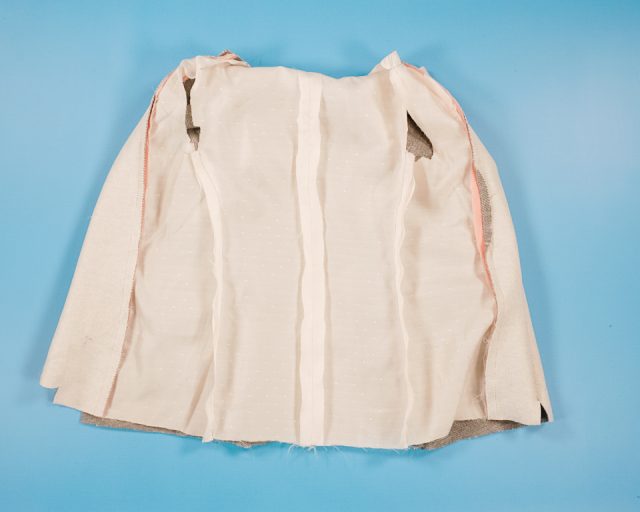
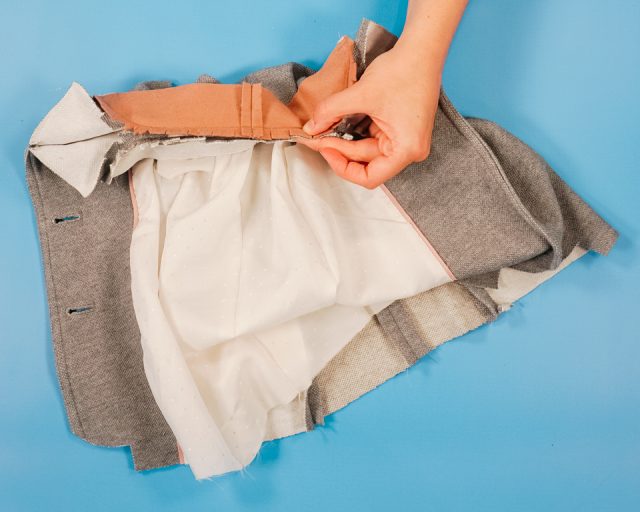
Turn the blazer wrong side out. Match up the bottom edges right sides together between the notches on the blazer piece. Match up the three seams. Sew the hem.
Fold the hem 1 inch from the bottom of the blazer fabric. Match up the seam allowance of a side seam and the seam allowance in the hem. Tack the seam allowances together.
Do this to the other side seam and the back seam. This holds the jacket hem up at the right place.
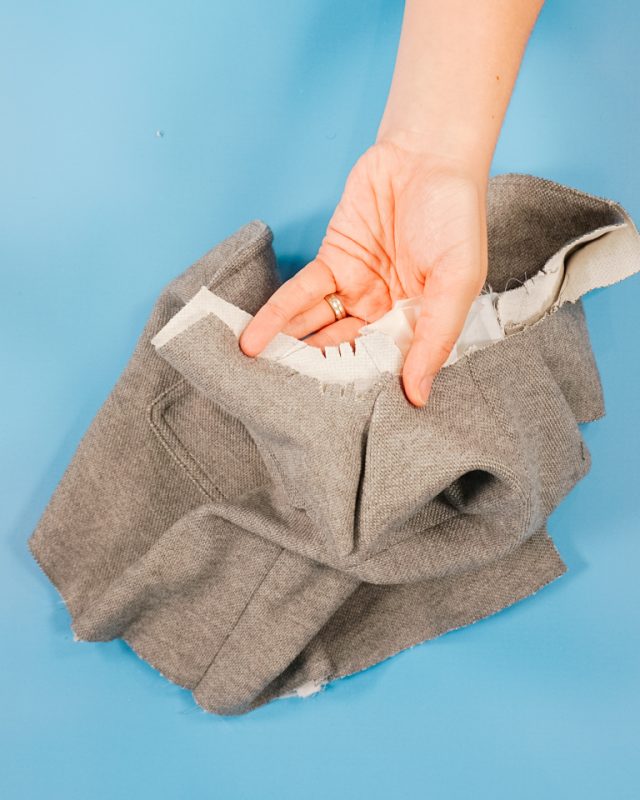
Turn the blazer right side out. Clip the hem allowance just inside the hole at the front curve edge so that the hem will lie flat. The fabric of the hem allowance changes direction at this point.
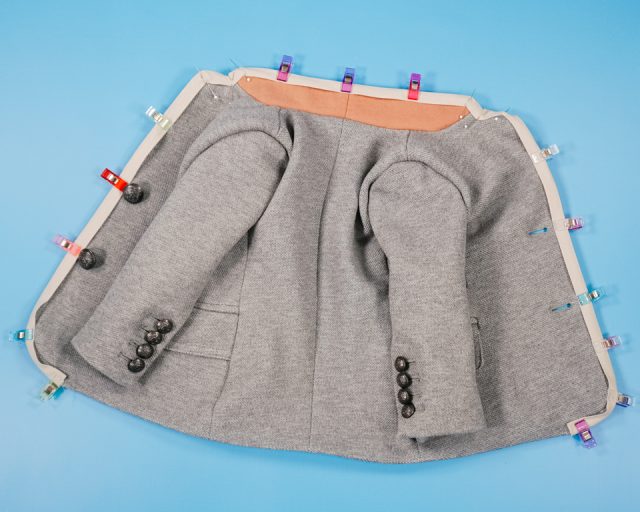
Pin all front edges and collar together. Baste edges together.
Match up the sleeve side seam right sides together. You can’t completely separate the sleeve hem because the buttons will be sewn through all the layers. Sew the sleeve seam from blazer through to the lining.
Fold the hem up to the original hem at the sleeve seam allowance. Tack the seam allowance together to keep the hem folded in the right place.
Turn the sleeves right side out.

Baste the top edges of the sleeves together. Sew an easing stitch around to top. (Learn how to sew set-in sleeves.)
Slide the sleeves into the armhole with right sides together. The two notches are the back of the sleeve and the one notch is the front of the sleeve.
Match the sleeve side seam with the bottom notch in the armhole. Match the top sleeve notch with the shoulder seam of the blazer.
Sew the sleeves into the armholes with right sides together. Finish the sleeve edges with either a zigzag stitch, serger, or bias binding.
Finish edges with bias binding.
You finished!
Try it on your baby and take them somewhere nice!
Get the Free Sewing Pattern here!
If you make something using this sewing project, I’d love to see! Please share it on social media with the hashtag #heatherhandmade and tag me!

I believe small sewing moments can create great joy. Find your own “right” way to sew. -Heather
I signed up and got the pattern in size 12 months. I need to make a 24 month/ 2T size. Can I do this with my current pattern but draft it larger? If so how much?
You can get the bigger size here: https://heatherhandmade.shop/products/upcycled-blazer-sewing-pattern