
How to Make a Blanket Scarf

This post may contain affiliate links.
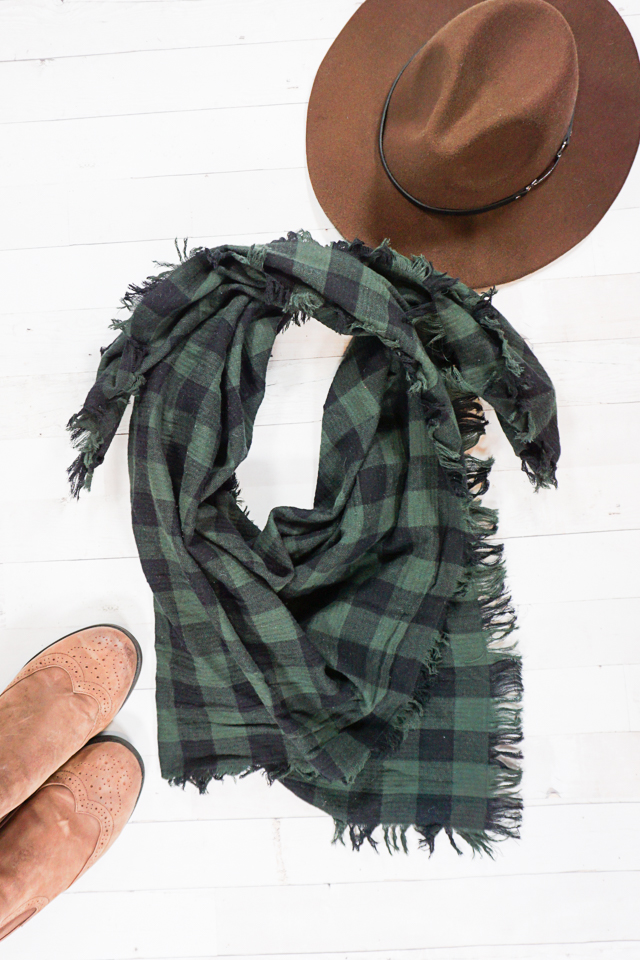
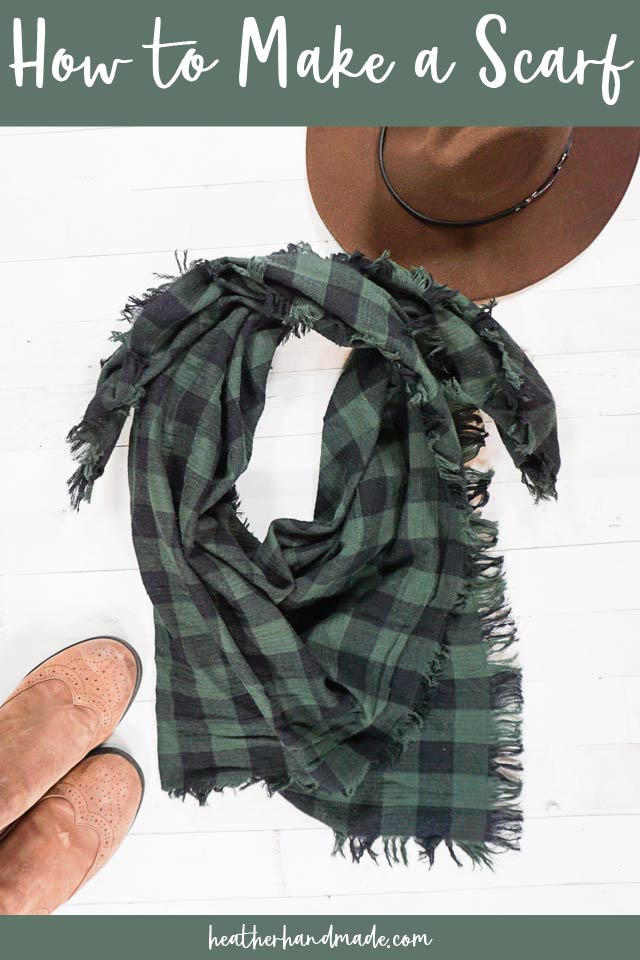
Learn how to make a blanket scarf with plaid flannel fabric that is perfect for gifts. This scarf has minimal sewing and a lot of fraying.
My favorite scarf to wear in the winter is a blanket scarf. They are so warm and cozy, and it keeps my whole neck warm. If I’m really cold I even tuck the bottom of my face into the scarf to keep warm.
This blanket scarf has only a little bit of sewing. The sewing is to remind you where to end the fringe and to bring stability to the edge of the scarf. You can skip it, but I like not having to worry about problems in the future.
There are so many fun plaids that make the perfect scarf! I used a lightweight plaid flannel for this DIY blanket scarf. It would be fun to make both a bright and colorful scarf along with a simple neutral one, so you would always have one to wear with your different outfits.
What fabric should I use to make a blanket scarf?
The best fabric to use for a blanket scarf is a yarn-dyed woven plaid fabric like shirting or a cotton. You want to make sure the fabric yarn dyed since the scarf will show both sides, and you want the back of the fabric to look the same as the front.
Do you love sewing? Here are some fun tips that will help:
- Ways to sew a scarf
- beginner sewing projects
- sewing gift ideas
- Fall sewing projects
- Cozy sewing projects

How to Make a Blanket Scarf
supplies
- 1.25 yard of lightweight plaid flannel fabric*
- sewing tools
- sewing machine
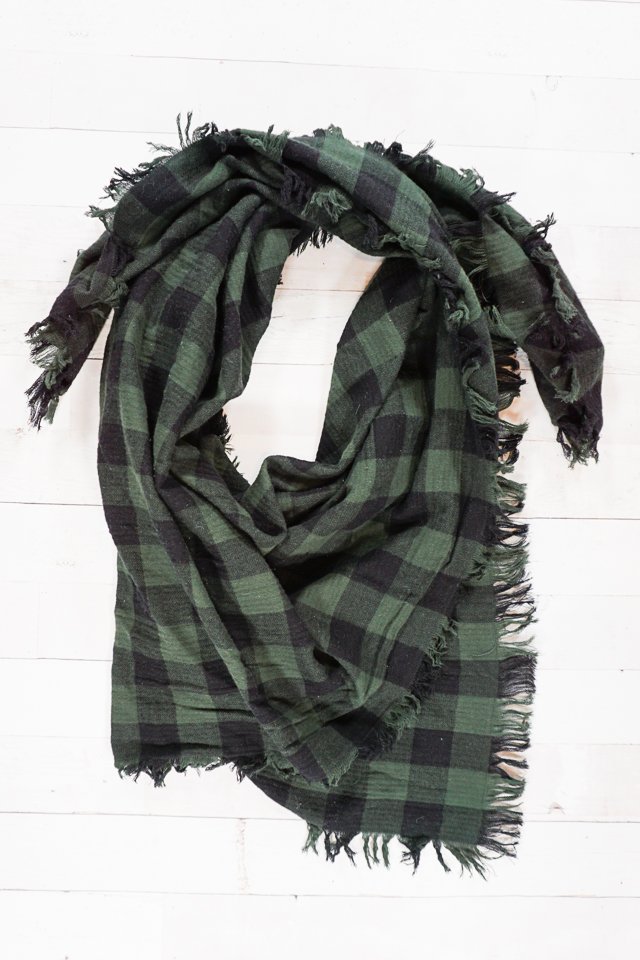
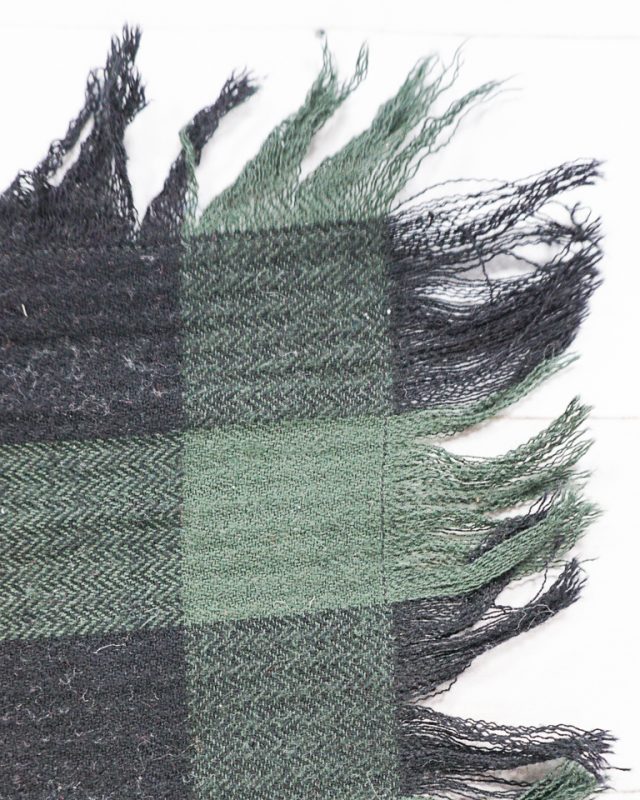
Fabric that is lightweight and has a loose weave is the easiest to use. I used a green buffalo plaid to make my blanket scarf.
Most flannel fabric comes about 44 inches wide.
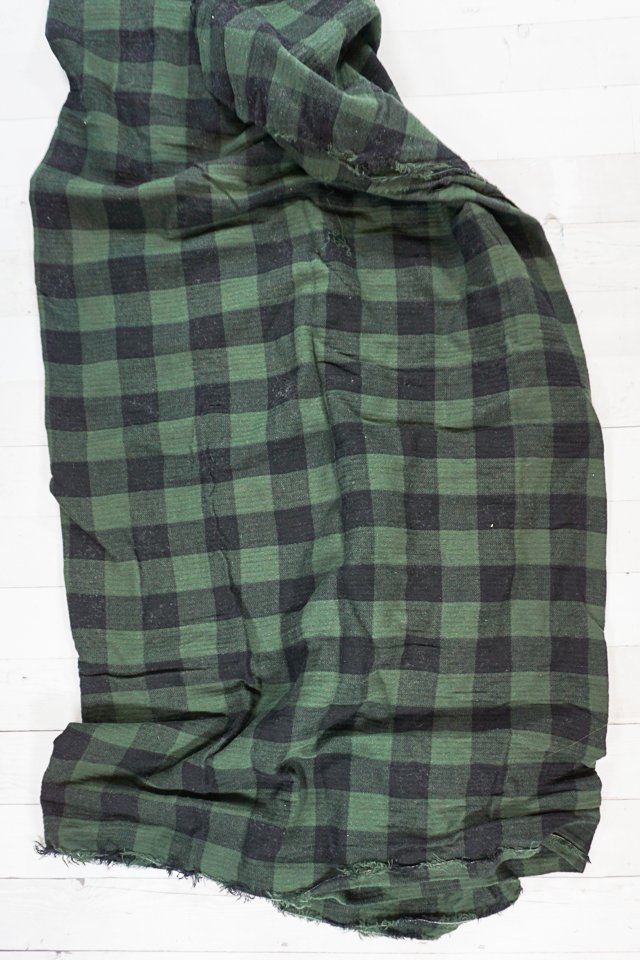
Cut a large square of fabric that is 44 inches wide and 44 inches tall.
Decide how tall you want your fringe to be. I decided to make my fringe as tall as one plaid square.
My plaid is an identical height from all sides. If your plaid changes height depending on which side you are on, then mark the same height on each side of the square.
Make three evenly distributed cuts that are the height of your fringe on each side. Pull the long threads out to create fringe. I found a seam ripper helped me get ahold of the tiny threads.
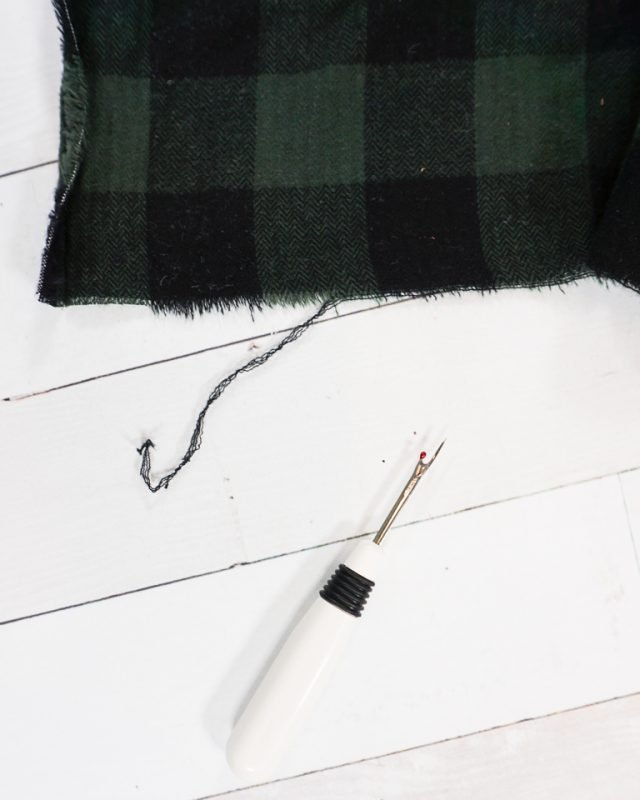
Pull the threads out until you read the height you want for your fringe. I found this part to be easy but time consuming. It’s the eaisest to pull two threads at a time.

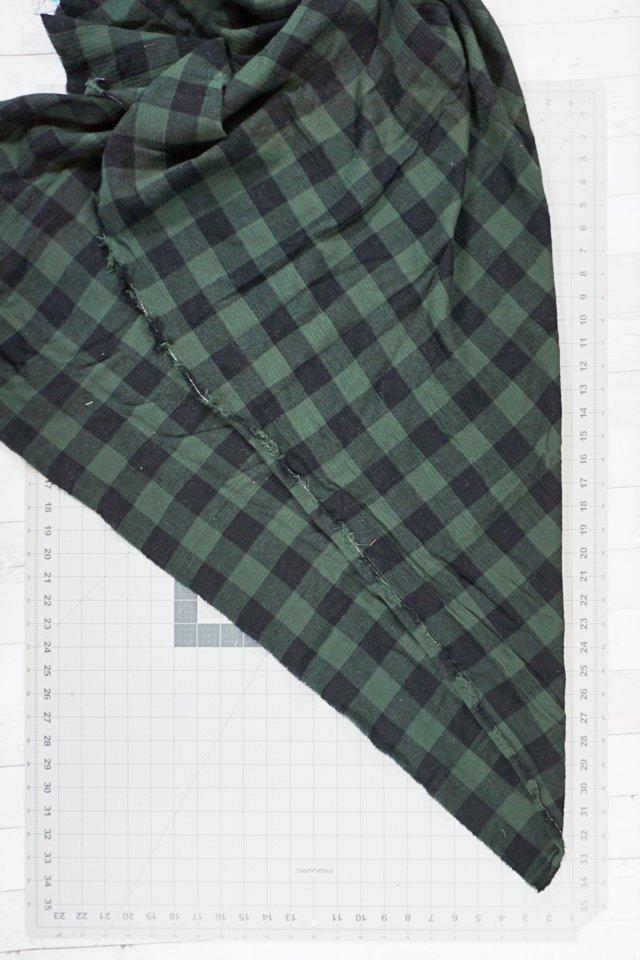
Once I was done creating the fringe, I sewed a regular straight stitch just inside the fringe all the way around the scarf. I didn’t have a problem sewing the stitch at the end.
If you need a guide for your fringe height, I recommend sewing the stitch at the beginning instead of at the end.
To wear the scarf I fold it in half from corner to corner creating a triangle. I place the point in the front on my chest and the I wrap each side point back around my neck. Sometimes I tie the back of the scarf in a knot, and sometimes I don’t.
If you make something using this sewing project, I’d love to see! Please share it on social media with the hashtag #heatherhandmade and tag me!

I believe small sewing moments can create great joy. Find your own “right” way to sew. -Heather
Heather,
Thank you for this tutorial.This will be the perfect beginner sewing project for my granddaughter. Soon to be 8 years old she loves to be at the sewing machine with me.
I’ll be making blanket scarves for gifts this holiday season. Is there a yardage increase for plus size women?
I would not increase the yardage for a plus size woman, but I would make it smaller for teens or children.