
Free Pot Holder Sewing Pattern: Circle and Square

This post may contain affiliate links.
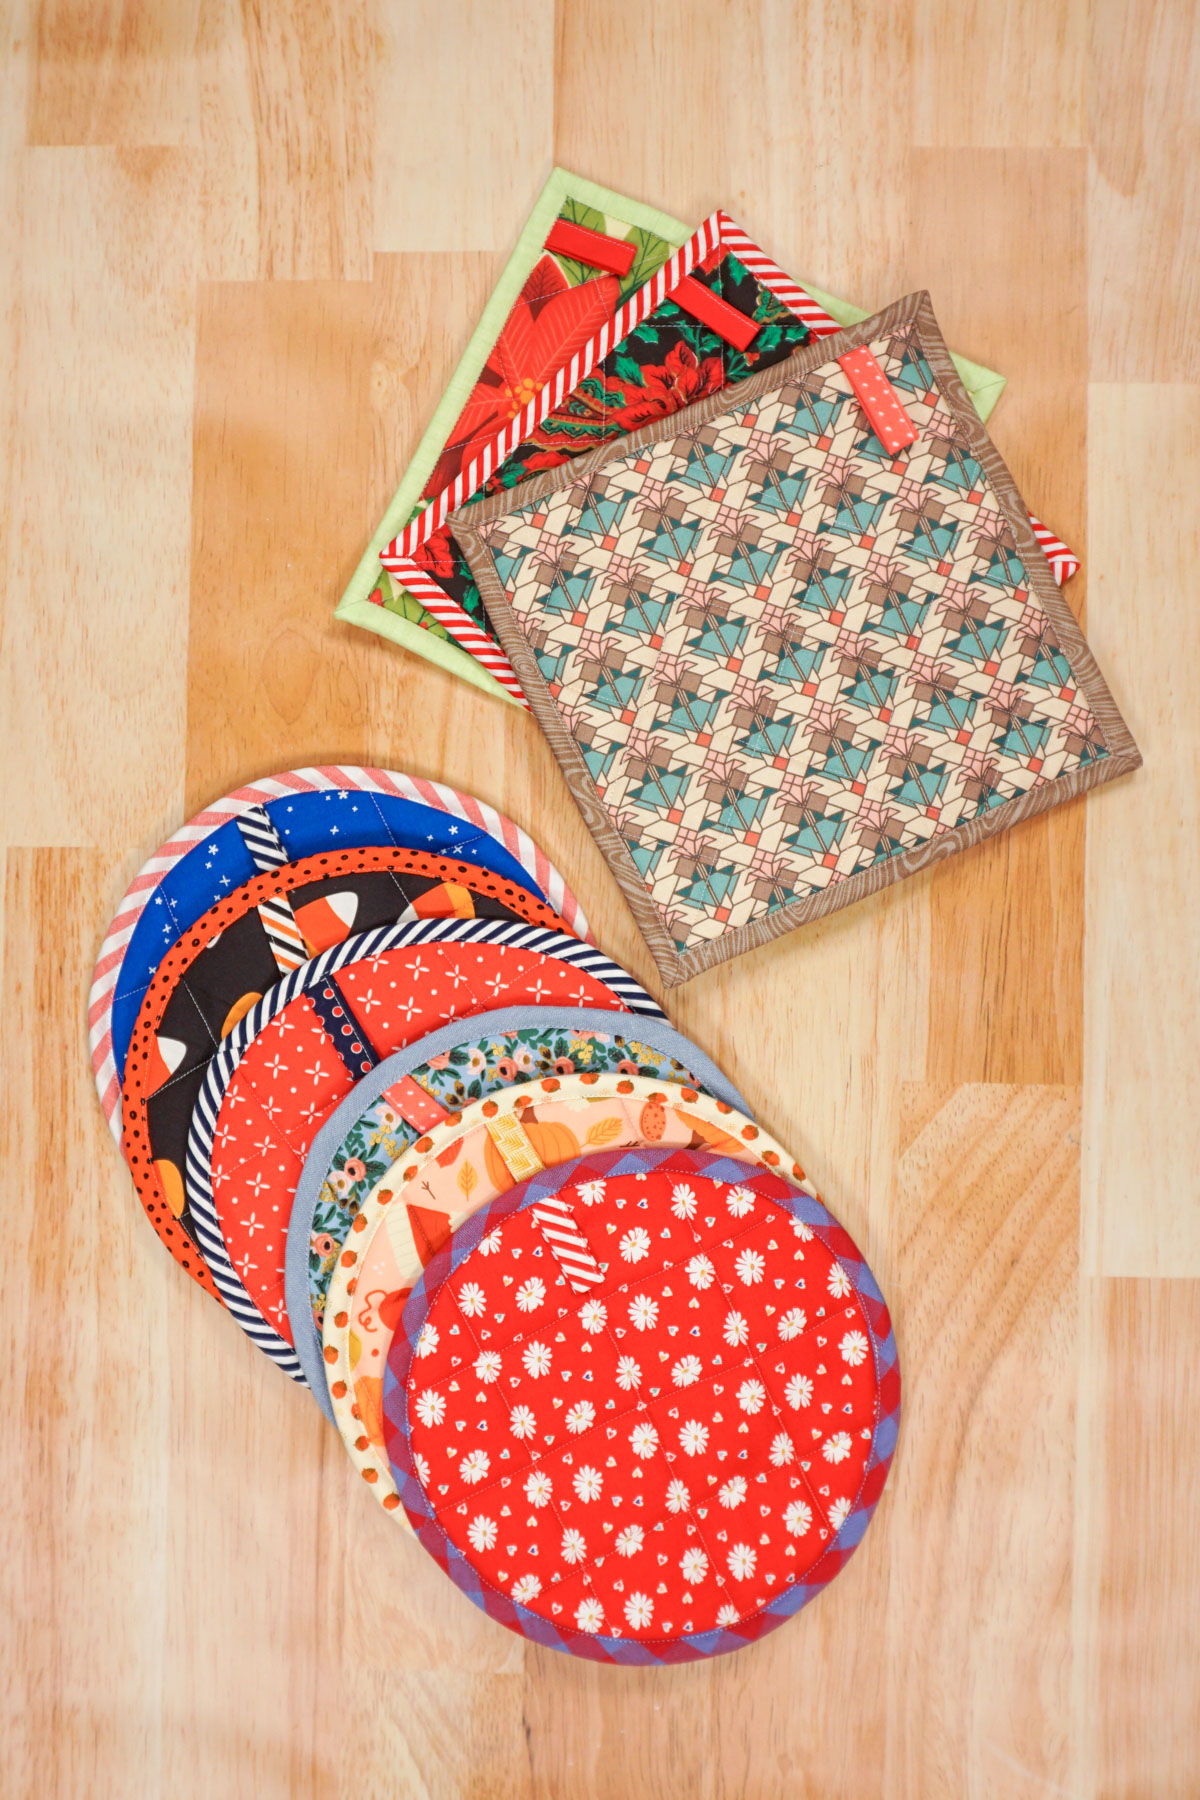
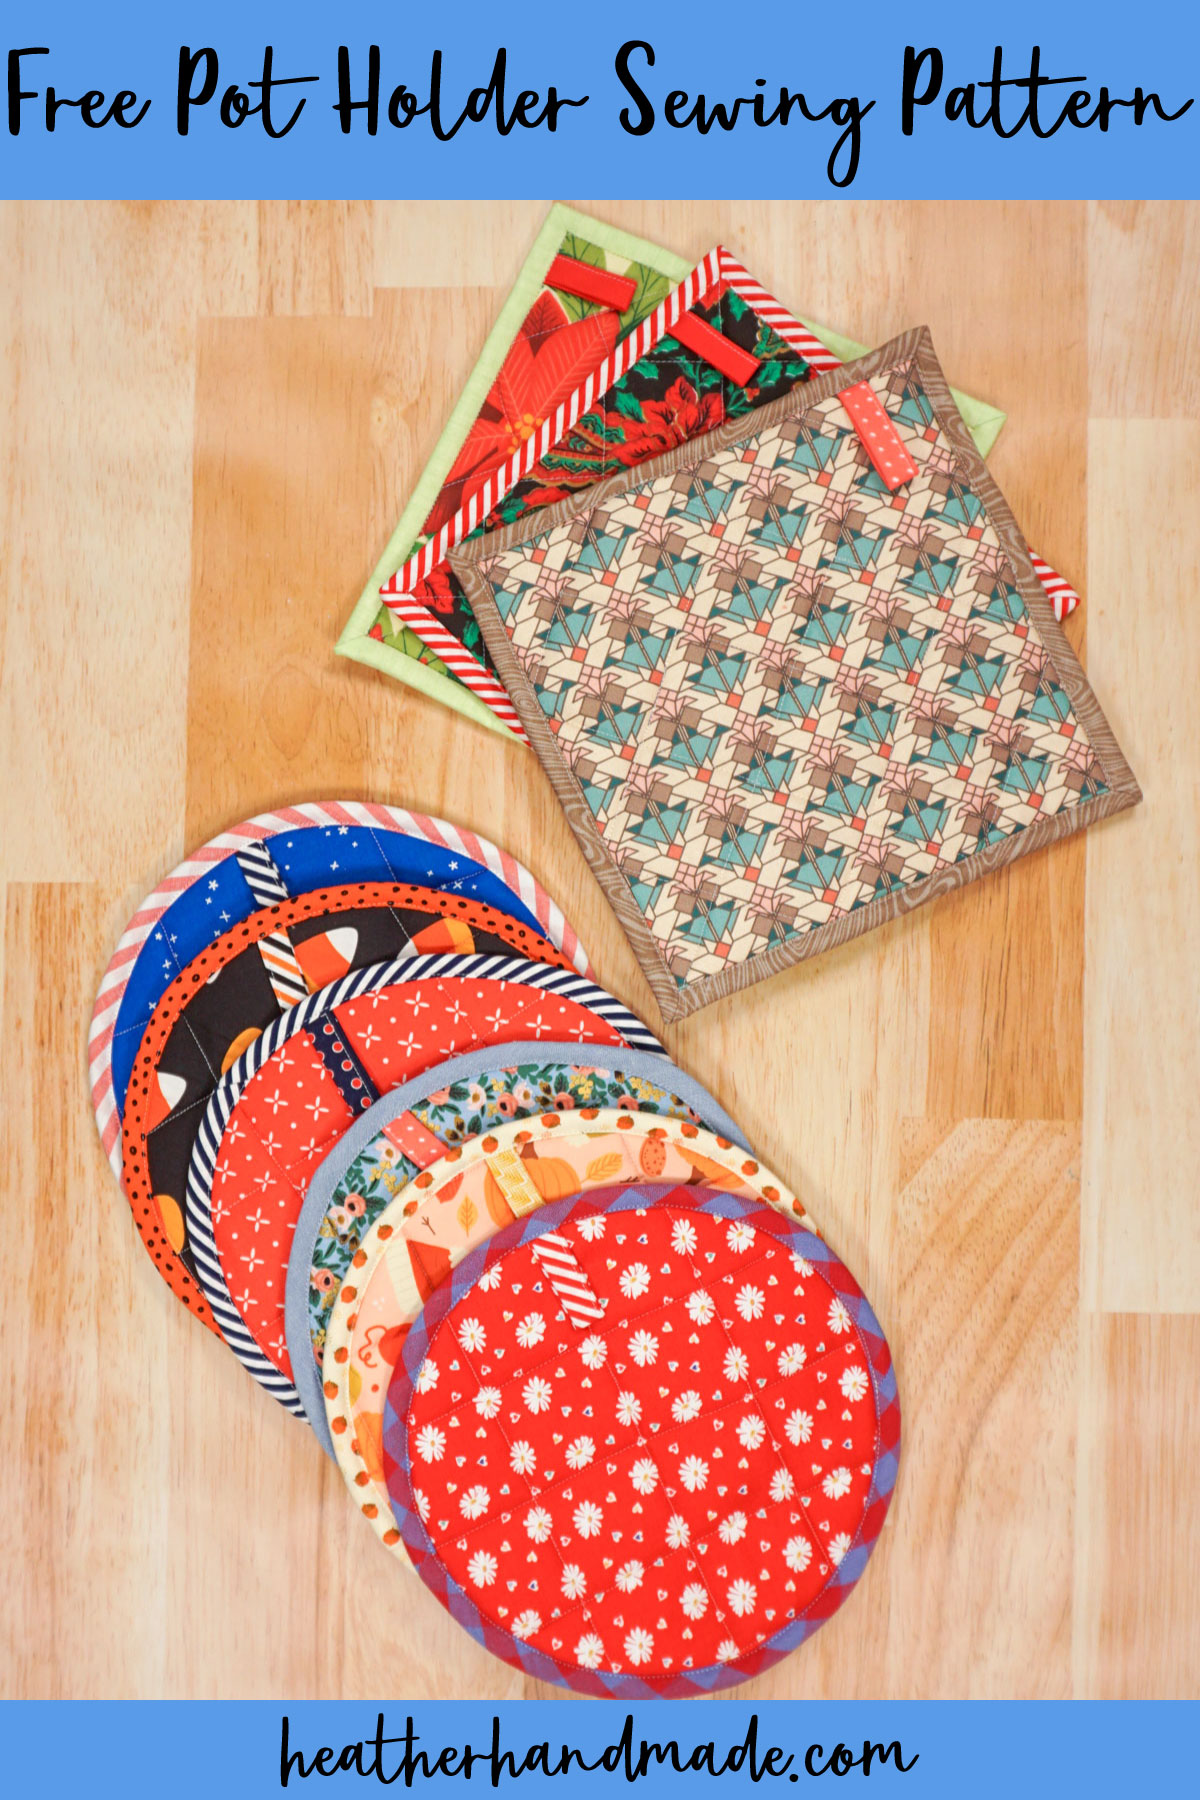
Learn how to sew a pot holder with a free sewing pattern in a circle and square shape. This beginner sewing project is useful and cute in the kitchen.
Do you have fabric that you love, but you don’t know what to make with it? Do you need a quick gift idea that is cute and useful?
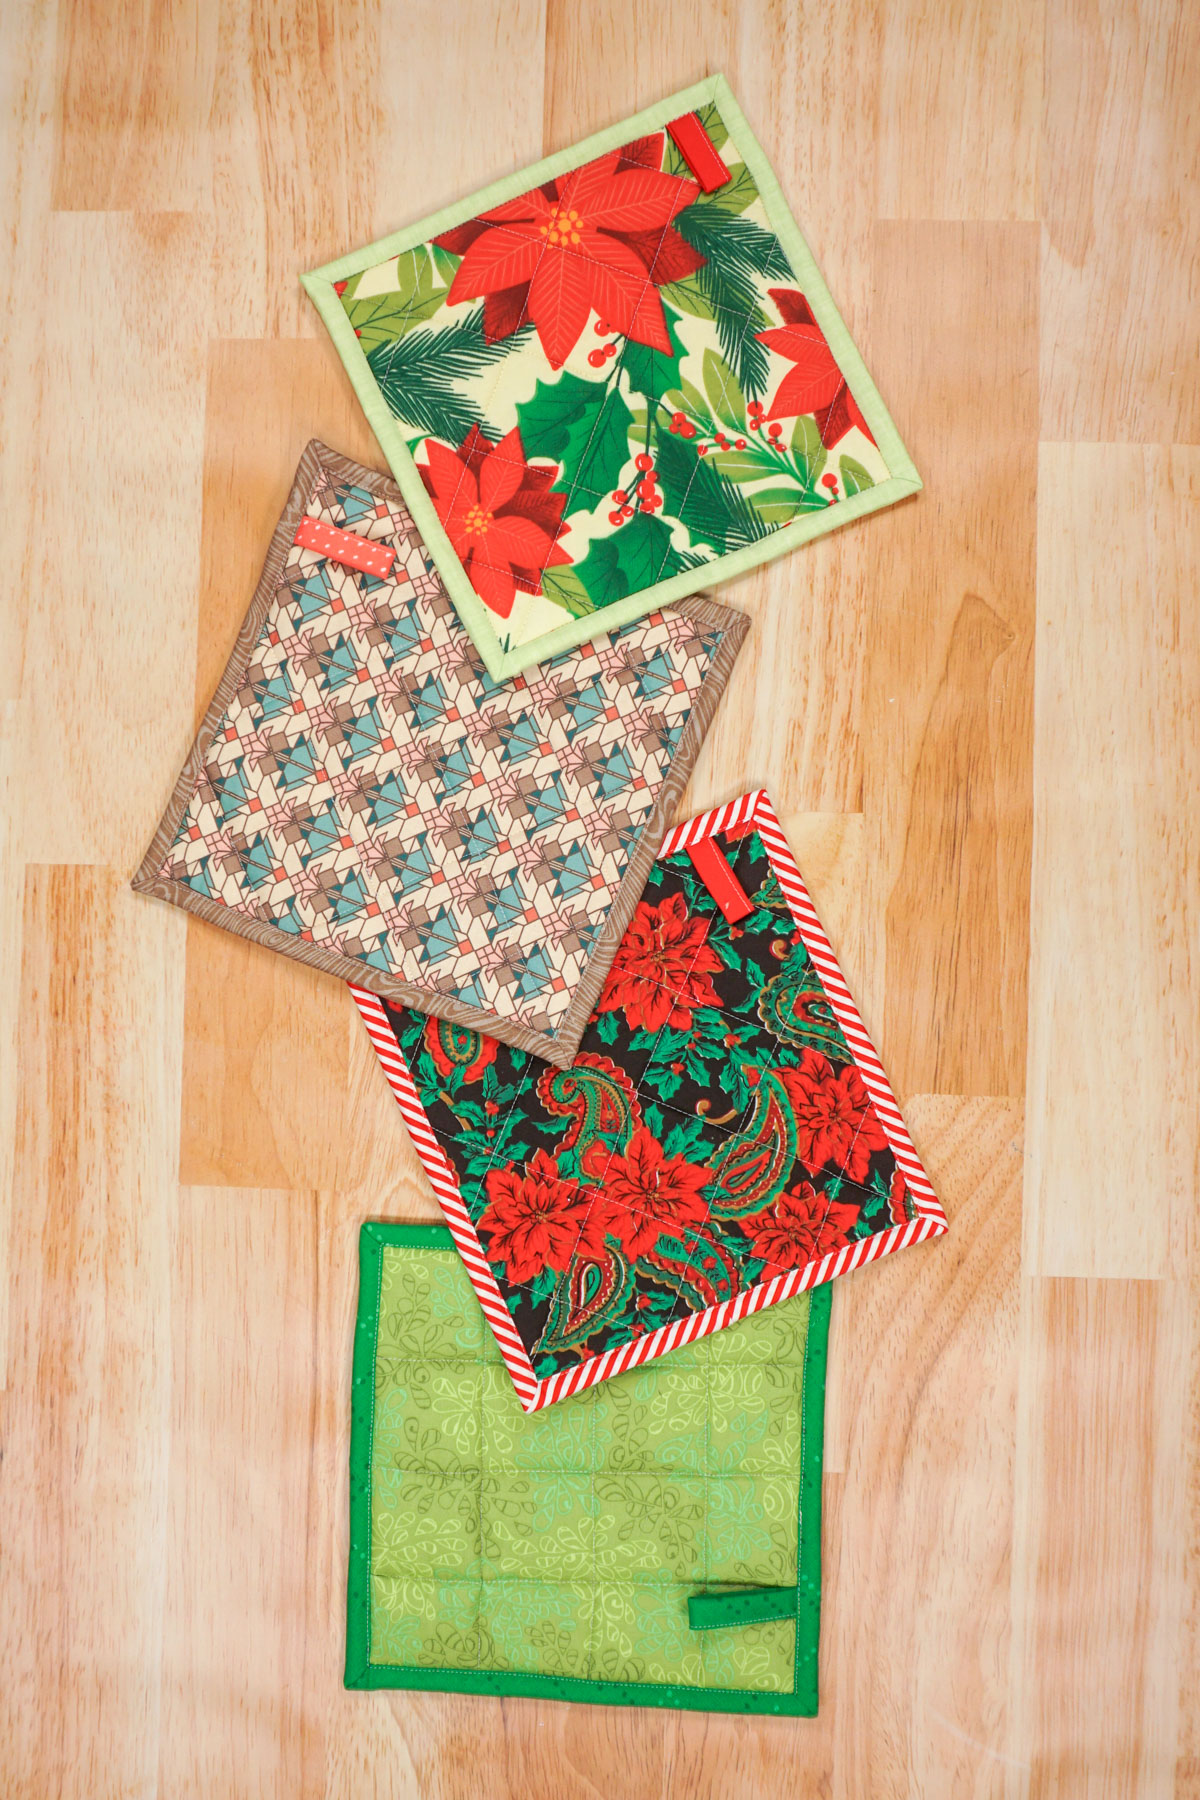
These pot holders are the perfect project for pretty fabric. They are quick and easy to make, and they make great gifts for friends or family. Pot holders make something useful for the kitchen, but it’s also pretty to decorate with. I love having one for every holiday of the year!
To get the free sewing pattern, scroll to the end of the tutorial. Put your email address in the form under “Get the Free Sewing Pattern Here.” Once you confirm that you want to receive emails from Heather Handmade, the free pattern will be sent to your email address. Check your spam and promotions for the email.
What fabric should I use?
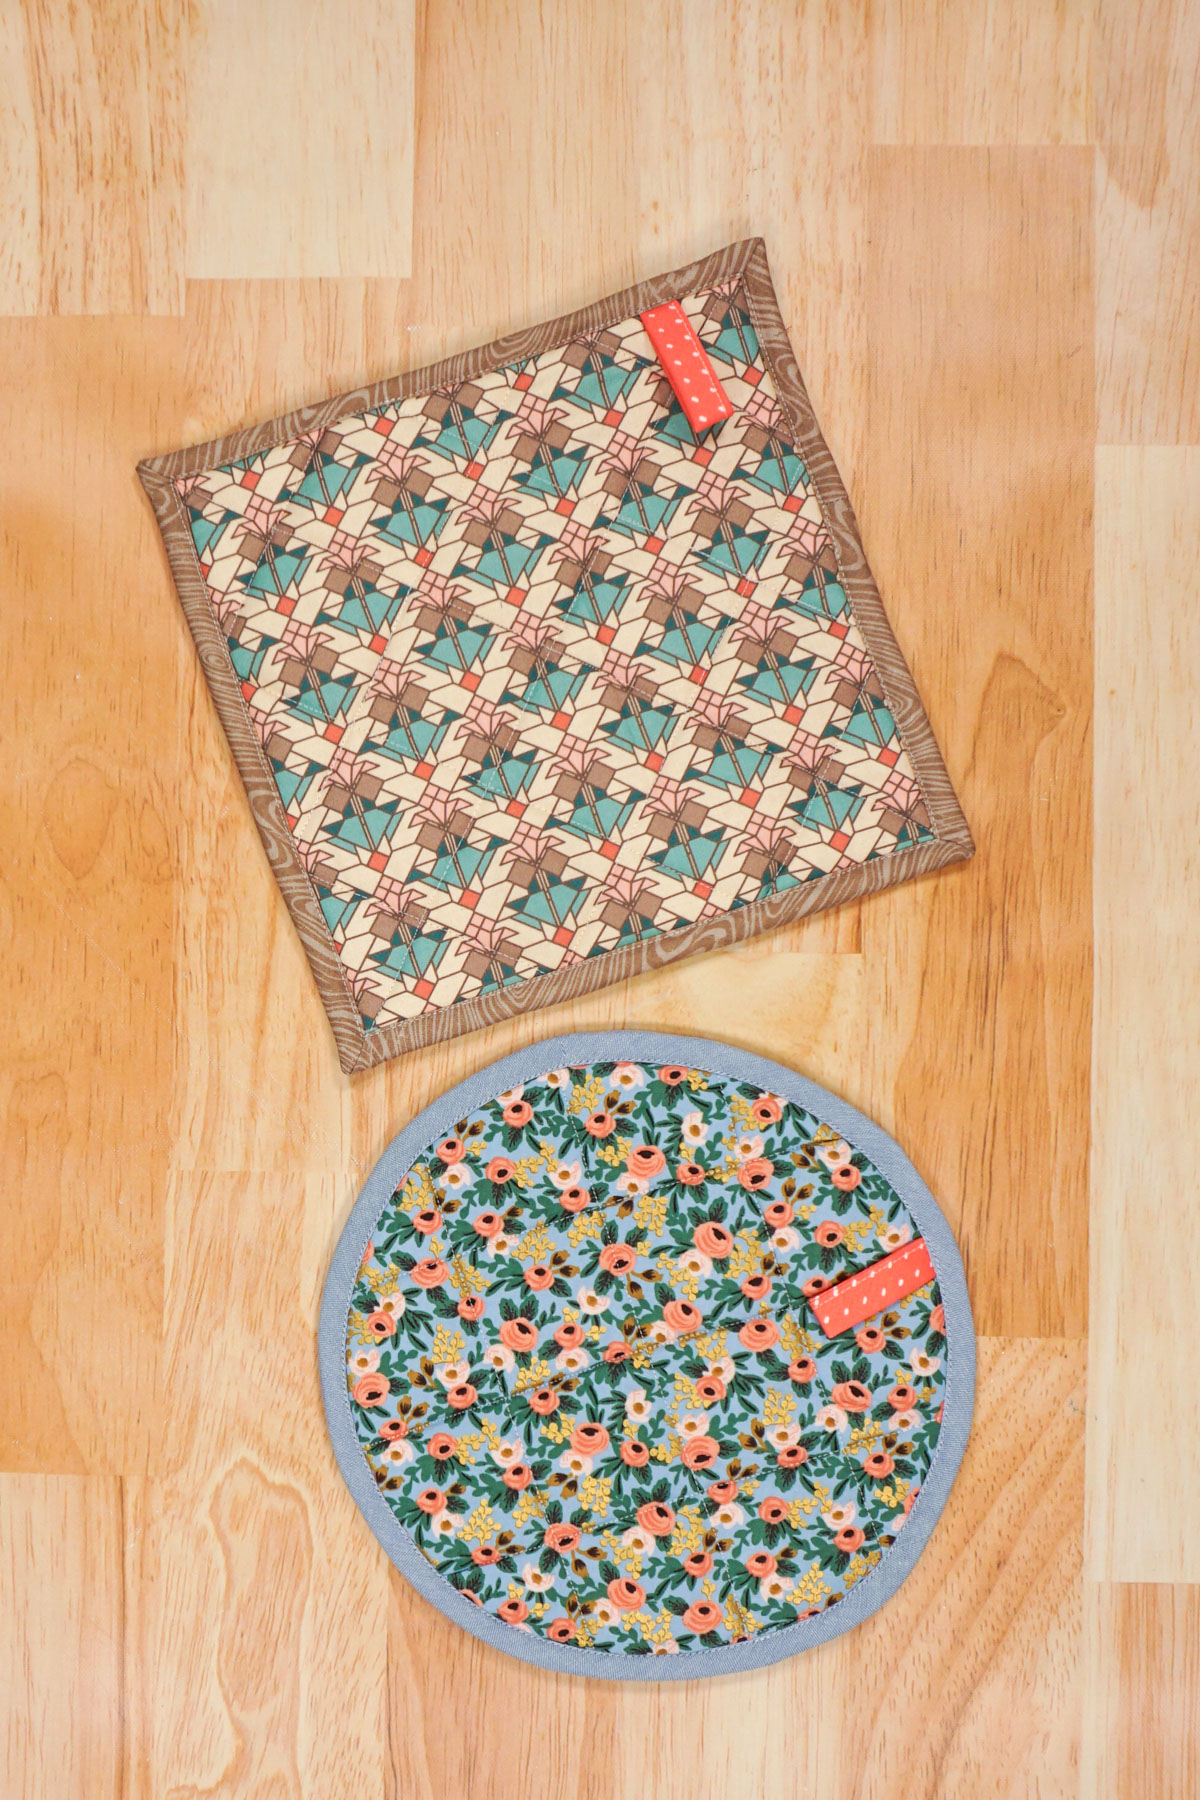
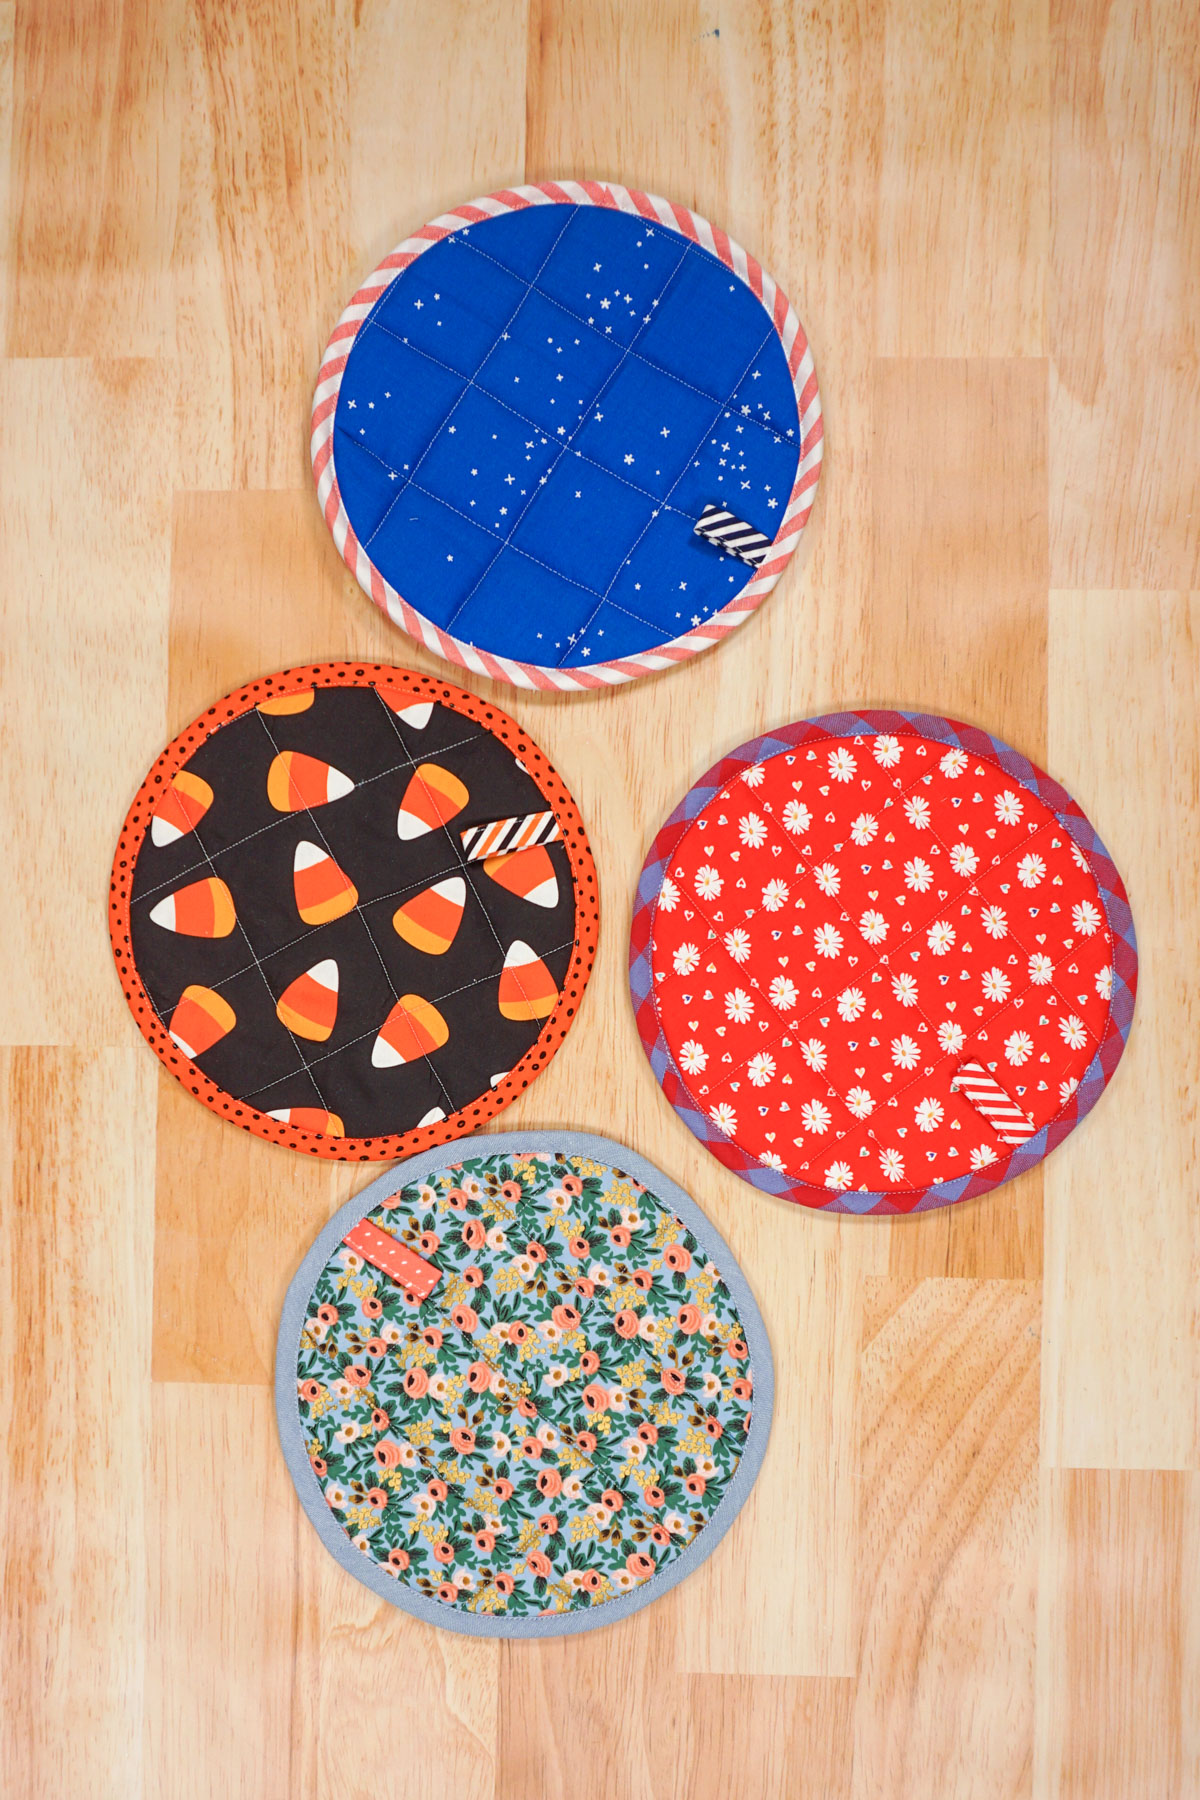
The best fabric to use for a pot holder is quilting cotton. Cotton is best for heat, and quilting cotton is easy to find and easy to sew. There are so many fun colors and prints you can use.
What batting should I use?
It’s very important to use cotton batting for anything that will be exposed to a lot of heat. You can use two layers of cotton batting for this pot holder, or you can use one layer of insul-bright and one layer of cotton batting for this sewing project.
Love to sew? Try these sewing projects:
- Beginner sewing projects
- Free PDF sewing patterns
- Kitchen sewing projects
- Gifts to sew
- Scrap fabric sewing projects
- Small sewing projects
- How to sew a Christmas pot holder
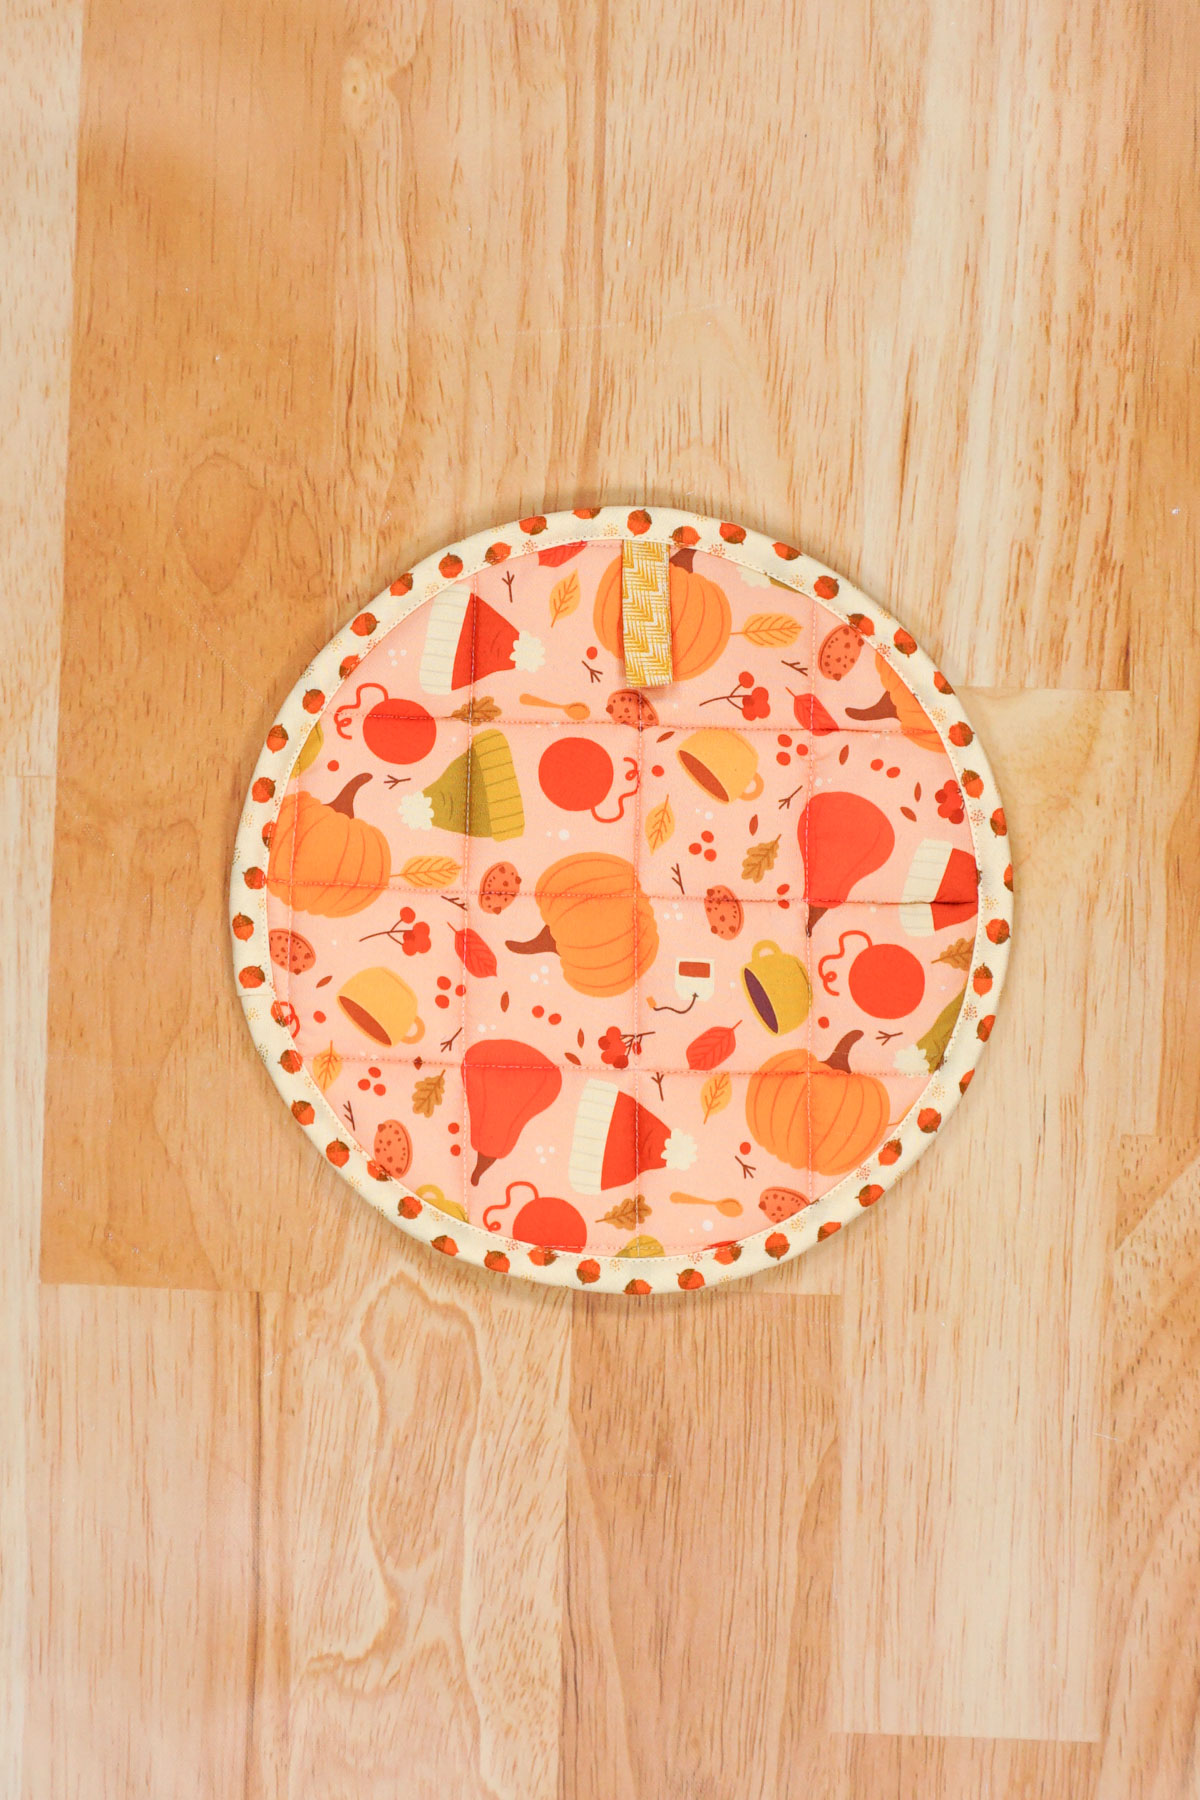
How to Sew a Pot Holder
Supplies
- Free pot holder sewing patterns – get it at the end of the post
- 12 inch by 12 inch scraps of quilting cotton fabric
- 12 inch by 12 inch scraps of cotton batting
- 12 inch by 12 inch scraps of insul-bright batting
- cotton bias binding – homemade or purchased – (how to make and use bias binding)
- cotton thread
- sewing tools
- sewing machine
Do you just want the pattern and tutorial as a PDF? Get the pattern and tutorial for just $5. You won’t need to access the internet every time you want to make it. Or get the Pattern Bundle with ALL the PDF tutorials!
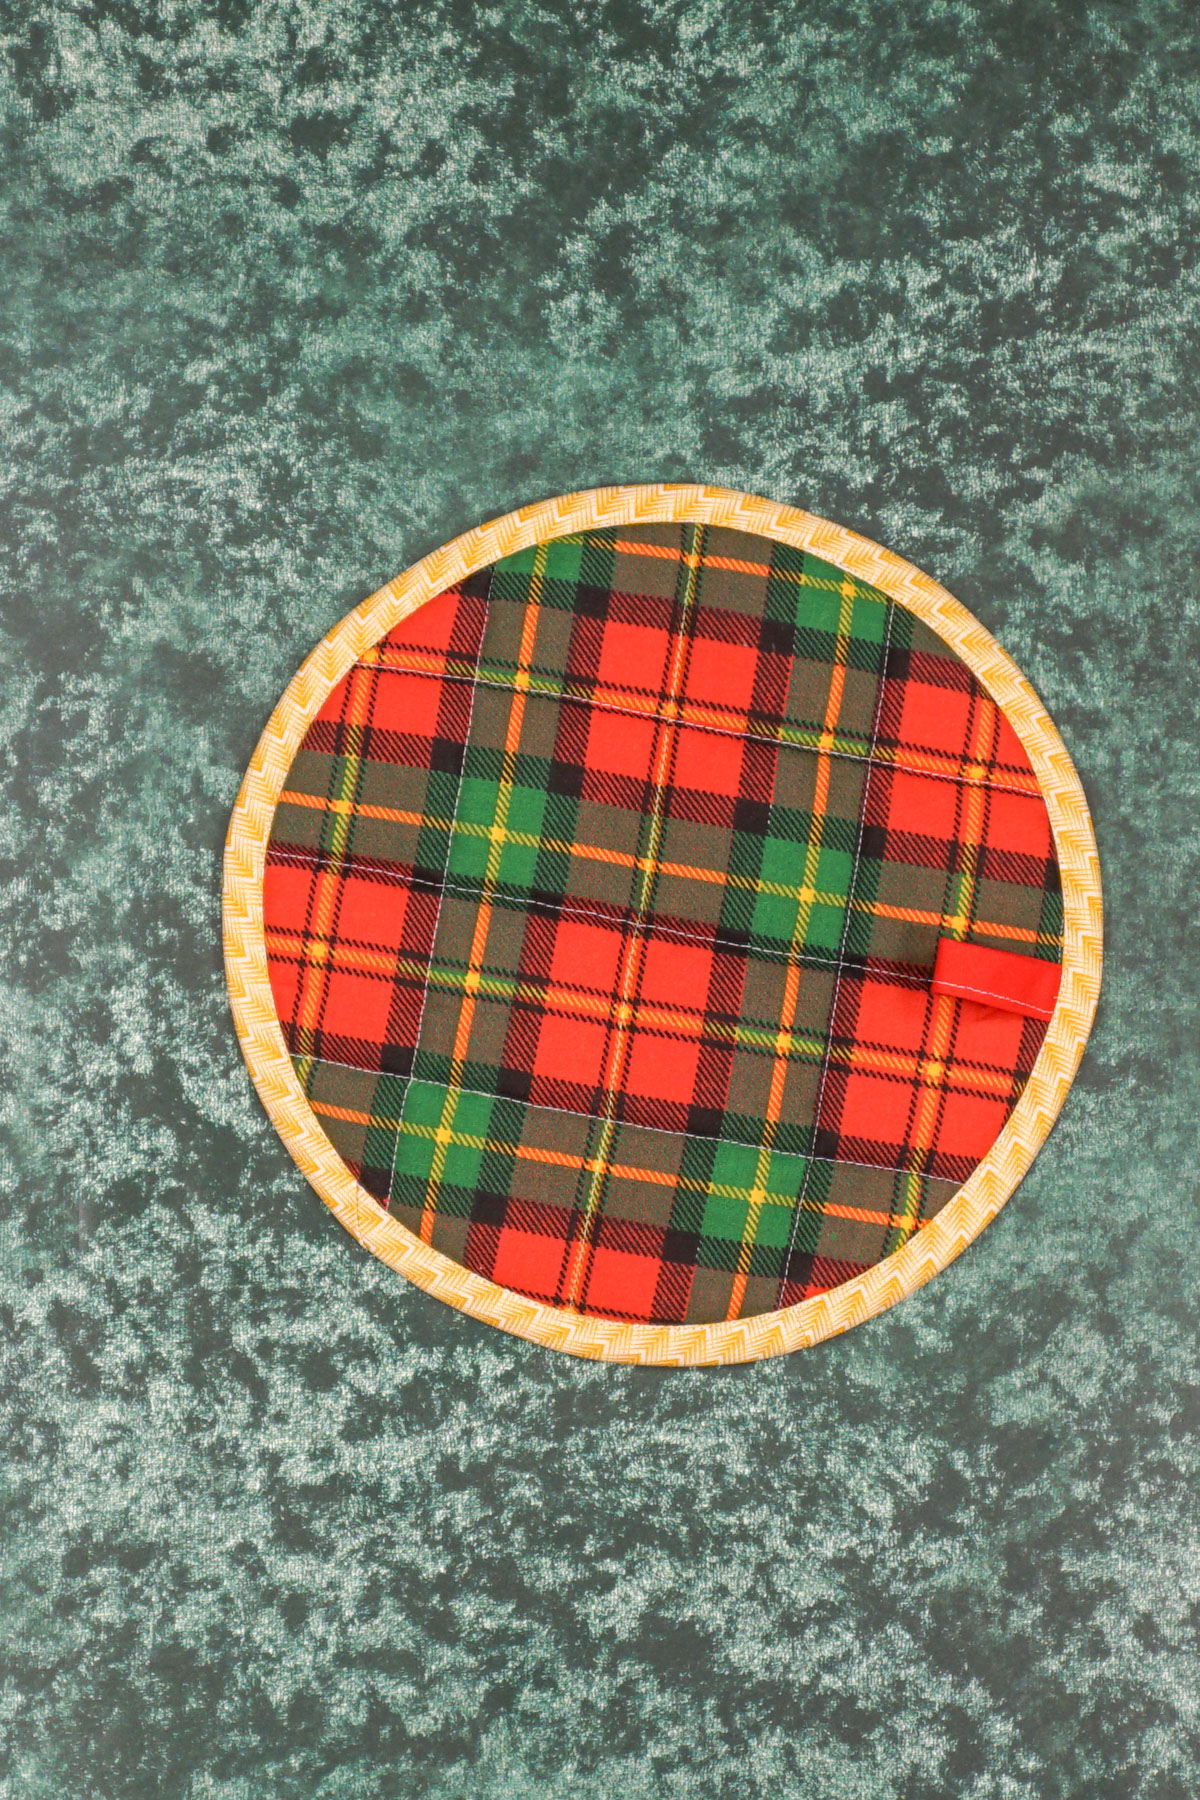
Circle Pot Holder Instructions
Use the circle pattern pieces to cut out two fabric pieces, one cotton batting piece, and one insul-bright piece. Cut a bias binding piece that is four to five inches for the loop. Cut your bias binding for the outside if you will be making it.
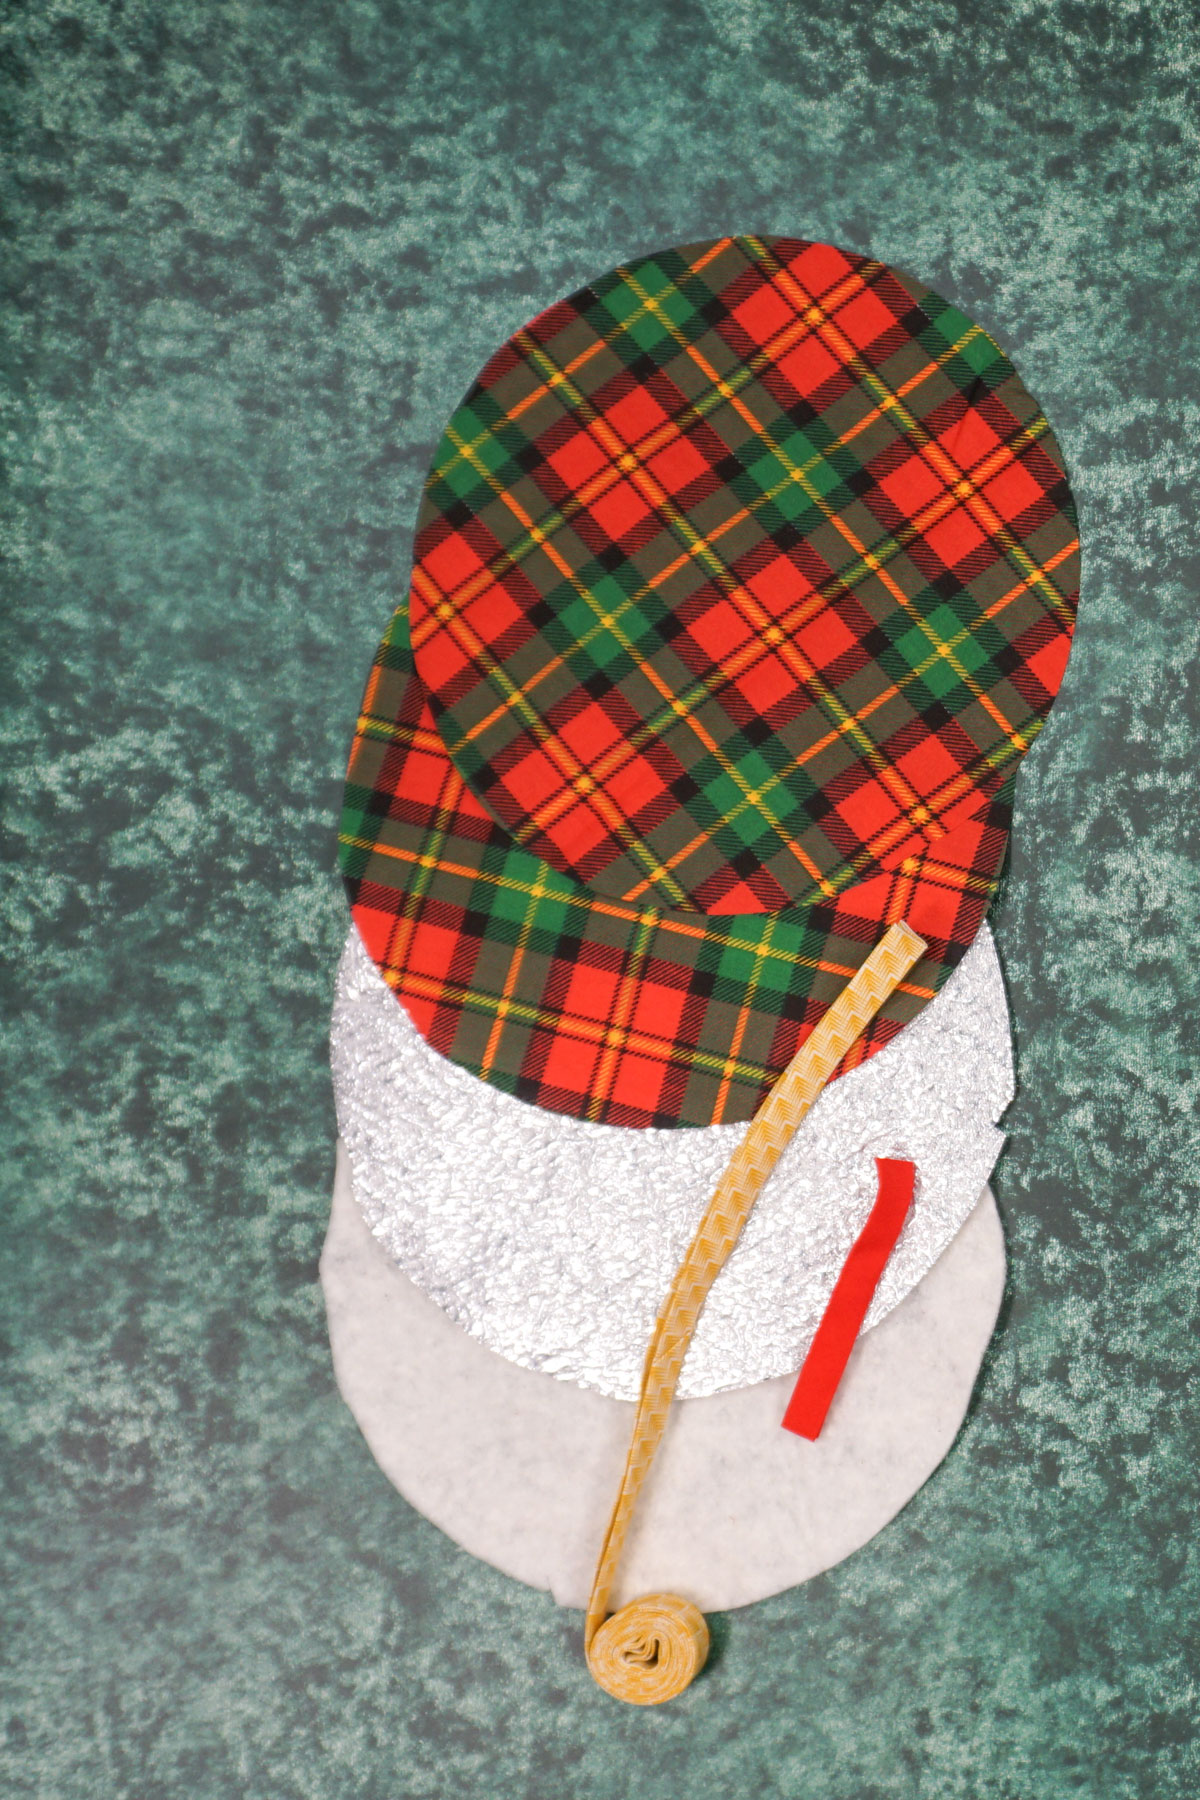
Make a quilt sandwich by placing a piece of fabric right side face down. Place the insul-bright batting piece on top and then the cotton batting. Then place the remaining fabric piece on top with right side up. The fabric pieces are sandwiching the batting pieces in the middle.
Pin all the layers together.
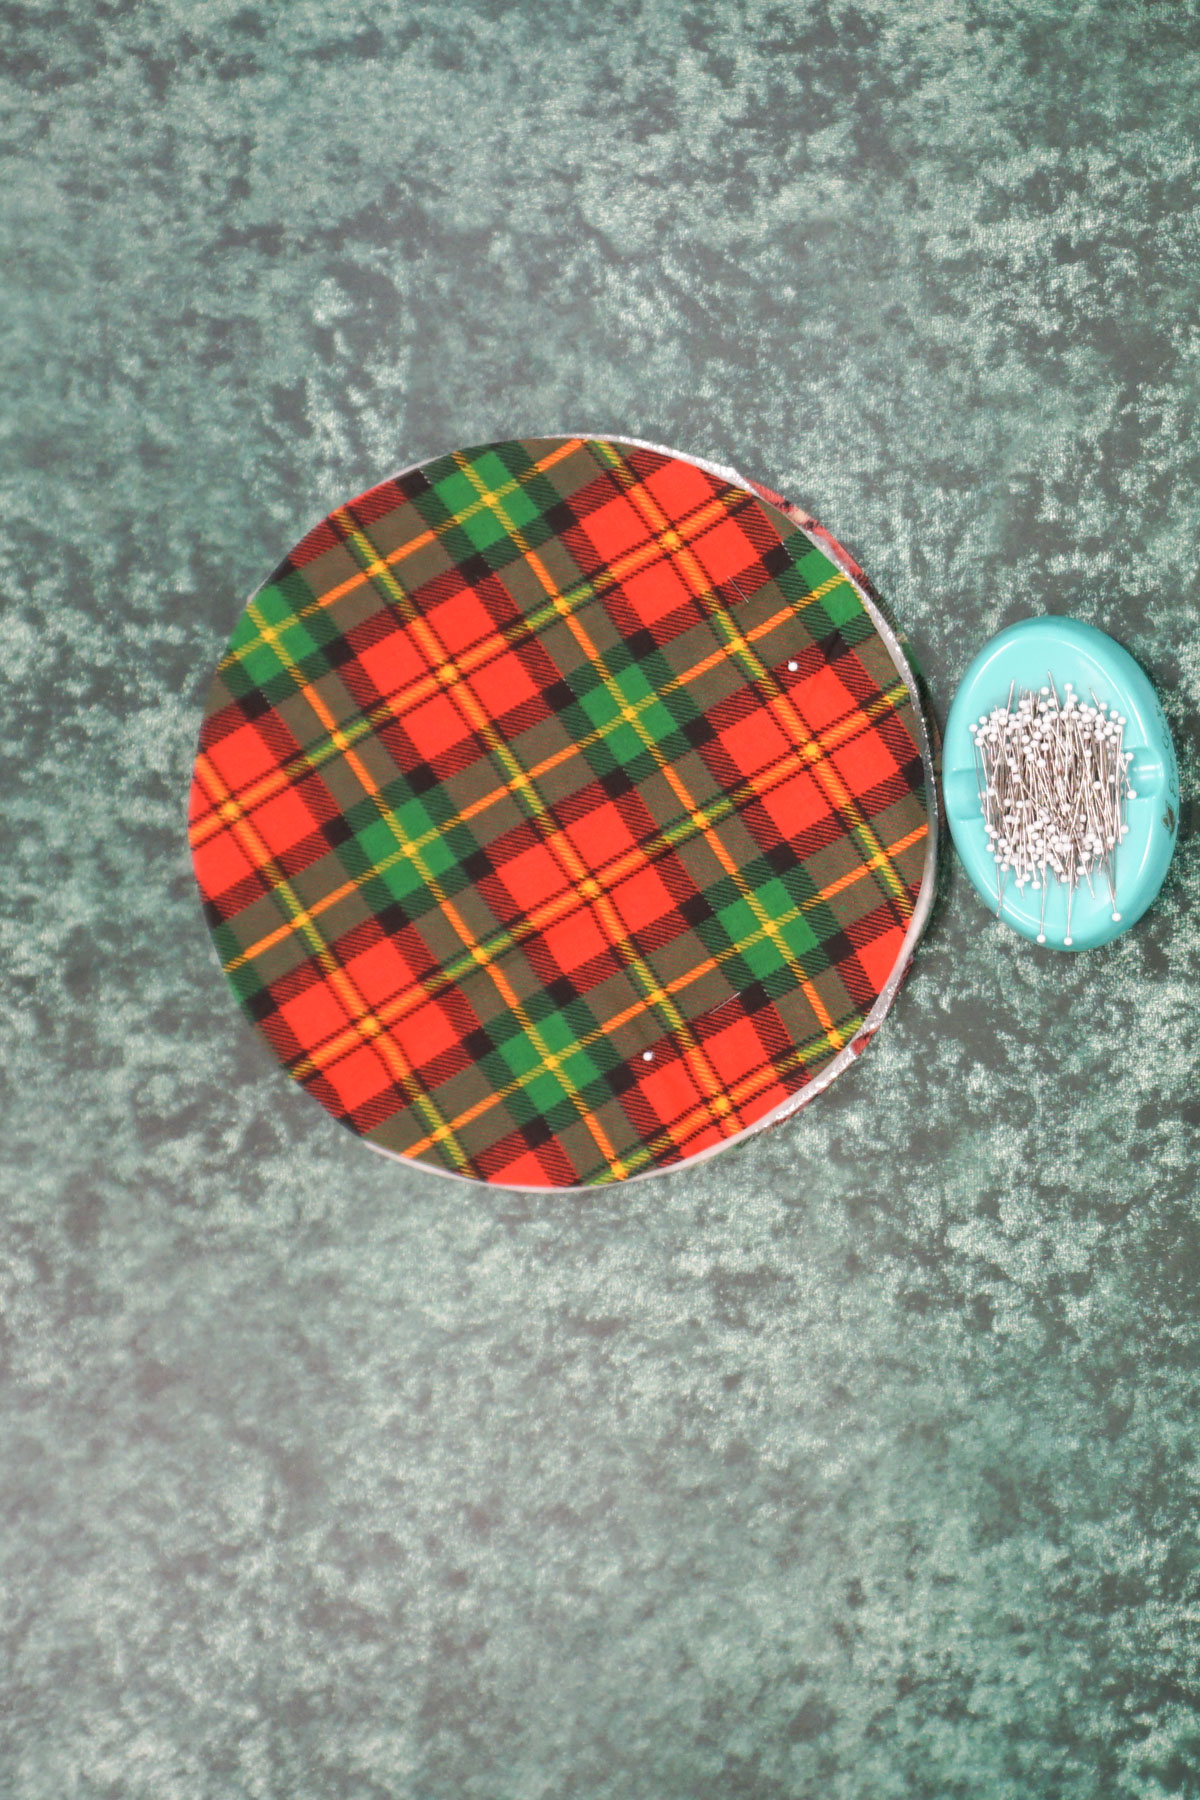
If you want quilt guide lines, mark them with a washable marking tool.
Quilt the layers together in whatever pattern you wish. This is the fun part because you can make the lines work with the fabric pattern or you can choose a fun design.
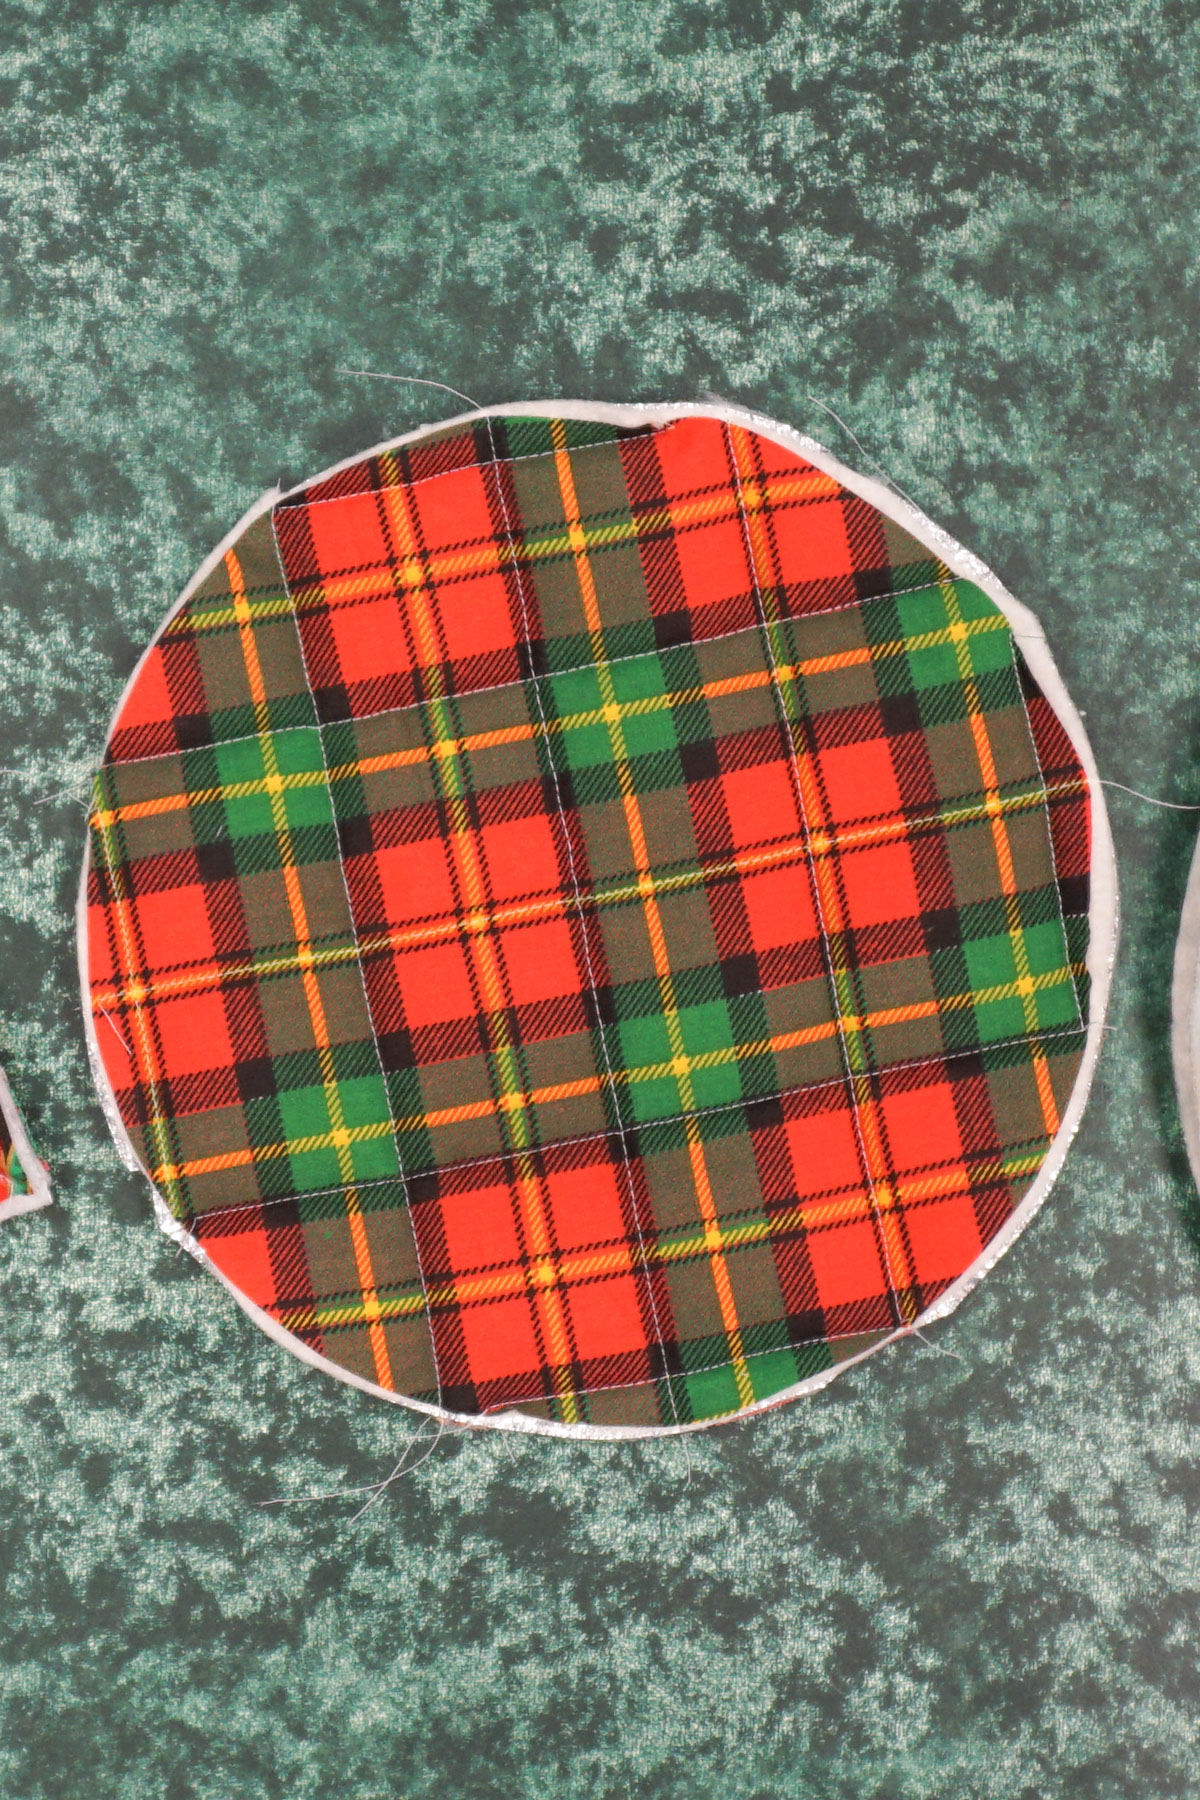
Quilting will shift the layers slightly so trim all the edges to make the layers straight and matched up.
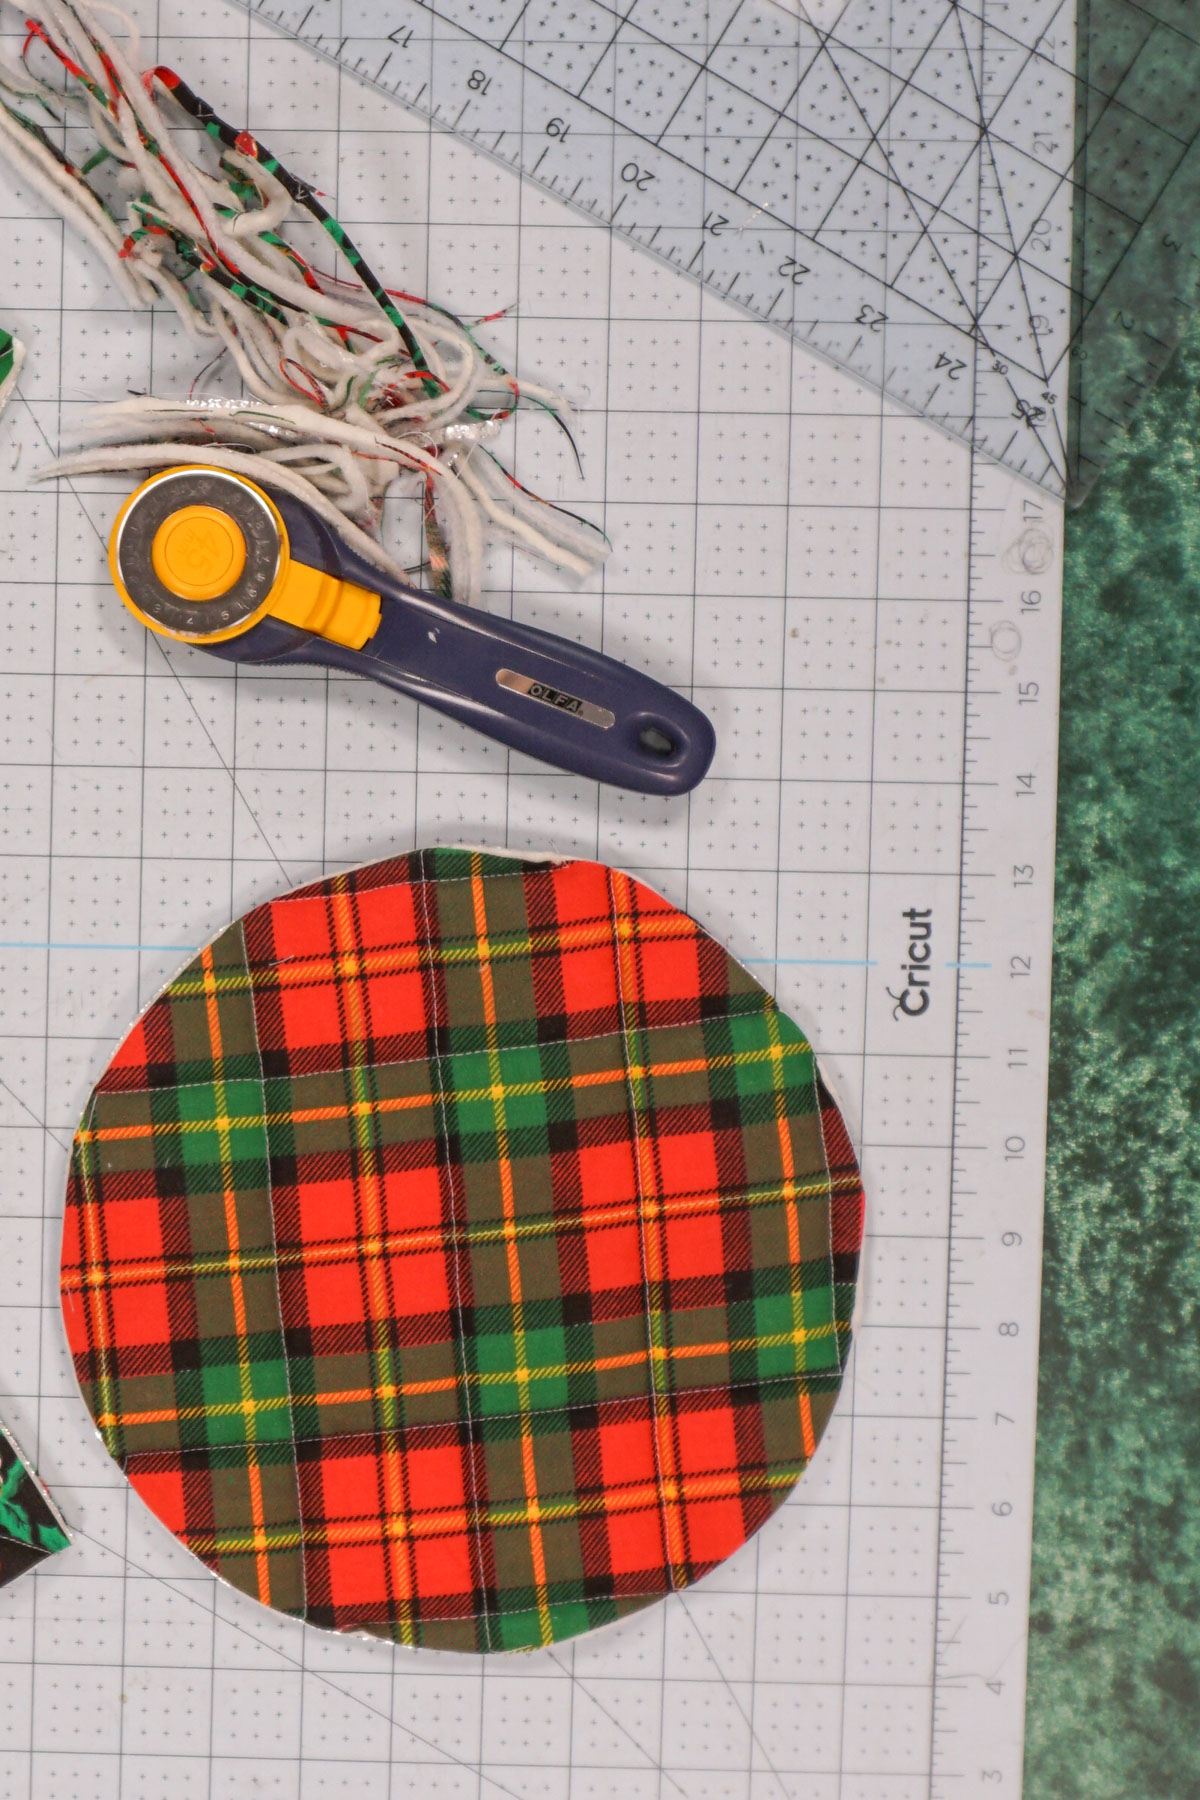
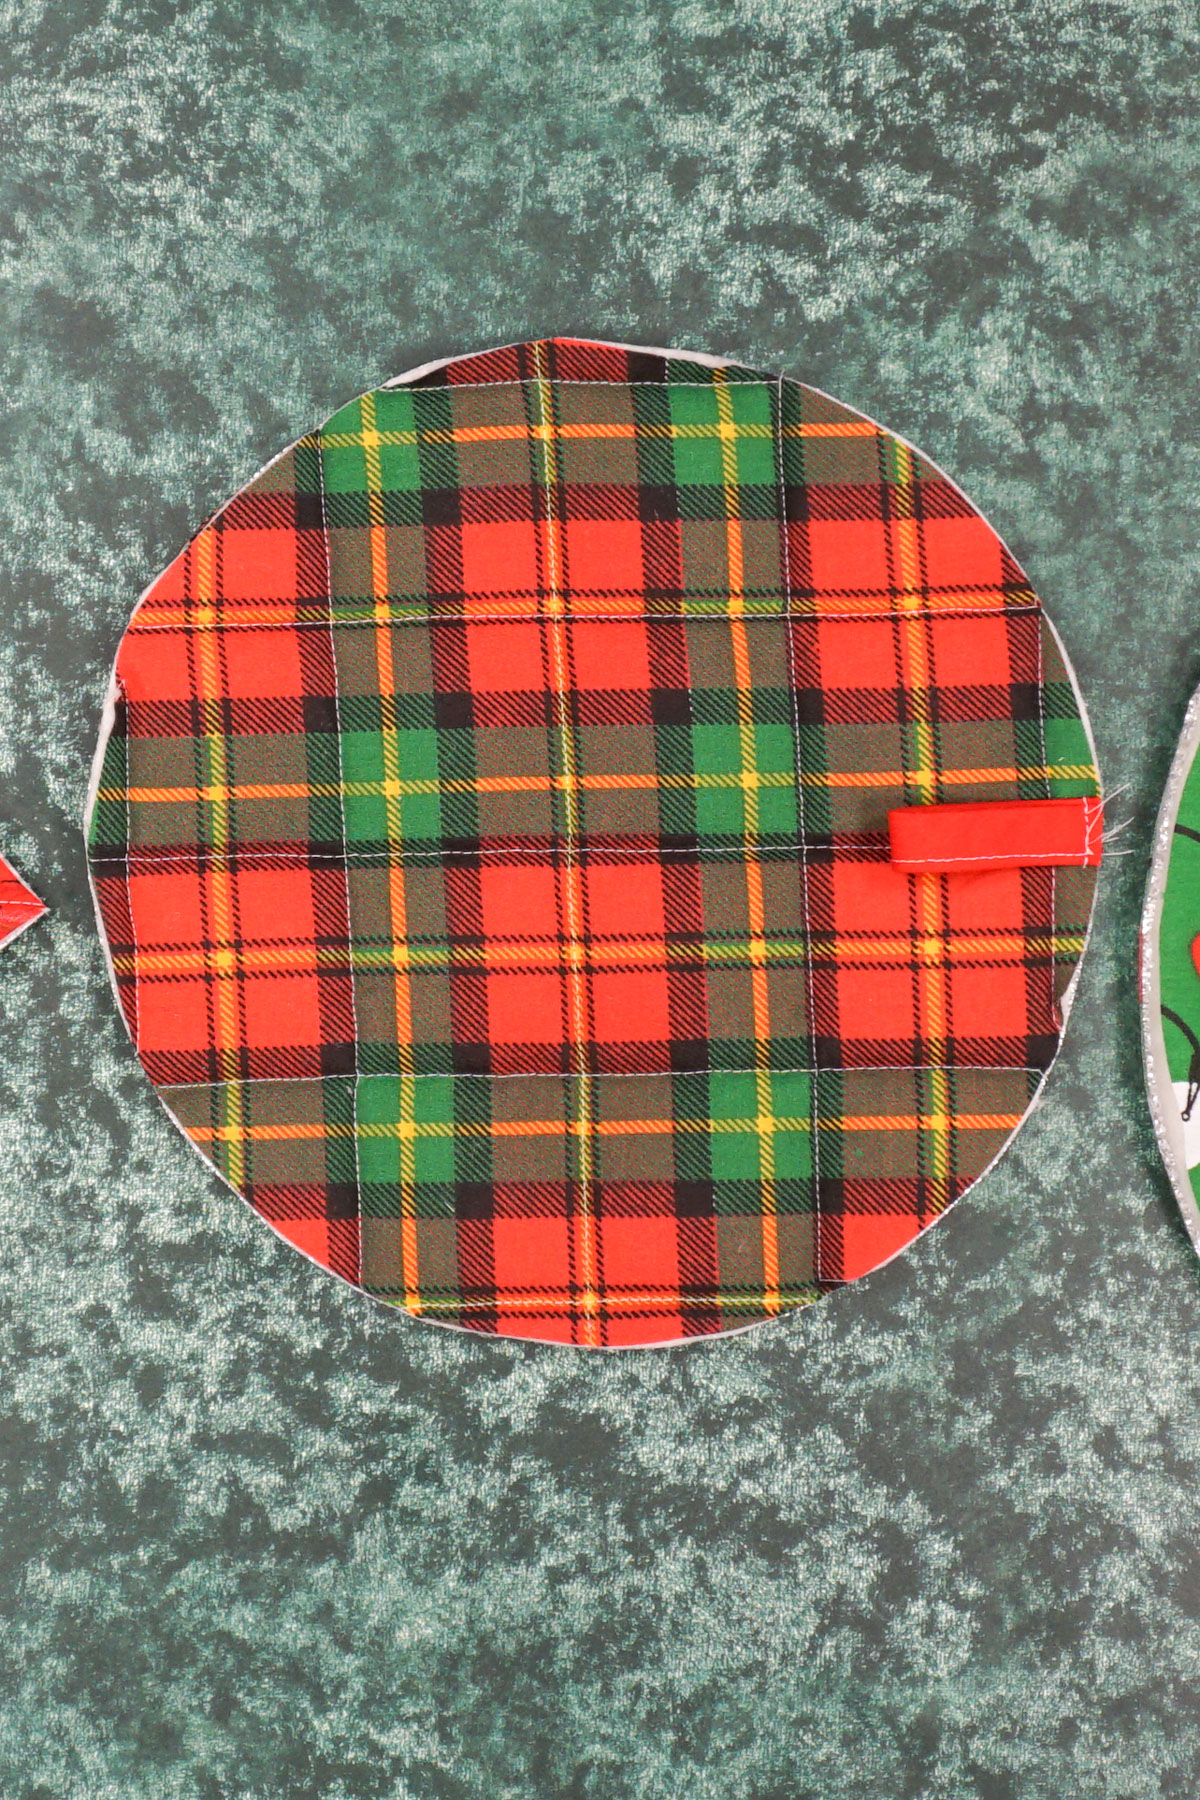
Baste the loop near a corner or edge where you want it to be.
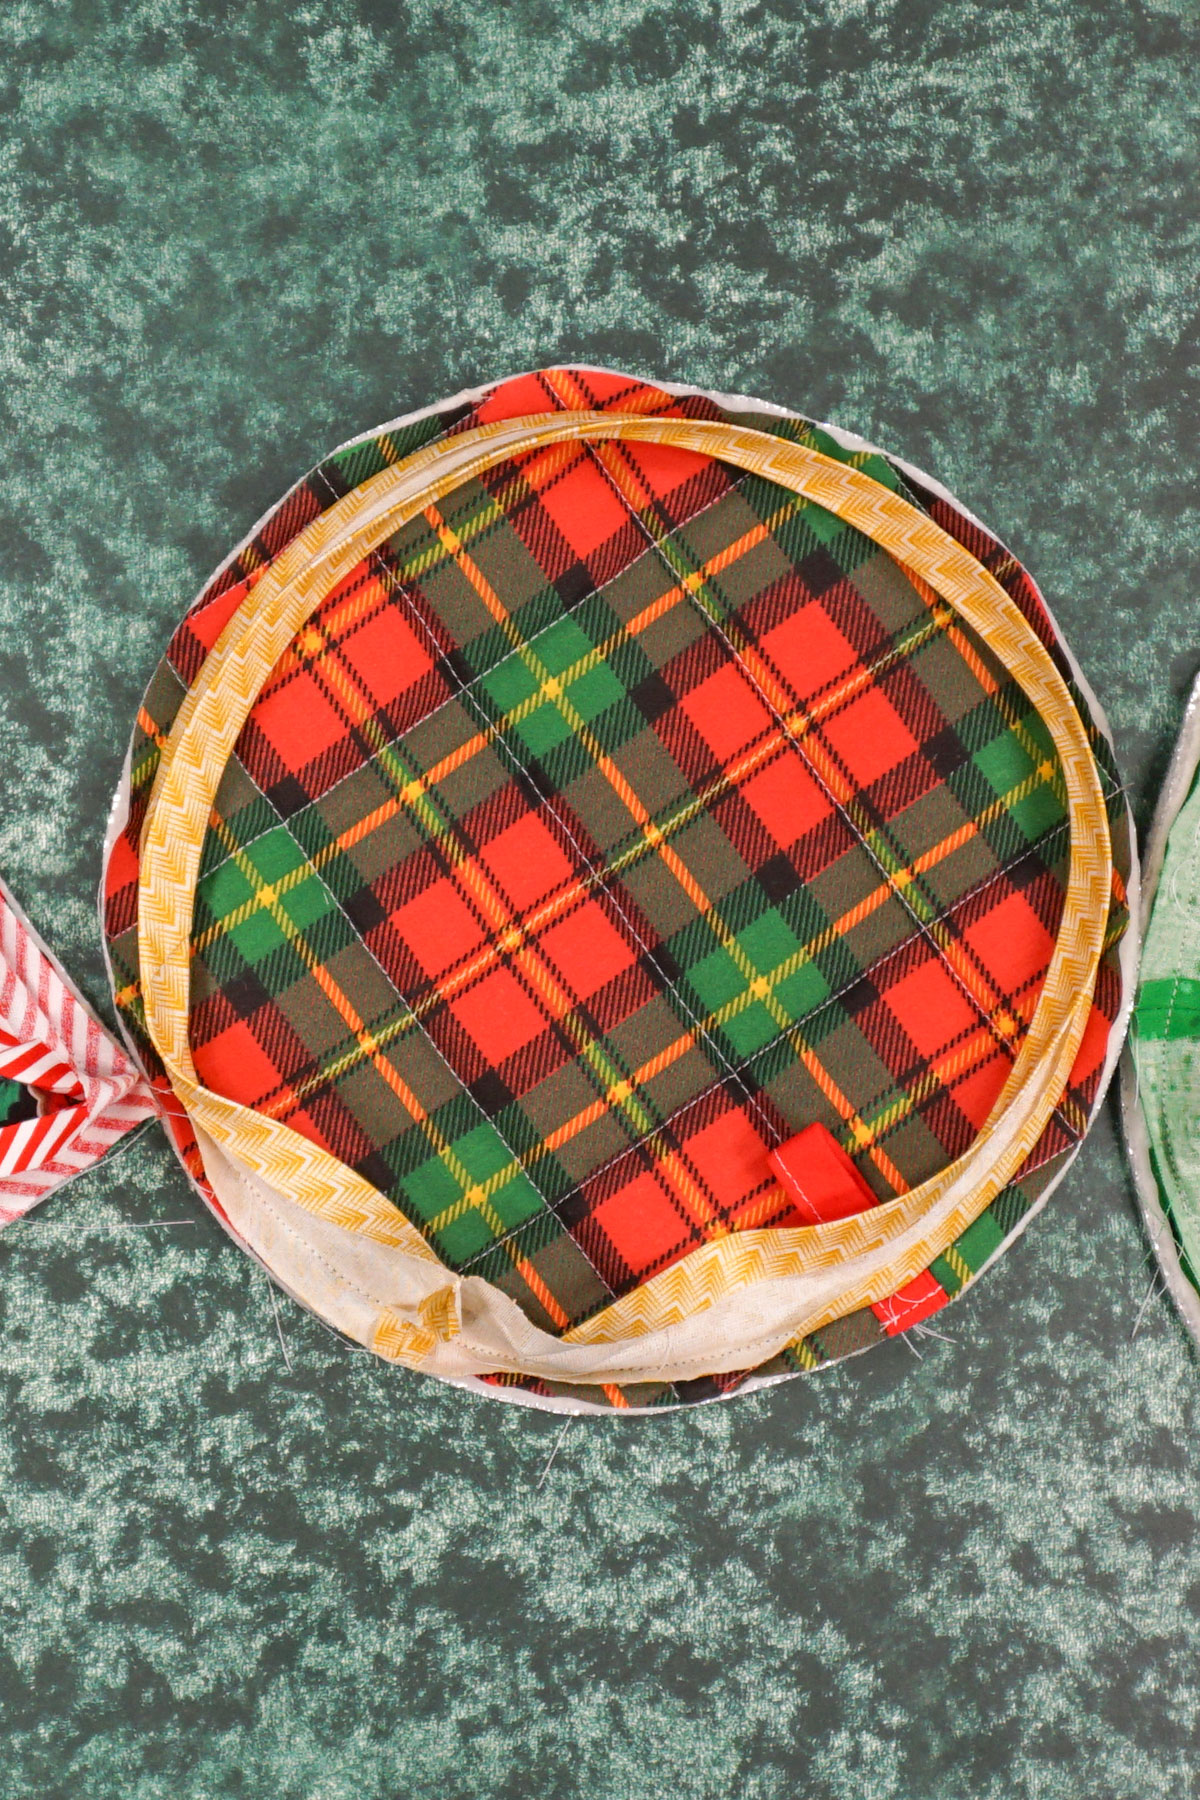
Sew one long edge of the bias binding onto the edges of the pot holder 3/8 inch from the edge. Learn how to use bias binding.
Flip the bias binding around to the other side and fold the raw edge inside. Pin or clip the bias binding in place.
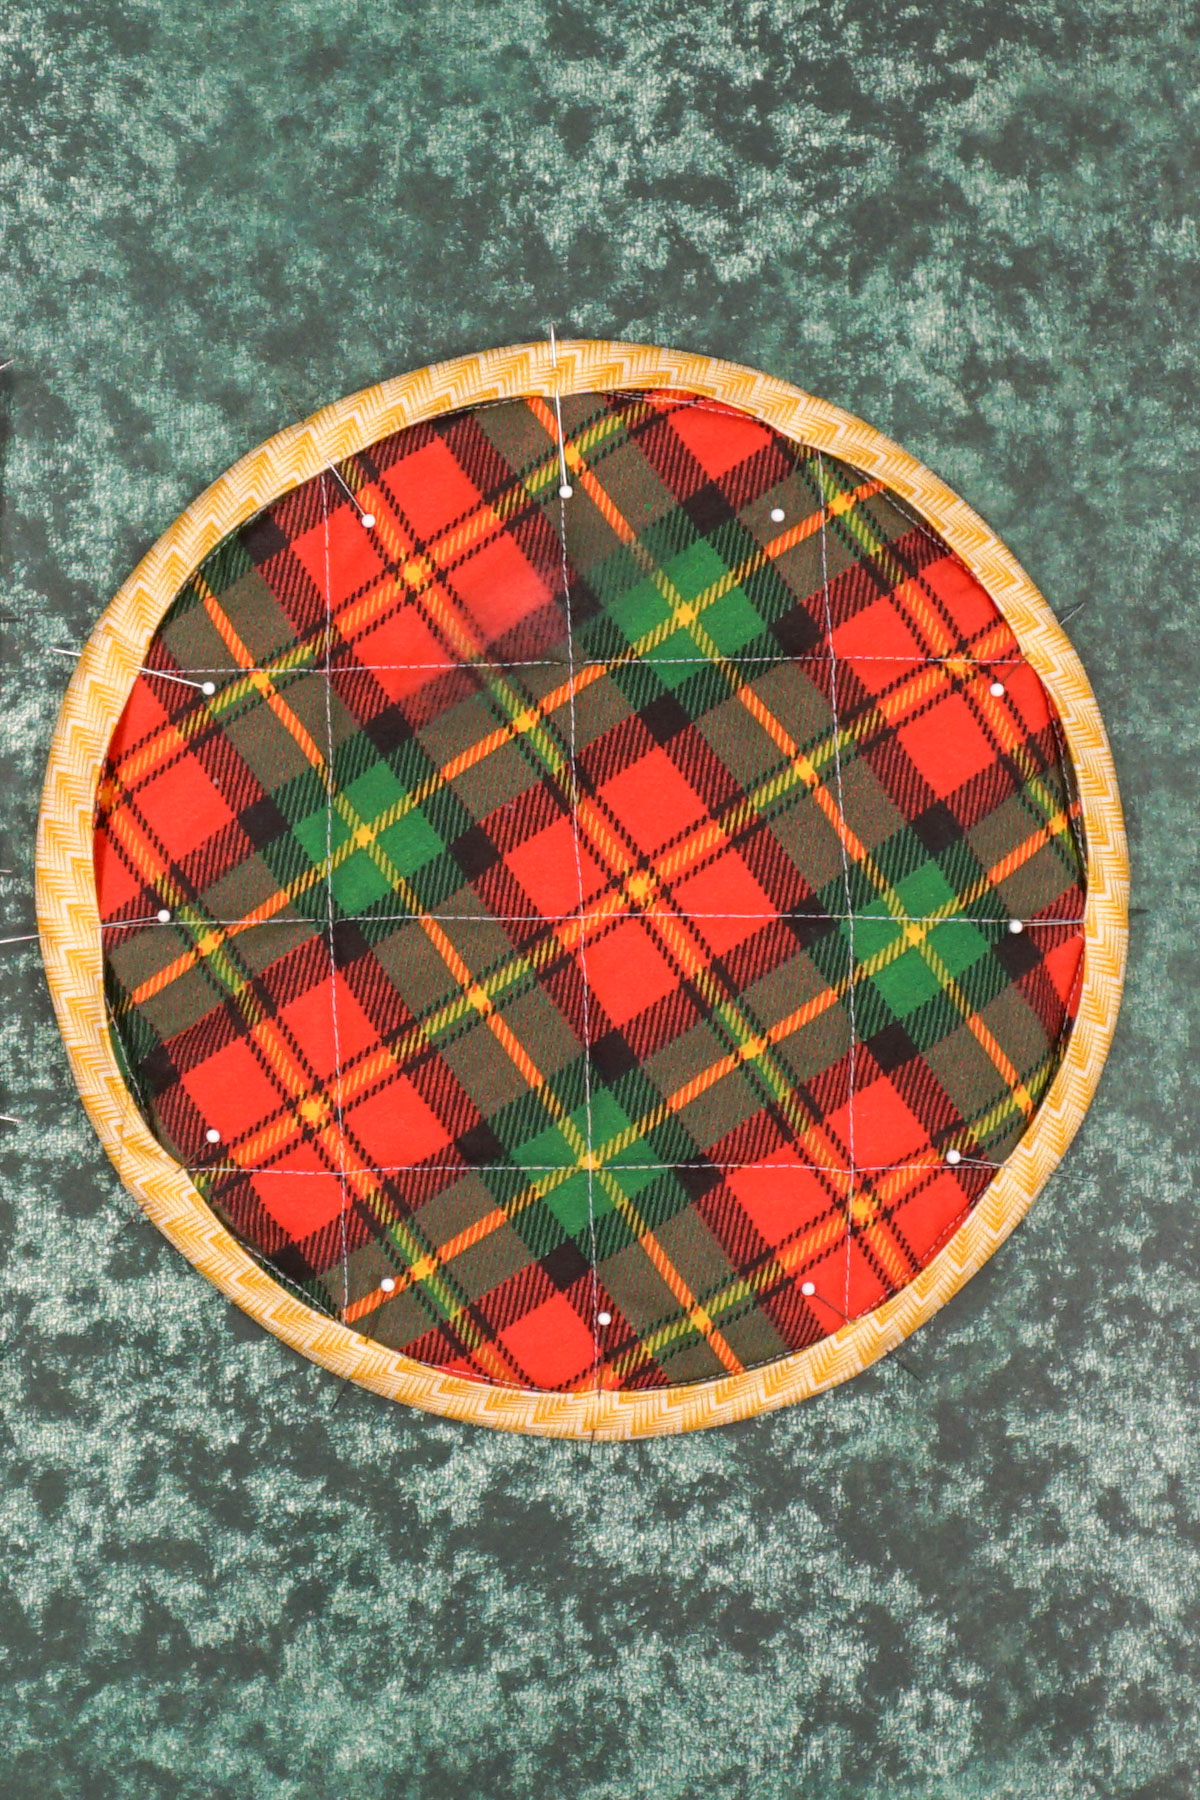
Sew the bias binding folds in place. You finished!
Square Pot Holder Instructions
Use the square pattern pieces to cut out two fabric pieces, one cotton batting piece, and one insul-bright piece. Cut a bias binding piece that is four to five inches for the loop. Cut your bias binding for the outside if you will be making it.
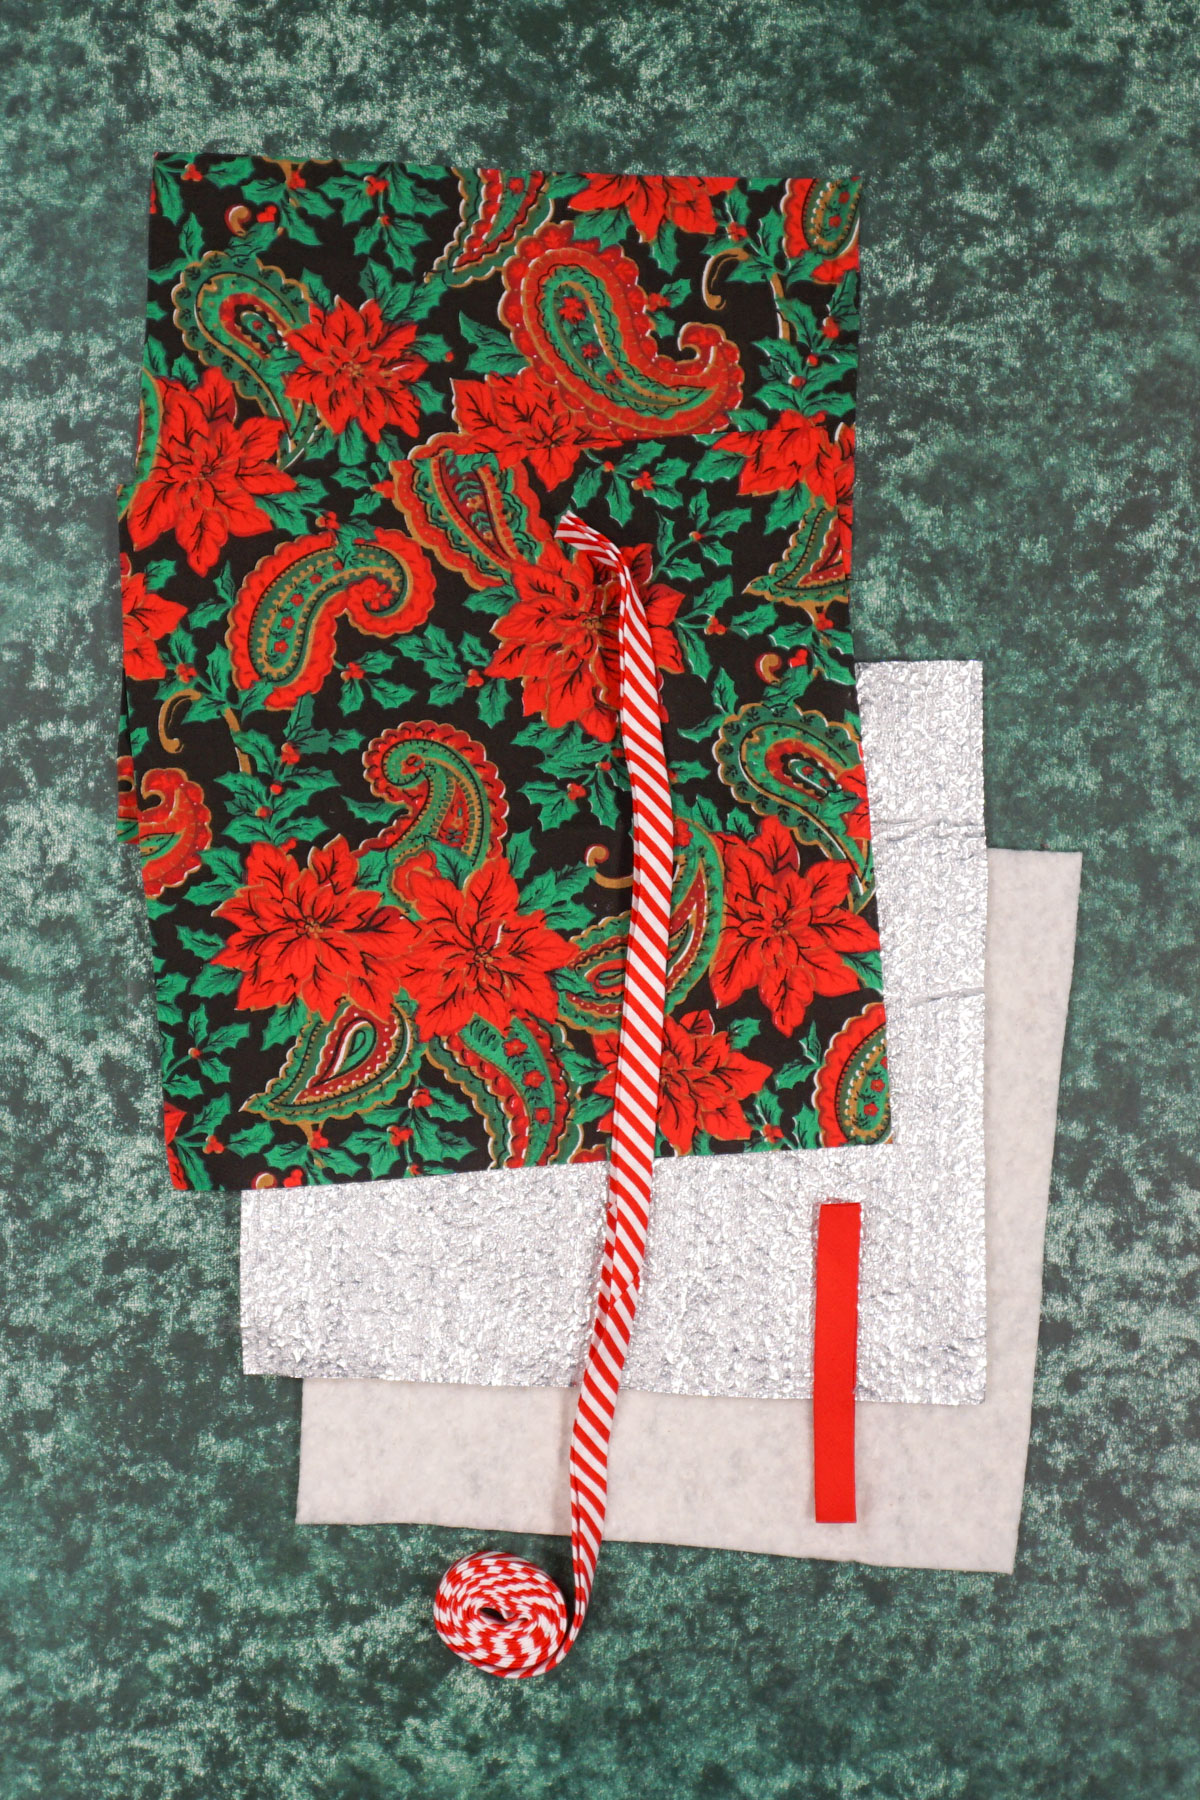
Make a quilt sandwich by placing a piece of fabric right side face down. Place the insul-bright batting piece on top and then the cotton batting. Then place the remaining fabric piece on top with right side up. The fabric pieces are sandwiching the batting pieces in the middle.
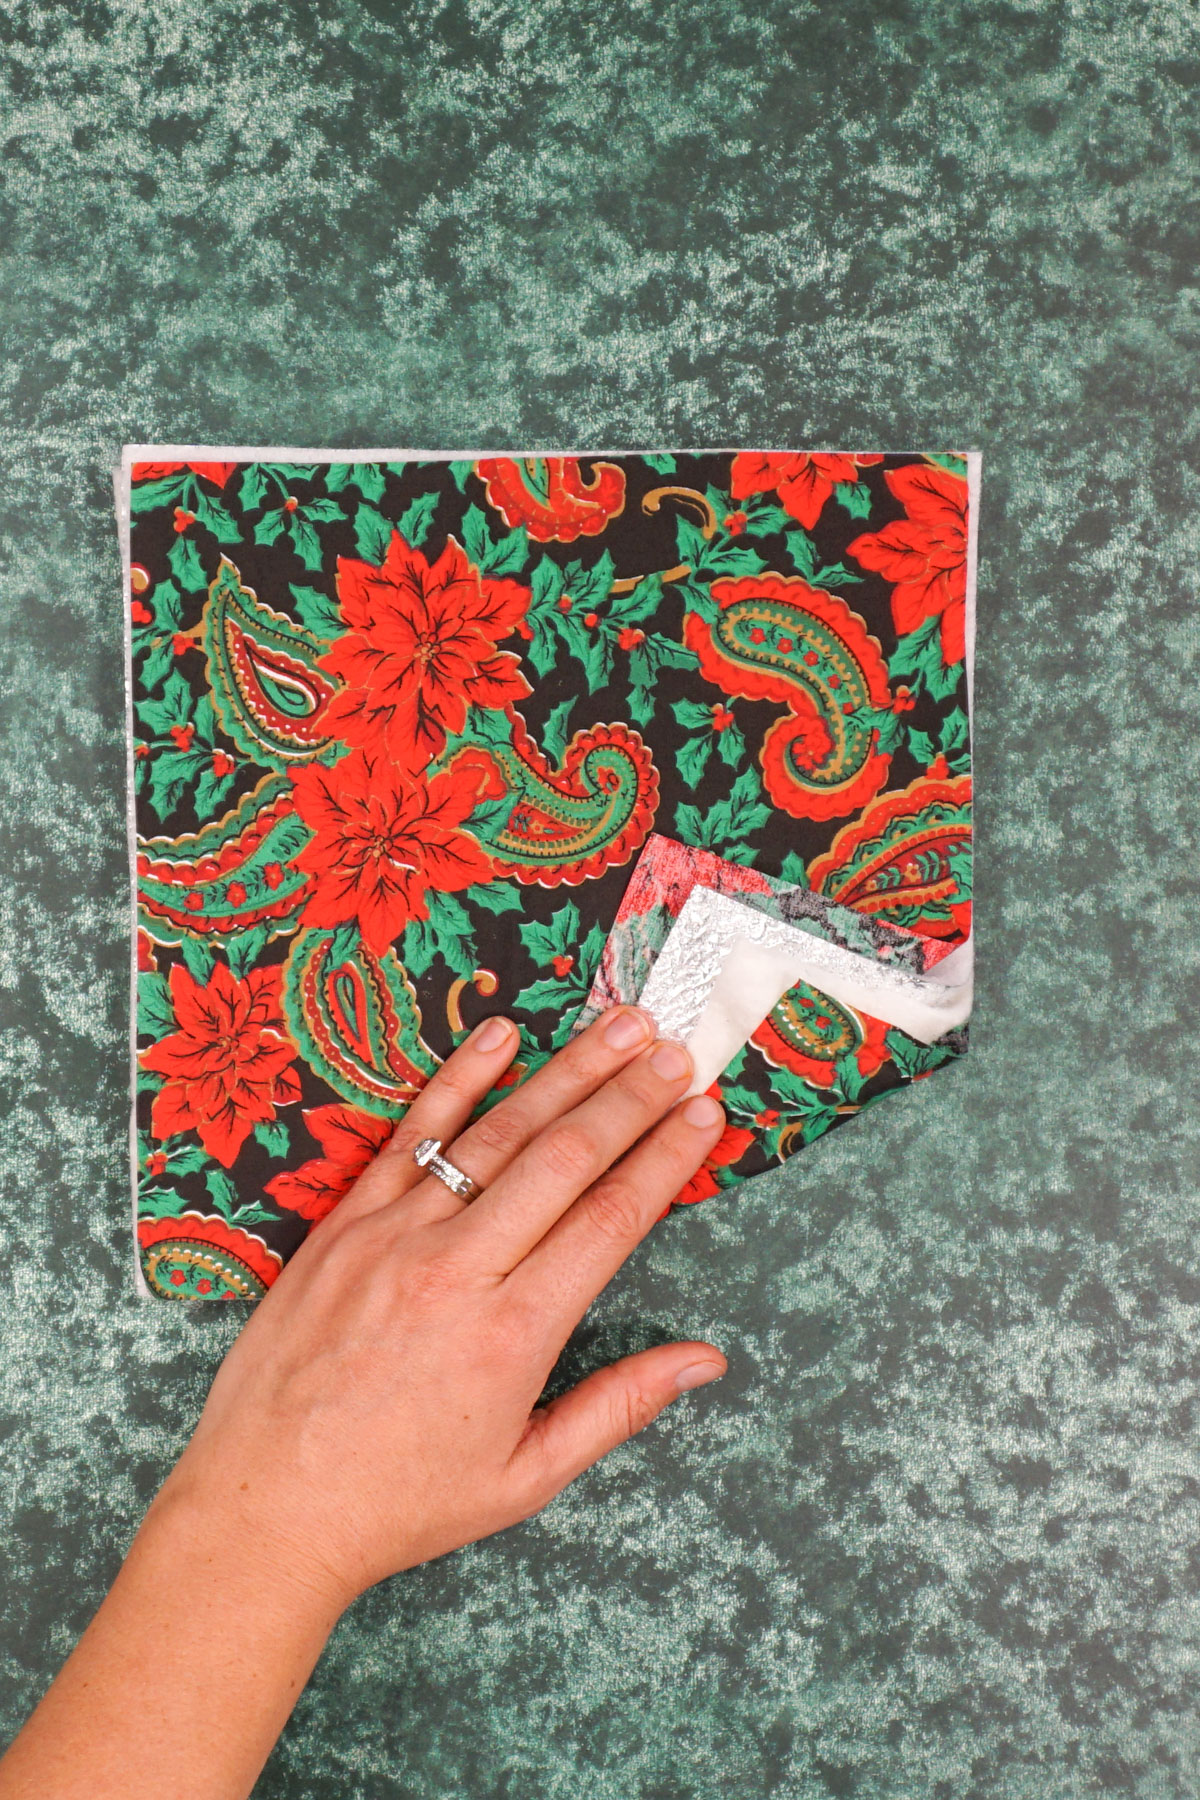
Pin all the layers together.
If you want quilt guide lines, mark them with a washable marking tool.
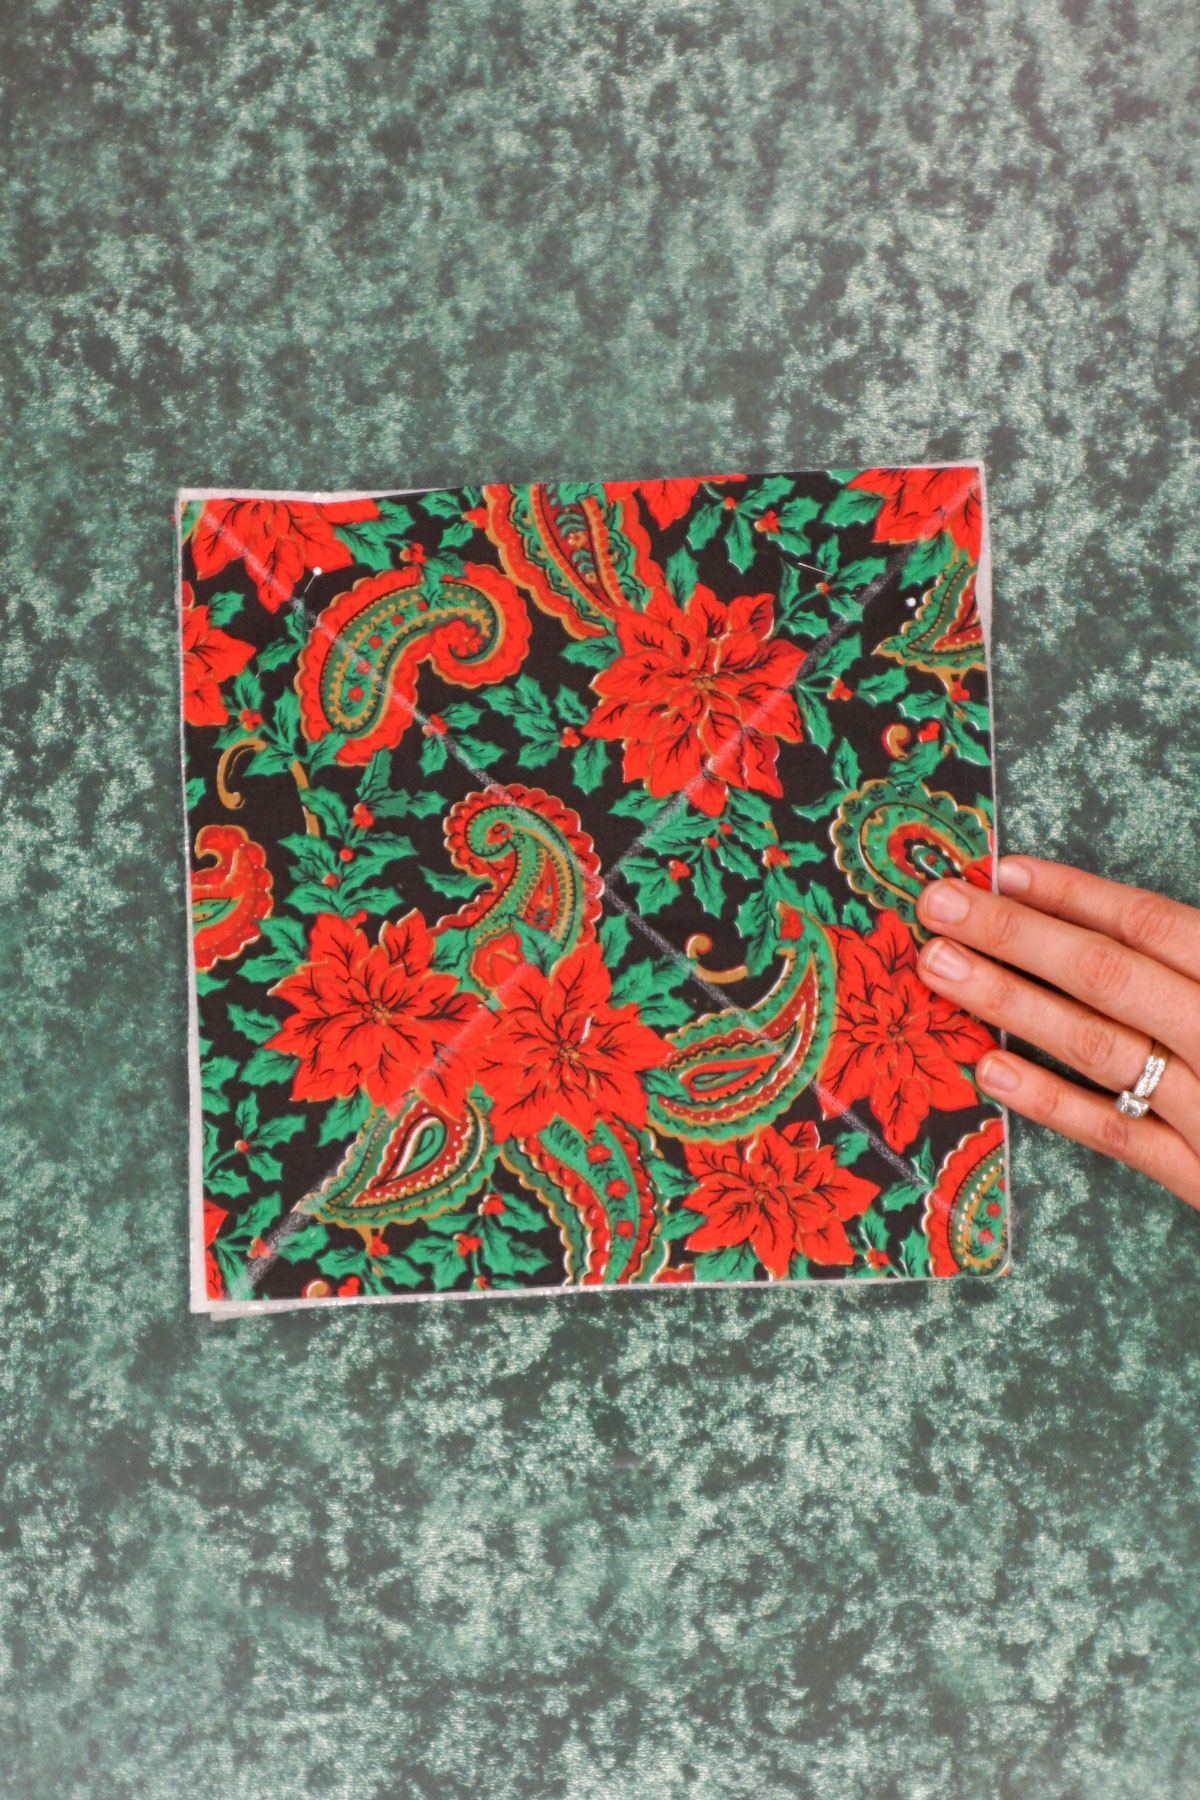
Quilt the layers together in whatever pattern you wish. This is the fun part because you can make the lines work with the fabric pattern or you can choose a fun design.
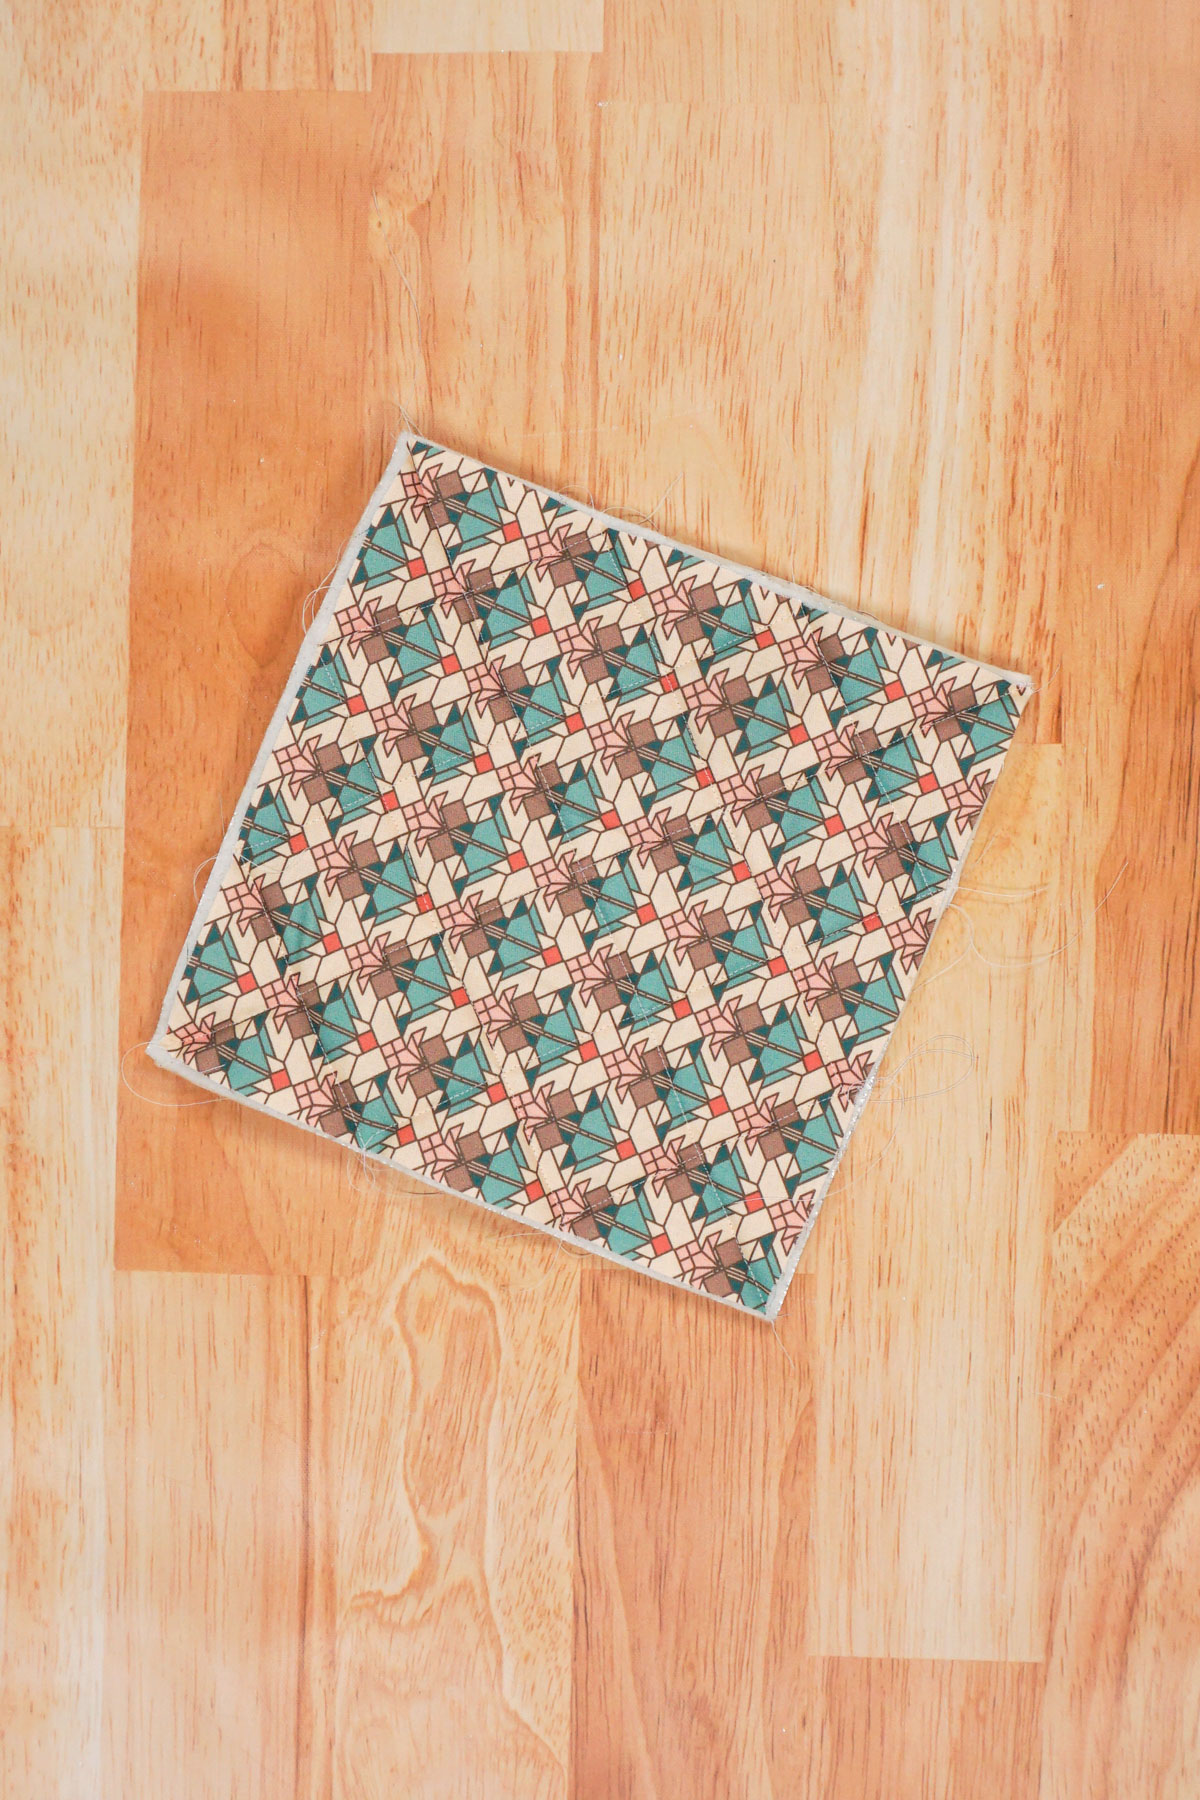
Quilting will shift the layers slightly so trim all the edges to make the layers straight and matched up.
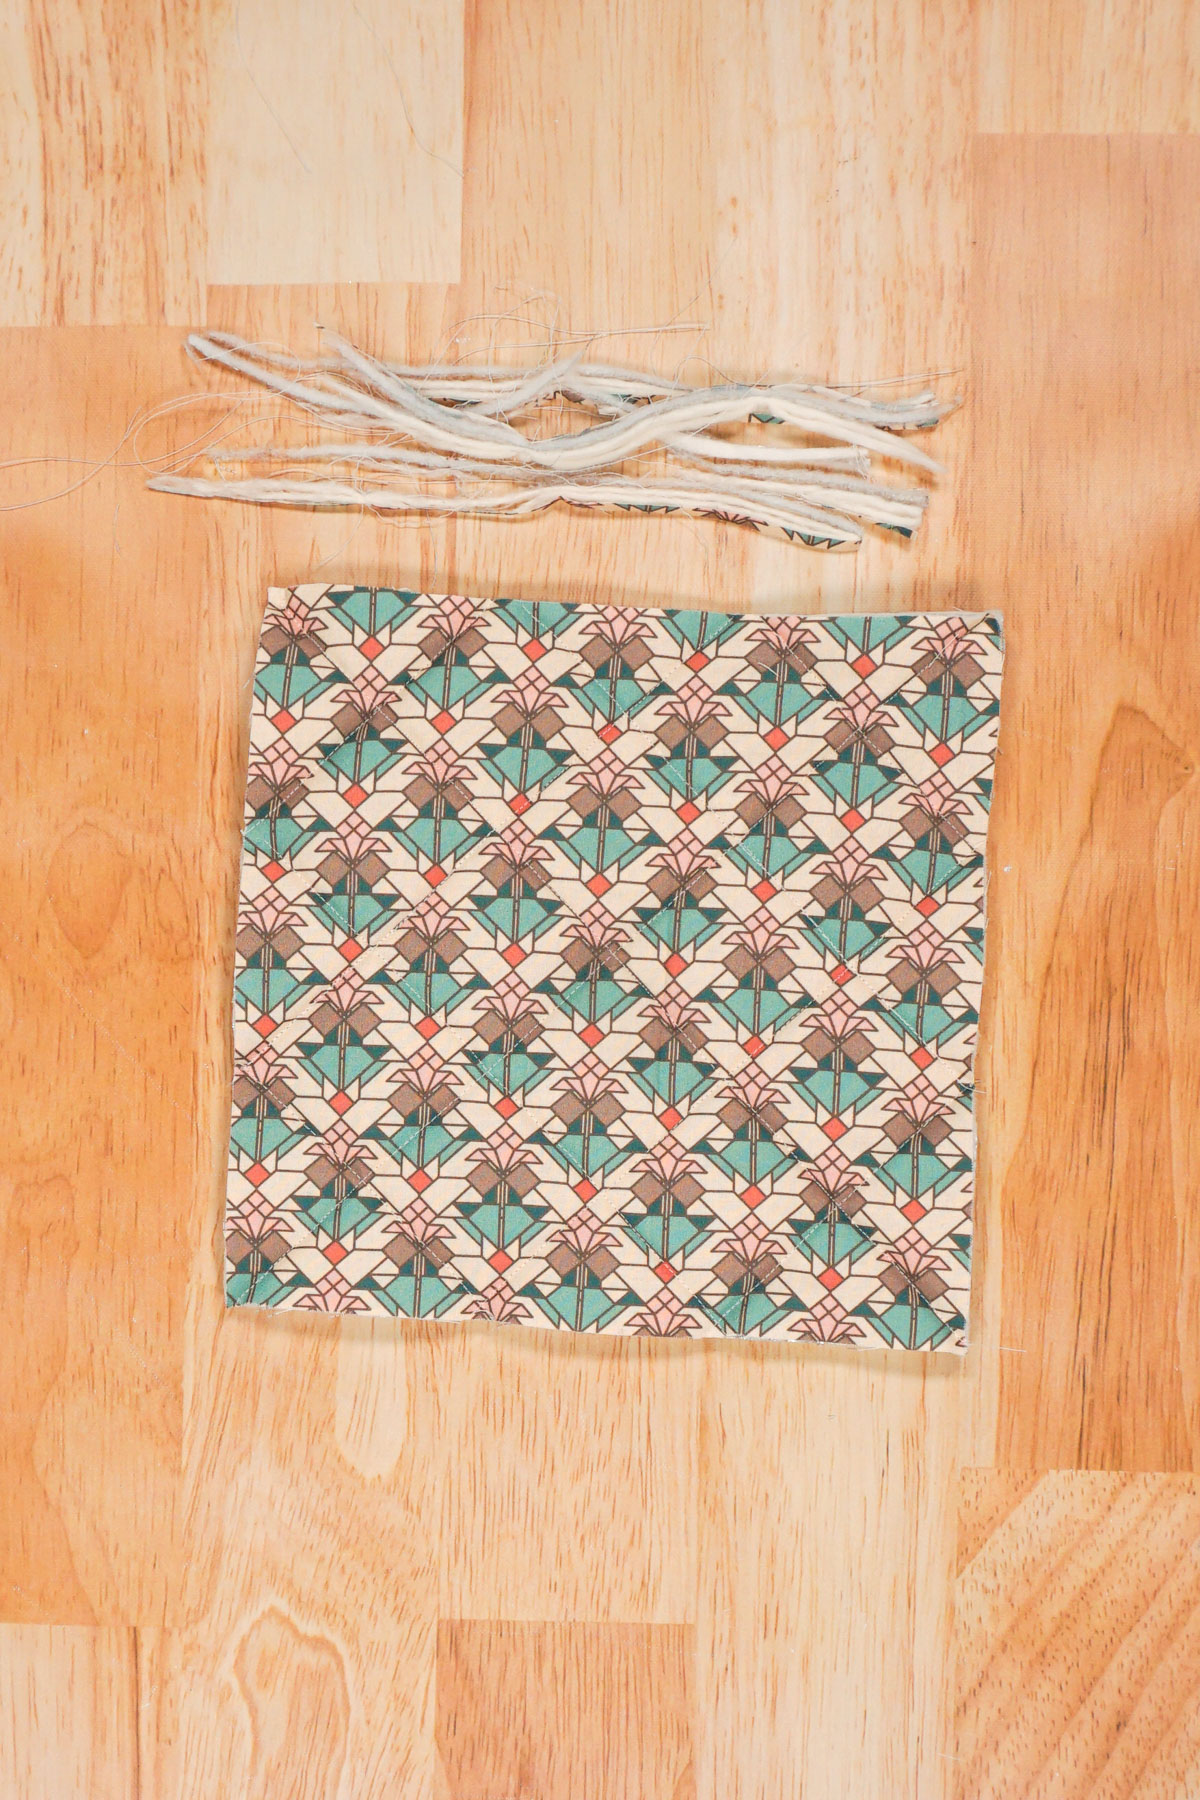
Baste the loop near a corner or edge where you want it to be.
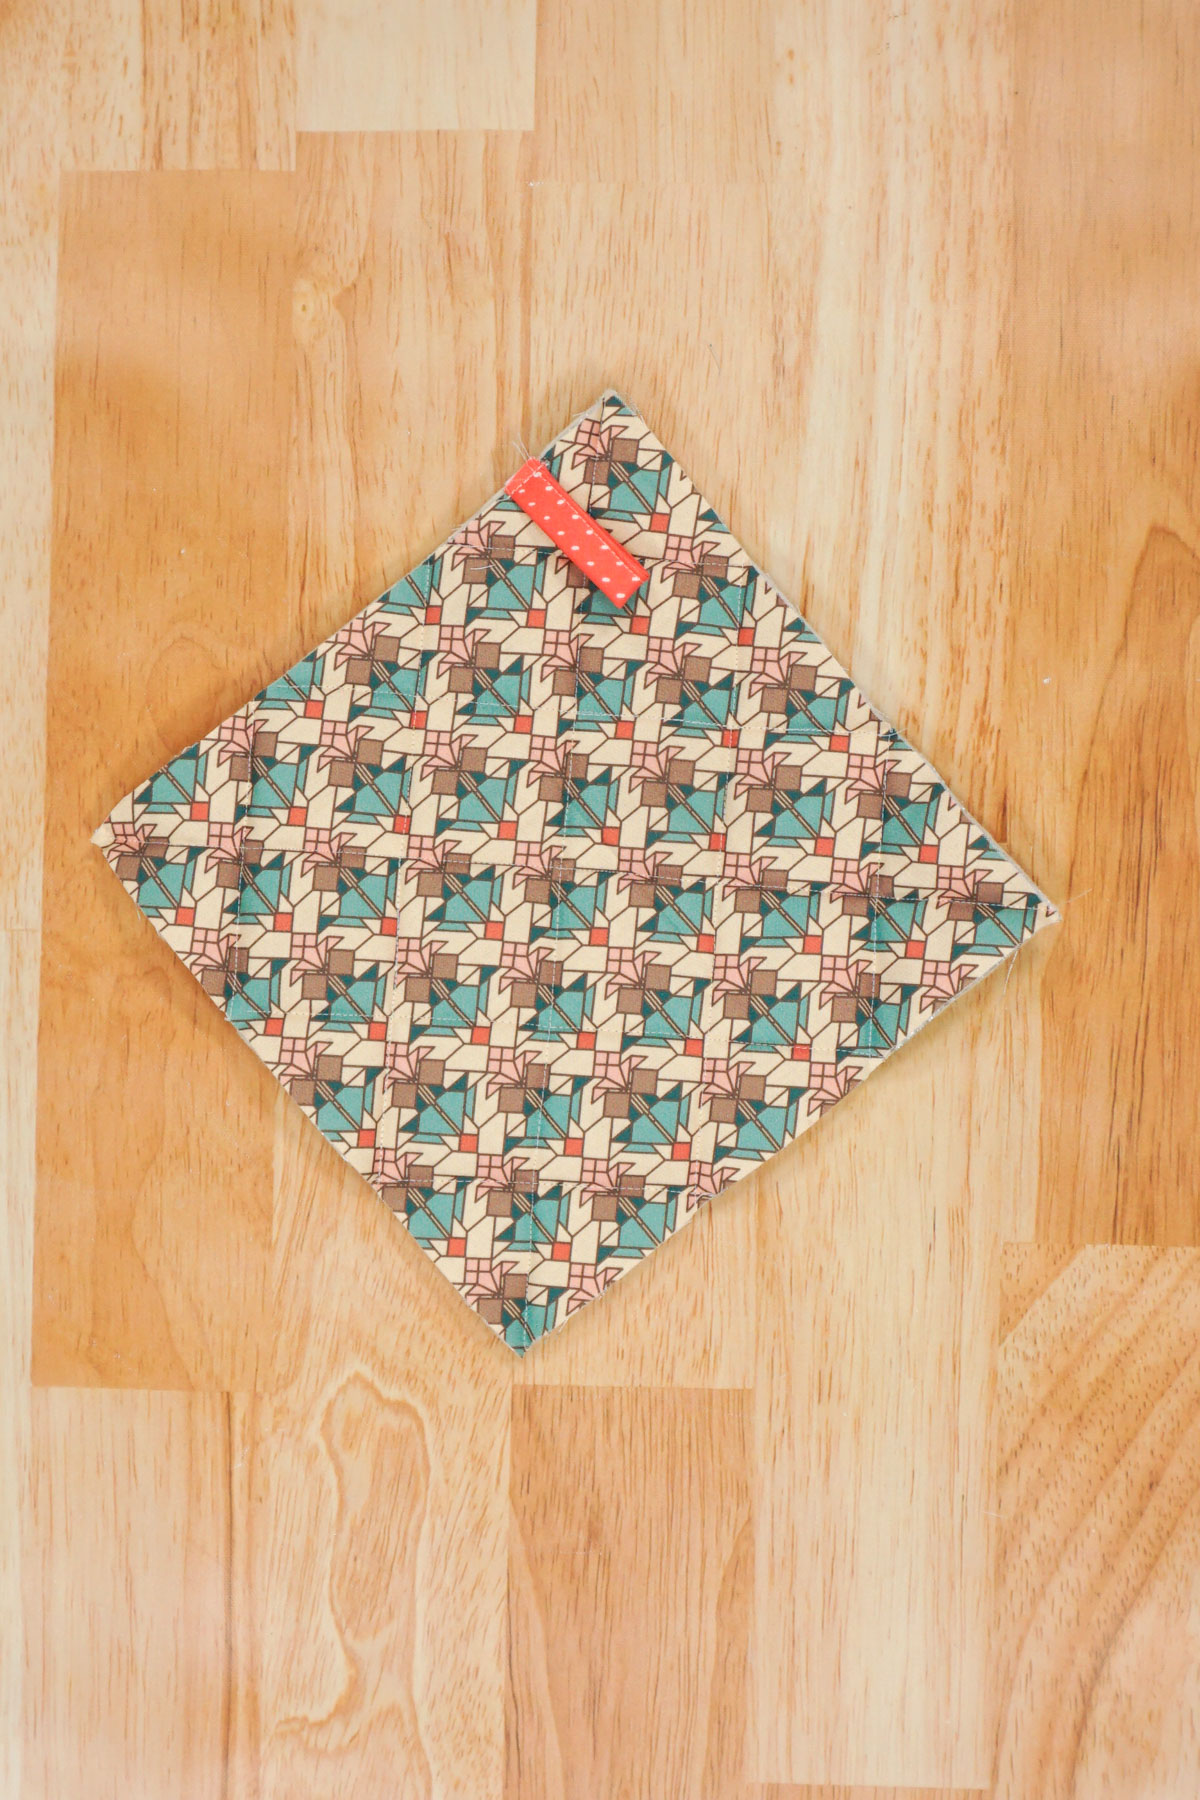
Sew one long edge of the bias binding onto the edges of the pot holder 3/8 inch from the edge. Learn how to use bias binding.
To sew a mitered corner start sewing along a straight edge and stop 3/8 inch from the corner.
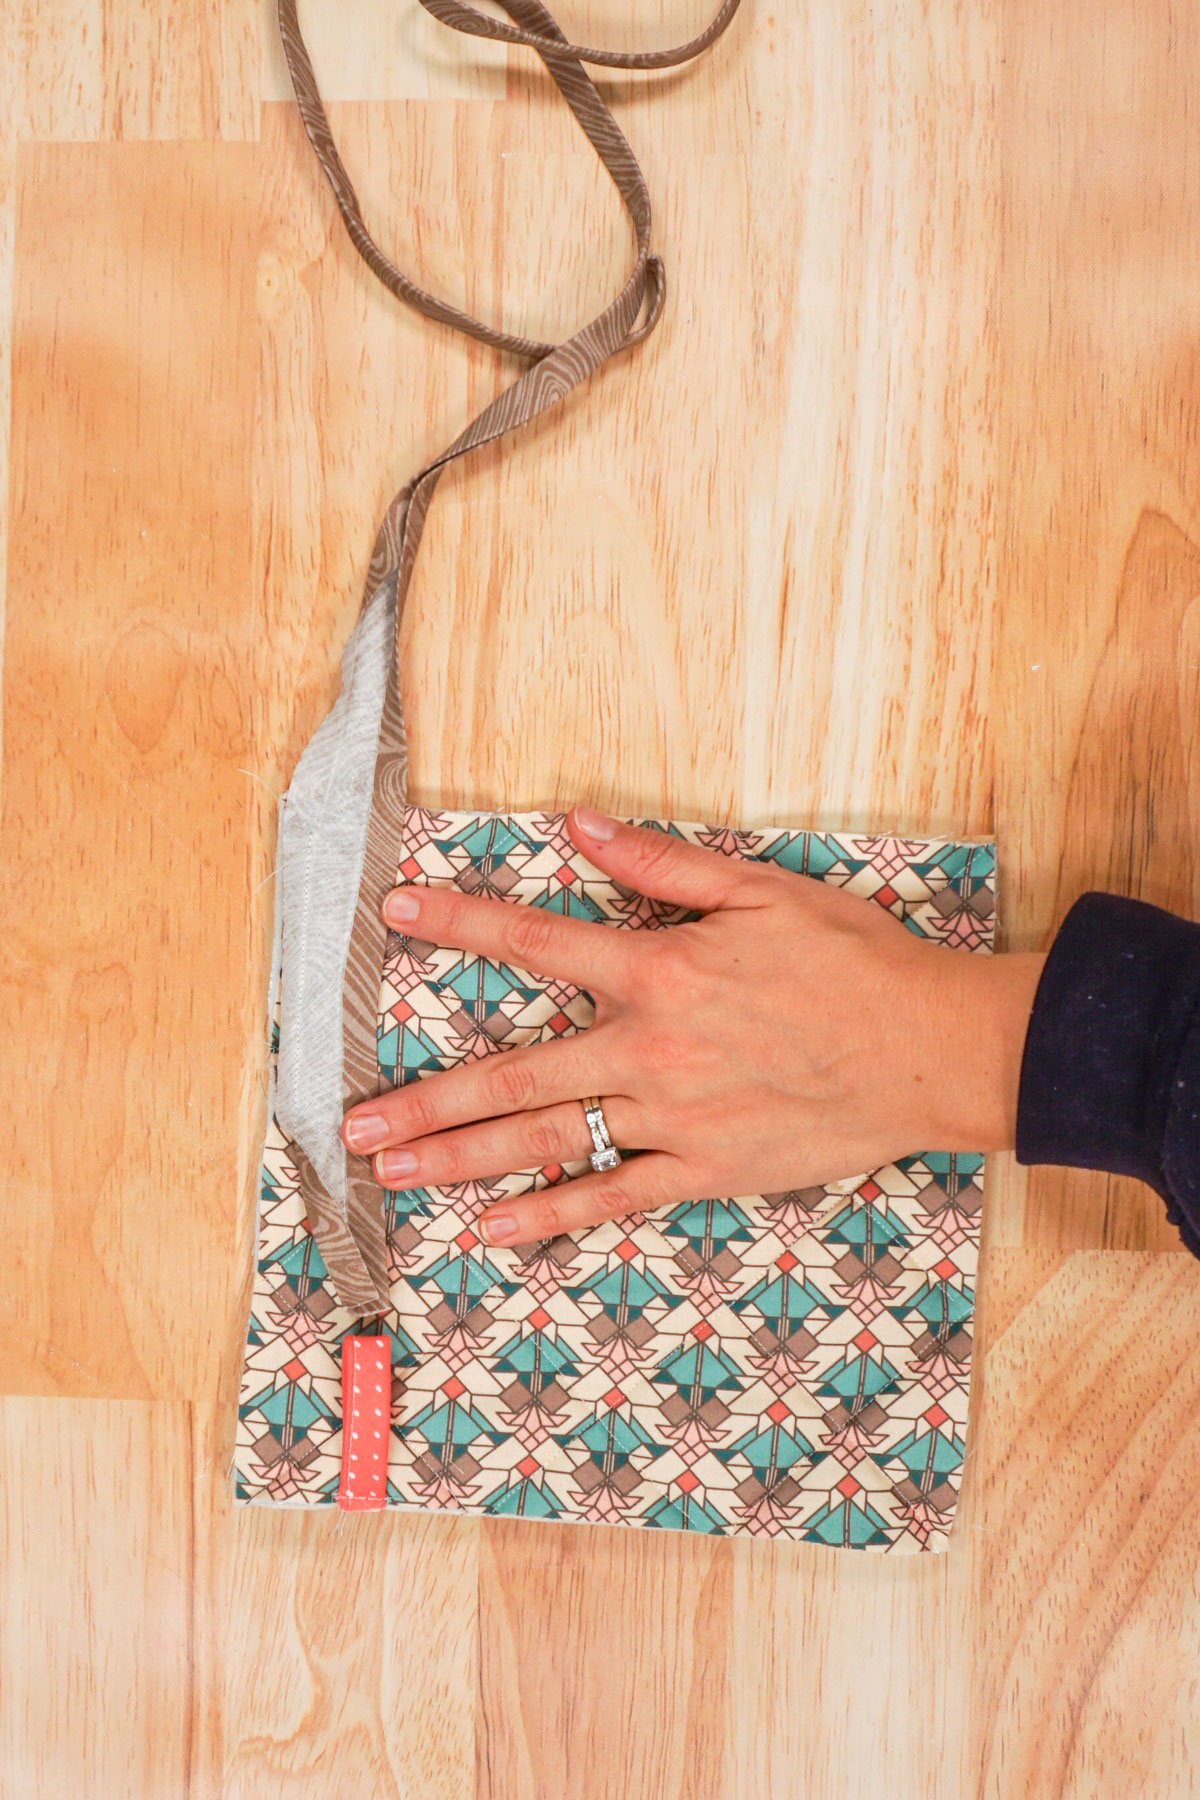
Flip the bias binding over and away from the pot holder so it is perpendicular to the sewn edge. This creates a 45 degree fold at the corner and you will be looking at the right side of the fabric.
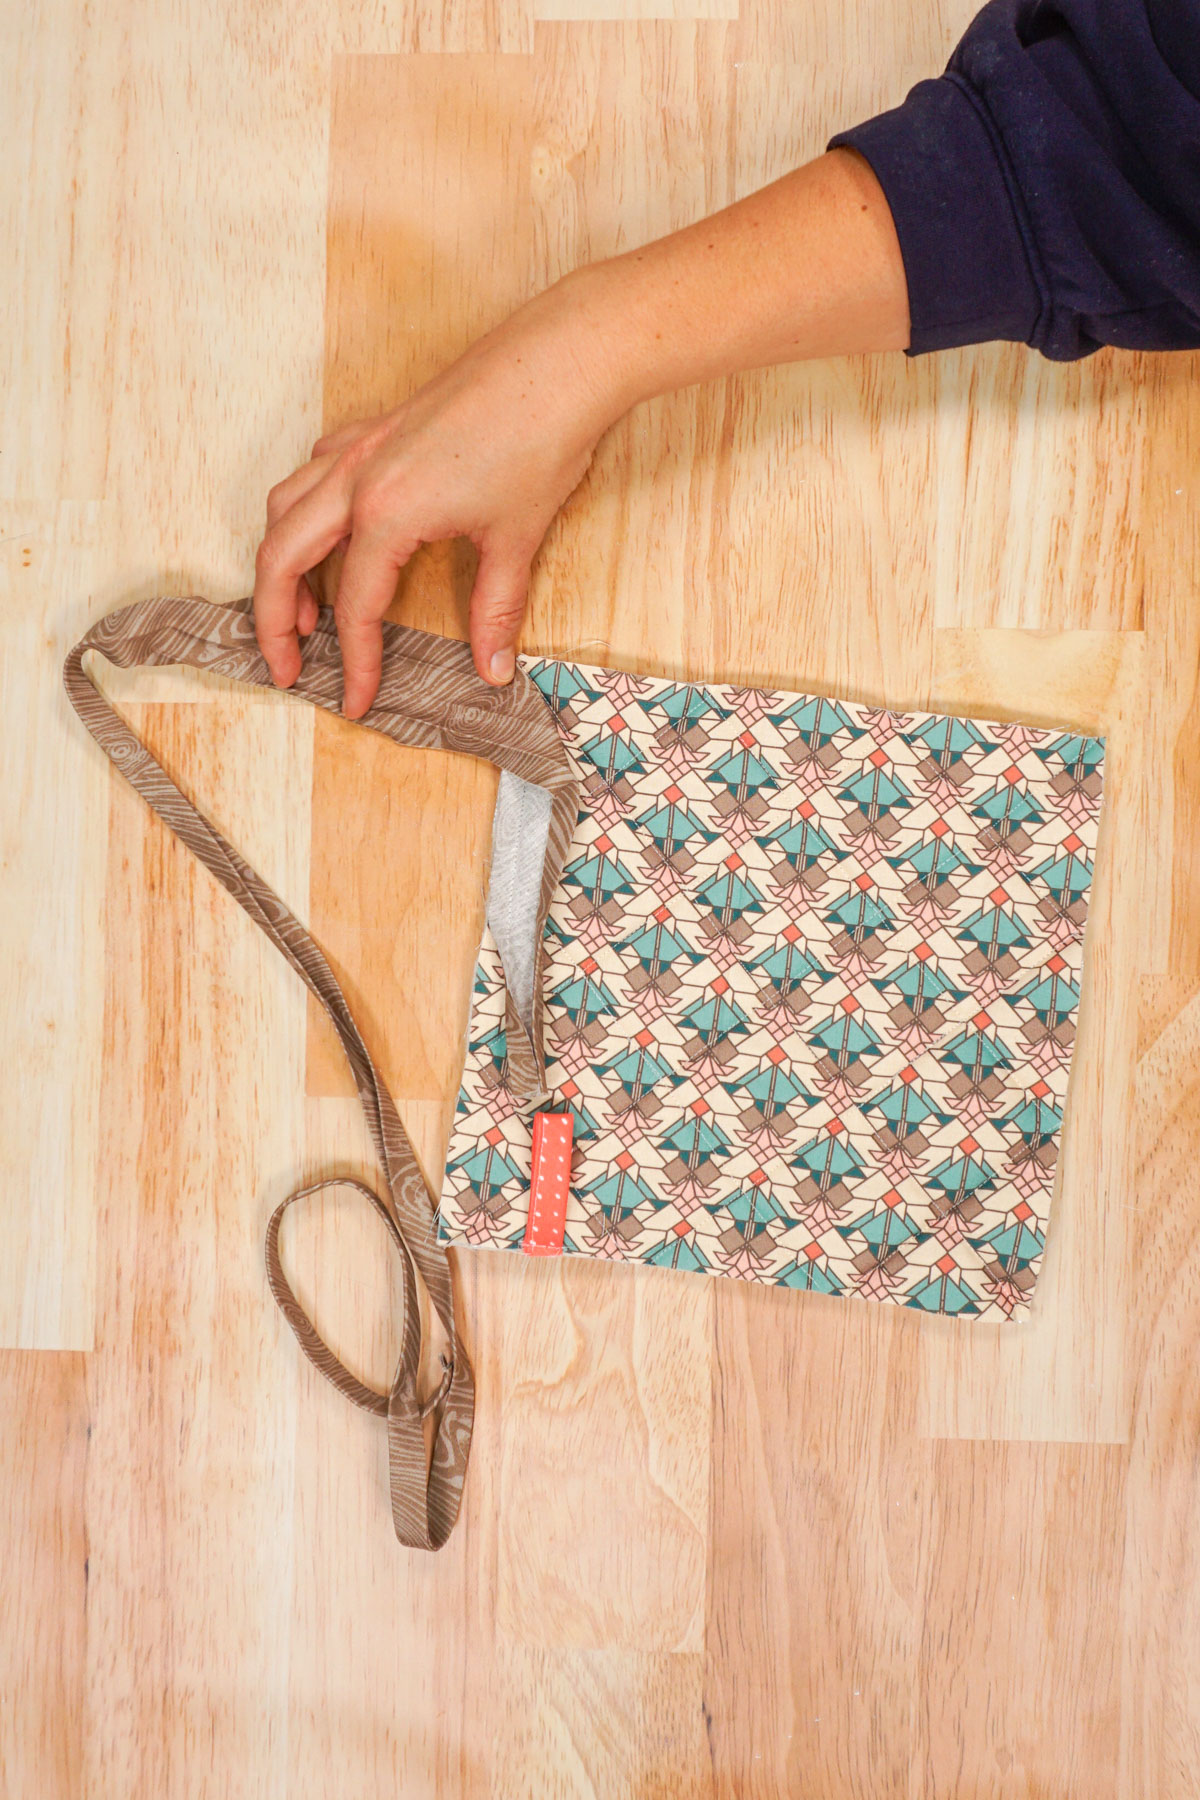
Keep the 45 degree fold as it is. Fold the bias binding over that fold and towards the pot holder. The straight edge of the bias binding will line up with the new straight edge of the pot holder. There will be a fold parallel with the sewn edge and the 45 degree fold below it. You will now be looking at the wrong side of the fabric.
Sew along the new straight edge starting at the edge with all the folds and sew until you get 3/8 inch away from the next corner. Use a 3/8 inch seam allowance.
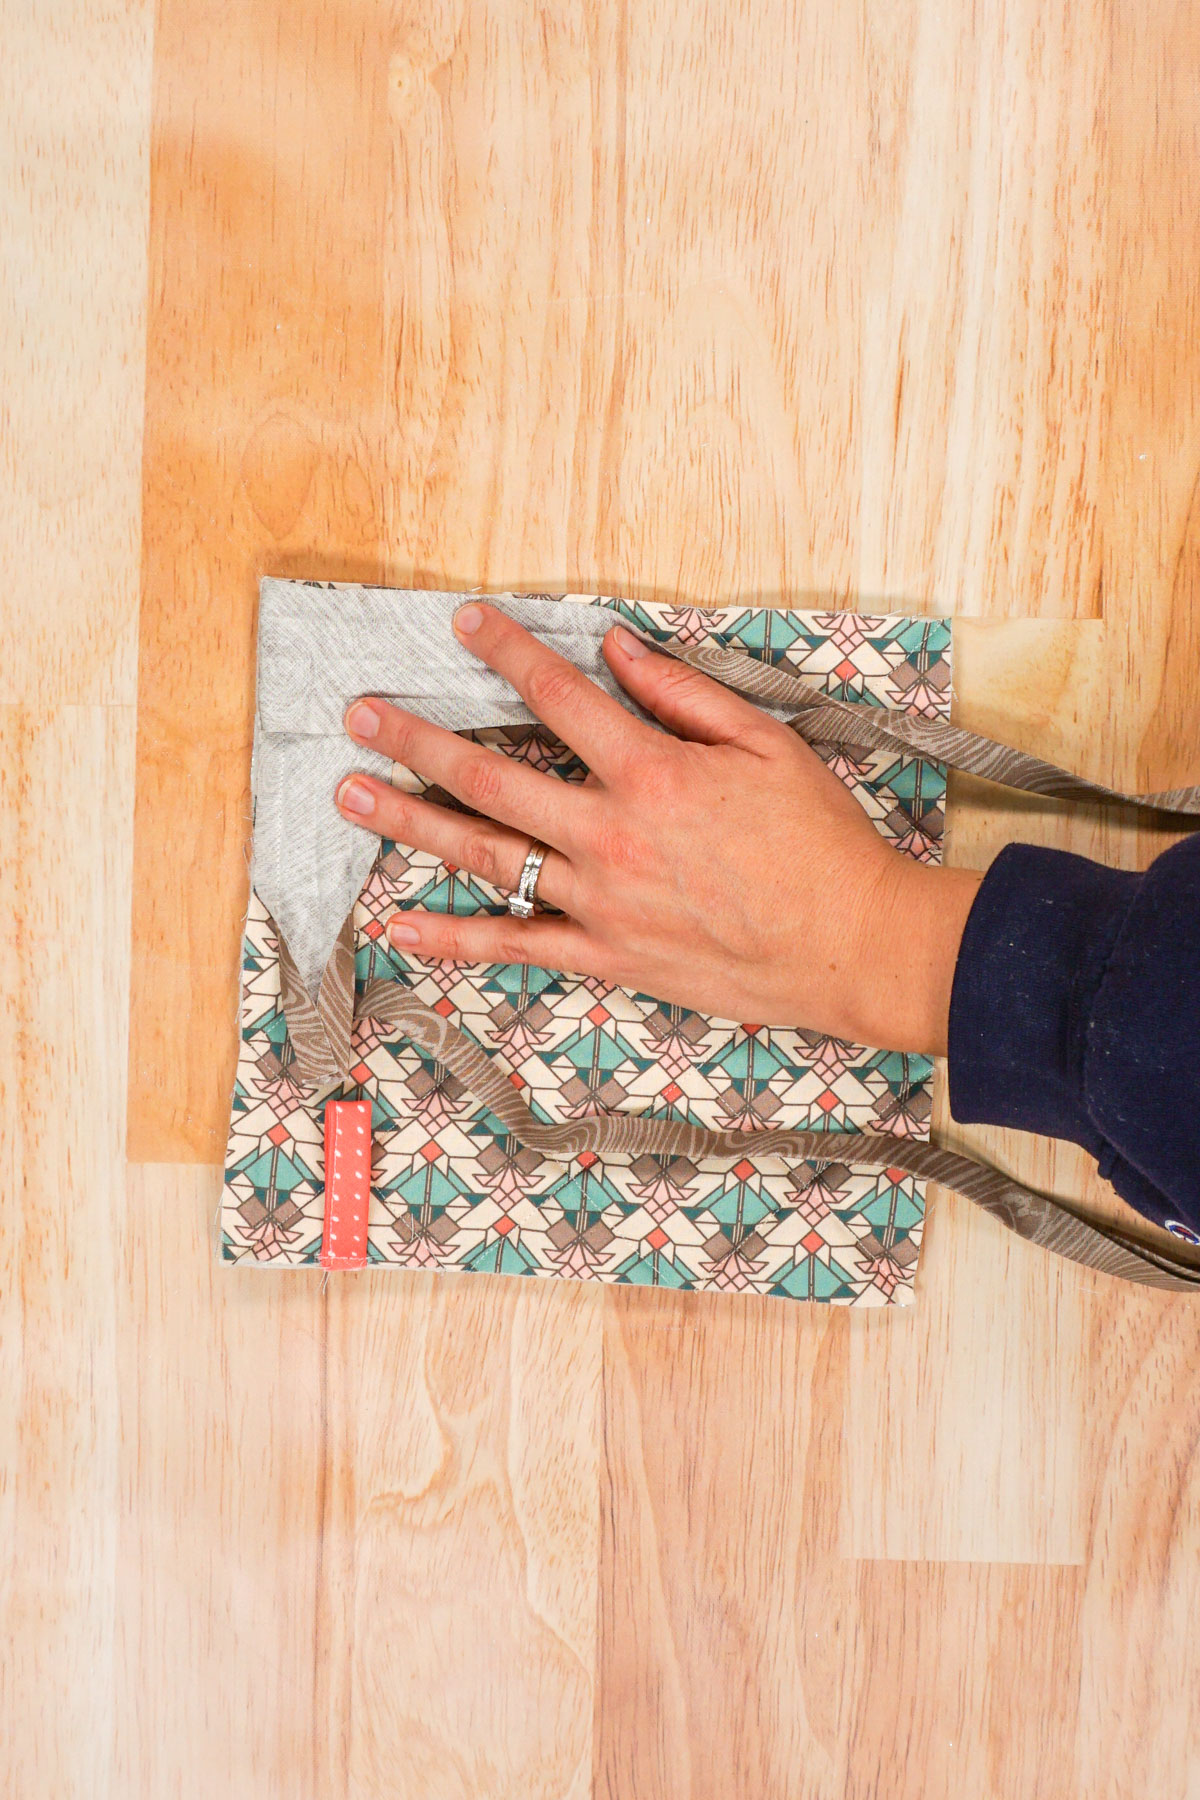
Sew the bias binding with the mitered corners all the way around the pot holder.
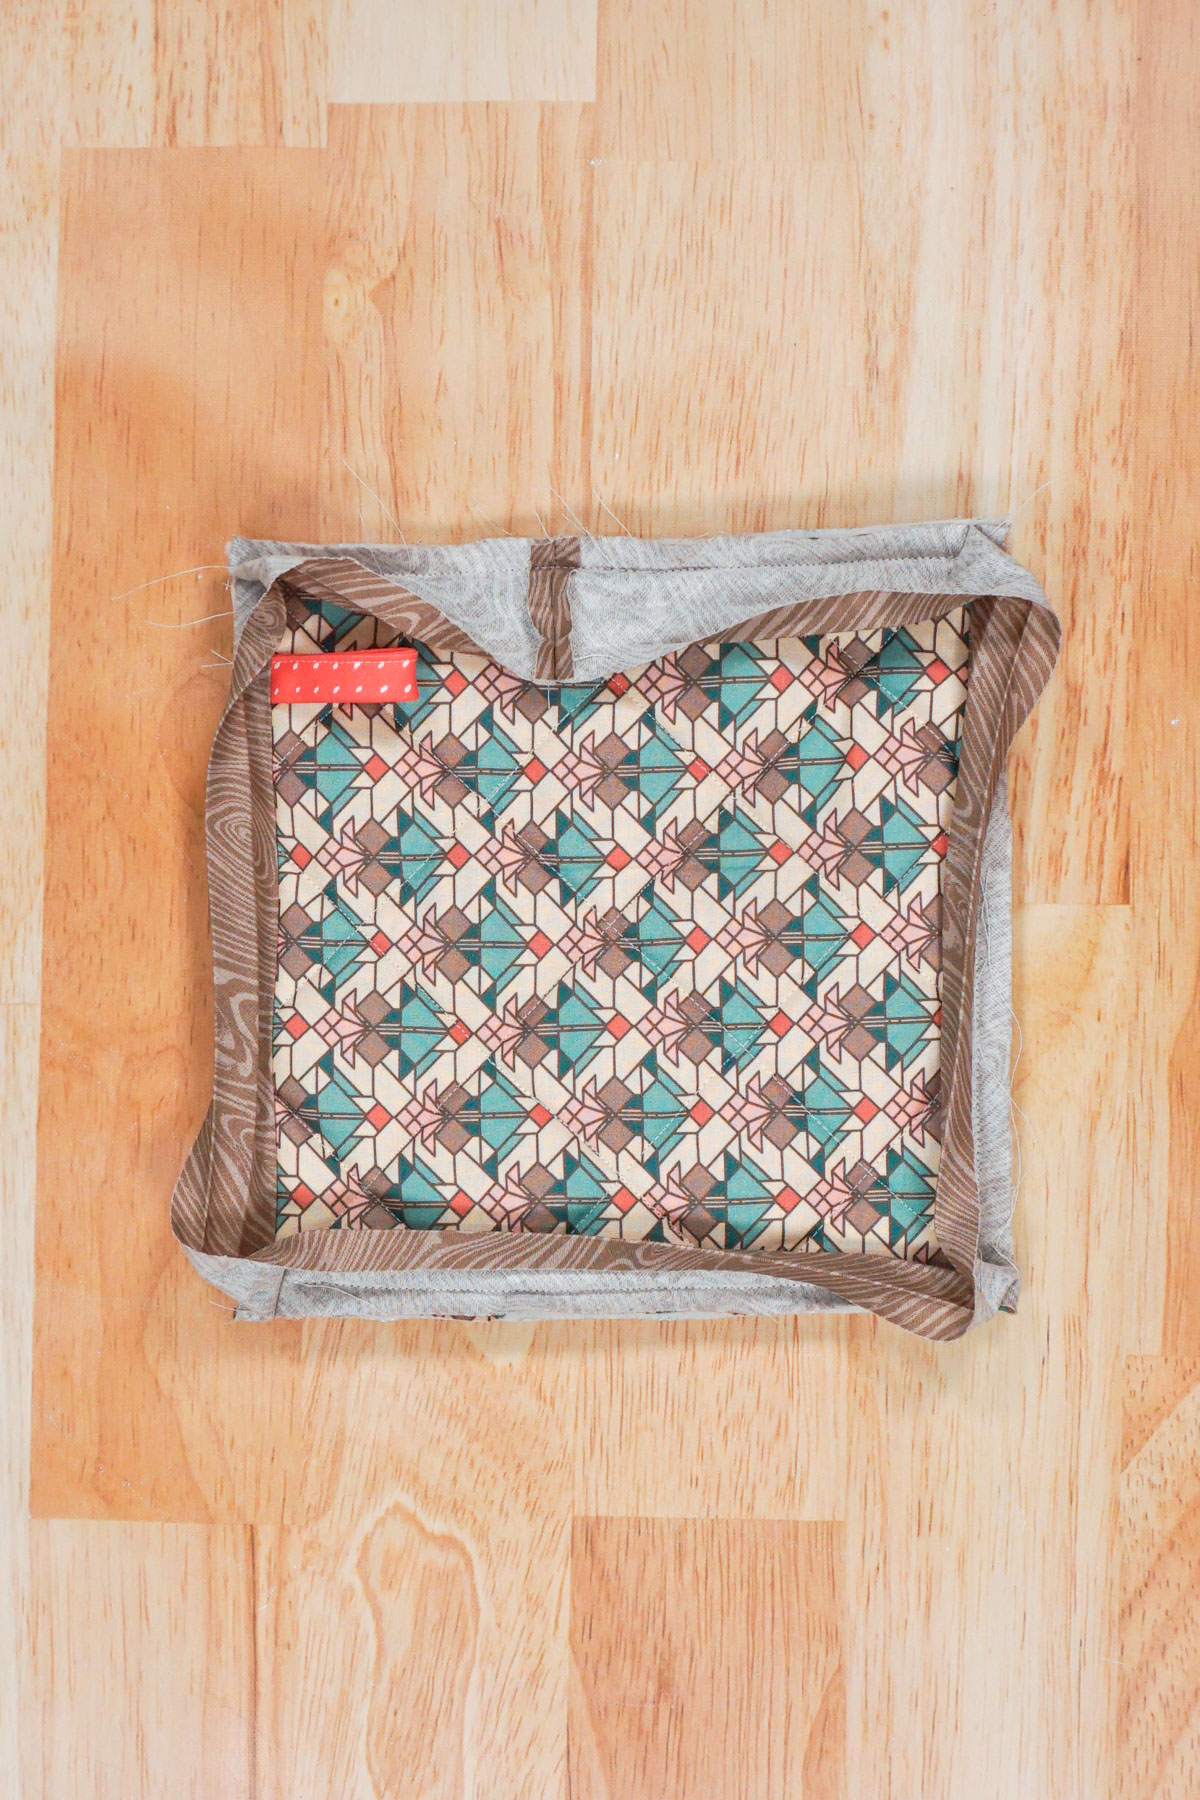
Flip the bias binding around to the other side and fold the raw edge inside. Pin or clip the bias binding in place.
Sew the bias binding folds in place. You finished!
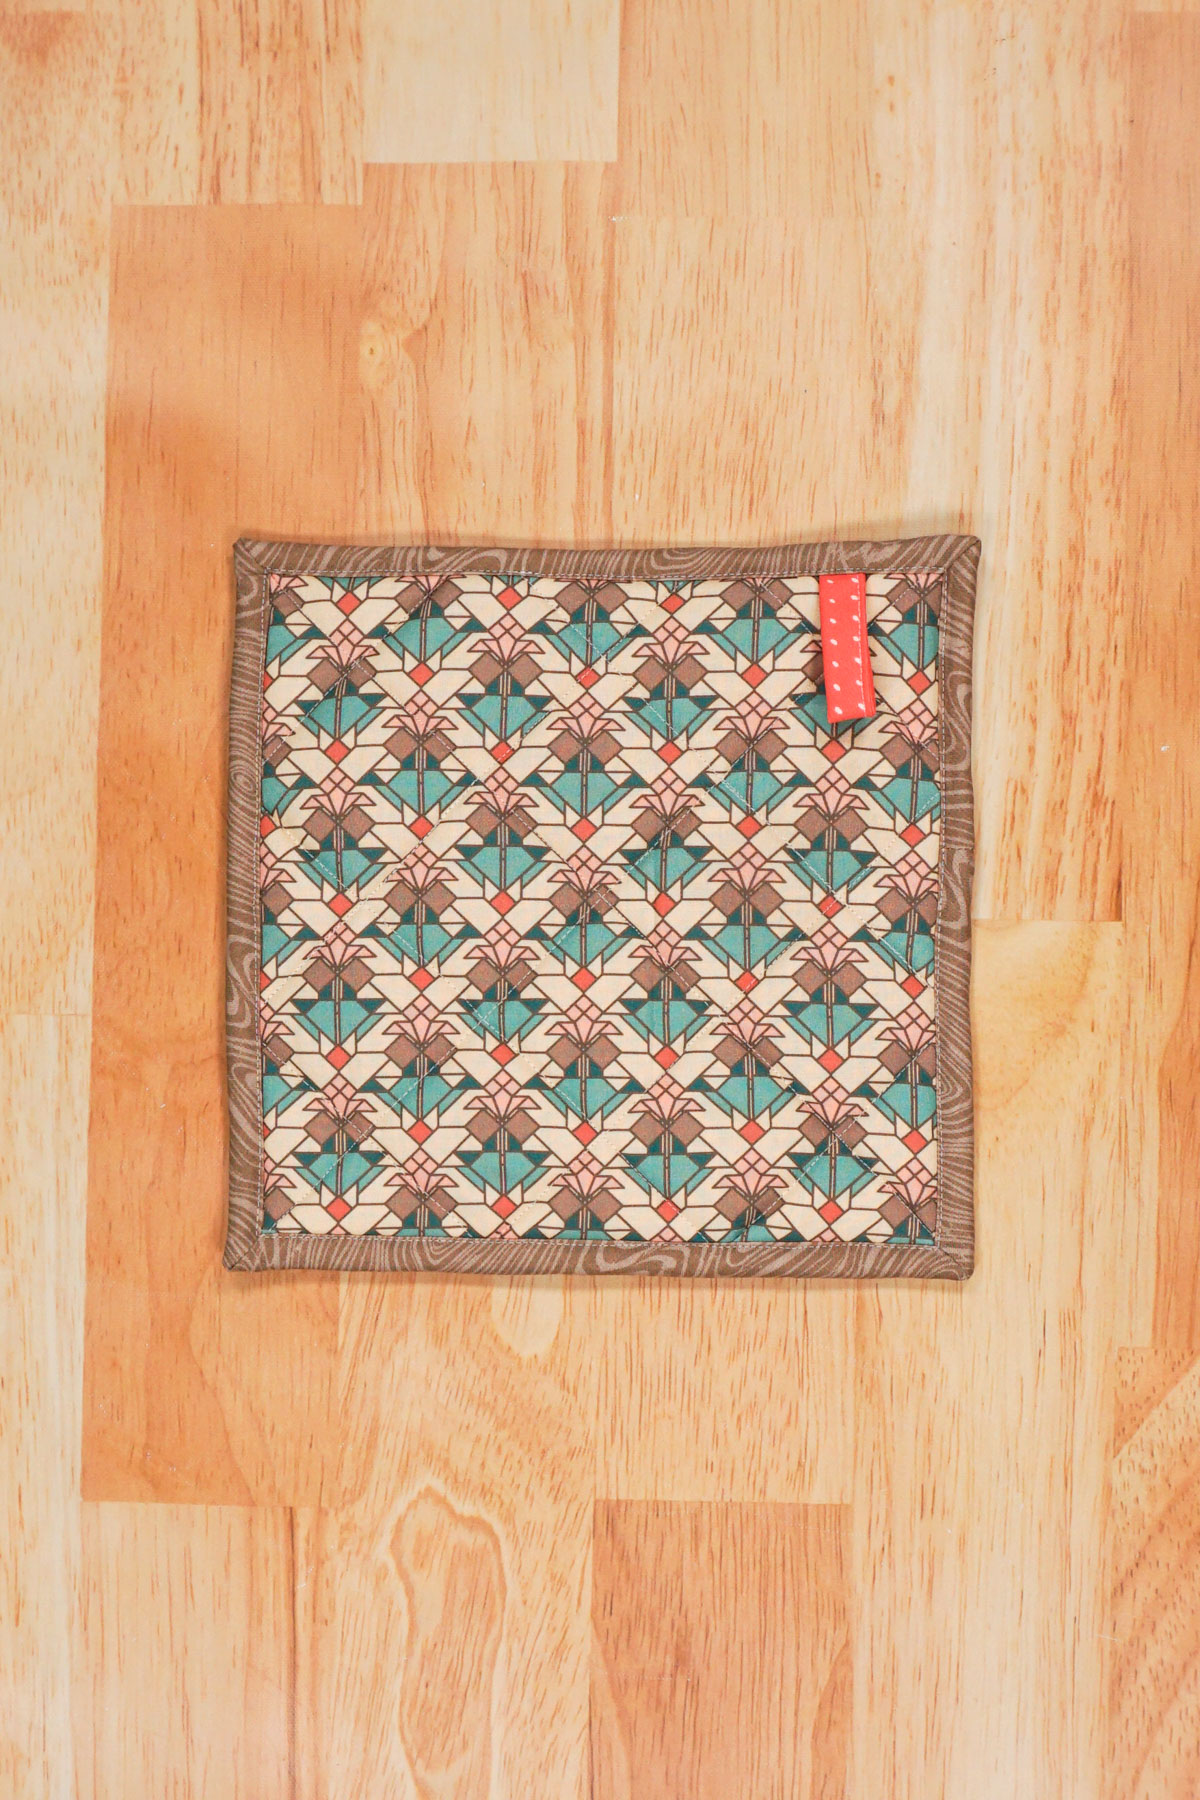
Get the Free Sewing Pattern here!
If you make something using this sewing project, I’d love to see! Please share it on social media with the hashtag #heatherhandmade and tag me!

I believe small sewing moments can create great joy. Find your own “right” way to sew. -Heather