
Free Bucket Hat Sewing Pattern for Summer

This post may contain affiliate links.
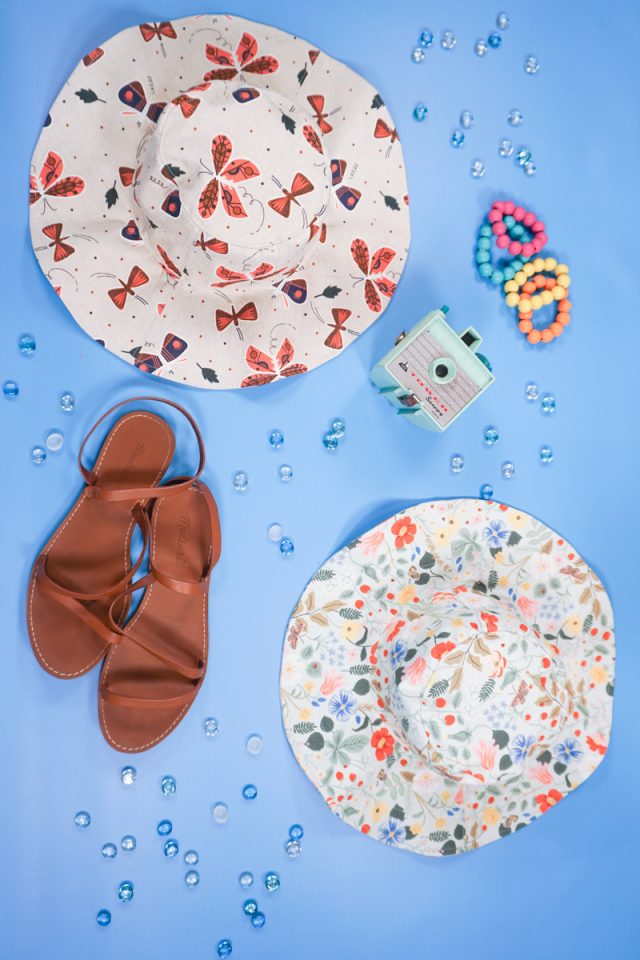
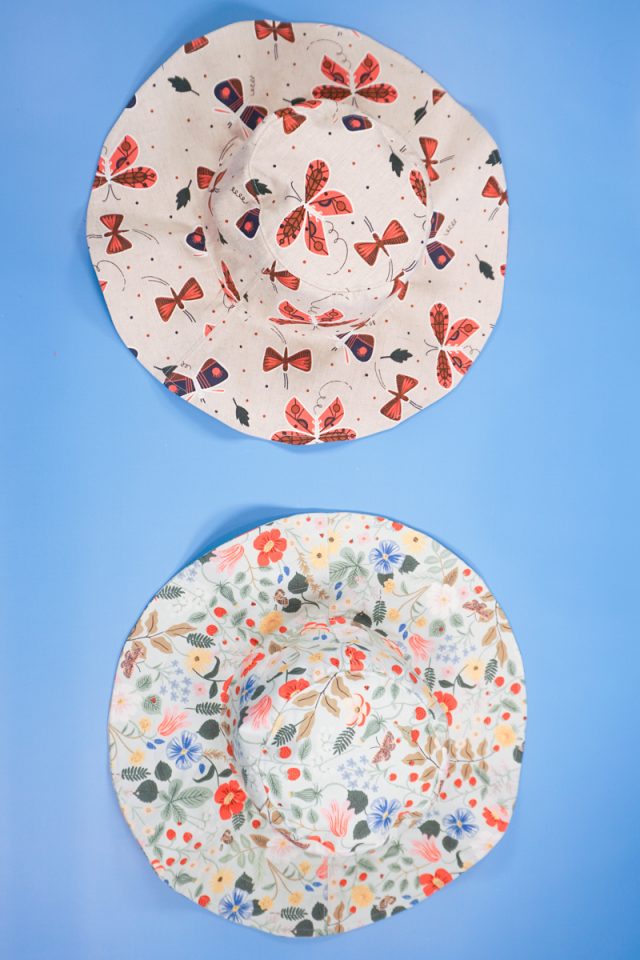
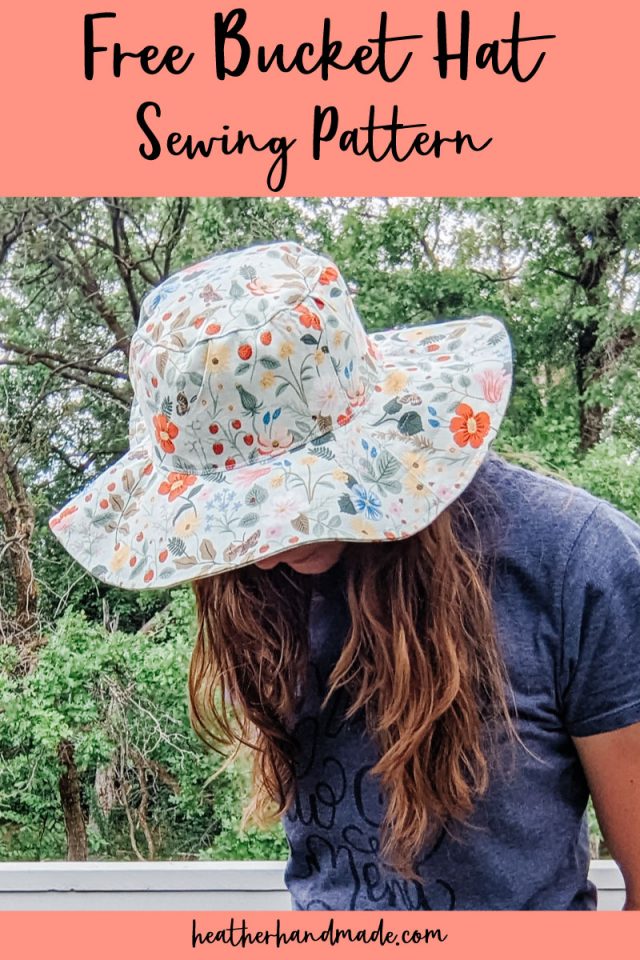
Learn how to make a bucket hat with a free sewing pattern in baby, child, and adult sizes. This beginner sewing project is great for summer!
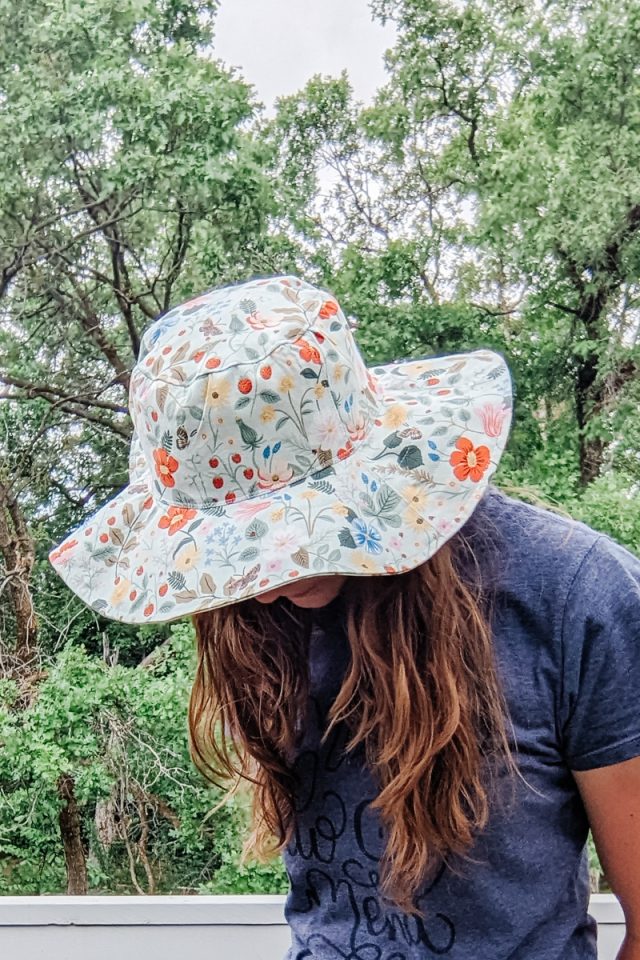
Summer is here, and I love spending time outdoors. We love to hike, garden, and swim so having a hat to keep our face shaded and protected from the sun is so important.
I started designing this hat as a bucket hat, but I widened the brim for more sun coverage. It’s almost more of a sun hat, but I’m still calling it a bucket hat.
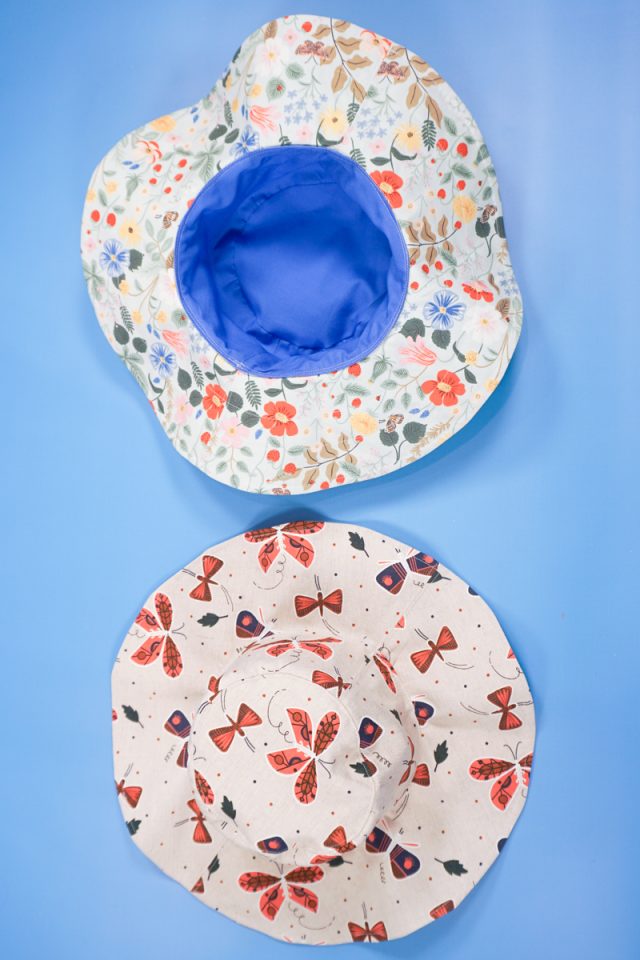
This hat comes with one design, but it comes in 9 sizes from baby to child to several adult sizes. It works for the whole family!
To get the free sewing pattern, scroll to the end of the tutorial. Put your email address in the form under “Get the Free Sewing Pattern Here.” Once you confirm that you want to receive emails from Heather Handmade, the free pattern will be sent to your email address. Check your spam and promotions for the email.
What fabric works for a bucket hat?
The fabric that works best for a bucket hat is cotton canvas or quilting cotton. I used both for the two hats I made with great success. The canvas makes the hat a little bit stiffer, but it also makes the hat a little harder to sew.
Canvas and cotton are easy to find and easy to sew, and it comes in every print and color imaginable. You’ll also need a fat quarter of quilting cotton for the lining.
Should I prewash the fabric?
Yes, you should prewash the fabric. Since the hat will get used and it’s washable, you should wash and dry the fabric on hot before cutting out the pattern pieces.
What is a PDF sewing pattern?
A PDF pattern is a sewing pattern designed on the computer and organized so that it can be printed on several letter or A4 size pieces of paper.
I love using PDF sewing patterns because if the pattern gets ruined or if my children or I changed sizes, I can always print it again. It’ll never be destroyed since I have a digital version!

How do you use a PDF sewing pattern?
Open the PDF on a computer and click print. When printing make sure that the scaling is set to 100% or no scaling so that the pattern prints at the correct size.
Once the pattern is printed it can be taped together to get the full size. Then the pattern can be cut for each pattern piece size or individual sizes can be traced so that the pattern can be used again and again. Learn how to use PDF sewing patterns.

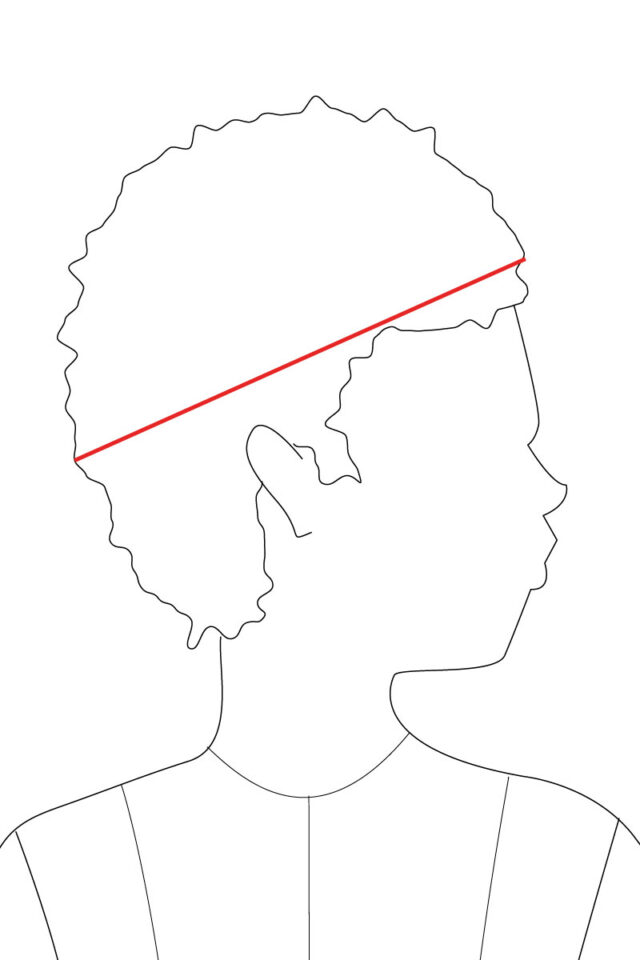
How to Measure Your Head
To measure the circumference of your head correctly, the tape measure needs to be over the middle of your forehead, go around above your ears and then sit in the middle at the back of your head at the widest part. Do not pull the tape too tight unless you want your hat to be that tight when you wear it.
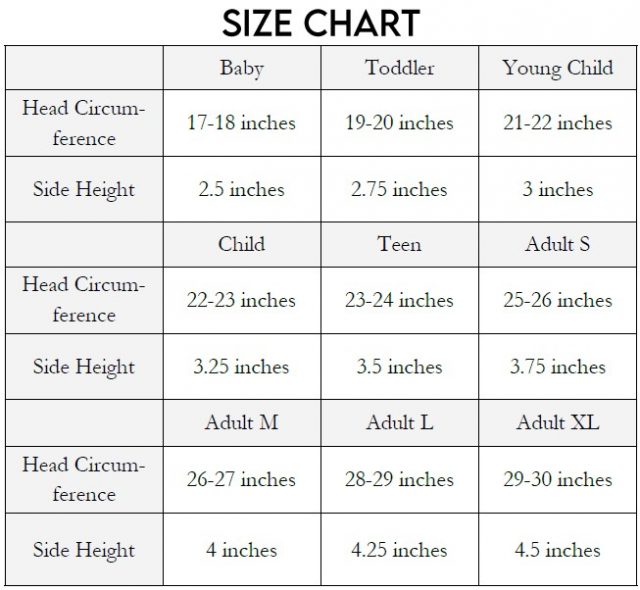
What sizes does the pattern come in?
The pattern comes in sizes baby, toddler, young child, child, teen, and four adult sizes. Use the measurement chart below to find the right size to make.
When you measure your head, make sure you are measuring around the widest part of your head so that you make the right size.
Do you love to sew? Try one of these fun sewing projects:
- Free PDF sewing patterns
- Beginner sewing projects
- Summer sewing projects
- Canvas sewing projects
- Quilting cotton sewing projects
How to Make a Bucket Hat
Supplies
- Free Bucket Hat Sewing Pattern – get it at the end of the post
- 3/4 yard quilting cotton or cotton canvas (for the main part of the hat)
- 1 fat quarter of quilting cotton (for the lining of the hat)
- 1/2 yard fusible interfacing
- Matching thread
- Sewing tools
- Sewing machine
Do you just want the pattern and tutorial as a PDF? Get the pattern and photo tutorial for just $6. You won’t need to access the internet every time you want to make it. Or get the Pattern Bundle with ALL the PDF tutorials!

Cut out all the pattern pieces as instructed in the pattern. From the outer fabric you’ll need 1 crown, 2 sides, and 4 brims. From the lining you’ll need 1 crown and 2 sides. From the interfacing you’ll need 1 crown, 2 sides, and 4 brims.
Fuse the interfacing pieces to all the wrong side of the outer fabric pieces.
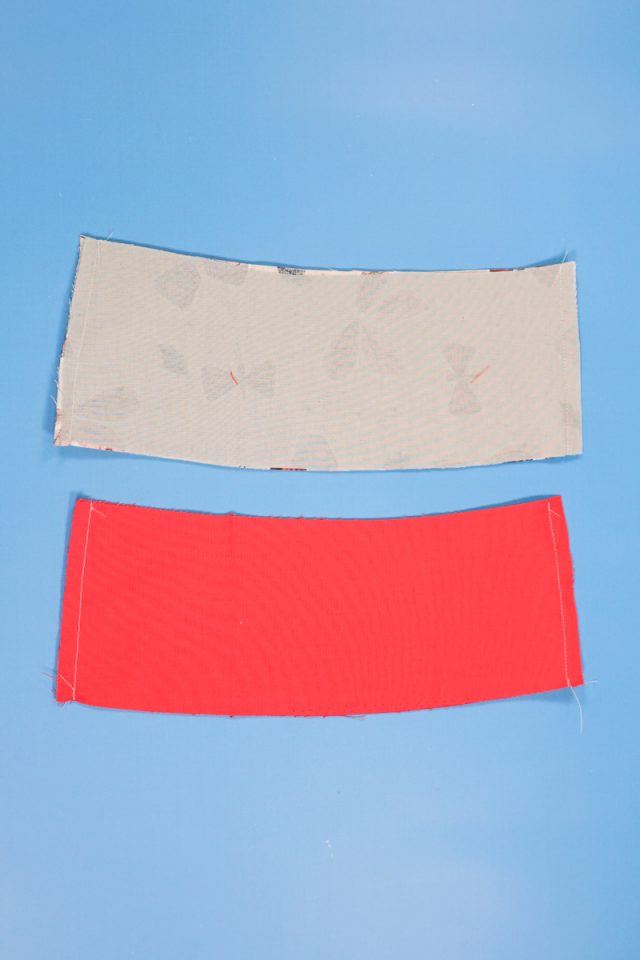
Match up the short sides of the outer fabric sides with right sides together. Match up the shorts ides of the lining fabric sides with right sides together. Sew each side and backstitch when you start and when you stop.
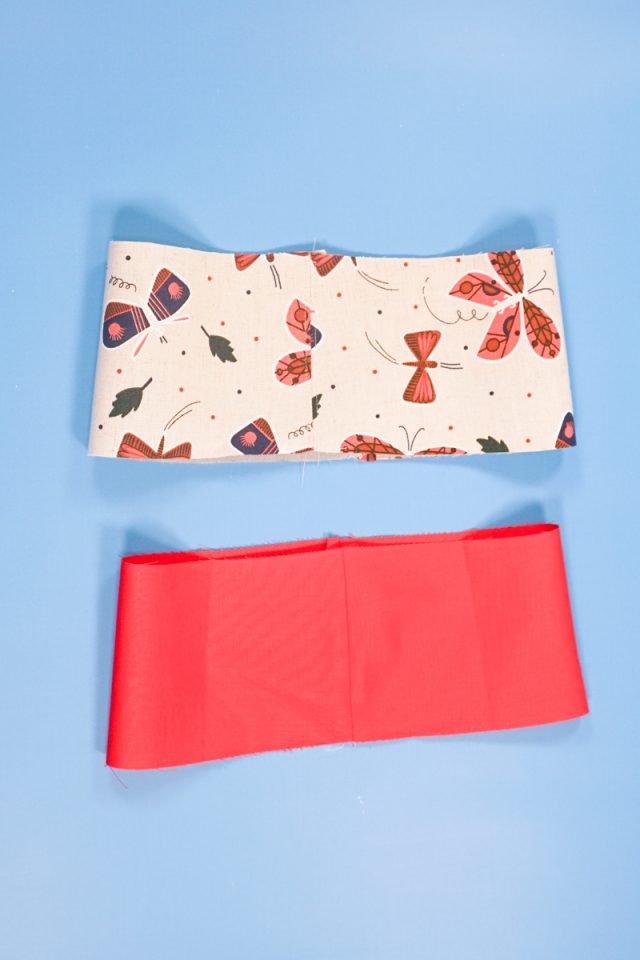
Press the seams open.
On the outer fabric side (that is now a tube), edgestitch the seam allowances open. This creates a nice, casual look and makes it easier to sew and wear with the seam allowances stitched flat.
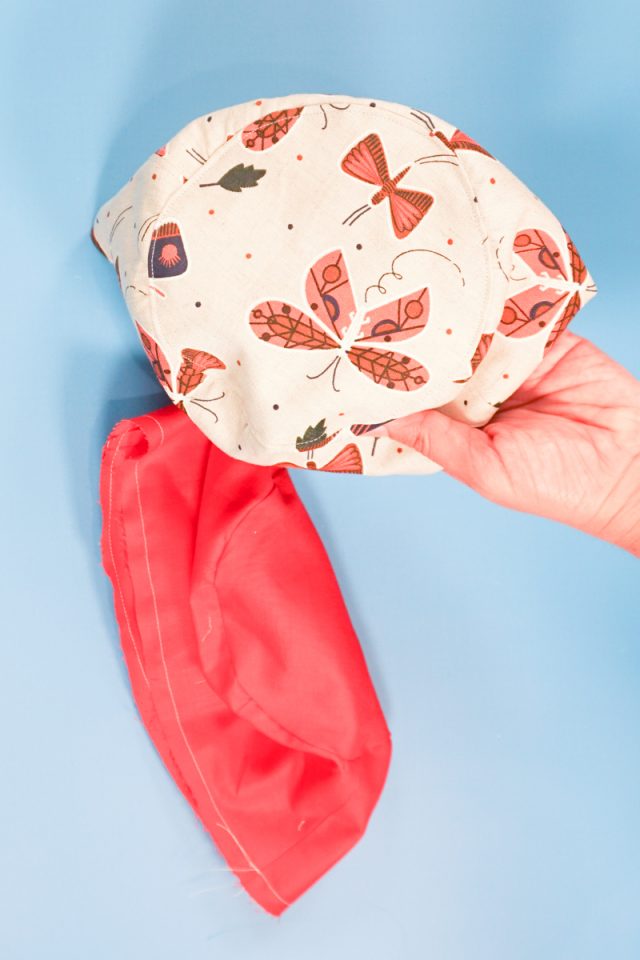
Pin the crown to the top (the smaller circumference) of the side with right sides together and match the notches to the side seams. Sew the crown to the side being careful since you’re sewing a curve to a straight edge.
Do the same to the lining. Press the seam allowances towards the crown on both the outer piece and the lining piece.
Edgestitch the seam allowance towards the crown on the outer hat piece.
Sew around the bottom of the lining piece 3/8 inch from the edge. This is a guide stitch.
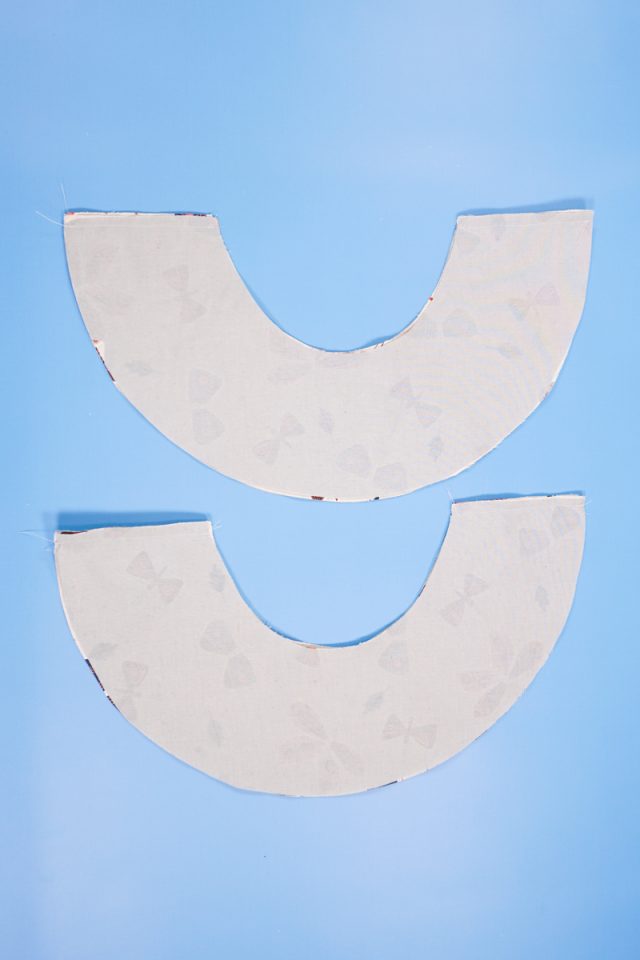
Pin one brim to another at the short side seams with right sides together. Pin the other brim to the remaining brim with right sides together.
Sew all four side seams and backstitch when you start and when you stop.
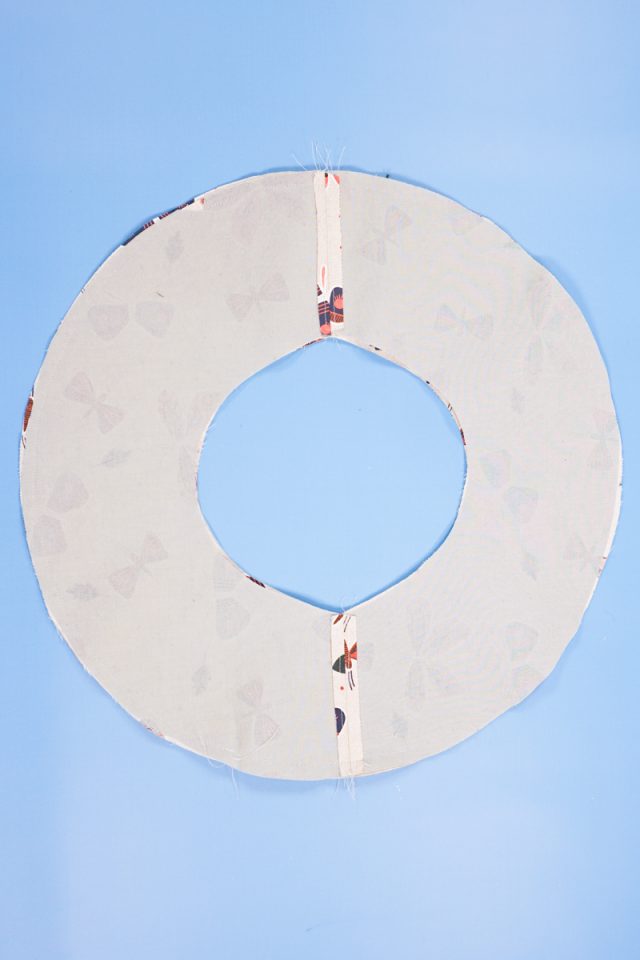
Press the seams open. Edgestitch around the seam to keep the seam allowance open and flat.
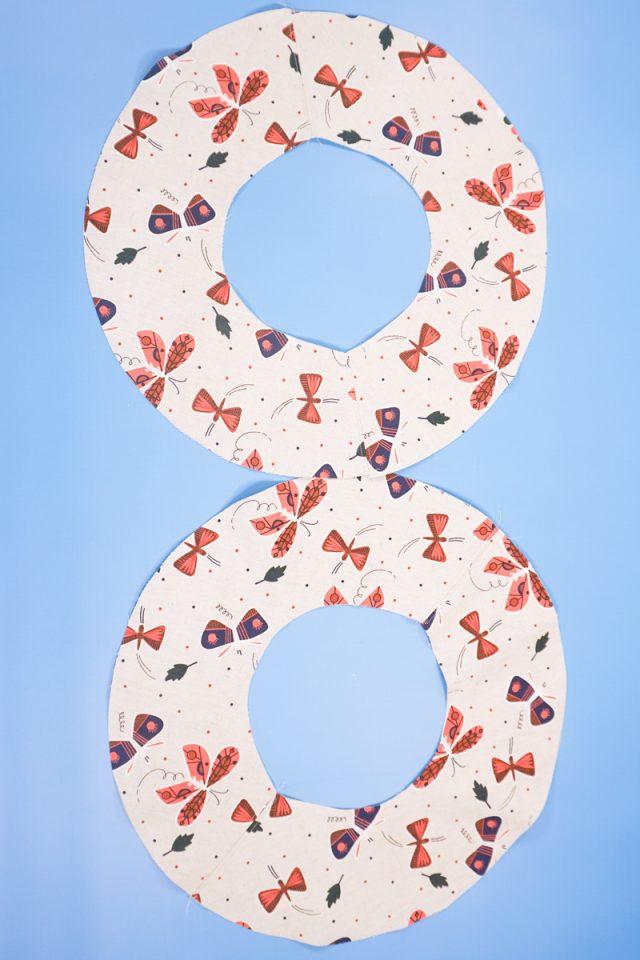
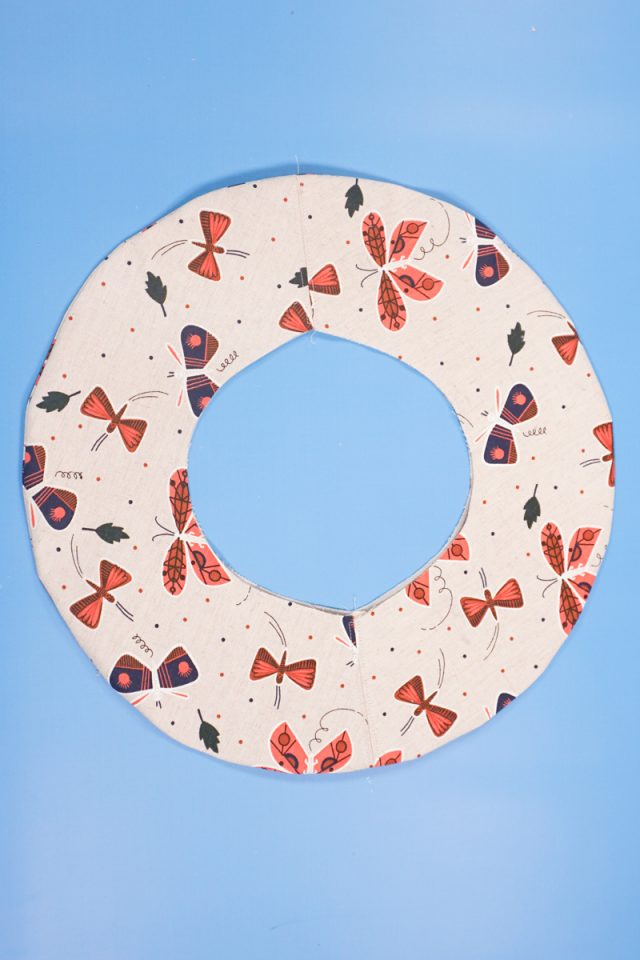
Place the brims right sides together and match up the outer circle. Pin it together.
Sew the outer edge of the brim all the way around.
Notch the seam allowance or trim it with pink shears.
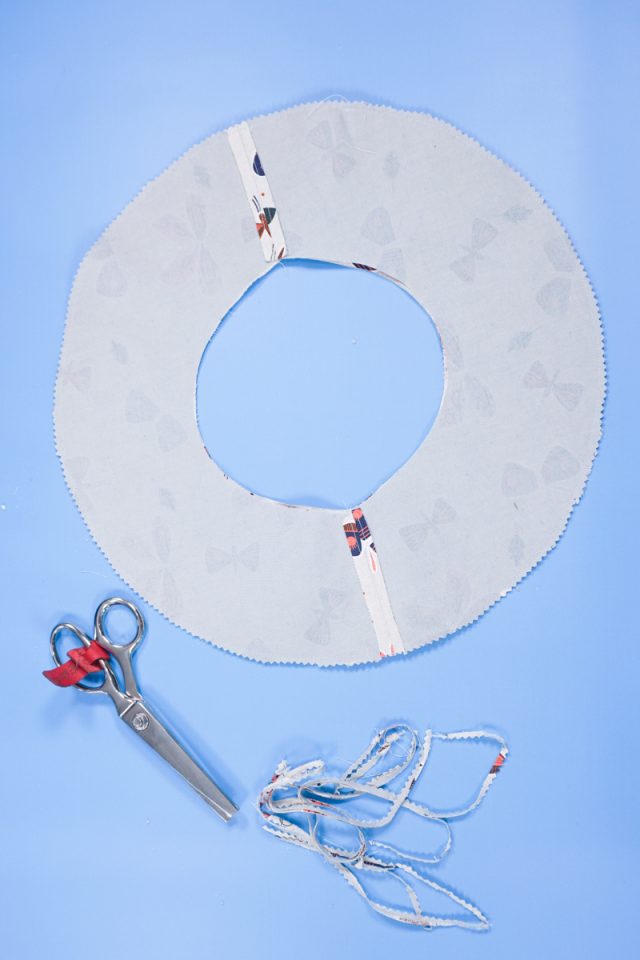
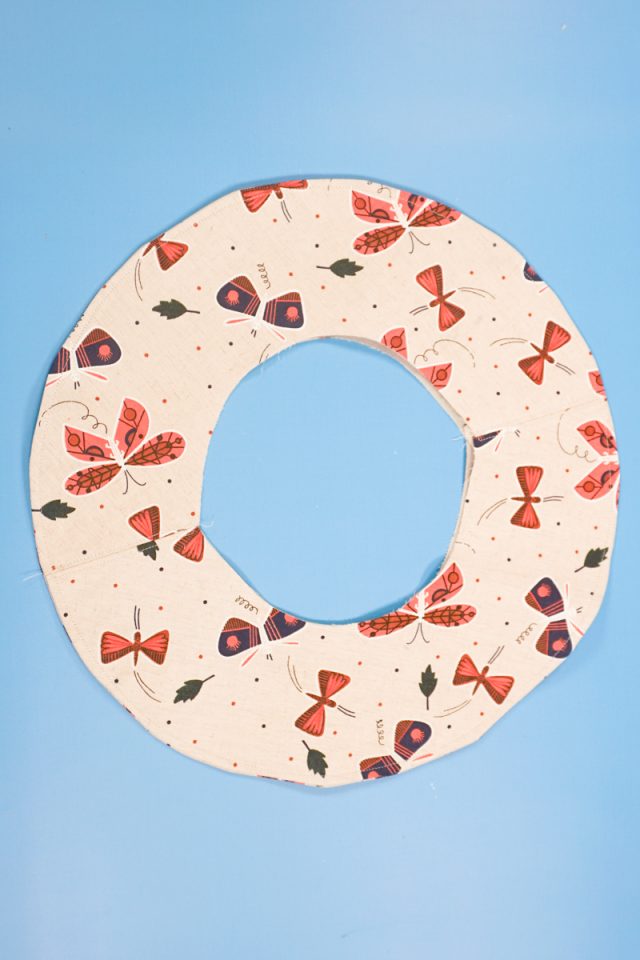
Turn the brim right side out and press flat.
Topstitch around the edge of the brim 1/4 inch from the edge.
Optional: sew more rows of stitching in smaller and smaller circles around the brim. This just adds to the look.
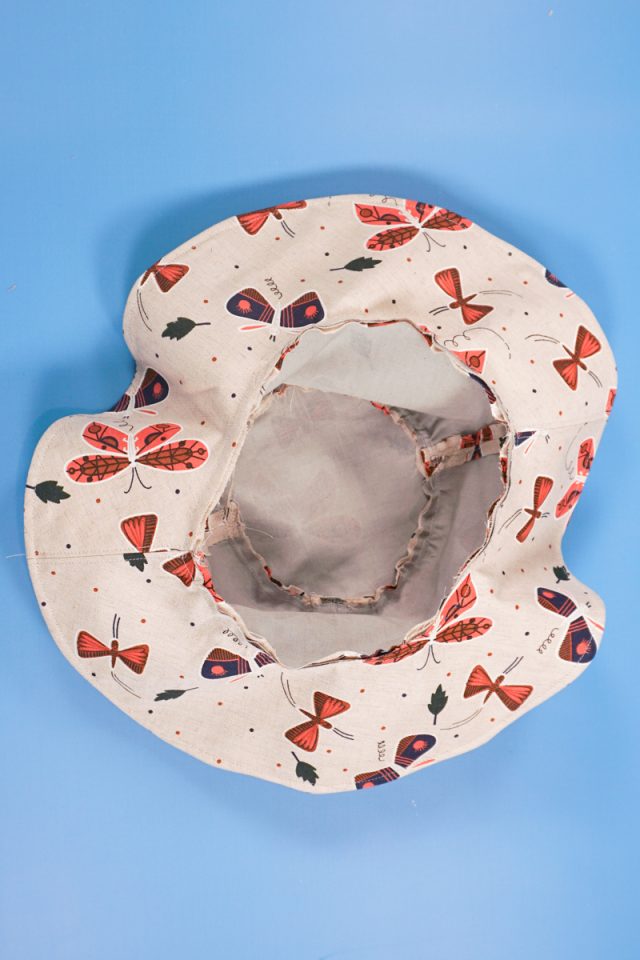
Pin the brim to the side with right sides together. Match up the side seams of the brim with the sides seams of the sides.
Sew the seam. Be careful and adjust as you sew since you’re sewing a curve to a straight edge.
Clip 1/4 inch into the seam allowance with scissors about every 1 inch.
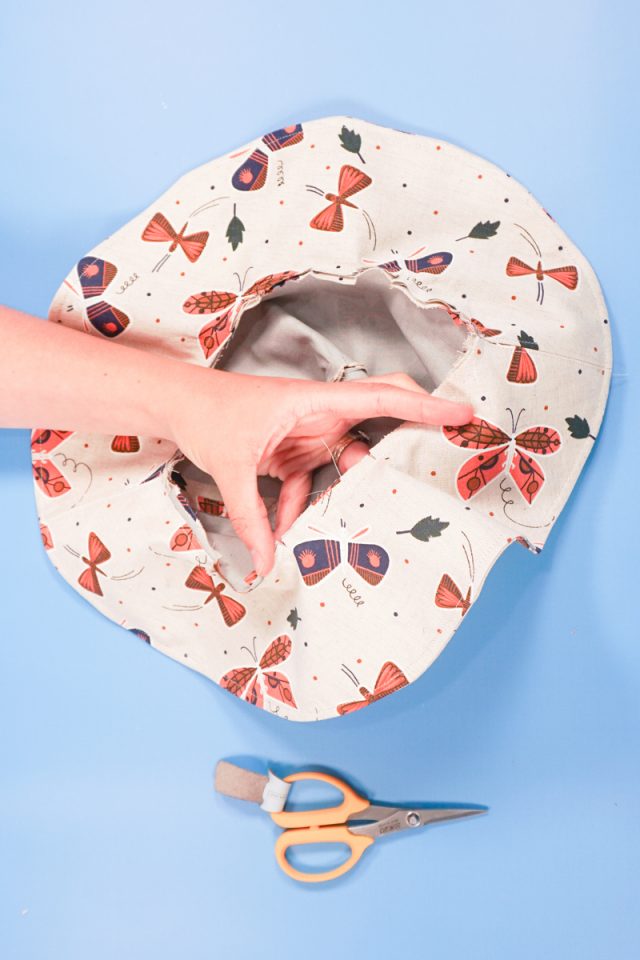
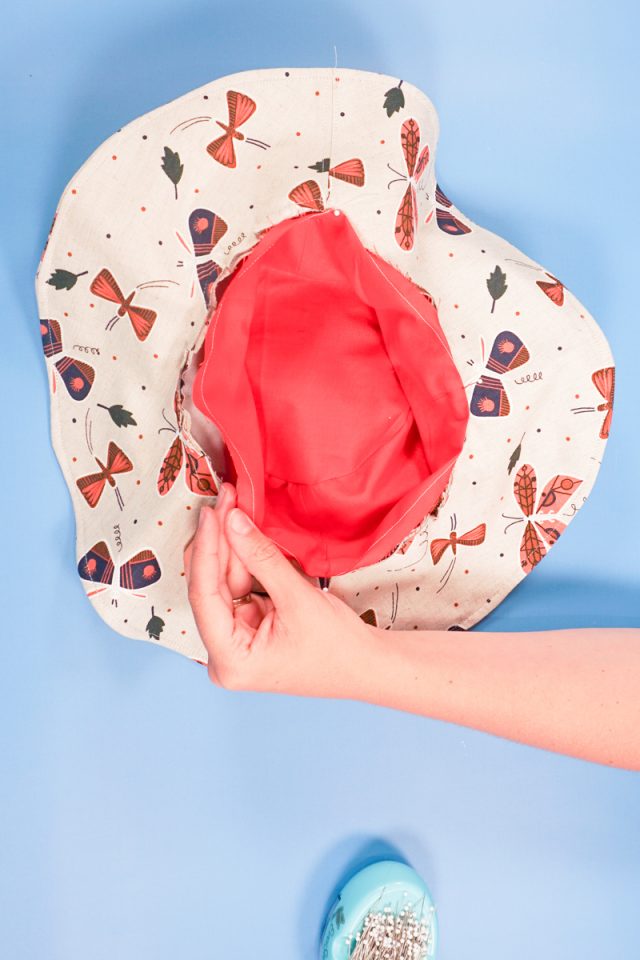
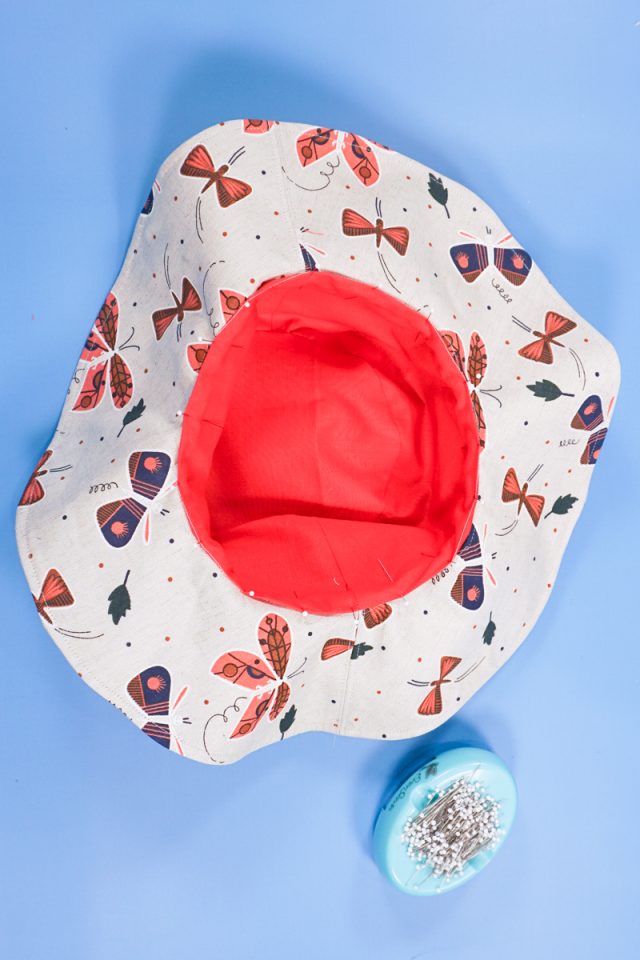
Place the lining inside with the wrong side of the lining facing the wrong side of the hat. Fold the lining inside at the 3/8 inch guide stitch. Pin the lining in place with all the raw edges folded inside.
When looking at the hat from the outside, sew in the seamline between the brim and the side to secure the lining inside.
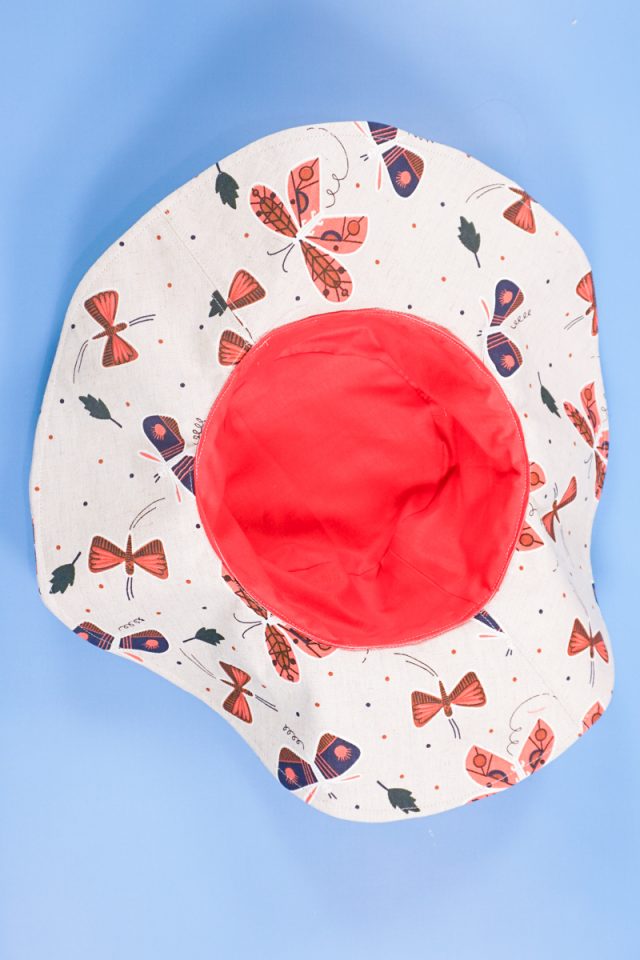
You finished!
Get the Free Sewing Pattern here!
If you make something using this sewing project, I’d love to see! Please share it on social media with the hashtag #heatherhandmade and tag me!

I believe small sewing moments can create great joy. Find your own “right” way to sew. -Heather
It wants me to pay for the pattern
https://www.heatherhandmade.com/free-bucket-hat-sewing-pattern/#get-the-free-sewing-pattern-here
I don’t see the actual head
Measurements for adult sizing.
Looking for a hat that works for me. I hope this is the one.
Looking forward to making the bucket hat