
Free Adjustable Apron Sewing Pattern with Pockets

This post may contain affiliate links.
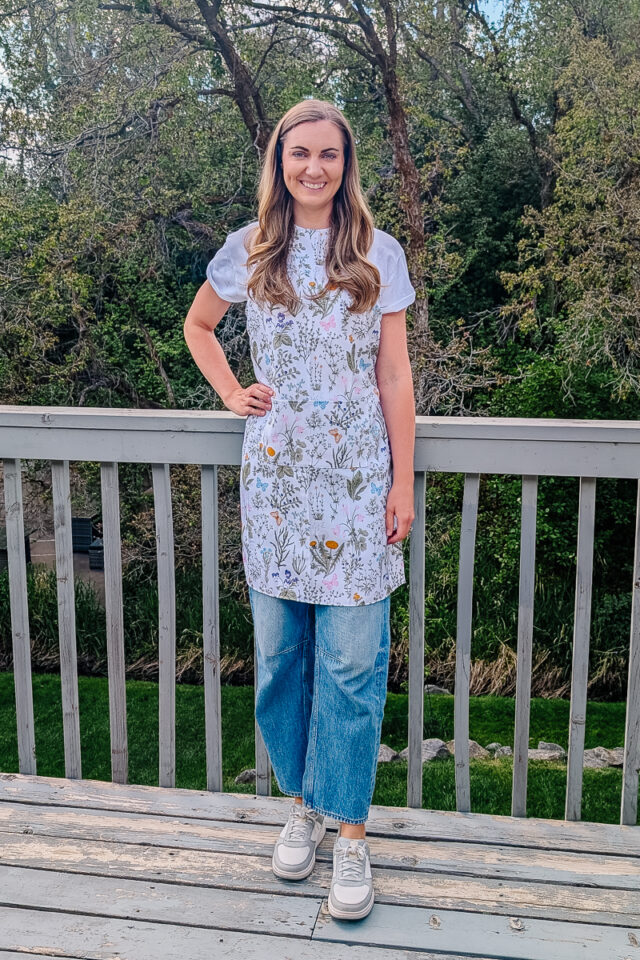
Learn how to sew an adjustable apron with a free sewing pattern. This kitchen sewing project is easy, quick, and can fit a lot of people.
Do you have several people in your home that all use the same apron? Are you all different heights so it’s hard to find an apron that works for everyone?
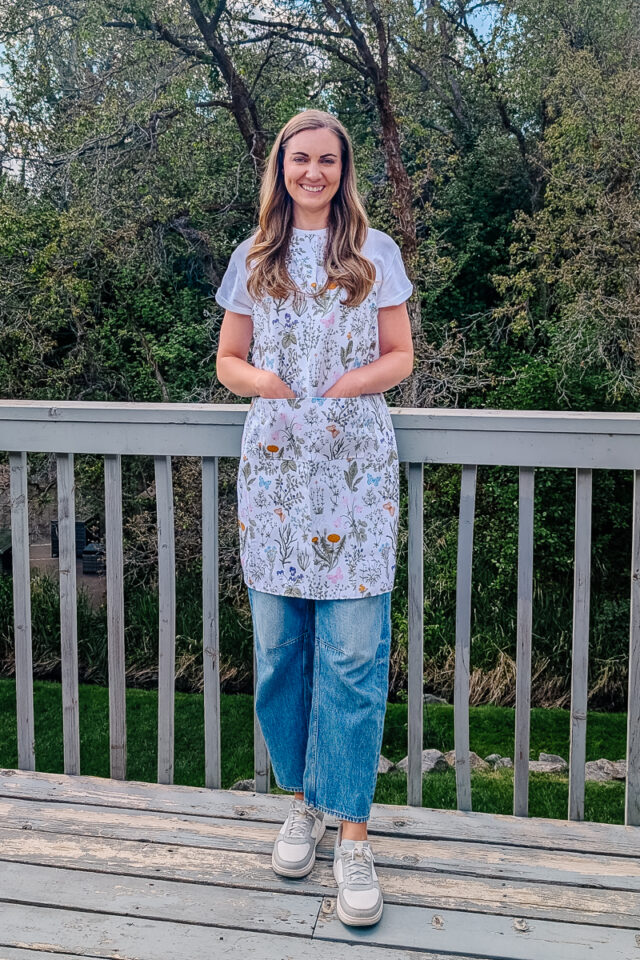
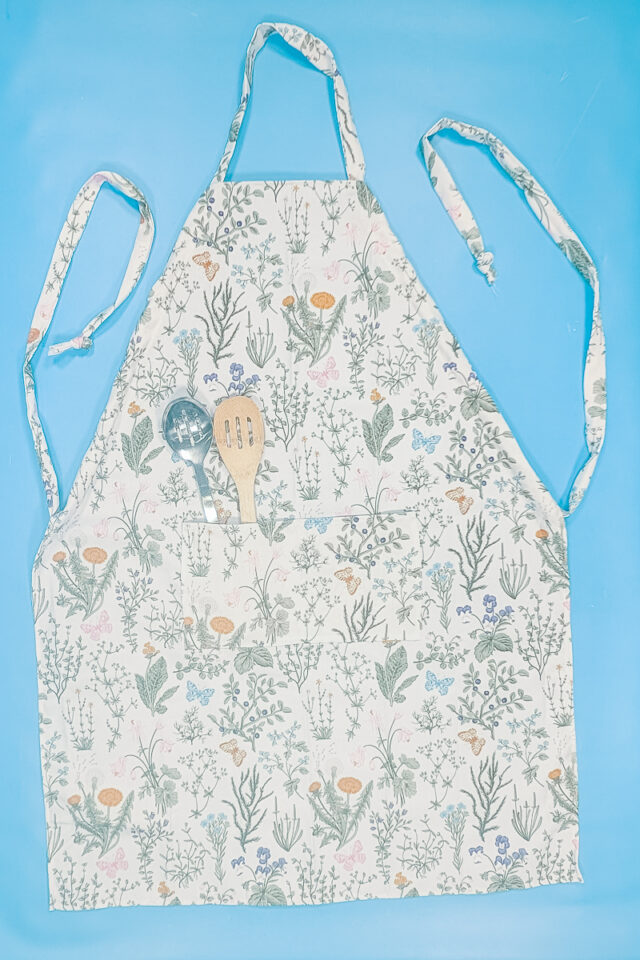
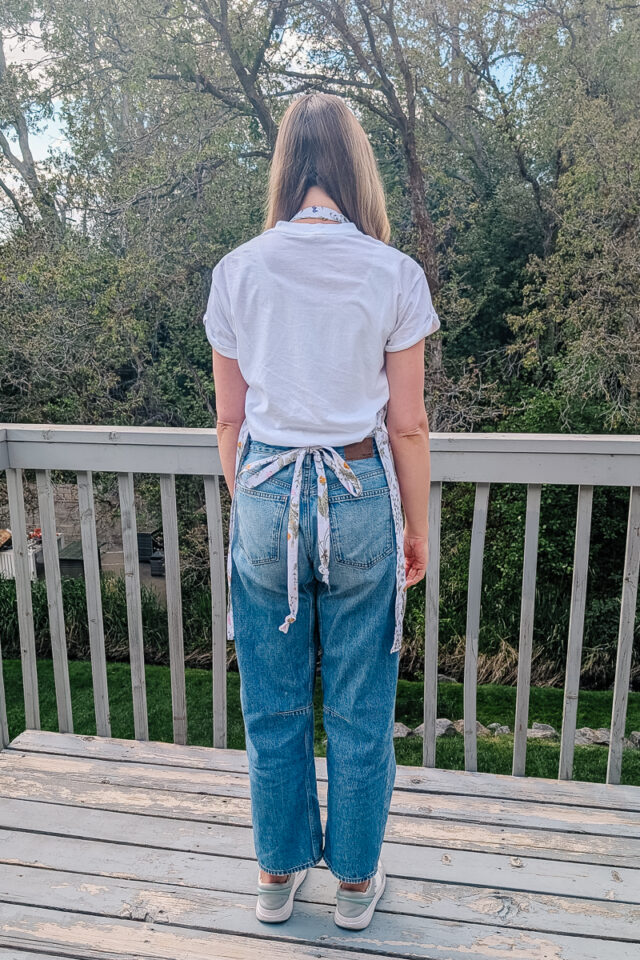
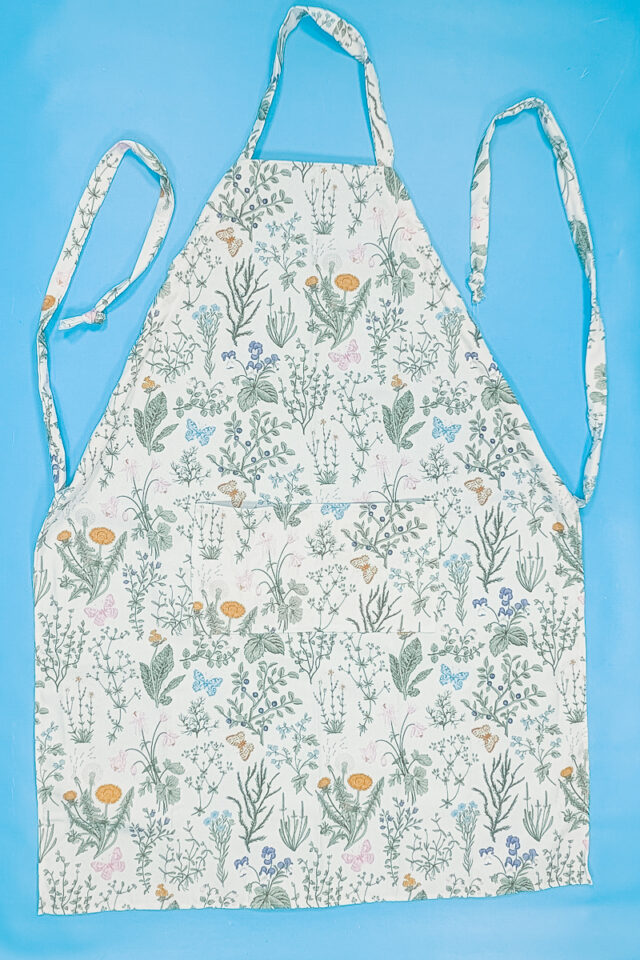
Look no further! Learn how to sew an adjustable apron that doesn’t have a slider. It has two casings on each side so that the neck loop and back ties can be adjusted. It also has two pockets on the front to store things as you are cooking, baking, or grilling.
To get the free sewing pattern, scroll to the end of the tutorial. Put your email address in the form under “Get the Free Sewing Pattern Here.” Once you confirm that you want to receive emails from Heather Handmade, the free pattern will be sent to your email address. Check your spam and promotions for the email.
What fabric should I use for an adjustable apron?
Since this apron is not lined and does not use and interfacing, the best fabric to use is something thick like canvas or denim. It’s stiffer which works great for this design, and it’s washable, sturdy, and durable. You can use a cotton or polyester based canvas or denim.
What is a PDF sewing pattern?
A PDF pattern is a sewing pattern designed on the computer and organized so that it can be printed on several letter or A4 size pieces of paper.
I love using PDF sewing patterns because if the pattern gets ruined or if my children or I changed sizes, I can always print it again. It’ll never be destroyed since I have a digital version!
How do you use a PDF sewing pattern?
Open the PDF on a computer and click print. When printing make sure that the scaling is set to 100% or no scaling so that the pattern prints at the correct size.
Once the pattern is printed it can be taped together to get the full size. Then the pattern can be cut for each pattern piece size or individual sizes can be traced so that the pattern can be used again and again. Learn how to use PDF sewing patterns.
Love to sew? Try one of these sewing projects:
- Beginner sewing projects
- Gifts to sew
- Free PDF sewing patterns
- Kitchen sewing projects
- One yard sewing projects
- Canvas sewing projects
- Free apron patterns
How to Sew an Adjustable Apron
Supplies
- Free sewing pattern – get it at the end of the post
- 1 yard of canvas, denim, or other thick, sturdy fabric
- Sewing tools
- Sewing machine
Do you just want the pattern and tutorial as a PDF? Get the pattern and tutorial for just $5. You won’t need to access the internet every time you want to make it. Or get the Pattern Bundle with ALL the PDF tutorials!
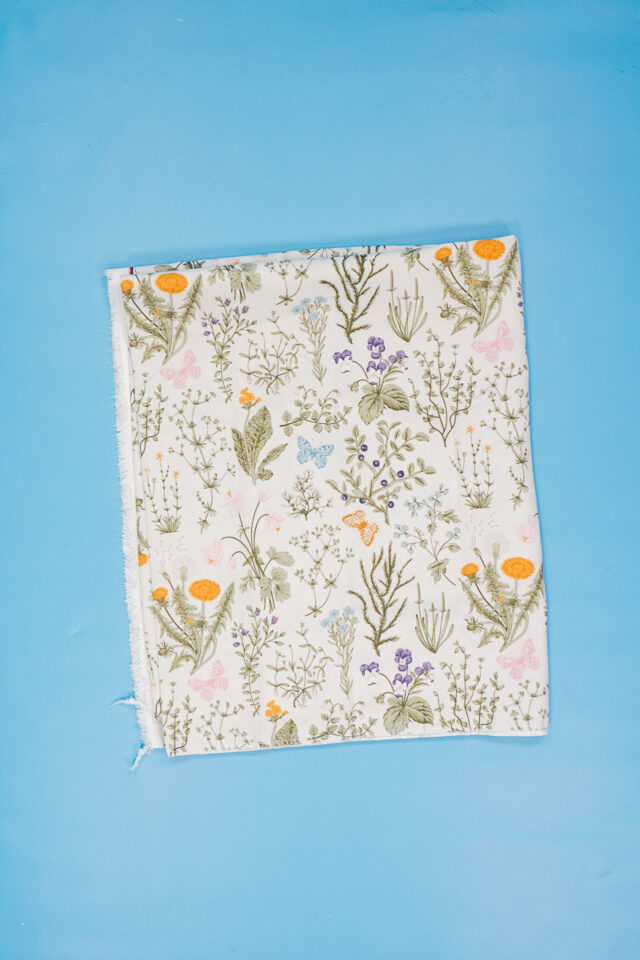
Instructions
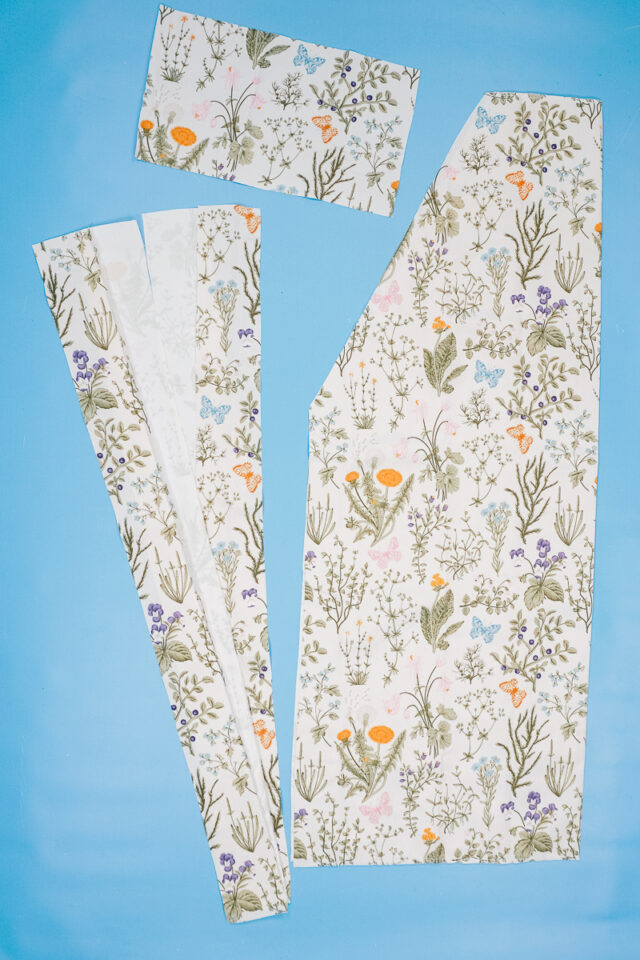
Cut out the fabric with the pattern pieces. You should have one body piece, one pocket piece, and 4 strap pieces.
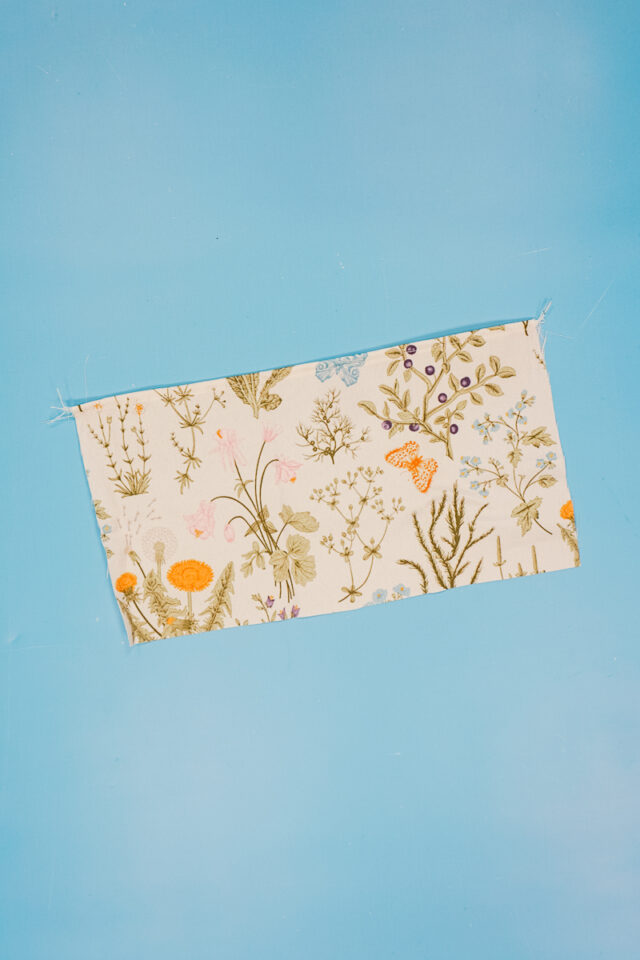
Press the top edge of the pocket down 1/4 inch and then fold and press it again 1/4 inch. Pin the hem in place. Sew the hem in place.
Fold the sides and bottom of the pocket over 1/4 inch and press.
Optional: finish the sides and bottom edges of the pocket with a serger.
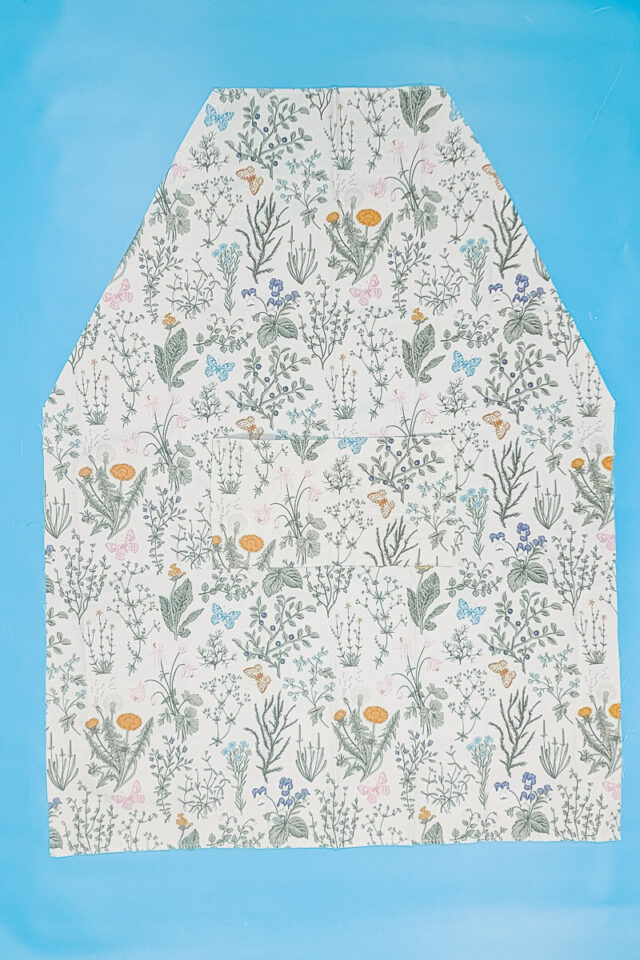
Pin the pocket onto the apron at the markings with the sides and bottom folded inside. Edgestitch the pocket in place. Backstitch when you start and when you stop. Sew a line in the center of the pocket to create two pockets.
Press the top edge of the body down 1/4 inch and then fold and press it again 1/4 inch. Pin the hem in place. Sew the hem in place along the top edge.
Press the bottom of the body down 1/4 inch and then fold and press it again 1/4 inch. Pin and sew the hem in place.
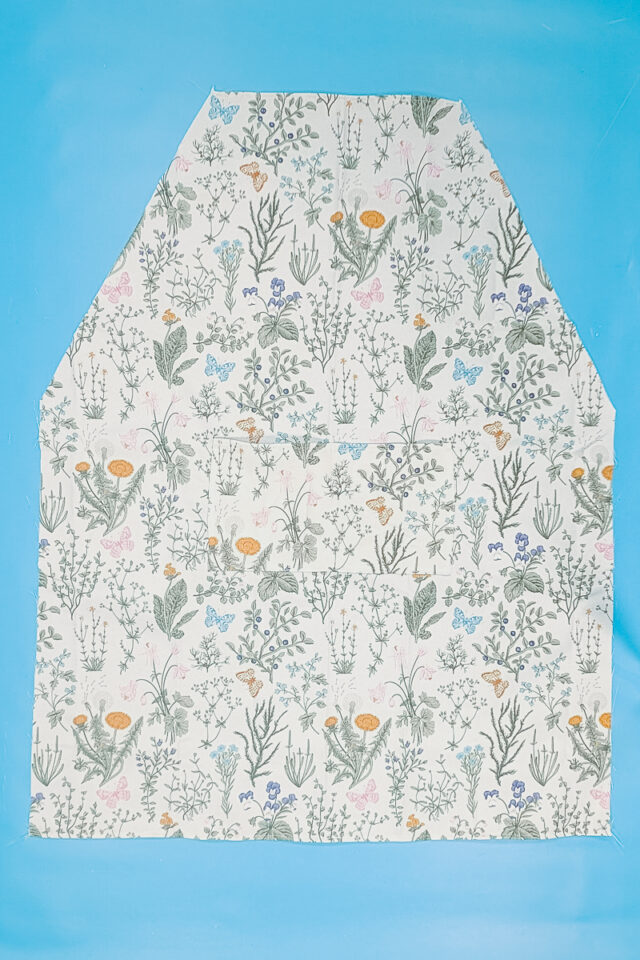
Press the sides of the body down 1/4 inch and then fold and press them again 1/4 inch. Pin and sew the hems on both sides in place.
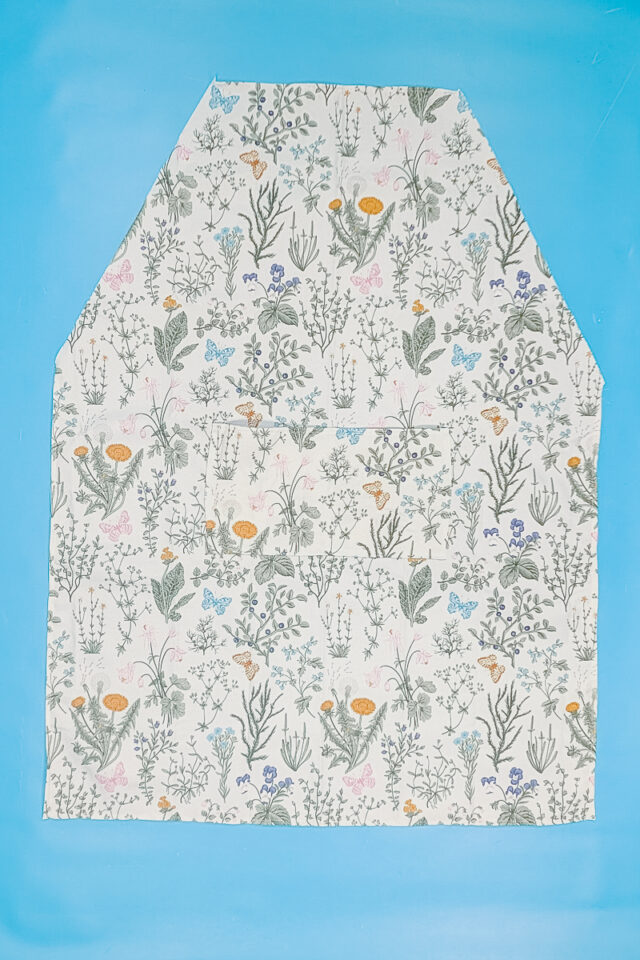
The raw edges left are the two diagonal edges. Fold the edges 1/4 inch and then 1 1/8 inch. Press in place. Sew the casing in place 1 inch from the outer edge. The top and bottom of each side of the casing is open.
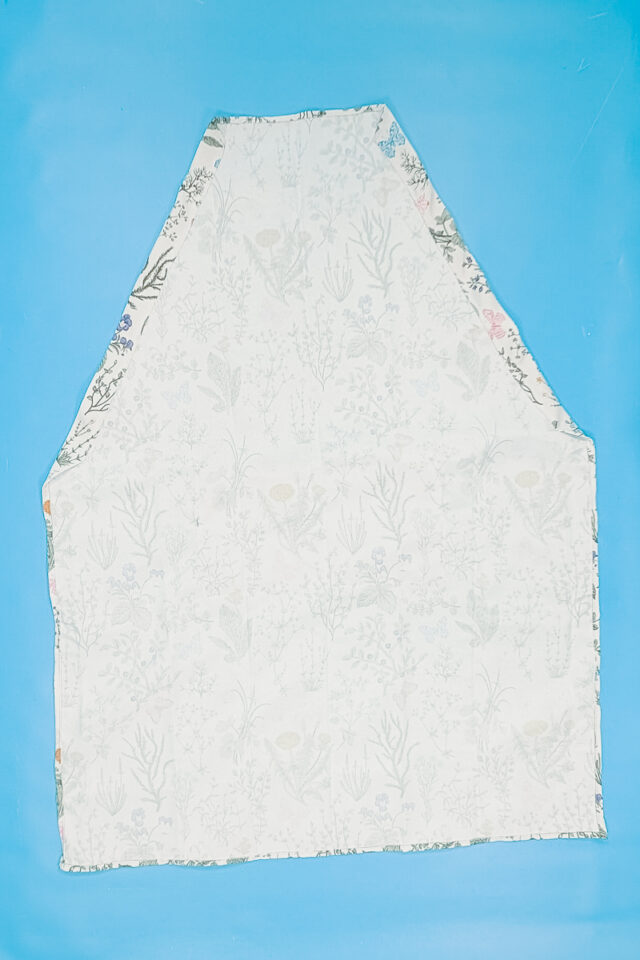
Take the 4 strap pieces. Sew them into one long rectangle by matching up the short ends right sides together. Sew with a 1/4 inch seam allowance.
Fold the strap in half right sides together matching the long edges. Sew the long edge with a 3/8 inch seam allowance. Backstitch when you start and when you stop. Do not sew the short ends.
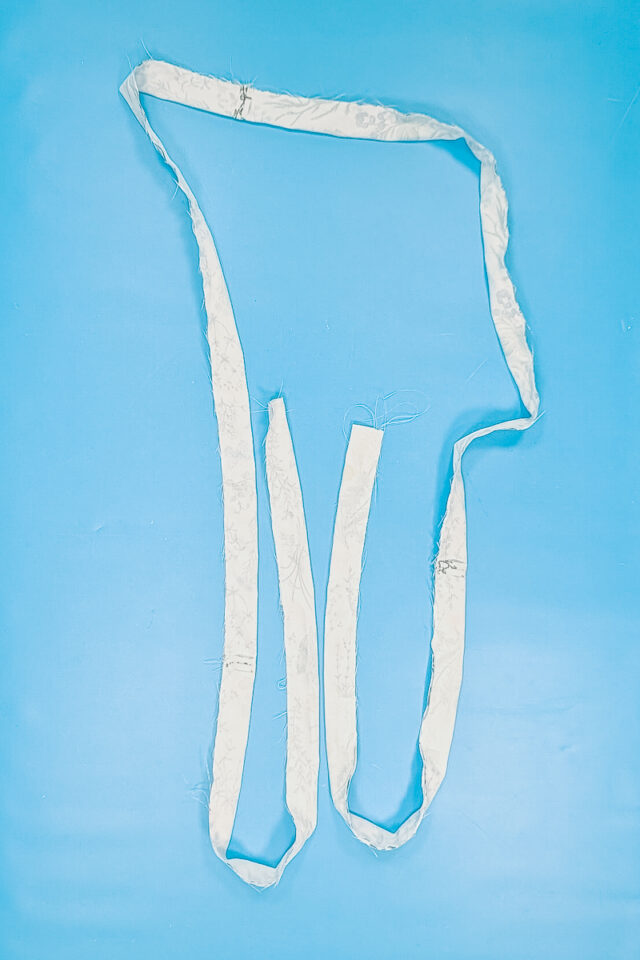
Turn the long tube right side out with a large safety pin.
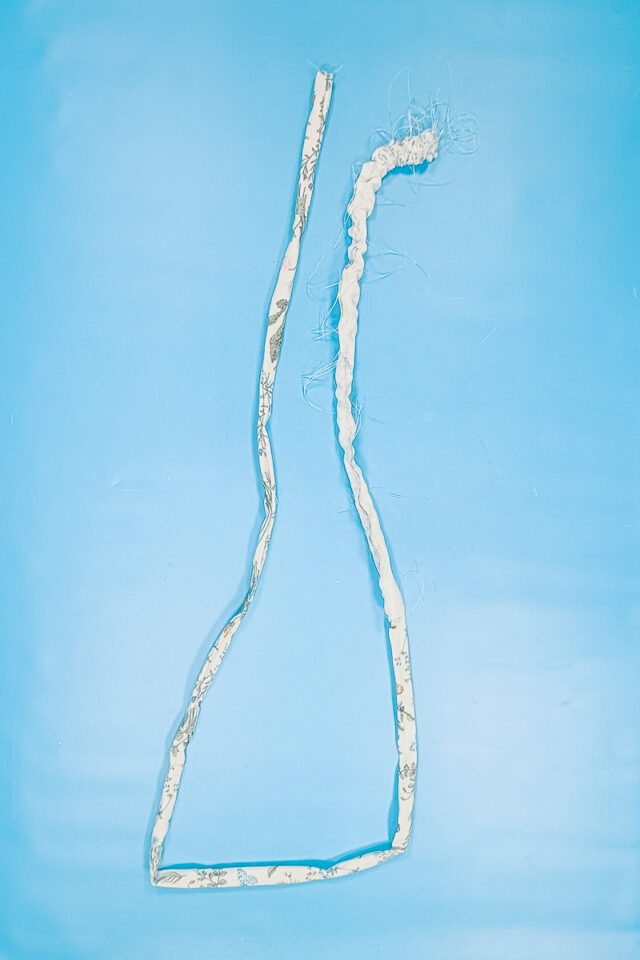
Press the strap flat.
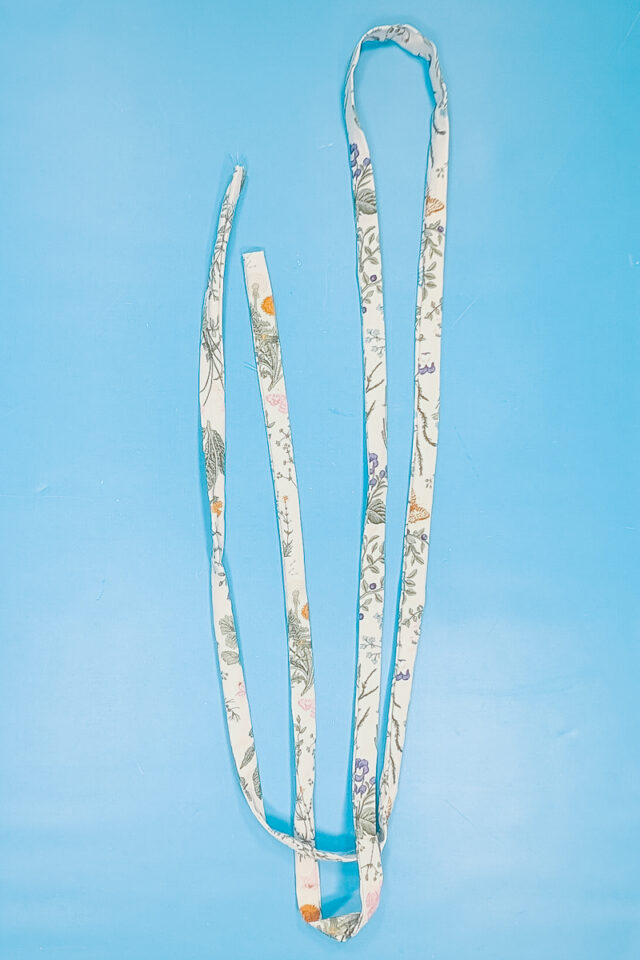
Use a safety pin and thread the strap through the bottom of one casing and up to the neck. Go down the neck side of the other casing and out through the bottom. Center the strap in the casings.
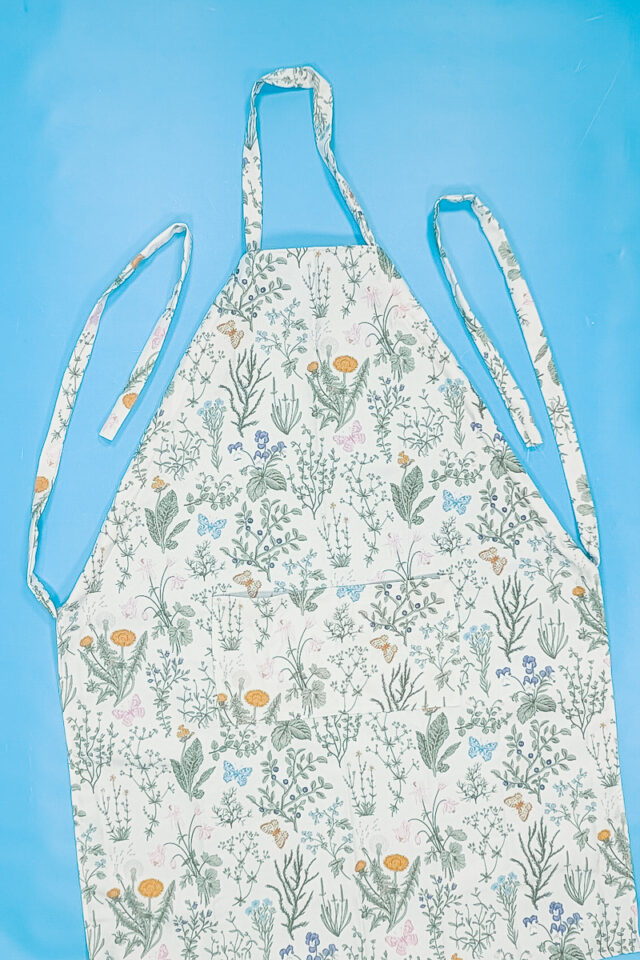
Tie the ends of the straps into thick knots so they won’t go into the casings.
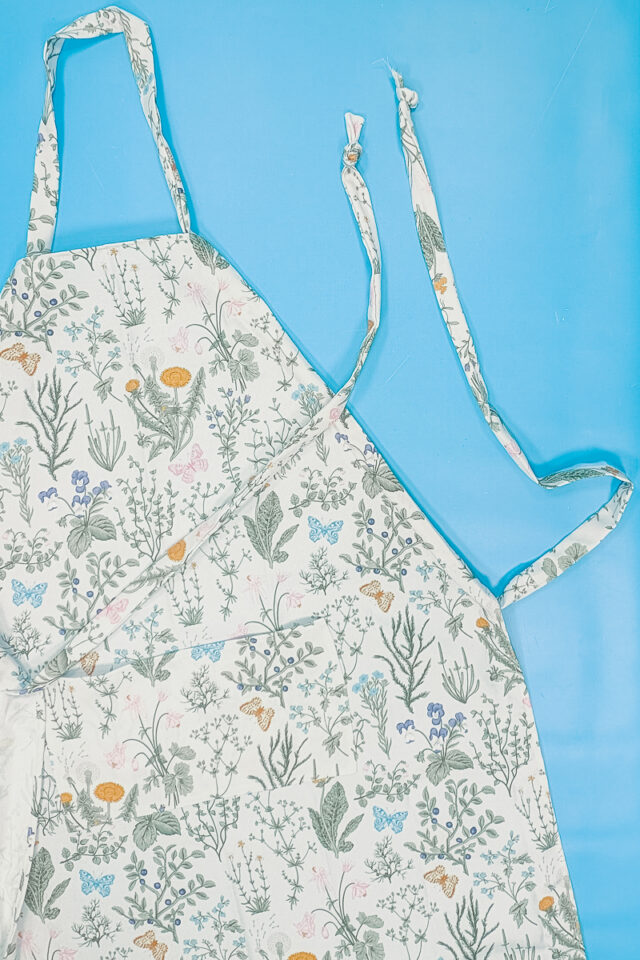
You finished!
Get the Free Sewing Pattern here!
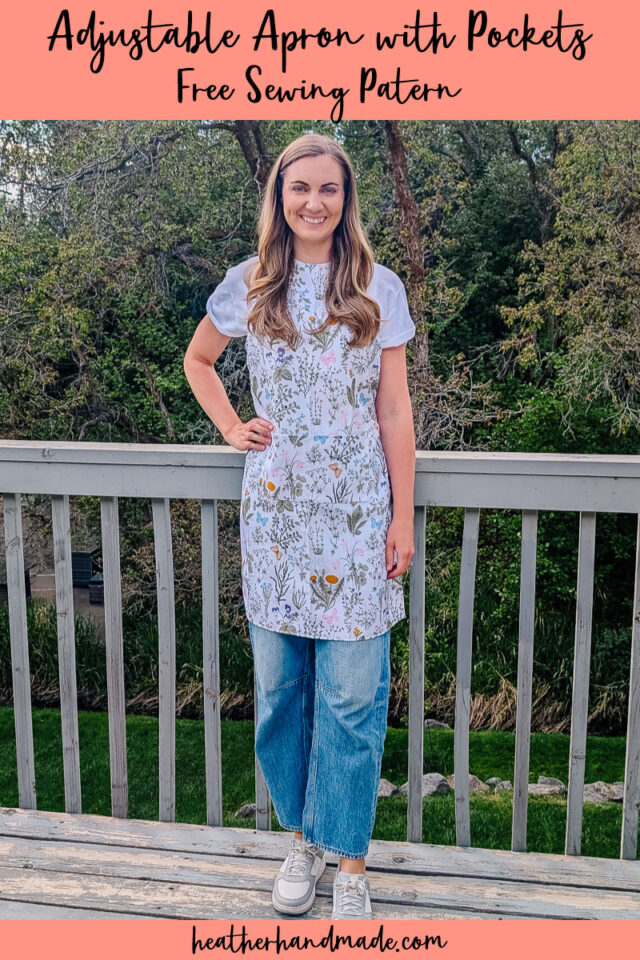
If you make something using this sewing project, I’d love to see! Please share it on social media with the hashtag #heatherhandmade and tag me!

I believe small sewing moments can create great joy. Find your own “right” way to sew. -Heather
This looks quick and easy and so versatile. Thank you for offering it.