
DIY Floral Iron-On Vinyl Dress with the Cricut Maker 3

This post may contain affiliate links.
Learn how to make DIY floral iron-on vinyl motifs to decorate a dress to look like faux embroidery with the new Cricut Maker 3. The long iron-on vinyl eliminates the need for mats!
This post was sponsored by Cricut. They provided the Cricut Maker 3 and supplies to make this project. All opinions are my own.
When I first heard about the Cricut Maker and got one, I was overwhelmed by all the amazing projects I could make. The options were endless!
I had the thought in the back of my head to make faux embroidery for a dress with iron-on vinyl. I don’t have the patience for hand embroidery, so this would be a much easier and quicker way to add floral motifs to a dress.
I realized it would be a pretty hard project since I would have to load and unload mats forever to get all the pieces cut out. Luckily, the Cricut Maker 3 can cut long rolls of Smart iron-on vinyl at one time without a mat, and so I wanted my first project to be a dress with iron-on floral motifs that look like embroidery!

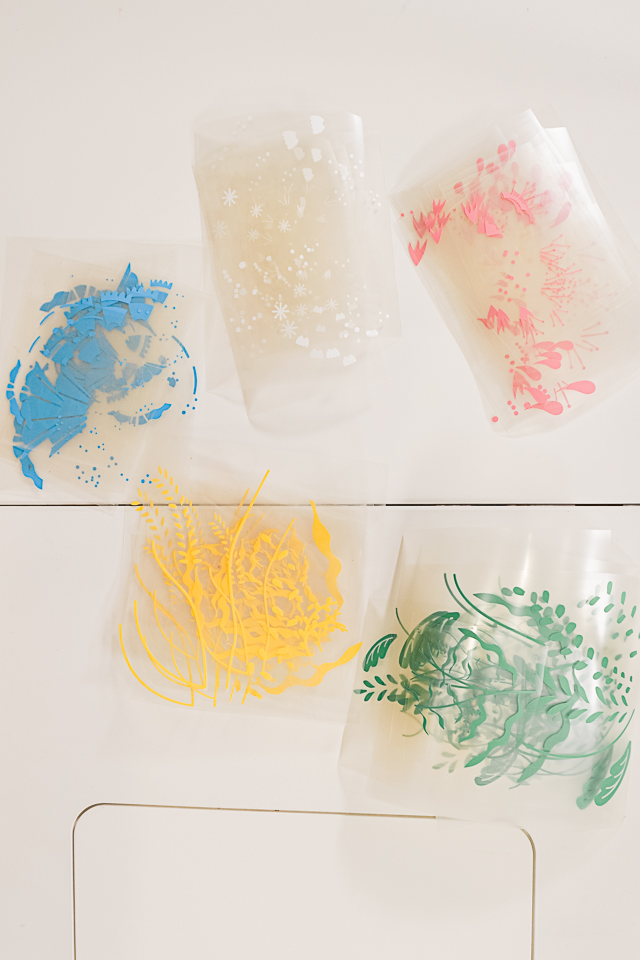
I looked through Design Space for some floral motifs that I loved and I chose two. I manipulated them so that I could have three different sizes and different amounts for each section I was going to add iron-on vinyl to the dress.
I chose five different colors of Smart iron-on vinyl for the floral motifs in the 3 foot long lengths that looked good together and would look good against the black fabric.

I applied four tiny floral motifs to the center front of the dress bodice. Then I applied four of the largest floral motifs in the center of the skirt, front and back. Lastly, I applied eight of the medium sized floral motifs at the bottom of the skirt, front and back.

Do you love to create? Try one of these great Cricut projects:
- Cricut Maker sewing projects
- Cricut Maker quilt patterns
- Infusible Ink projects
- Cricut Maker sewing projects for gifts
- Cricut Maker gift baskets
- Cricut Maker 3 Unboxing
- Cricut Easypress 3
DIY Floral Iron-On Vinyl Dress with the Cricut Maker 3
Supplies
- Cricut Maker 3*
- Roll holder and trimmer
- Easypress 2* and mat
- 3 foot rolls of Smart Iron-on vinyl* in green, yellow, blue, pink, and white
- Basic tool set
- Black dress
Design the floral motifs in Design Space to be the right size and the right amount. Choose as many as you think will fit on the dress. Change the colors in Design Space to the iron-on vinyl colors you bought.
Send it to be cut so that all the cuts are sent to the same color mats. Choose the option for cutting without a mat and load the iron-on vinyl into the machine. Use the roll holder to hold all the extra iron-on vinyl.
The machine will measure the length of the iron-on vinyl and then start cutting. Do the same to the other colors.

Cut all the motifs of iron-on vinyl into separate pieces. Do the same to the other colors.
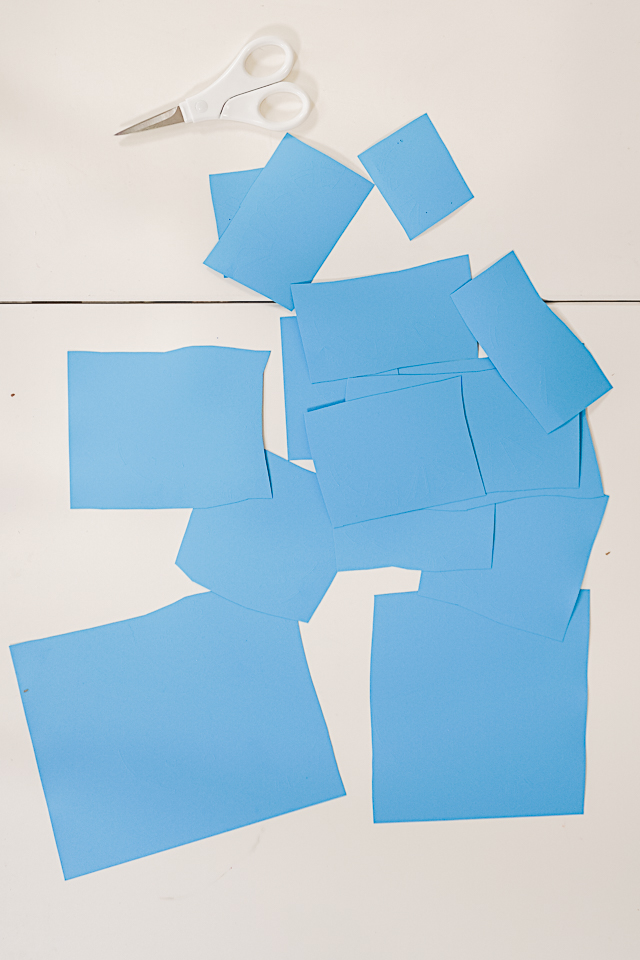
Weed all the iron-on vinyl of all the different designs and different colors.
Place the different layers of iron-on vinyl on the right places on the dress. None of my iron-on vinyl overlapped so I didn’t have to worry about that, but I did have to do each color separately.

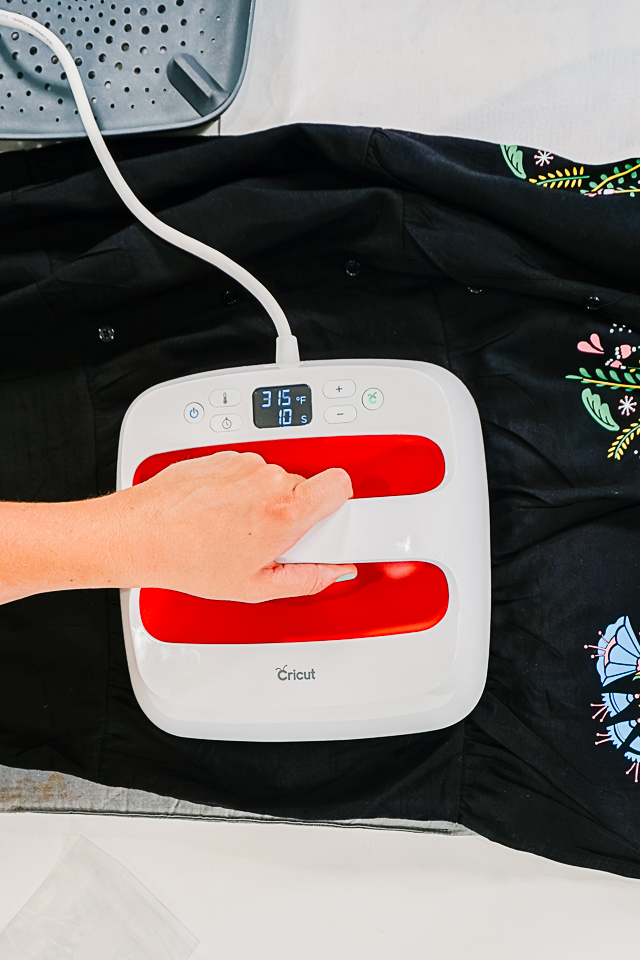
Fuse the iron-on vinyl with an Easypress 2.
Finish applying all the different floral motifs until the dress is finished.


If you make this Cricut Maker project, I’d love to see! Please share it on social media with the hashtag #heatherhandmade and tag me!


I believe small sewing moments can create great joy. Find your own “right” way to sew. -Heather