Easy DIY Fabric Pumpkins

This post may contain affiliate links.
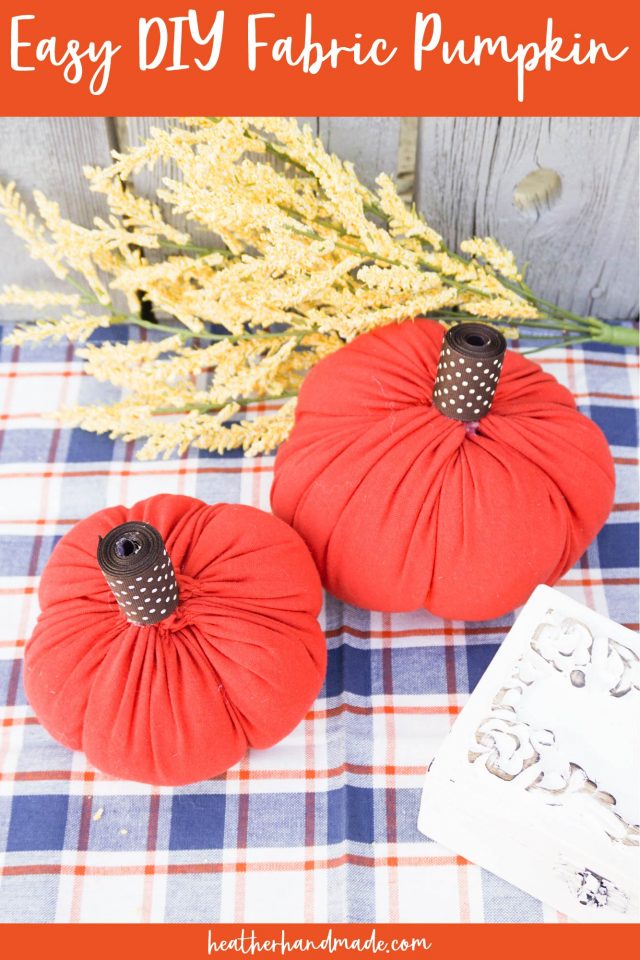
Learn how to make easy DIY fabric pumpkins using knit fabric. This fabric pumpkin pattern uses one piece of fabric and ribbon for the stem.
I love decorating with fabric pumpkins in the fall. They are so cute and plump and fun. I have made lots of different DIY fabric pumpkins over the year, and I’m starting to gather a little collection.
I’ve been thinking about the easiest way to make a fabric pumpkin with a sewing machine and this truly is. It’s only a little bit of sewing and gluing so you could make lots and lots!
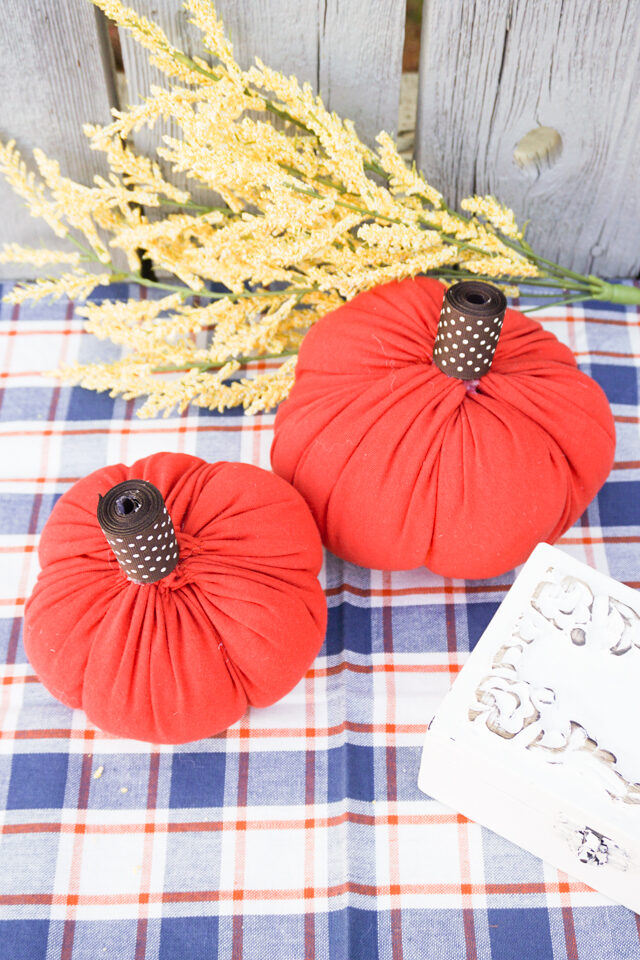
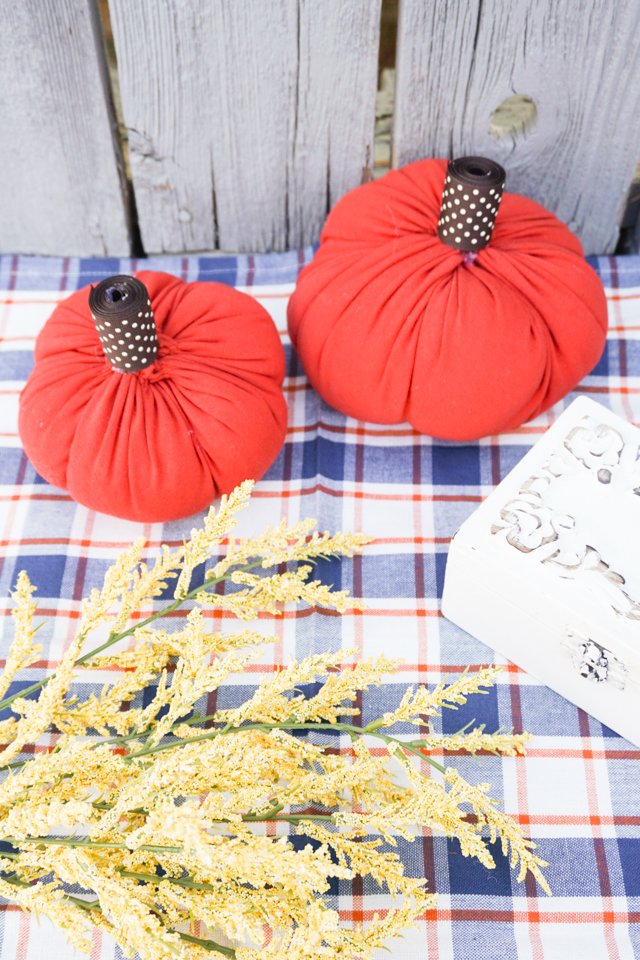
The great thing about these DIY fabric pumpkins is that you can choose the color and print to match your decor. You can make solid pumpkins that has a stem and flowers, or you can make printed pumpkins with a solid stem.
Do you love to sew? Check out these fun sewing projects!
- How to Make a Fabric Pumpkin
- Fall sewing projects
- Beginner sewing projects
- Scrap fabric projects
- Kitchen sewing projects
- Halloween sewing projects
- DIY Pumpkin Pie pillow
- Jersey knit sewing projects
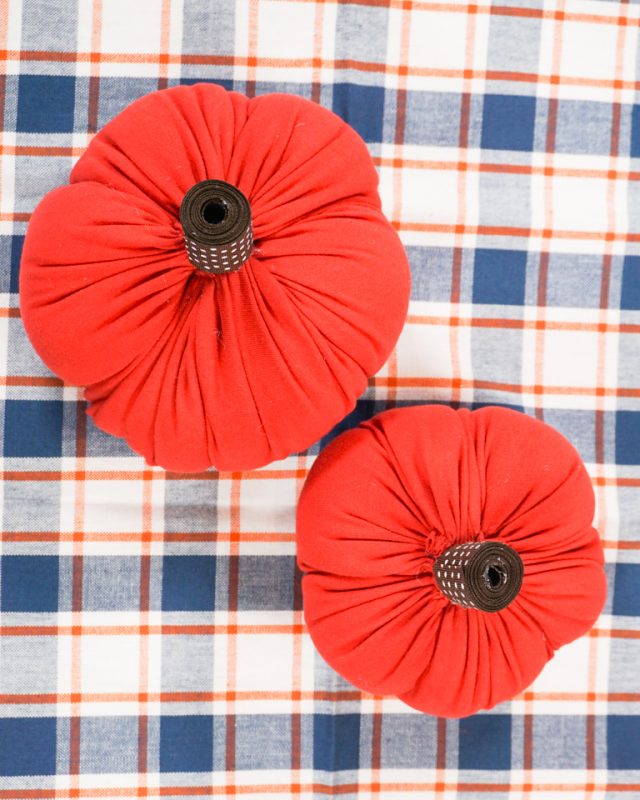
Easy DIY Fabric Pumpkins
supplies
- Scraps of KNIT fabric – you can choose woven, but it won’t stretch as much in the unstitched areas
- 1 yard of ribbon
- Hot glue gun and hot glue
- Sewing tools
- Sewing machine
Draw out a circle on your scrap of fabric. Draw three lines that go through the center dot and rotate. Kind of like dividing the circle into six sections.
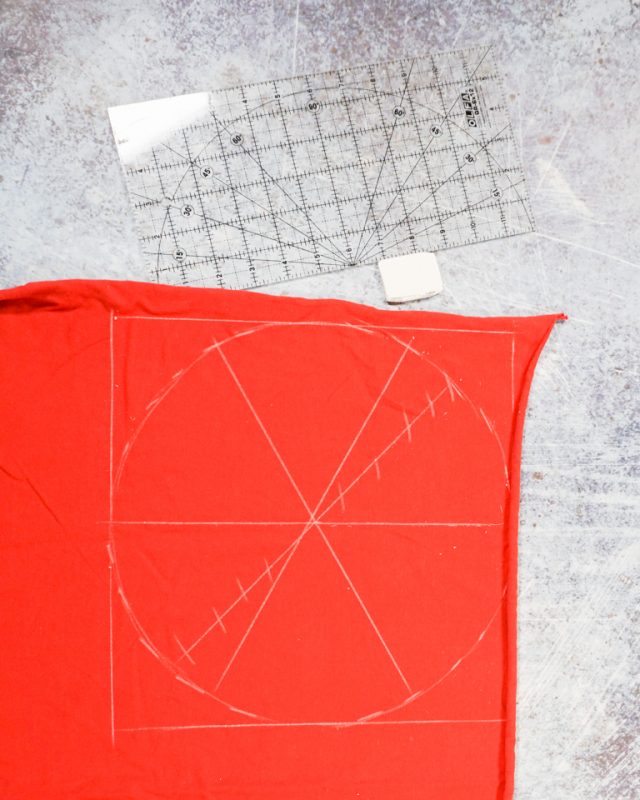
Cut out the circle with scissors or a rotary cutter.
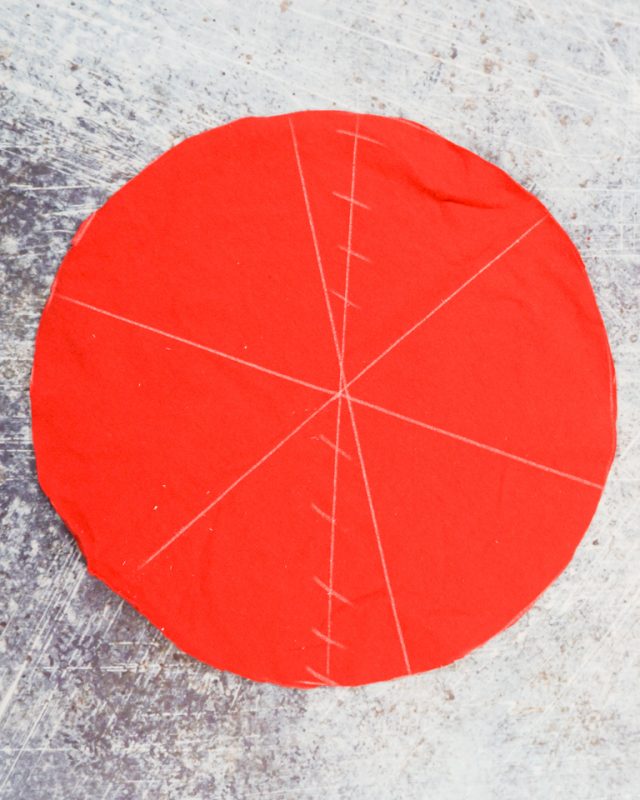
Sew two lines of straight stitching along each drawn line. This creates the details of the pumpkin lines and keeps the fabric from stretching. When the pumpkin gets stuffed the lines will keep their shape.
Sew two rows of basting stitches around the outside of the circle. One at 1/4 inch and one at 1/8 inch.
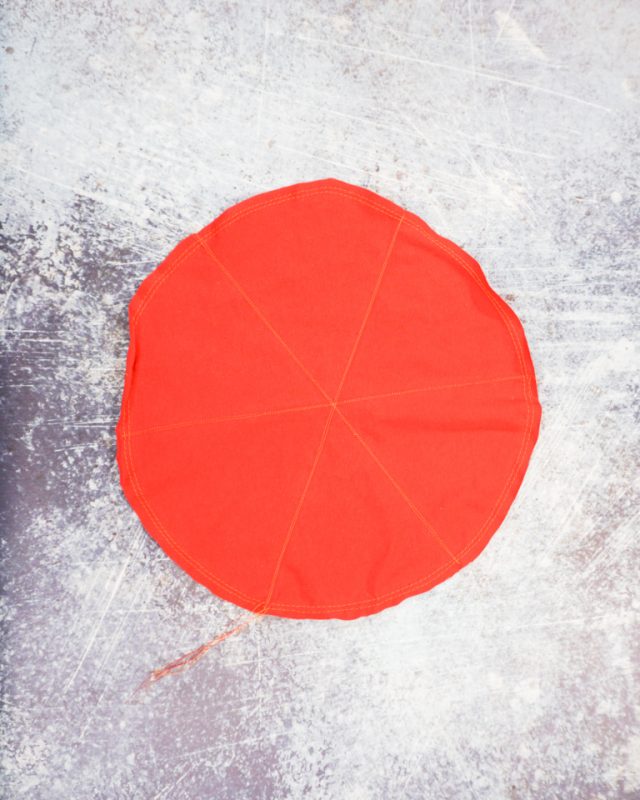
Pull the bobbin thread to gather the fabric edge. It will pull the circle in until it becomes a ball.
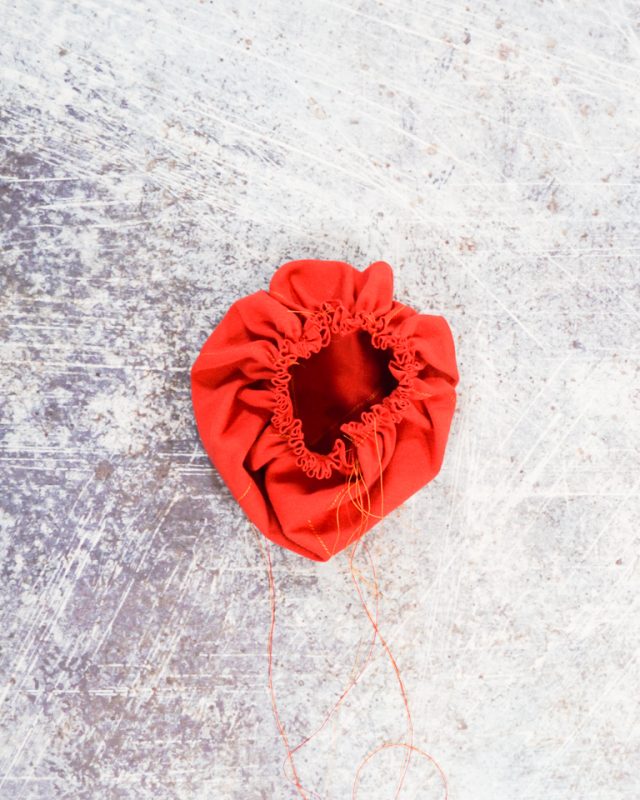
Stuff the pumpkin until it is squishy and firm. Pull the basting stitches tight and tie in a square knot.
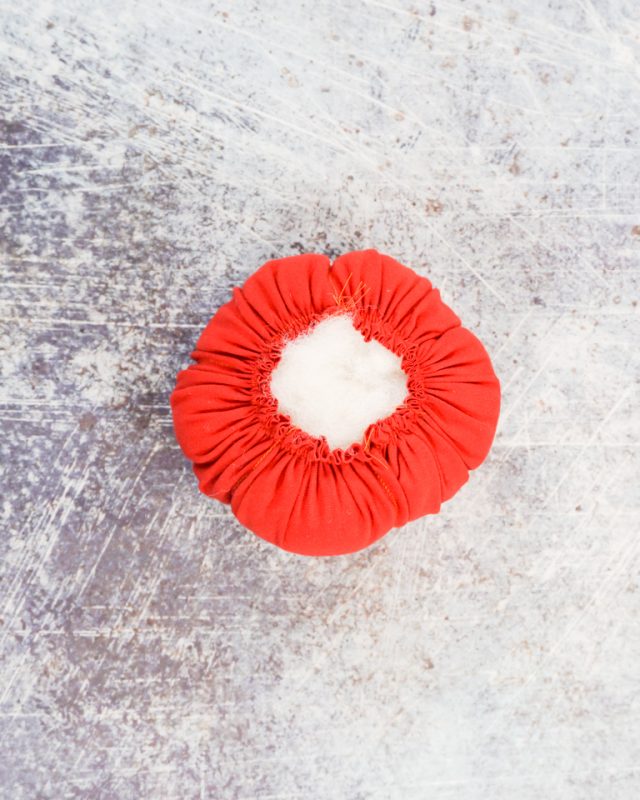
Push the seam allowance down into the fabric pumpkin and sew the hole closed.
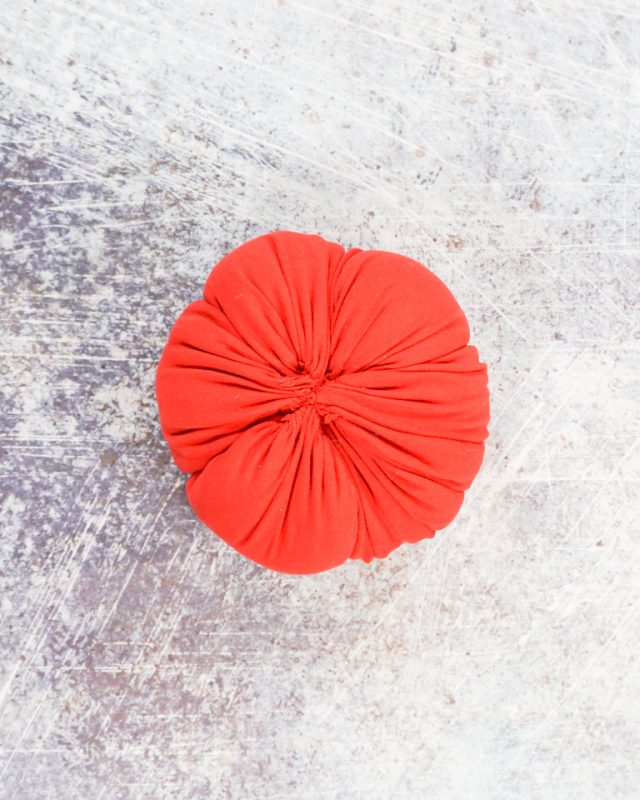
Fold the short edge of the ribbon over and glue in place.
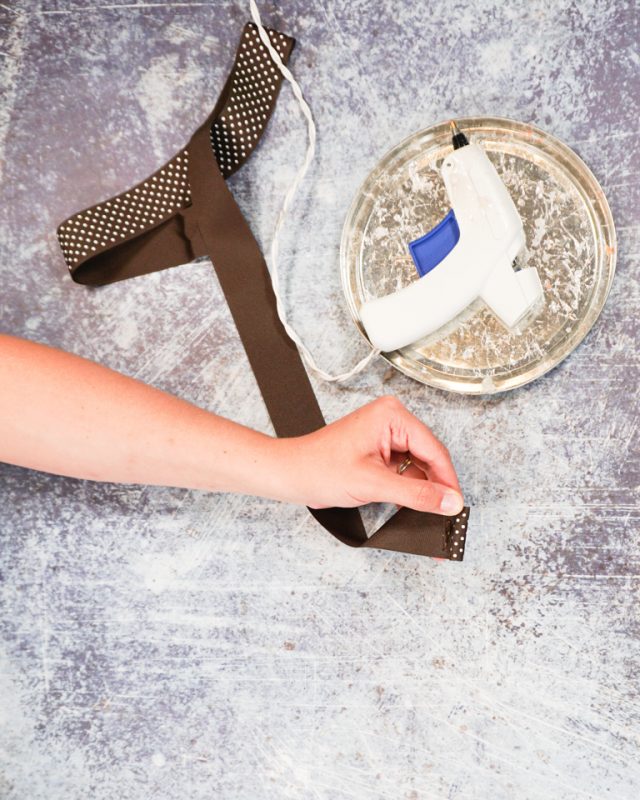
Start rolling the ribbon into a cylinder and glue as you go.
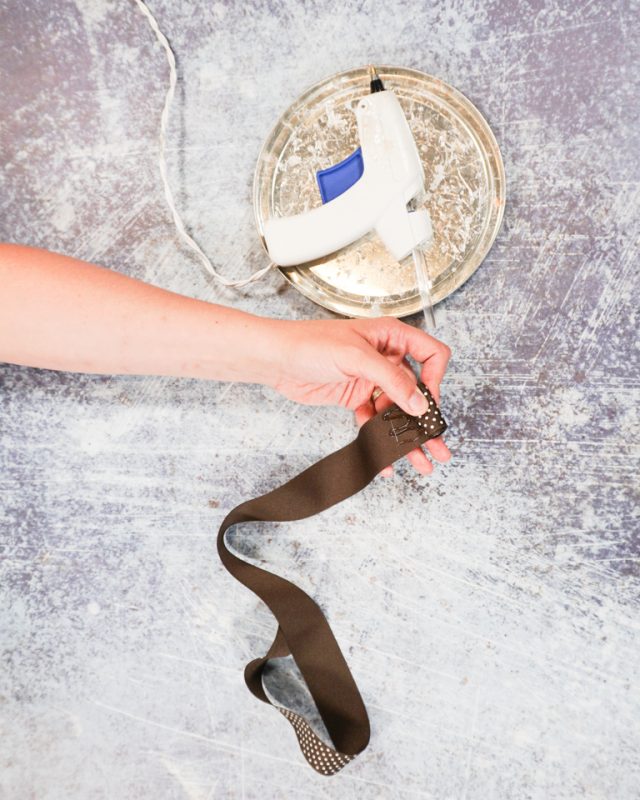
Make sure to glue every ten inches or so to prevent the ribbon from coming out.
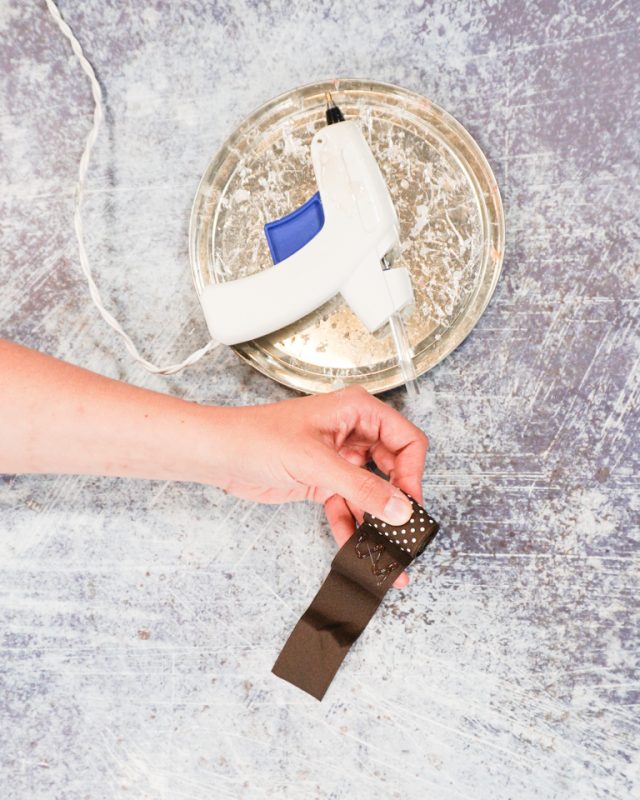
Glue the end of the ribbon down to finish the stem.
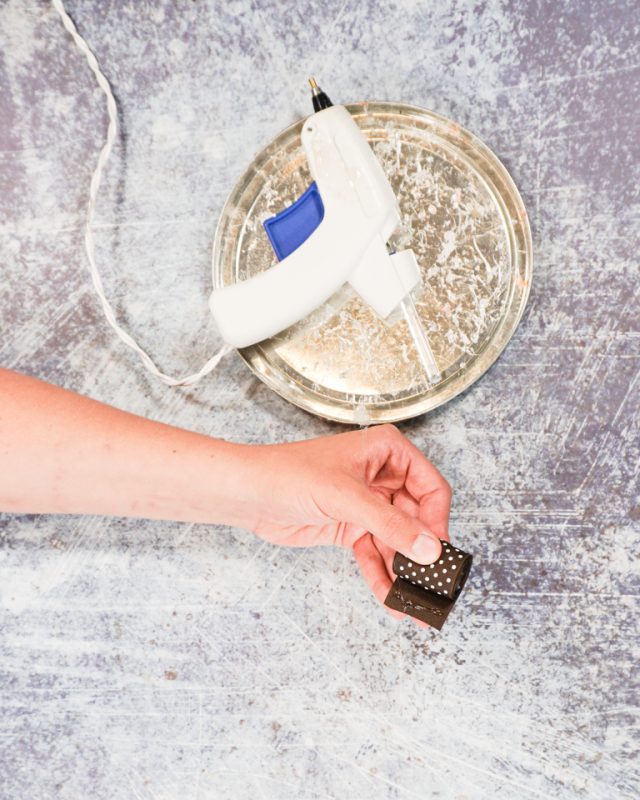
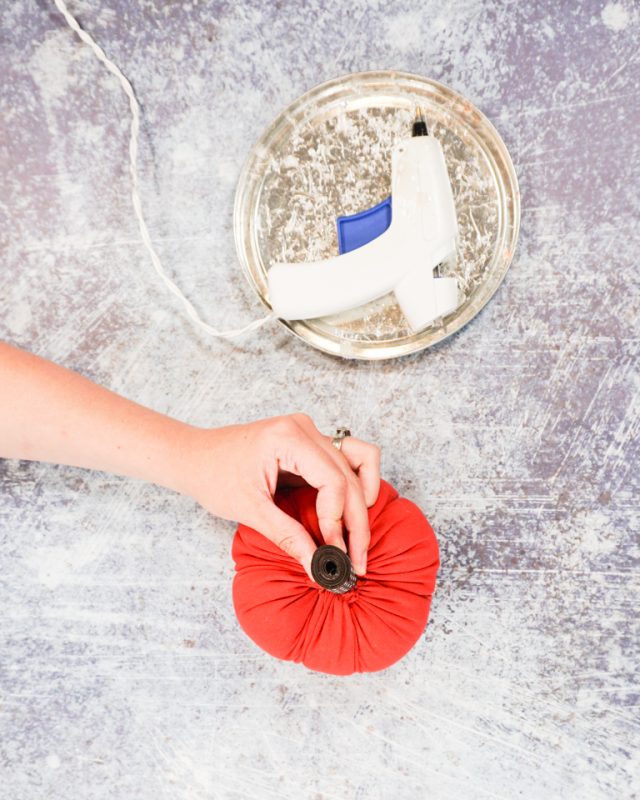
Hot glue the stem onto the top of the pumpkin covering the closed hole and hand stitching. Add leaves or a flower if you want.
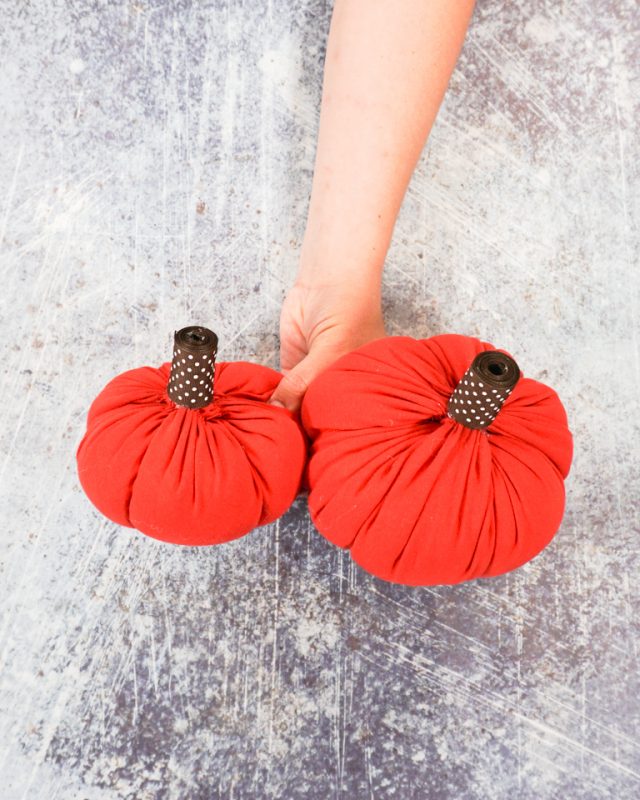
Make lots more DIY fabric pumpkins!
If you make something using this sewing project, I’d love to see! Please share it on social media with the hashtag #heatherhandmade and tag me!

I believe small sewing moments can create great joy. Find your own “right” way to sew. -Heather
