DIY Travel Toothbrush Roll Bag

This post may contain affiliate links.
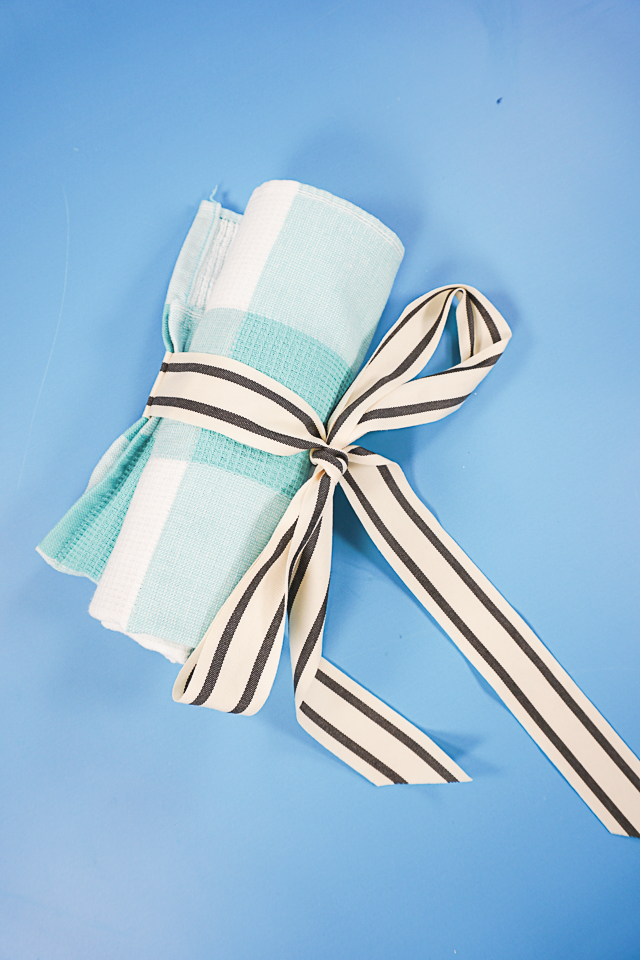
Learn how to make a DIY toothbrush roll bag for traveling with a hand towel and a ribbon. Organize your hygiene items with this simple sewing project!
Summer is for camping and traveling, and I needed a way for my kids to keep their hygiene stuff organized and easy for them to get to. I’ve seen other bloggers make a toothbrush bag, so I thought I would make my own version that will work for more than just toothbrushes and toothpaste.

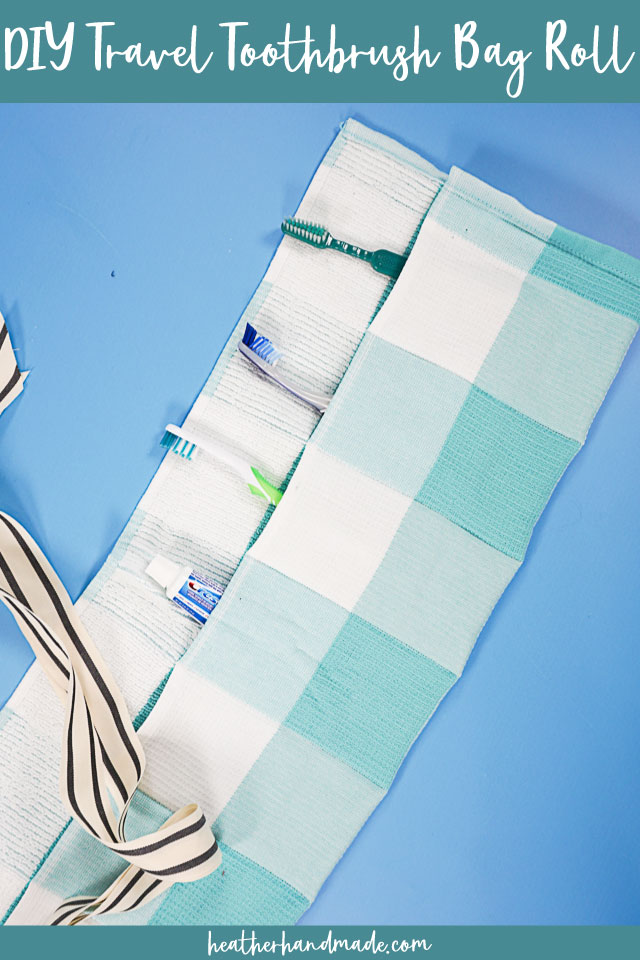
We’ve filled up the roll bag up with toothbrushes and toothpaste, and it worked great. We’ve also filled it with hair supplies, and it also worked great. The pockets were big enough to fit pretty much anything we needed to bring.
I love that it’s made out of a towel so that it’s extra absorbant in case anything you put in is wet or damp.
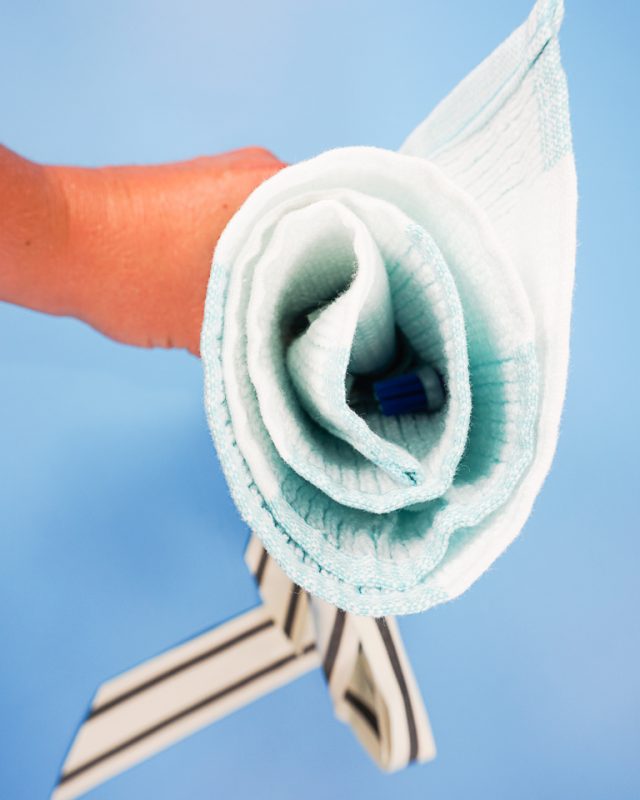
The best part is when you fill it up, and roll it up. You can see everything from the top, but it’s all tucked in and tied tightly with the ribbon.
What is Upcycling?
Upcycling is to reuse material to create something better than the original. I usually use this to describe when I’m sewing adult clothing into clothing for children or I’m sewing clothing into an accessory or house item.
Do you love to sew? Try one of these sewing projects:
- Beginner sewing projects
- Summer sewing projects
- Fall sewing projects
- Spring sewing projects
- Upcycled gift ideas
- Travel sewing projects
- What to do with old towels
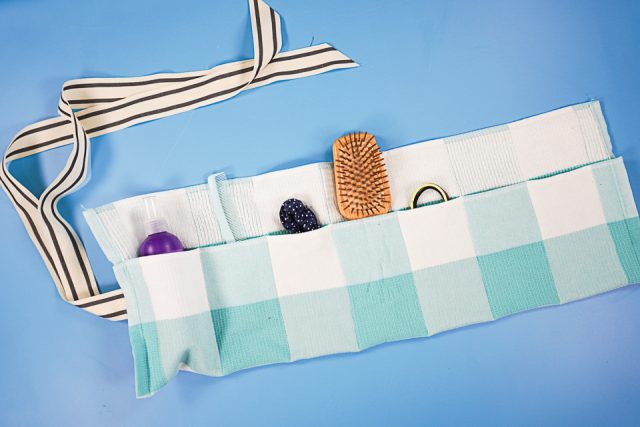
DIY Travel Toothbrush Roll Bag
Supplies
- 1 hand towel
- 24 inches of 1.5 inch ribbon
- Sewing tools
- Sewing machine
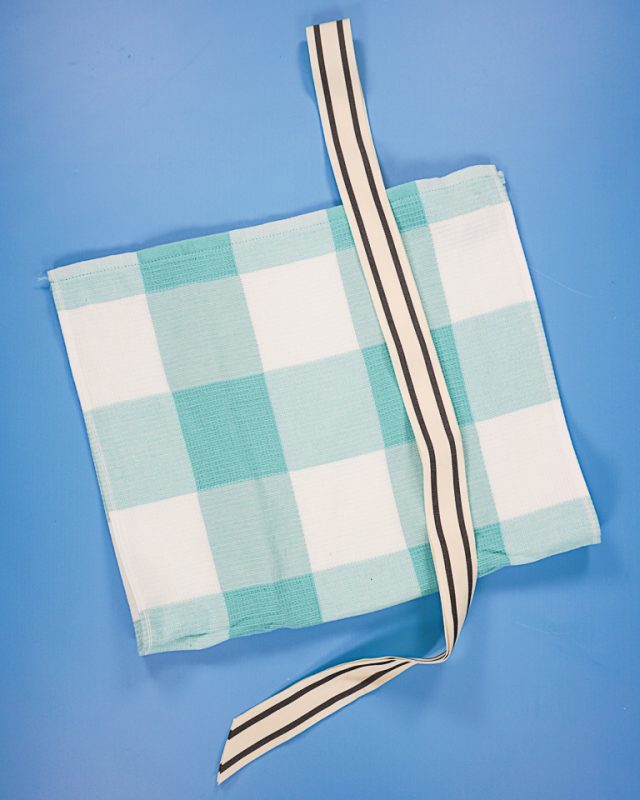
Cut the ribbon into two pieces 12 inches long. Cut one of each side at an angle to prevent fraying.

The hand towel will eventually be folded up so that one long edge is 3 inches away from the other long edge. The two ribbon pieces will need to be placed between the two layers or about 4 inches from one long edge.
Pin them in place.
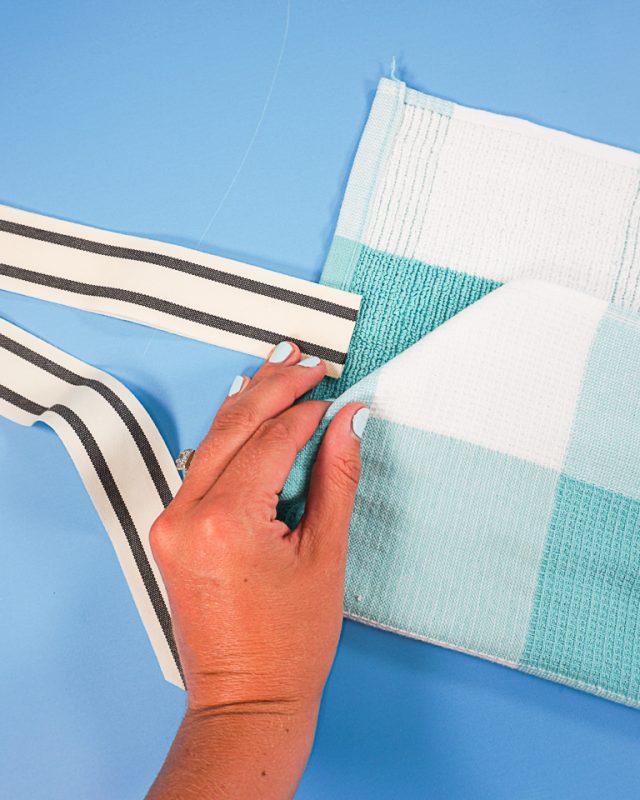
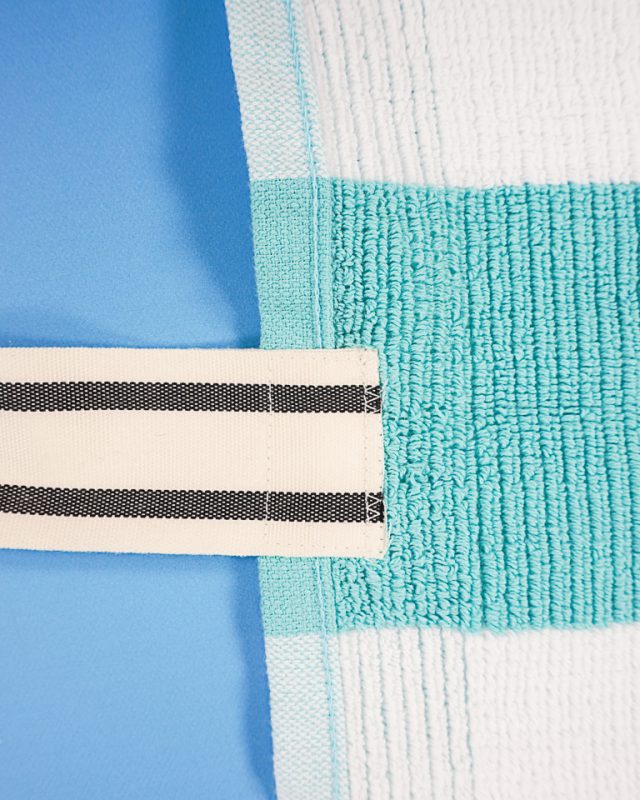
Sew around the edge of the ribbon pieces in a rectangle to secure. Add a row of zigzag stitches to the raw edge.
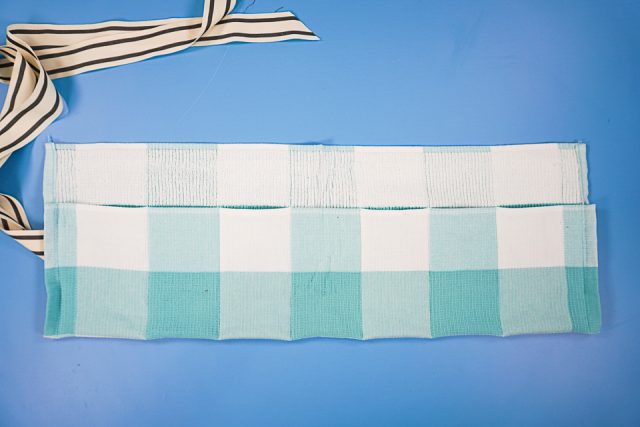
Fold the long edge farthest away from the ribbon up towards the other long edge. Pin it so that there is 3 inches uncovered at the top.
Pin each short side so that the edges match. Pin a vertical line every 3 inch across the towel to create pockets.
Sew each side 1/2 inch from the edge backstitching when you start and when you stop. Sew each vertical line backstitching when you start and when you stop to create pockets.
Fill the toothbrush bag roll with whatever you need. Roll it up and tie the ribbon around it. You finished!

If you make something using this sewing project, I’d love to see! Please share it on social media with the hashtag #heatherhandmade and tag me!

I believe small sewing moments can create great joy. Find your own “right” way to sew. -Heather

Cute! I think if I were to make I would add some vinyl around the area where the toothbrush head is – protect it from getting fuzzies from the towel and other “stuff” in your travelling bag & prevent the roll from getting toothbrush/paste gunk all over it/sharing germs between toothbrushes.
That is a brilliant idea!