DIY Spring Pillow with Cricut

This post may contain affiliate links.
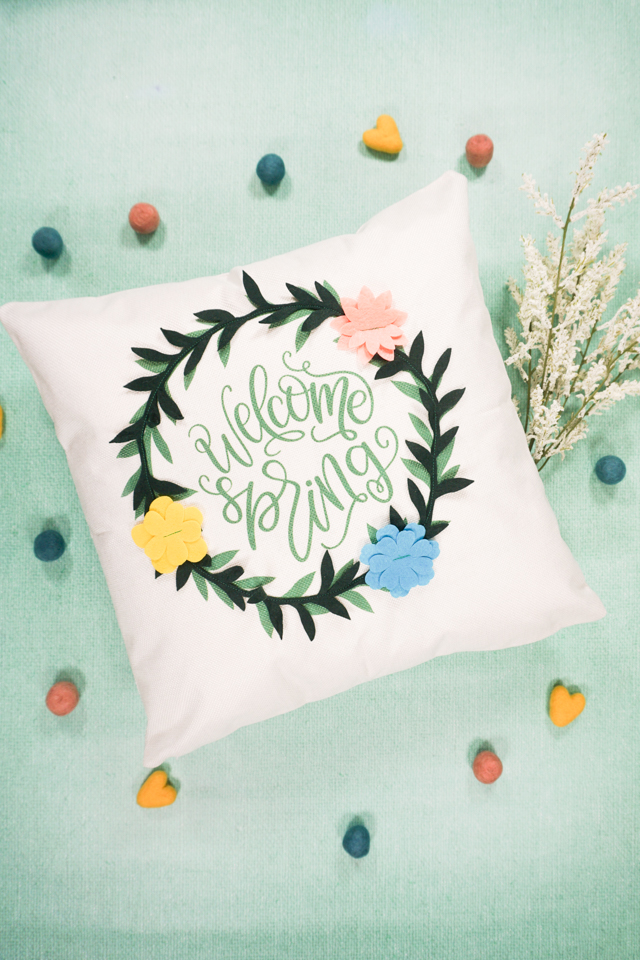
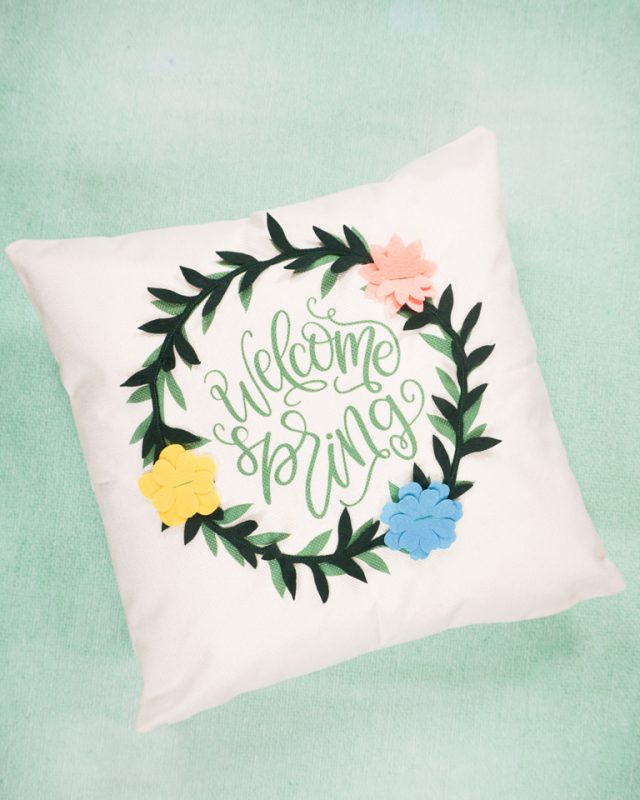
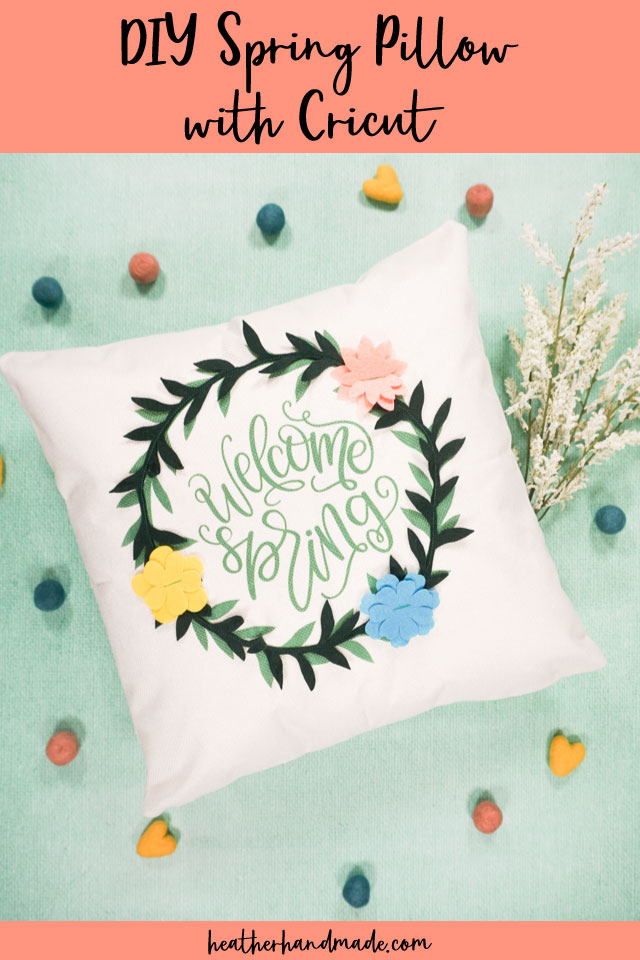
Learn how to make a cute DIY spring pillow with the Cricut Maker and Infusible Ink. I love combining sewing and Cricut crafting.
The weather is warming up, and we are started to spend lots of time outside. I always look forward to Spring when we can get outside for longer periods of time.
I made a simple pillow so we can enjoy the inspiration of springtime inside. I combined some felt and infusible ink for an easy sewing project! It’s always fun to combine different crafts in one project!
What is Infusible Ink?
Infusible ink is ink that is transferred by heat. It’s essentially sublimation. When infusible ink is transferred the ink is infused into the item.
Infusible ink can be purchased as an infusible ink transfer sheet and as infusible ink pens. The colors of the infusible ink transfer sheet look pale before being heated, but they are very bright once heated and transferred.
Infusible Ink and Sewing
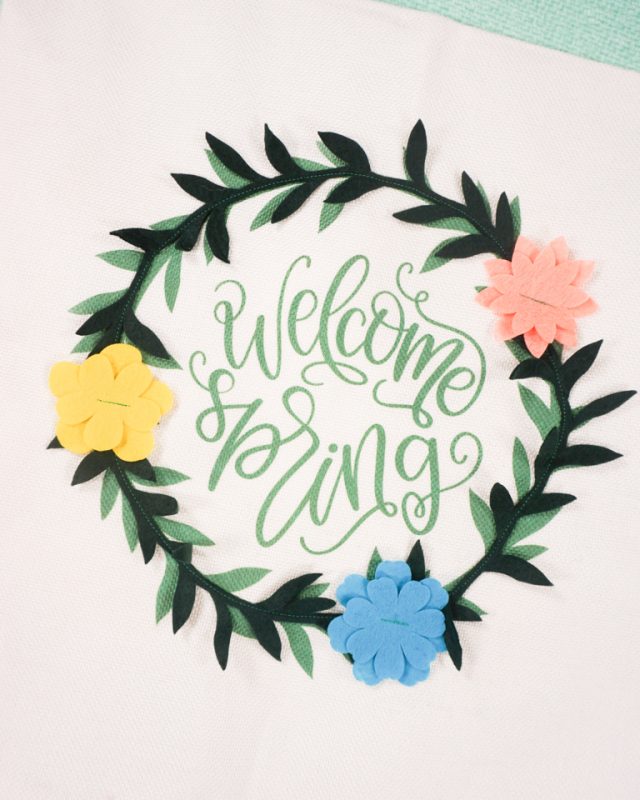
I love combining infusible ink and sewing! Since infusible ink becomes part of the fabric it isn’t a problem to sew over it since it’s like sewing through fabric. It’s a nice way to add details but without changing the fabric.
Do you love sewing and Cricut? Try some of these sewing projects:
- Cricut Maker sewing projects
- Infusible ink projects
- Infusible ink vs HTV
- Infusible ink on cotton vs polyester
- Easter sewing projects
- Spring sewing projects
- Infusible ink and sublimation spray for cotton
- Felt sewing projects
DIY Spring Pillow with Cricut
supplies
- Cricut Maker
- Easypress 2
- Green Infusible Ink Transfer Sheet
- Infusible Ink pillow blank
- Green, yellow, pink, and blue felt
- Spring phrase and wreath design
- Sewing machine
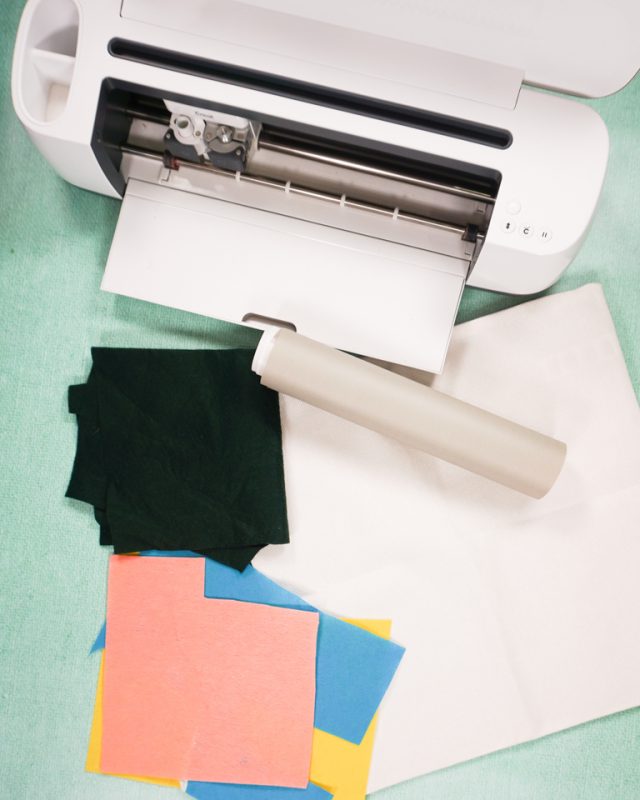
Cut out the words and wreath background from a green Infusible Ink transfer sheet.
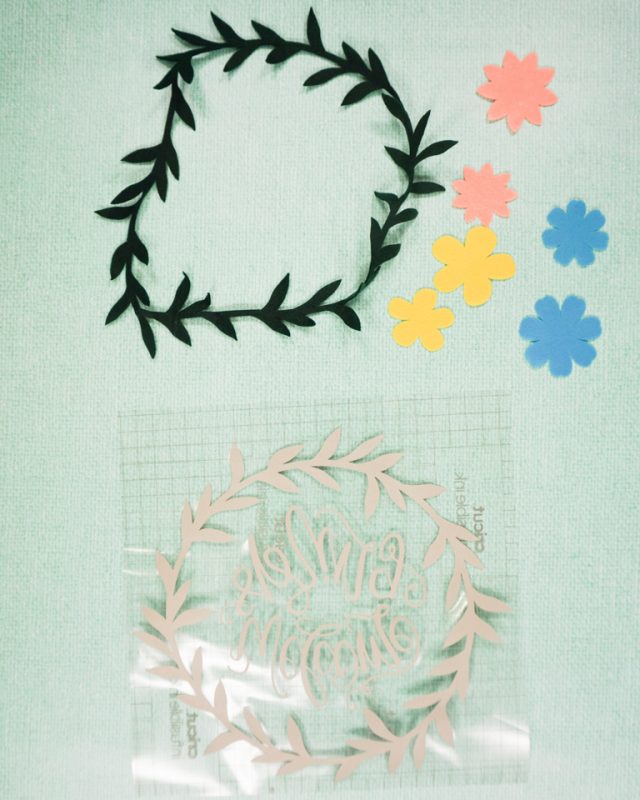
Cut out the wreath from green felt. Cut out the three flowers from different colors of felt.
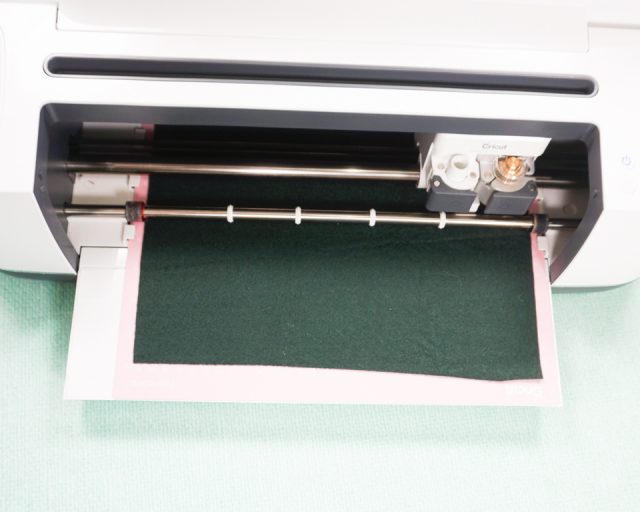
Separate the felt pieces carefully, and weed the Infusible ink design.
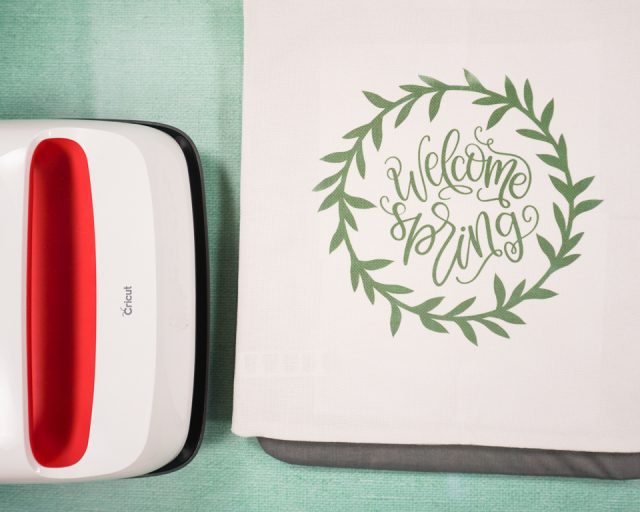
Apply the Infusible ink design to the pillow blank with an Easypress 2.
Place the felt wreath over the wreath background and sew it on.
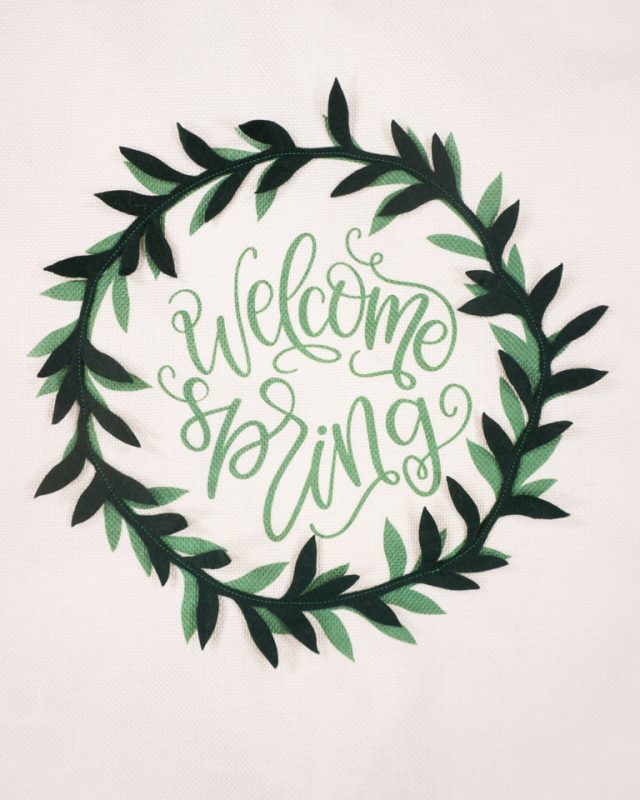
Place the flowers around the wreath and sew the flowers on. I tacked each flower with a little straight stitch in the center.

Stuff a pillow form inside the pillow cover.
You finished!

If you make something using this sewing project, I’d love to see! Please share it on social media with the hashtag #heatherhandmade and tag me!

I believe small sewing moments can create great joy. Find your own “right” way to sew. -Heather

Hello!! What a cute pillow!! I was wondering what design you used in Design space for the wreath, flowers and the saying? Thank you!!
I just made it public, you can hopefully see it here: https://design.cricut.com/landing/project-detail/603eaeca2950cd07547deffe