
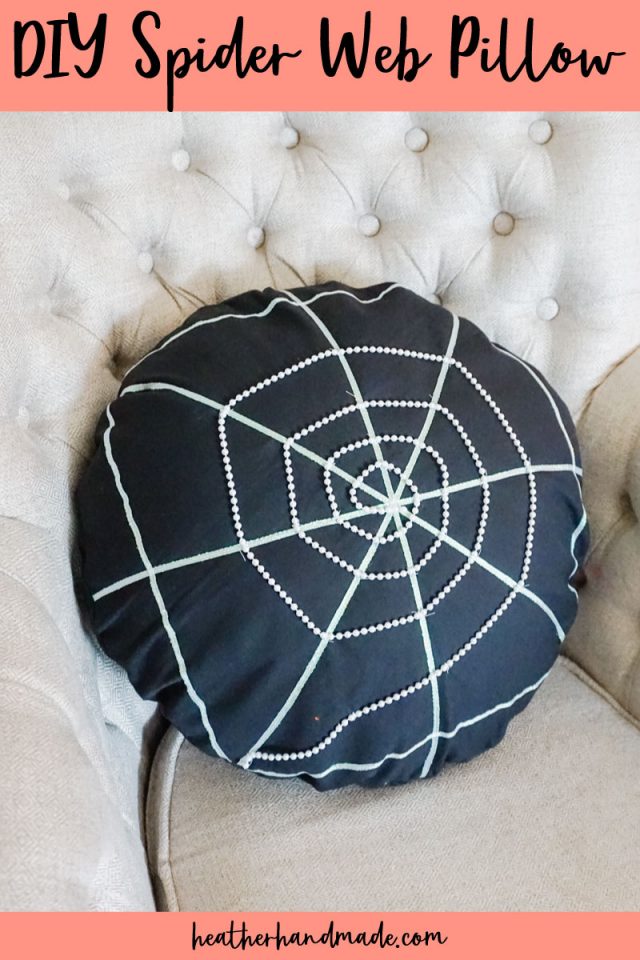
DIY Spider Web Pillow

This post may contain affiliate links.
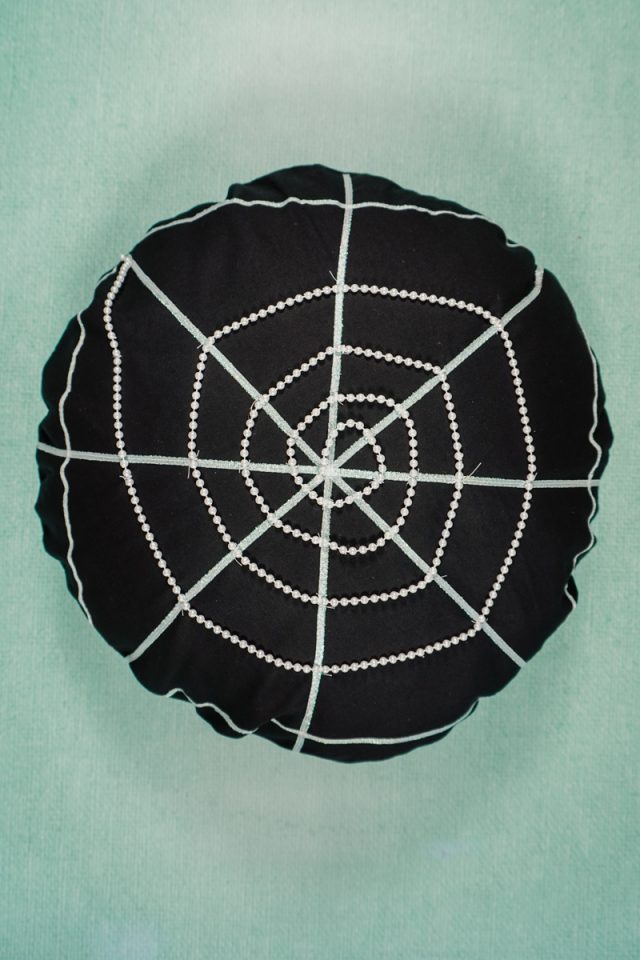
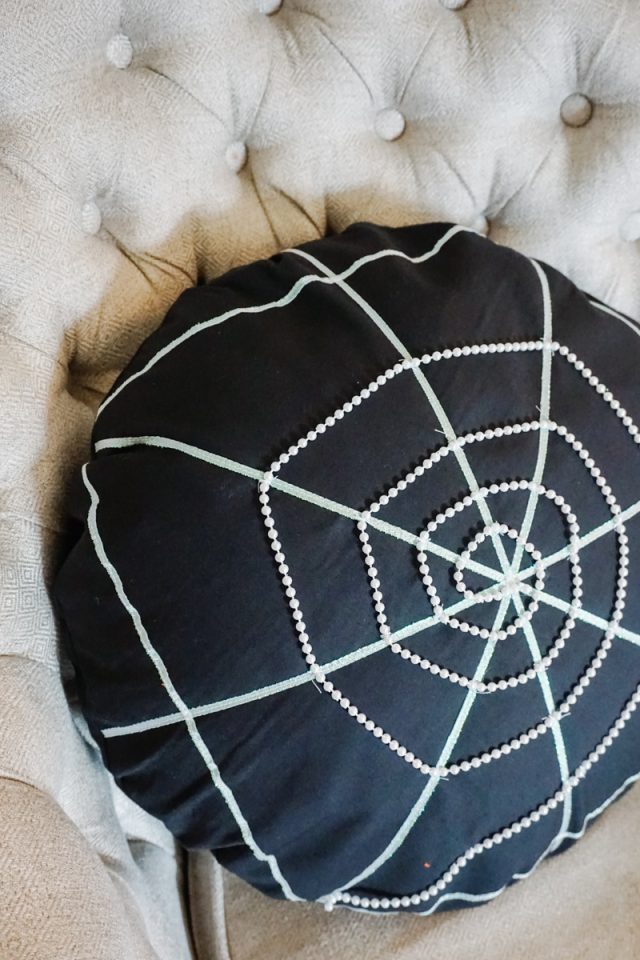
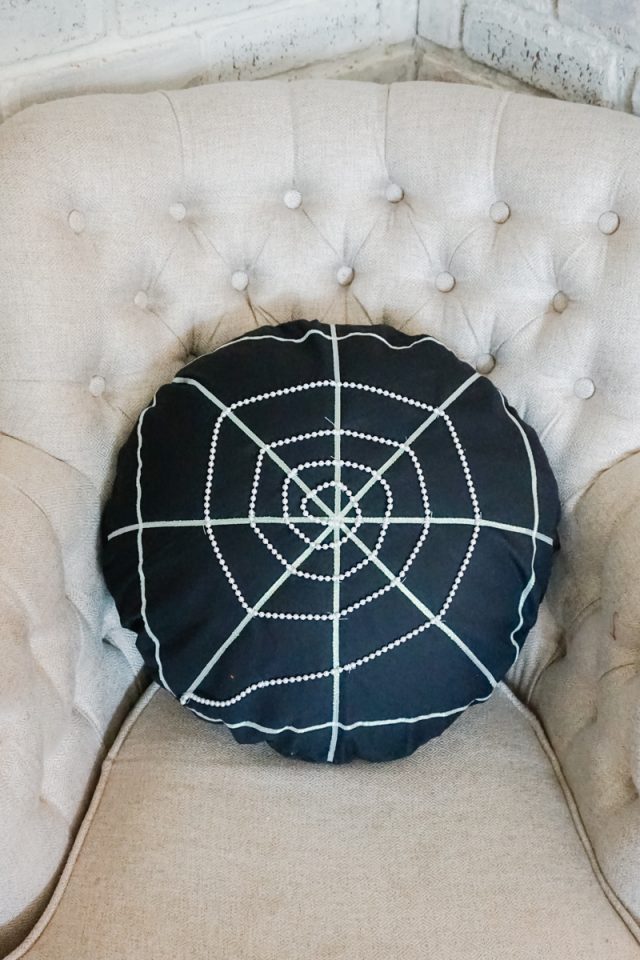
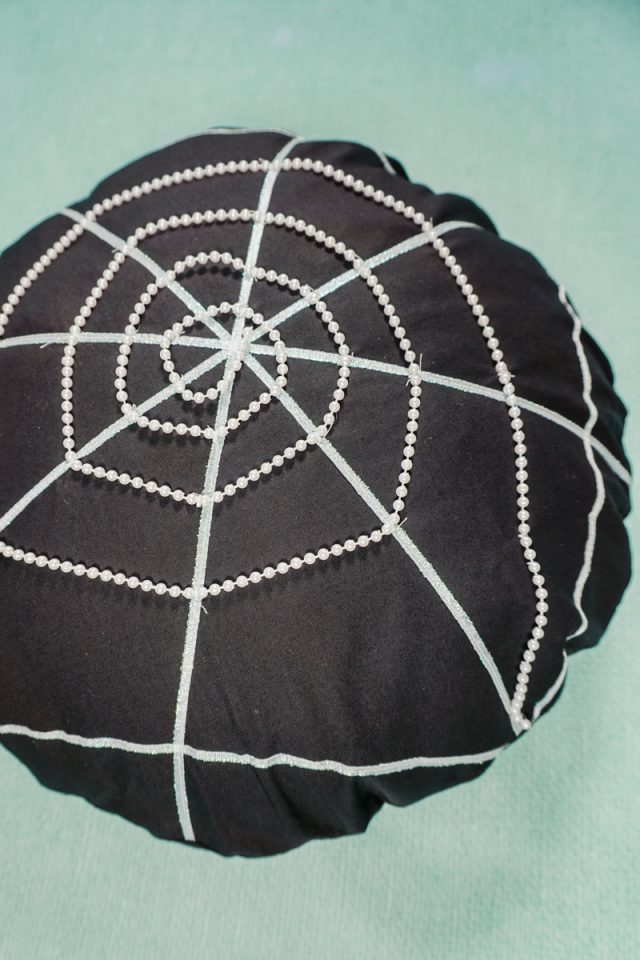
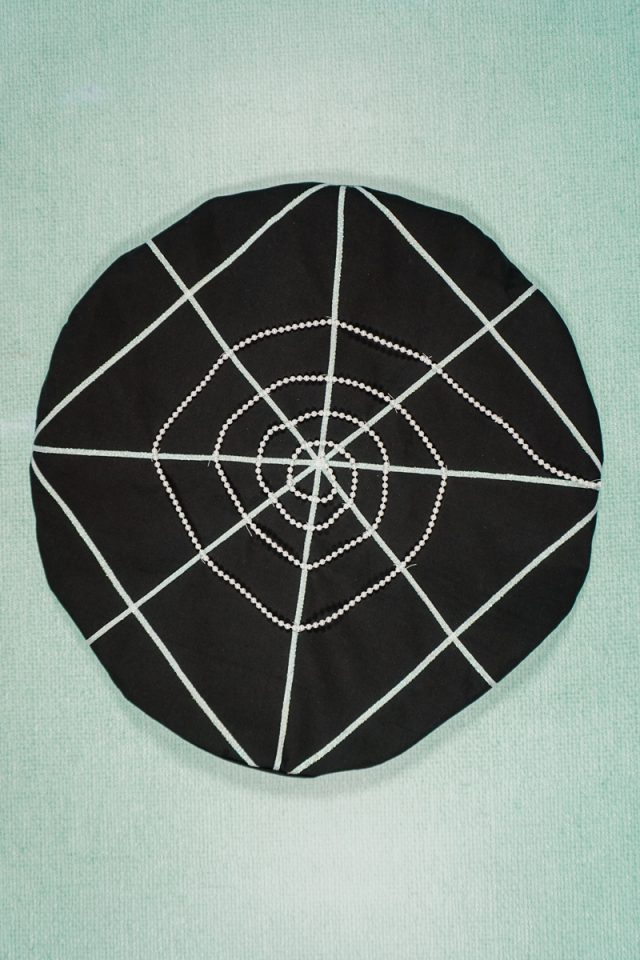
Learn how to make a DIY spider web pillow cover with fabric, ribbon, and pearl trim. This Halloween sewing project is spooky and pretty.
Spider webs are so intricate and pretty. I love finding them in nature so that I can study how delicate and strong it is. Spider webs are a great inspiration for Halloween sewing projects like this DIY spider web pillow.
I wanted to make a spooky pillow cover, but I wanted it to be pretty and intricate just like a real spider web. The combination of the sparkly ribbon and the pearl trim is exactly what I was looking for.
What fabric should I use for a spider web pillow cover?
The best fabric to use it a solid black quilting cotton. It is easy to find and easy to sew. The black doesn’t get dirty easy, and it’s a nice contrast to the white web.
Since it’s a circle shape make sure to fuse lightweight interfacing to the back. This will help the circle keep the right shape, and it won’t stretch out.
What trim should I use for a spider web pillow cover?
I used shiny ribbon and pearl trim. The ribbon was easy to find and easy to sew. The pearl trim was pretty tricky to sew, so if you don’t trust your sewing skills there are lots of other pretty white trims that you can use instead. Just make sure it can be sewn around in a spiral and that it’s thin enough to look like a web.
Do you love to sew? Try one of these fun sewing projects:
- Halloween sewing projects
- How to sew an invisible zipper pillow
- Fall sewing projects
- Ways to sew a pillow
DIY Spider Web Pillow
Supplies
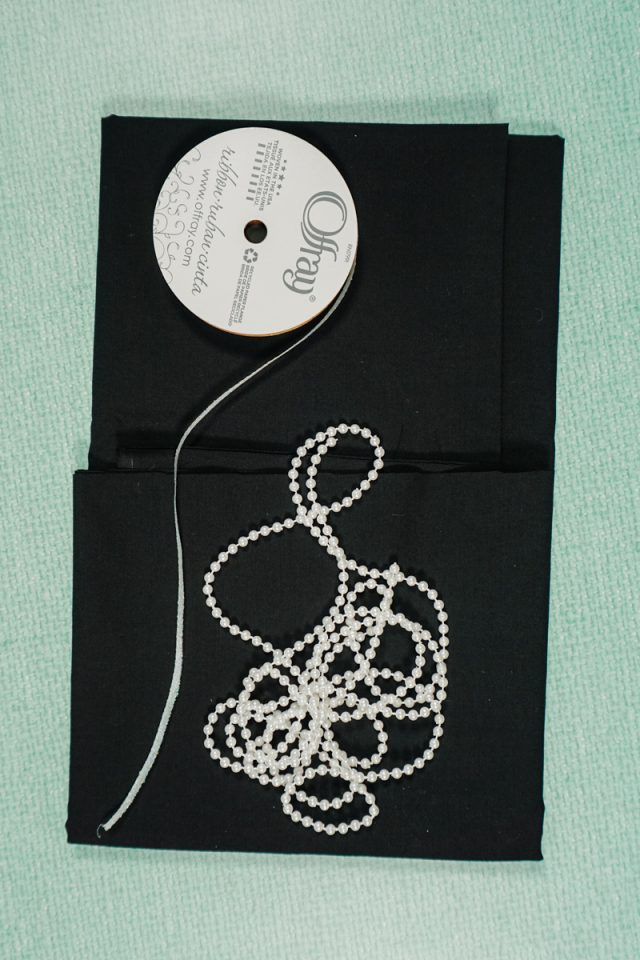
- 1 yard of black quilting cotton
- 1 yard of lightweight dark interfacing
- 1 package of 1/4 inch sparkly white ribbon
- 2 yards of pearl trim
- 1 circle pillow form – 16 inch diameter
- 18 inch black invisible zipper
- Sewing tools
- Sewing machine
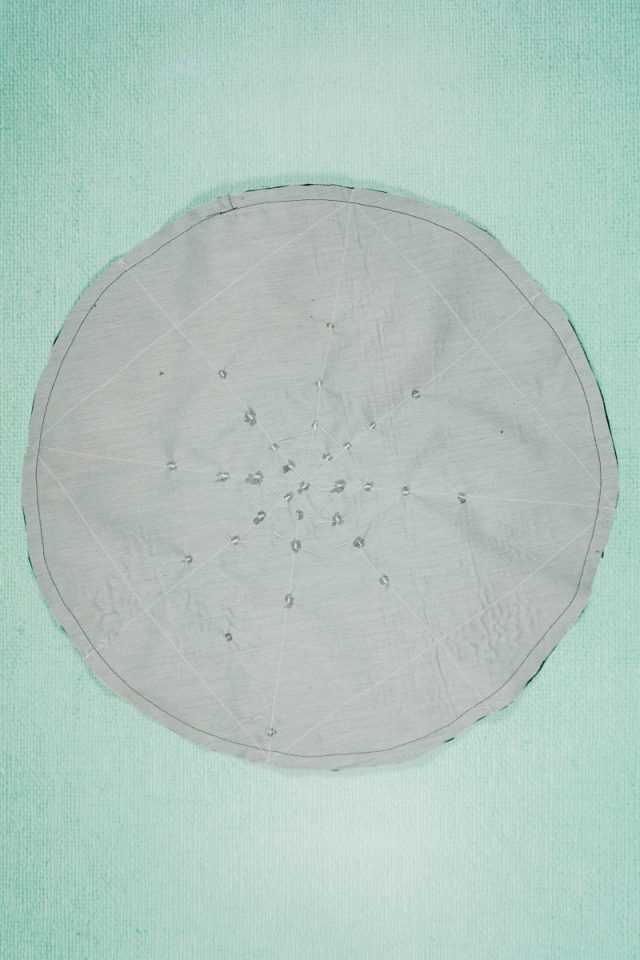
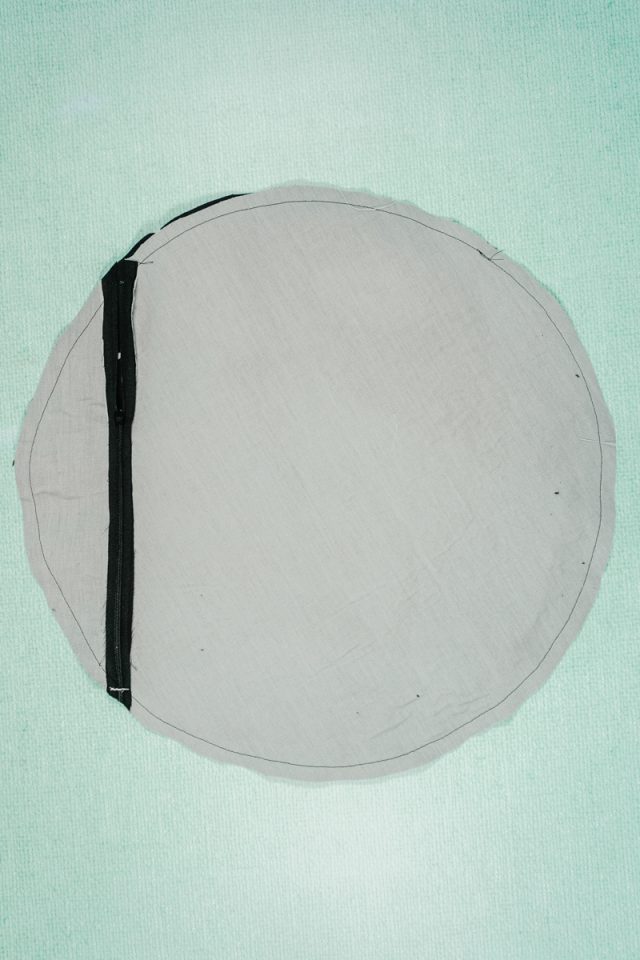
Cut out one circle of black fabric that is 18 inches in diameter. Cut out another circle of black fabric the same size, but cut one side off. Make sure there is added 1/2 inch seam allowance on the straight edge before cutting.
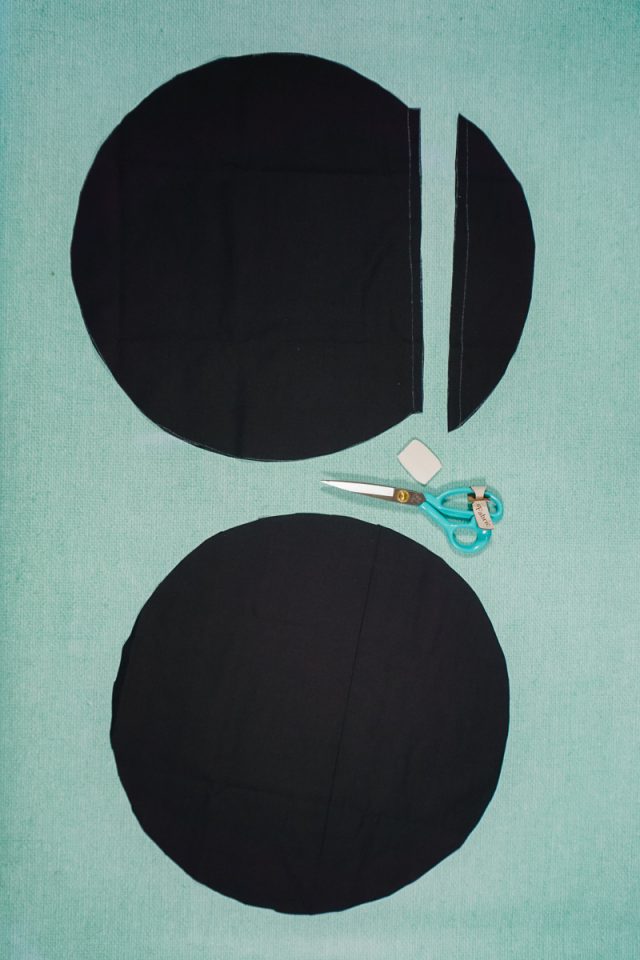
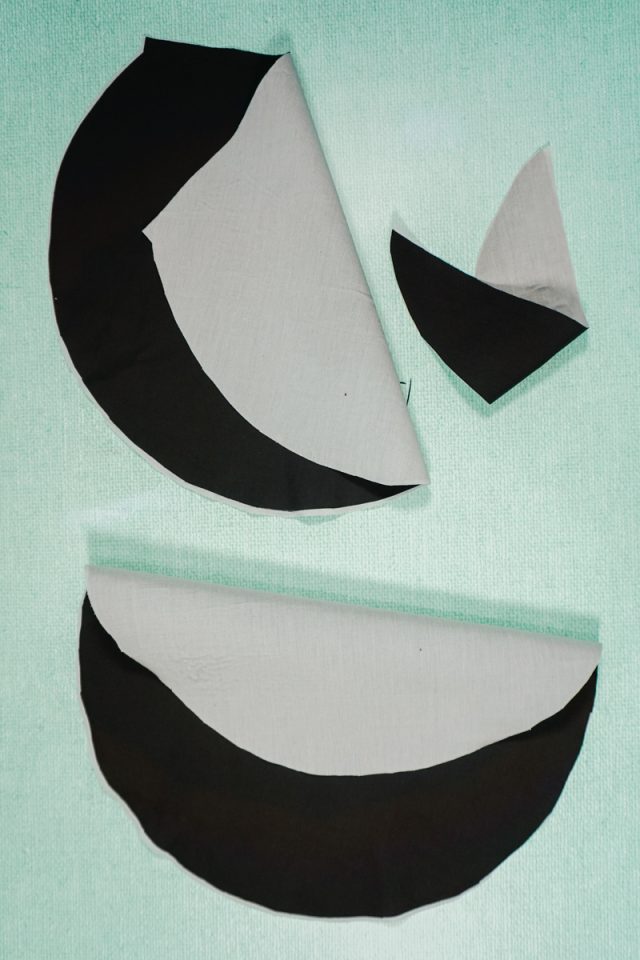
Cut and interface all three fabric pieces so keep the curves from stretching out.
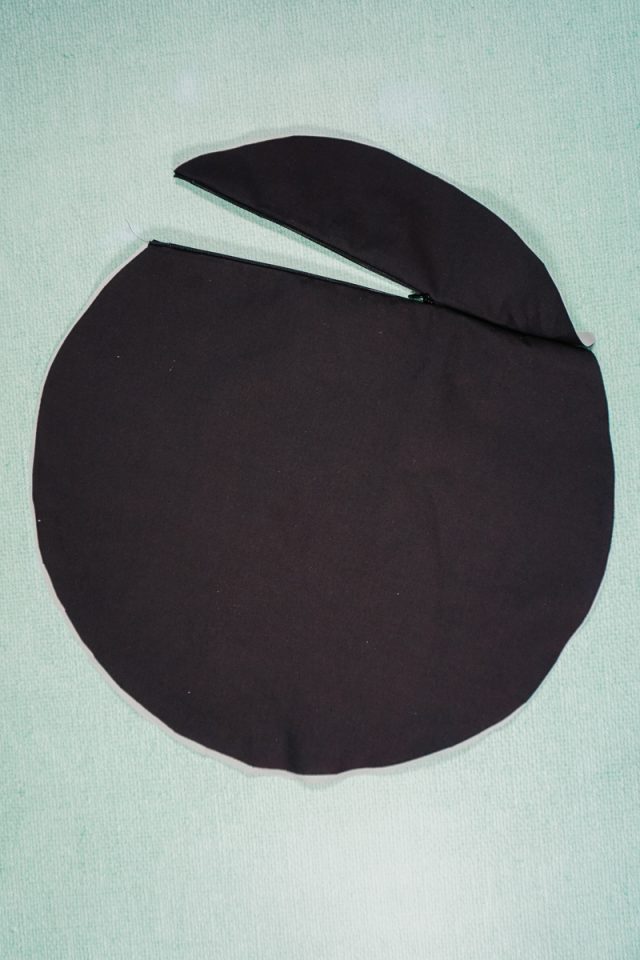
Insert a black invisible zipper between the two cut circle pieces.
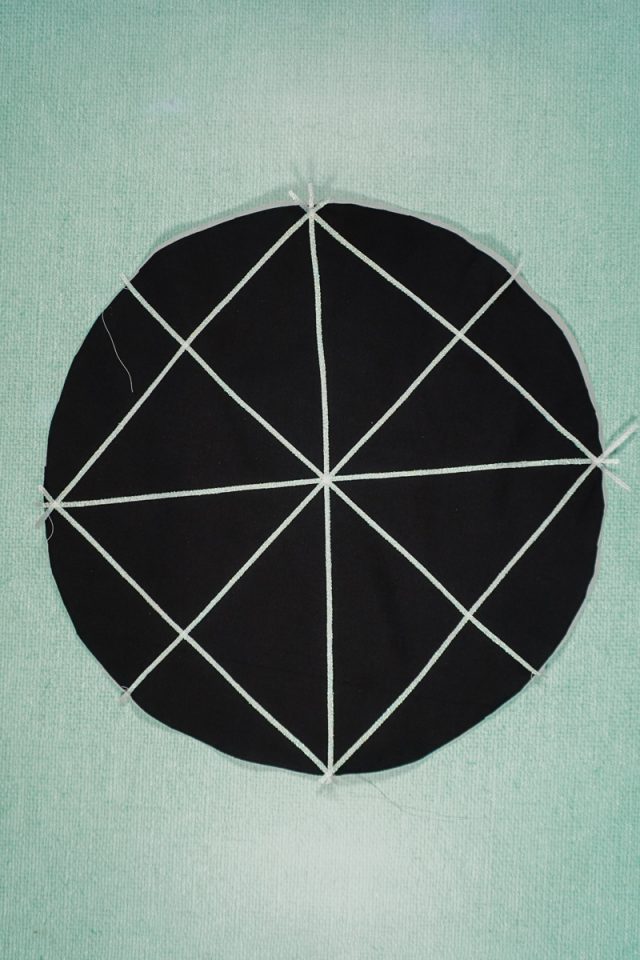
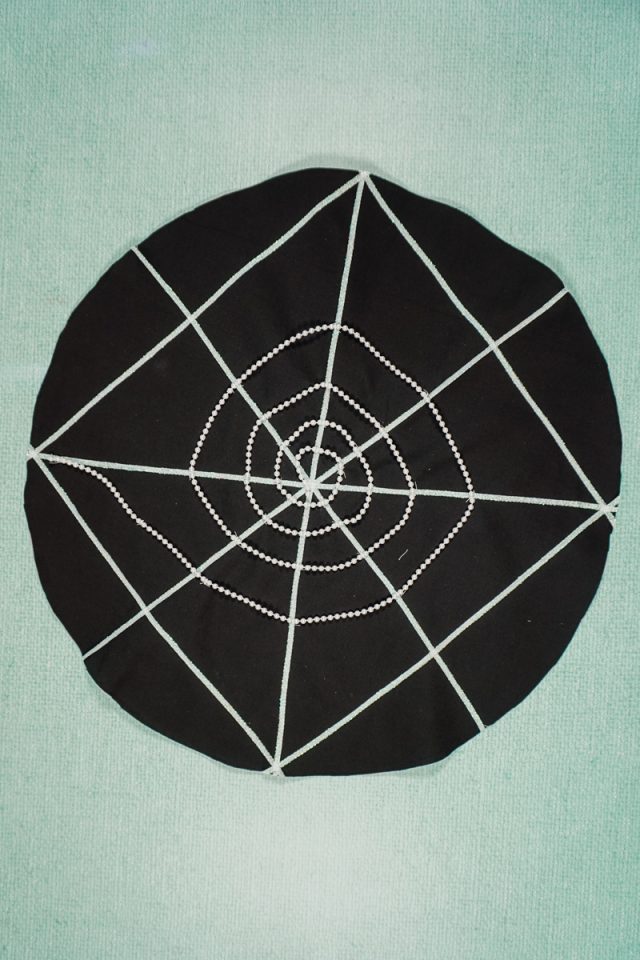
Lay out the ribbon in straight lines kind of like a spider web. I decided to do two crosses and then a square to get lots of straight lines.
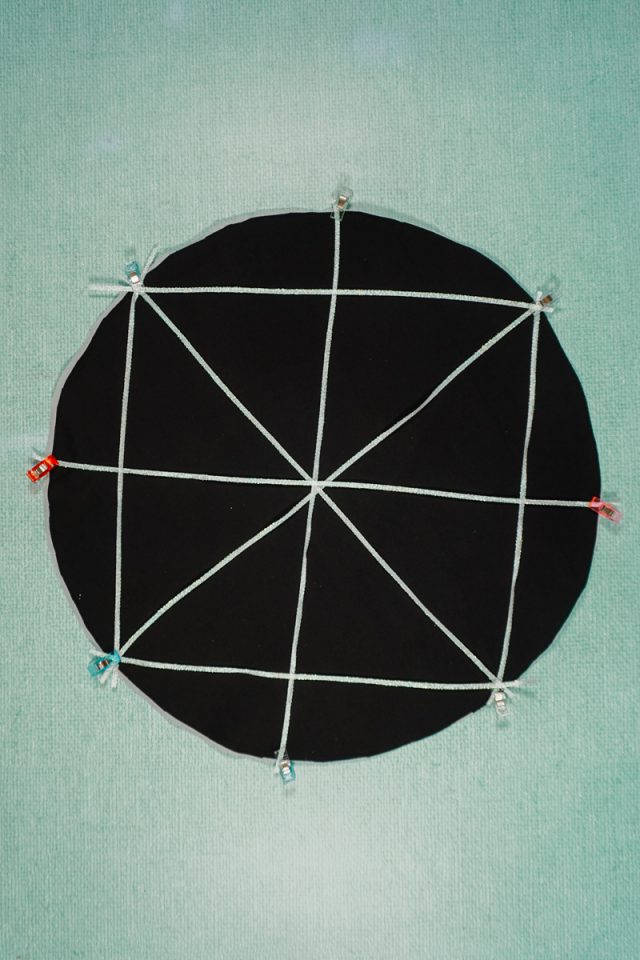
Sew in the middle of each ribbon to secure it to the fabric.
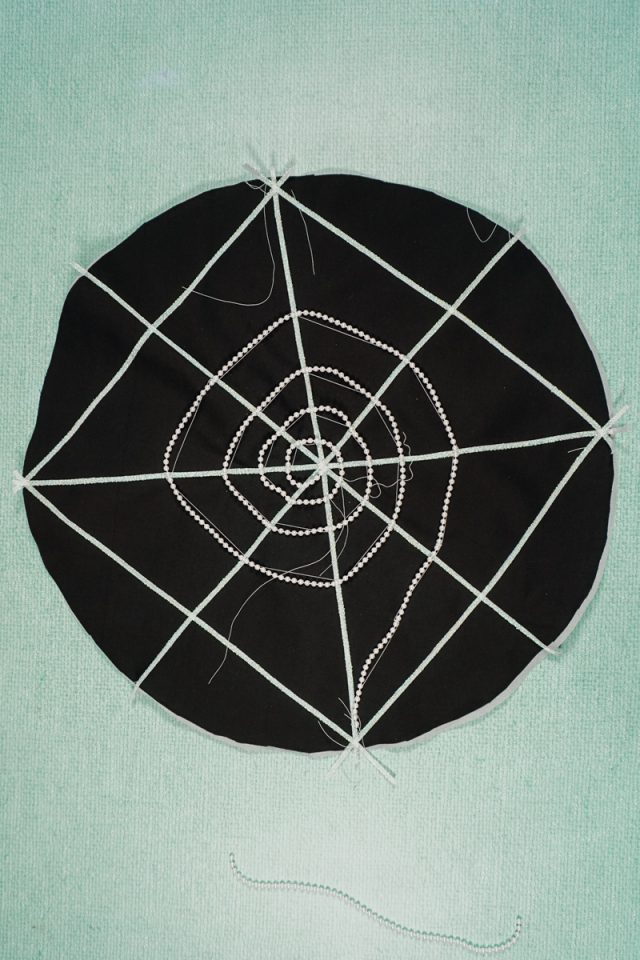
Lay out your pearl trim in the design that you want. I did a spiral going from the outside edge around and around into the center.

Secure the pearl trim to the fabric. I could not use a sewing machine foot, so I took mine off and did stitches back and forth across the pearl fabric every couple of inches.
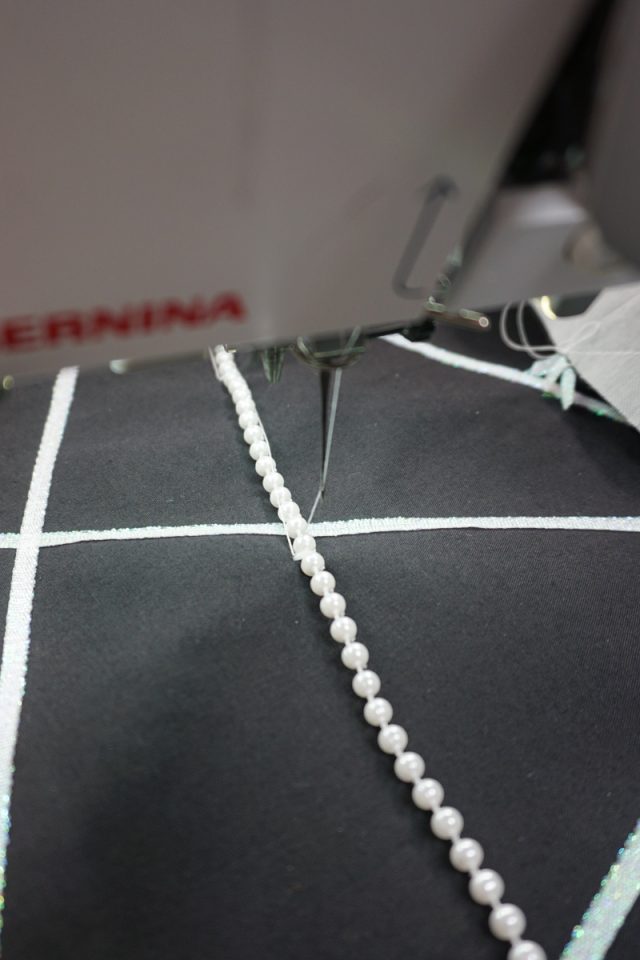
Sew the pearl trim in place.
To keep any thread from unraveling put clear nail polish on the back of each sewn spot.

Carefully trim all the threads.
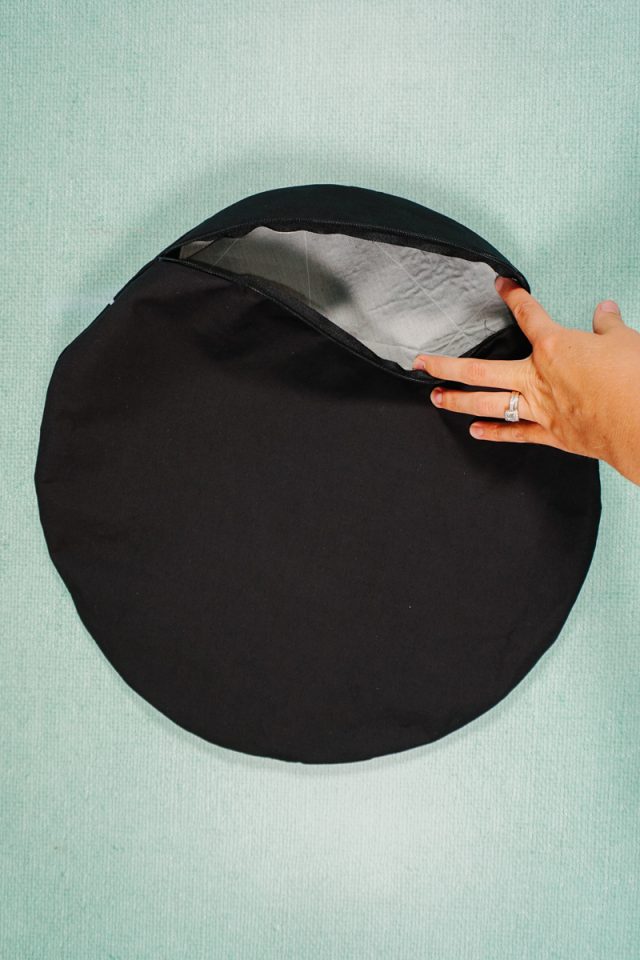
Place the two circles right sides together. The zipper should be halfway up but the top of the zipper should be together as if it were zipped up.
Sew all the way around the circle with a 1/2 inch seam allowance.
Turn the pillow cover right side out through the zipper and push out all the curves.
You finished!
Insert the pillow form and zip of the zipper. Enjoy your pretty spider web pillow!
If you make something using this sewing project, I’d love to see! Please share it on social media with the hashtag #heatherhandmade and tag me!

I believe small sewing moments can create great joy. Find your own “right” way to sew. -Heather