
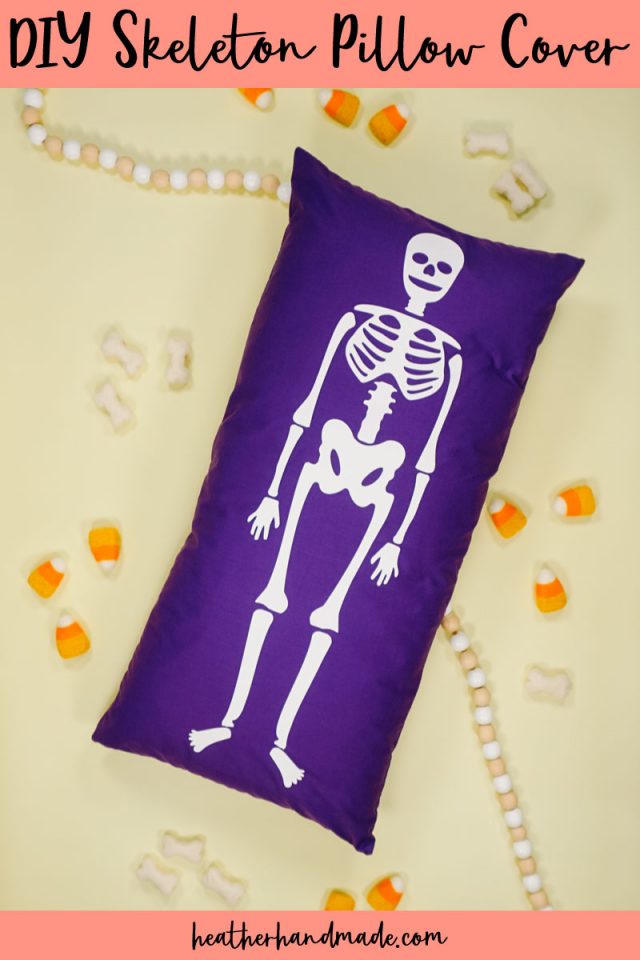
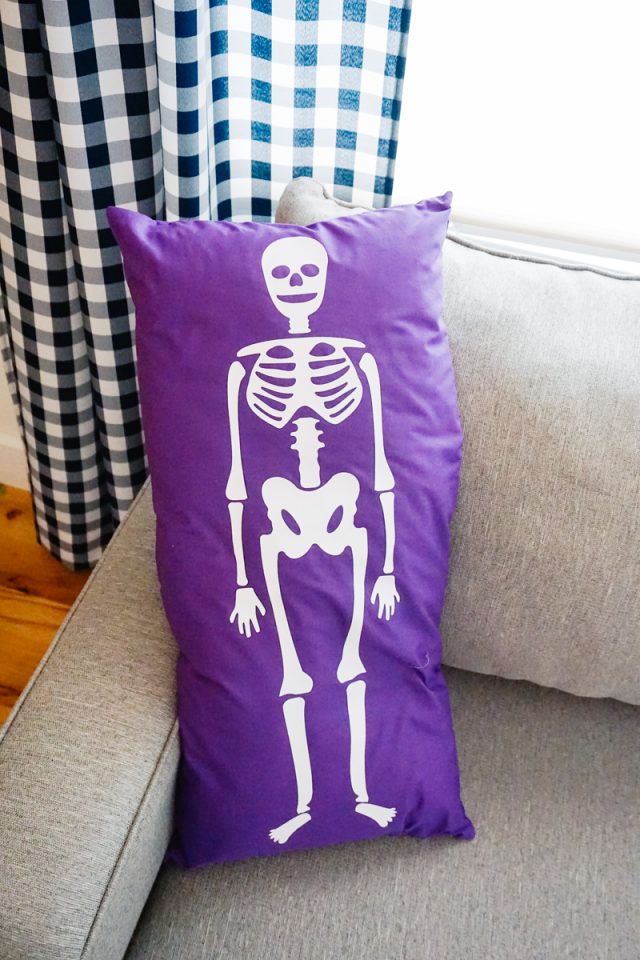
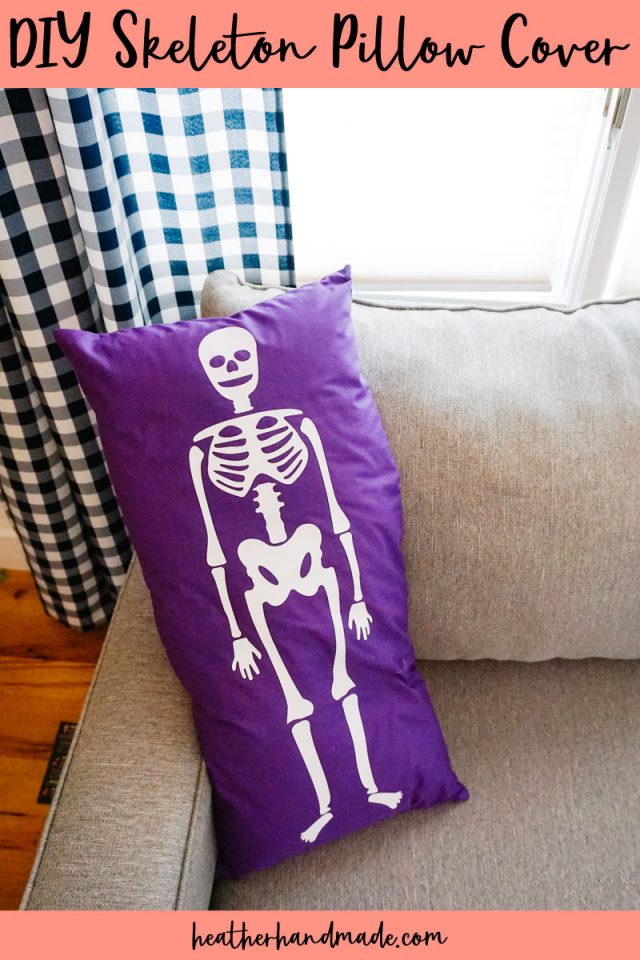
DIY Skeleton Pillow

This post may contain affiliate links.
Learn how to make a DIY skeleton pillow with a free SVG cut file. Use fabric and iron-on vinyl for a fun Halloween sewing project.
Happy skeletons are such a fun part of Halloween. I’ve wanted to make a skeleton pillow cover for awhile, and I finally designed a free skeleton SVG cut file that you can use in all your Halloween projects.
This year there are a lot of skeleton pillows that are actually sewn in the shape of a skeleton shape with moveable legs and arms. I didn’t want to figure out how to sew that shape, but if you wanted to you could still use this skeleton SVG to make one of those.
What is an SVG file?
An SVG file is a scalable vector graphics or an image format that can be scaled large or small without losing any details. It’s a great way for sharing images that can be used in cutting machines since the image will stay perfect even if the size is changed.
Can this design be used on Cricut, Silhouette, and Brother?
SVG files are great and can be used with any cutting machine as long as the machine’s program can have files added to it.
Do you love to sew and craft? Try one of these fun projects:
- Halloween sewing projects
- Free SVG cut files for cutting machines
- Skeleton SVG cut files
- Cricut Halloween projects
- Ways to sew a pillow
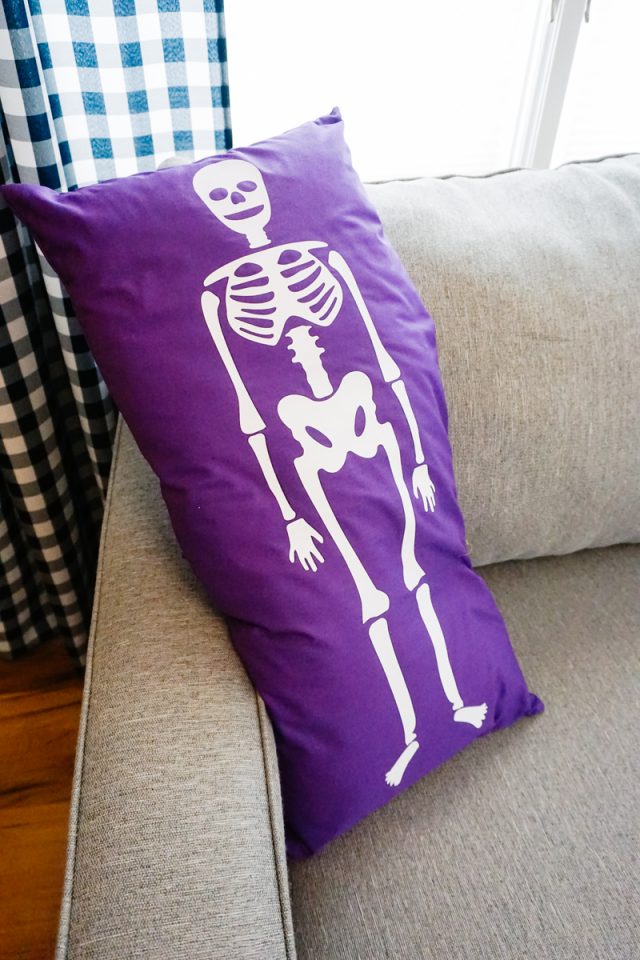
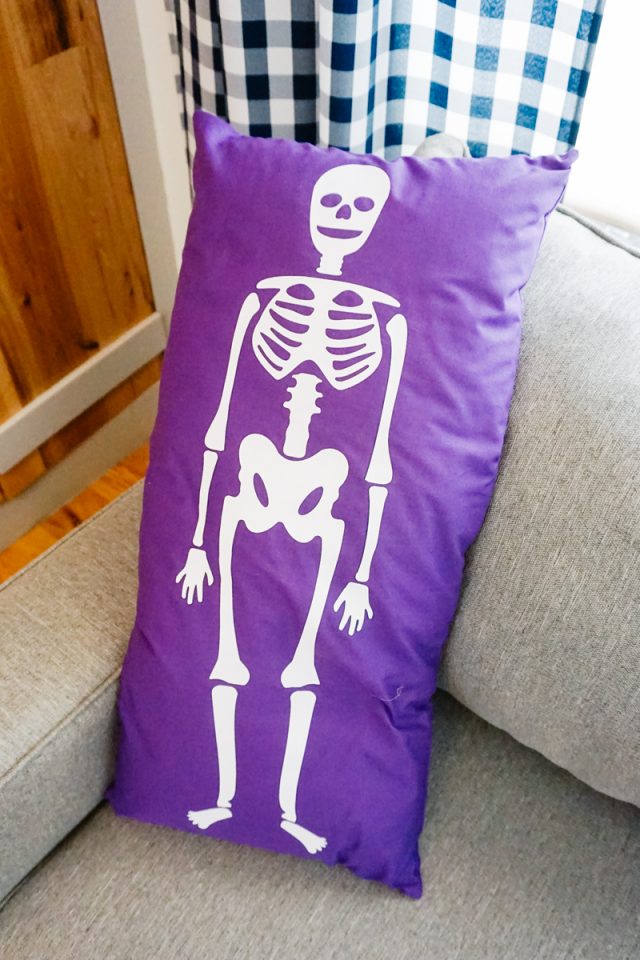
DIY Skeleton Pillow Cover
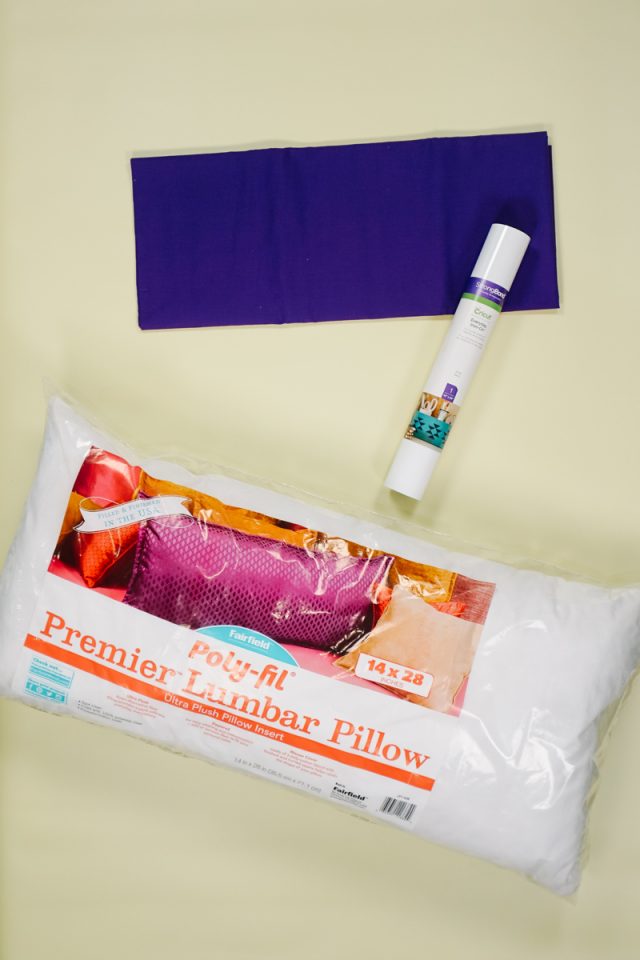
Supplies
- Free skeleton SVG cut file – get it at the end of the post behind the locked content box
- 1 yard of purple fabric (or another solid color that will pop behind a white skeleton)
- White Cricut Iron-on vinyl* at least 12 inches wide by 24 inches long
- Lumbar pillow form 14 inches by 28 inches
- Sewing tools
- Sewing machine
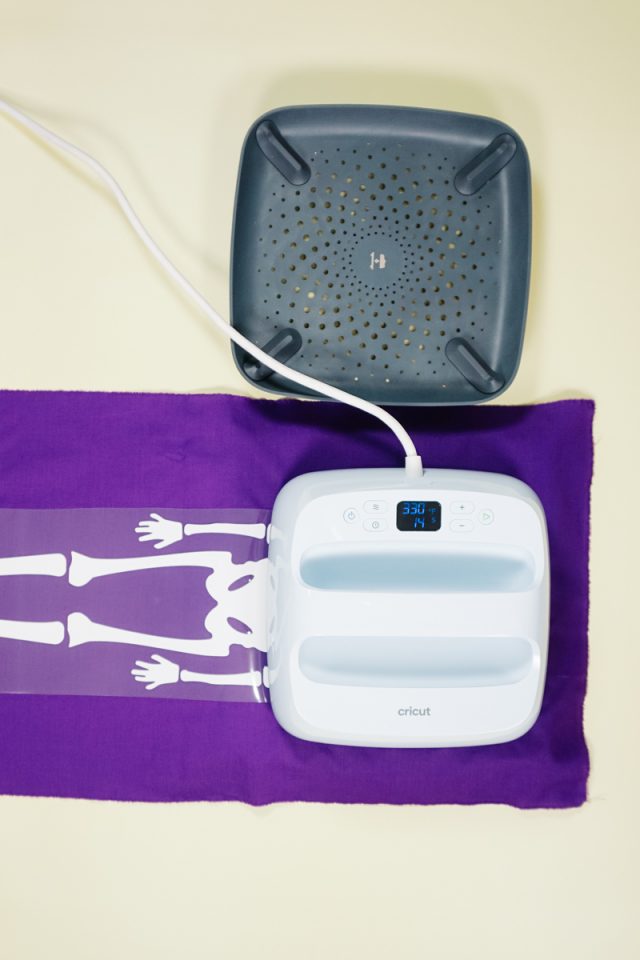
- Cutting machine like the Cricut Maker 3* and tools
- Easypress 3*
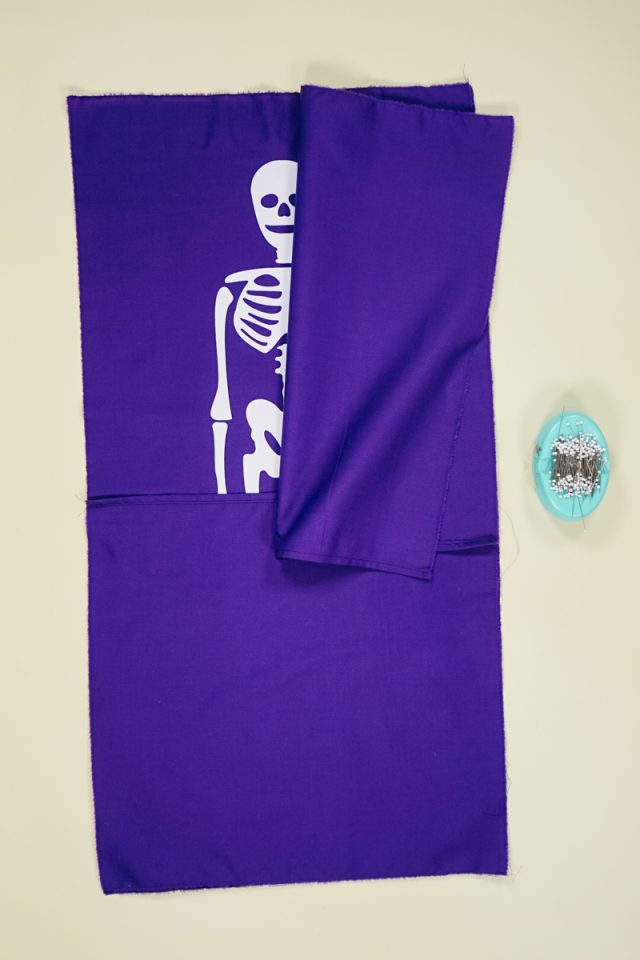
Cut out three rectangles from the fabric
- One rectangle 15 inches by 29 inches
- One square 15 inches by 15 inches
- One rectangle 15 inches by 18 inches
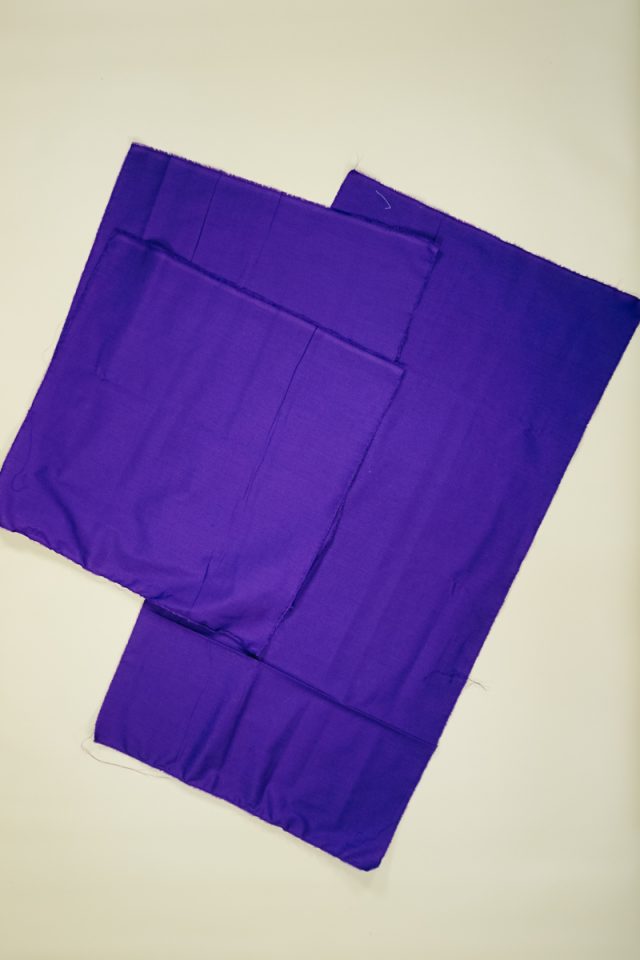
The two smaller pieces are going to overlap in the back for an envelope style pillow cover. Hem one short end of each piece with a 1/4 inch double fold hem. Press hem in place.

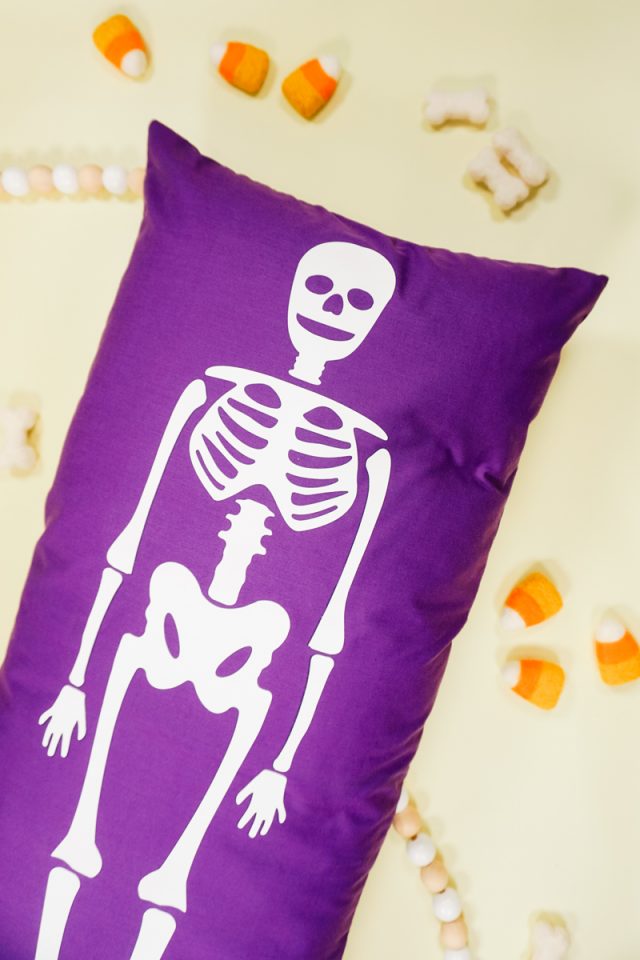
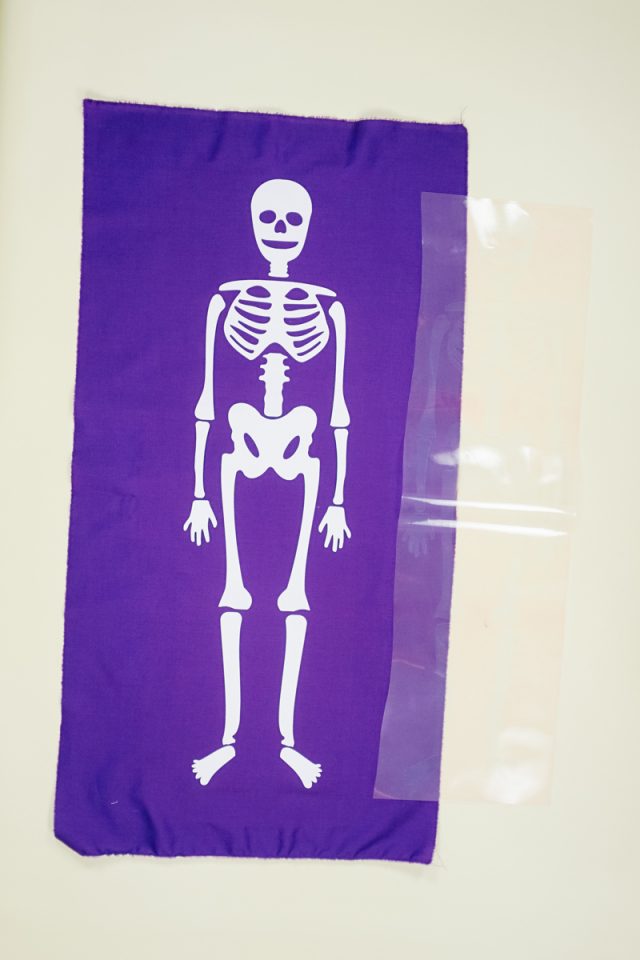
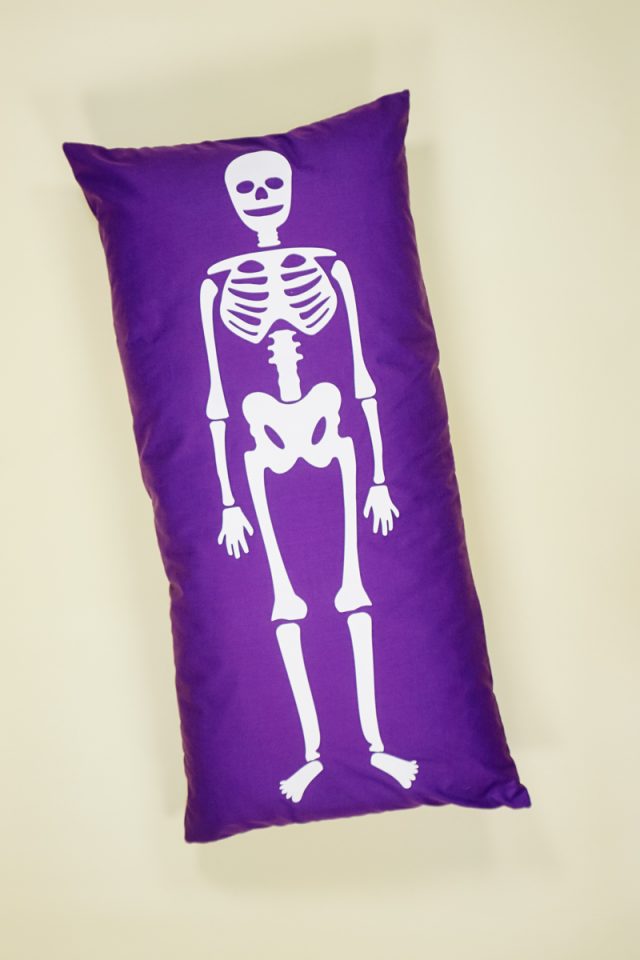
Use a cutting machine to cut out the skeleton. I made my skeleton 23.5 inches tall and about 6 inches wide.
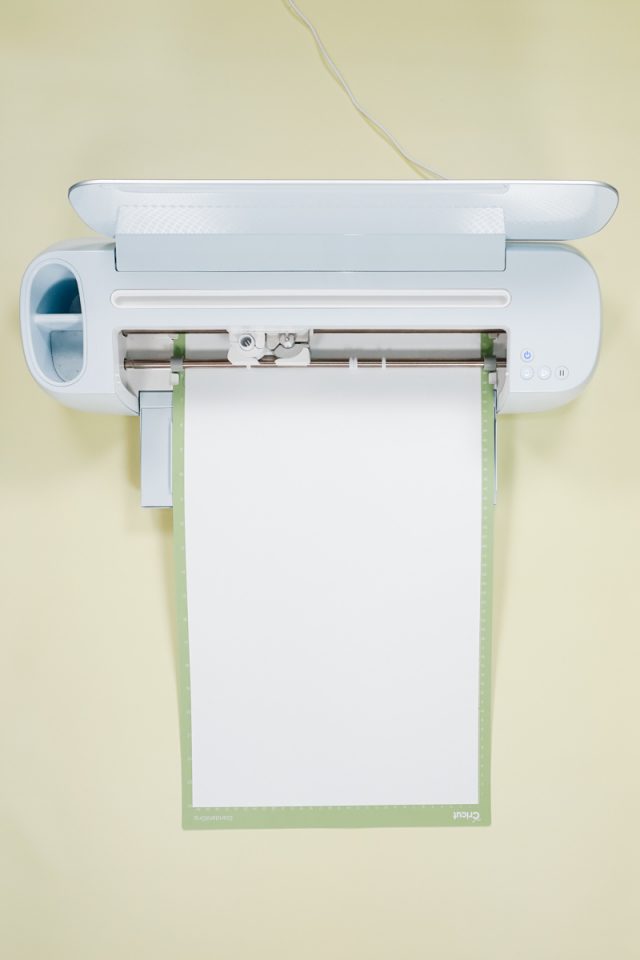
Weed the skeleton design.

Start heating up your easypress. Center the skeleton on the biggest rectangle.
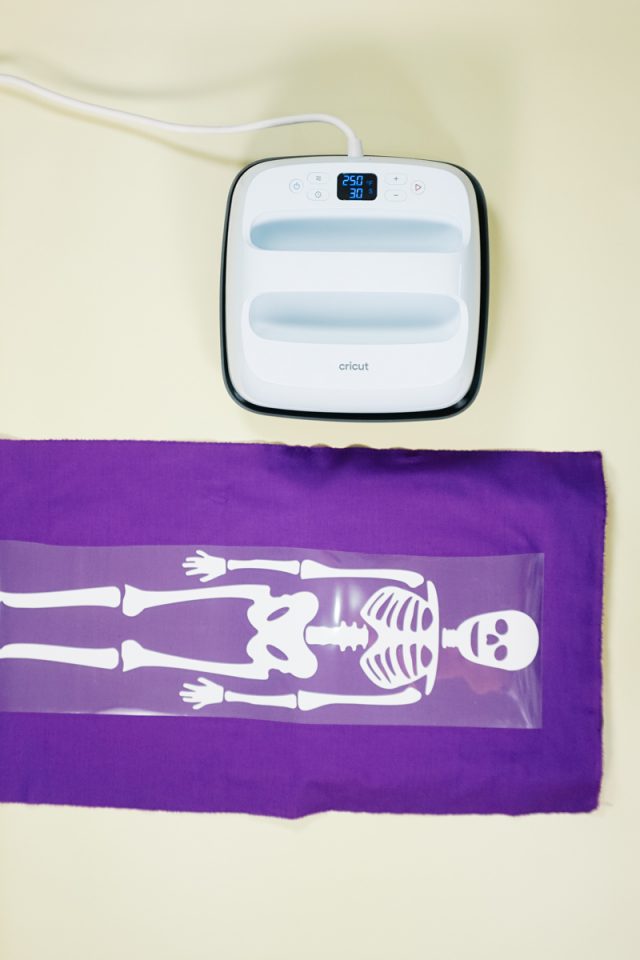
Use the Easypress to apply the skeleton to the fabric.
Once it cools peel the plastic backing off.
Place the largest piece right side up. Place the square on with right side down. Match up the top two raw corners of the square with the top raw corners of the front.
Next place the remaining rectangle on with right side down. Match up the bottom two raw corners of the back rectangle with the bottom raw corners of the front.
Pin all the layers together.
Sew around the edge with a 1/2 inch seam allowance. Finish the edges if you want.
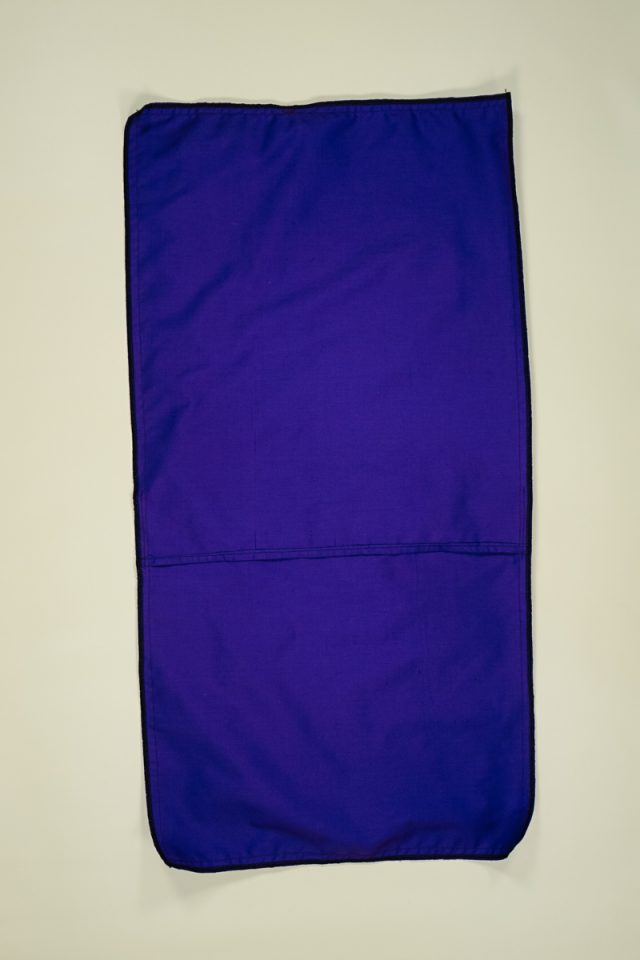
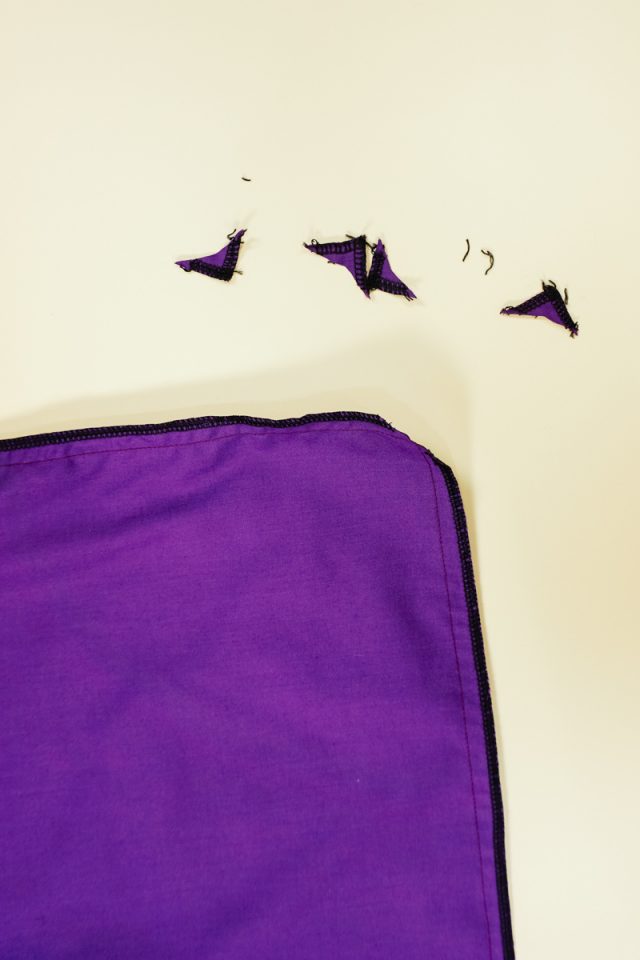
Trim the corners to reduce the bulk. Do not cut through the stitches.
Turn the pillow cover right side out and poke out the corners.

Insert the lumbar pillow form into the skeleton pillow cover.
You finished!
Get the Free SVG Cut File Below!
Get the free skeleton SVG cut file here
If you make something using this free SVG file, I’d love to see! Please share it on social media with the hashtag #heatherhandmade and tag me!

I believe small sewing moments can create great joy. Find your own “right” way to sew. -Heather