
DIY Mermaid Stocking + Free Sewing Pattern

This post may contain affiliate links.
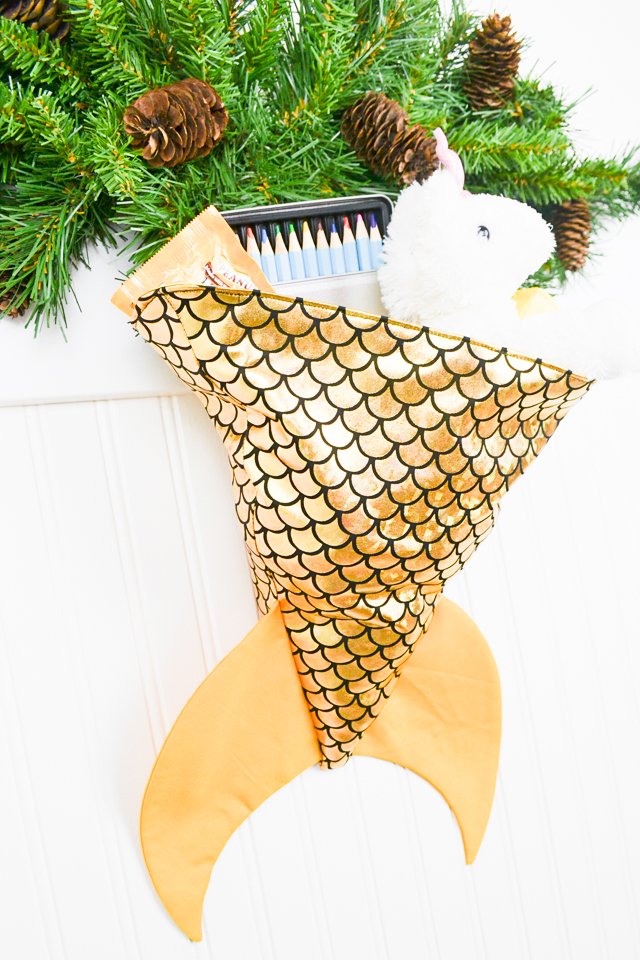
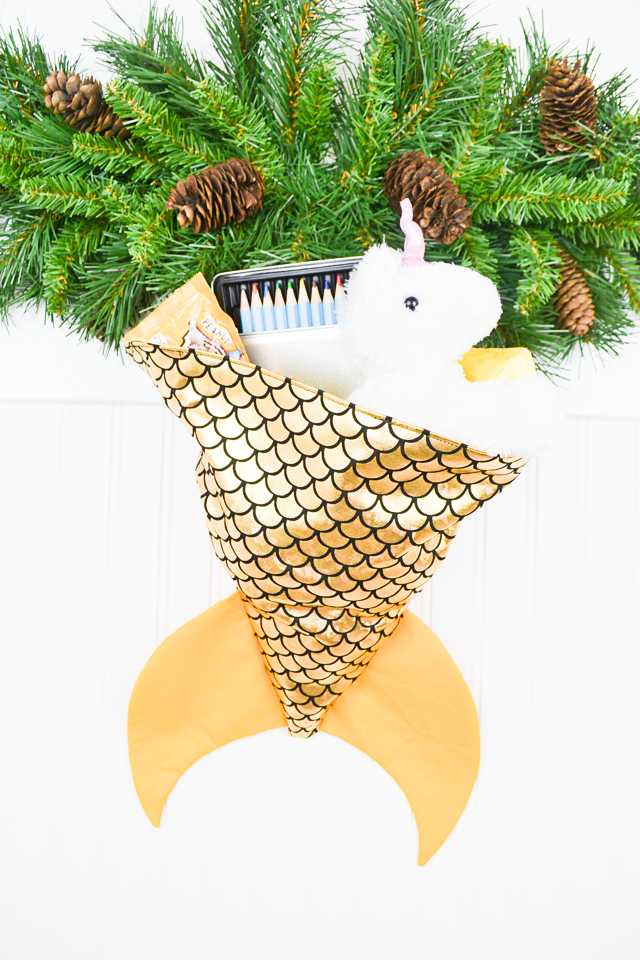
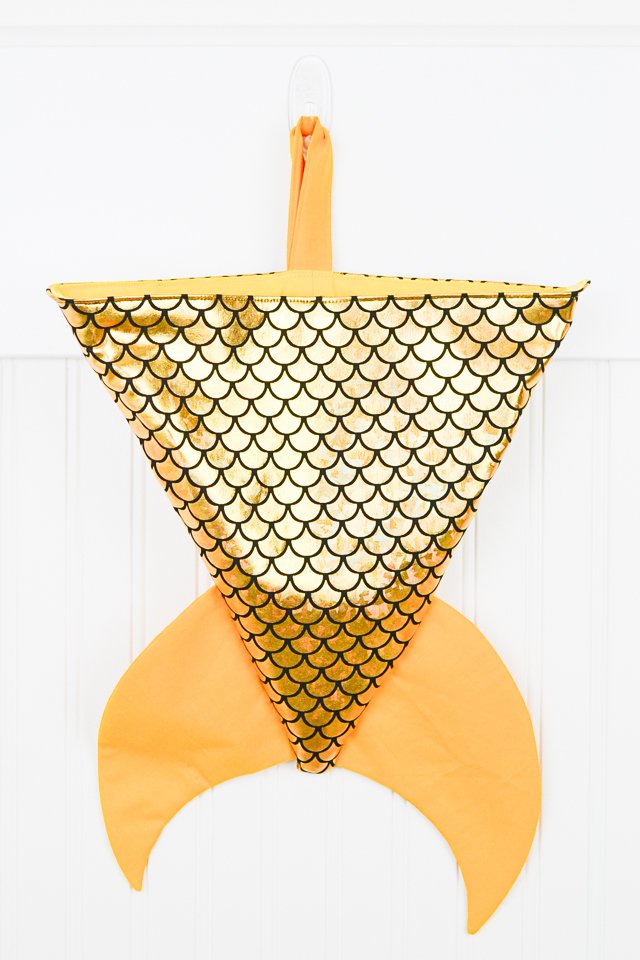
Learn how to make a DIY mermaid stocking with this free sewing pattern. Use scale print fabric and fill it with stocking stuffers!
My girls are always pretending to be mermaids so I thought I would make a special mermaid tail stocking for Christmastime. It’s fun to bring some of their imagination into our home decor. And, let’s be honest, I used to play mermaids and might want to keep this DIY mermaid stocking for myself.

I made mermaid tote bags this fall and developed a free pattern. It can also be a shark tote bag! Christmas starting sneaking up, and I started working on all the Christmas sewing things!
As I was sewing I realized that the mermaid tote bag would also make the perfect stocking with a couple of adjustments. It’s great to be able to reuse a pattern in another way! Make sure you check the difference in these instructions below like a stiffer interfacing.
Do you love to sew? Try one of these fun sewing projects:
- Christmas sewing projects
- Free mermaid tote bag sewing pattern
- DIY stockings to make
- Stocking stuffer gifts to sew
- Free Christmas sewing patterns
What is a PDF sewing pattern?
A PDF pattern is a sewing pattern designed on the computer and organized so that it can be printed on several letter or A4 size pieces of paper.
I love using PDF sewing patterns because if the pattern gets ruined or if my children or I changed sizes, I can always print it again. It’ll never be destroyed since I have a digital version!
How do you use a PDF sewing pattern?
Open the PDF on a computer and click print. When printing make sure that the scaling is set to 100% or no scaling so that the pattern prints at the correct size.
Once the pattern is printed it can be taped together to get the full size. Then the pattern can be cut for each pattern piece size or individual sizes can be traced so that the pattern can be used again and again. Learn how to use PDF sewing patterns.
DIY Mermaid Stocking
This video is the original instructions for the mermaid tote bag pattern. There are a couple of differences which you can read below.
Supplies
- Free Mermaid Bag Pattern – get it at the end of the post
- 1/2 yard scale quilting cotton*
- 1/2 yard solid quilting cotton*
- 1 yard stiff fusible interfacing*
- Optional: 1 yard fusible fleece*
- Sewing tools
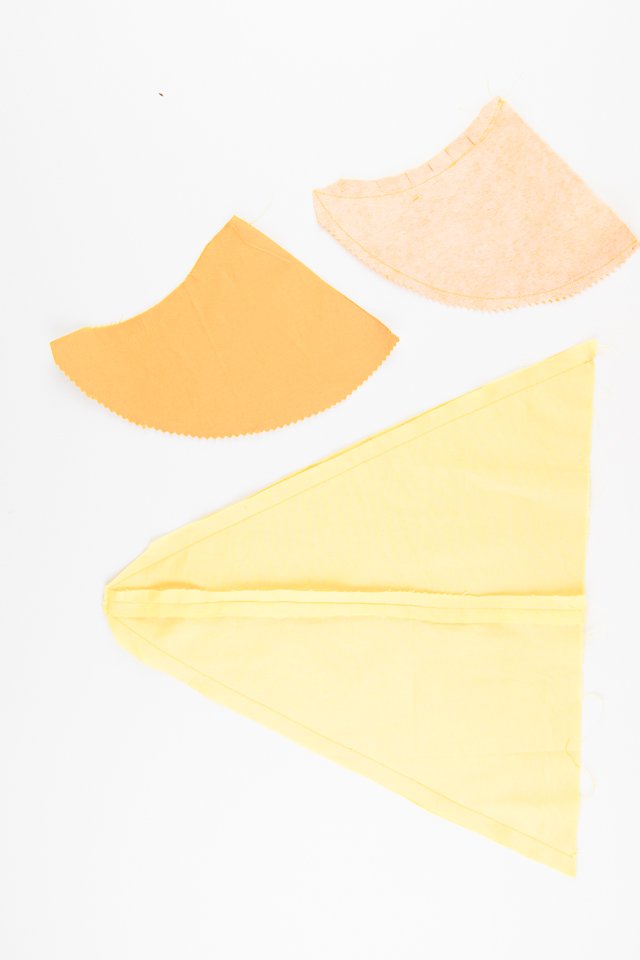
Cut out the pieces as directed on the pattern pieces except cut only one strap 8 inches long. Cut out interfacing pieces for the outer fabric and the fins. Optional: cut out fusible fleece for the lining fabric and the fins.
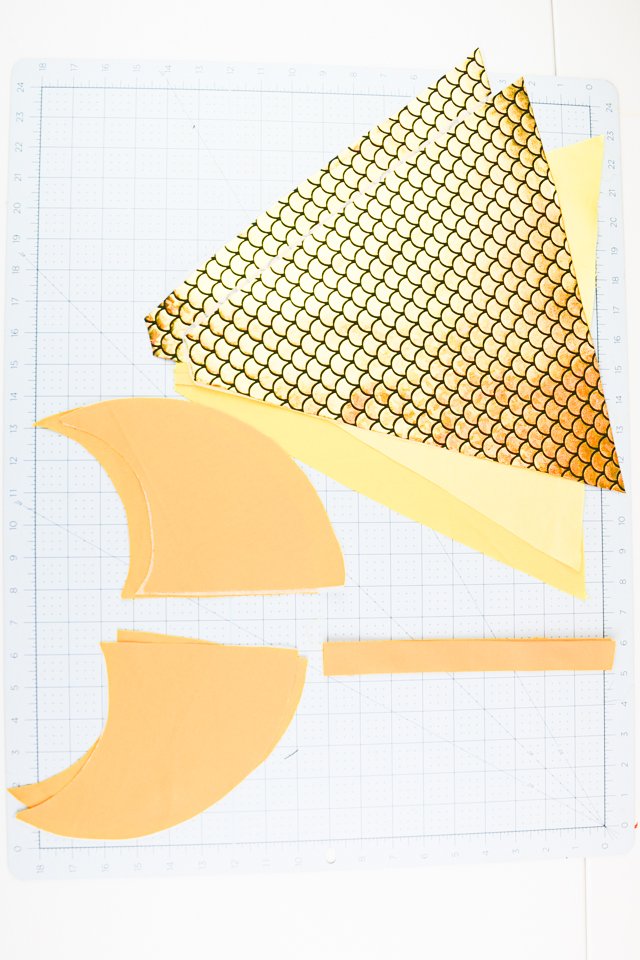
I used some scraps for my lining pieces and that’s why theres a seam down the middle. Your lining will not have that.
Sew the sides at 1/2 inch seam allowance. Leave a 4 inch hole on one side to turn the bag later. Backstitch whenever you stop and start.

To sew the loop fold the loop in half and press. Open up the fold. Bring the raw edges in to meet the crease in the middle of the loop. Press the raw edges in place.
Fold the loop in half with the raw edges folded inside. Press again. There should be three folds and when folded the raw edges are enclosed.
Sew down each side 1/8 inch from the edge.

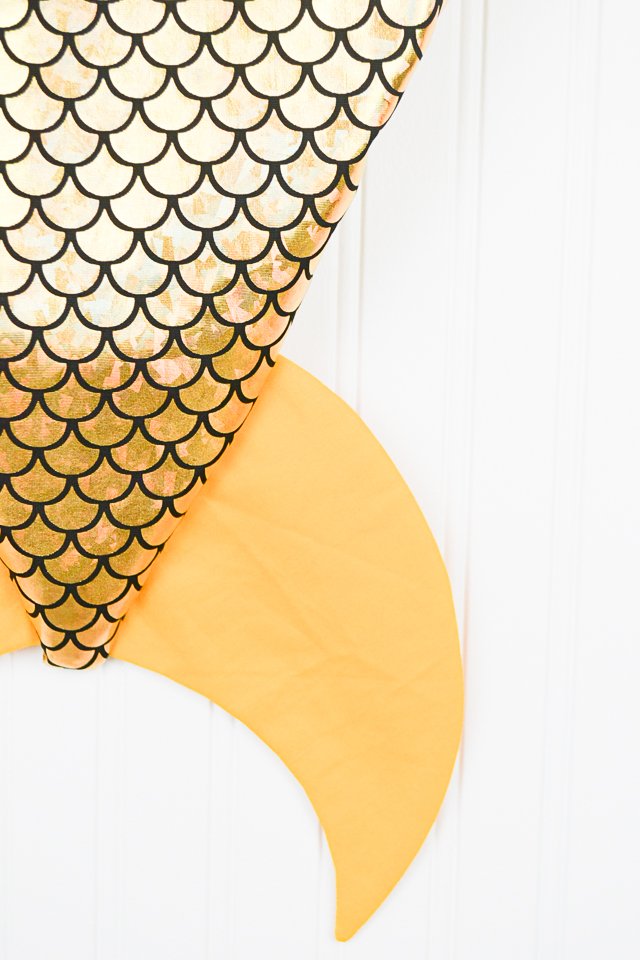
With right sides together sew the fins at 1/2 inch seam allowance.
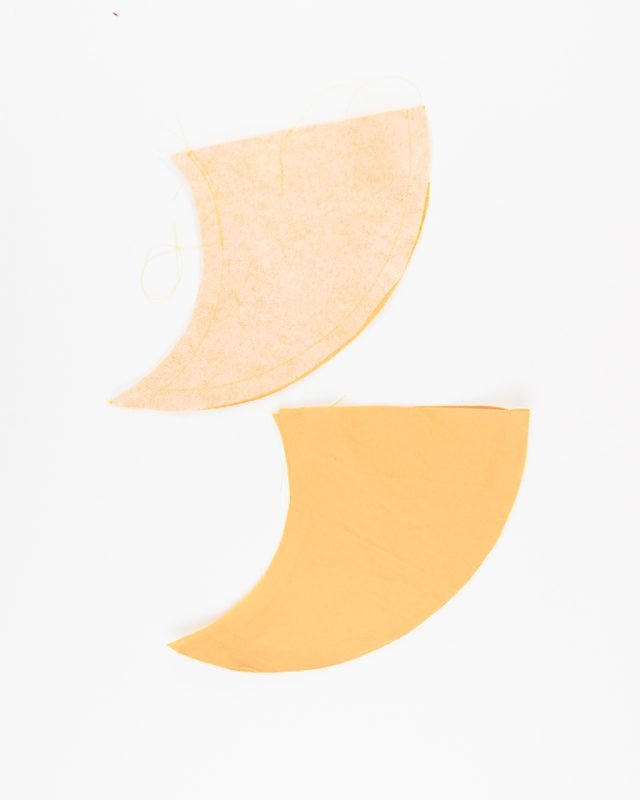
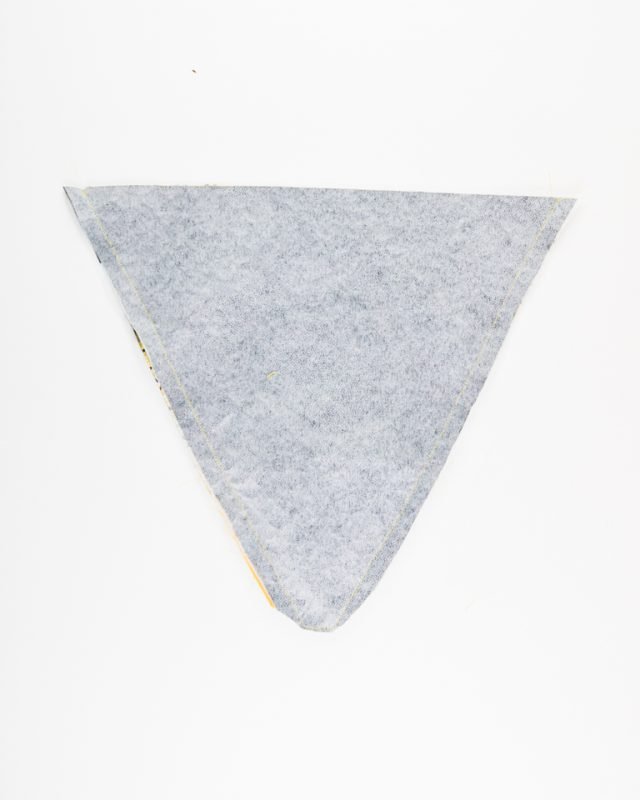
Clip the inner curve and notch the outer curve. Trim the point to reduce bulk.
Trim the point of the lining.
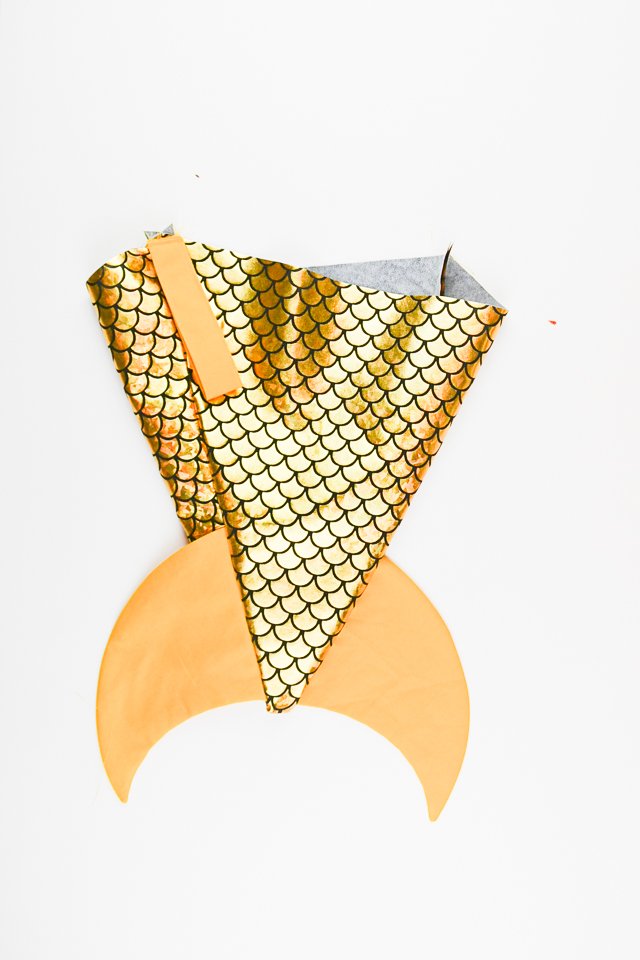
Pin the fins to one side of the outer fabric 1/2 inch from the bottom. Fold them out of the way to work on each side.
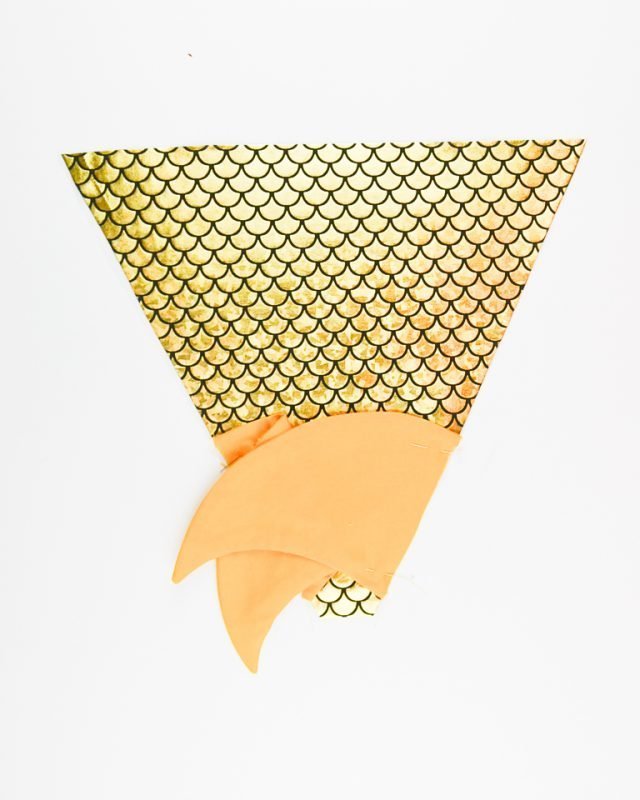
Baste the fins in place 1/4 inch from the edge. Make sure you don’t catch the point of the other side.
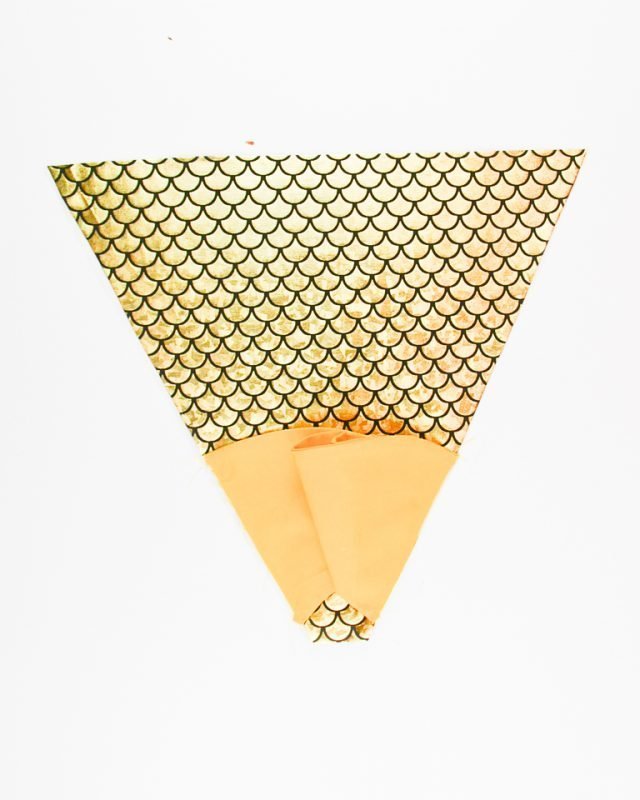
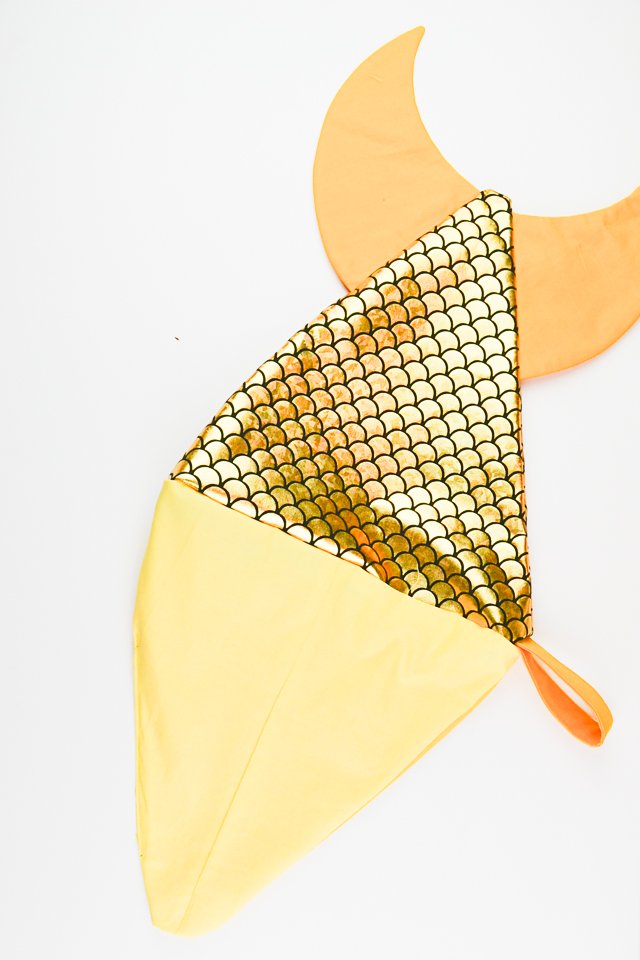
Pin the two outer fabrics together with right sides together. Make sure the fins are rolled up and tucked in nicely to keep them out of the seams.
Sew the side seams with a 1/2 inch seam allowance. Trim the point to reduce bulk.
Baste the loop to the top of the outer fabric. In the picture it is pinned to the side seam, but I found it didn’t hang very well with the loop on the side. I moved the loop to the center of the top, and it worked much better.
With right sides together place the outer fabric inside the lining. Match up the top and sew around with a 1/2 inch seam allowance. Trim the seam allowance at the side seams.
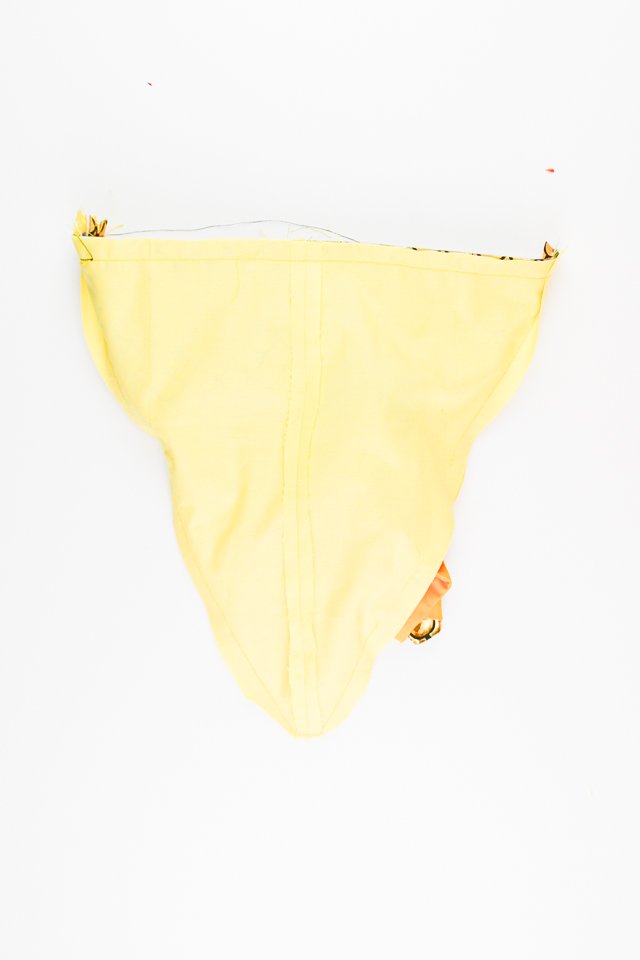
Using the hole in the lining, turn the whole bag right side out. Find the hole and topstitch it closed.
Push the lining down inside the bag. Topstitch around the top of the bag to keep the lining in place 1/8 inch from the edge. Roll the seam as you sew so that the lining is kept inside.
Get the Free Sewing Pattern here!

If you make something using this sewing project, I’d love to see! Please share it on social media with the hashtag #heatherhandmade and tag me!

I believe small sewing moments can create great joy. Find your own “right” way to sew. -Heather