
Easy DIY Lab Coat for a Kids Einstein Costume

This post may contain affiliate links.
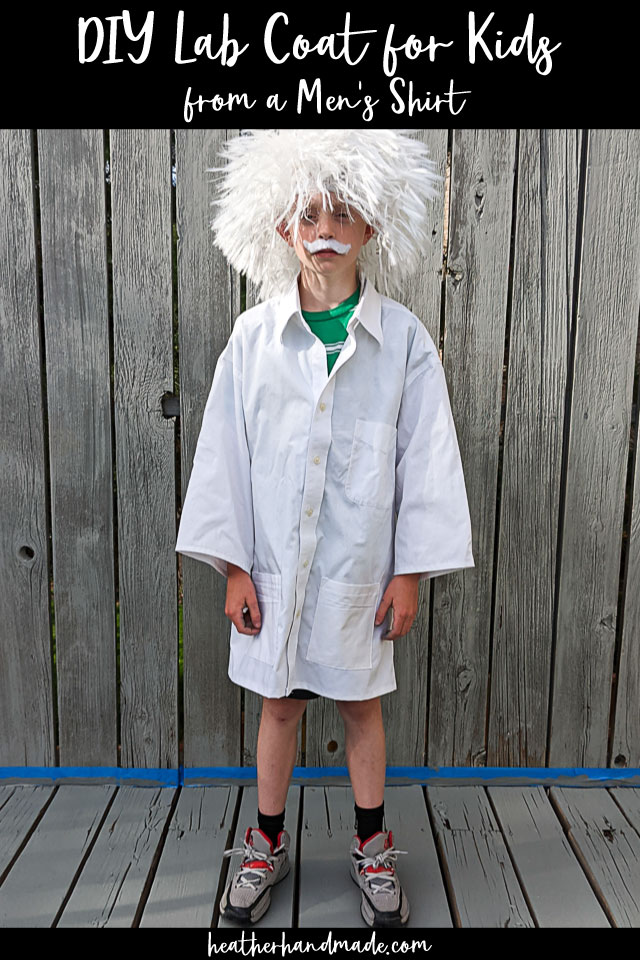
Learn how to make a DIY lab coat for kids from a men’s shirt. This is a great upcycle project to make a simple Einstein costume!
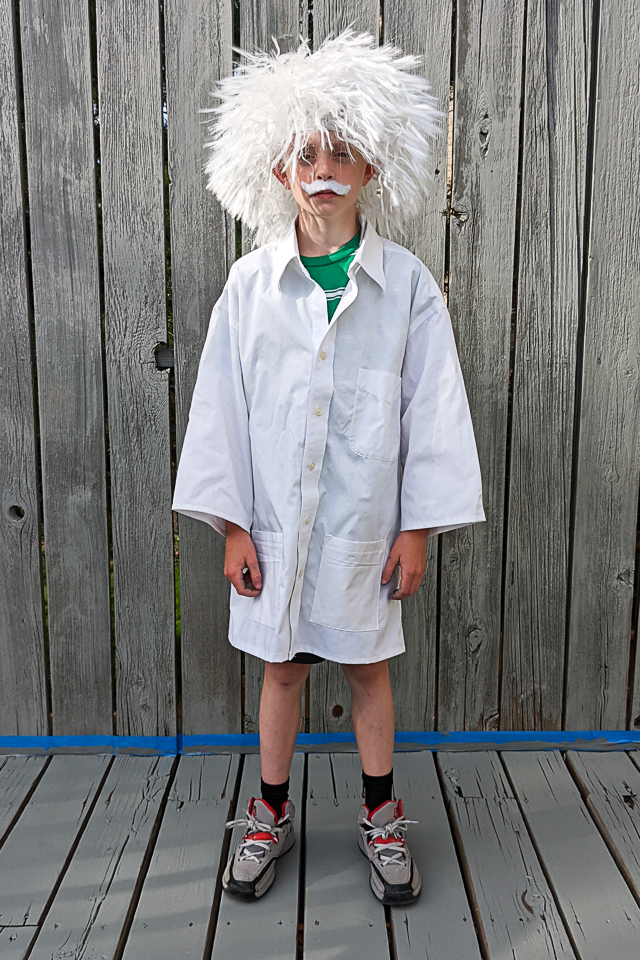
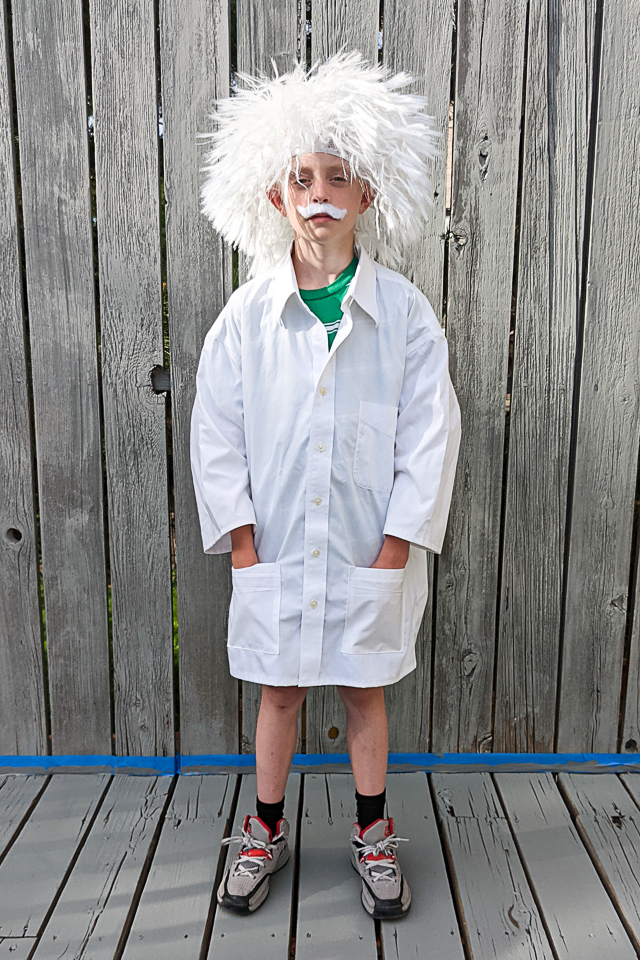
My son has been working on a biography in school and decided to research Albert Einstein. For his final project he got to dress up as Albert Einstein and give an oral report. He was so excited to wear a lab coat and wear a wig and mustache.
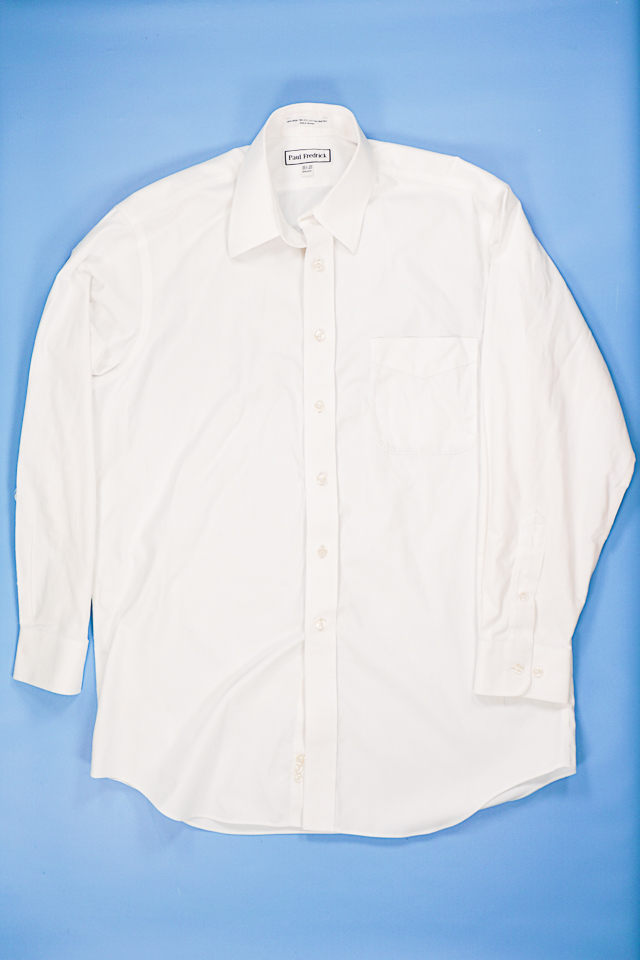
I didn’t want to buy a cheap costume, so I decided to upcycle a white men’s shirt into a DIY lab coat. My husband even had one he was getting rid of. It was a great way to reuse the details which made the project much faster and easier!
Luckily, my husband had recently gotten rid of one of his white button up shirts. It was starting to fray at the sleeve pleats, and some of the edges were discolored.
I knew it would work perfectly to turn into a lab coat. I loved being able to make this simple DIY lab coat for almost no money.
What is refashioning?
Refashioning is to fashion clothing again or differently. I usually use this to describe when I’m sewing clothing to fit different or to look different, but the majority of the item stays the same.
What is upcycling?
Upcycling is to reuse material to create something better than the original. I usually use this to describe when I’m sewing adult clothing into clothing for children or I’m sewing clothing into an accessory or house item.
Do you love to sew? Try one of these sewing projects:
- DIY costumes for Halloween
- Upcycled costumes for Halloween
- Men’s shirt refashion and upcycle tutorials
Easy DIY Lab Coat for a Kids Einstein Costume
Supplies
- Medium or larger men’s white button up shirt
- Sewing tools
- Sewing machine
Instructions
Mark a straight line across the bottom of the shirt hem.
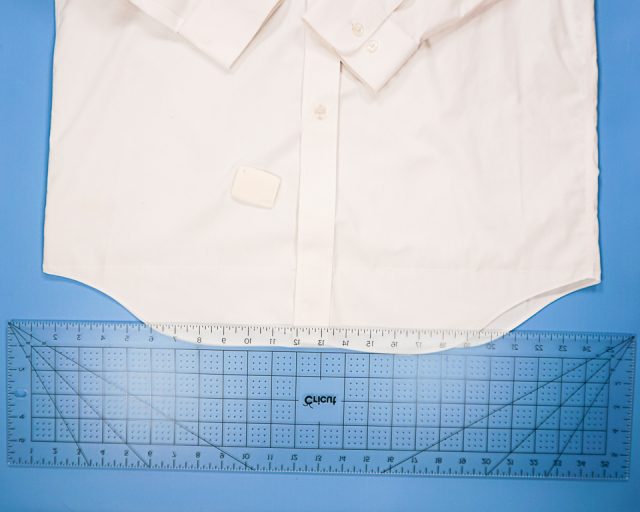
Cut the shirt hem off along the straight line.
Mark a straight line across the sleeve just above the sleeve placket.
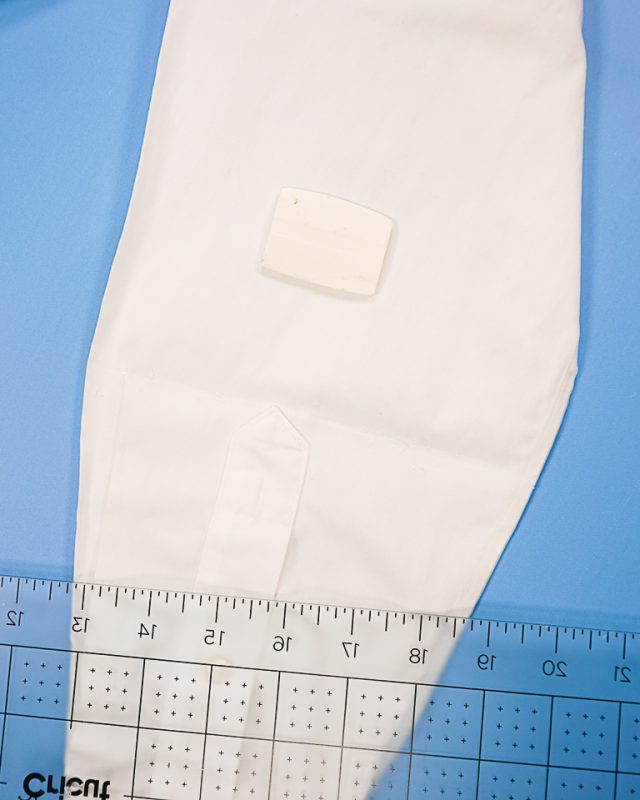
Cut both sleeves straight across just above the sleeve placket.
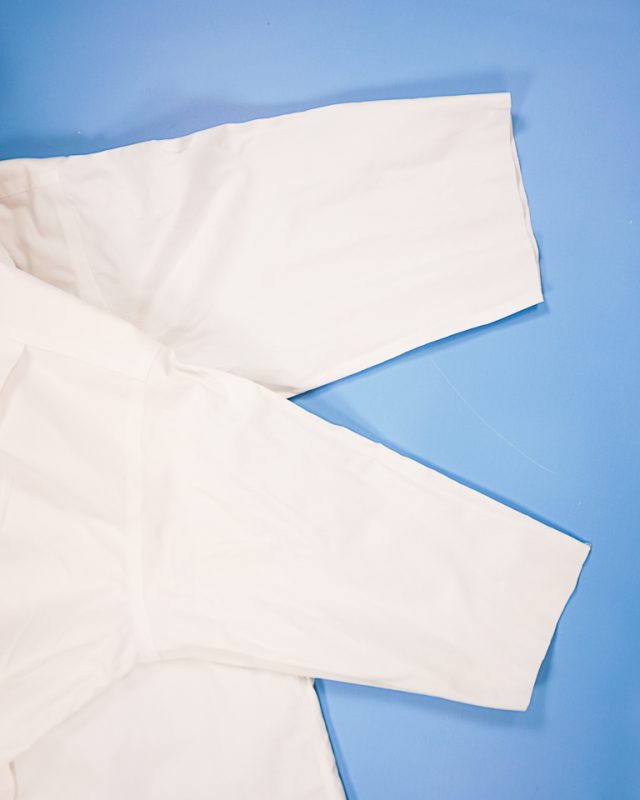
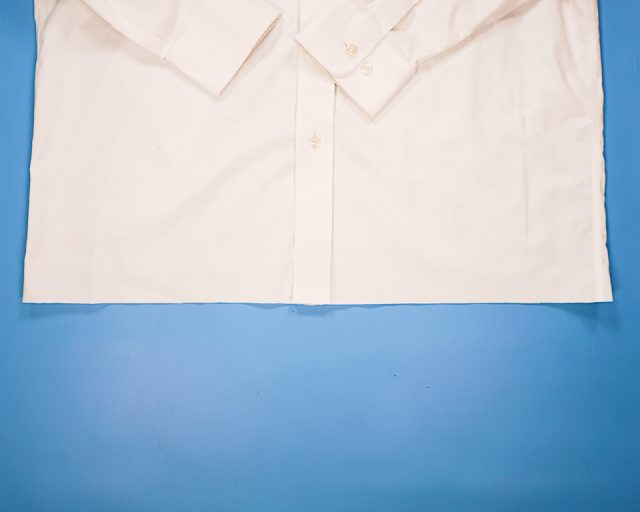
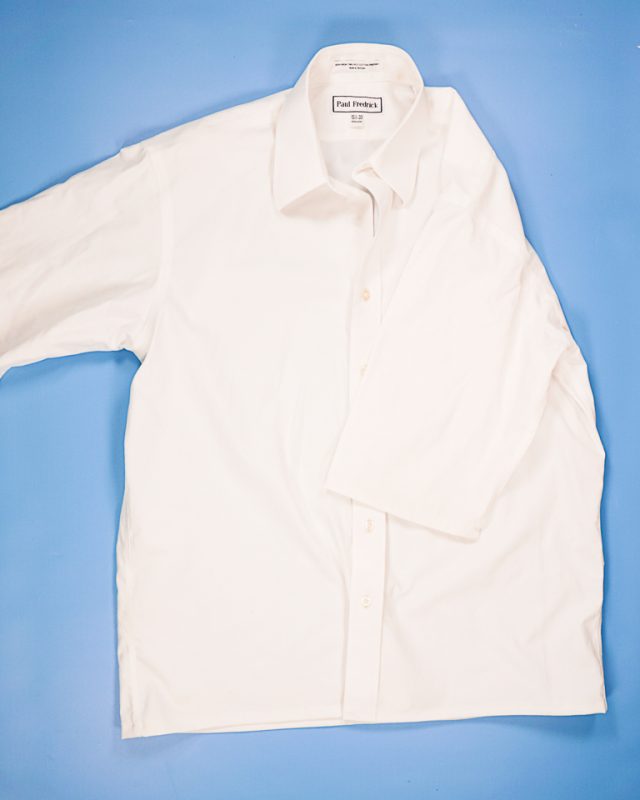
Fold the sleeve hem up 1/2 inch twice. Fold the shirt hem up 1/2 inch twice.
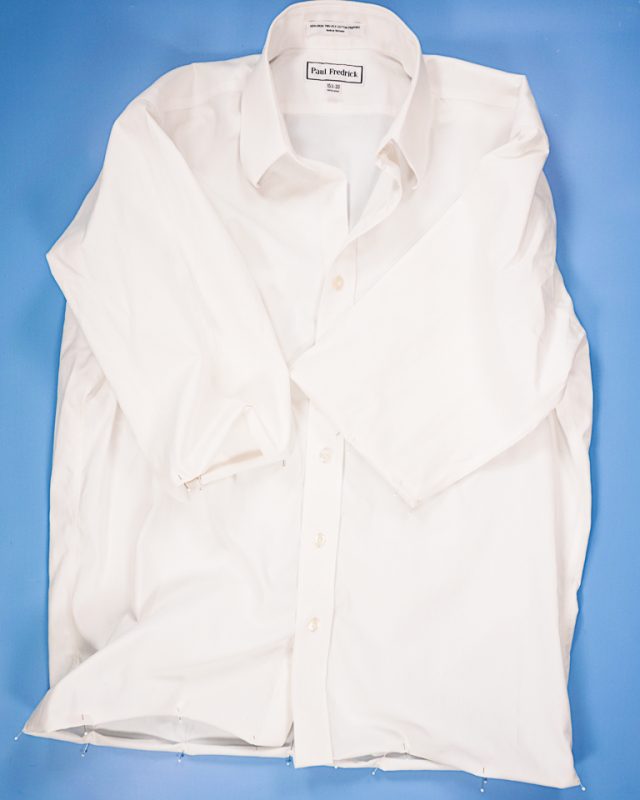
Sew the sleeve hems and shirt hem in place.
With the fabric cut off from the sleeves, cut the cuffs off and cut open the sleeve along the seam.
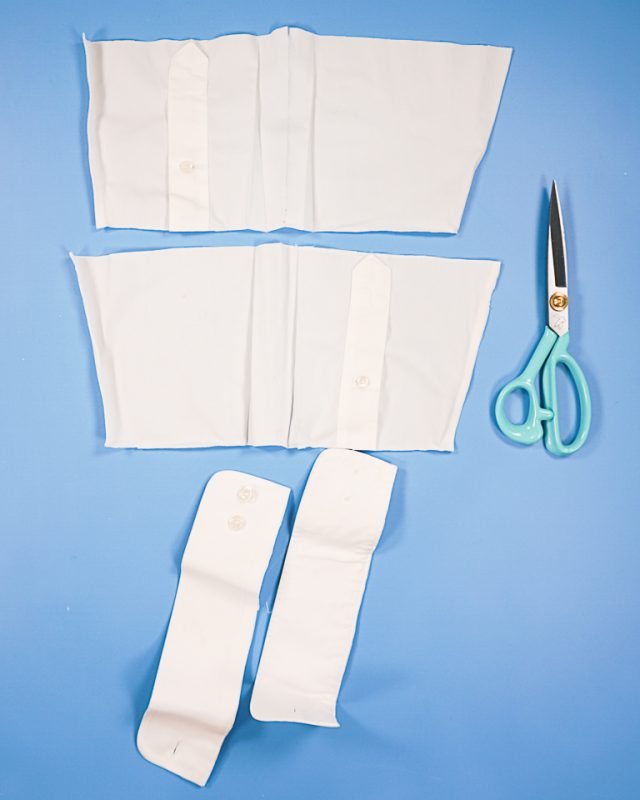
Cut two rectangles from the fabric and press flat. Cut the rectangles as large as possible and the same size.
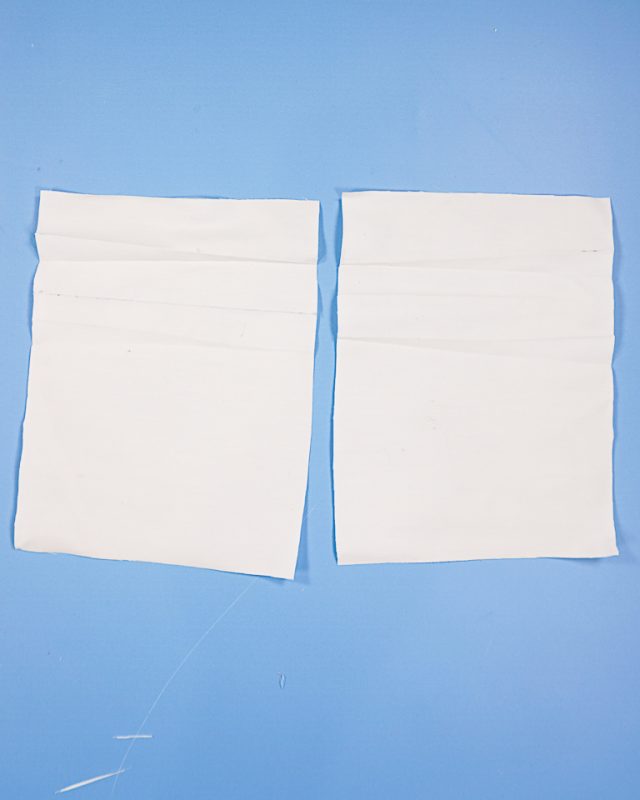
Fold the pocket hems down and pin in place.
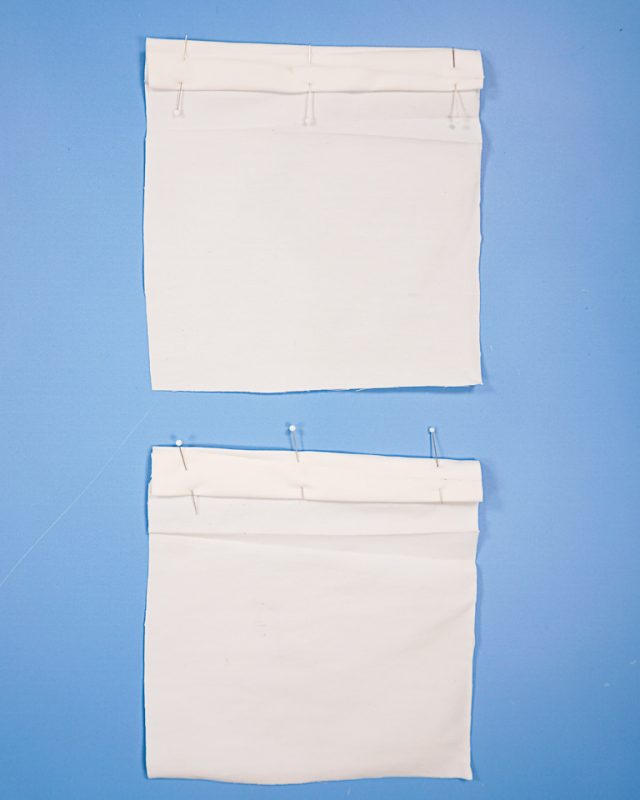
Sew the pocket hems.
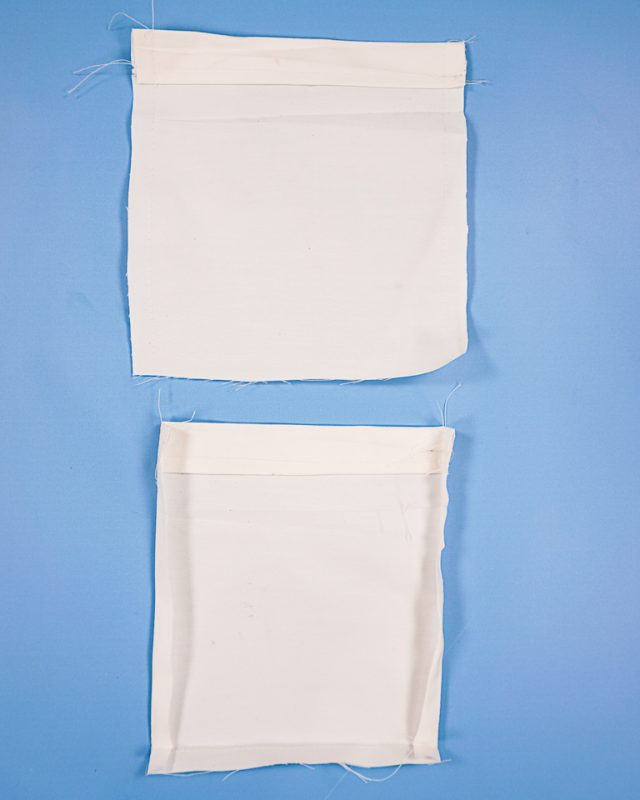
Sew around the pocket 1/4 inch from the edge along the sides and the bottom. Press the sides and bottom in along the stitching line.
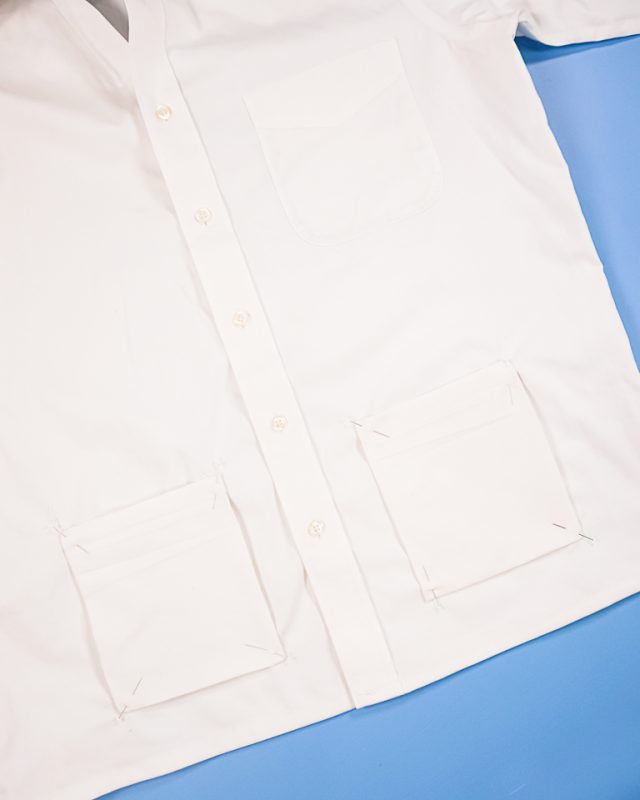
Pin the pockets onto the bottom of the shirt. Sew around the sides and bottom of the pockets to secure.
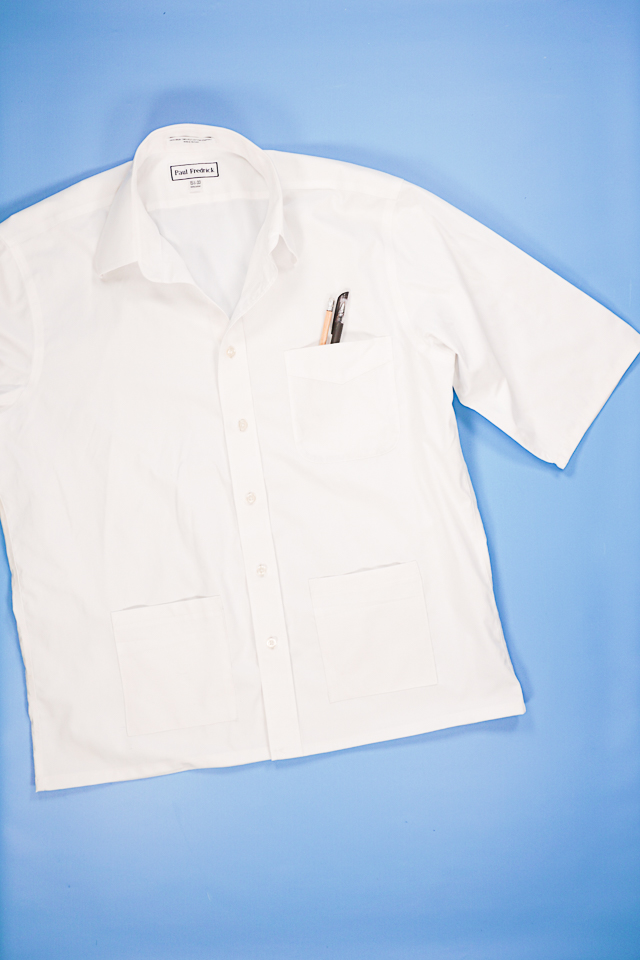
Give the lab coat a final press. You finished!
If you make something using this sewing project, I’d love to see! Please share it on social media with the hashtag #heatherhandmade and tag me!

I believe small sewing moments can create great joy. Find your own “right” way to sew. -Heather
I love this project! One question. What if the shirt is too wide? Is there a way to take up the shoulder length? Maybe with a dart or something? (I’m a beginner sewer so excuse my ignorance).
There is not a way to take up the shoulder length. You’d probably have to start with a smaller shirt.
Thanks Heather! Just made a Book Week Parade costume using this!
yay! that’s awesome!