
DIY Fabric Ornament Ball with Free Pattern

This post may contain affiliate links.
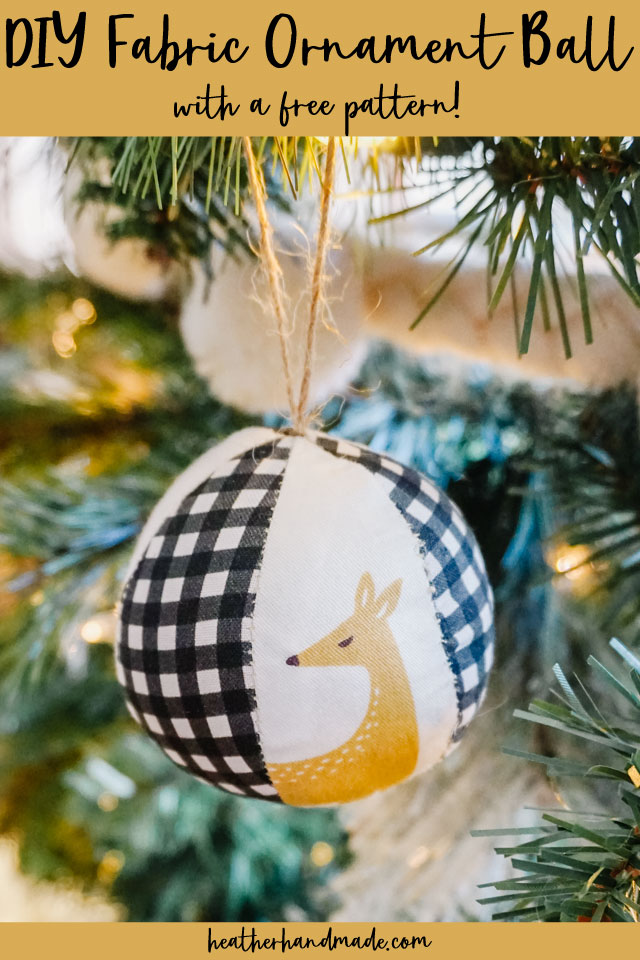
Learn how to make a DIY Fabric Ornament ball with a free sewing pattern. Use the same fabric or alternate fabrics for a classic ornament.
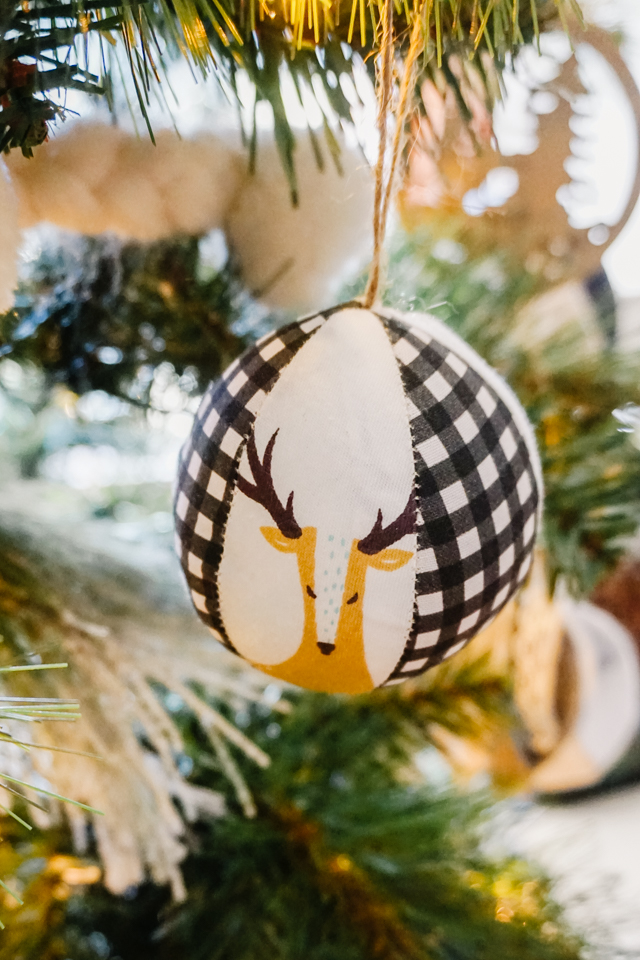
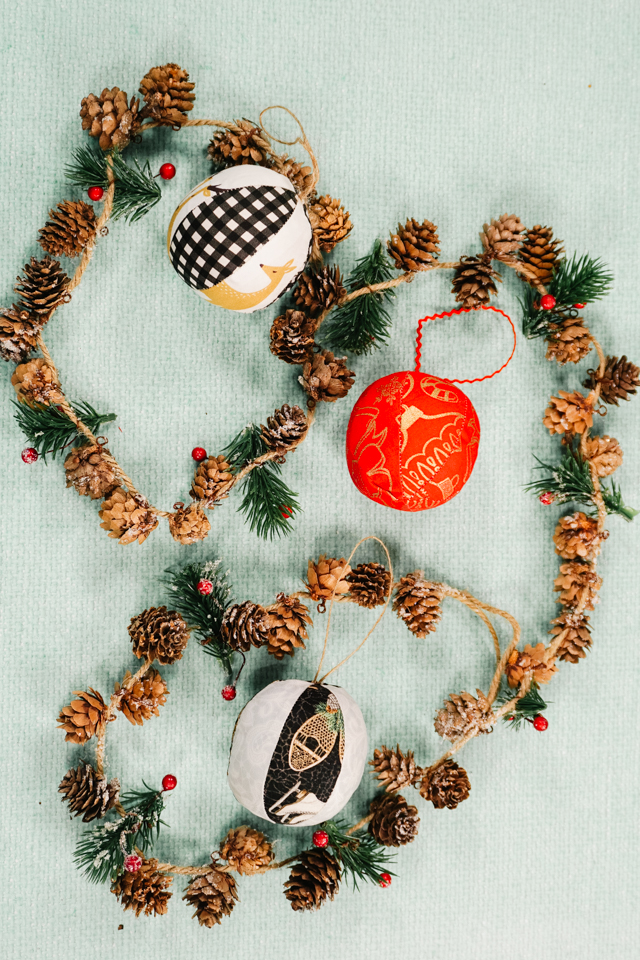
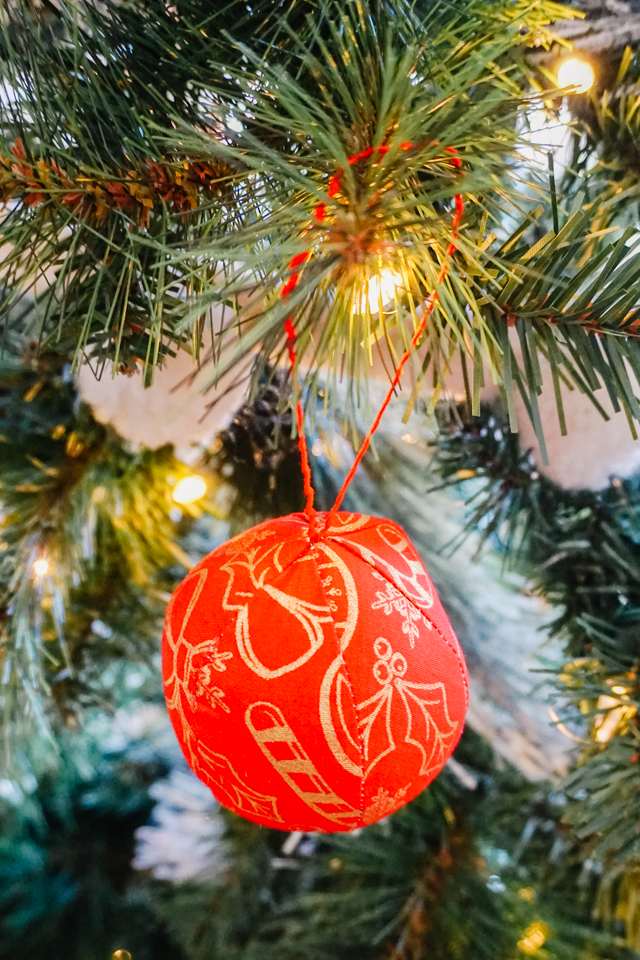
I love the look of a classic ball or bauble ornament, and this year I decided to make my own with fabric. Earlier this year I made a free ball sewing pattern in two different sizes, and the smaller size is the perfect DIY fabric ornament ball size.
It works when you use all the same fabric to look like a solid colored ornament, and it also works when you alternate between two fabrics for a really classic ornament look. It was so fun to make these ornaments, and I can’t wait to see the ornaments that you make!
To get the free sewing pattern, scroll to the end of the tutorial. Put your email address in the form under “Get the Free Sewing Pattern Here.” Once you confirm that you want to receive emails from Heather Handmade, the free pattern will be sent to your email address. Check your spam and promotions for the email.
What fabric works best for a fabric ornament?
The best fabric to use for an ornament is quilting cotton. It’s soft, smooth, easy to find, easy to sew, and it comes in every print and color imaginable. You can also use flannel or canvas if you need to.
Should I prewash the fabric?
You do not need to prewash the fabric since the ornament will never be washed.
What other supplies do I need for the DIY ornament?
Besides sewing supplies you’ll also need some ribbon for the hanging loop, and you’ll need some polyfil.
Do you love to sew? Try one of these sewing projects:
- Christmas sewing projects
- DIY Christmas pillow ideas
- DIY Christmas stockings and free patterns
- Scrap fabric sewing projects
- DIY Ornaments to Sew and Make
- Free Christmas sewing patterns
DIY Fabric Ornament Ball with Free Pattern
Supplies
- Scraps of quilting cotton
- Polyfil
- Scrap of ribbon
- Sewing tools
- Sewing machine
- Get the free ball sewing pattern at the end of the post
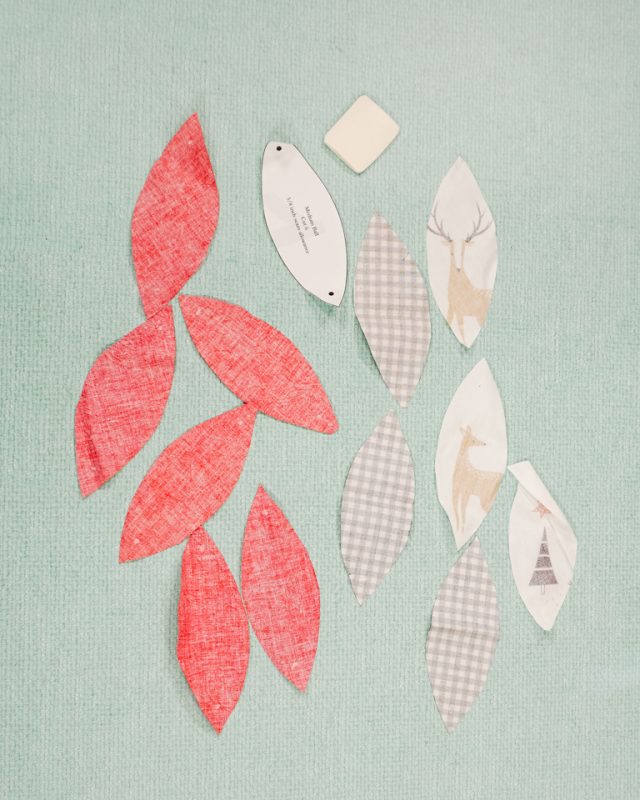
Cut out six pieces of fabric for one ornament. If you do the same fabric all the pieces will be from the same fabric. If you alternate the ornament then do three pieces from the two different fabrics.
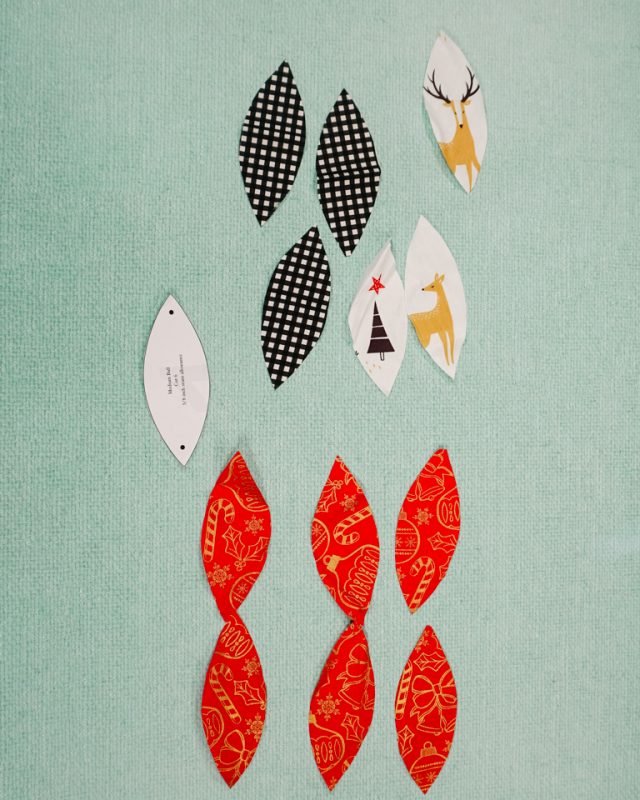
Transfer the marks from the pattern to the back of the fabric pieces.
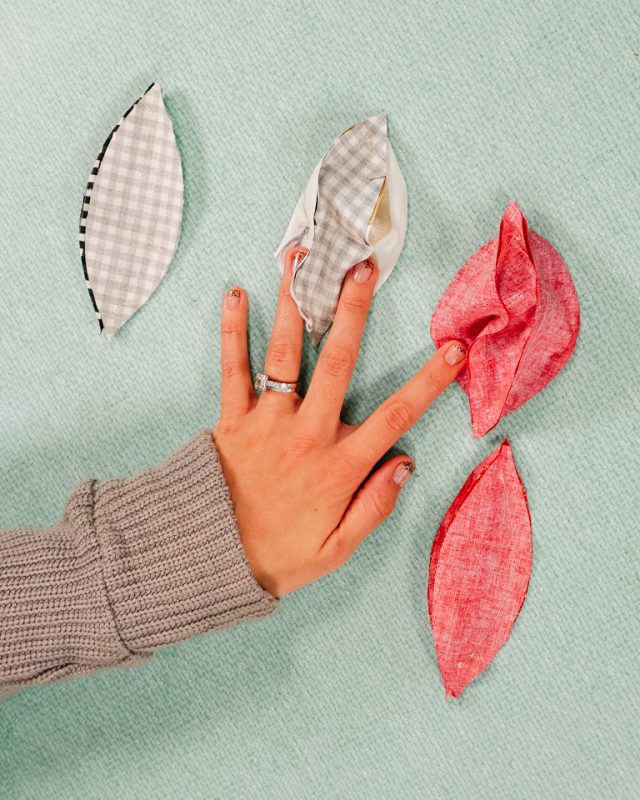
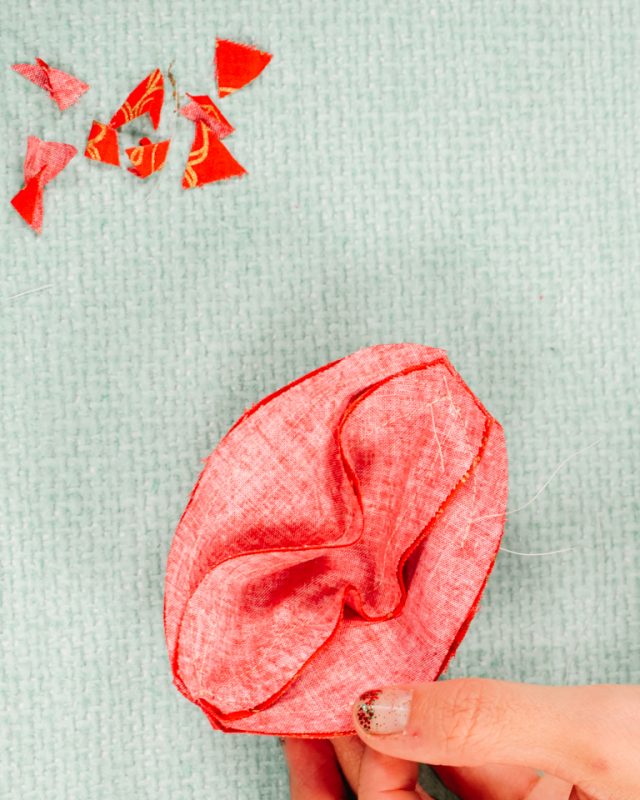
Pin three fabric pieces right sides together along the sides. Sew the sides starting and stopping at the dots. Backstitch when you start and when you stop.
You now half two halves of a sphere.
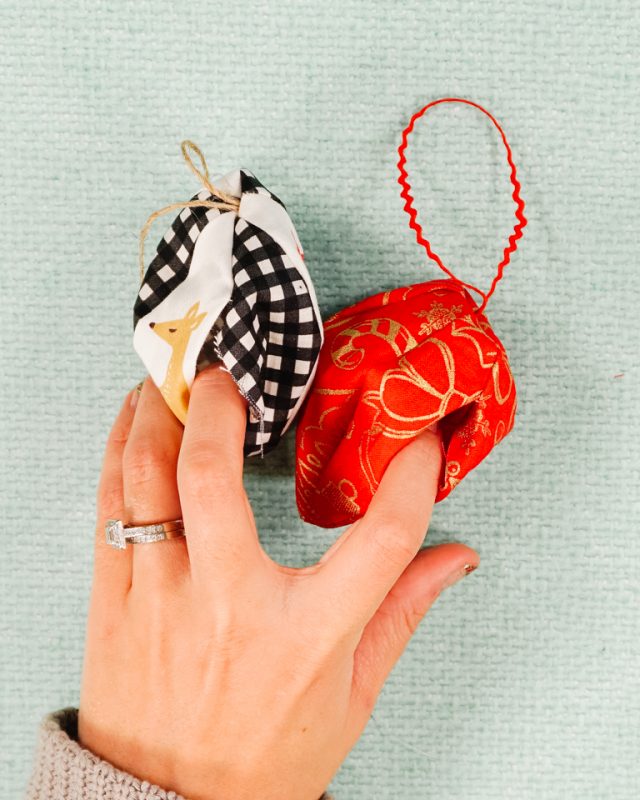
Cut the ribbon 8 inches long. Fold it in half and pin the short ends to the top of one half.
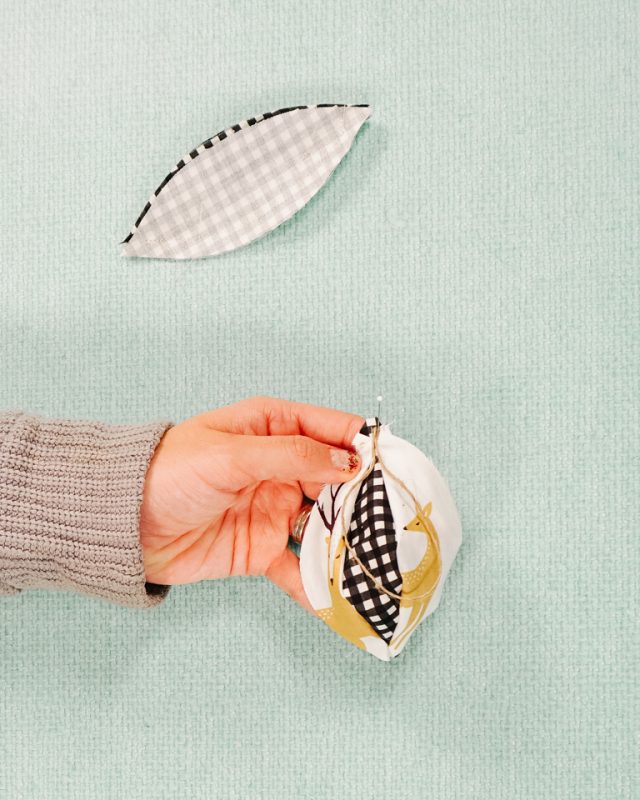
Pin both halves with right sides together matching the top and the bottom.
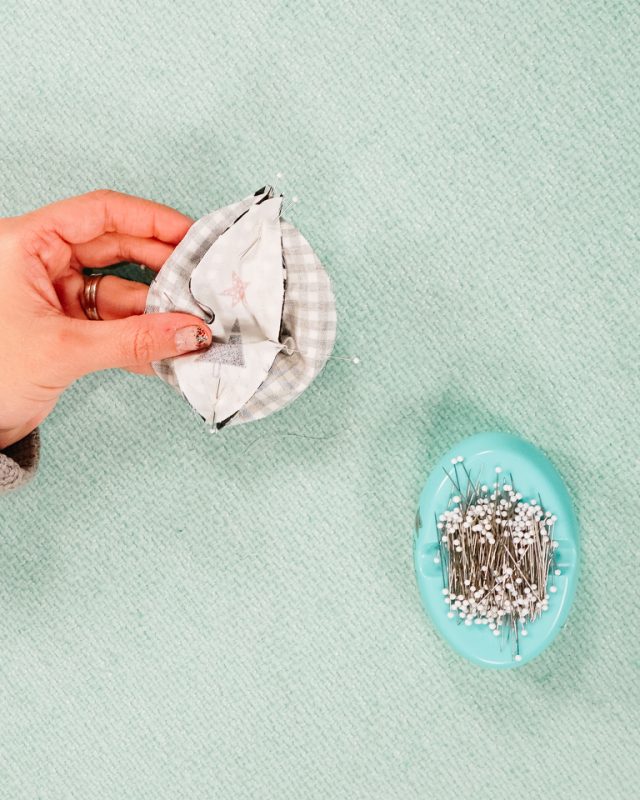
Sew around the circle and leave a 2 inch hole. Backstitch when you start and when you stop.

Trim the top and the bottom seam allowances to reduce the bulk.
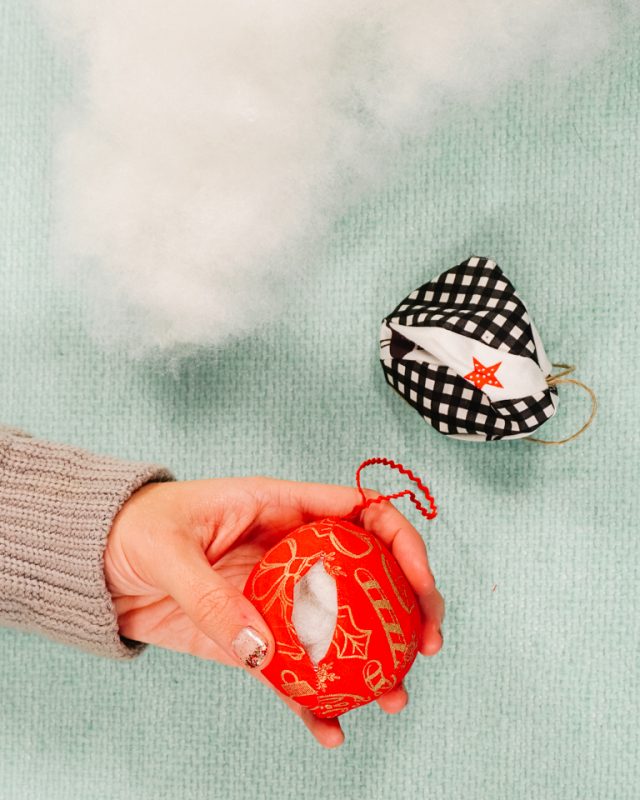
Turn the fabric ornament right side out through the hole.
Stuff the fabric ball with polyfil until the ball is full and firm. I like to use small pieces of polyfil to get all the curves.
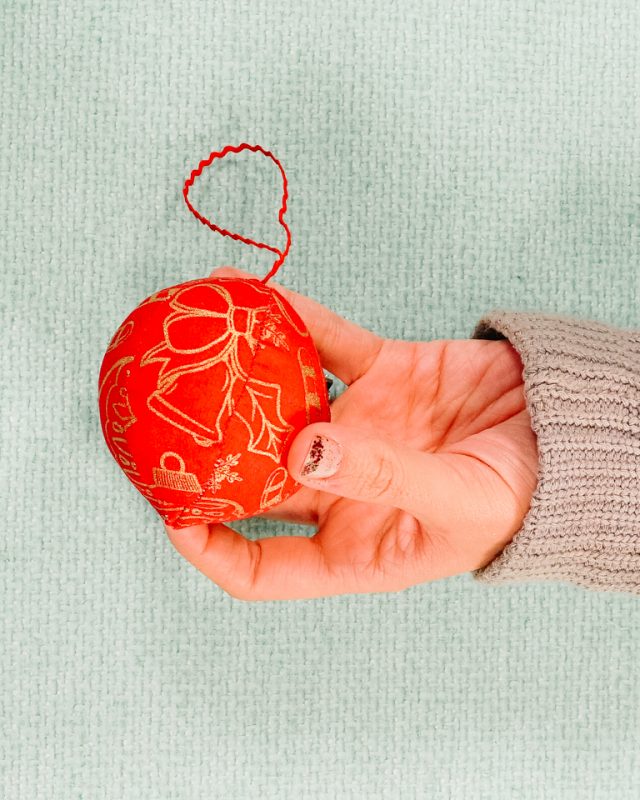
Hand stitch the hole closed with a hand needle, thread, and a ladder stitch. You finished!
Get the Free Ball Sewing Pattern
If you make something using this sewing project, I’d love to see! Please share it on social media with the hashtag #heatherhandmade and tag me!

I believe small sewing moments can create great joy. Find your own “right” way to sew. -Heather
I cannot find the sewing pattern. Am I missing something? Can I simply email you to receive it?
try this: https://www.heatherhandmade.com/free-ball-sewing-pattern/#get-the-free-sewing-pattern-here
thank you!