DIY Bunny Baskets

This post may contain affiliate links.
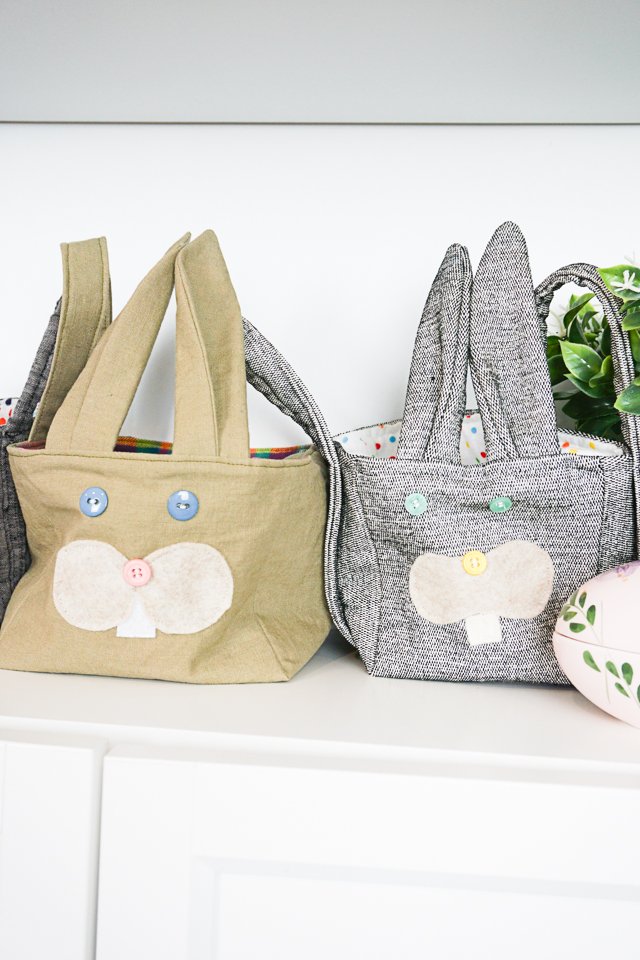
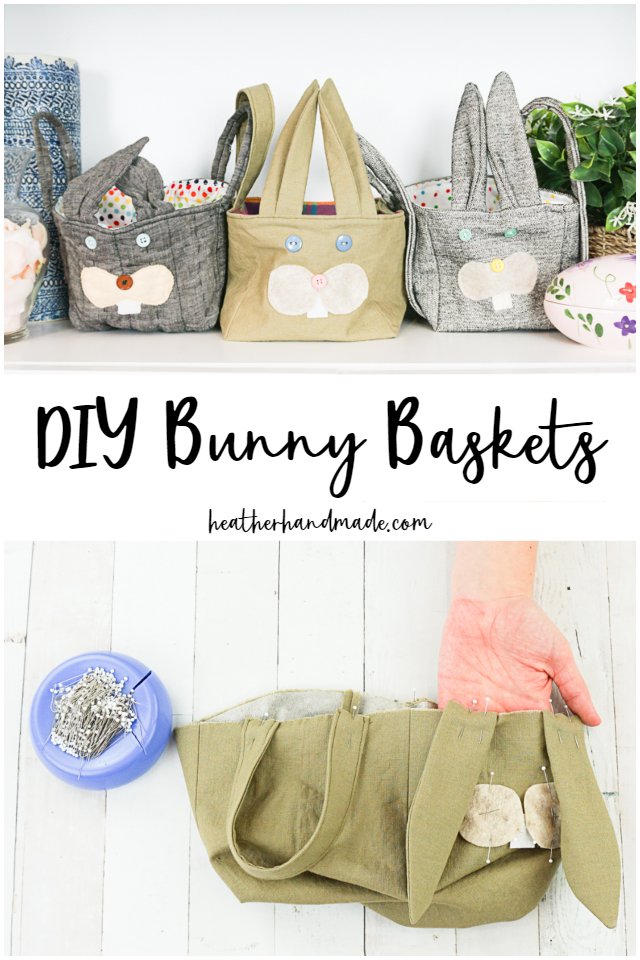
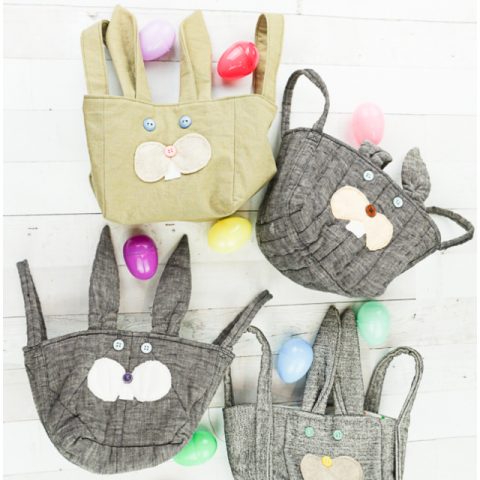
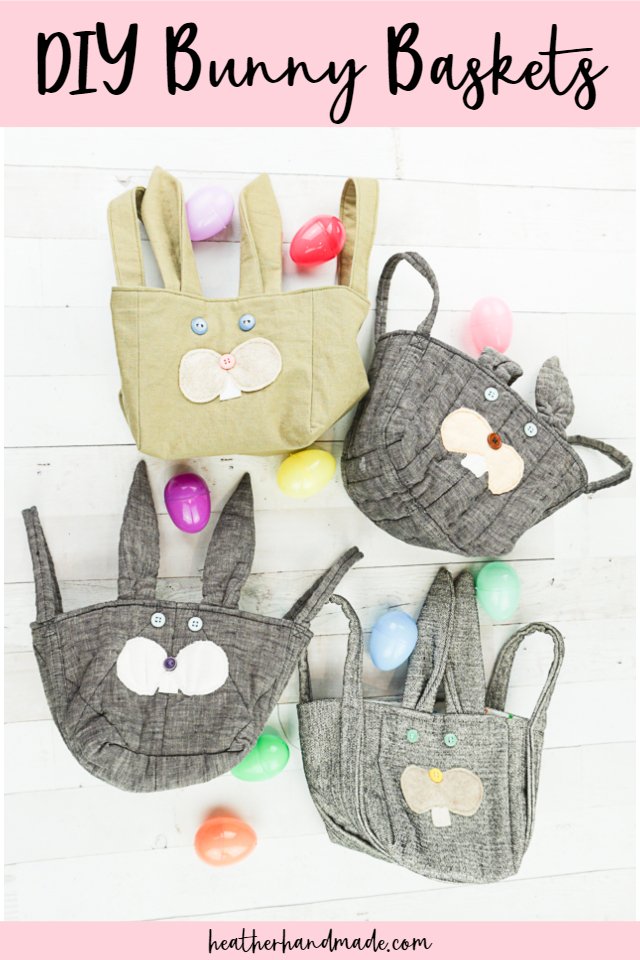
Learn how to make DIY bunny baskets that are perfect for spring decorating or gathering Easter eggs. Just add bunny details to a simple fabric basket!
Several years ago I made some Easter bunny baskets for my two oldest children, and I’ve used them to decorate with for every Spring. Each year they’ve even used it for collecting Easter eggs!
Then I had another child and had to make another cute bunny basket so she would have one too. I used different fabric, but I made the same basic shape. I’ve finally put a tutorial and a free sewing pattern together so that you can make your own DIY bunny baskets that are so cute!
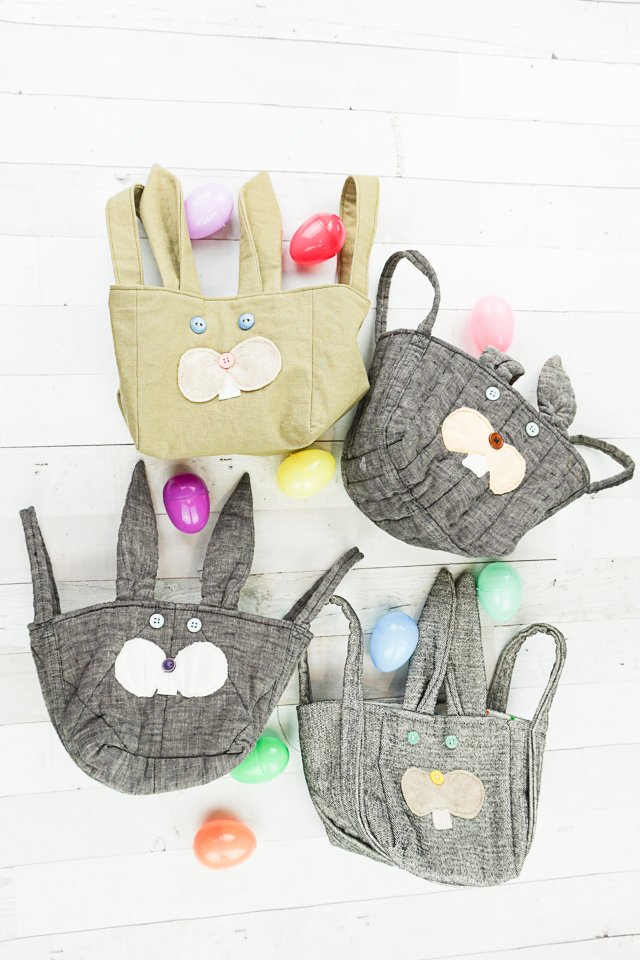
When I originally made these baskets I was doing a blog tour for a book. The book had a simple basket pattern, and I turned it into a bunny basket with a cute face.
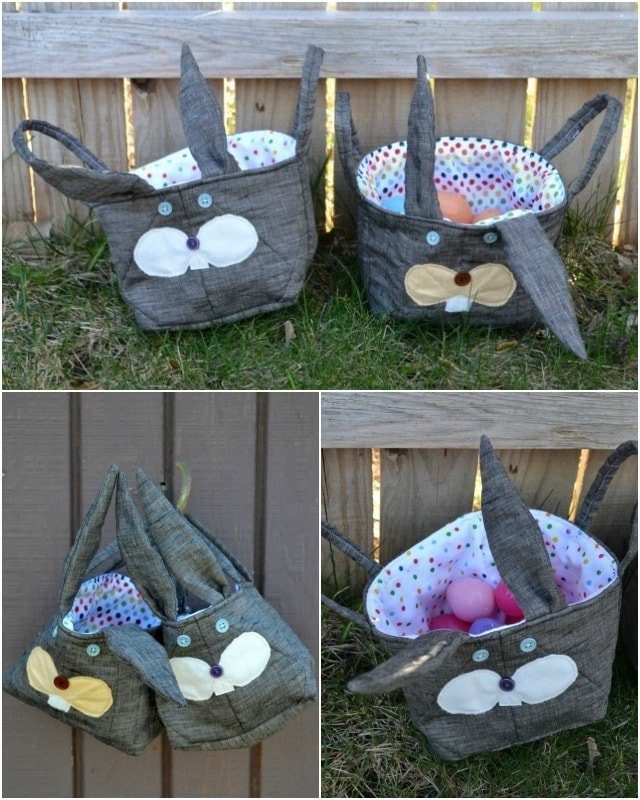
I’ve been meaning to turn it into a tutorials for years, and I’ve finally done it. I’m so excited to share this sewing project so you can make one (or lots) for Easter!
It’s the perfect way to decorate for Spring or for Easter, and they hold lots of Easter eggs. Even if you do a small family Easter egg hunt, these DIY bunny baskets will be perfect.
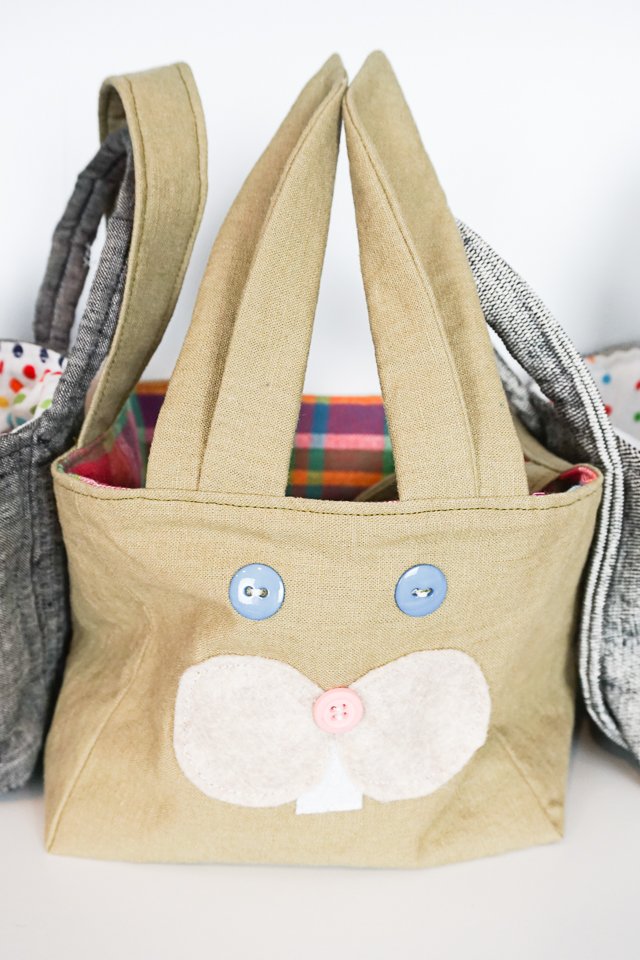
I love making fun sewing projects for Easter and Spring. Check out all these bunny sewing projects that you can make!
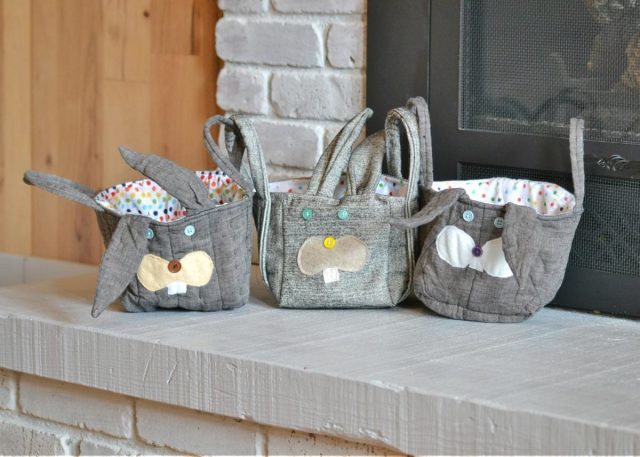
This sewing project uses only one yard of fabric. The outer piece must be canvas or some other heavier fabric to give the basket shape. I love using bright, colorful rainbow fabric for the lining.
What is a pdf sewing pattern?
A PDF pattern is a sewing pattern designed on the computer and organized so that it can be printed on several letter or A4 size pieces of paper.
I love using PDF sewing patterns because if the pattern gets ruined or if my children or I changed sizes, I can always print it again. It’ll never be destroyed since I have a digital version!
How do you use a PDF sewing pattern?
Open the PDF on a computer and click print. When printing make sure that the scaling is set to 100% or no scaling so that the pattern prints at the correct size.
Once the pattern is printed it can be taped together to get the full size. Then the pattern can be cut for each pattern piece size or individual sizes can be traced so that the pattern can be used again and again. Learn how to use PDF sewing patterns.
DIY Bunny Baskets
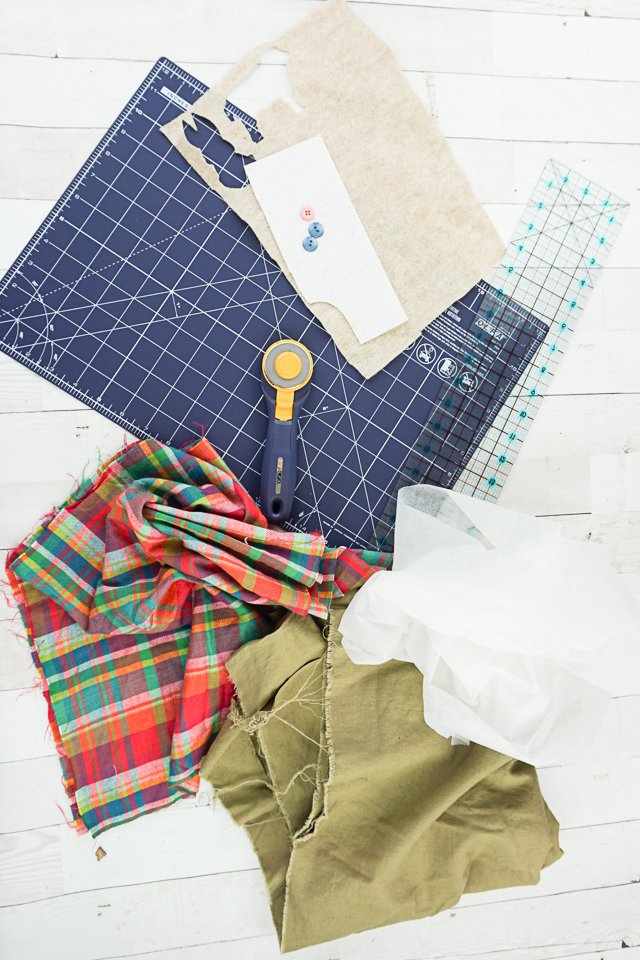
supplies
- Free Bunny Basket Sewing Pattern – get it at the end of the post
- Half yard of canvas outer fabric
- Half yard of quilting cotton or flannel lining fabric
- Scraps of felt, white and natural
- Three buttons, two for the eyes and one for the nose
- Medium to heavy weight interfacing
- Fusible fleece
- Sewing tools
- Sewing machine
Do you just want the pattern and tutorial as a PDF? Get the pattern and tutorial for just $5. You won’t need to access the internet every time you want to make it. Or get the Pattern Bundle with ALL the PDF tutorials!
Cut the canvas into an 18 inch by 18 inch square.
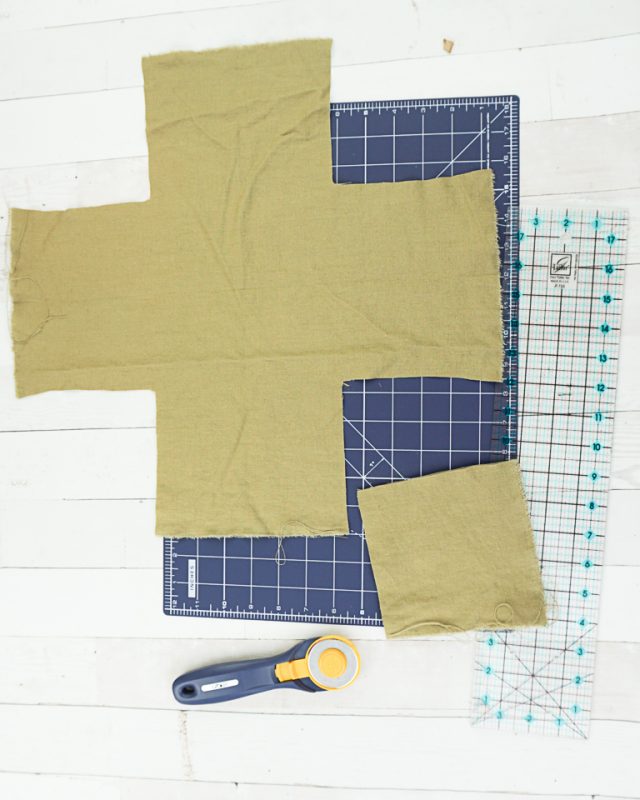
From the canvas fabric cut two rectangles that are 4 inches by 12 inches which will become the straps.
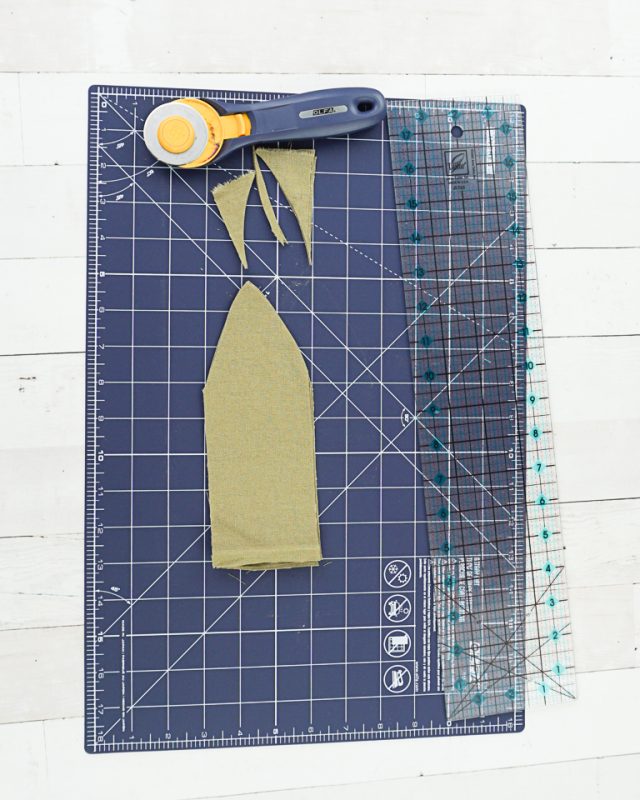
From the canvas fabric cut four rectangles that are 3 inches by 7 inches which will become the ears.
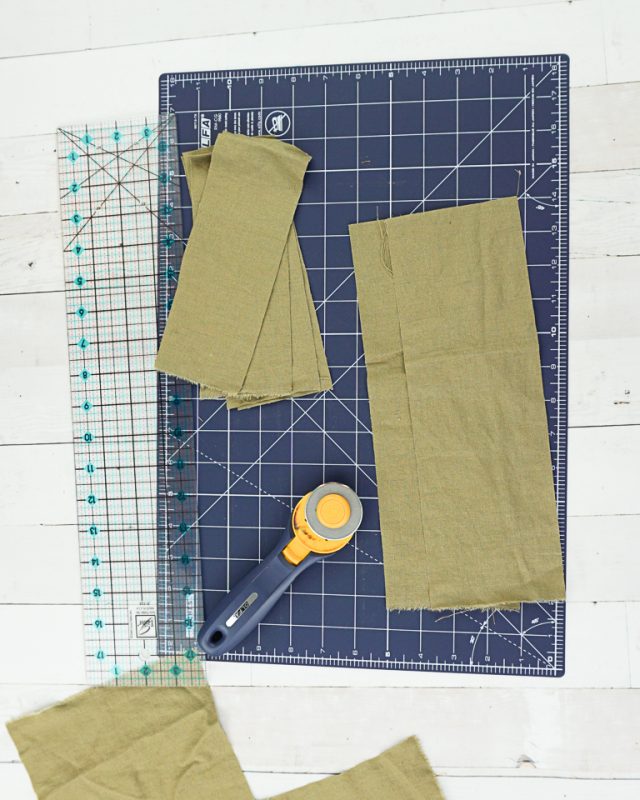
Cut the four rectangles into points on one side.
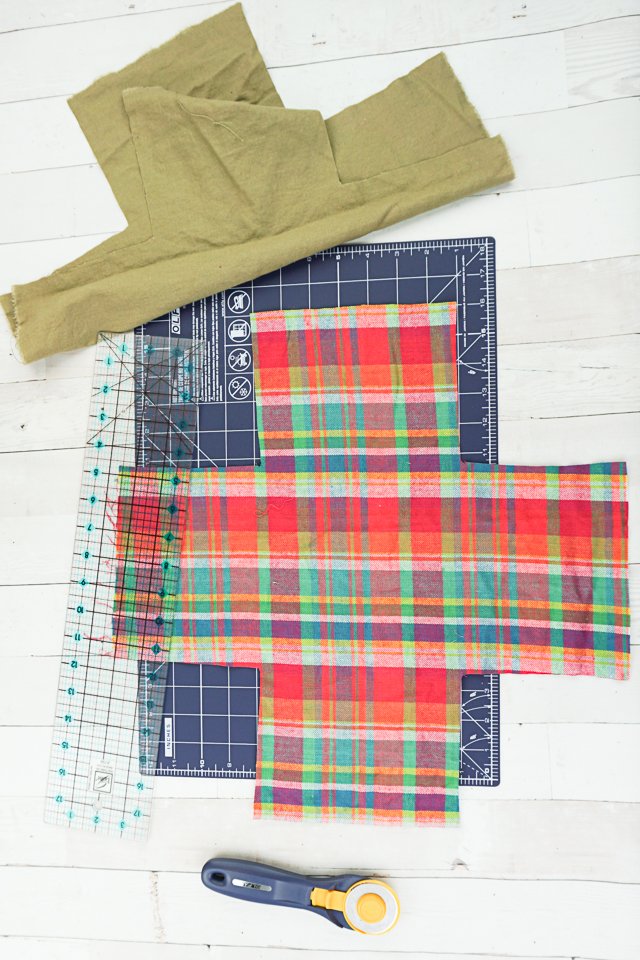
Cut the lining to be the same shape as the outer basket piece.
From the white felt cut one rectangle that is 3/4 inch by 1 inches which will become the teeth.
From the natural felt cut two circles that are 2 inches in diameter which will become the cheeks.
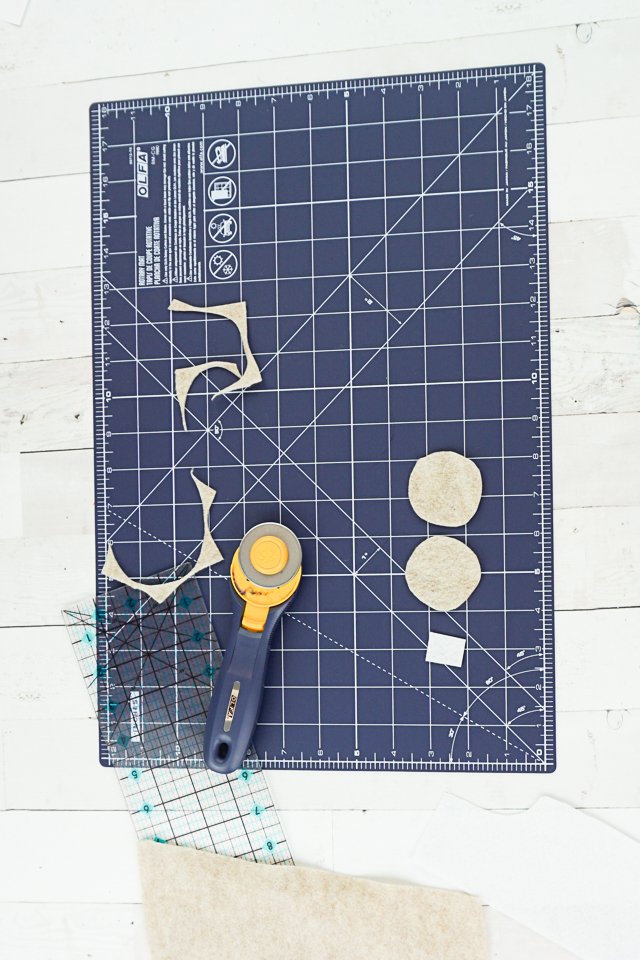
Cut interfacing for the straps, the ears, the canvas basket, and the lining. Cut fusible fleece for the canvas basket and the lining.
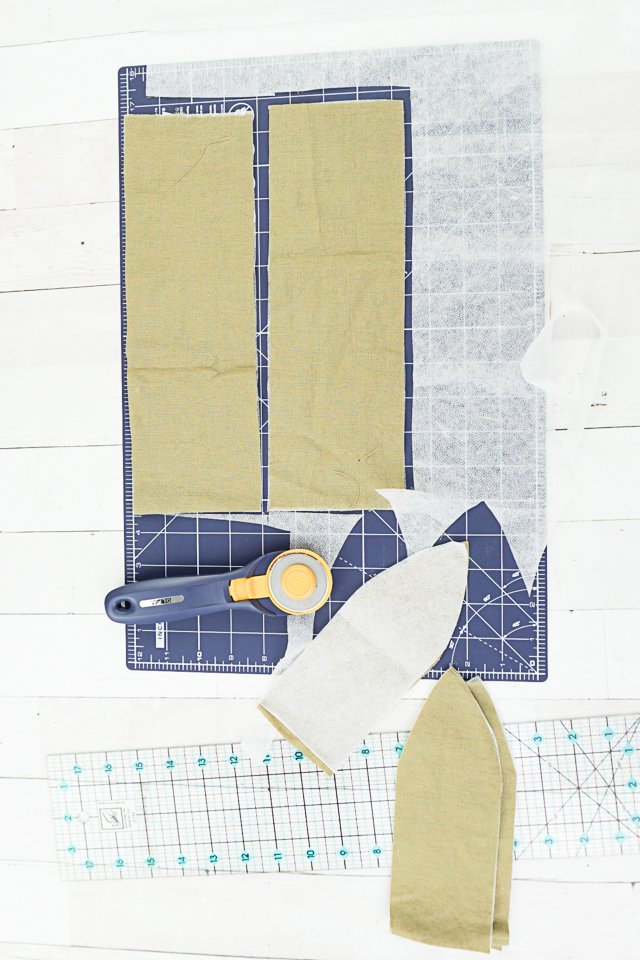
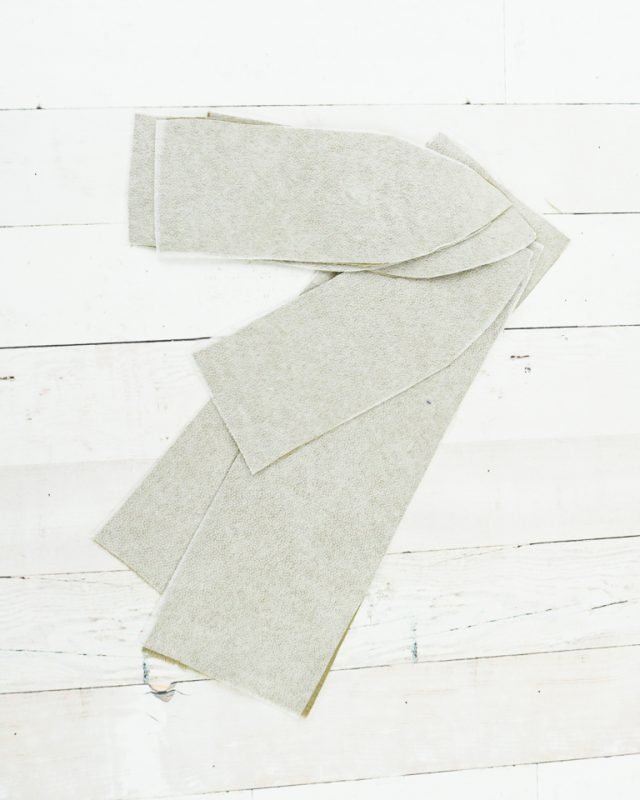
Apply the interfacing and the fusible fleece to all the pieces.
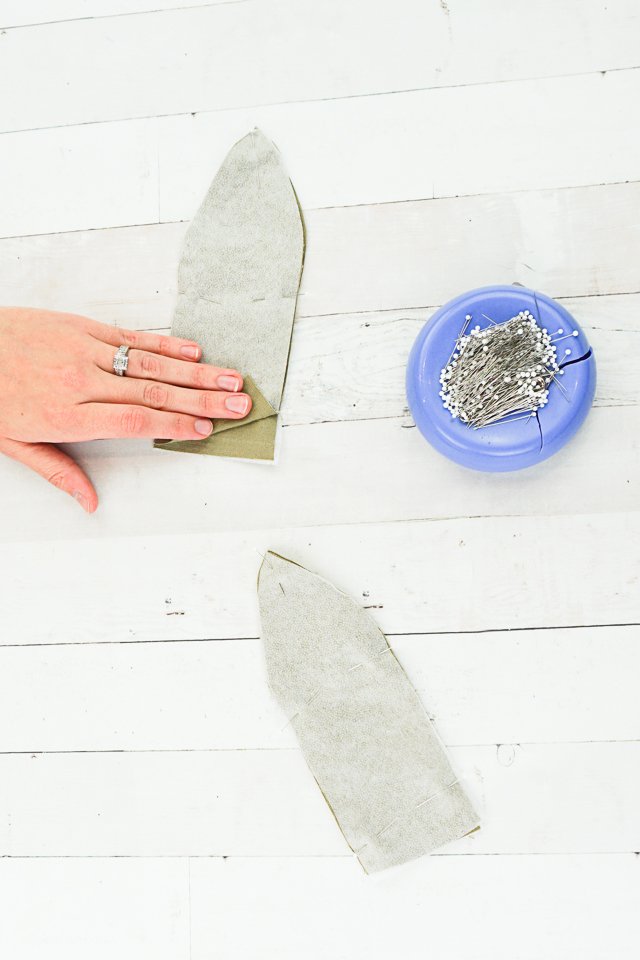
With right sides together pin the ears together. Sew around the edges at 1/4 inch seam allowance.
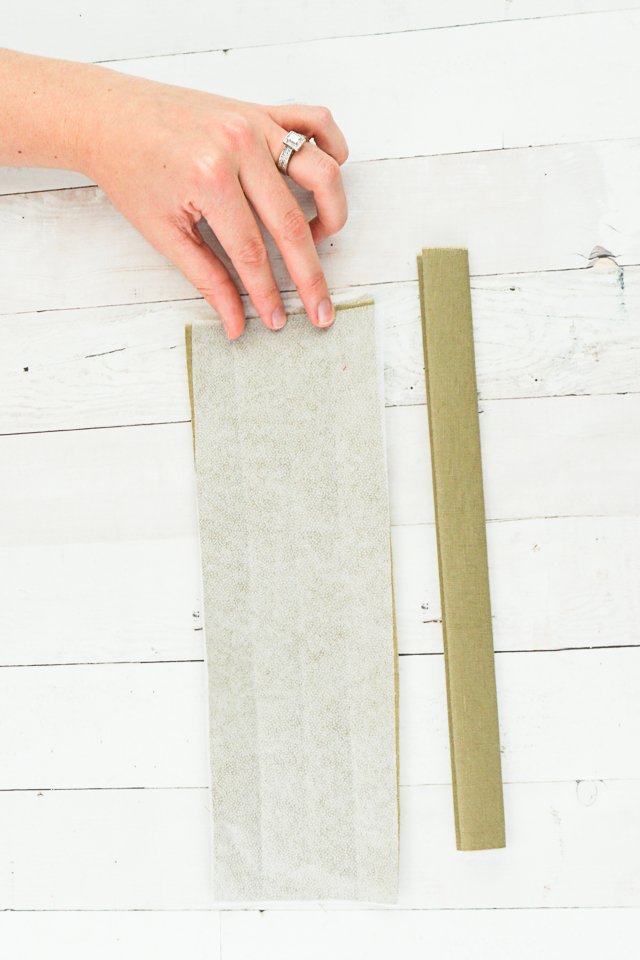
Press the straps in half lengthwise. Then each long raw edge to meet at the center fold. Fold it all up, on the three folds, and press again.
Fold the basket fabric at each corner to create a box with right sides together. Sew the corners at 1/4 inch seam allowance. Do the same to the lining.
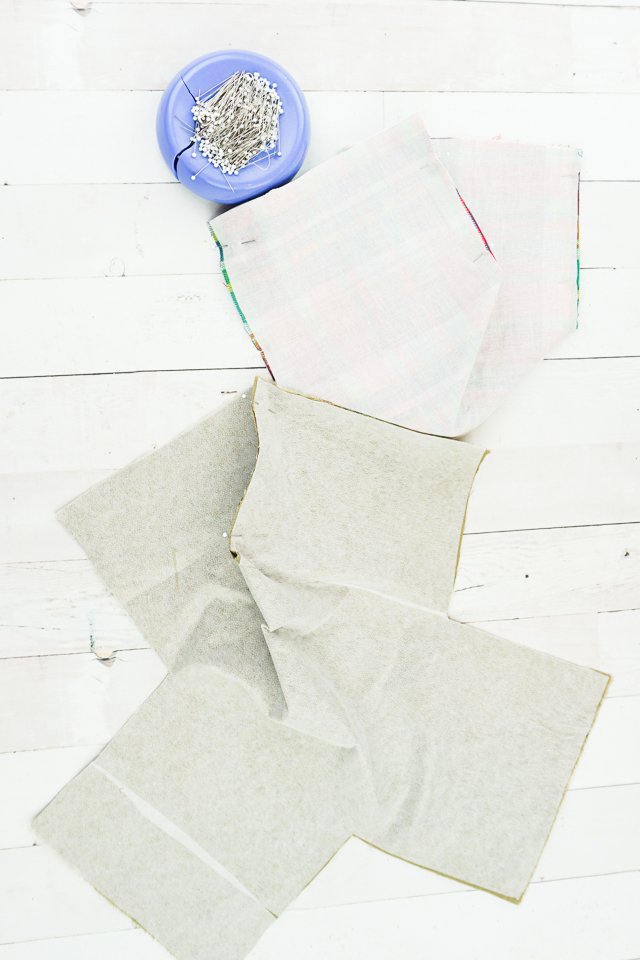
Press the seam allowances open.
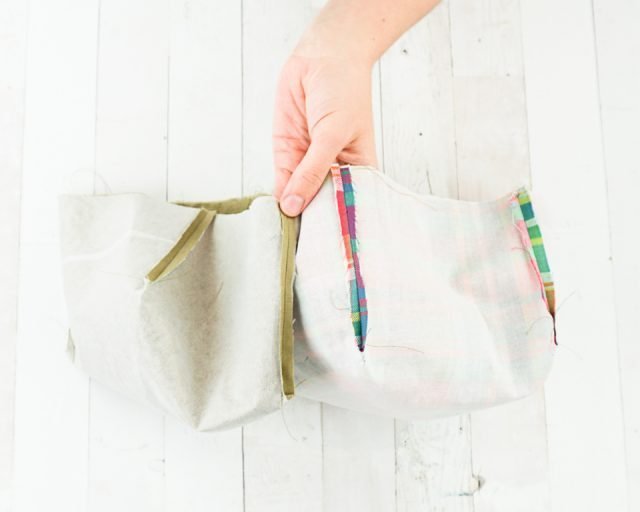
Trim the corners and the curves of the ears.
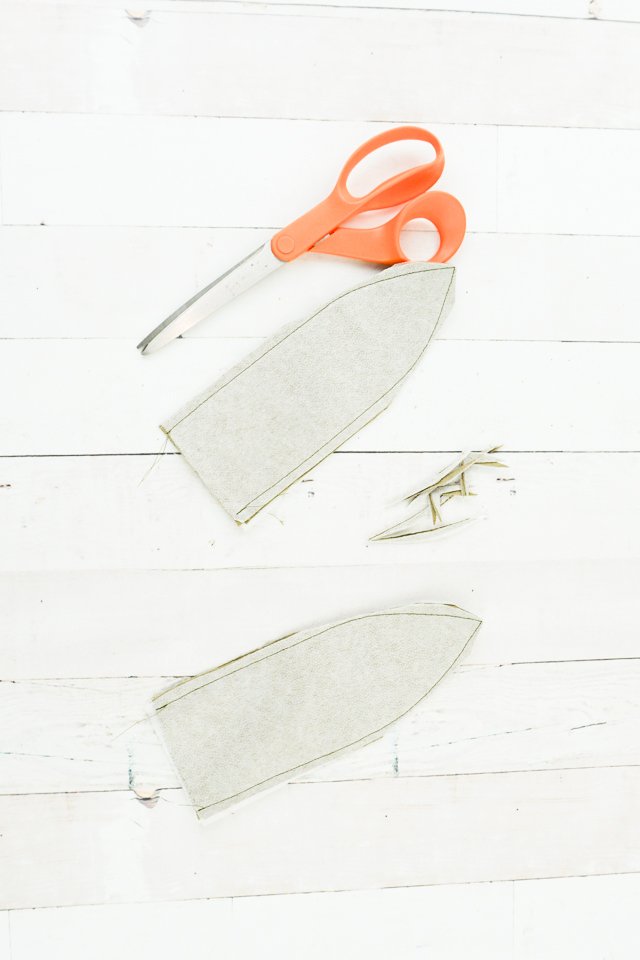
Turn the ears right side out and press flat.
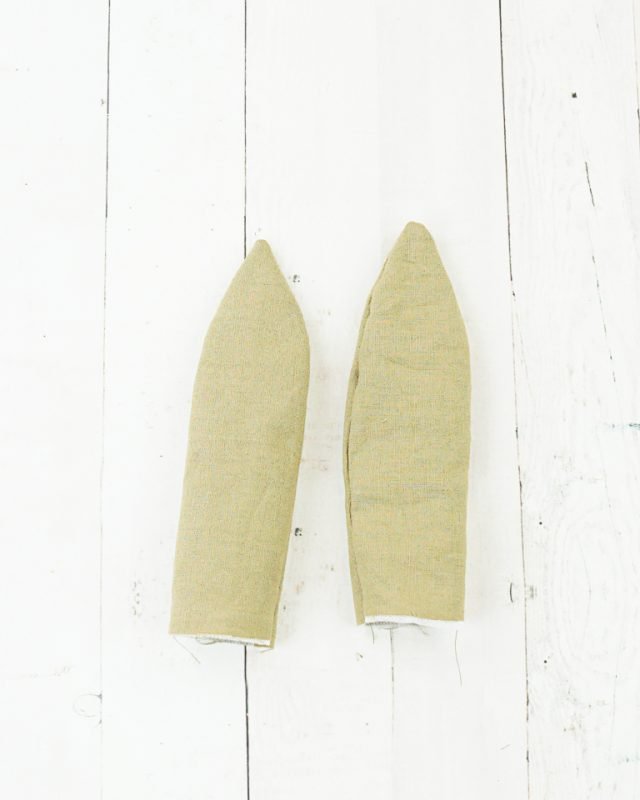
Pin the face details to the outer basket piece. Fold one side of the ears into the middle and pin to the top of the basket above the face. Pin the straps to each side.
Baste the ears and the straps on. Sew the face details on.
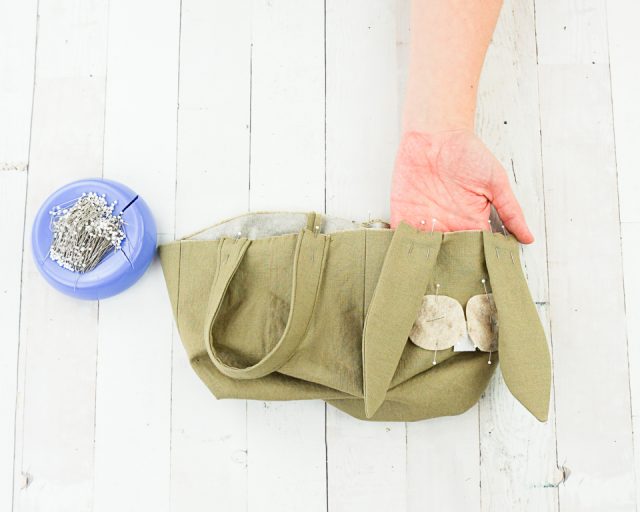
With right sides together slide the lining over the outer basket. Pin along the top edge of the basket matching up the corners.
Sew around the top with a 3/8 inch seam allowance. Leave a 4 inch hole for turning.
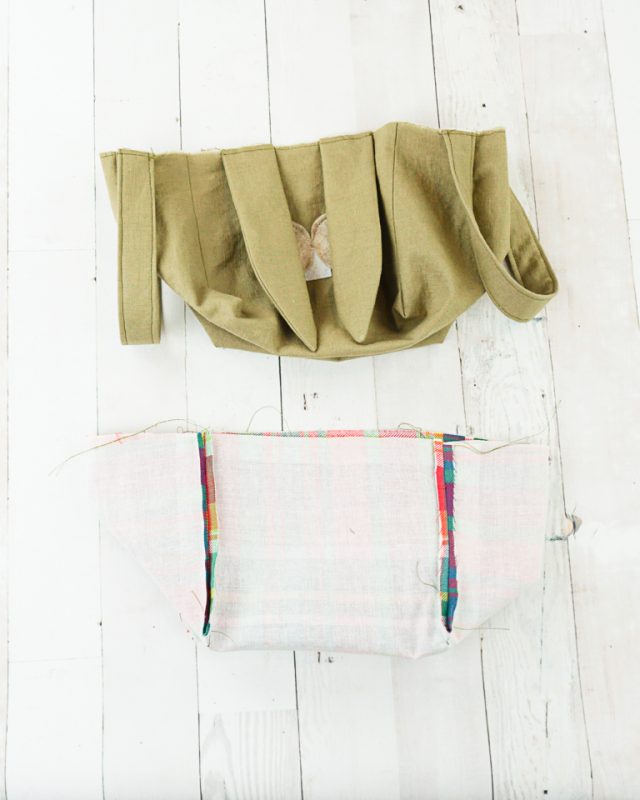
Topstitch the top of the basket which will close the hole.
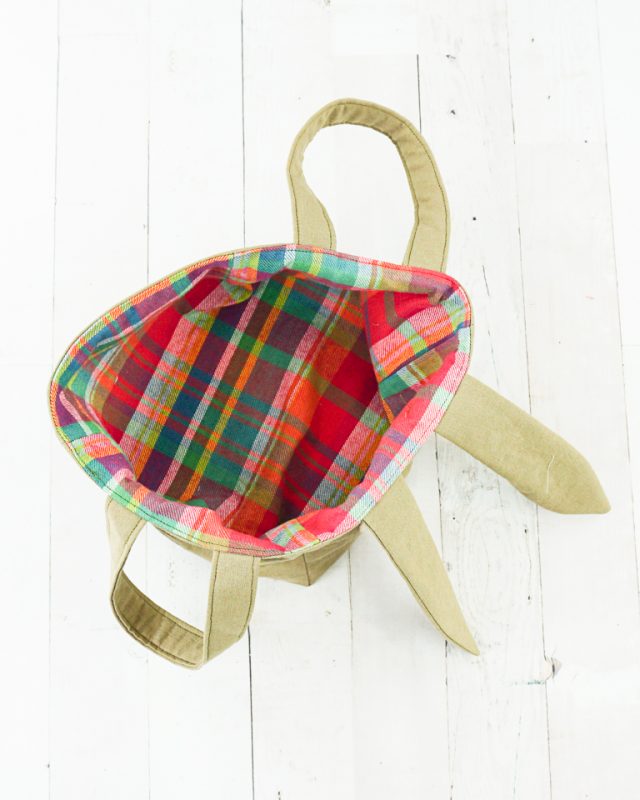
Sew the eyes and nose buttons onto the face. Learn how to sew on a button by hand or how to sew on a button with a sewing machine.
DIY Bunny Baskets
Learn how to make DIY bunny baskets that are perfect for spring decorating or gathering Easter eggs. Just add bunny details to a simple fabric basket!
Materials
- Free Bunny Basket Sewing Pattern - Get it in the post
- Half yard of canvas outer fabric
- Half yard of quilting cotton or flannel lining fabric
- Scraps of felt, white and natural
- Three buttons, two for the eyes and one for the nose
- Medium to heavy weight interfacing
- Fusible fleece
Tools
- Sewing tools
- Sewing machine
Instructions
- Cut the canvas into an 18 inch by 18 inch square.
- From the canvas fabric cut two rectangles that are 4 inches by 12 inches which will become the straps.
- From the canvas fabric cut four rectangles that are 3 inches by 7 inches which will become the ears.
- Cut the four rectangles into points on one side.
- Cut the lining to be the same shape as the outer basket piece.
- From the white felt cut one rectangle that is 3/4 inch by 1 inches which will become the teeth.
- From the natural felt cut two circles that are 2 inches in diameter which will become the cheeks.
- Cut interfacing for the straps, the ears, the canvas basket, and the lining. Cut fusible fleece for the canvas basket and the lining.
- Apply the interfacing and the fusible fleece to all the pieces.
- With right sides together pin the ears together. Sew around the edges at 1/4 inch seam allowance.
- Press the straps in half lengthwise. Then each long raw edge to meet at the center fold. Fold it all up, on the three folds, and press again.
- Fold the basket fabric at each corner to create a box with right sides together. Sew the corners at 1/4 inch seam allowance. Do the same to the lining.
- Press the seam allowances open.
- Trim the corners and the curves of the ears.
- Turn the ears right side out and press flat.
- Pin the face details to the outer basket piece. Fold one side of the ears into the middle and pin to the top of the basket above the face. Pin the straps to each side.
- Baste the ears and the straps on. Sew the face details on.
- With right sides together slide the lining over the outer basket. Pin along the top edge of the basket matching up the corners.
- Sew around the top with a 3/8 inch seam allowance. Leave a 4 inch hole for turning.
- Topstitch the top of the basket which will close the hole.
- Sew the eyes and nose buttons onto the face. Learn how to sew on a button by hand or how to sew on a button with a sewing machine.
Recommended Products
As an Amazon Associate and member of other affiliate programs, I earn from qualifying purchases.
Get the Free Sewing Pattern here!
If you make something using this sewing project, I’d love to see! Please share it on social media with the hashtag #heatherhandmade and tag me!

I believe small sewing moments can create great joy. Find your own “right” way to sew. -Heather

This is a super fun pattern, but I couldn’t find where the instructions are to cut out the corners of the basket fabric? What should the dimensions be?