
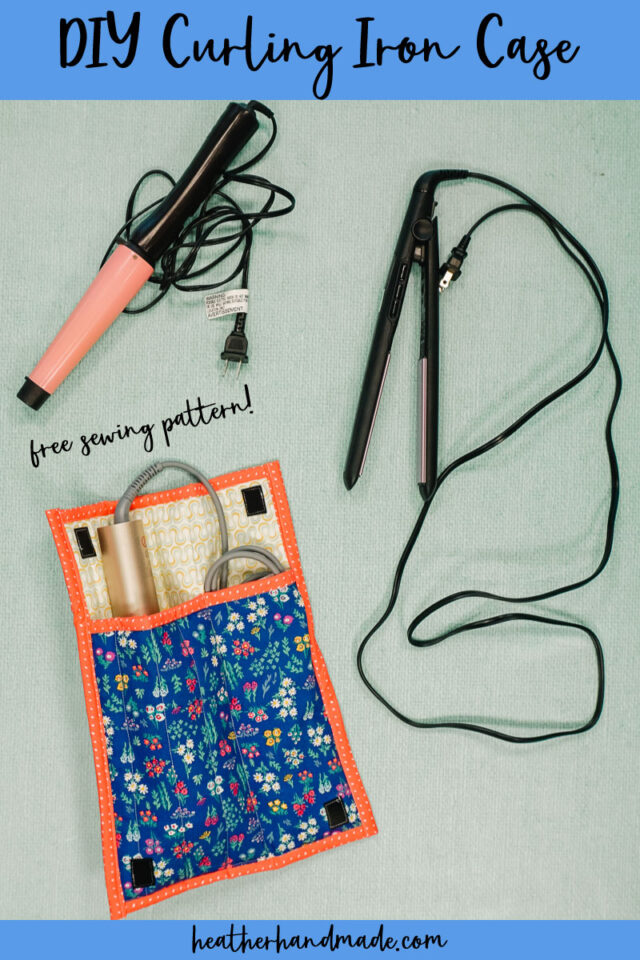
DIY Curling Iron Travel Case: Free Sewing Pattern

This post may contain affiliate links.
Learn how to make a heat resistant curling iron travel case with a free sewing pattern. This beginner sewing projects works for any hot tool.
Do you curl, straighten, wave, or crimp your hair? Do you travel but need a case for your hot tool? Have you ever been in a rush to pack, but your hot tool was still cooling down?
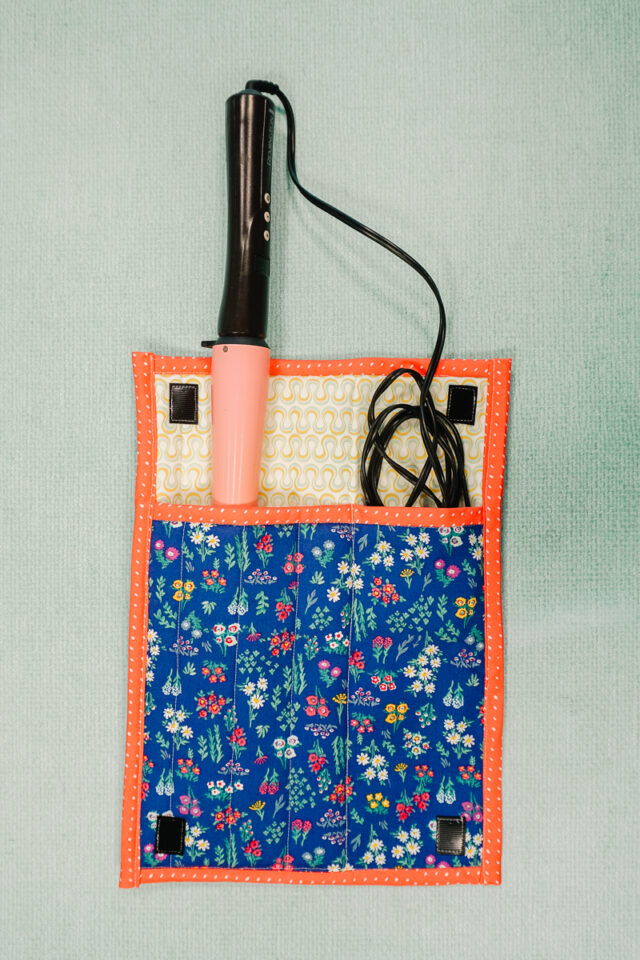
Make a curling iron travel case that protects your hot tool and protects everything around it. It’s great for packing in suitcases and overnight bags, and I love that it keeps the cord containted! Grab two fat quarters and some bias binding, and let’s learn how to make it!
To get the free sewing pattern, scroll to the end of the tutorial. Put your email address in the form under “Get the Free Sewing Pattern Here.” Once you confirm that you want to receive emails from Heather Handmade, the free pattern will be sent to your email address. Check your spam and promotions for the email.

What fabric should I use to make a curling iron travel case?
The best fabric to use for a curling iron travel case is cotton. Cotton is best for heat because it is durable, it can insulate (with the right batting), it is washable, and it is easy to sew. It also doesn’t react to the heat the same way that synthetic fibers do.
How to I make a curling iron travel case heat resistant?
It’s very important to use cotton batting for anything that will be exposed to a lot of heat. You can use either two layers of cotton batting or you can use insul-bright for this sewing project. I decided to make mine extra heat resistant and did one layer of cotton batting and one layer of insul-bright.
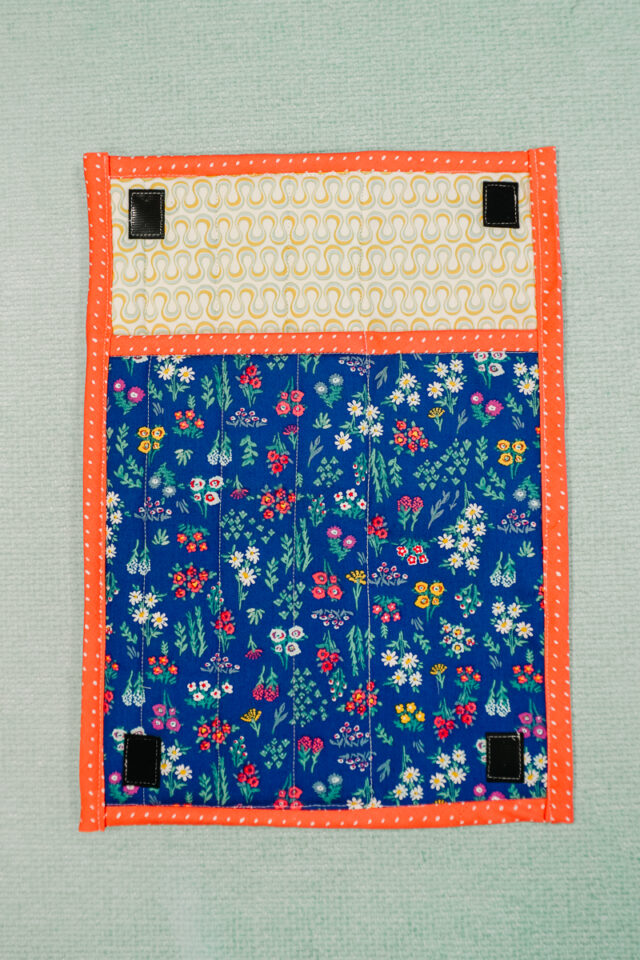
All of the batting is only the left side of the travel case making it safe and controlled right around the heat tool. It also protects the cord in the right pocket from being up against the heat tool with only fabric in between.
What is the finished size?
The finished size is 10 inches wide (open) and 14 inches tall. It fits most hot tools. It fit a curling wand, a straightener, and an automatic rotating curling iron. It did not fit my three barrel waver.
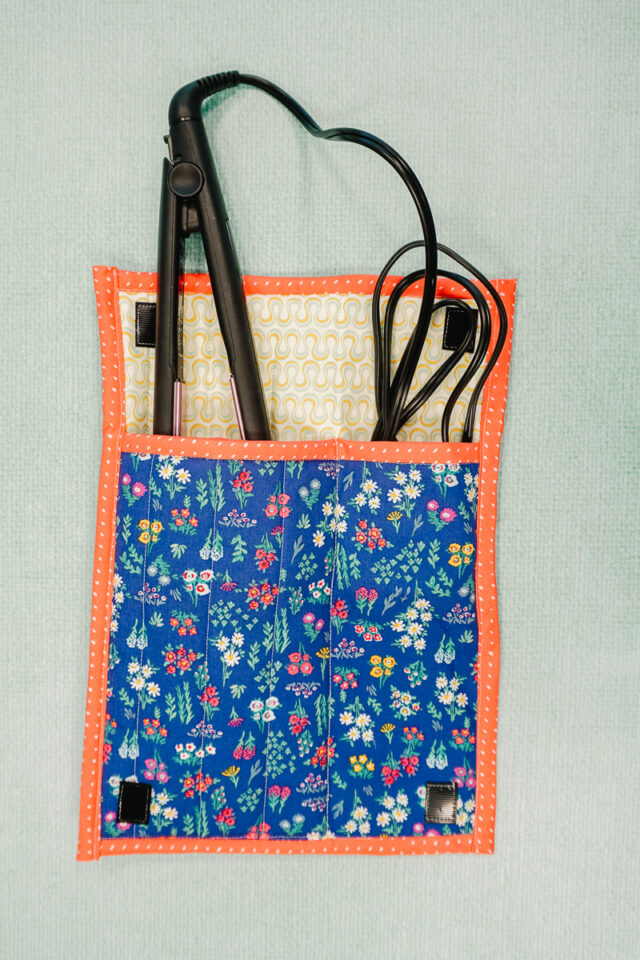
I also could fit the curling wand and straightener which are both very thin at the same time.
Love to sew? Try one of these sewing projects:
- Free PDF sewing patterns
- Travel sewing projects
- Gift ideas to sew
- Organization sewing projects
- Fat Quarter Sewing Projects
- Quilting cotton sewing projects
- Sewing projects for teens
How to Sew a Curling Iron Travel Case
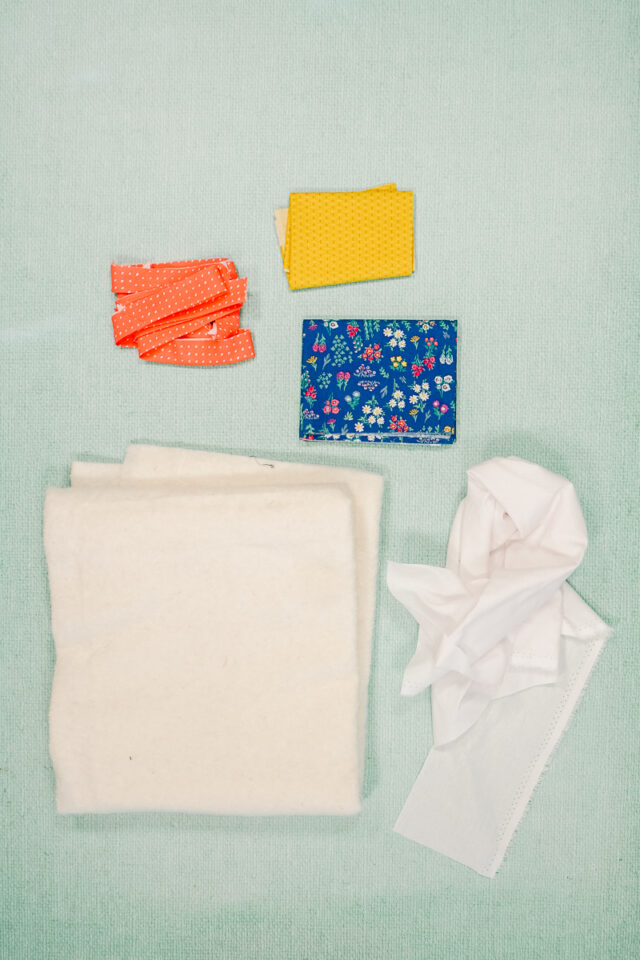
Supplies
- Two coordinating fat quarters
- Cotton bias binding (how to make and use bias binding)
- Cotton batting and/or insul-bright batting
- Lightweight fusible interfacing
- Pieces of Velcro
- Sewing machine
- Sewing tools
Do you just want the pattern and tutorial as a PDF? Get the pattern and tutorial for just $5. You won’t need to access the internet every time you want to make it. Or get the Pattern Bundle with ALL the PDF tutorials!
Instructions
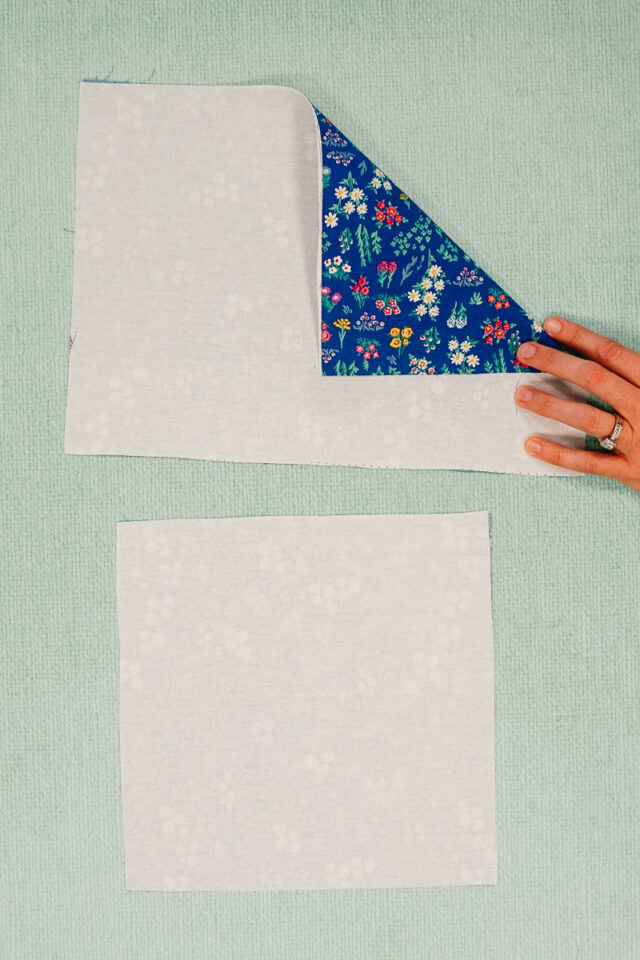
- Cut from outer fabric: one rectangle 10 inches wide and 14 inches tall and one square 10 inches by 10 inches
- Cut from inner fabric: one rectangle 10 inches wide and 14 inches tall and one square 10 inches by 10 inches
- Cut from fusible interfacing: one rectangle 10 inches wide and 14 inches tall and one square 10 inches by 10 inches
- Cut from batting (one of each for insul-bright or two of each for cotton batting): 1 rectangle 6 inches wide and 14 inches tall and one rectangle 6 inches wide and 10 inches tall

Iron the interfacing to the back of the outer fabric.
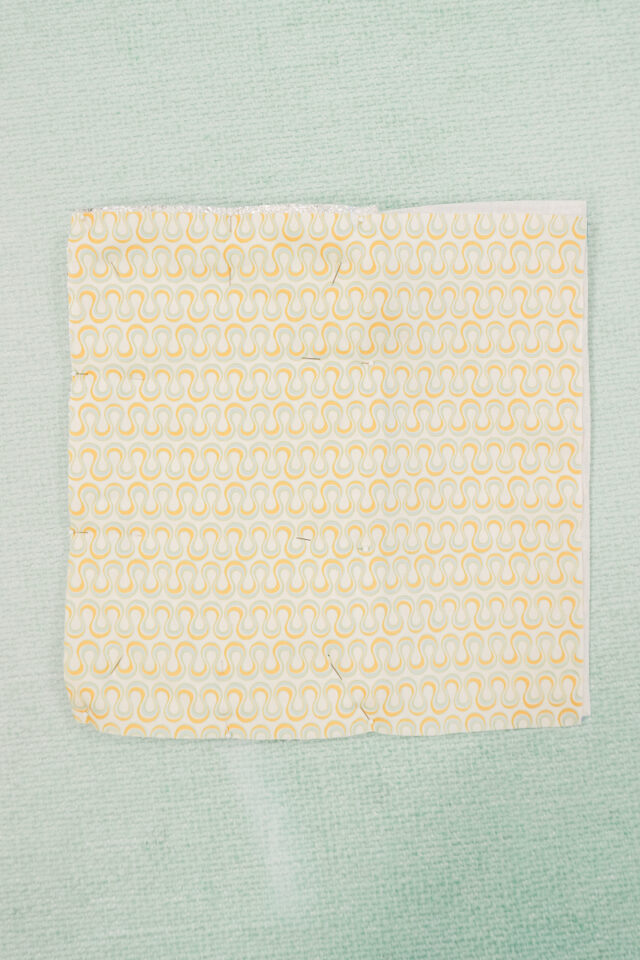
You will now create sandwiches with the batting. It helps to lay it out so you get in right. Lay the outer fabric rectangle right side down. Lay the batting on the left side of the rectangle. Lay the inner fabric rectangle with the right side up.
Do it similarly with the pocket pieces but switching the batting side: outer square right side down, batting on the right side, inner square right side up.

Line up the corners and edges and pin all the layers together.
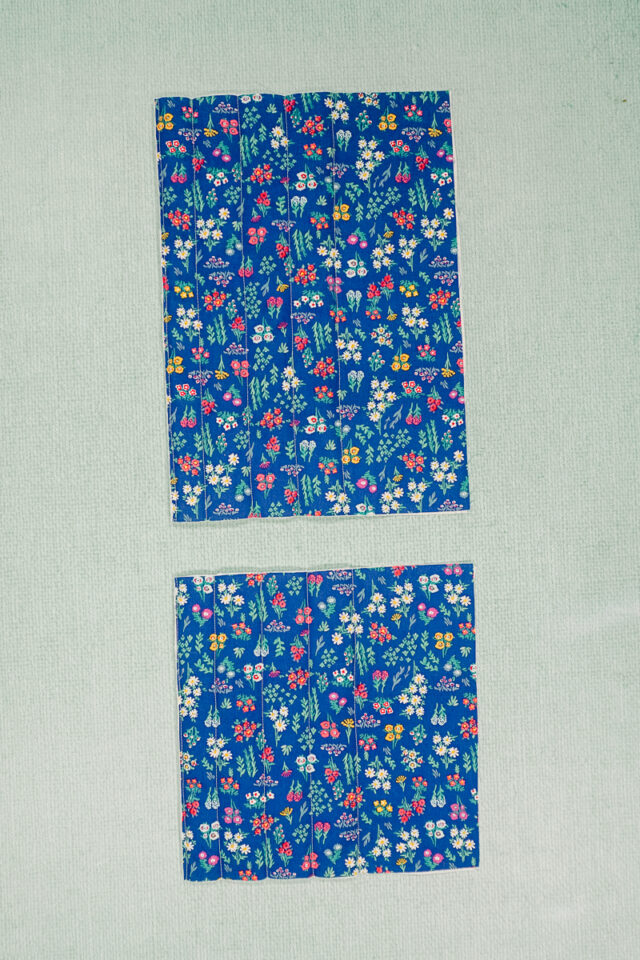
Quilt the layers together but only on the side with the batting. You will want to do vertical quilting so that the stitching lines will end where the bias binding will finishes the edges.
I sewed my lines 1.5 inches apart and I started right on the edge of the batting inside the layers.
Cut pieces of Velcro that are 1 inch long.
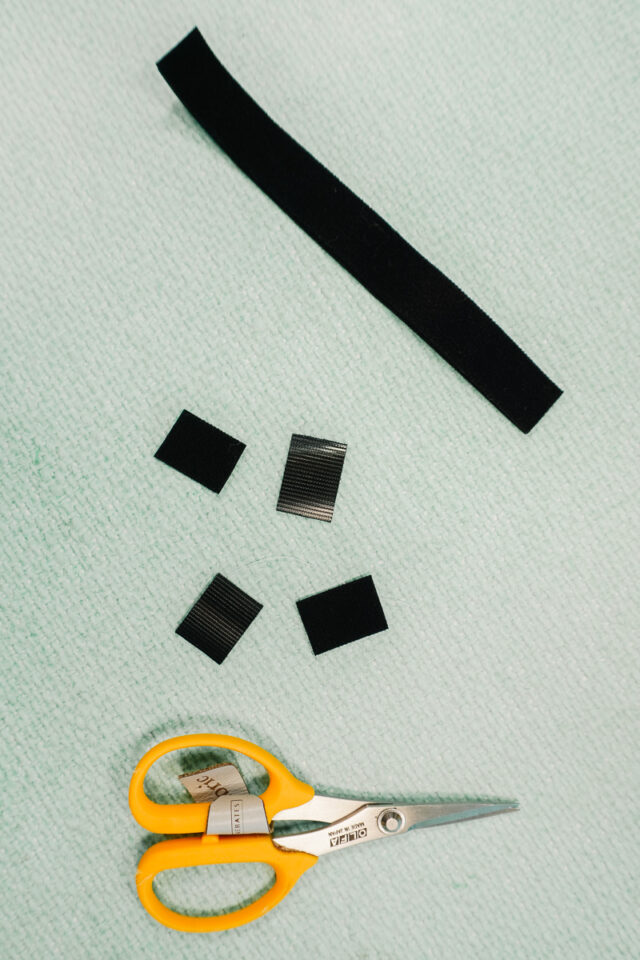
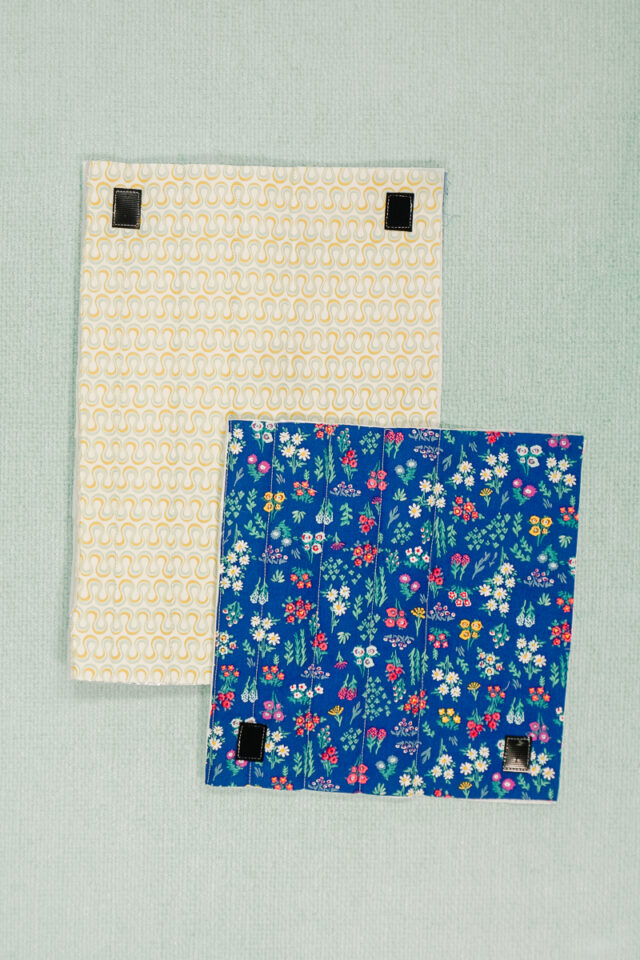
Sew a hook and loop pair in the top corners of the rectangle on the inner side. Sew them 3/4 inch from the corners.
Sew a hook and loop pair in the bottom corners of the square on the outer side. Sew them 3/4 inch from the corners.
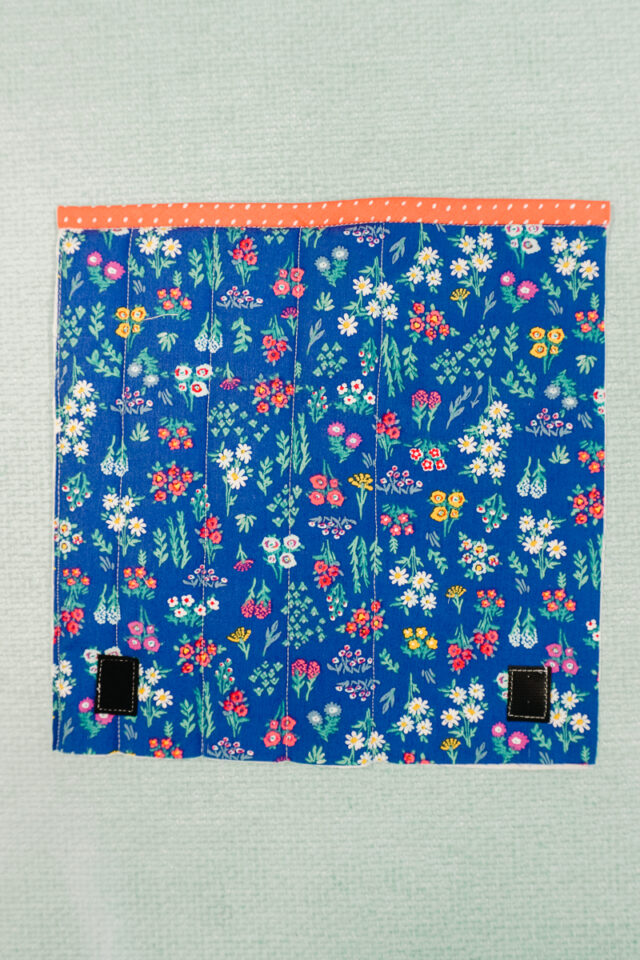
Finish the top edge of the square with bias binding.
Place the pocket onto the rectangle with bias binding towards the top and the bottom edges lining up. Sew all the layers together at the edge of the batting to create two pockets. Backstitch when you start and when you stop.
Baste the layers together on all three edges of the pocket.
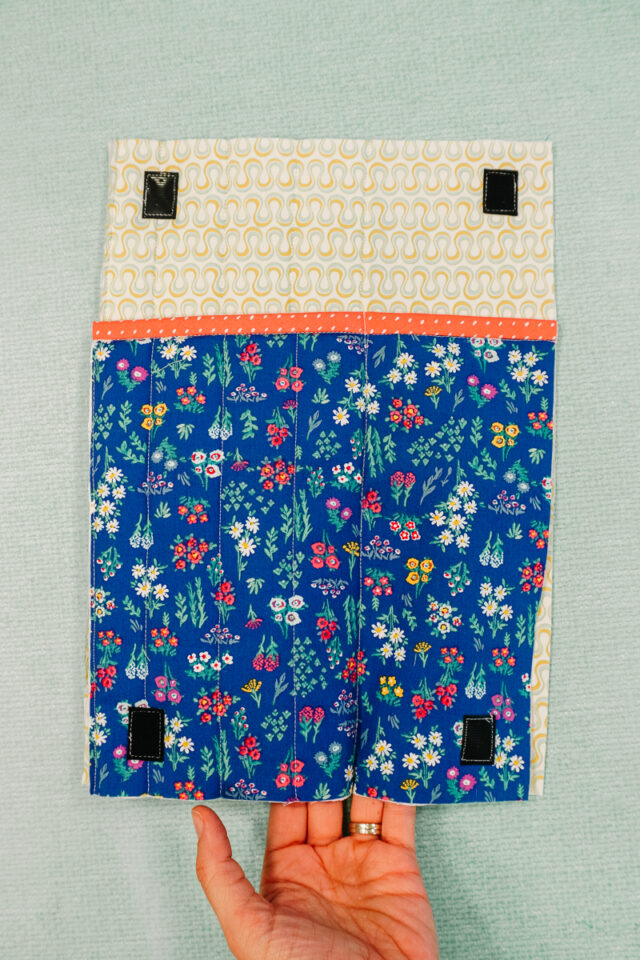
Finish all four sides with bias binding.
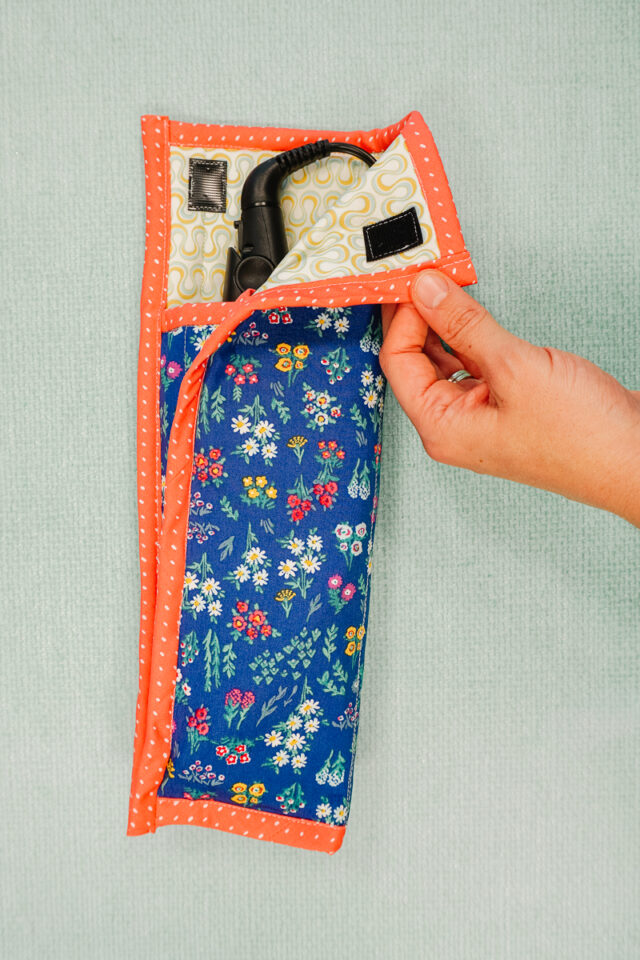
Fold it over to check if the Velcro works.

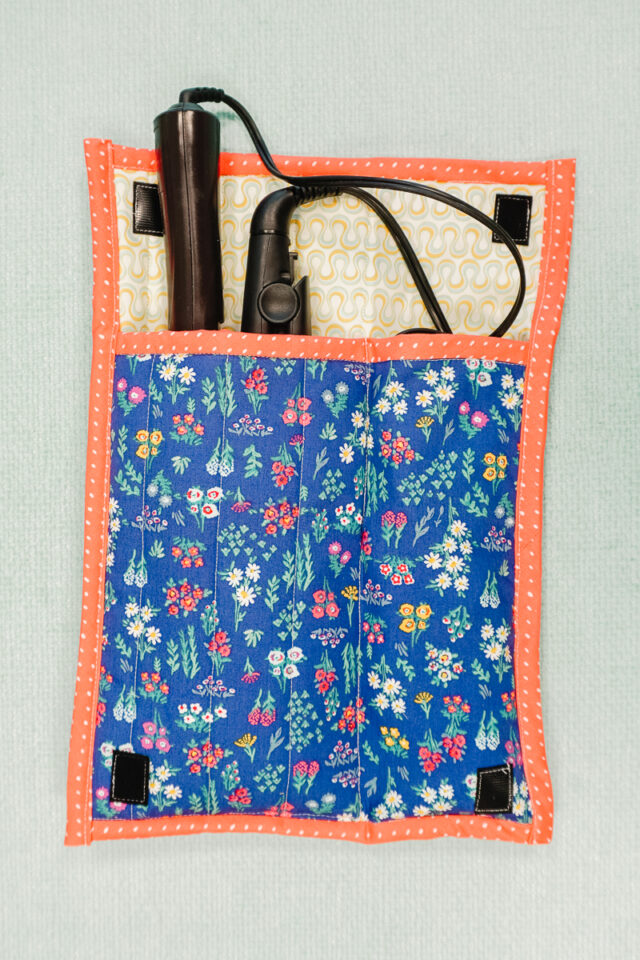
Insert a hot tool. You finished!

If you make something using this sewing project, I’d love to see! Please share it on social media with the hashtag #heatherhandmade and tag me!

I believe small sewing moments can create great joy. Find your own “right” way to sew. -Heather