Free Diaper Bag Pattern and Tutorial

This post may contain affiliate links.
Learn how to make a bag with lots of pockets for storage with this free diaper bag pattern and sewing tutorial. Use canvas for a durable bag!
When I started looking for baby stuff, I didn’t like the choices of diaper bags. I didn’t really like anything the stores offered; and, knowing myself, I knew I would hate carrying a bag around that I hadn’t fallen in love with. I’m not a snob or anything, I just knew a pretty bag would make me happy when I needed a little lift.
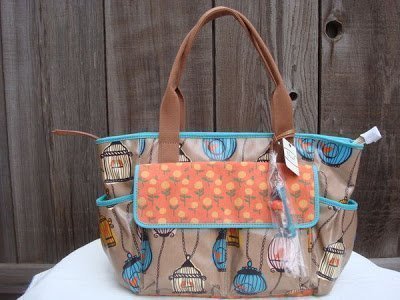
Feeling a little discouraged about not liking anything, one day at church I saw a girl carrying an adorable diaper bag. I stared at it as long as I dared and memorized as much as I could. When I looked it up later online, I found it was a Fossil bag that wasn’t being made anymore.
The only place I could find it was on eBay, so I memorized it and made up my own pattern. I found two fabrics I loved, and quickly ordered them because one was almost out of stock.
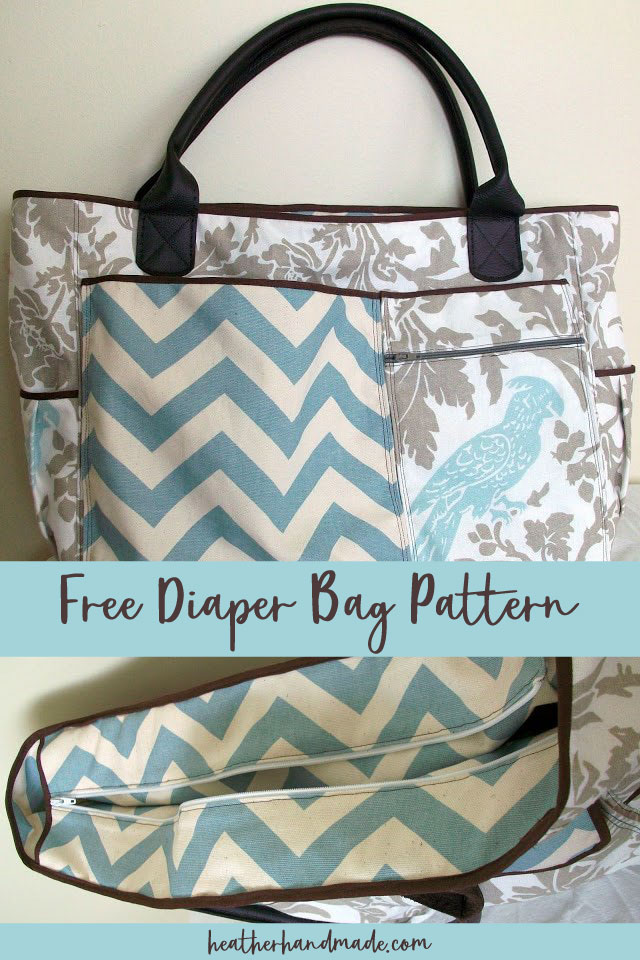
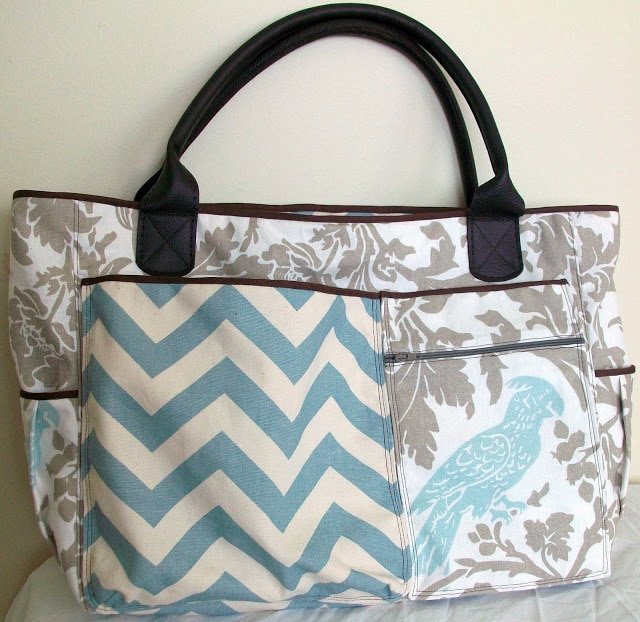
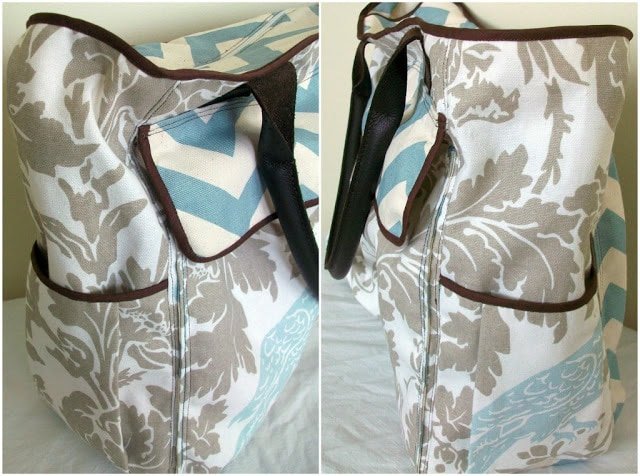
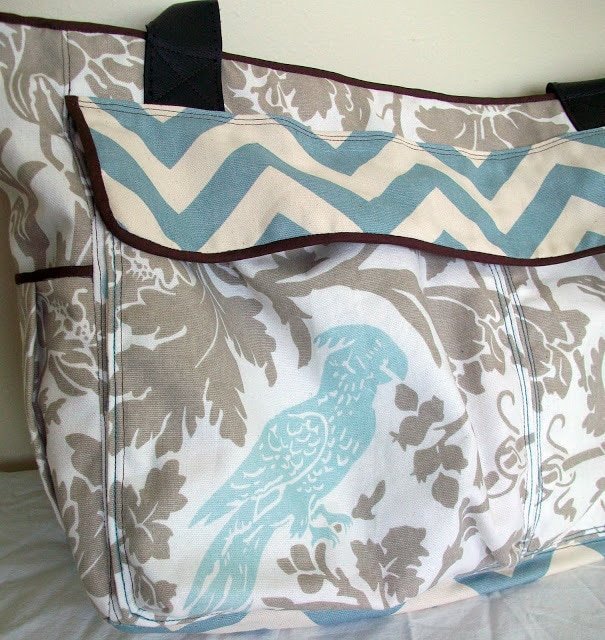
Then I copied the bag as much as I could from pictures and the given measurements, and this is what I came up with. I used a Premier Prints chevron and a Premier Prints bird fabric.
There are two pockets on each end. I got the leather handles* from Joann’s because I think it’ll be stronger then just fabric. Hopefully!
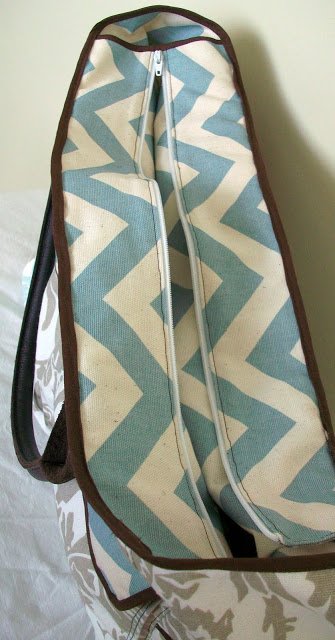
There’s zipper closure on top.
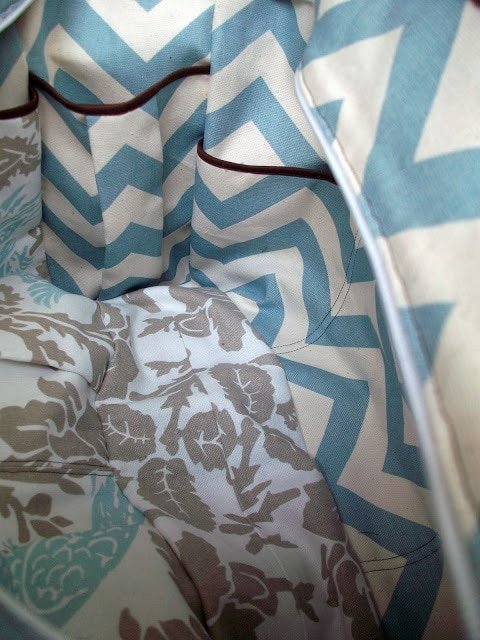
Inside there are lots and lots of pockets to hold things. There are pockets 7 inside and 7 pockets on the outside. Ha ha do you think I have enough pockets?
This bag turned out to be a lot more work then I realized because I had to line each pocket, sew lots of topstitching, and work with bias binding (which I’m not so scared of anymore after working with it a lot.).
I put the tutorial together with random fabric, and it’s a half size so keep that in mind as you look through the pictures. I also kind of left the creative process up to you. For example, I didn’t tell you where to put in topstitching. I want you to decide that at make it yours.
Be creative with fabrics, colors, straps, binding, and the placement of fabric and lining pieces.
Free Diaper Bag Pattern and Tutorial
Supplies
- 1 yard of outer fabric – canvas
- 1 yard of lining fabric – canvas
- 5 yards of bias binding
- 16 inch zipper
- 9 inch zipper
- sewing tools
- sewing machine
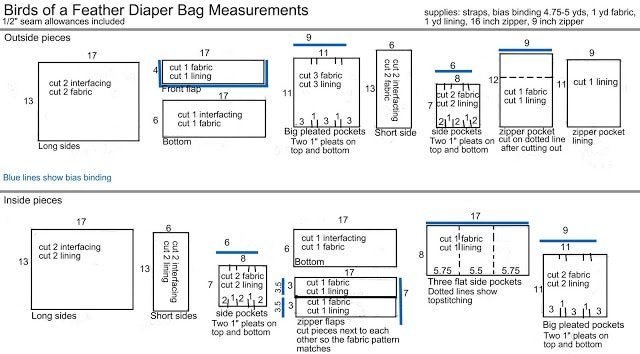
*Remember that it’s 1/2″ seam allowances unless otherwise stated. I tried to say 1/2″ seam allowance every time, but I might have missed one or two.
Instructions
1. Cut out all the pieces. Baste all the interfacing pieces to the fabric pieces at 1/8″. Keep the inside pieces and outside pieces separate. In this tutorial the floral print is the fabric while the gingham is the lining fabric.
2. Start with your outside pieces. Take four of your big pleated pocket pieces: two fabric and two lining.
3. If you haven’t already, mark where the pleats are using the measurements on the diagram.
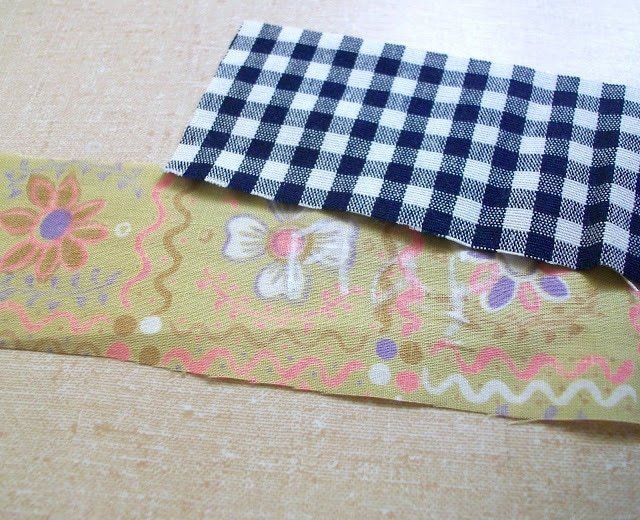
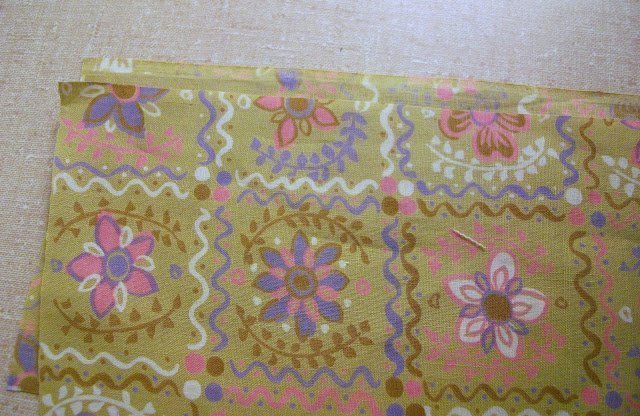
4. Sew each fabric piece right sides together to a lining piece at 1/2″ so you have two long rectangles. Iron seams open.
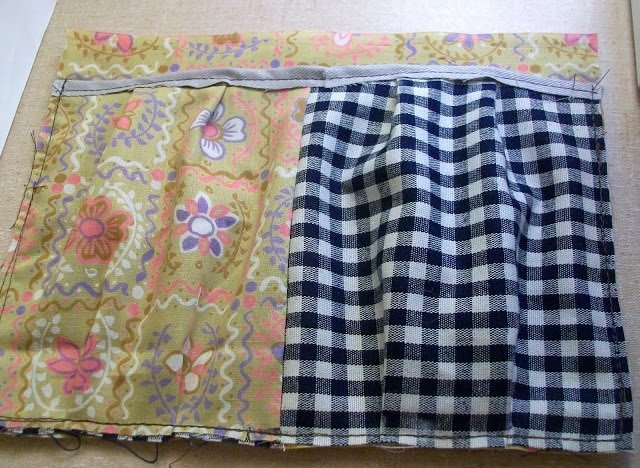
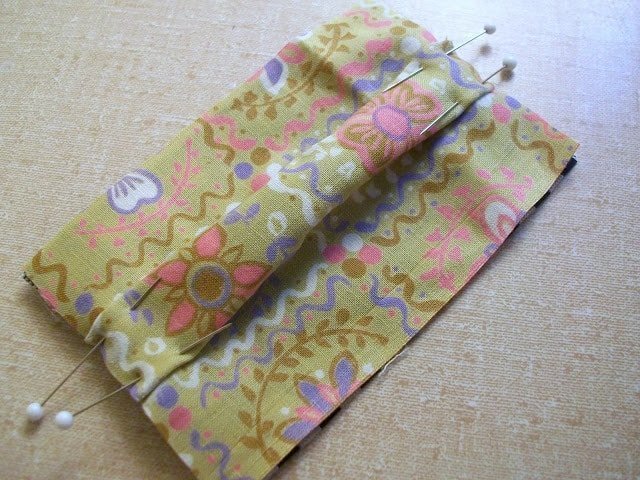
5. With wrong sides together, lay one rectangle over the other alternating the fabric and lining. Pin box pleats and around all edges.
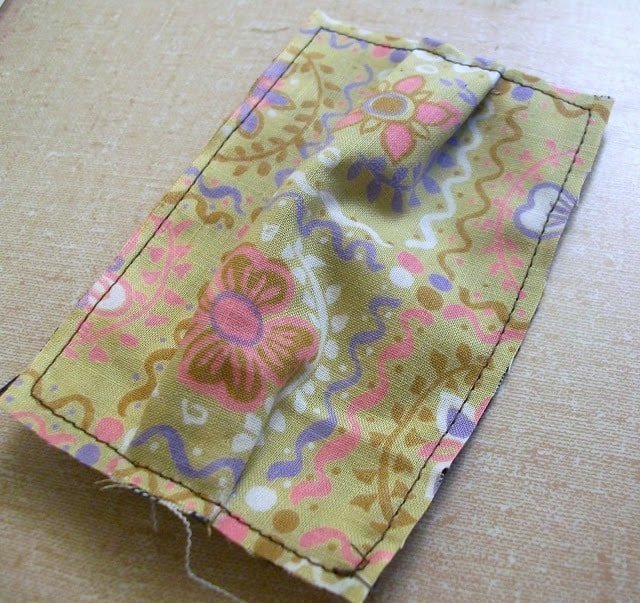
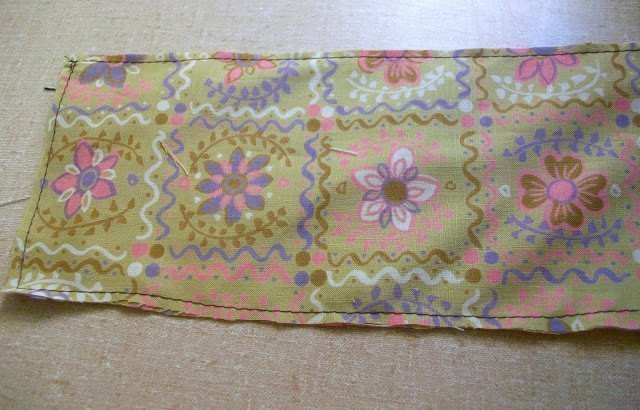
6. Sew around edges at 1/8″ sewing the pleats in place.
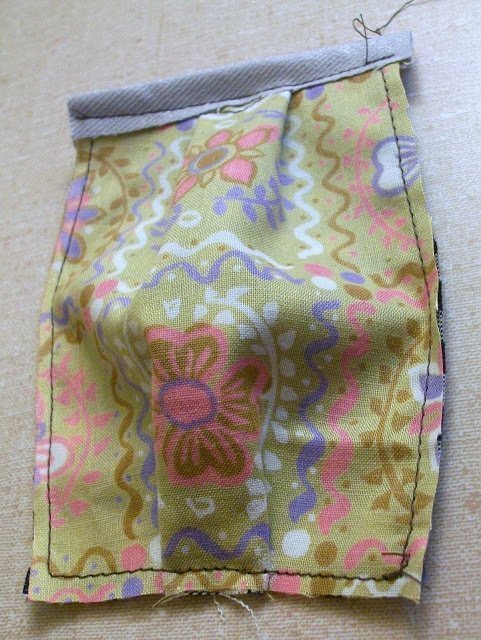
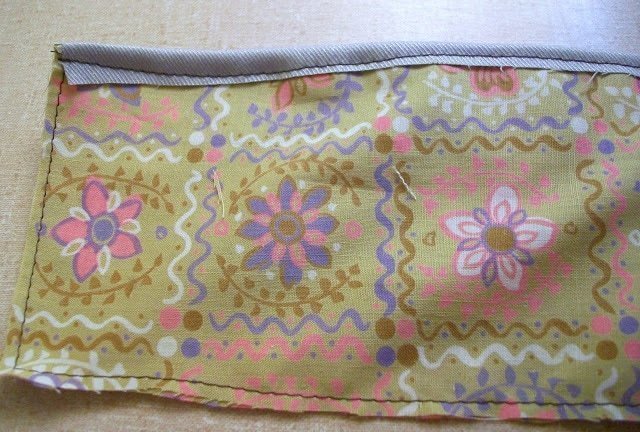
7. Finish top edge with bias binding. (Yes, mine is fake bias binding.)
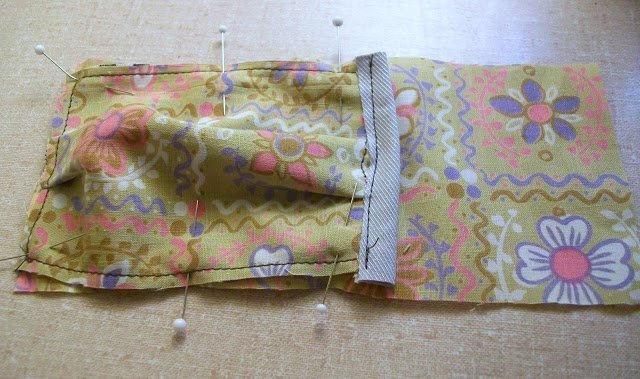
8. Pin to a long side.
9. Sew around edges at 1/8″.
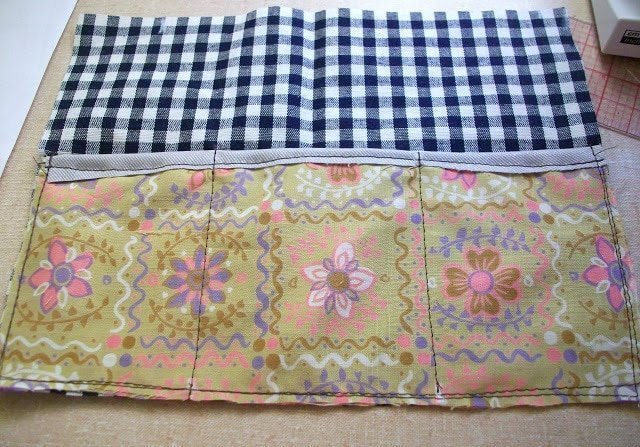
10. Sew down the center separating the pocket into two. Its hard to see in the picture, but I did sew down the center. You can get creative here.
11. Take the two front flap pieces.
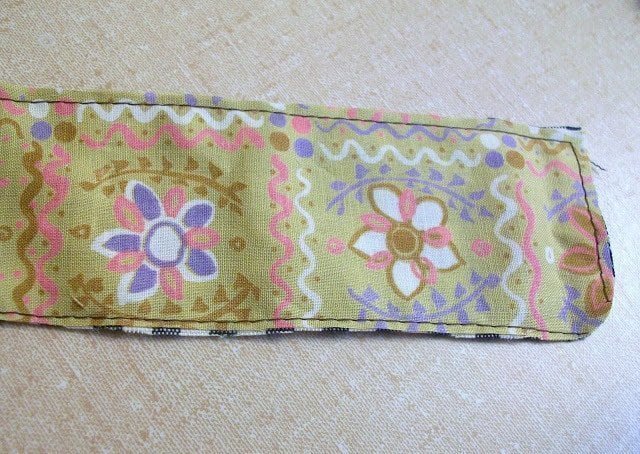
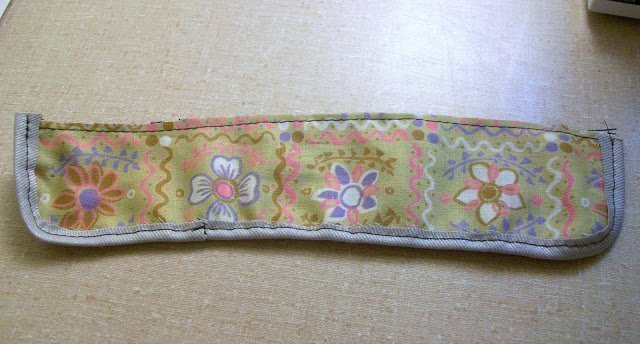
12. Sew them together wrong sides together at 1/2″ and trim 1/4″ off each side. Round the two bottom corners.
13. Finish three sides with bias binding making sure the fabric you want showing has the good side of the binding.
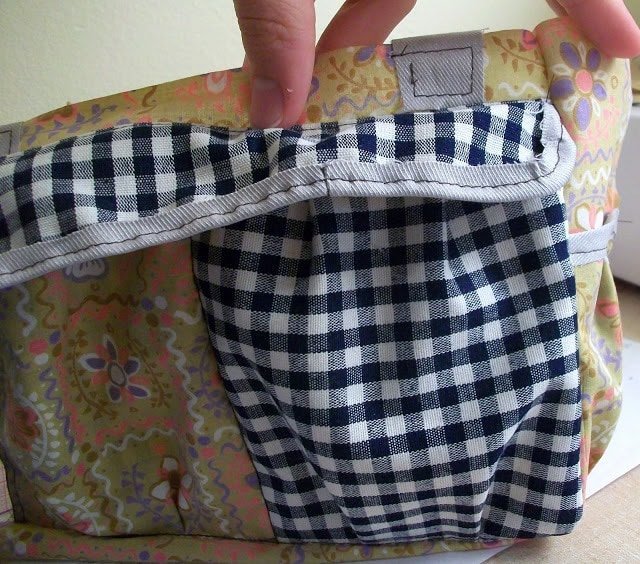
14. The flap will be sewn over the two pockets you already did. Depending on where you want your straps placed, you might want to sew them on first.
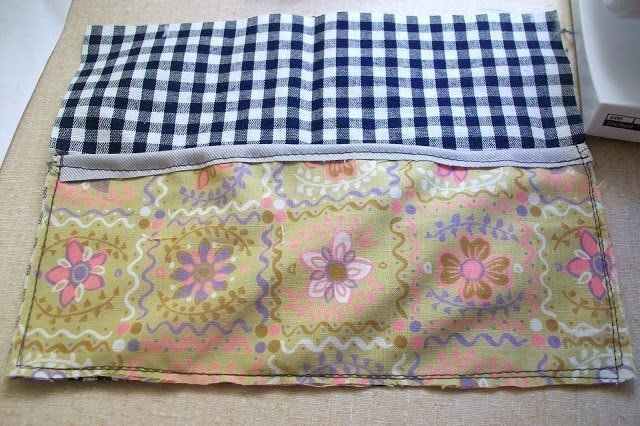
15. About 3/4″ above the top of the pocket sew the flap on at 1/4″ with the wrong side out and lying up. (You can’t see much of a space between the top of my pocket and my flap because I’m working with a half size.)
16. Fold flap down and sew along the folded edge at 1/4″.
This one side is all done.
17. Next take the side pleated pocket pieces and put them wrong sides together. Pin the pleats.
18. Sew around the edges at 1/8″.
19. Finish the top edge with bias binding.
20. Pin pocket onto a short side piece.
21. Sew around at 1/8″. Do the same to the other short side. You now have both ends done.
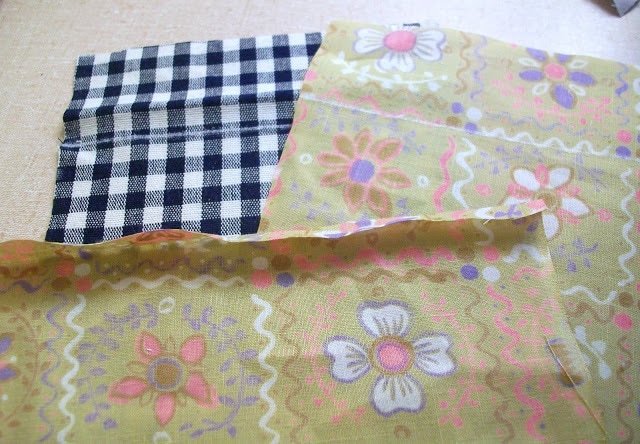
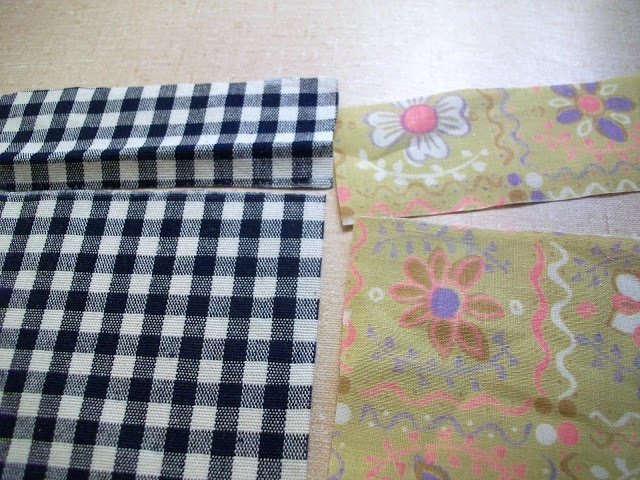
22. Take the three zipper pocket pieces. On the two longer pieces mark a line 4″ down.
23. Cut on the lines.
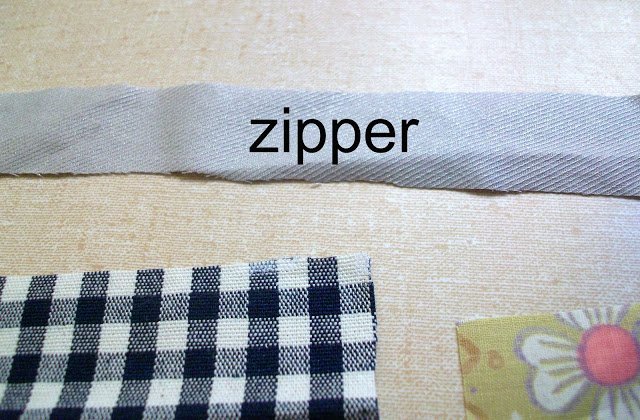
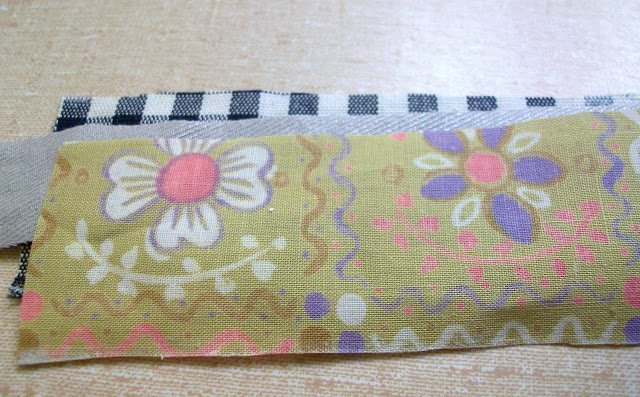
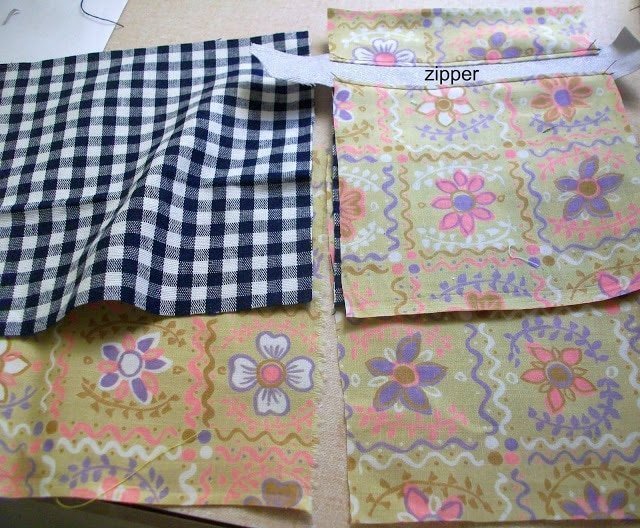
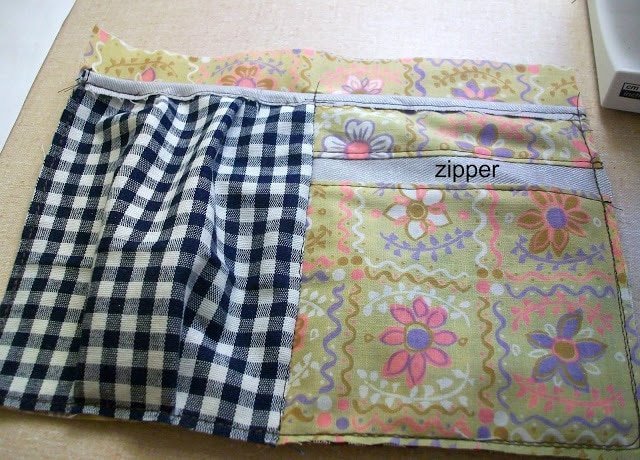
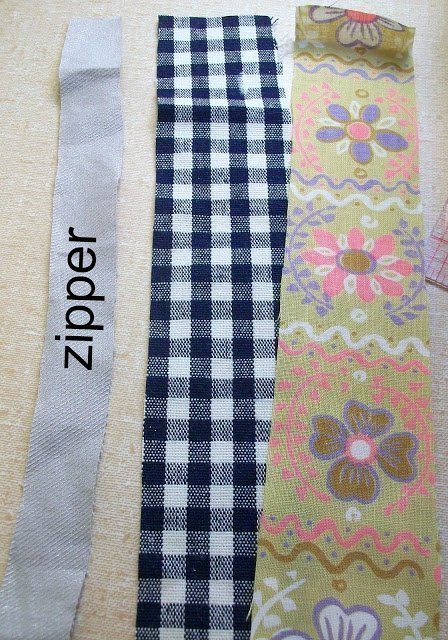
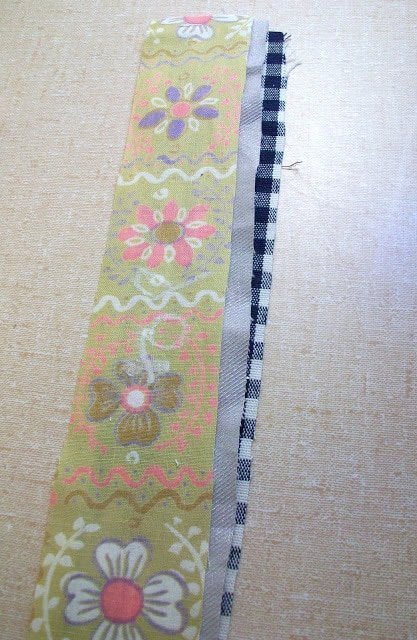
24. Take your 9″ zipper. I have a strip of fabric acting as mine.
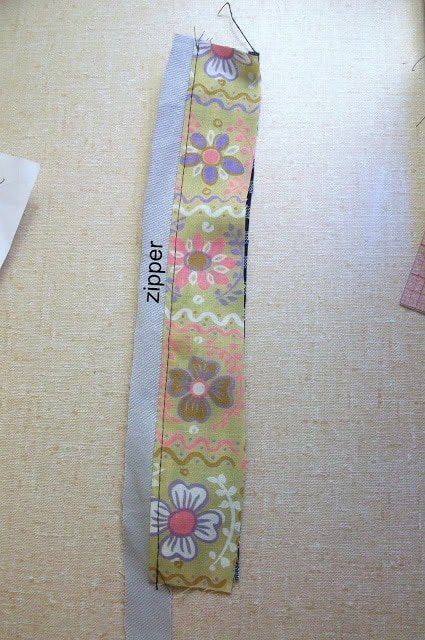
25. Sandwich the zipper between the two fabric pieces right sides together.
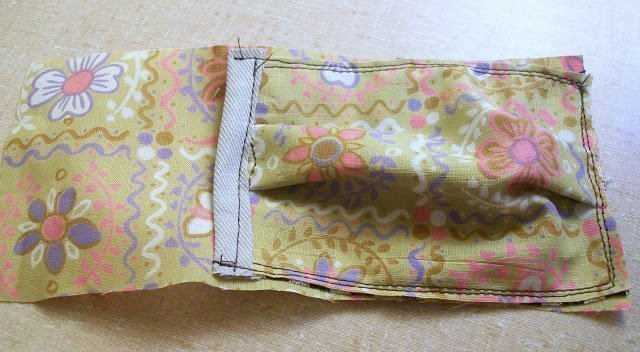
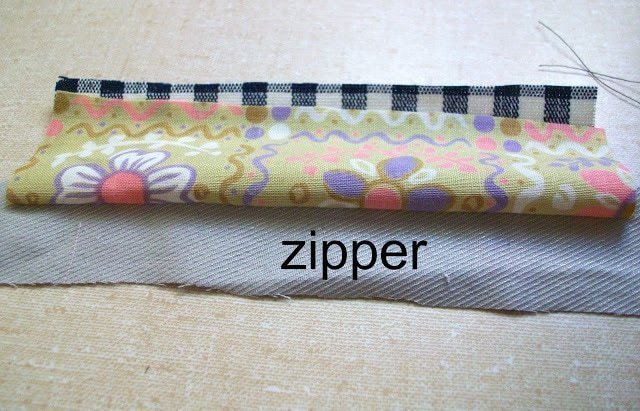
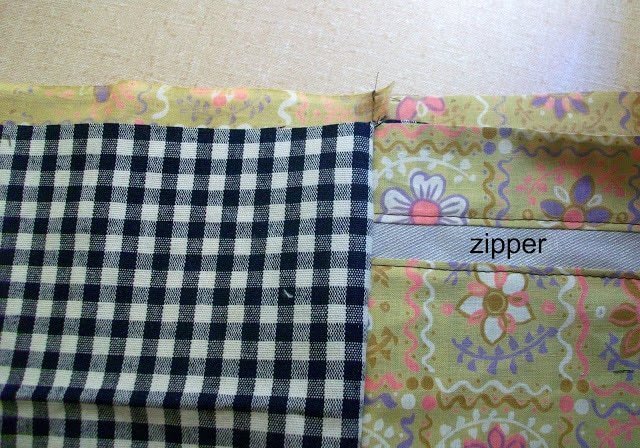
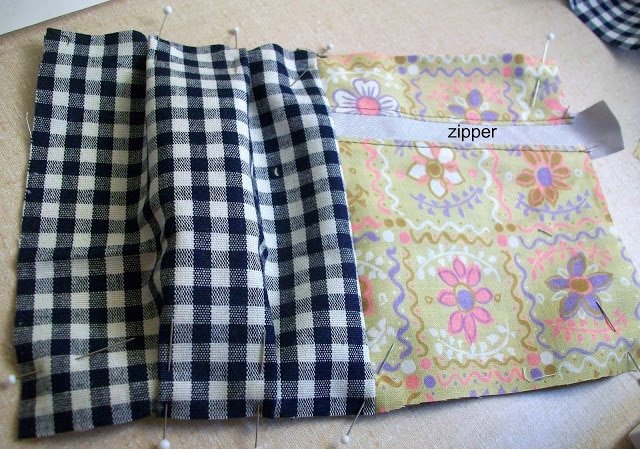
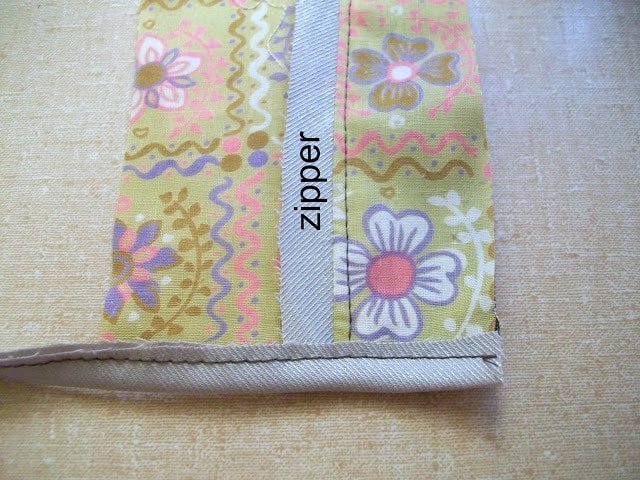
26. Using your zipper foot sew down at about 1/2″ or as close to the zipper as you can get. When you’re done you can fold both pieces back like this.
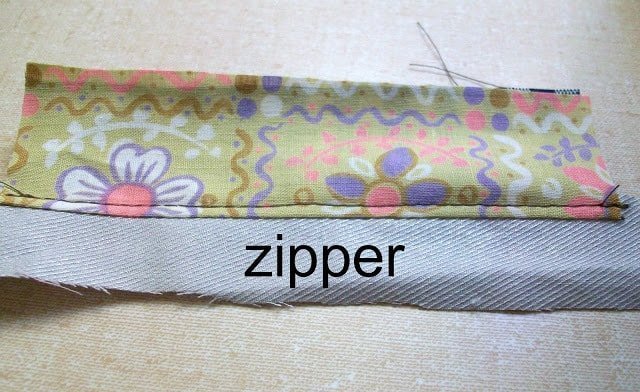
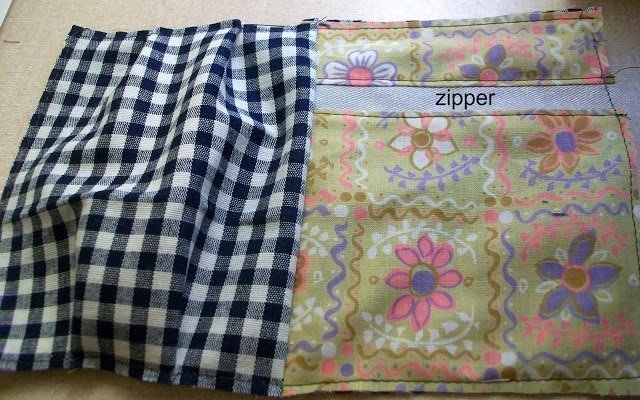
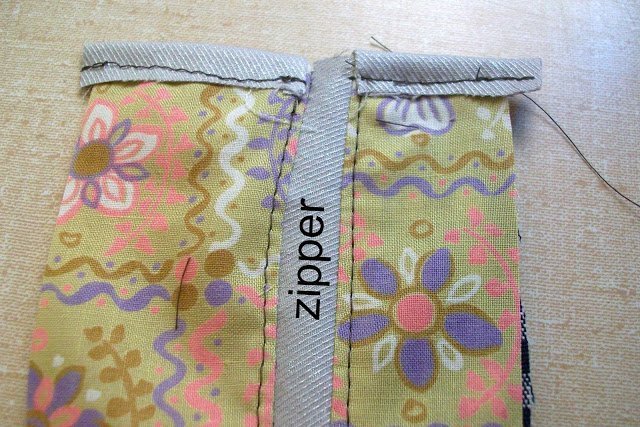
27. Topstitch next to the zipper to make the fabric lie flat.
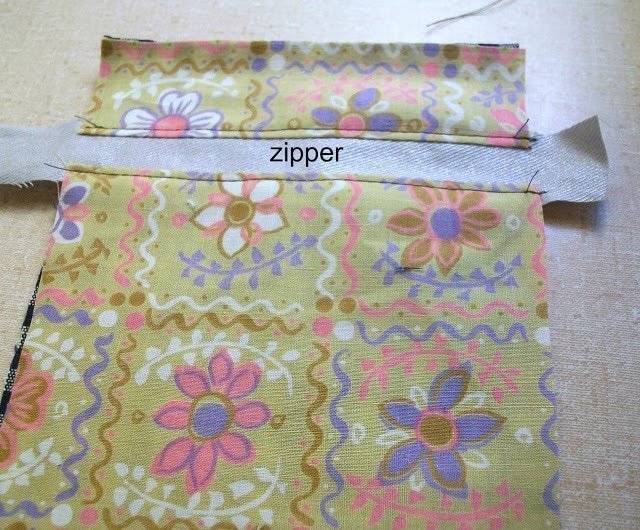
28. Do the same to the other side.
29. Take the last two big pleated pocket pieces.
30. Like the other side sew two pieces together and two pieces together to get two long rectangles.
31. Pin in the pleats and with wrong sides together pin the rectangle lining piece to the front piece.
32. Sew around the edges at 1/8″.
33. Finish the top edge with bias binding.
34. Sew the pocket onto the other long side at 1/8″. Sew down the center to separate the two pockets. This side is done.
35. Sew bottom to both long sides.
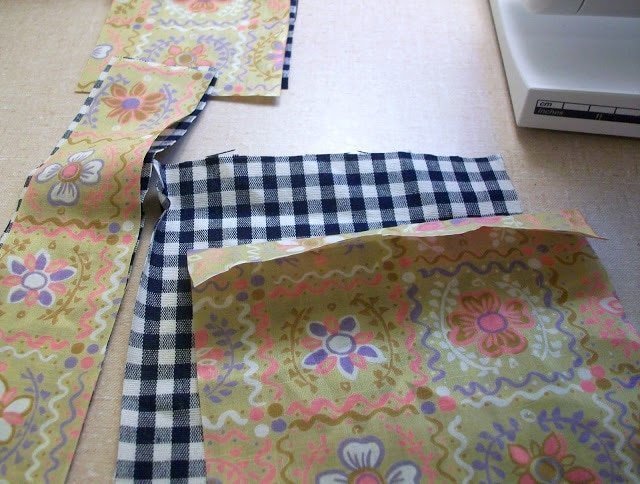
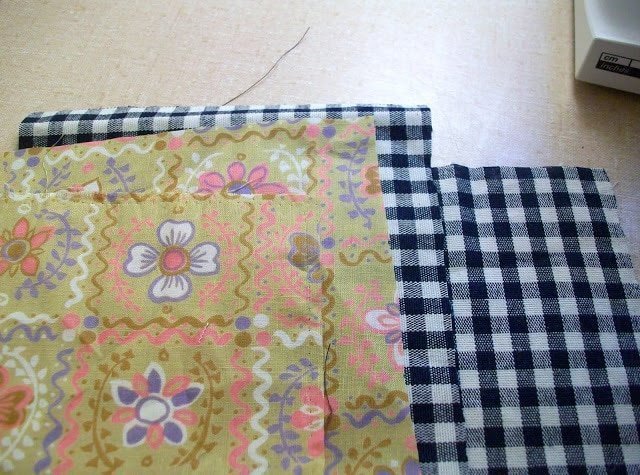
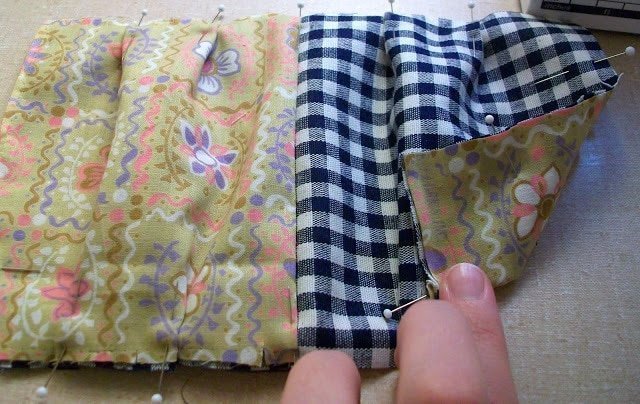
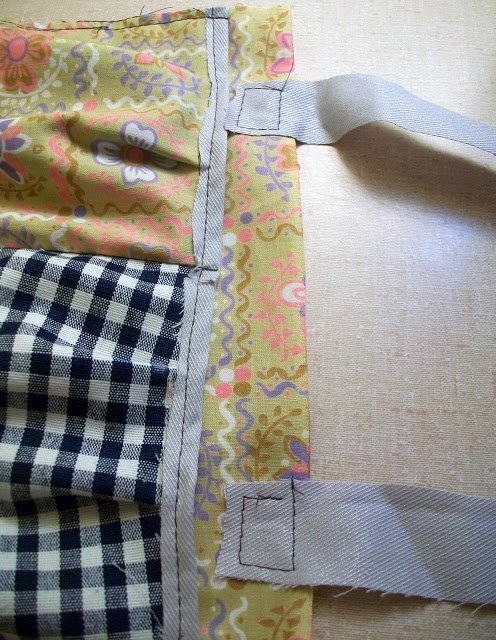
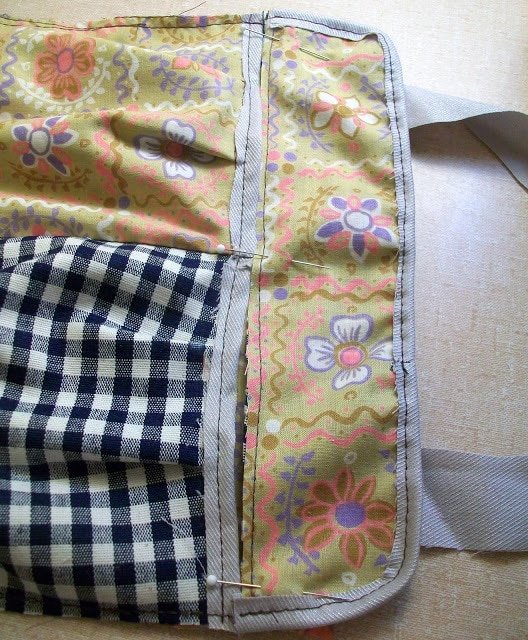
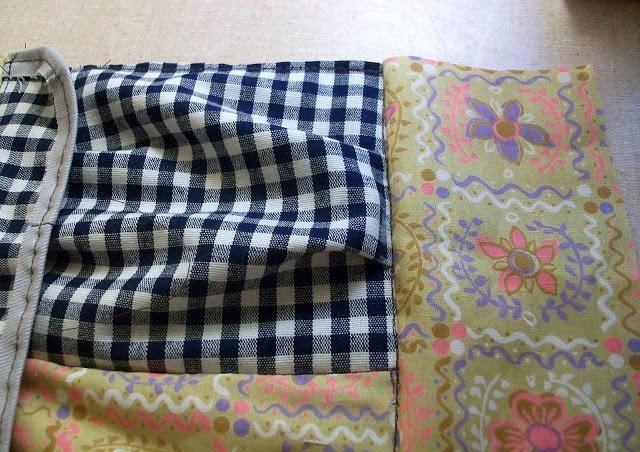
36. Pin a short side to the main body right sides together. Make sure the flap won’t get caught in the seam.
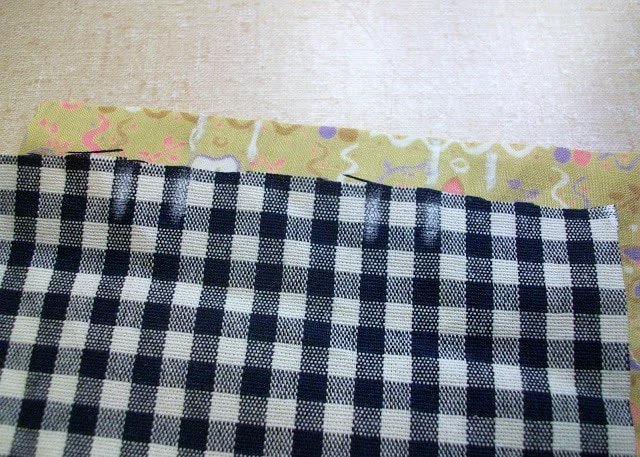
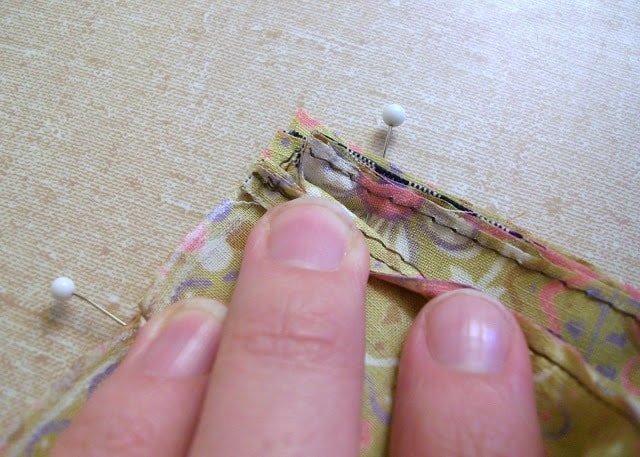
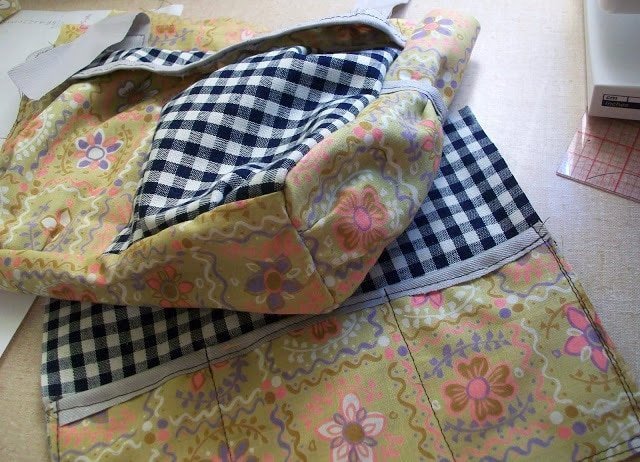
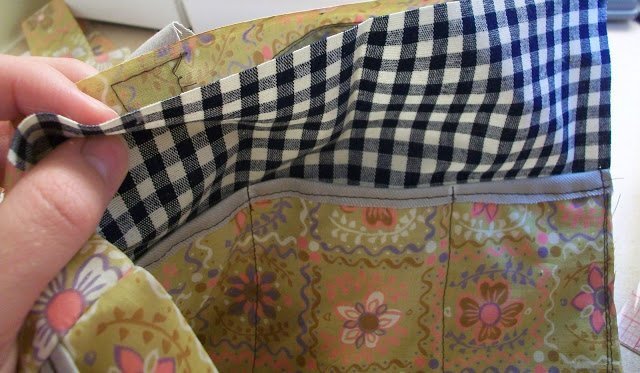
37. At the corners clip in 3/8″ on the long side next to the seam at the bottom. This makes it possible for the fabric to swing open at the corner.
This is another view of this step.
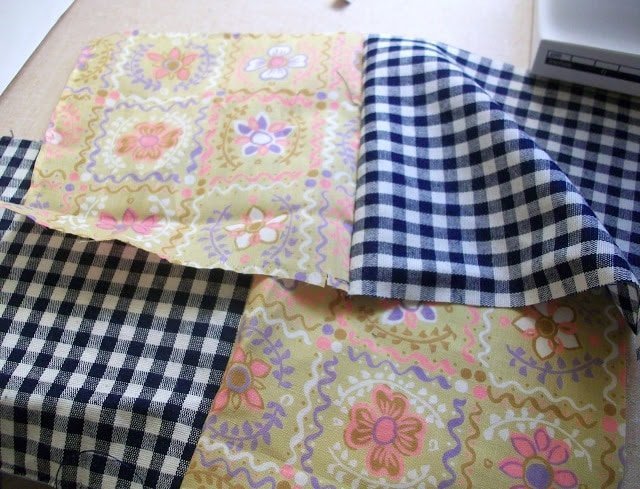
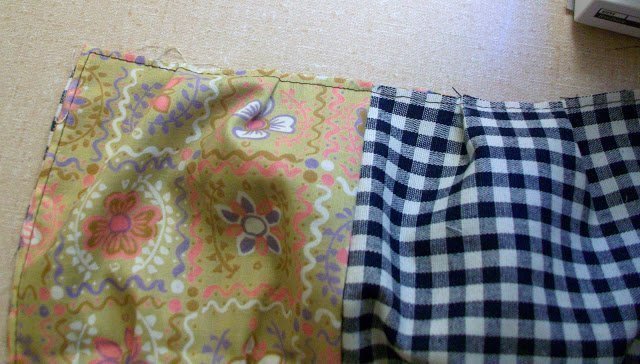
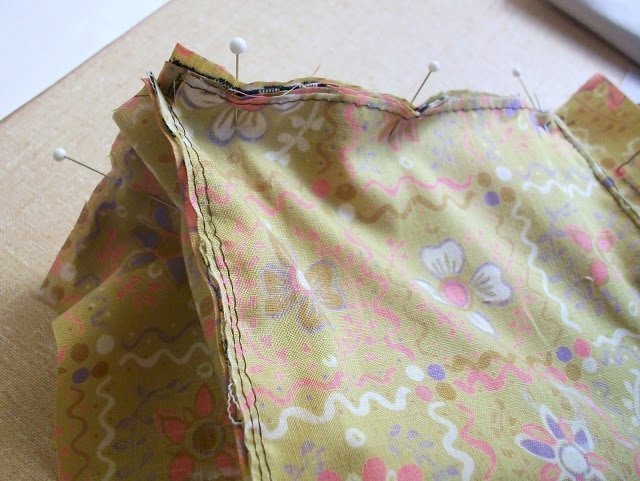
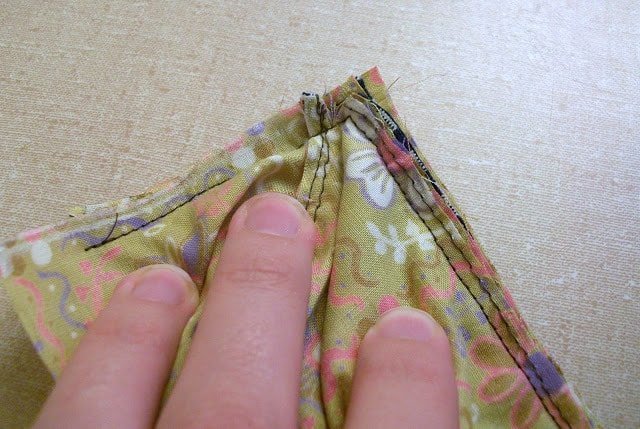
38. Sew at 1/2″ making sure you have pivot at the corner. Use a short stitch at the corners for reinforcement. You have to play with the fabric when sewing around the corner to not get any tucks. If this is too hard, skip the clipping and just make a rounded corner at the bottom.
This is what the corner looks like when it’s done.
The outside of your bag is done.
39. Gather your inside pieces. All the pleated pockets can be done the same as the outside pockets. The one different pocket is the flat pocket. Take the fabric and the lining. (I ran out of gingham at this point.)
40. Pin and sew wrong sides together at 1/8″.
41. Finish top edge with bias binding.
42. Sew pocket onto a long side at 1/8″.
43. Divide length into three and sew two lines to separate the pocket into three.
44. Assemble the inside just like you assembled the outside sewing the long sides and bottom together first, then sewing the short sides on. You should now have two “bags”. (I didn’t full assemble my inside.)
45. Put the inside bag inside of the outside bag with wrong sides together.
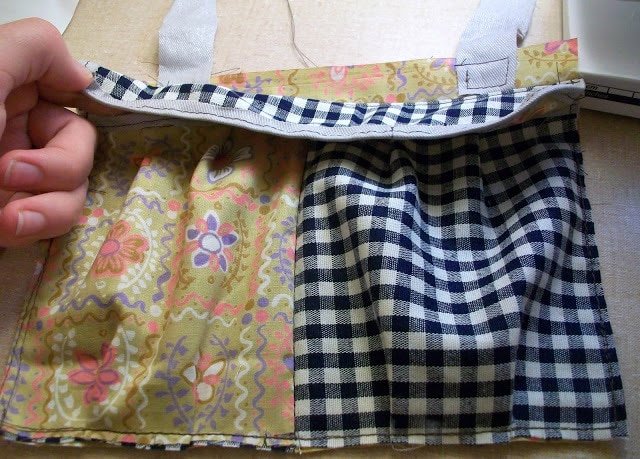
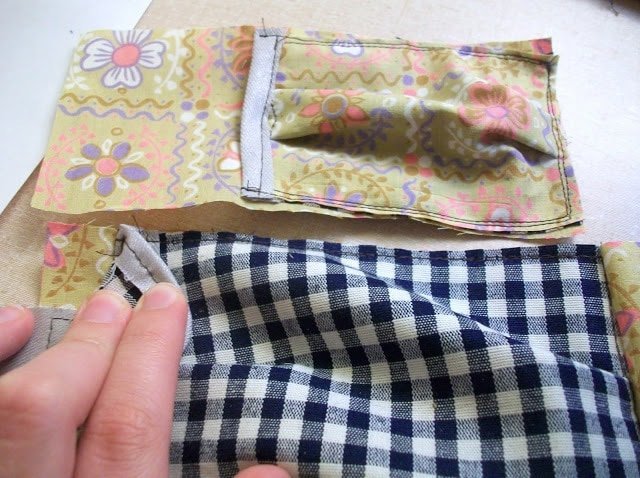
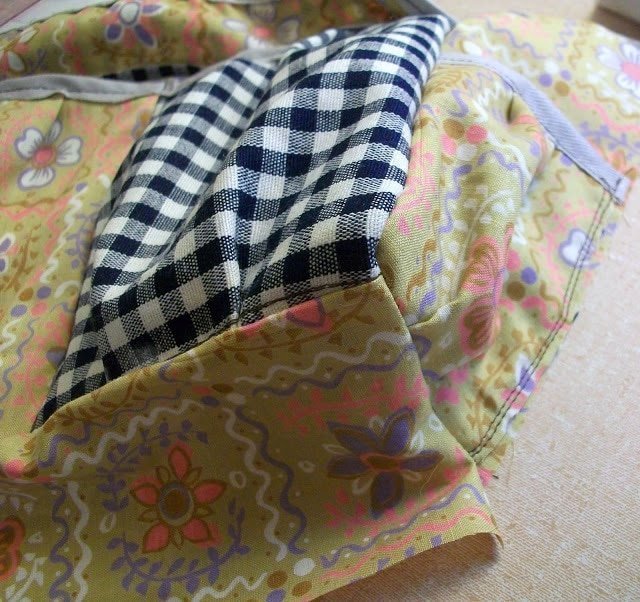
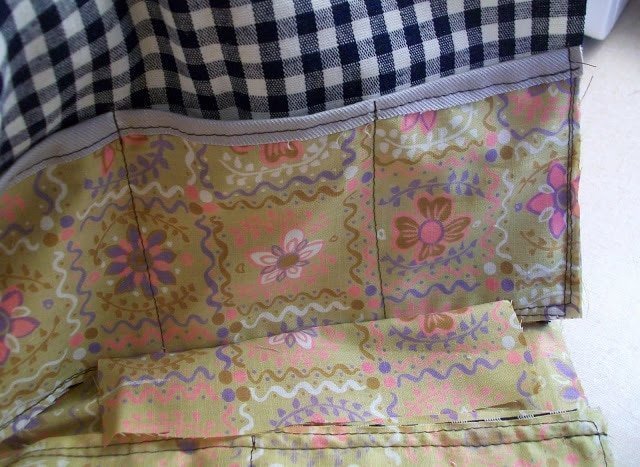
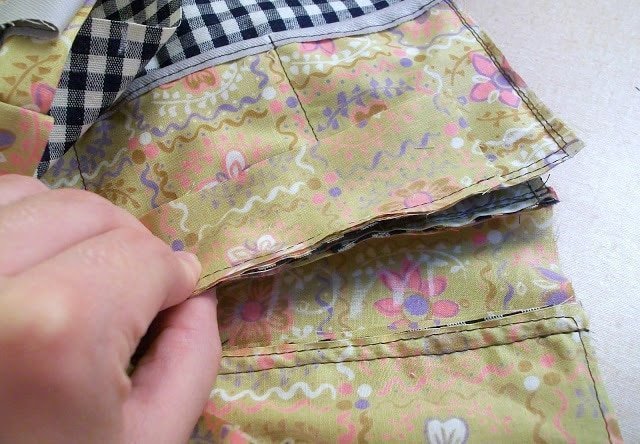
46. So your pieces stay together at the bottom you’ll want to sew the seam allowances together. In this picture you’re looking at the inside bottom. I lifted my bottom piece to see both the seam allowance of the inside and outside. For you, you’ll have to do some turning inside out.
I lifted the bottom and now you can see both seam allowances. Do a strong stitch sewing these together to make sure your inside stays down inside.
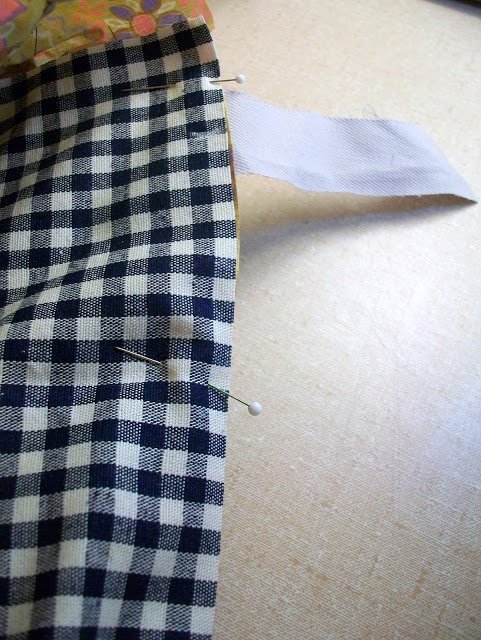
47. Once you have a couple places sewn together on the seam allowances, pin the tops together and sew at 1/8″. Make sure you don’t sew over your straps if you have them sewn on.
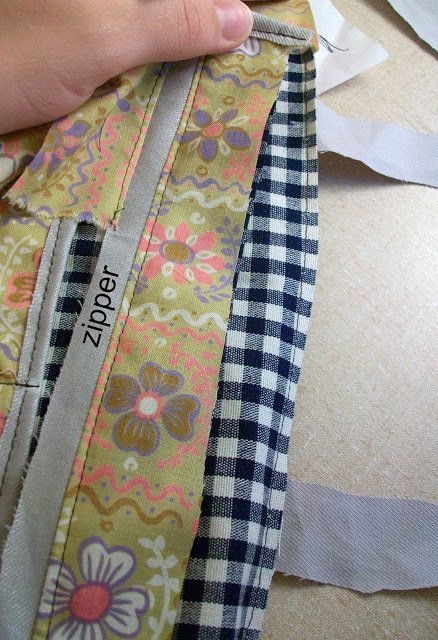
48. Take your four zipper flap pieces and the 16″ zipper.
49. You’re going to sew the zipper in just like the zipper pocket, so sandwich the zipper between two pieces right sides together.
50. Sew with your zipper foot at 1/2″ and then topstitch the pieces back. Do the same on the other side.
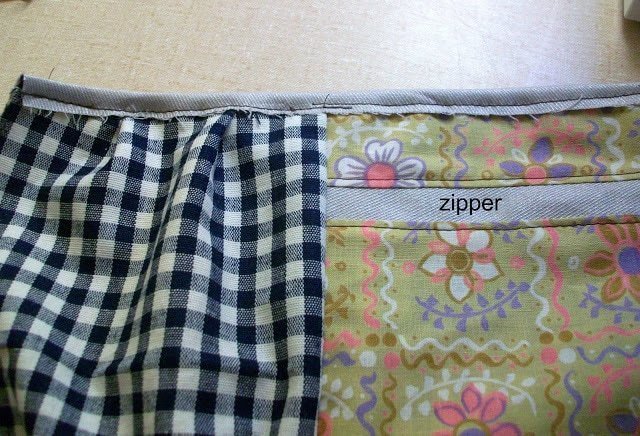
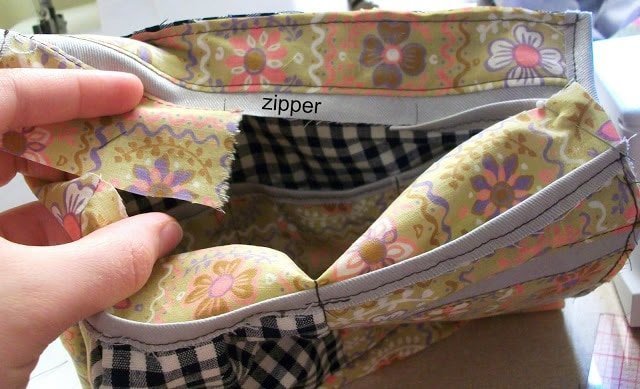
51. At the bottom of the zipper, finish the edge with bias binding. This side of the zipper will not separate.
52. Since you want the top of the zipper to be able to separate, finish each side with bias binding. Make sure the binding next to the zipper is finished with a fold.
53. Line up the zipper top with the top of the bag. Pin in place and sew at 1/8″.
54. It should look like this, but don’t mind my have finished side of the zipper.
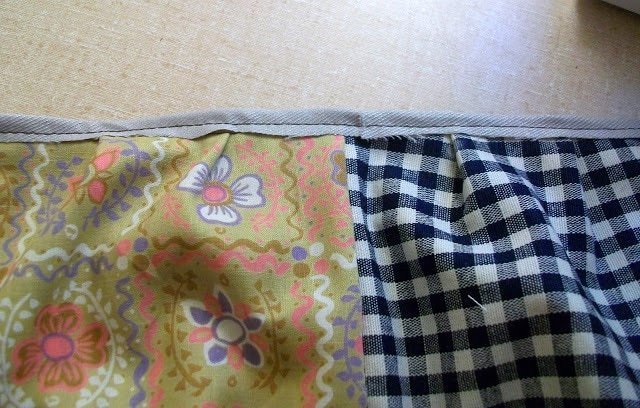
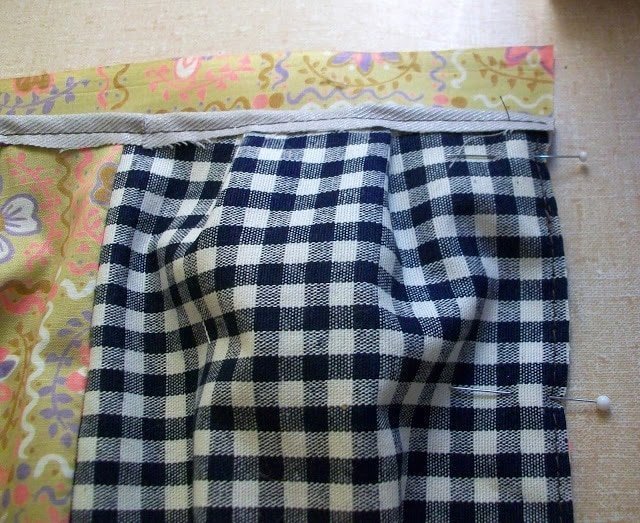
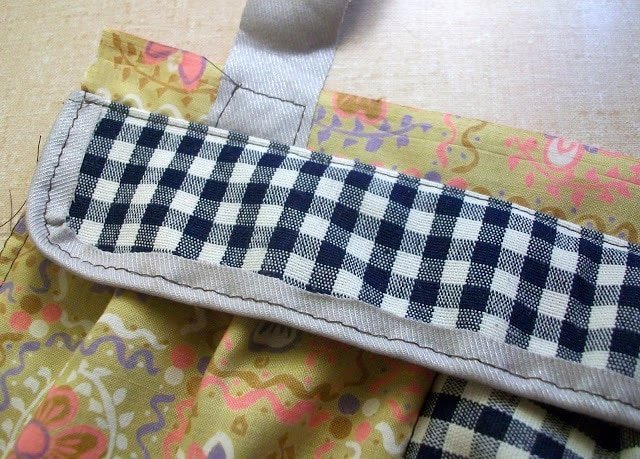
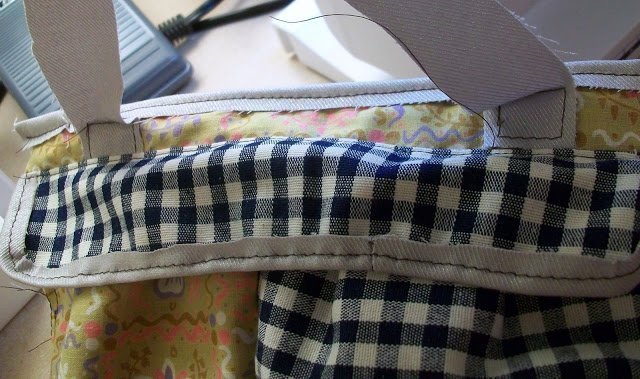
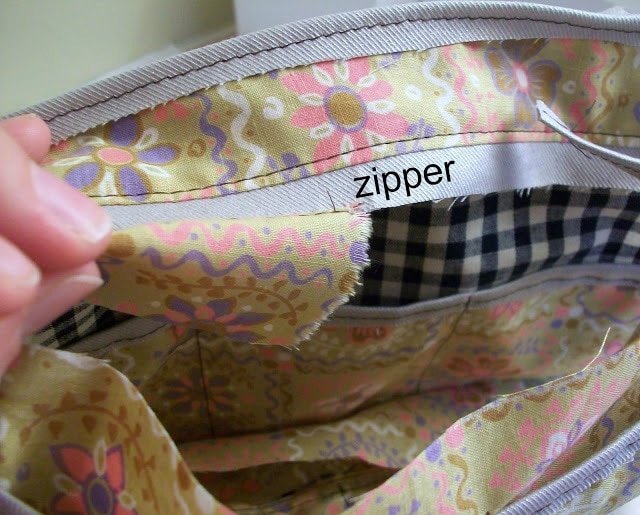
55. Finish the top edge with bias binding.
The inside view of the binding.
56. Sew on your straps if you haven’t. If you sewed straps on on one side already, go over the stitching again. This gives lots of strength to the stitching because because you’re sewing through a couple of layers.
If you make something using this sewing project, I’d love to see! Please share it on social media with the hashtag #heatherhandmade and tag me!

I believe small sewing moments can create great joy. Find your own “right” way to sew. -Heather


What type of fabric did you use?
I used canvas for the inner and outer fabric.
Thanks so much for this tutorial. I've just finished my nappy bag, and I'm so pleased with the result. I learnt lots from your instructions – box pleats, bias binding, and zips, and I can't wait to use my new bag. Thanks!
I just made a diaper bag yesterdaday/finished today for my sister! It turned out SO good! I'm so excited to know how to put a zipper in a tote bag now, too! Thanks for the tutorial!
Thank you! I can't wait to get started. But first a little boy blessing outfit.