
Make a Baby Romper Pattern From a T-Shirt

This post may contain affiliate links.
Learn how to make a baby romper from a t-shirt with a free sewing pattern. This upcycle is a fun way to reuse t-shirts!
I’m so excited to share the free baby romper pattern and tutorial today! I have loved making these little rompers for my son and daughters and hope you do to! I love to see them in my old tees, and it brings back ALL the memories!
These come together fairly quickly, and it’s so fun to see your t-shirt on your little one. Enjoy this free baby romper pattern! I have reworked and updated the pattern and tutorial! Here’s the new tshirt romper tutorial and free pattern!
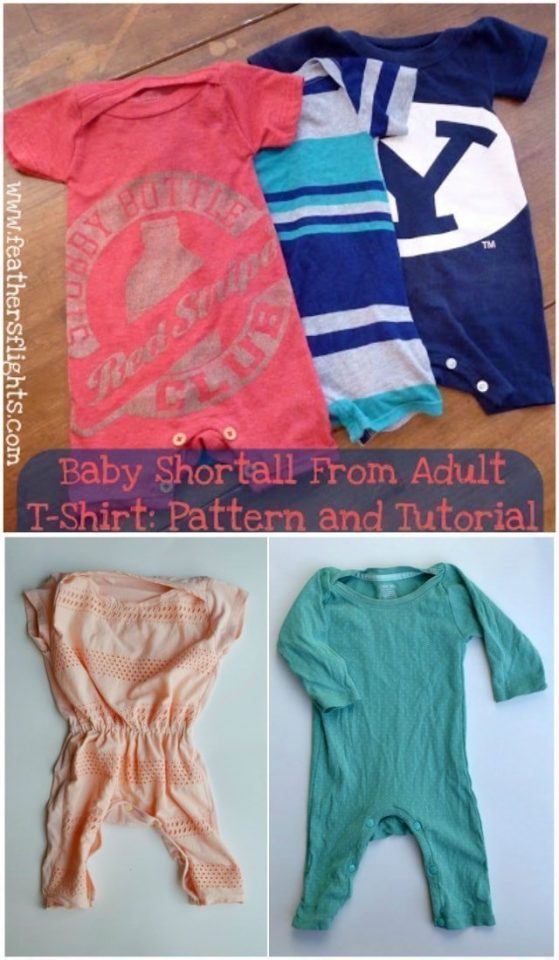
The pattern is for about a 6-12 month size. My baby is long and skinny with a smaller than average head, so you might have to adjust the pattern for your baby. If you have a chunky baby, add width to the sides of the body pattern. I’ll give you tips in the tutorial for adjustments.

Make a Baby Romper Pattern From a T-Shirt
Supplies
- One adult t-shirt in any size, I used a male medium
- sewing tools and sewing machine
- FREE Baby Romper PATTERN in size 6-12 mos – get it at the end of the post
- Tips for sewing knit fabric
Cutting Instructions
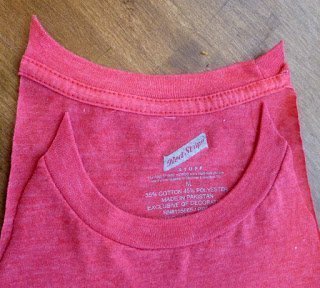
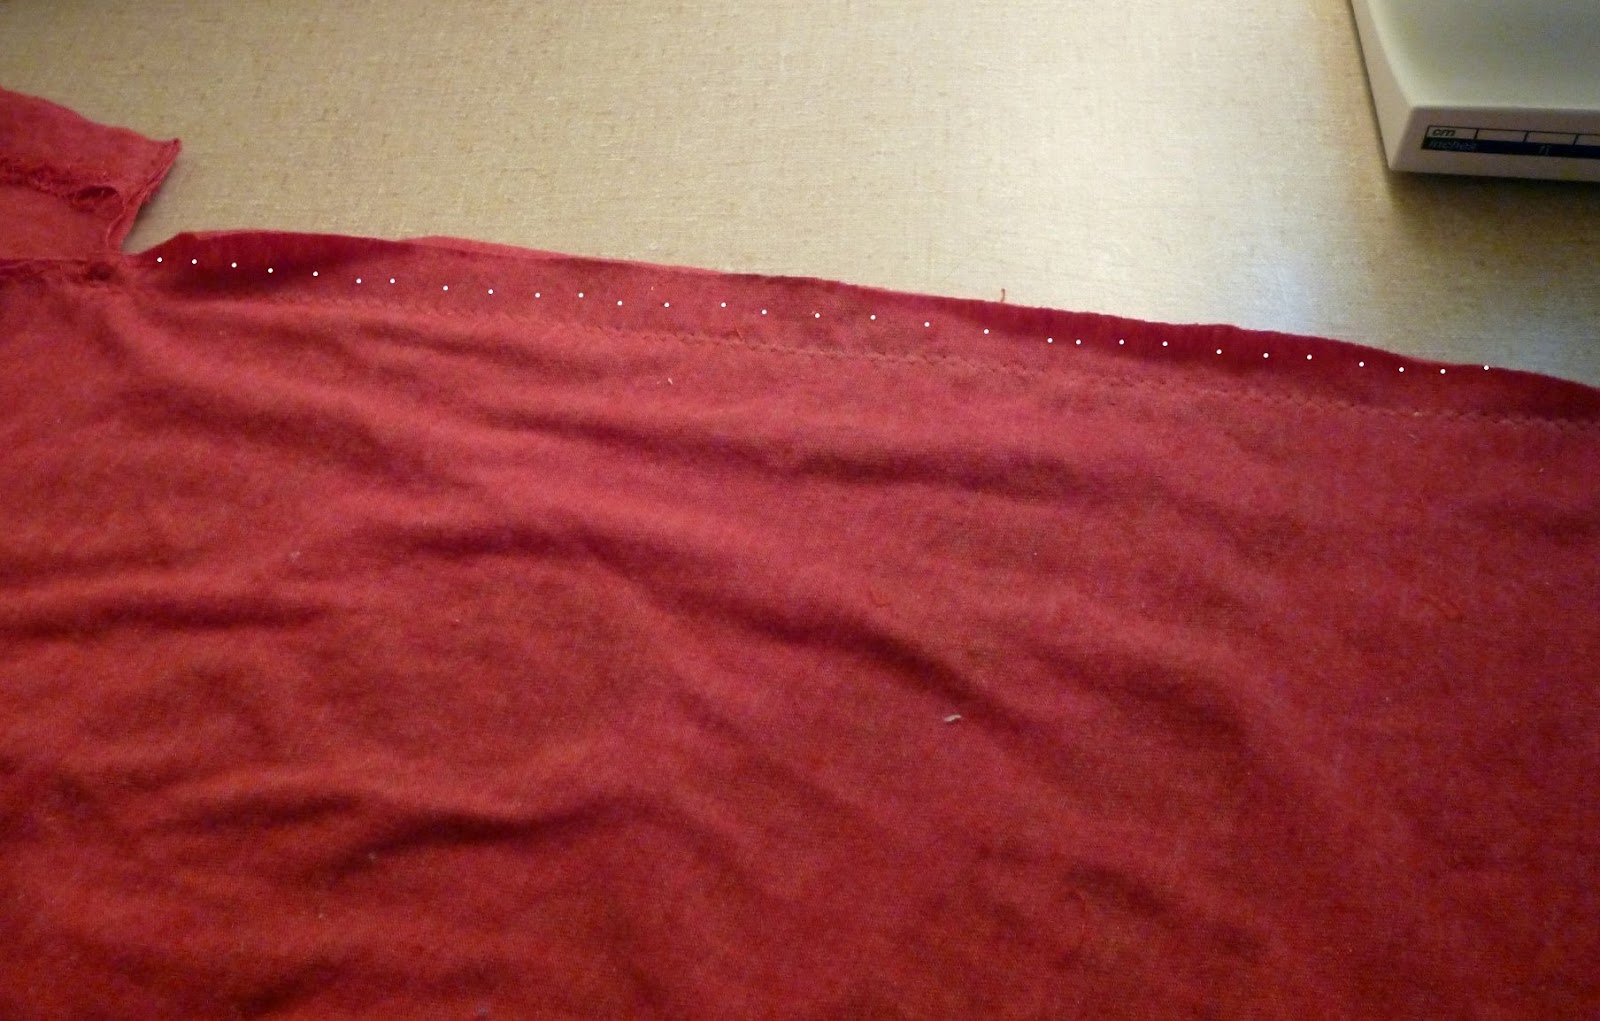
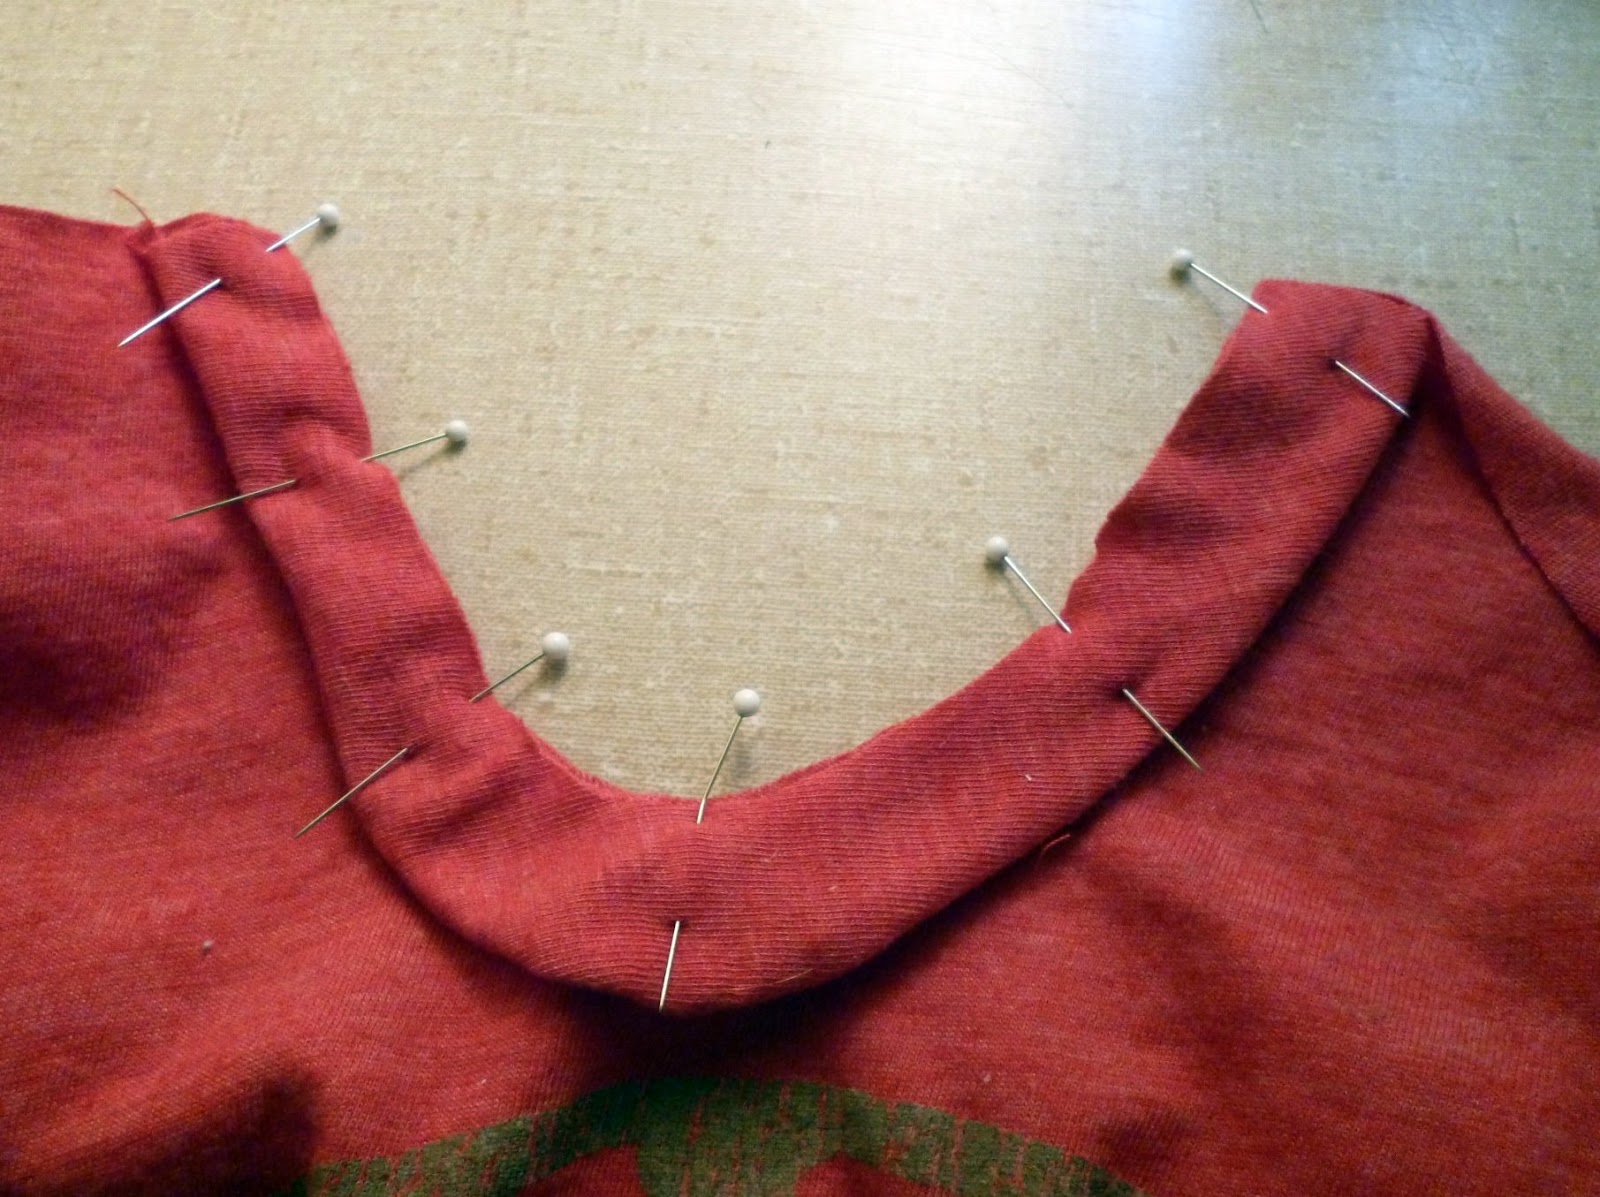
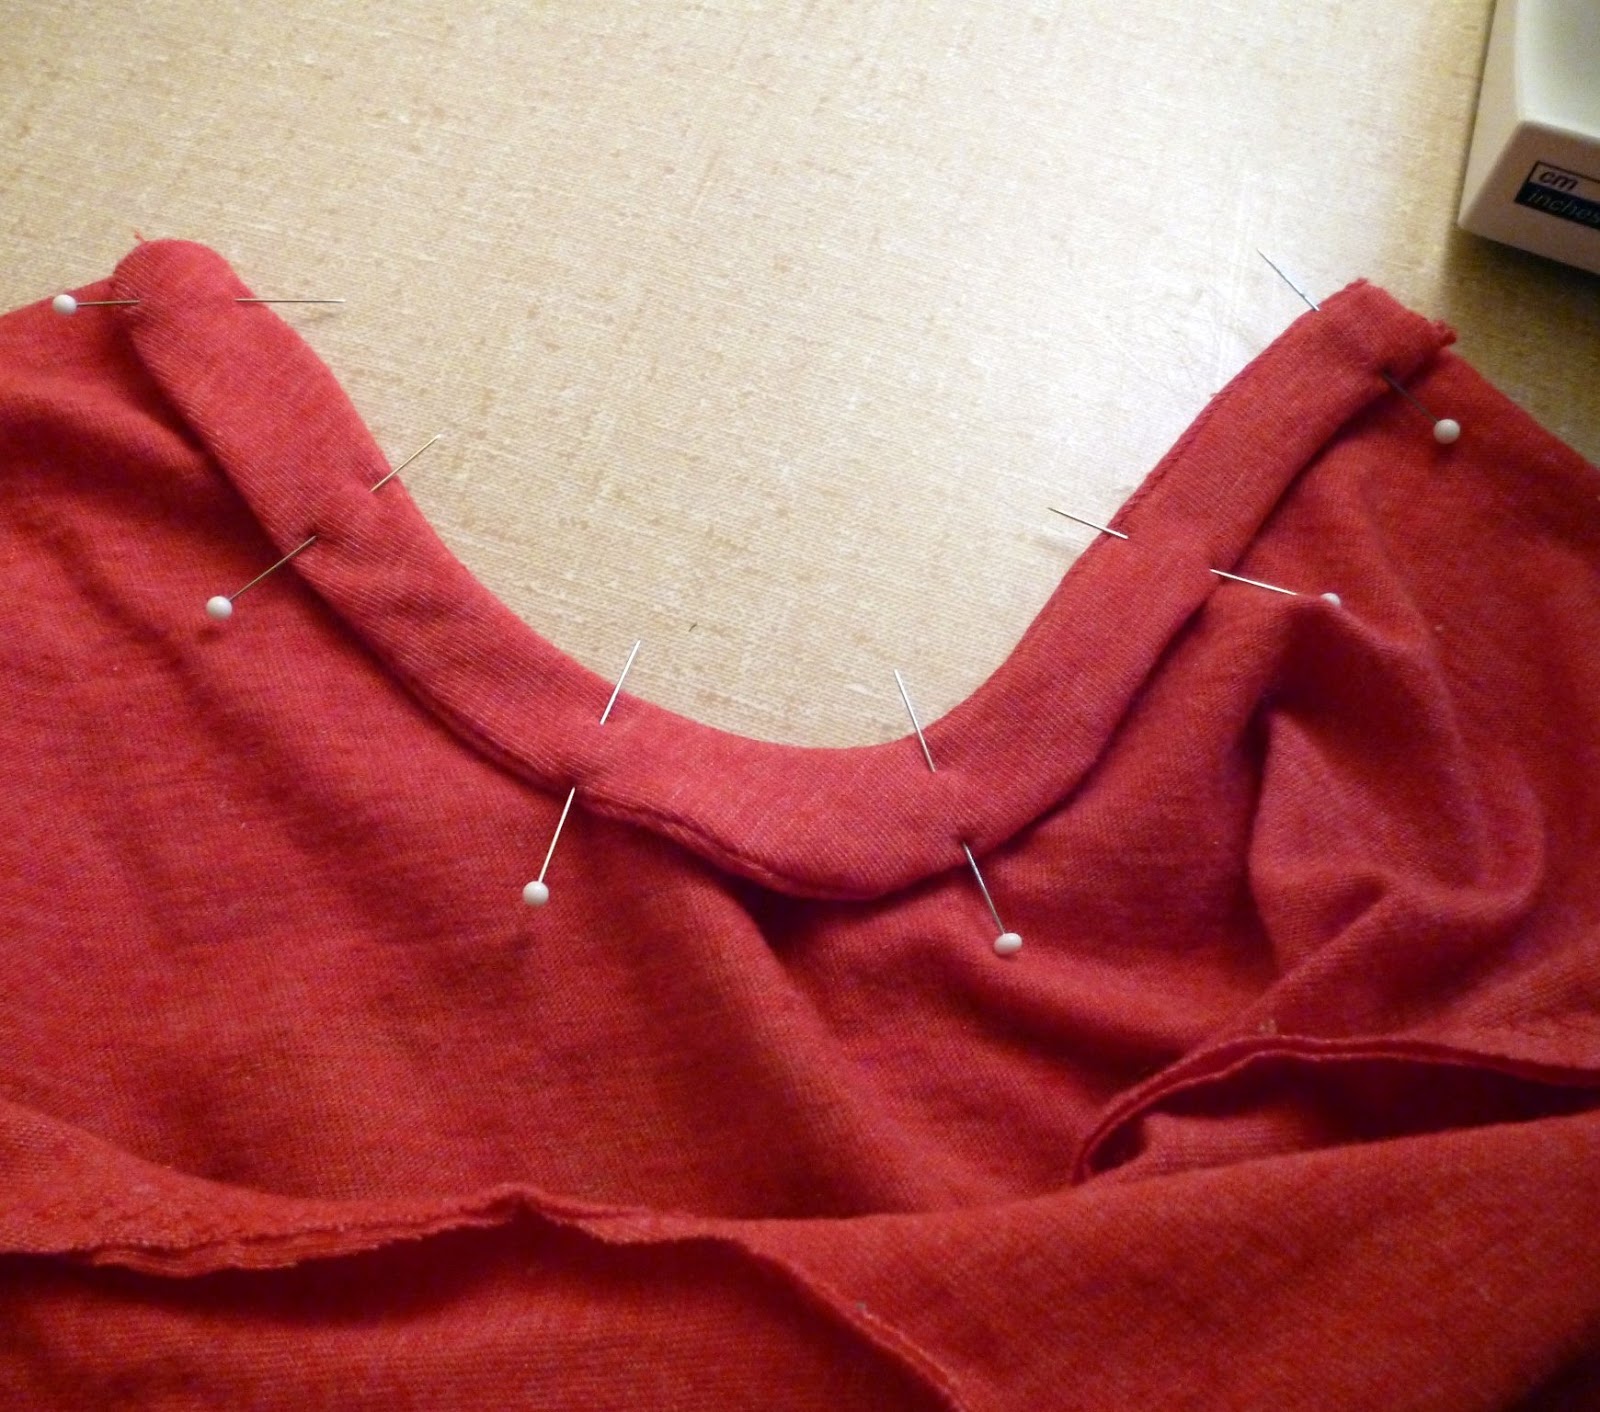
1. Lay out your t-shirt and place the neckline of the pattern on the neckline of the shirt.
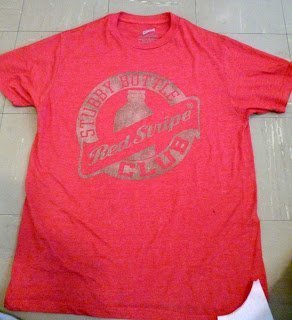
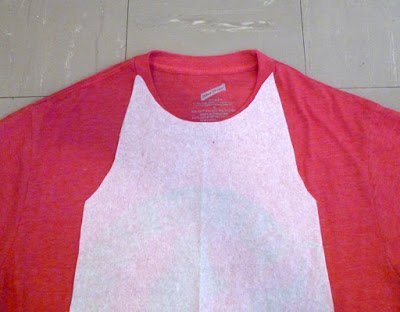
2. Pin through both layers.

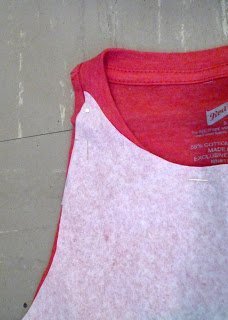
3. Cut out. At the neckline cut straight up then cut across into the neck hole at the top of the pattern. (If your neckline is really big, you might not need the whole neckline.
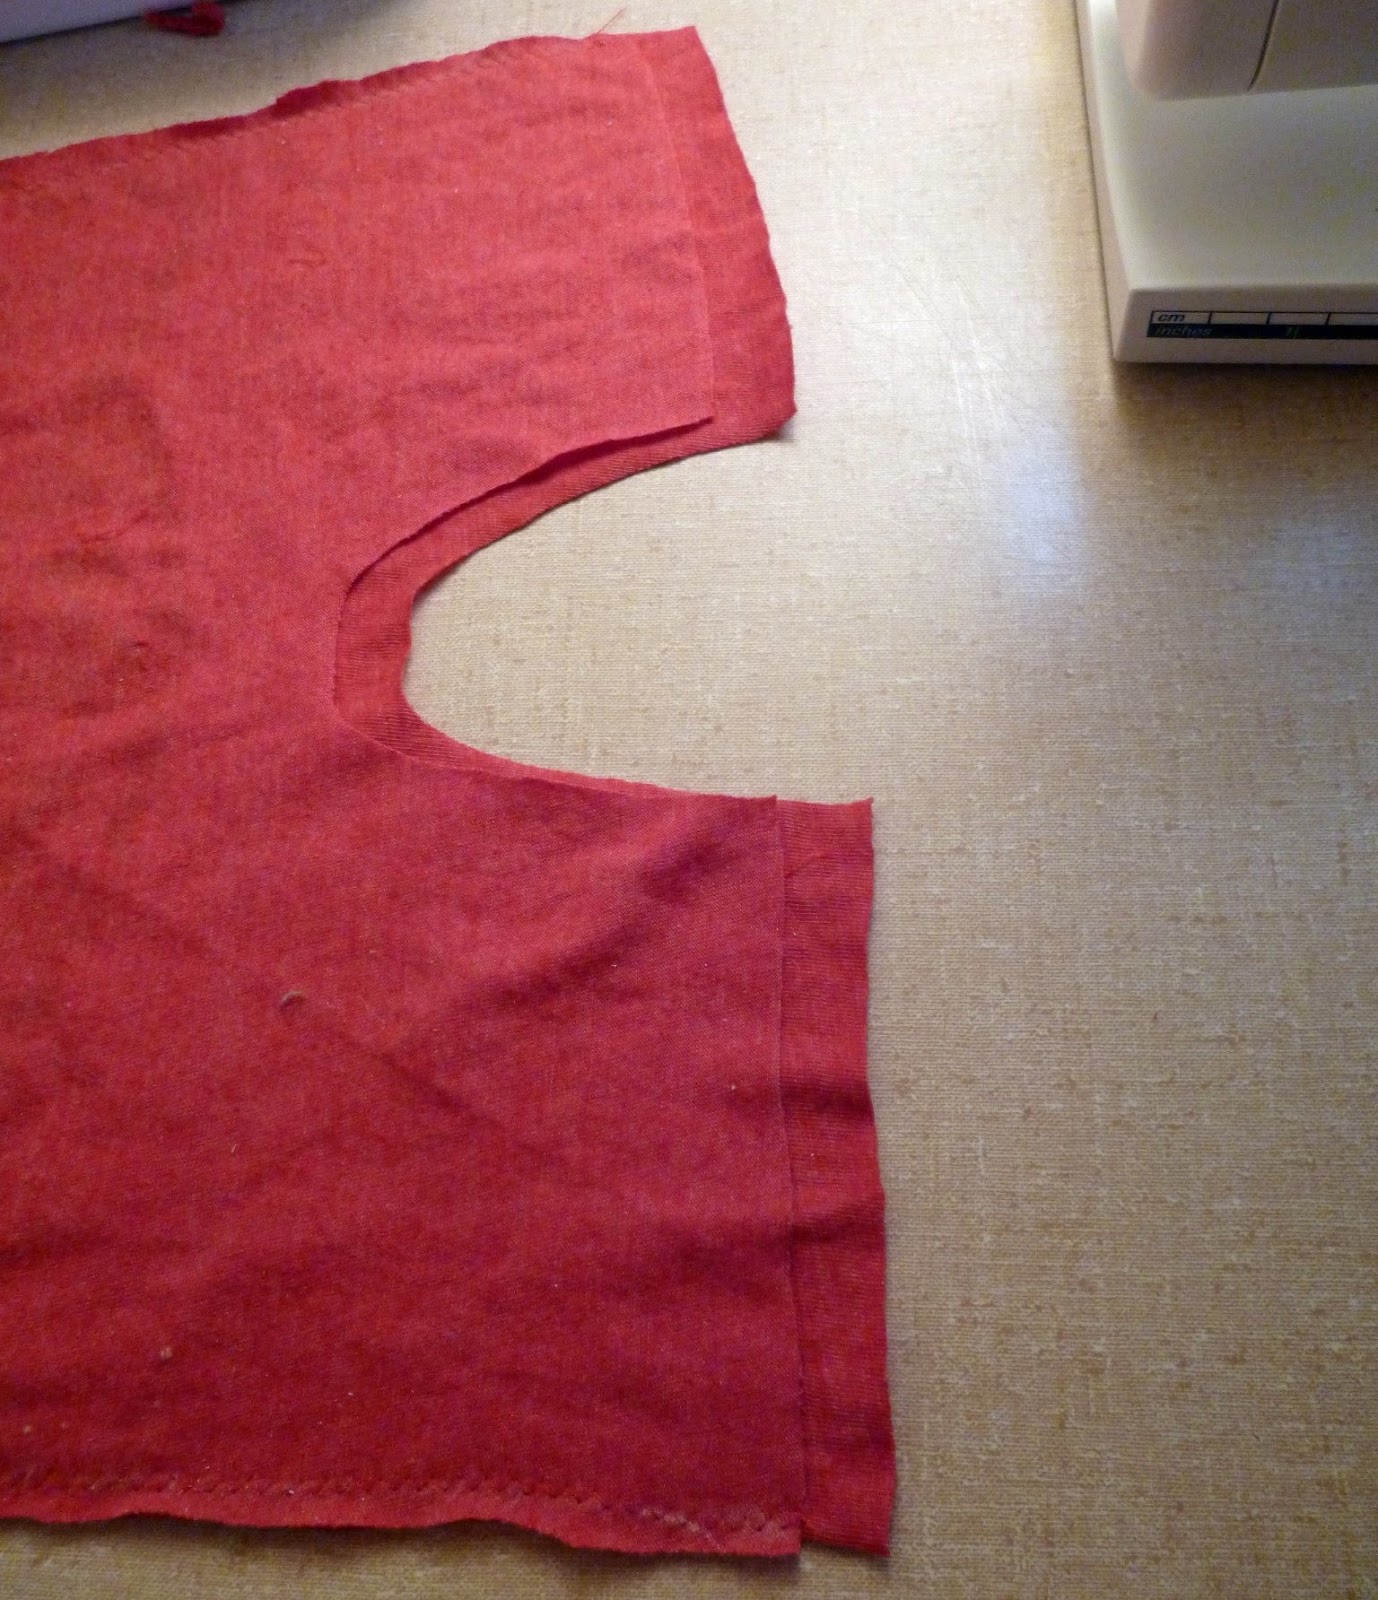
4. Cut out the other pieces. When cutting out the sleeves, place the bottom on a hem so you don’t have to hem the sleeves. You should have one front and one back, four leg opening pieces, two sleeves, and one crotch piece.

5. Perfect the shoulders by angling in the edge so that the neckline ends in a point.
Sewing Instructions
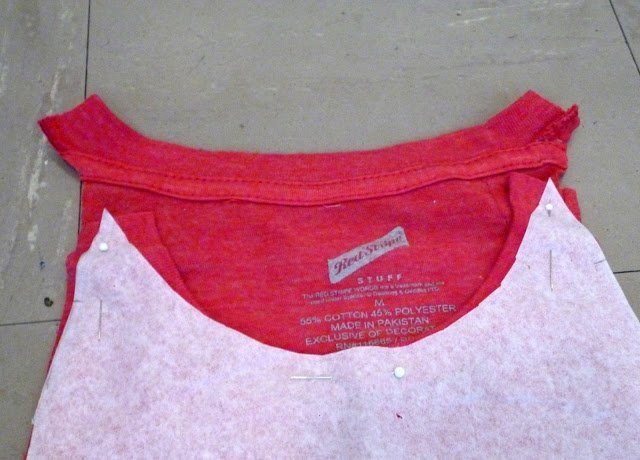
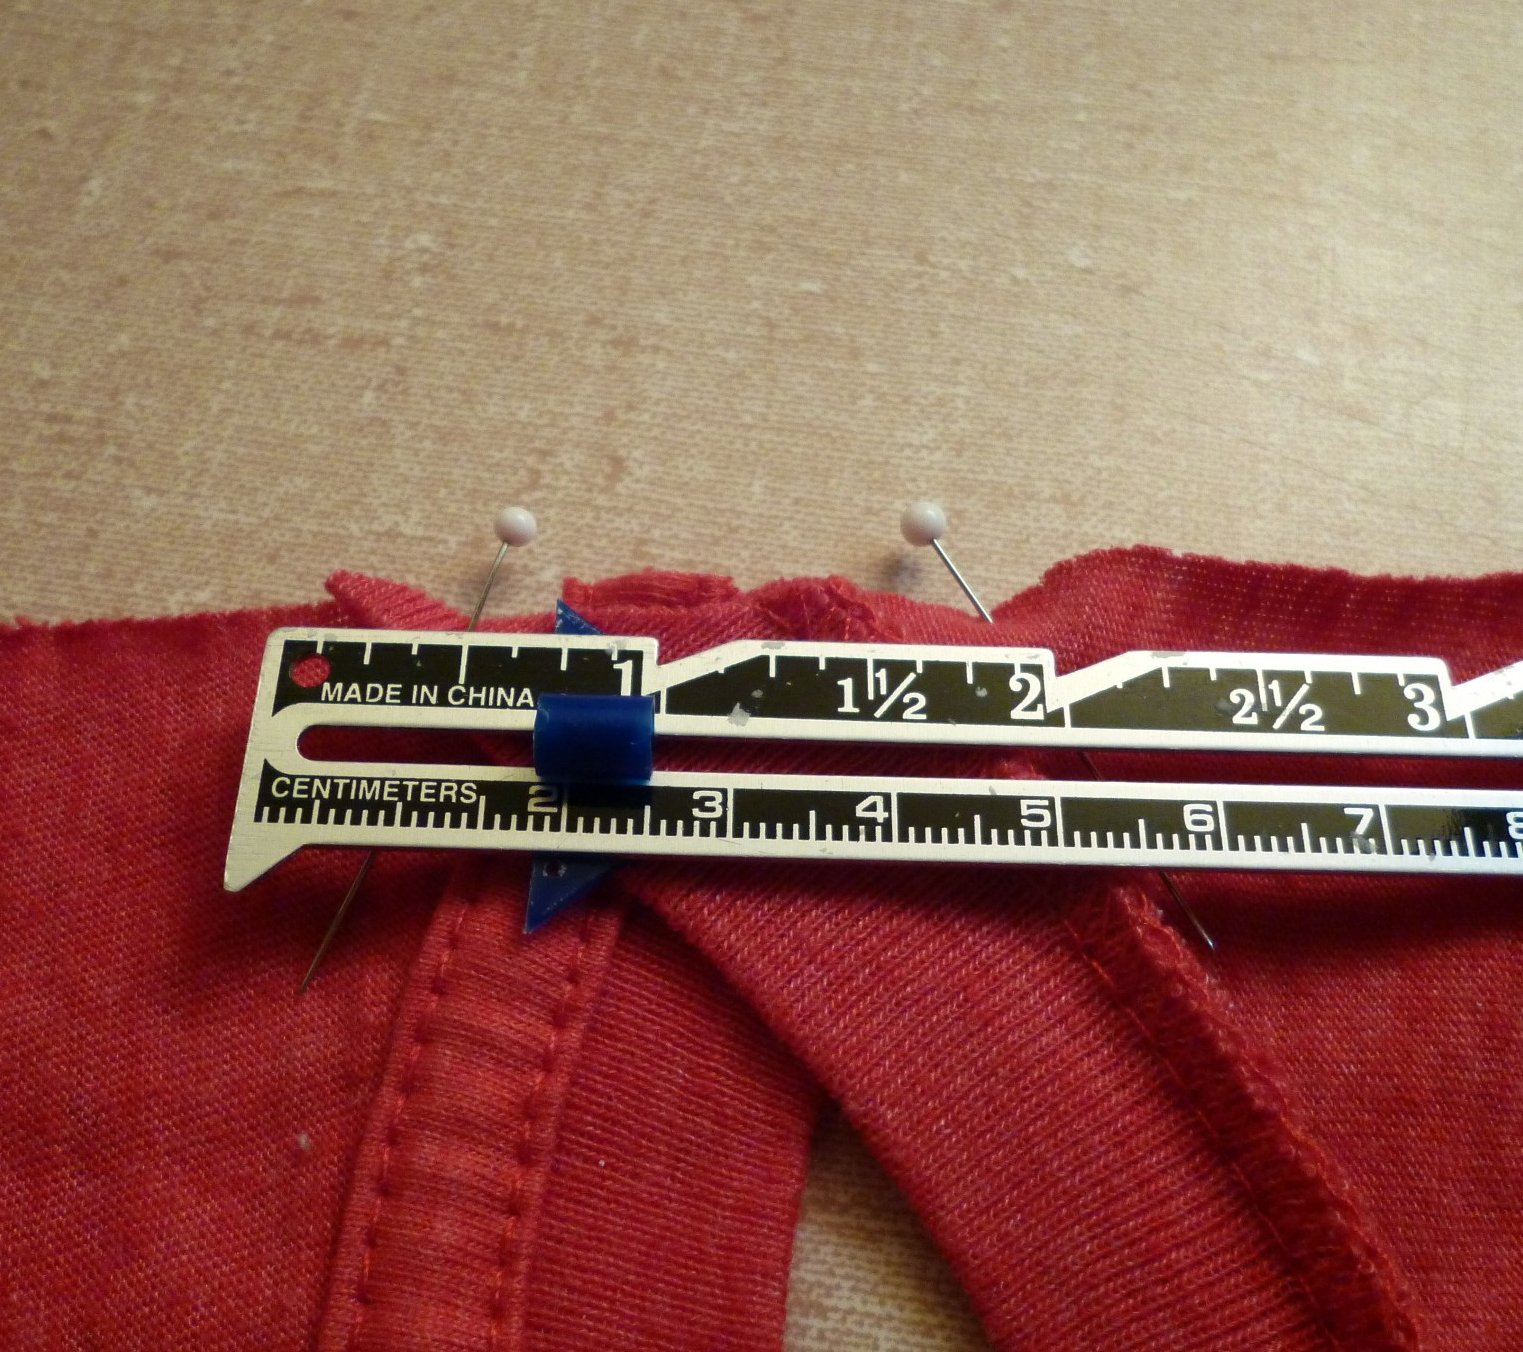
6. With the back on the bottom right side facing down and the front lying on top facing down, overlap the points by 2″.
*This is where you can alter the pattern for head size and shoulder width. If your baby has a big head and wide shoulders, overlap less. If your baby has a small head and small shoulders, overlap more.
7. Find the center of the sleeve by folding in half.

8. Line up the center of the sleeve with the center of the 2″ right sides together.

9. Sew a zigzag at 1/4″.

This is what your neckline and shoulders should look like.

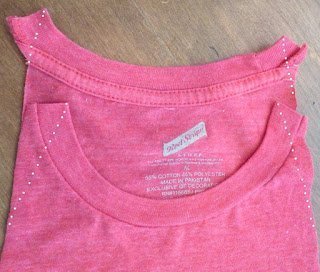
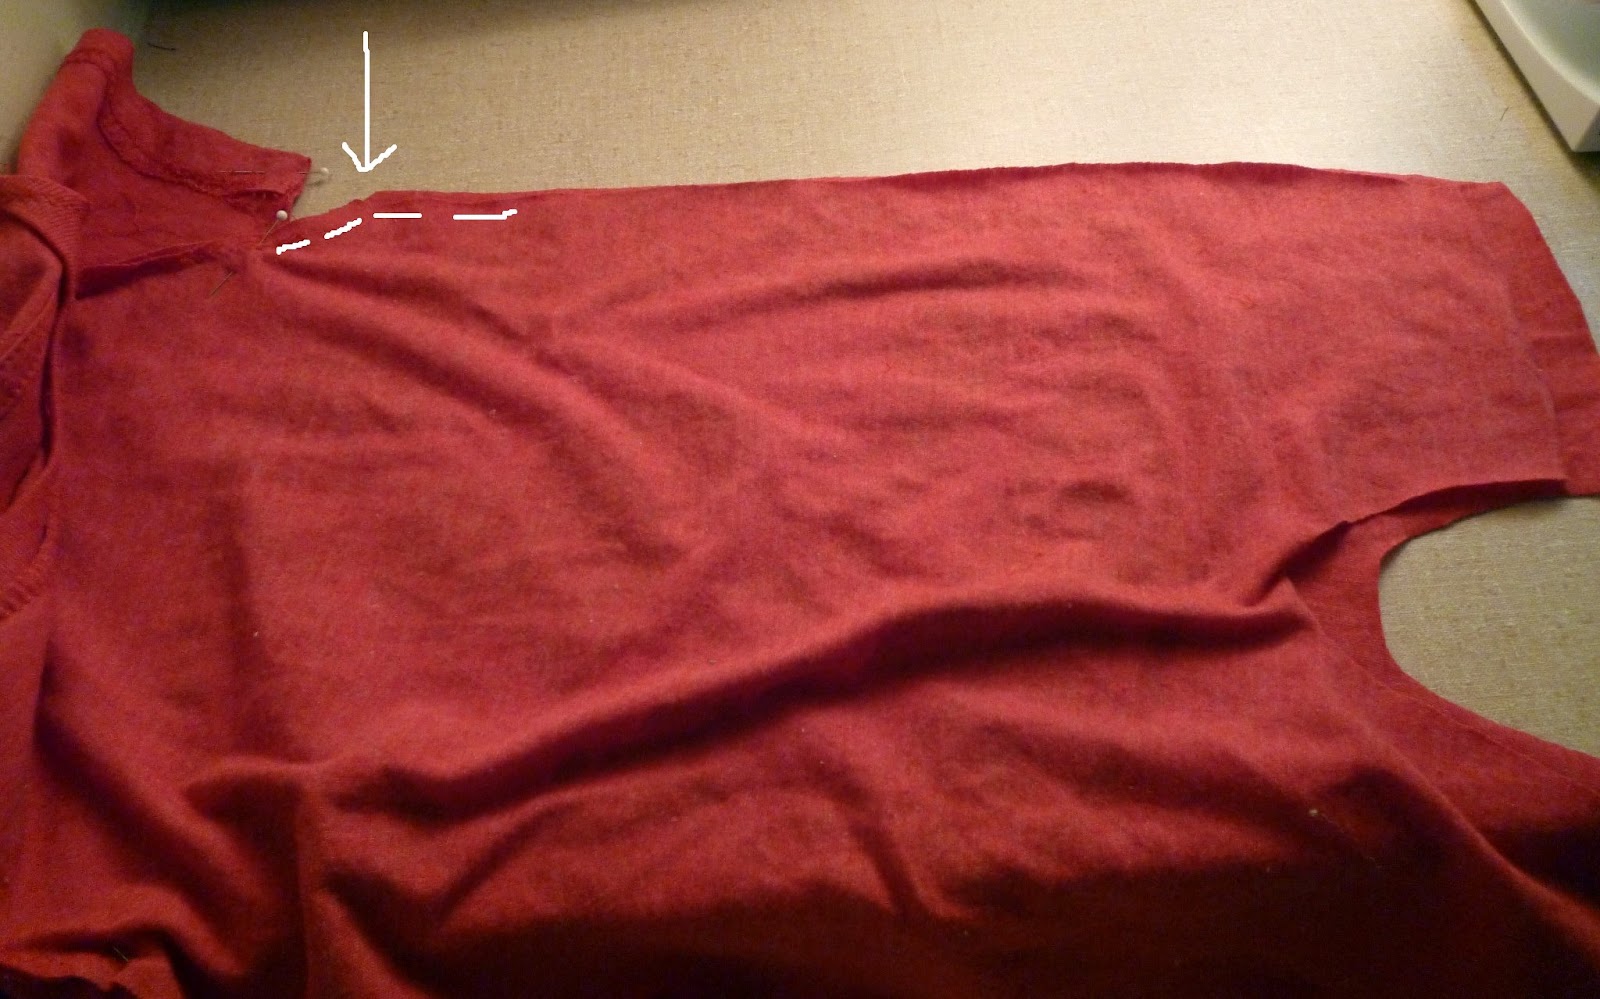
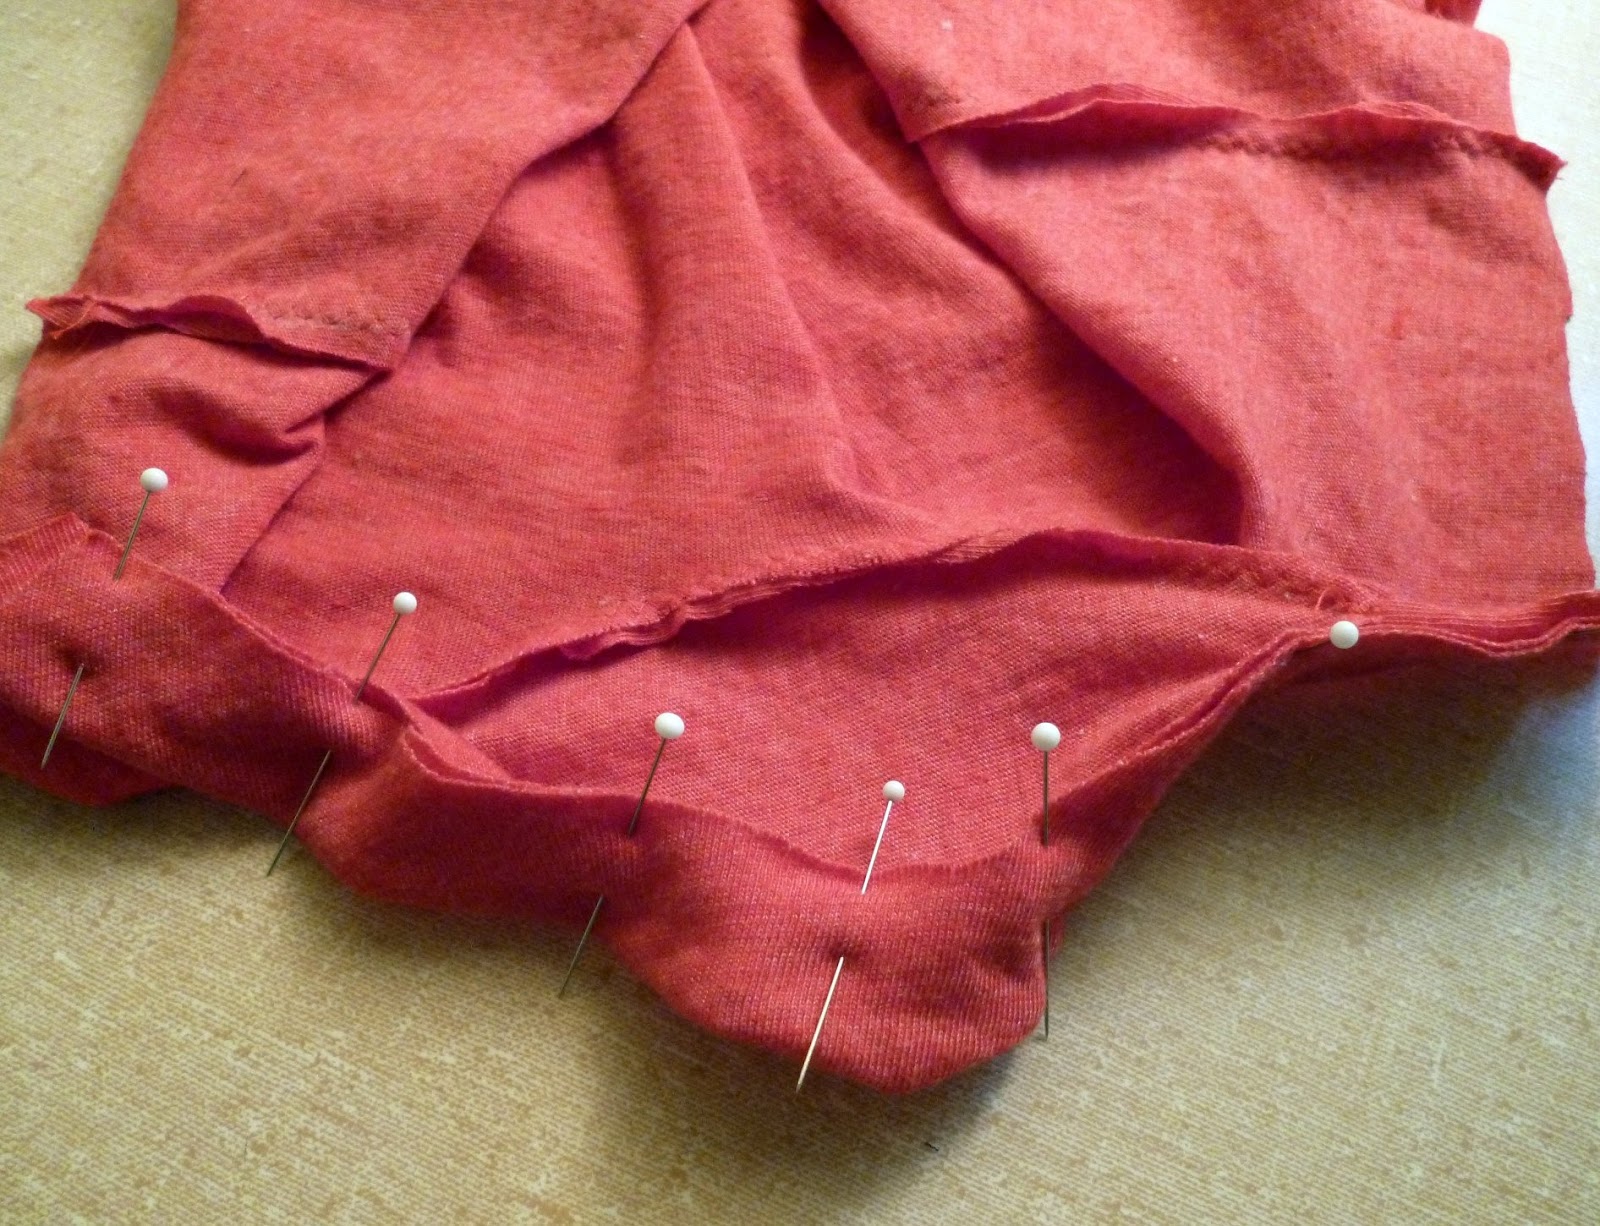
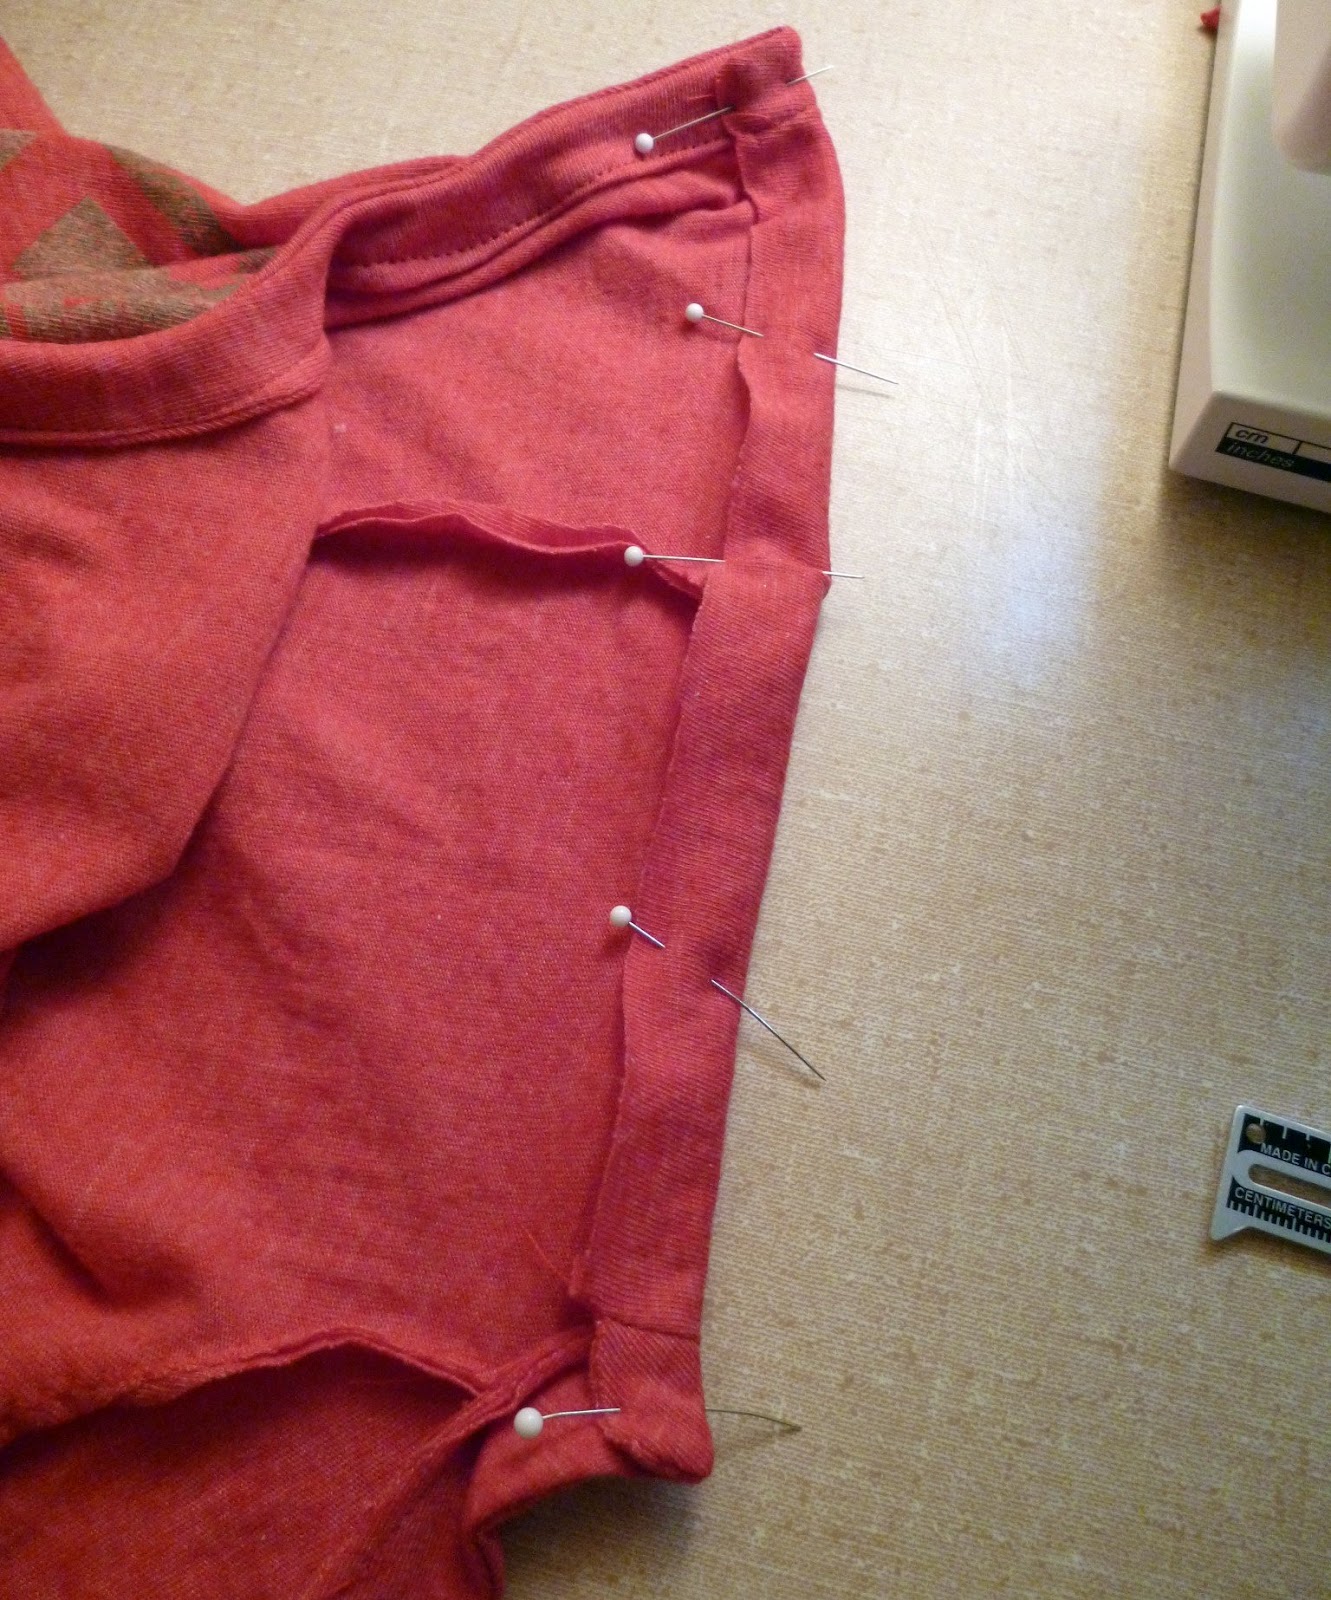
10. With right sides together line up the sleeve seams at the armpit. There will be a difference in length because of the size of the neckline.
Also, the white arrow is point to the corner where the side should meet the sleeve. It doesn’t meet because I overlapped my neckline 2″. If you overlap yours less, I left room on the pattern so that you will have more room in the sides.
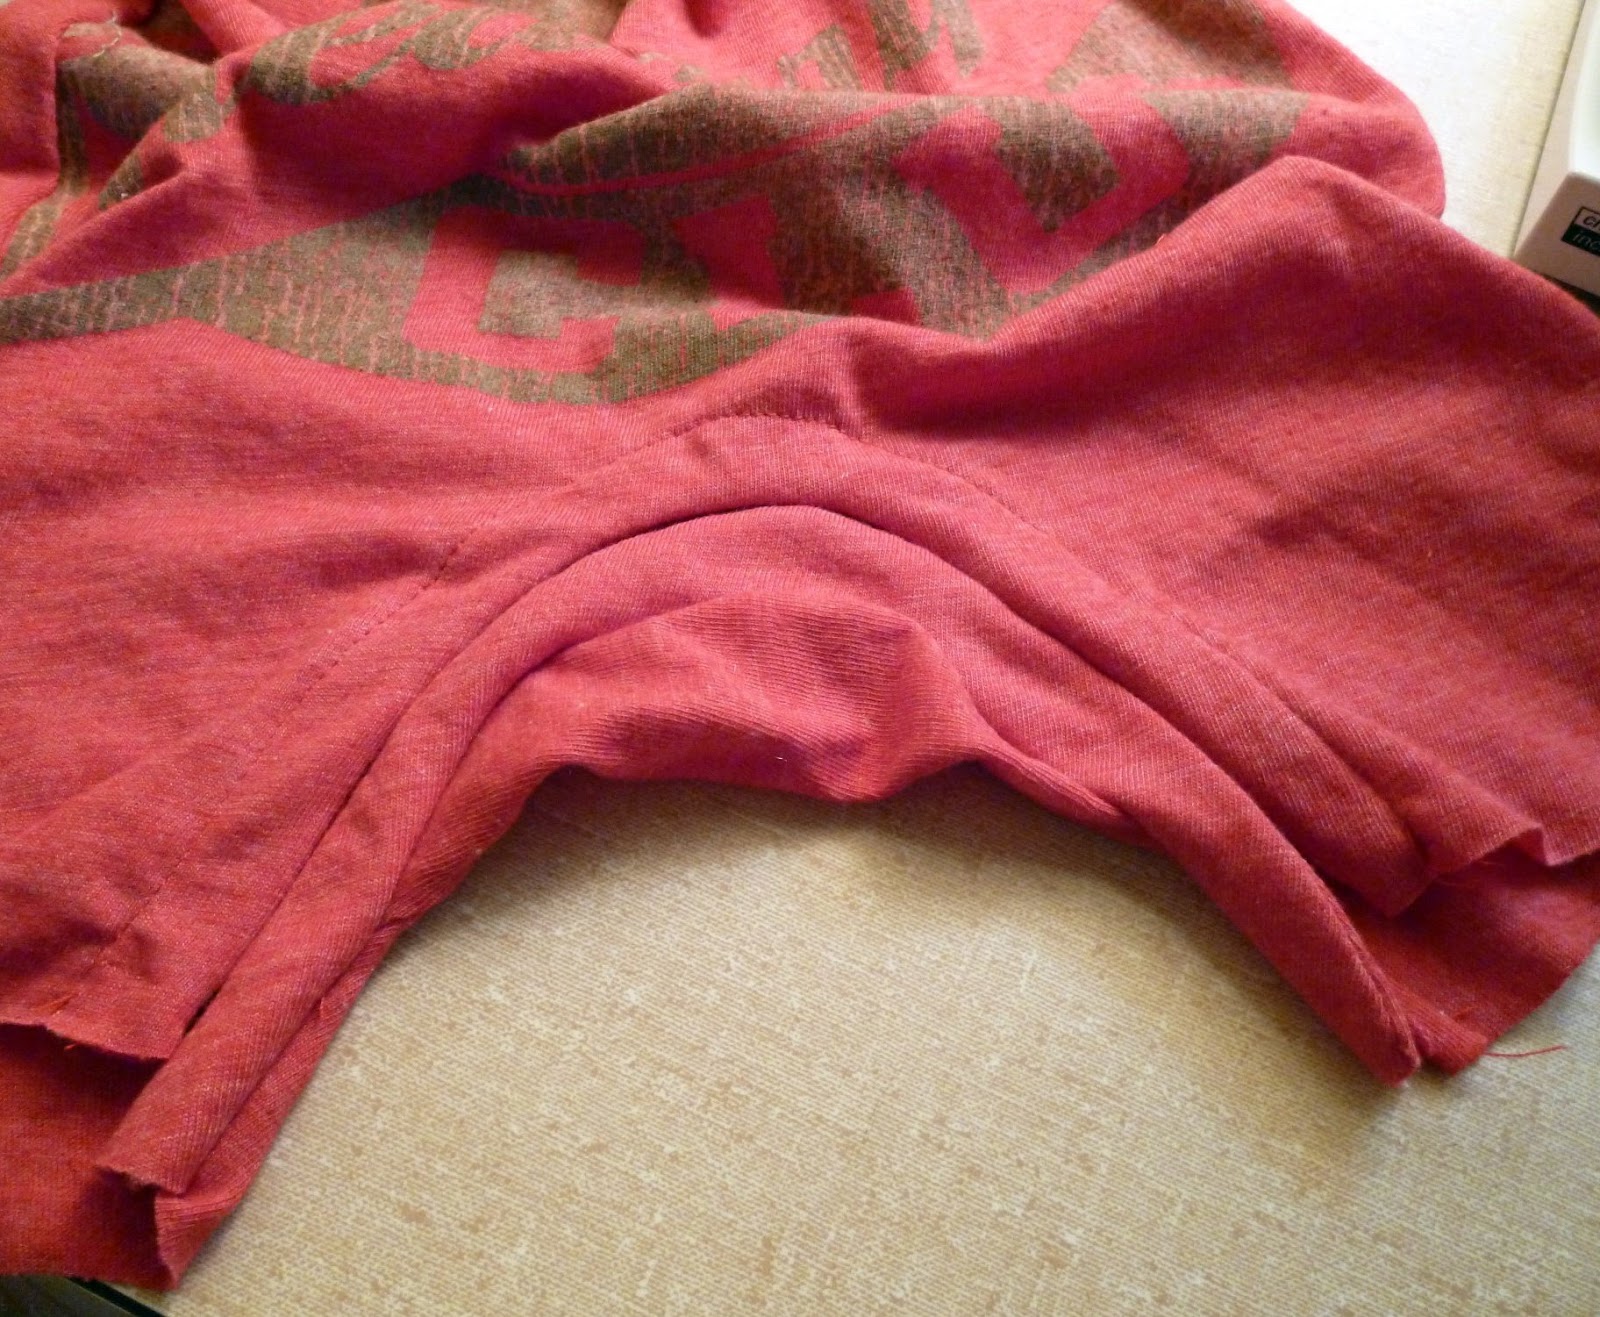
11. I drew a line from my sleeve seem to my hem and pinned. (It’s hard to see in the picture.) Sew with a zigzag at 1/4″ from sleeve hem, pivot under the sleeve and then sew down to the bottom.
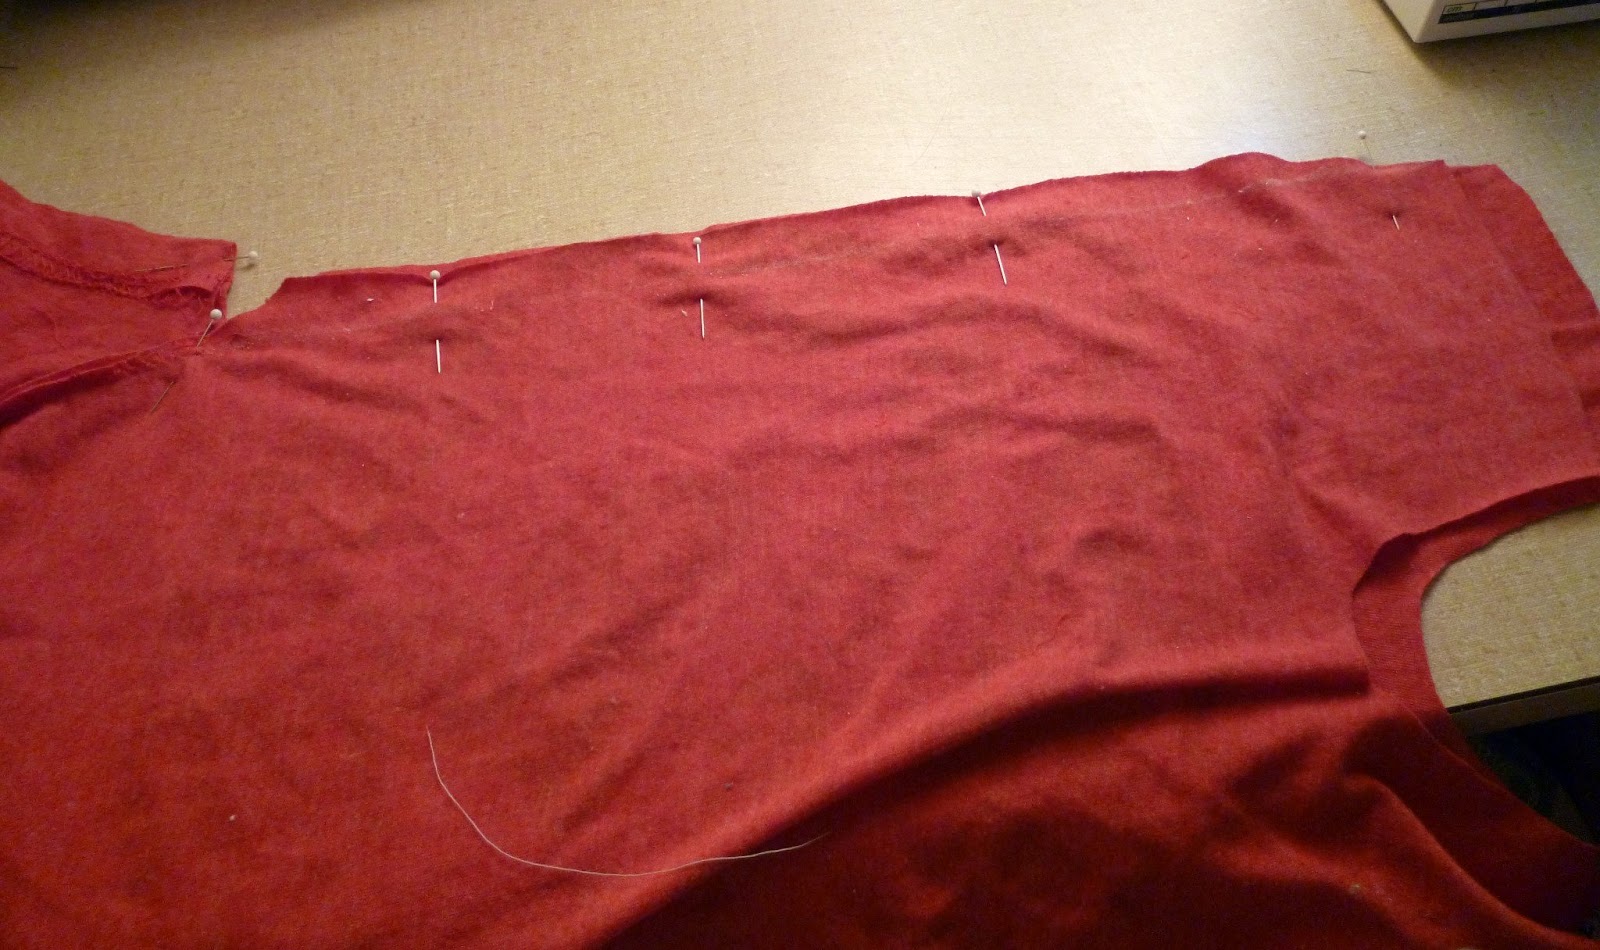
12. Trim off excess.
13. Now lay down your shortall and cut off the excess so that the back to matches the front.
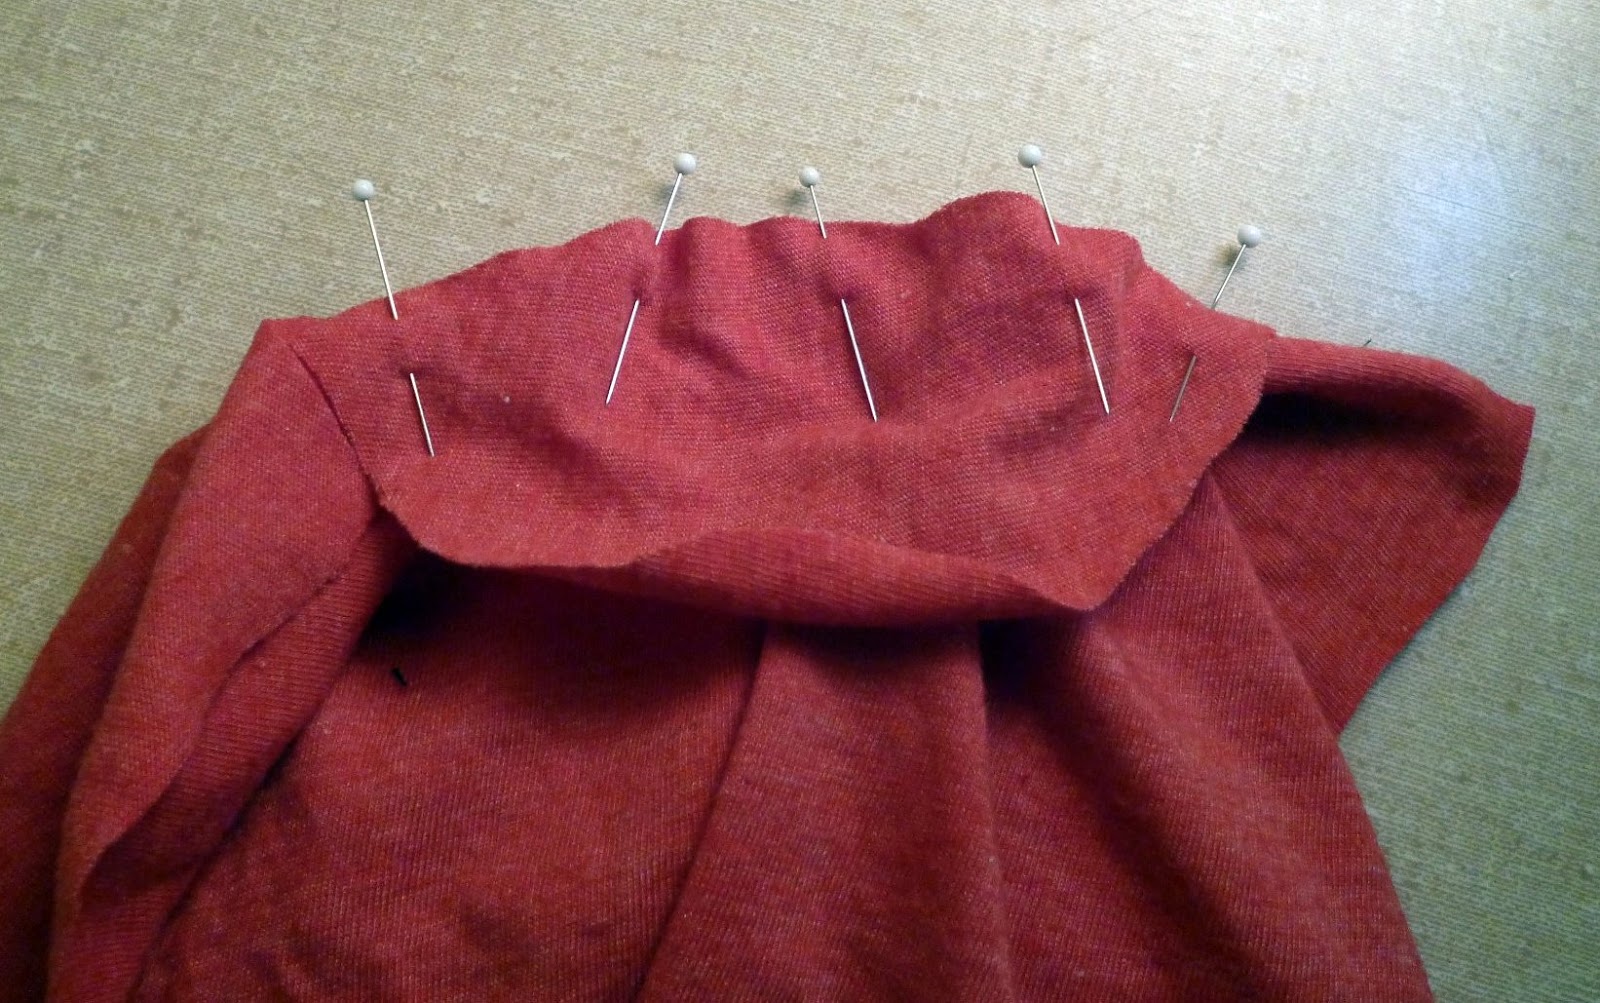
14. Fold the back and the football to find the center of each.
15. With right sides together, match the centers together.
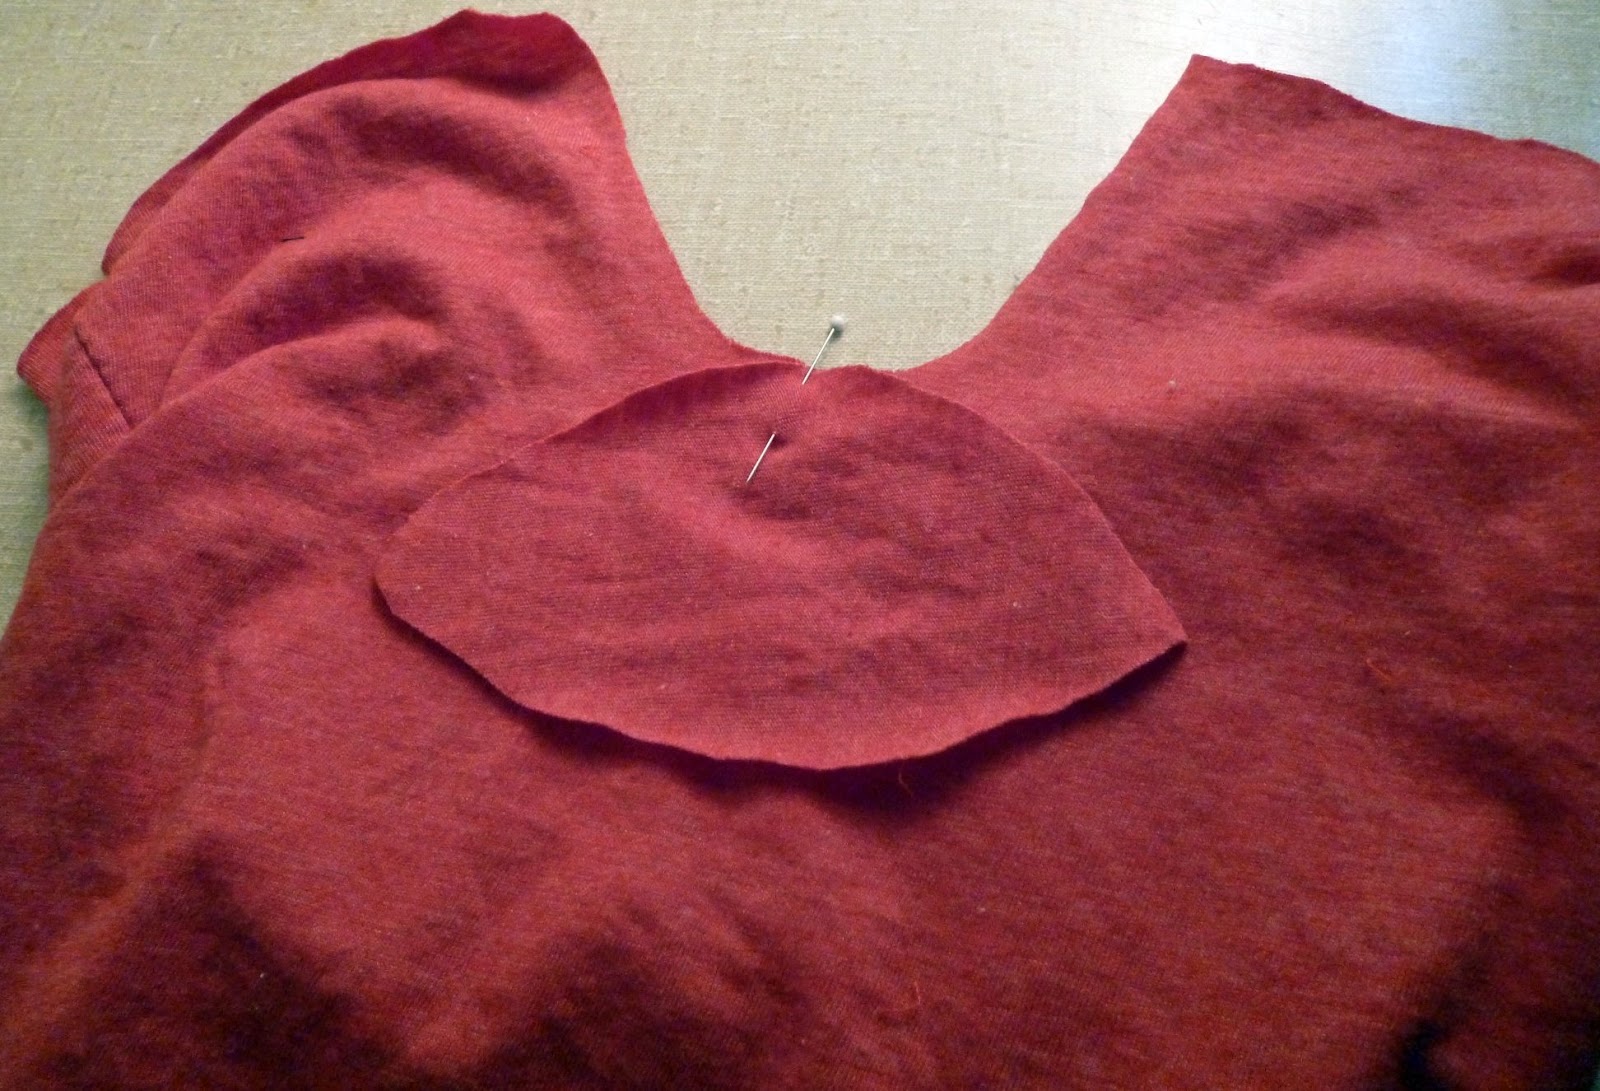
16. Pin together. This is a little tricky because the two pieces are opposing curves. Sew at 1/4″.
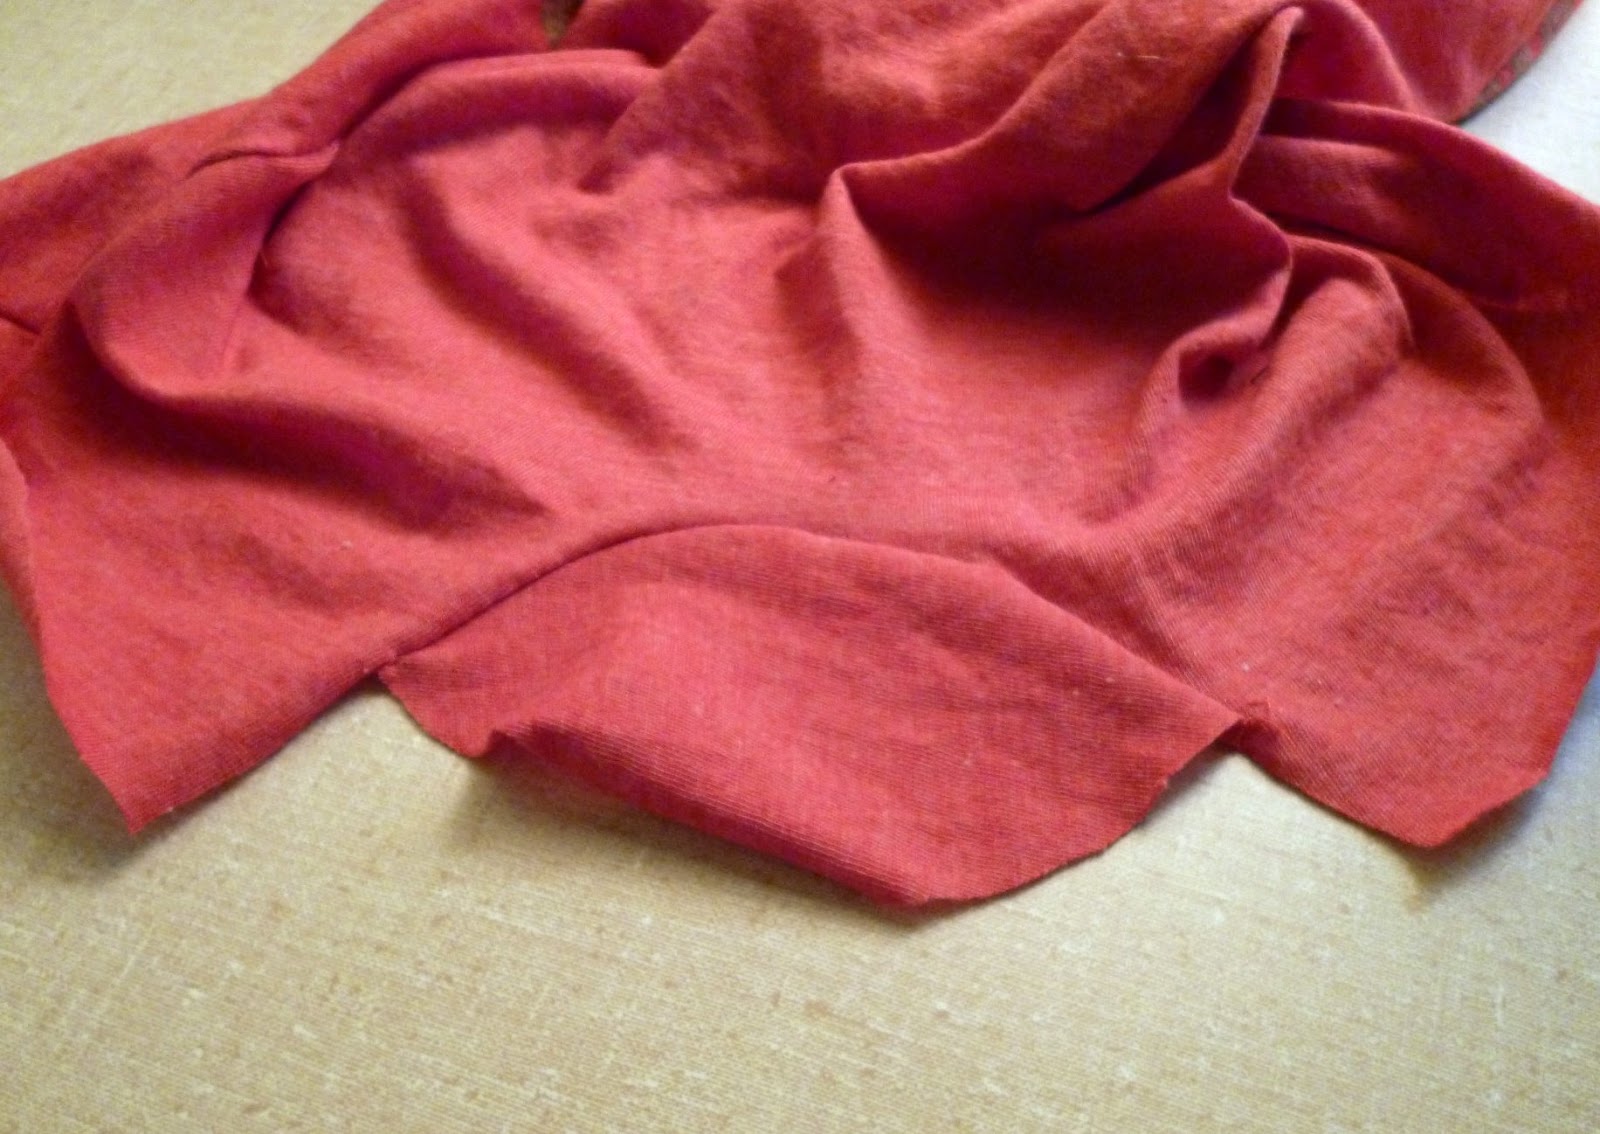
This is what it should look like.
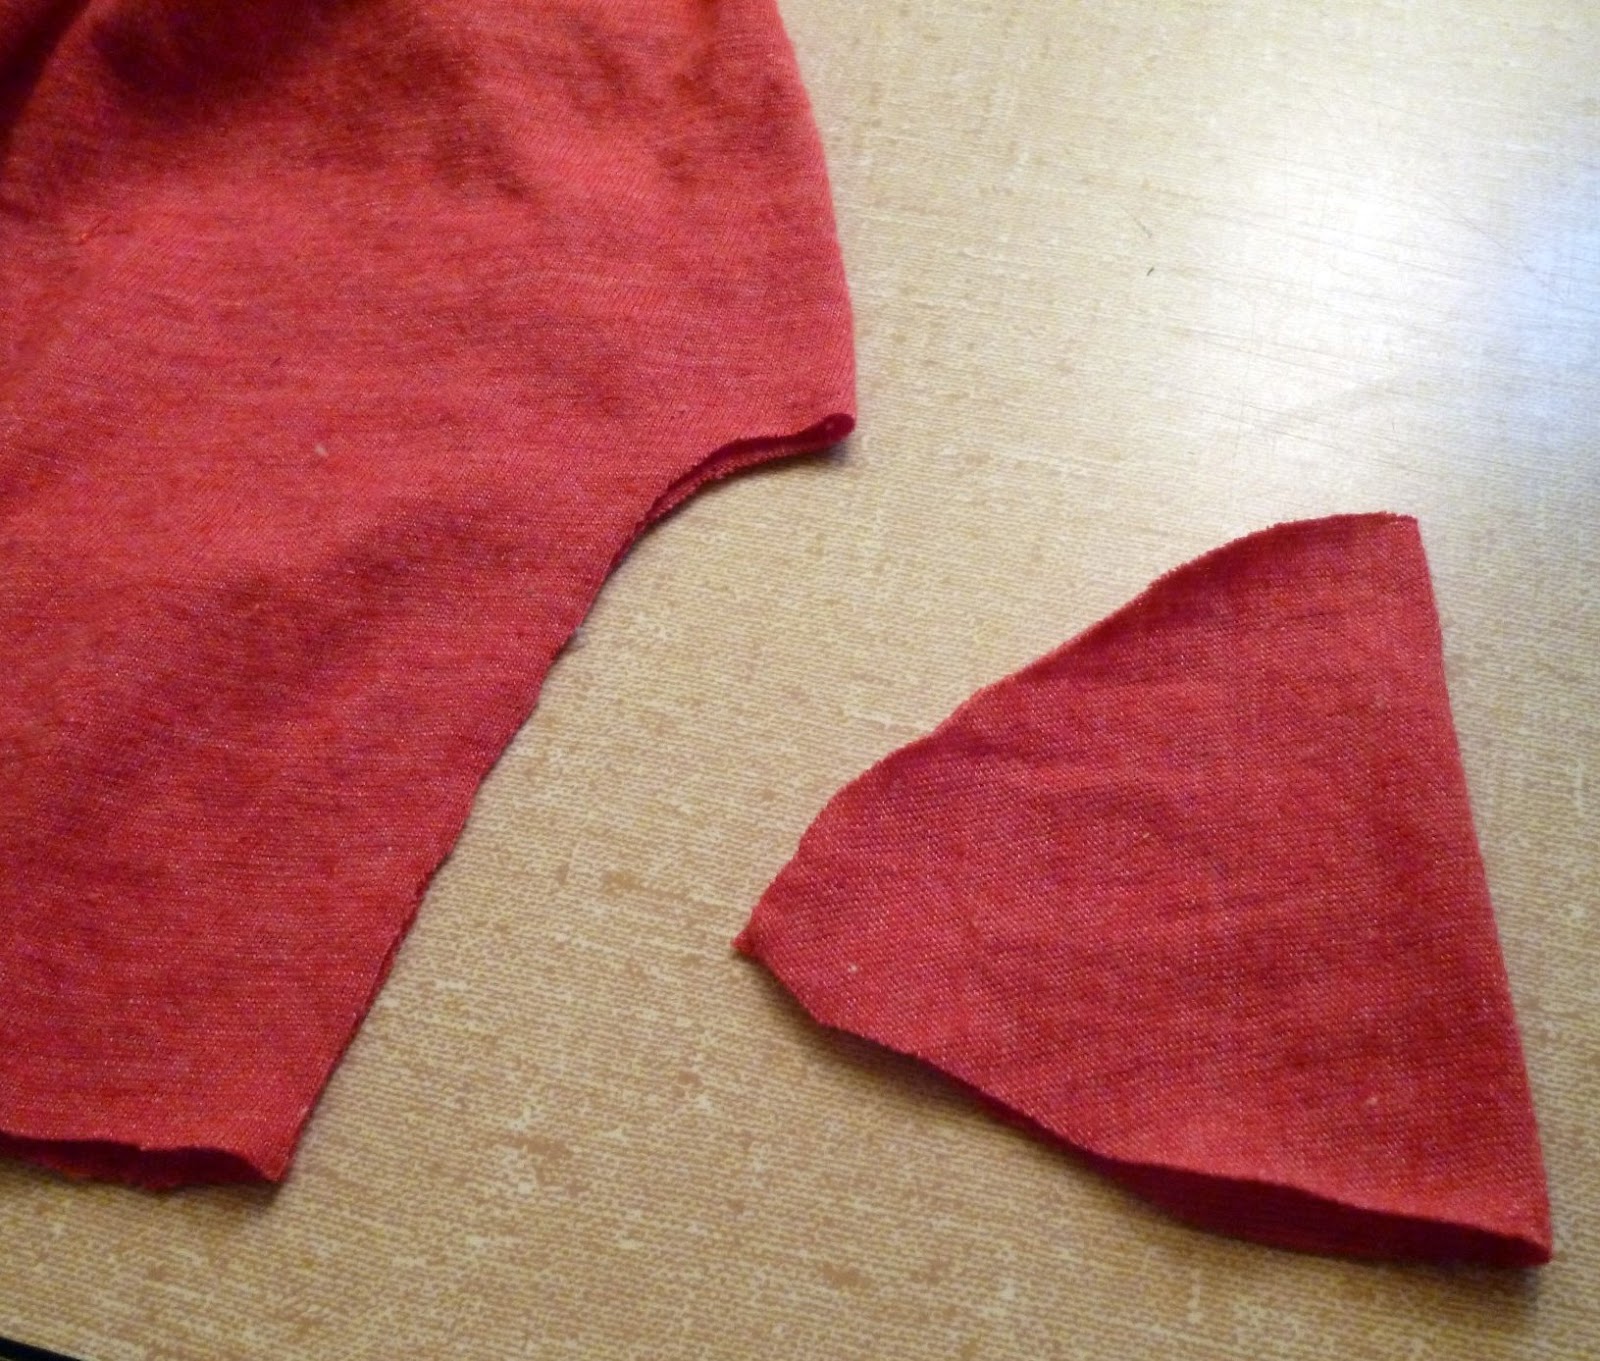
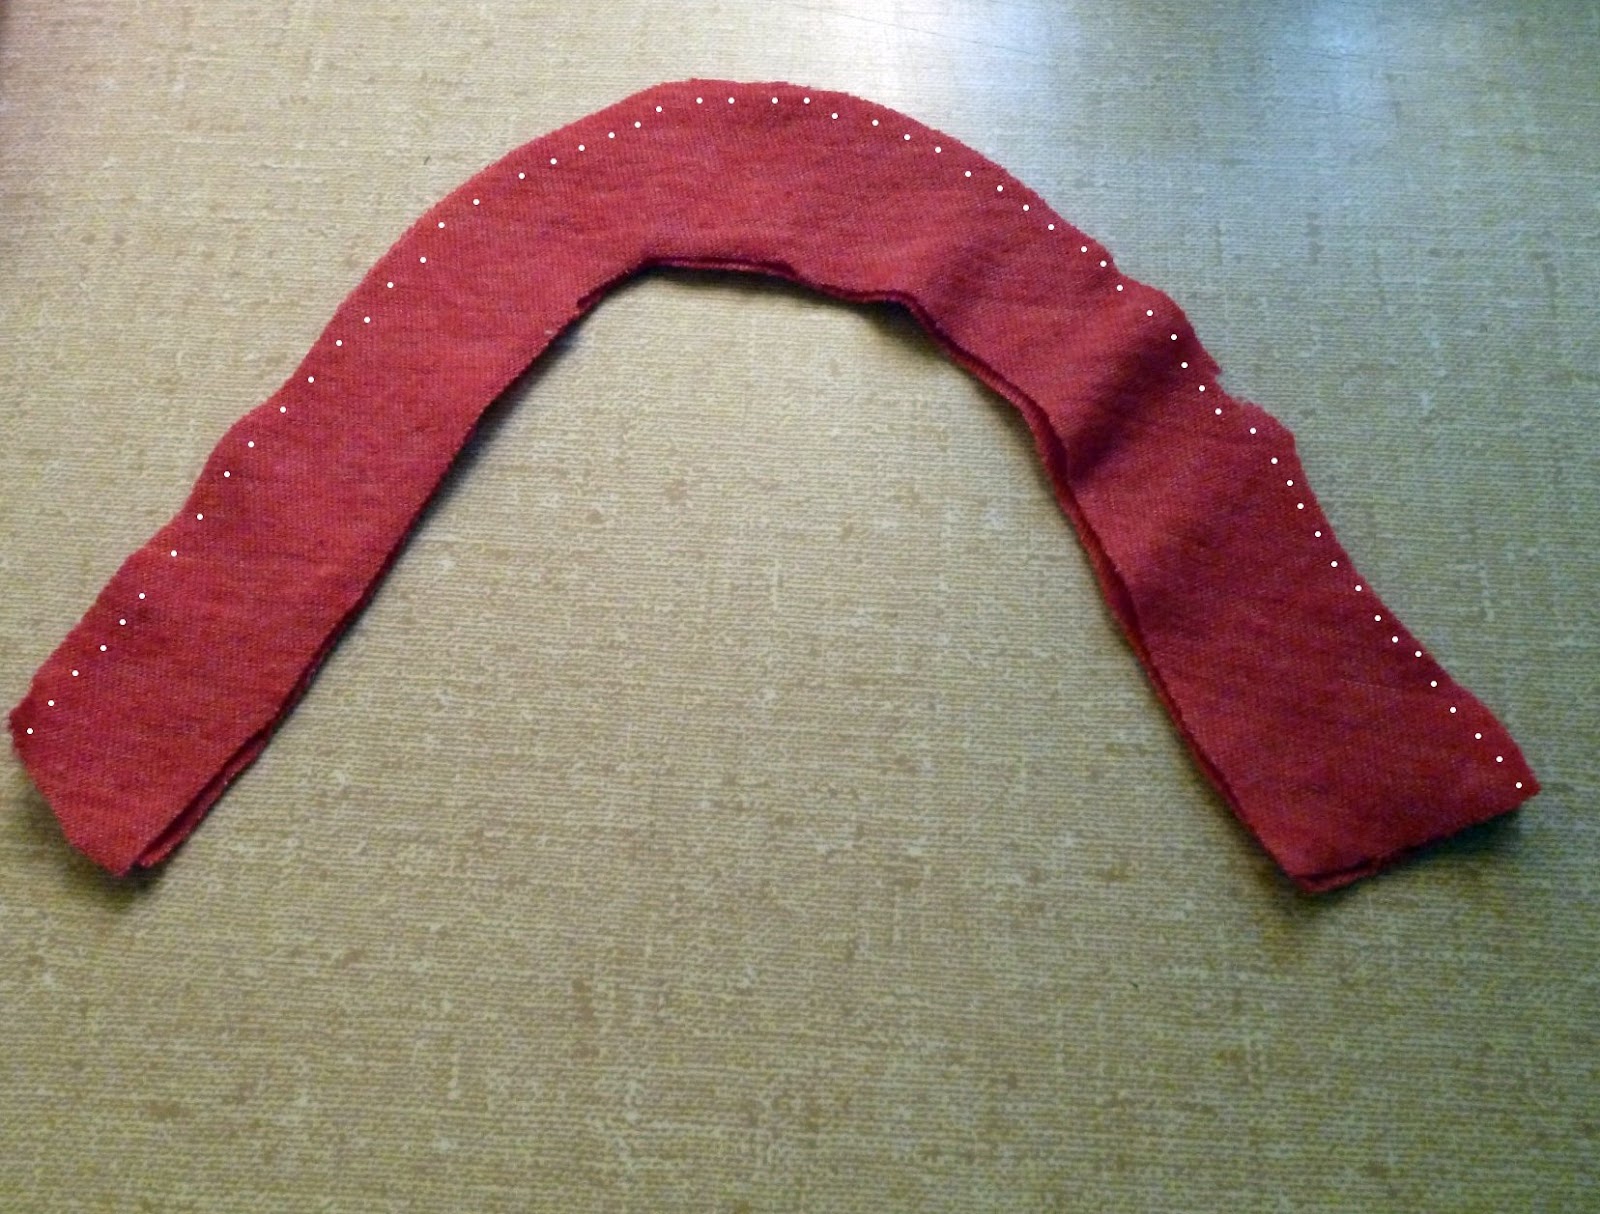
17. With right sides together sew with a straight stitch at 1/8″ on the outside curve. Do the same to the other two.
18. Turn right sides out.
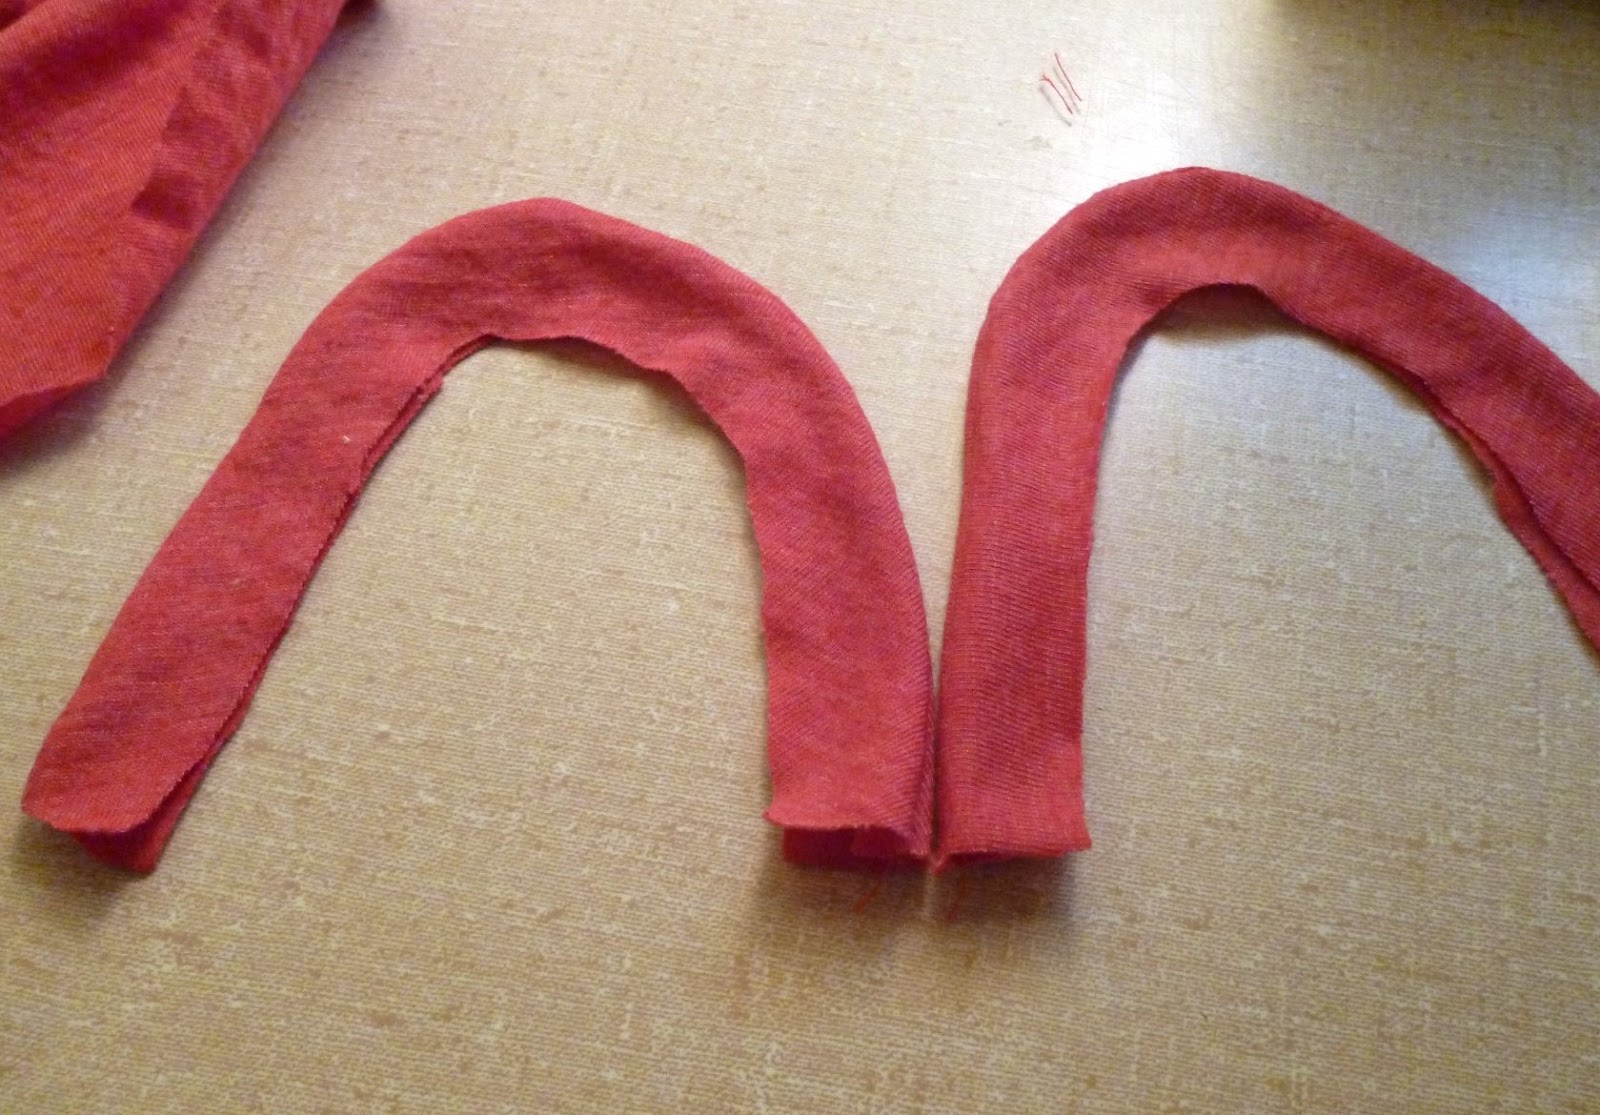
19. With rights sides together pin the inside curve to the front inseam. Sew with a straight stitch at 1/8″.
20. Flip over to the inside and sew with a straight stitch at 1/2″ from the inseam.
This is what it should look like.

21. With right sides together pin the inside curve to the back inseam.
22. Pin up the bottom 5/8″ and sew with either a zigzag or a double needle. Here’s how to use a twin needle.
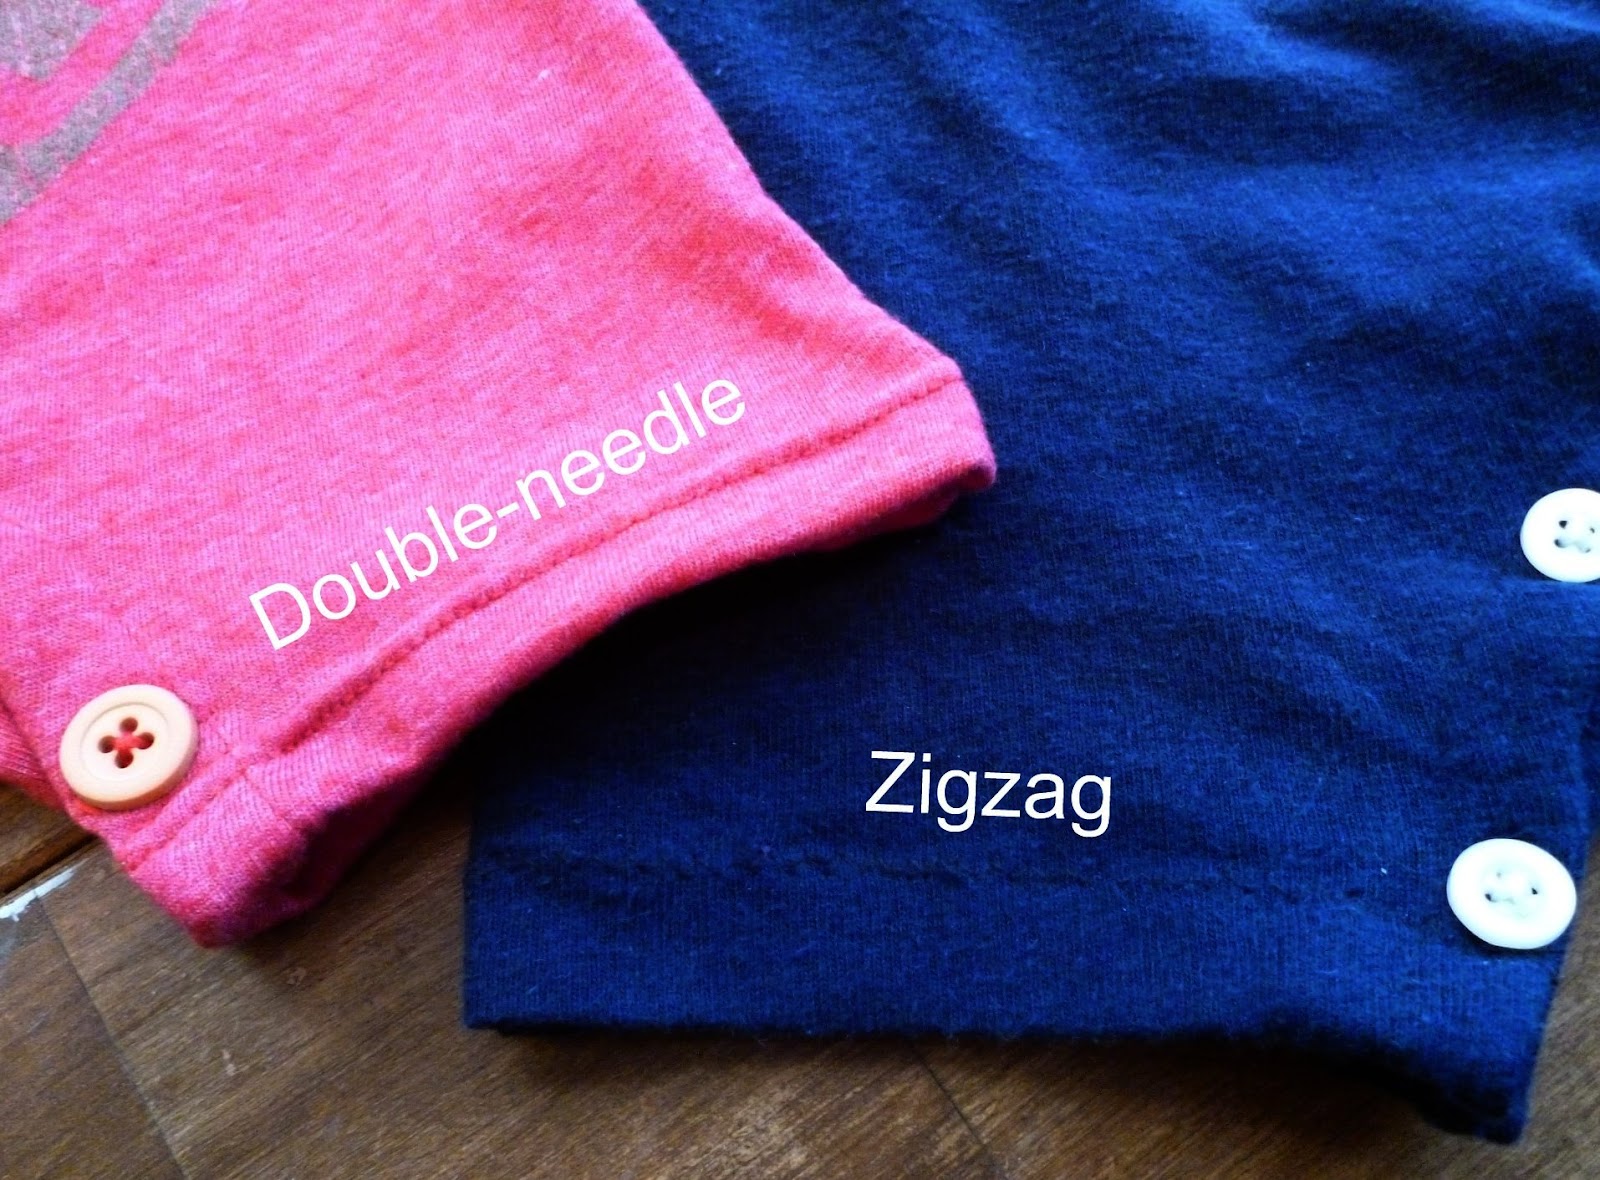
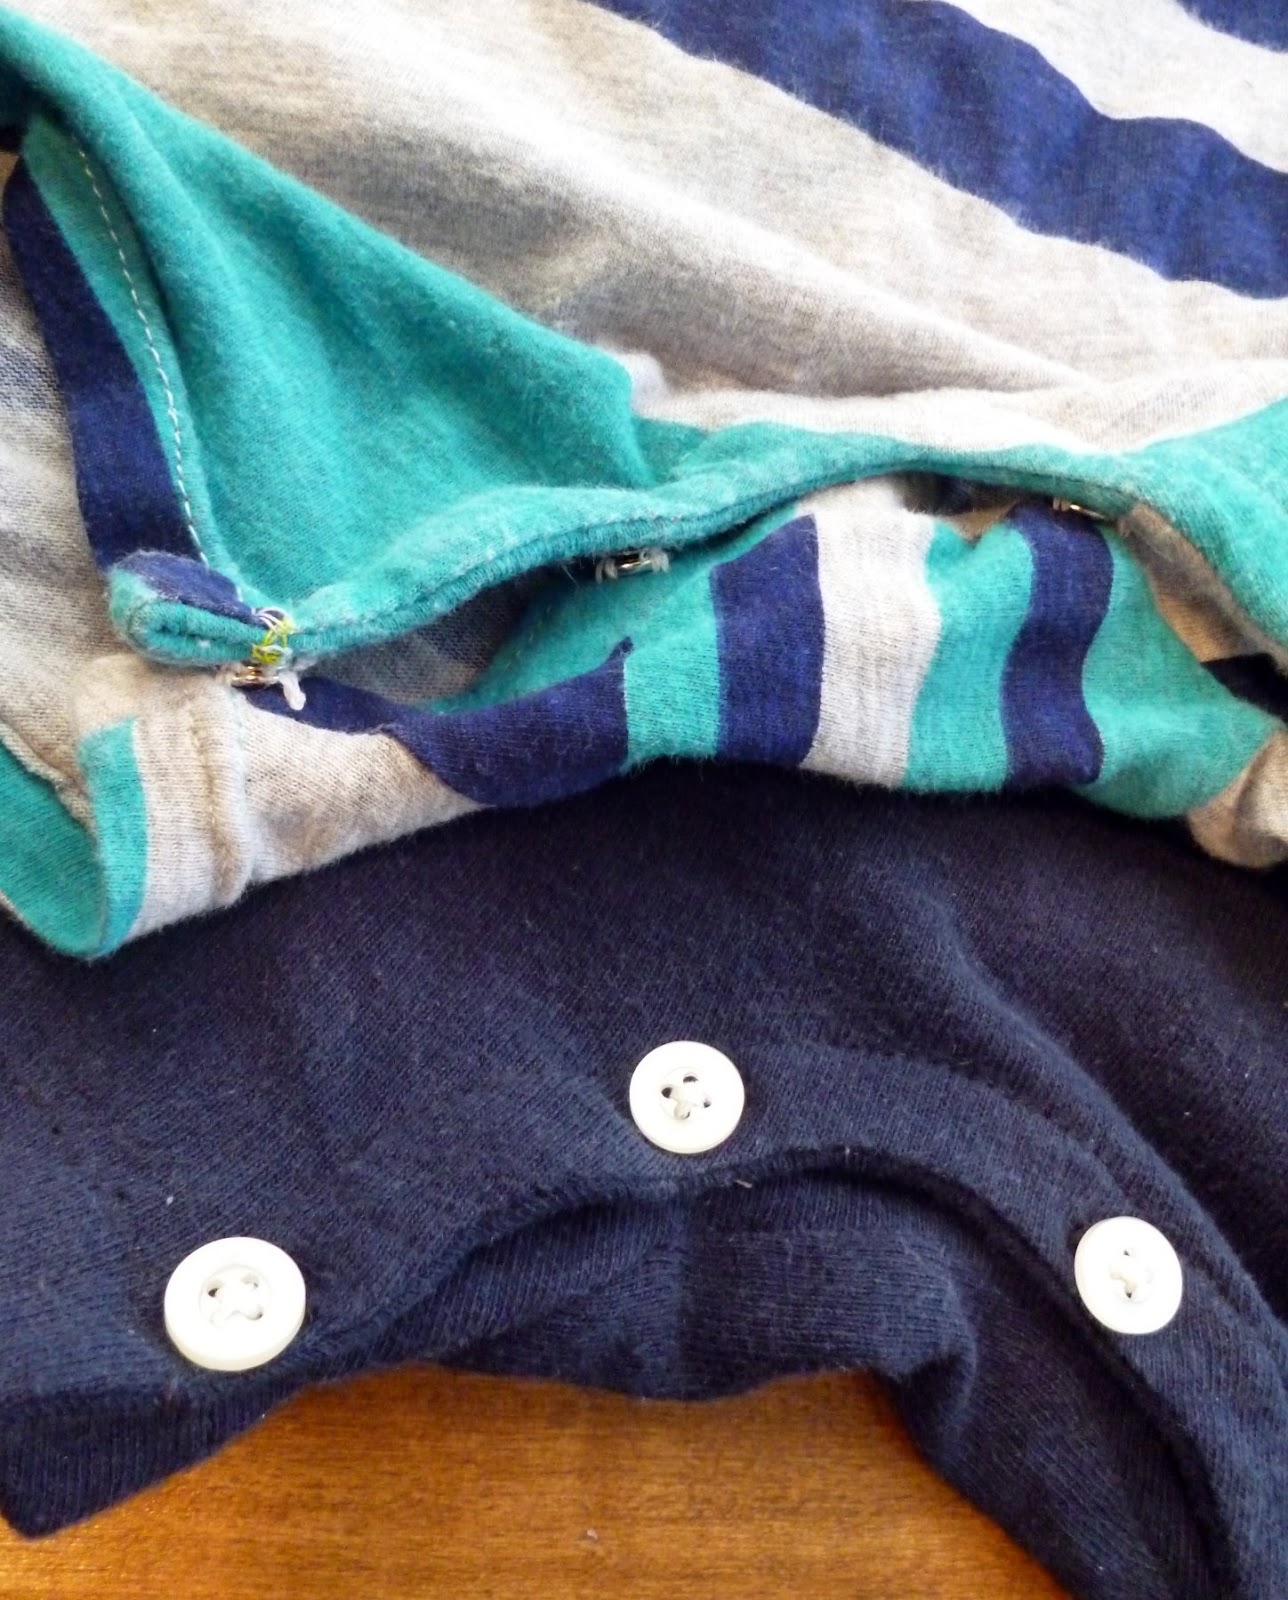
23. Apply the closure of your choice. I did both snaps and buttons. I actually prefer buttons and buttonholes.
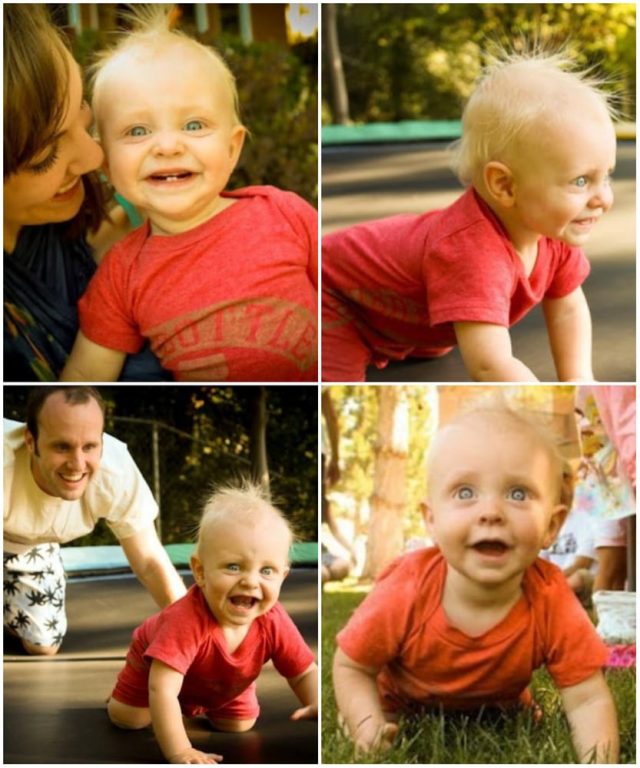
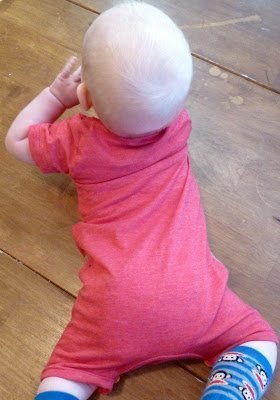
Put it on your cutie and enjoy upcoming summer!
Get the FREE Baby Romper Pattern or buy the multi-size pattern
Don’t forget to see the new tshirt romper tutorial for better instructions!
If you make something using this sewing project, I’d love to see! Please share it on social media with the hashtag #heatherhandmade and tag me!

I believe small sewing moments can create great joy. Find your own “right” way to sew. -Heather
I adore this pattern, you explain it all so easily and I was not intimidated making my first of them. I have 3 new little Great-Great Nephews who I made one each for. They have been getting lots of wear from rompers made with old rock and roll t-shirts. I would recommend this pattern to anyone! great work! Nancy
I am having trouble turning the little tubes and sewing them to the romper. Could you use seam tape instead?
I am having difficulty turning the tube pieces right side out and trouble sewing them without getting gathers as I go. Could seam tape be used instead?
lovely collection, I already knew most of the girls but I have to check out the gentlemen blogger!
Baby T-shirts
So I've made it through most of the pattern and it looks great, but I CANNNOT figure out steps 19-22. I just can't reconcile the pictures of what it's supposed to look like with the instructions and I'm literally stumped! I have this horseshoe with (once "right side out" one edge closed and one edge two flaps of fabric. It looks like you're pinning the closed edge onto the inseam, but then in the image of "what it's supposed to look like" it looks like the outer edge is the one that has the "inside out" edge. Please help!!
This is really cute. I used the hemmed bottom of the t-shirt in place of the U-shaped bands. Also stitched snap tape on them before attaching.