
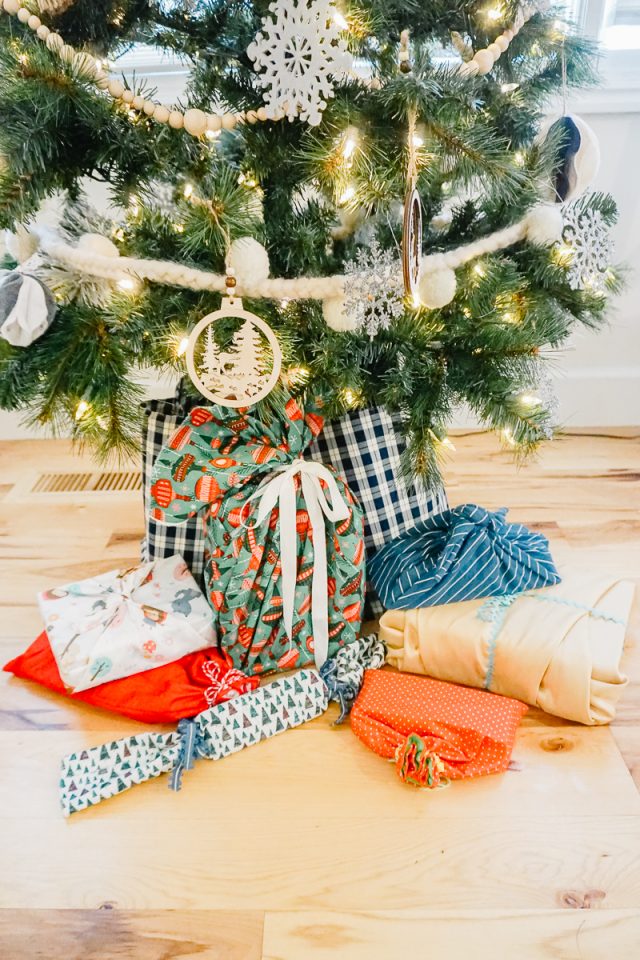
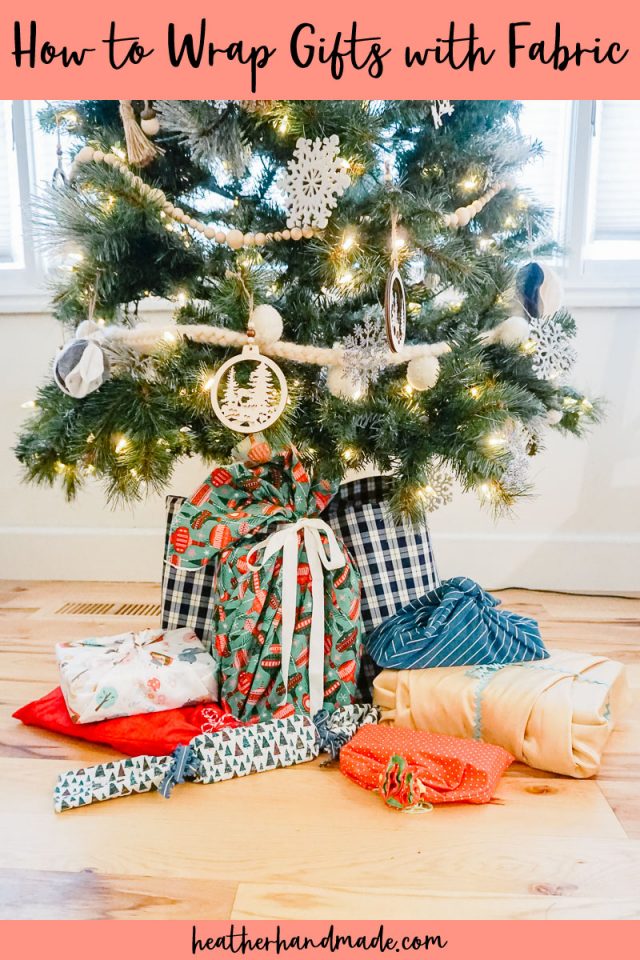
How to Wrap Gifts with Fabric

This post may contain affiliate links.
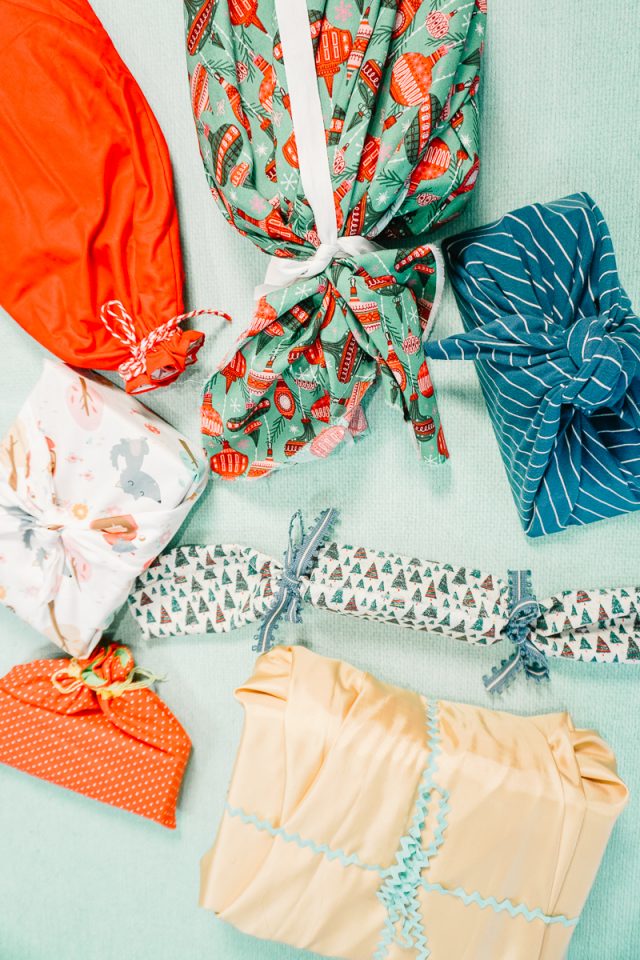
Learn how to wrap gifts with fabric for the holidays. Some of these methods are the art of Furoshiki and some are reusable fabric gift wrap.
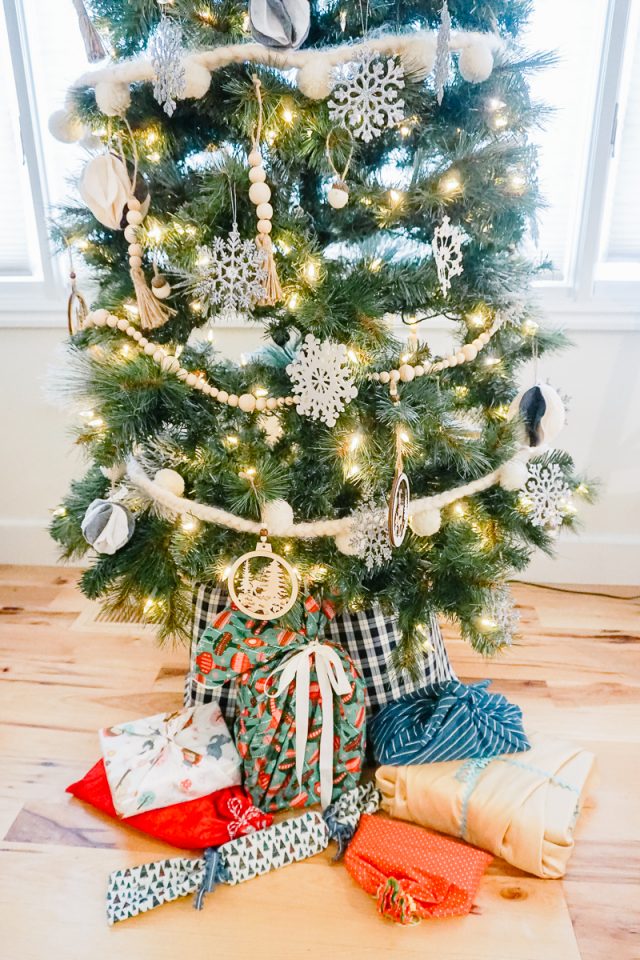
Sometimes I see a fabric and think it’s so pretty it should be a gift wrap. I also love finding ways to save time and money, and these gift wrap ideas with fabric is the best of both worlds.
You get to use beautiful fabric to wrap, save time, and save money. It also keeps extra wrapping paper out of the trash, but the gift is still fun and exciting to unwrap.
What is Furoshiki?
Furoshiki is a Japanese cloth for wrapping and transporting goods and gifts. It’s traditionally done with beautiful, square fabric and it is the less formal way of presenting gifts.
I read a lot about Furoshiki when I was researching this article, and I think you should do your own research since it is such a beautiful practice. There are so many beautiful ways to wrap the fabric that create flowers or handles. One of my favorite things is that a lot of the the wrapping creates a handle from the fabric to make it easier to carry.
Not all of these fabric gift wrap ideas will classify as Furoshiki because of the way it’s wrapped or because of the shape of the fabric used.
What type of fabric should I use?
Any fabric can be used to wrap gifts. For wovens you can use quilting cotton, chiffon, satin, etc. For knits you can use cotton spandex jersey or double brushed poly. It mostly depends on the look you are going for.
Some of these methods show both sides of the fabric so you would not want to use printed fabric for those versions.
Should I finish the edges of the fabric?
This is up to you. If you are going to be using the fabric to wrap over and over again I recommend finishing the edges. Furoshiki always has finished edges with either a rolled hem or serging.
If you want to sew with the fabric after or give the fabric as a gift, then don’t finish the edges of the fabric.
Do you love to sew? Try one of these fun sewing projects:
- Christmas sewing projects
- Sewing gifts
- Eco-friendly sewing projects
- Stocking stuffers to sew
- Upcycled gift ideas
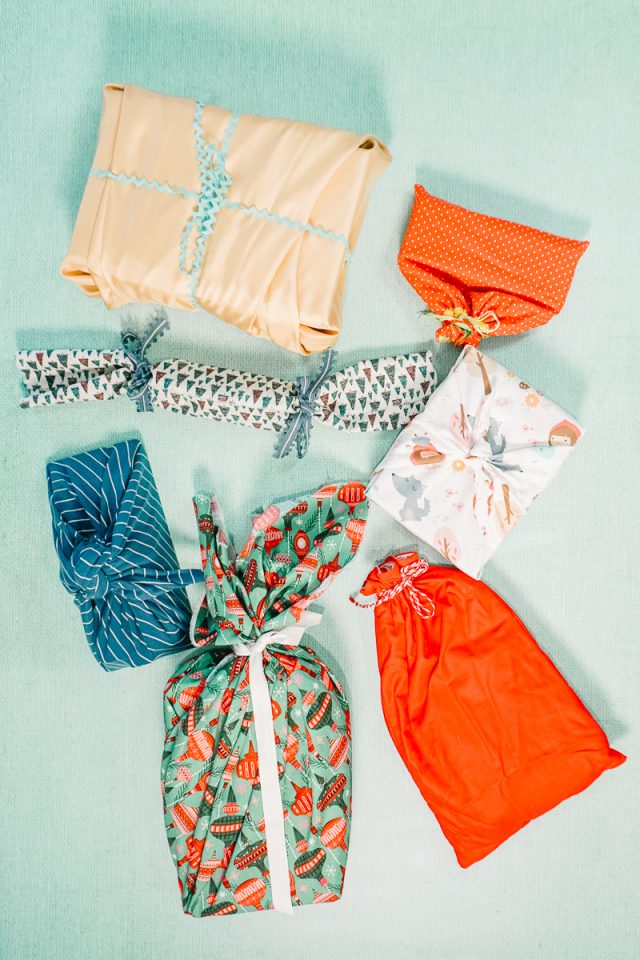
How to Wrap Gifts with Fabric
Supplies
- A rectangle or square piece of fabric fat quarter to 1/2 yard size.
- Optional: finish the edges of the fabric
- 18 inches of matching ribbon
Wrapped and Tied Twice
This works best for boxes and a square of fabric.
Place the box diagonally in the center.
Bring two sides up to the center and tie the corners in a double knot on top. Fold the other two corners nicely so that the edges are in the center.
Bring the remaining corners up and tie with a double knot. Your gift is wrapped!
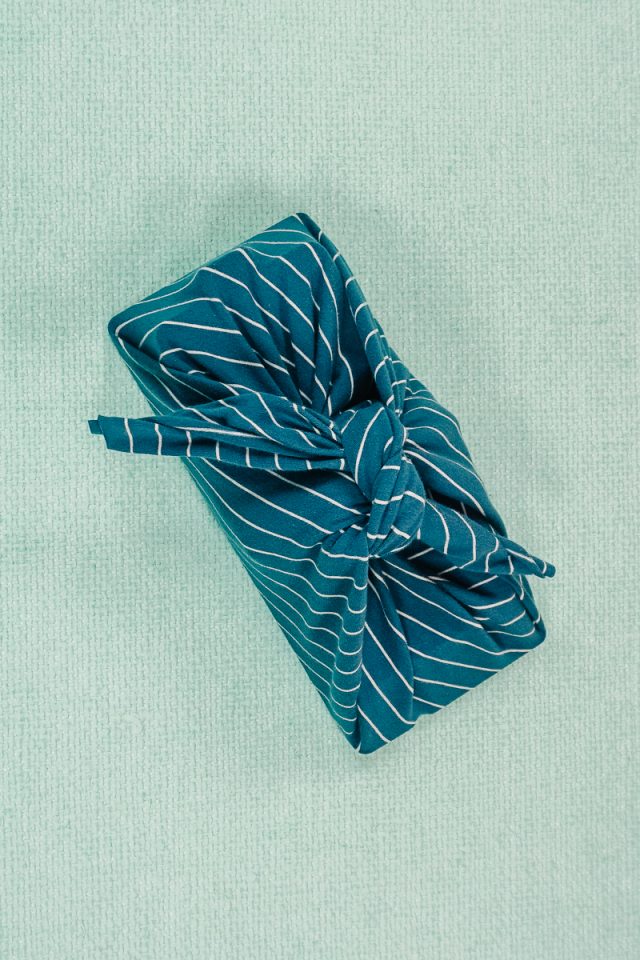
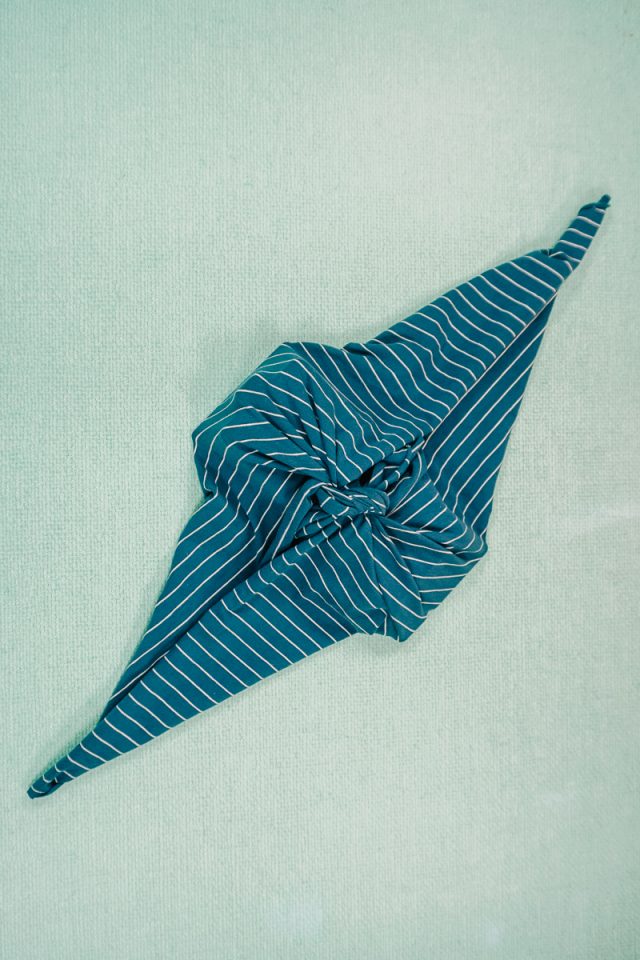
Wrapped and Tied Once
This works best for boxes and a square of fabric.
Place the box in the center diagonally.
Bring two folds up over the box the overlap in the center.

Fold the two remaining corners nicely so that the raw edges will be tucked inside.
Bring the two corners up to meet in the center.
Tie the two knots in a double knot. Your gift is wrapped!
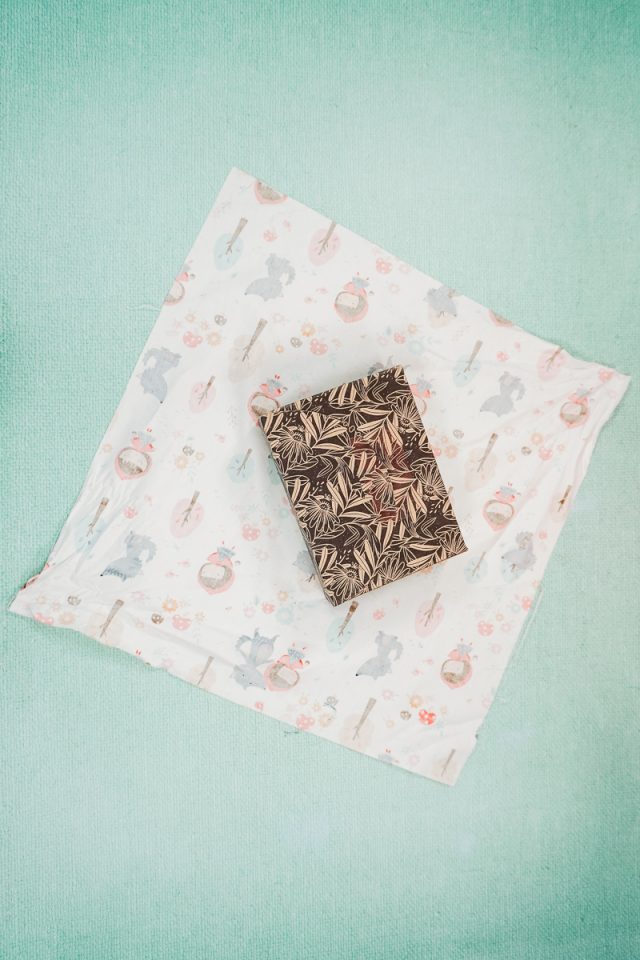
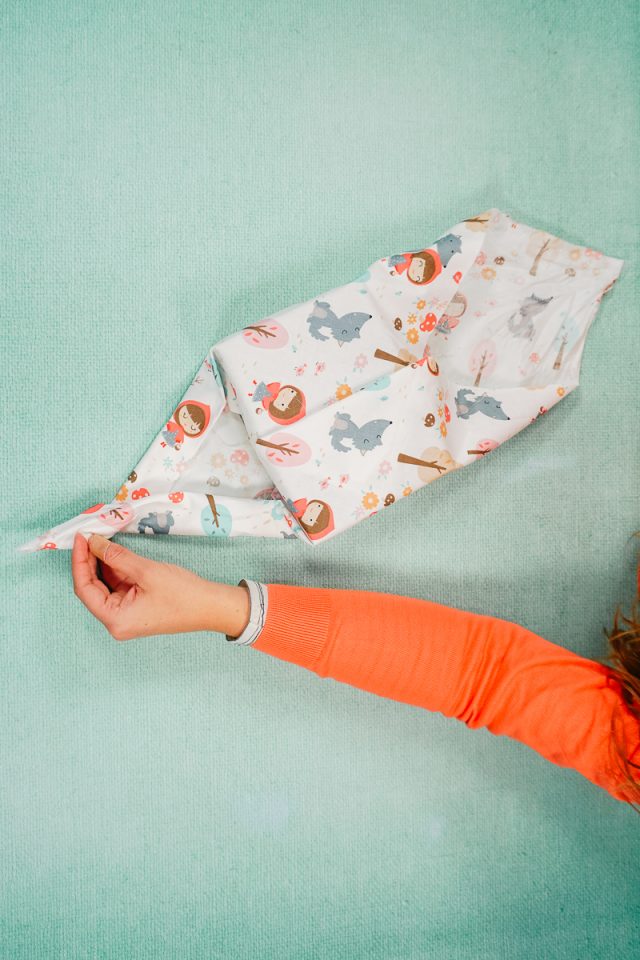
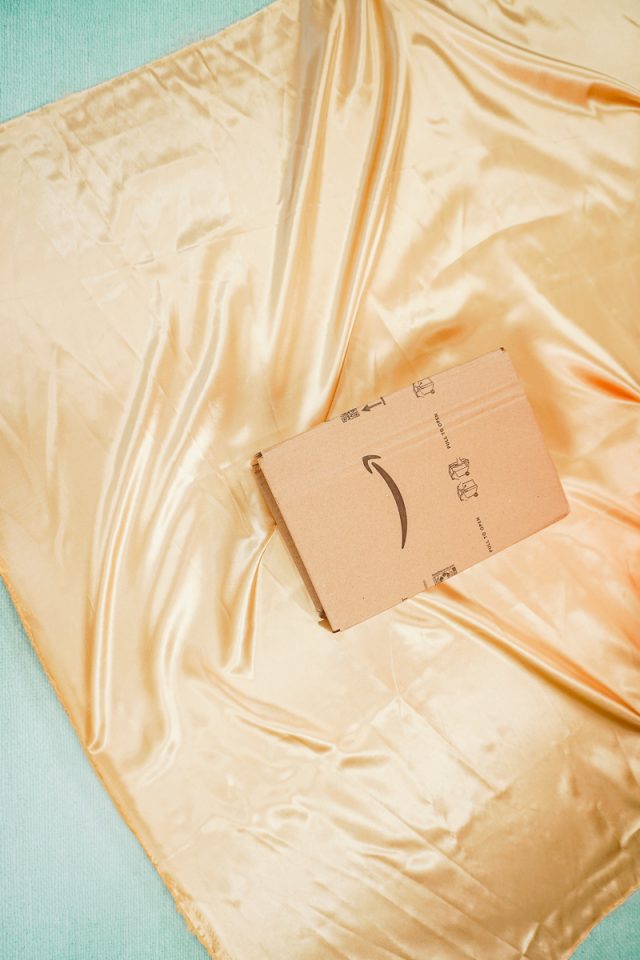
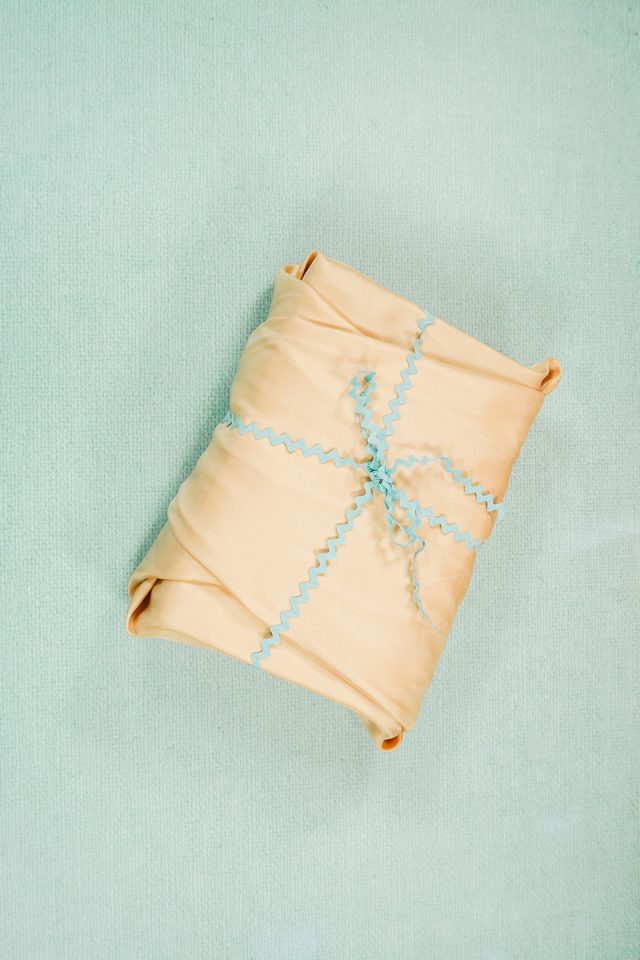
Wrapped and Tied with Ribbon
This works best for boxes and a square of fabric.
Place your box in the center square to the four sides.
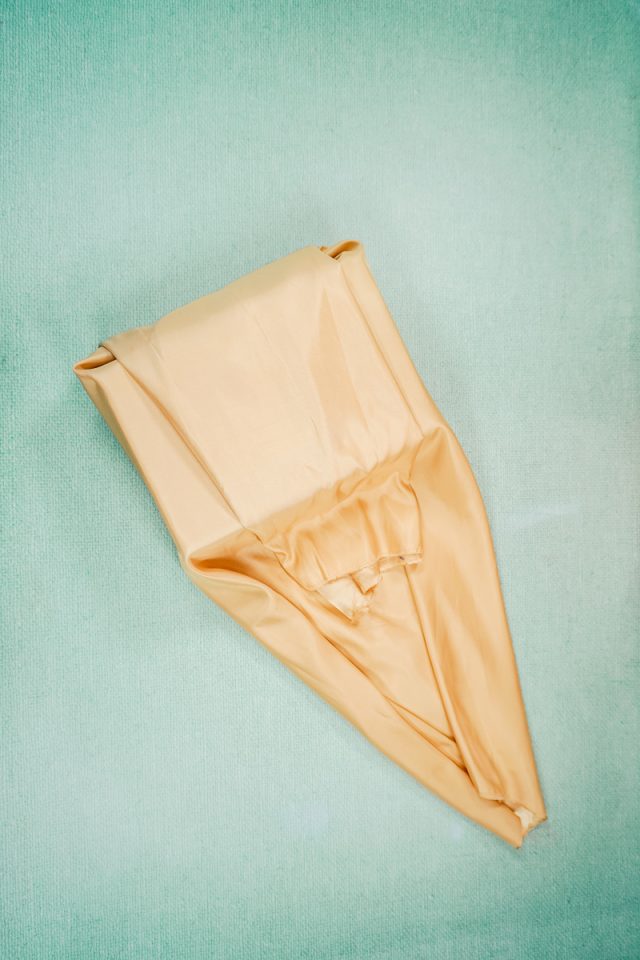
Wrap the fabric around the box. Make sure to end with one straight side on the center of the box. (The other side will be wrapped inside.)
Carefully fold both remaining sides so that everything is tucked in. It kind of creates a triangle with a point.
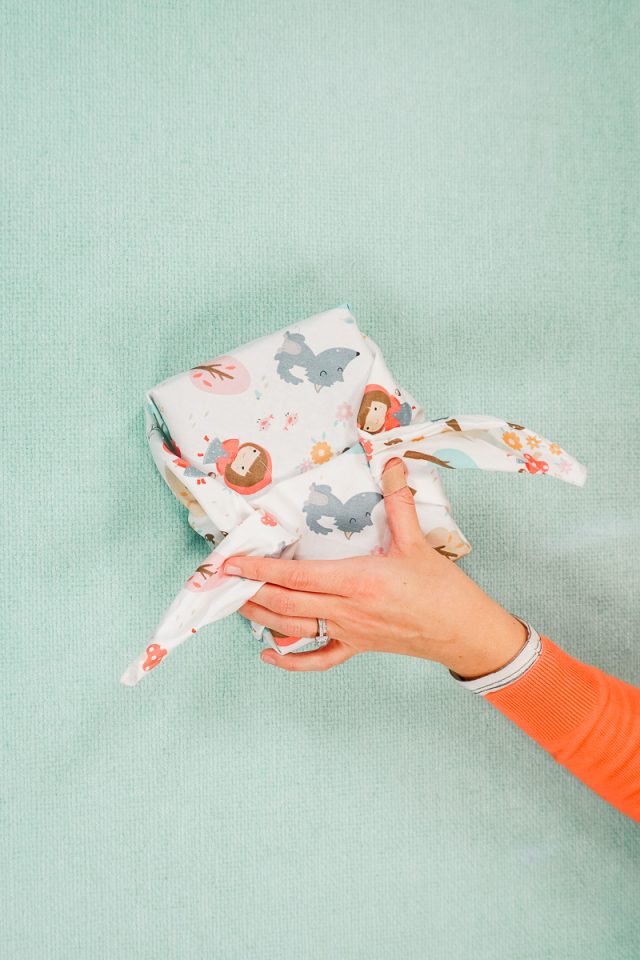
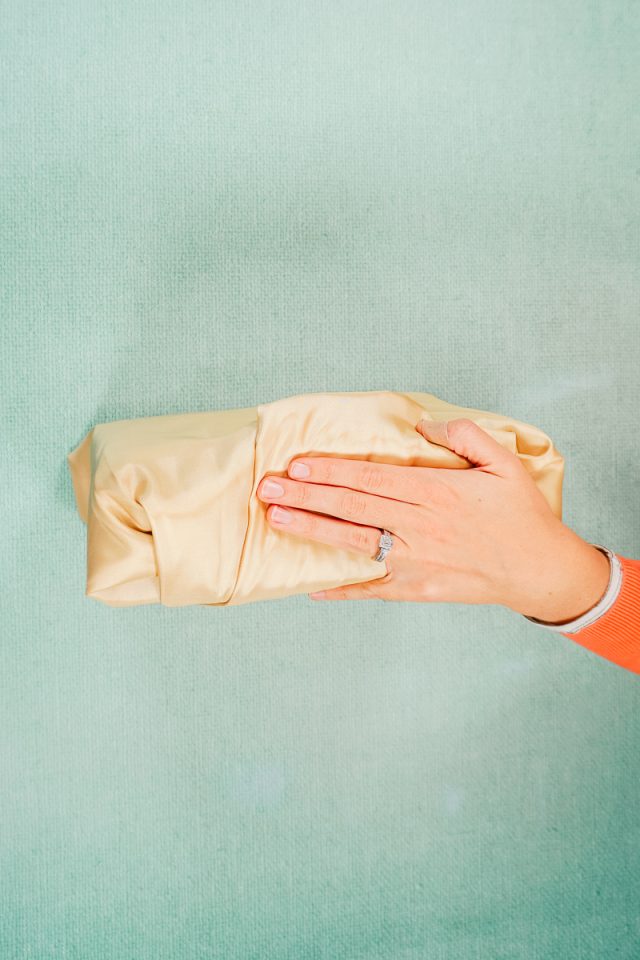
Fold one side up onto the center of the box.
Fold the last side up onto the center of the box covering the other side. Fold in around and then fold the end under.
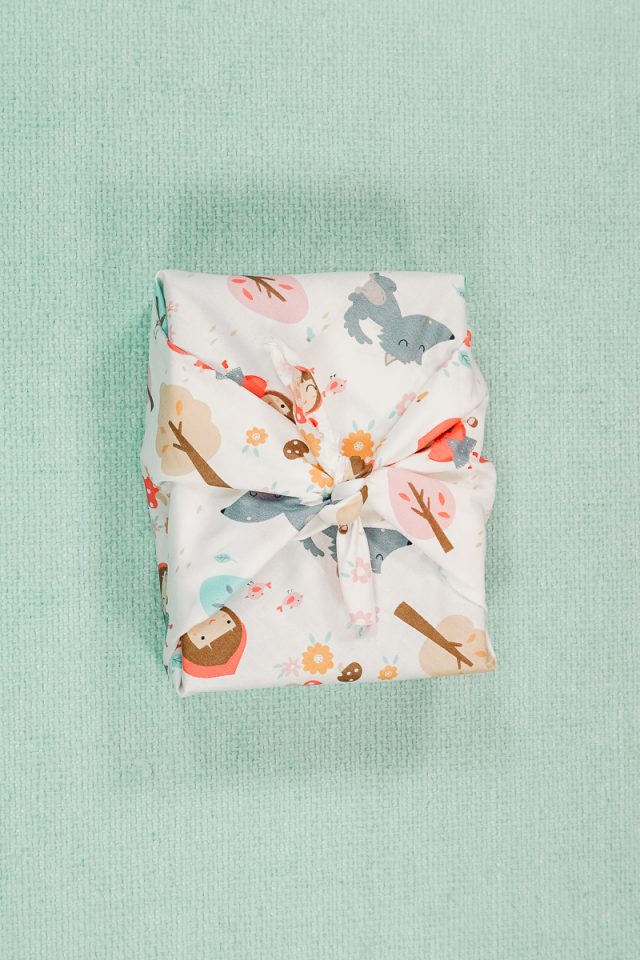
Tie a ribbon around the gift making sure to secure the one folded edge that isn’t secured to anything.
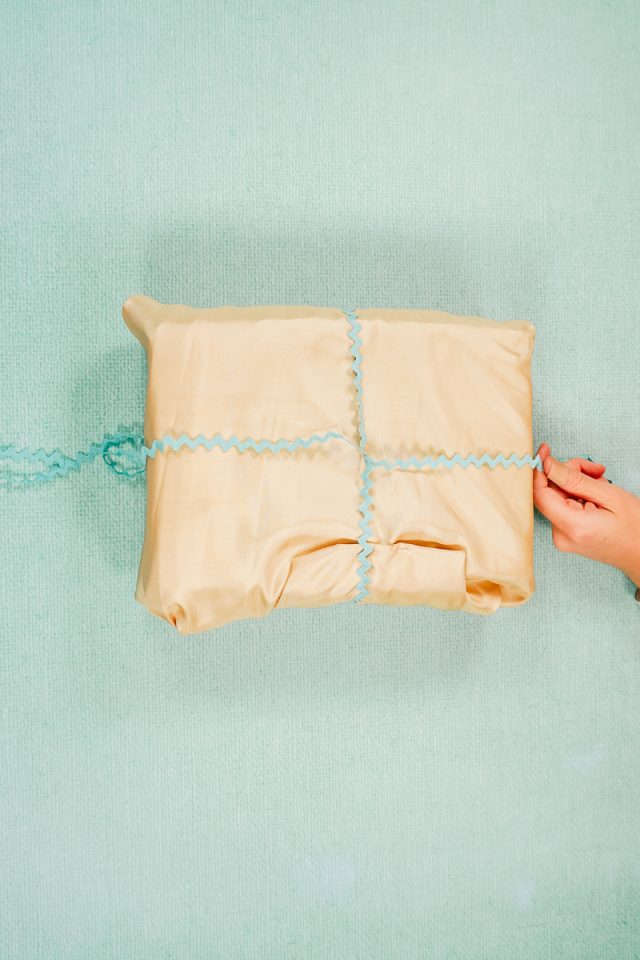
Your gift is wrapped!
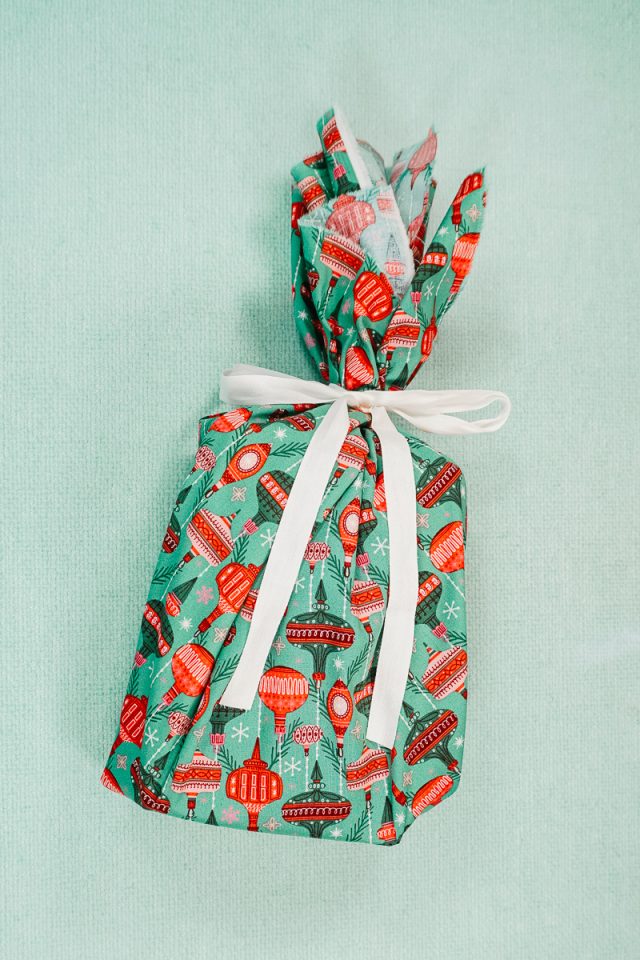
Wrapped on top and Tied with Ribbon
This works best for boxes and a square of fabric.
Place the box in the center but stand it up tall.
Pull up one corner to the top of the box with the excess standing straight up.
Keep pulling up each corner making sure the fold the fabric nicely and pulling the sides up to the middle. The excess with start to be gathered and poking up from the top of the box.

All the corners and sides will be pulled up to the top until it’s all sticking up.
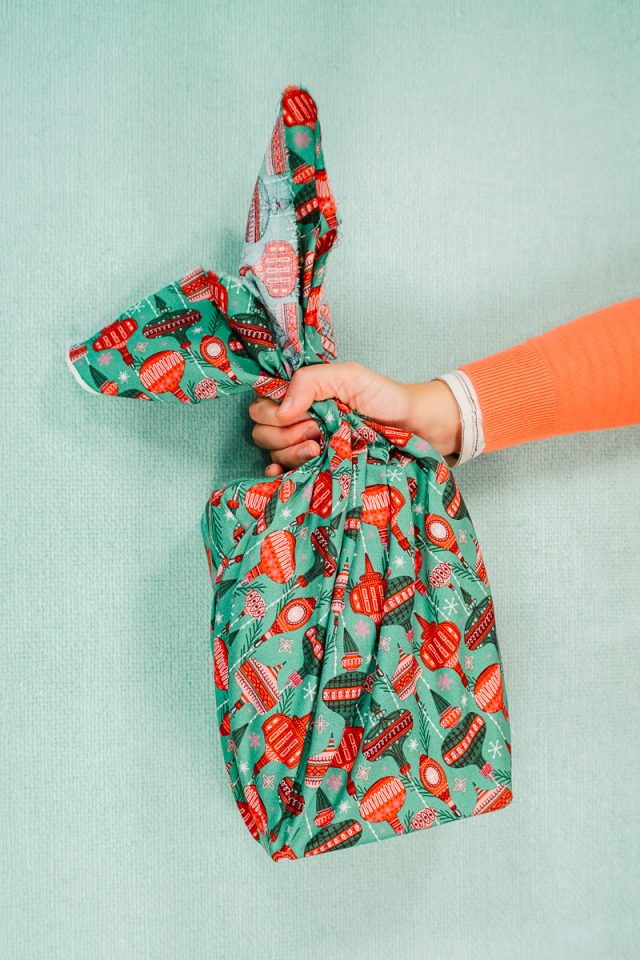
Tie a ribbon around the top to secure the fabric in place. Your gift is wrapped!
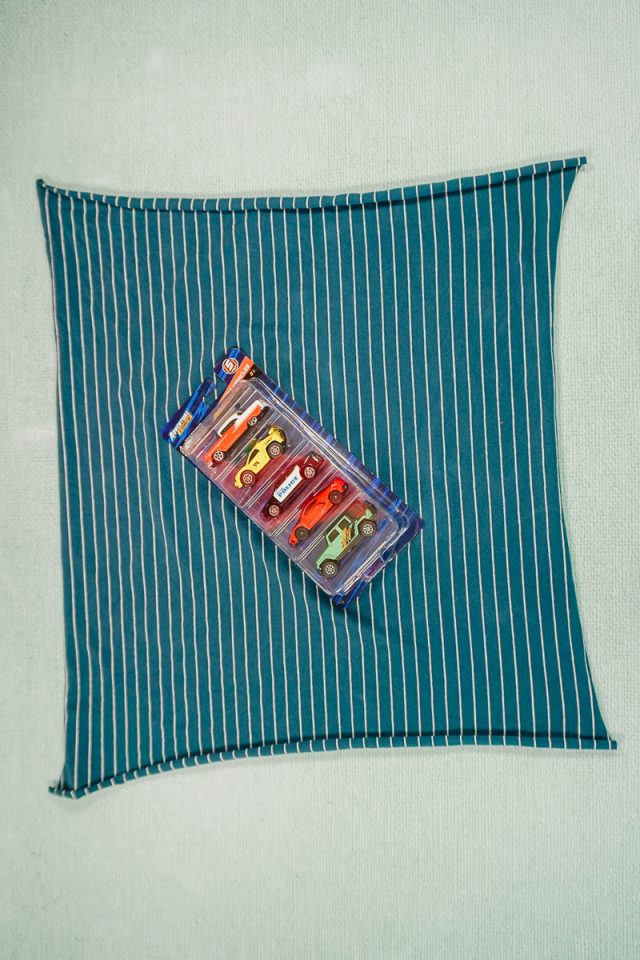
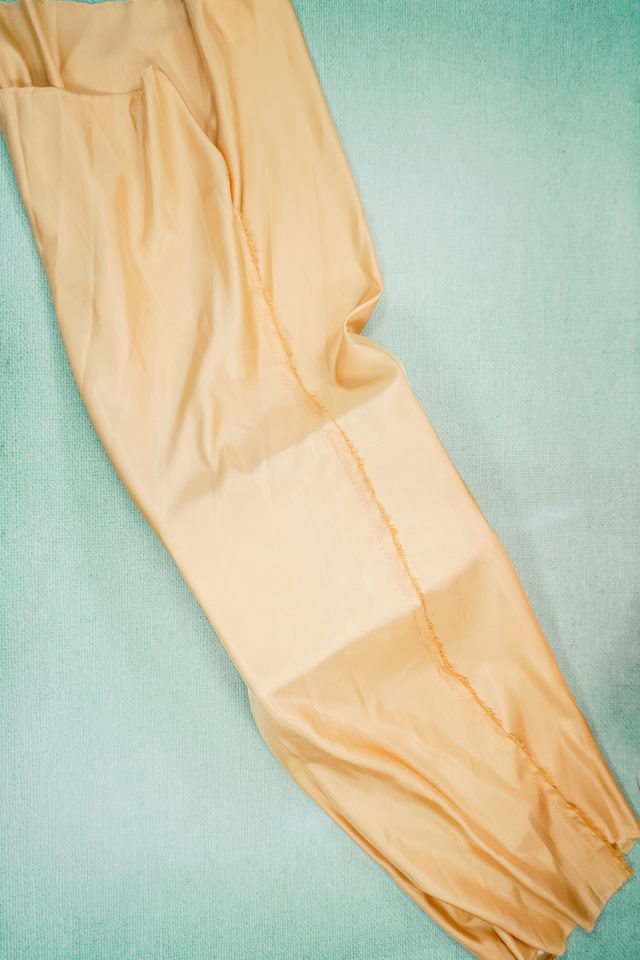
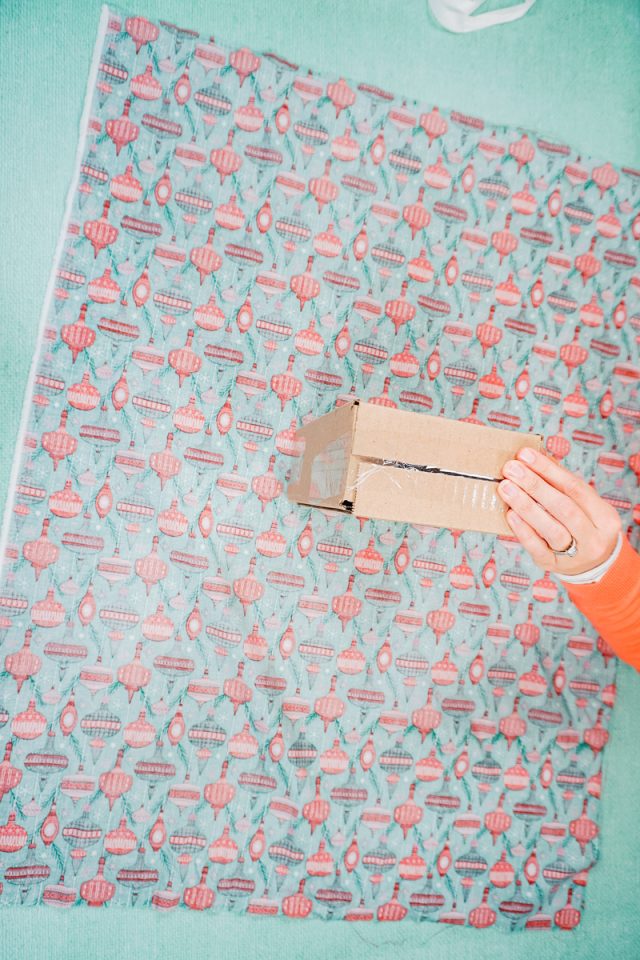
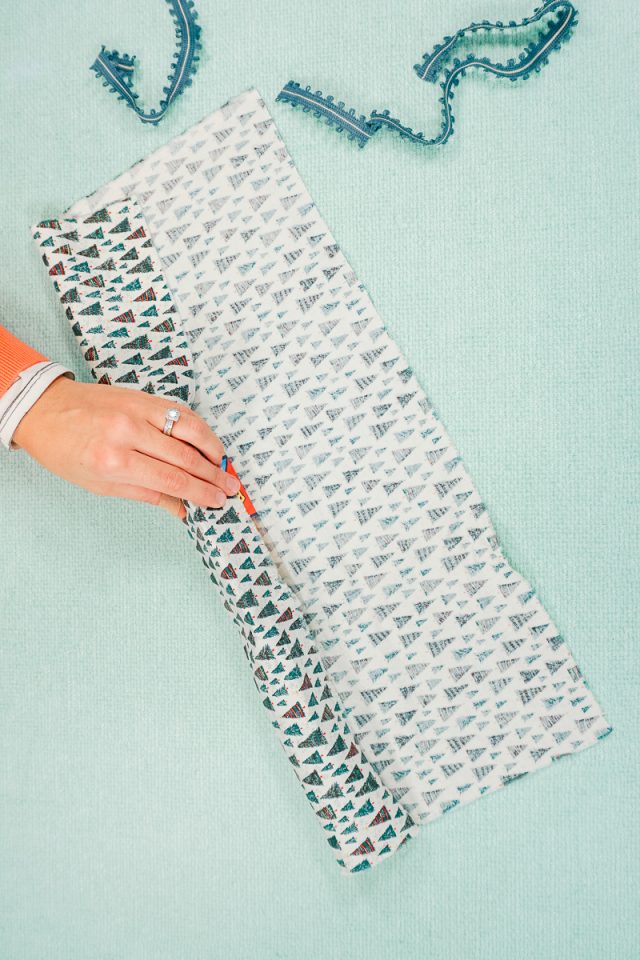
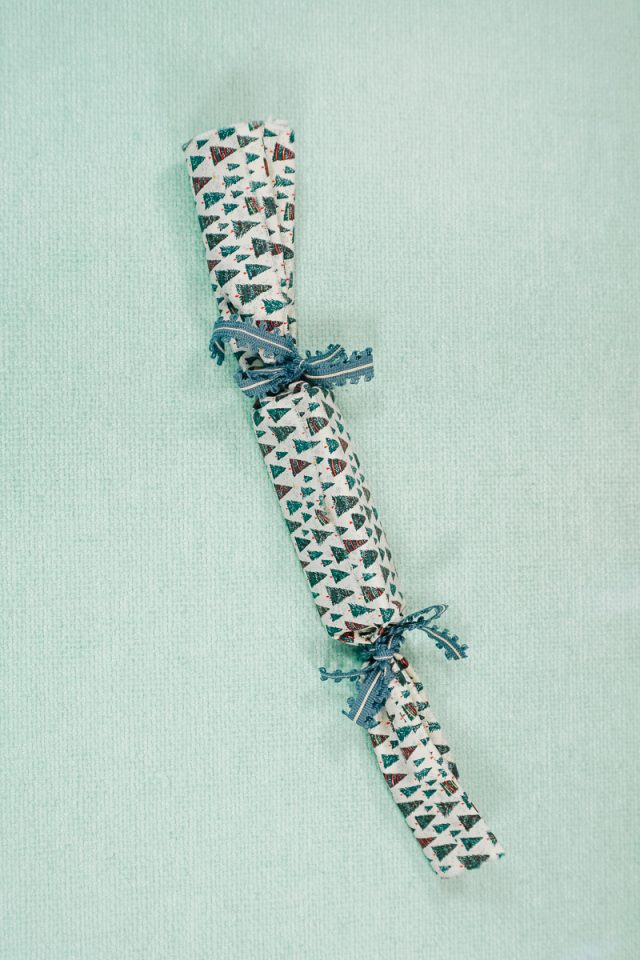
Wrapped like a Candy
This works best for cylinders and a rectangle of fabric.
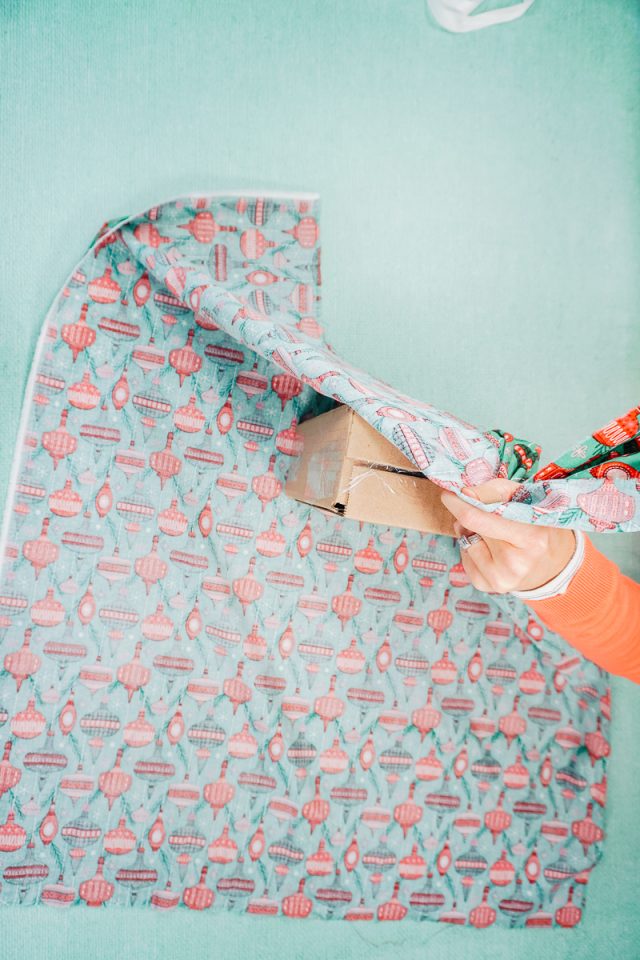
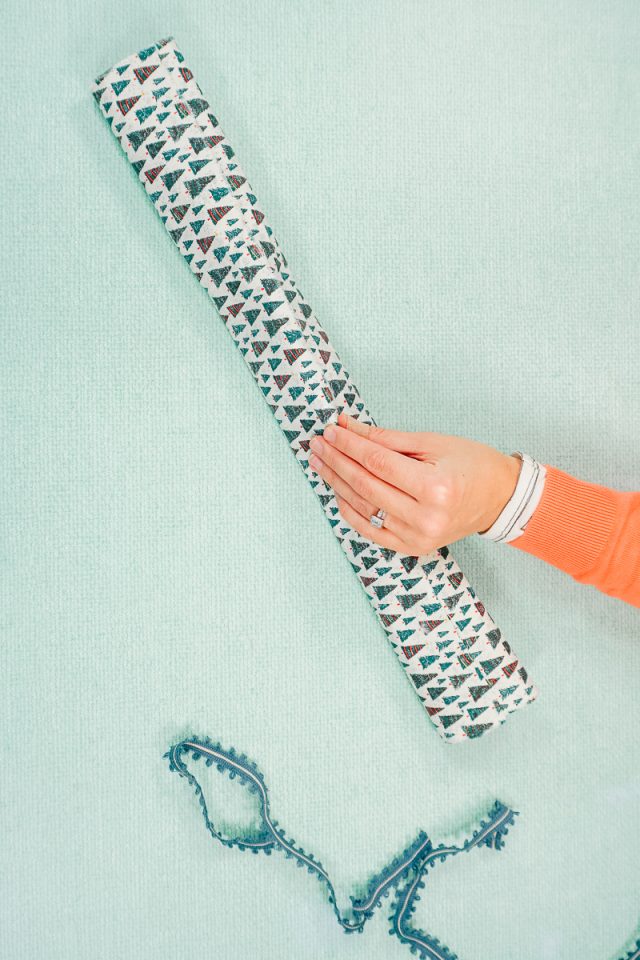
Place the gift in the center of the long sides but next to one long side. Grab the long edge and wrap it around the gift.
Keep wrapping the fabric around the gift until all the fabric is wrapped around.
Tie a ribbon around the fabric right next to the gift on one side.
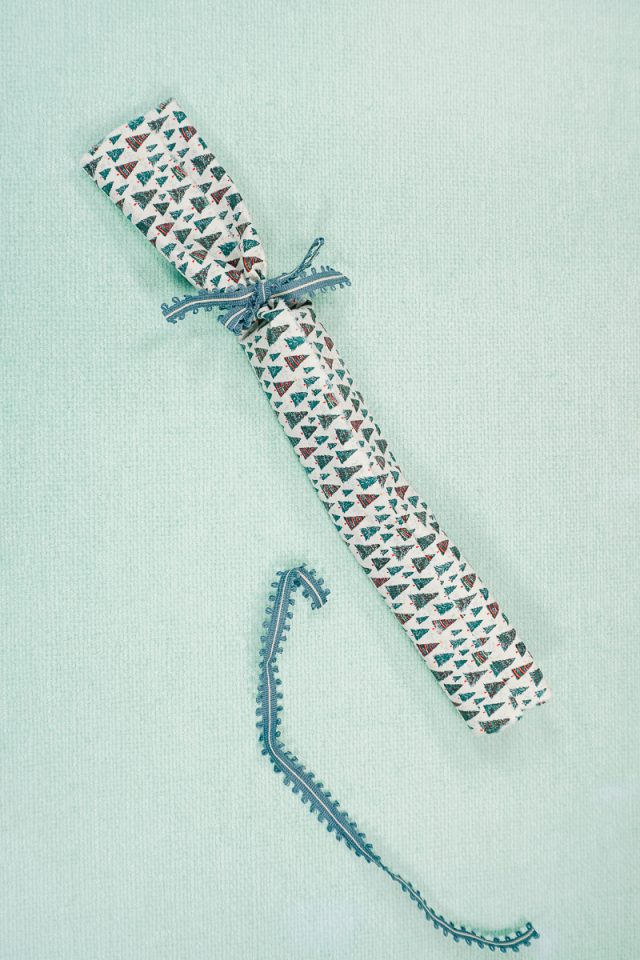
Tie a ribbon around the fabric right next to the gift on the remaining side. Your gift is wrapped!
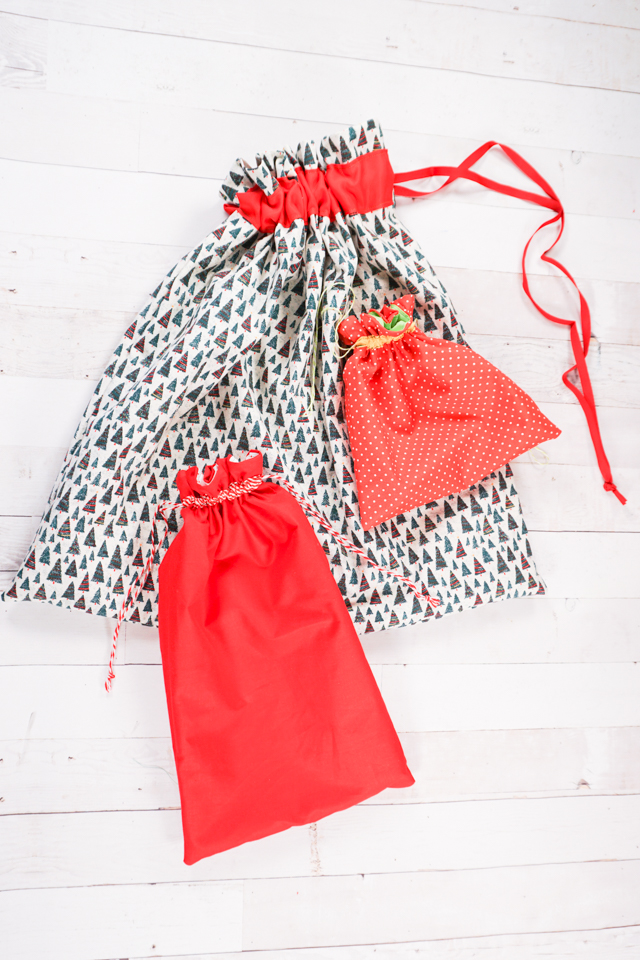
Wrapped in a Lined Drawstring Bag
I have actually created a whole sewing tutorial about how to make a lined drawstring bag. You can make lots of those to make wrapping quick and easy!
This works best for odd shaped gifts or multiple gifts.
If you make something using this sewing project, I’d love to see! Please share it on social media with the hashtag #heatherhandmade and tag me!

I believe small sewing moments can create great joy. Find your own “right” way to sew. -Heather