
How to Upcycle a Men’s Tie into a Pouch

This post may contain affiliate links.
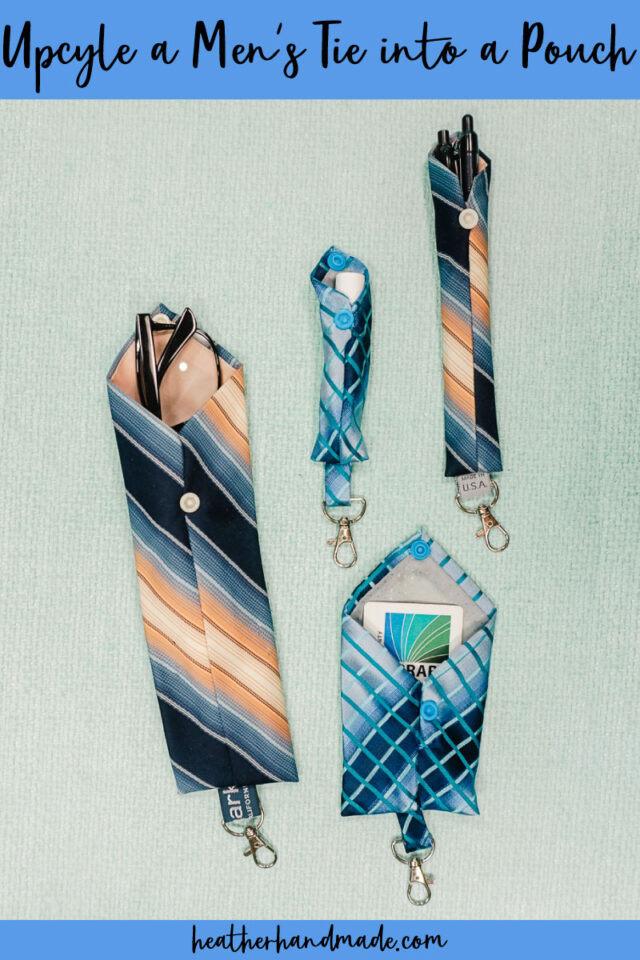
Learn how to upcycle a men’s tie into pouches. It’s a great way to reuse a tie or make something special from a loved one’s tie.
I was watching my son play with his tie the other day. He kept folding the end over and closing the “opening”. I realized it would be really easy to turn a tie into a little pouch, and I got to work playing with some ties.
This upcycle project has only one seam, it reuses the tags and loops on the back of the tie, and it’s so quick and easy to make. I used plastic snaps because I love how fast they are to install, but you could try using hand sew snaps or even a button and buttonhole.
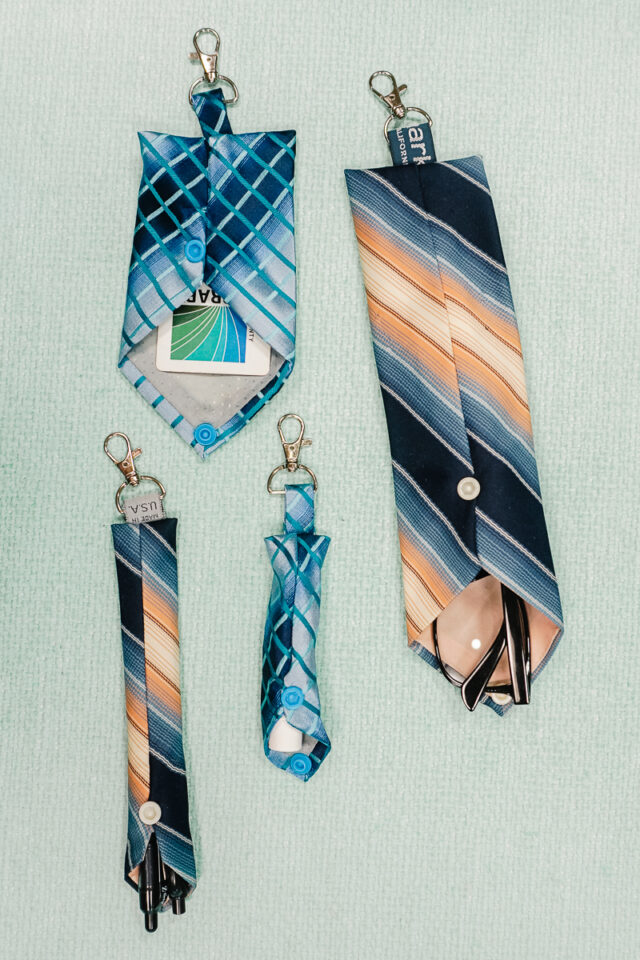
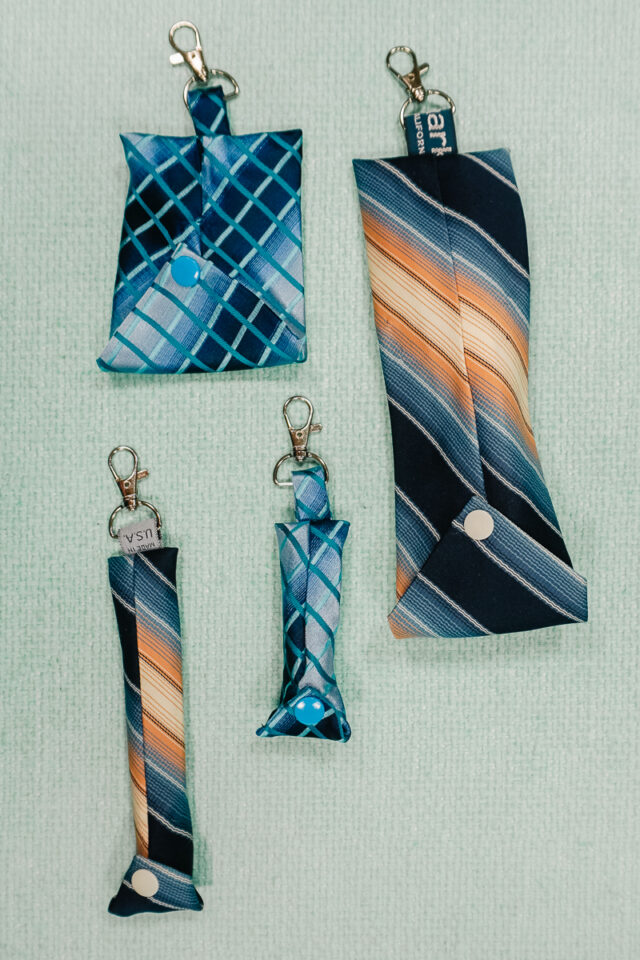
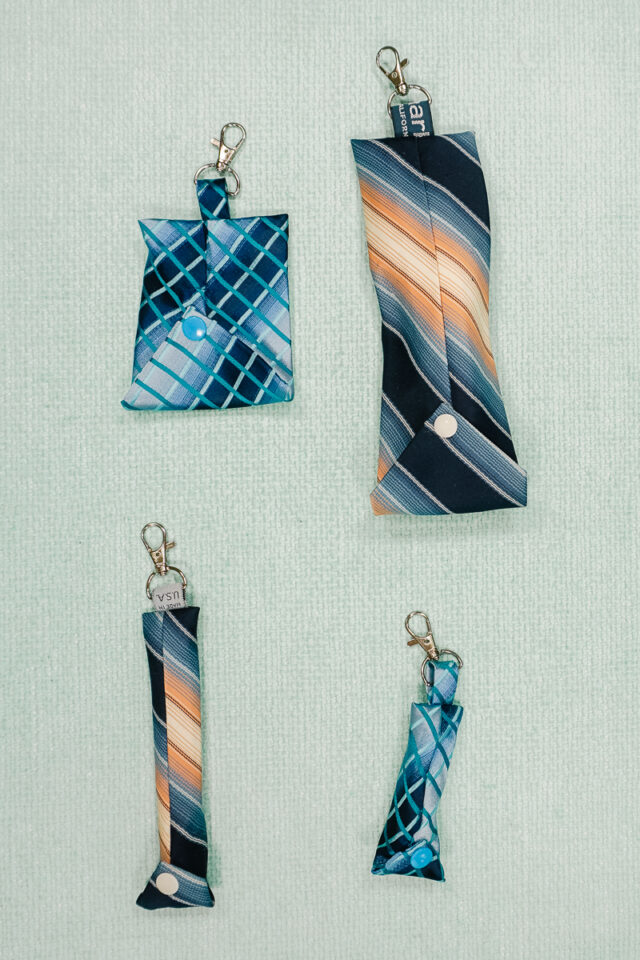
I made four different versions, but you can make the pouch any length you want for your specific need!
What kind of tie works for this project?
This works with any kind of men’s tie that has two ends (even clip on ties!). But the tie has to be a standard or wide width. This won’t work well with skinny ties because you won’t have the width to put anything inside the pouch.
What is upcycling?
Upcycling is to reuse material to create something better than the original. I usually use this to describe when I’m sewing adult clothing into clothing for children or I’m sewing clothing into an accessory or house item.
Upcycling saves time, saves money, saves the environment, and saves memories.
Save time by reusing details from the original shirt. Save money by using something you already have.
Save the environment by keeping t-shirts out of the landfill. Save memories by reusing a favorite adult t-shirt for your toddler or child.
Love to sew? Try one of these sewing projects:
- Gifts to sew for men
- Men’s shirt upcycle projects
- Men’s tie upcycle projects
- Upcycle gift ideas
How to Upcycle a Men’s Tie into a Pouch
Supplies
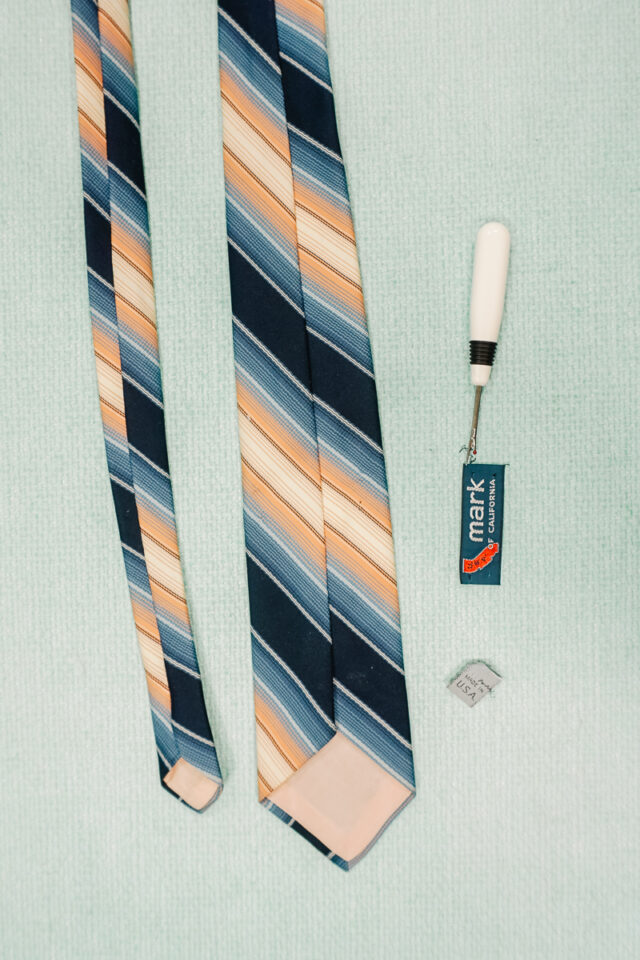
- A standard or wide men’s tie that can be cut up
- 3/4 inch lobster clasp*
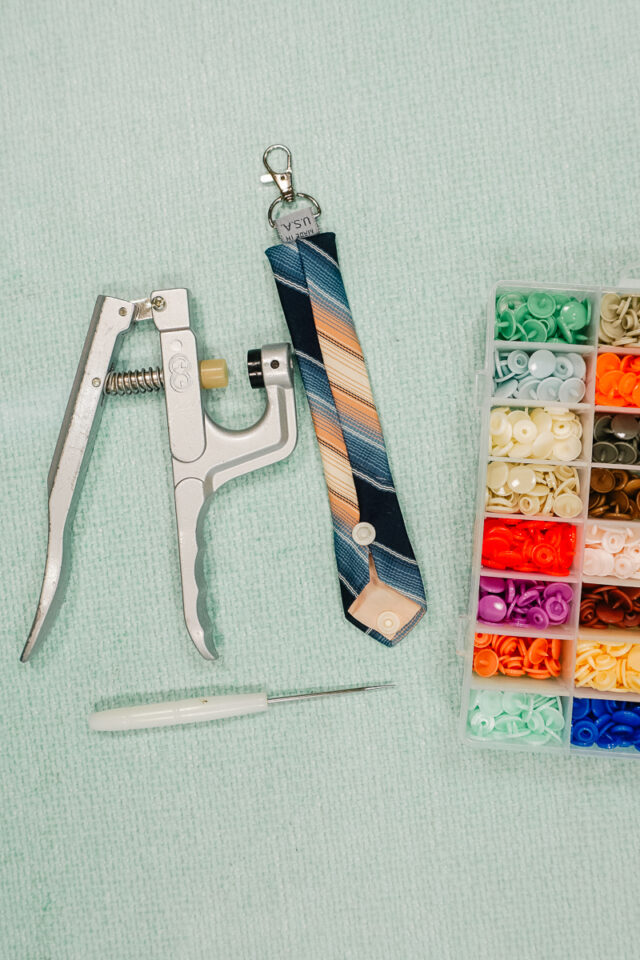
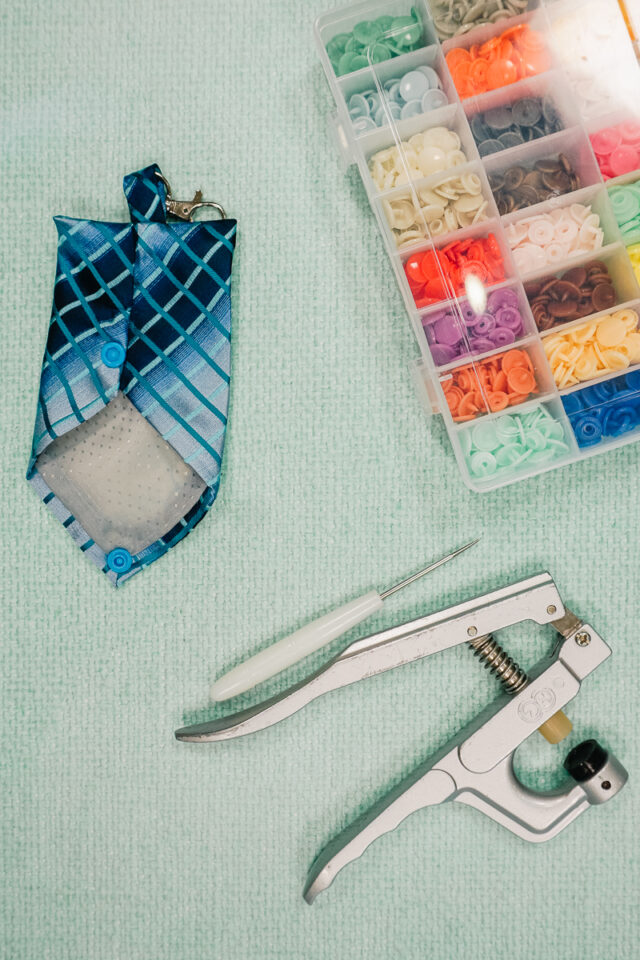
- Plastic snaps and pliers*
- Sewing tools
- Sewing machine

Instructions
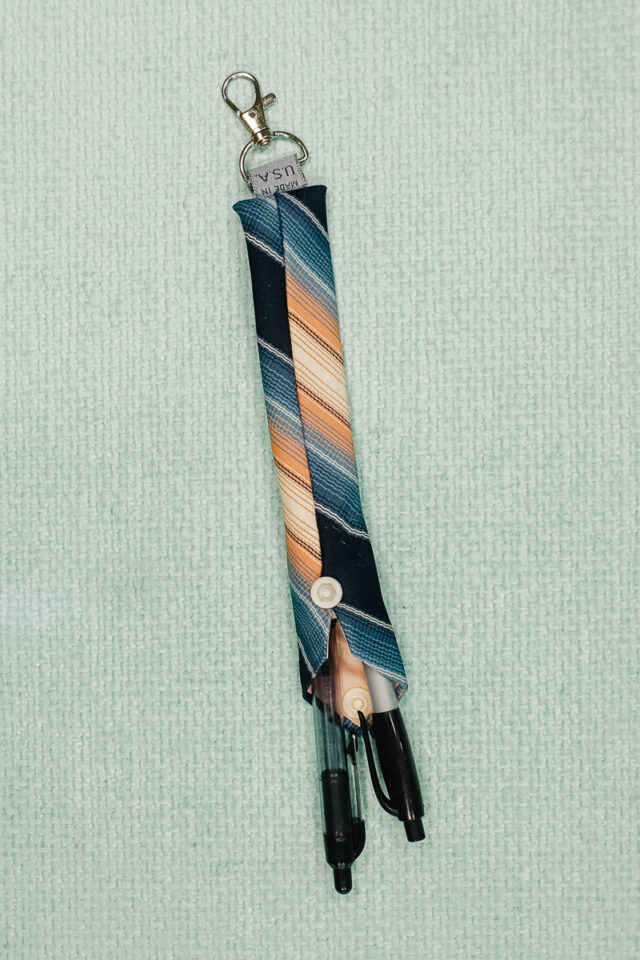
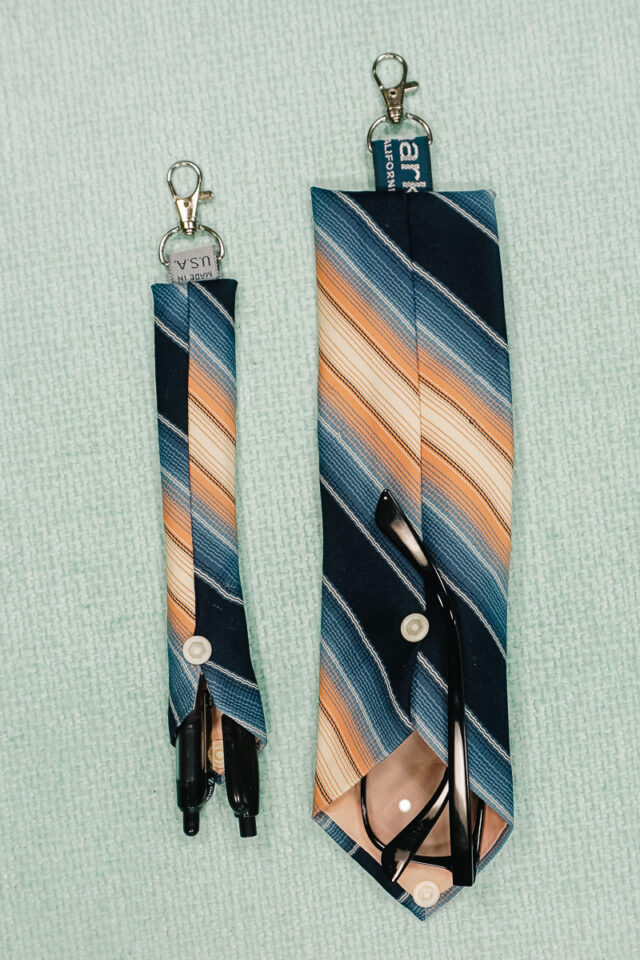
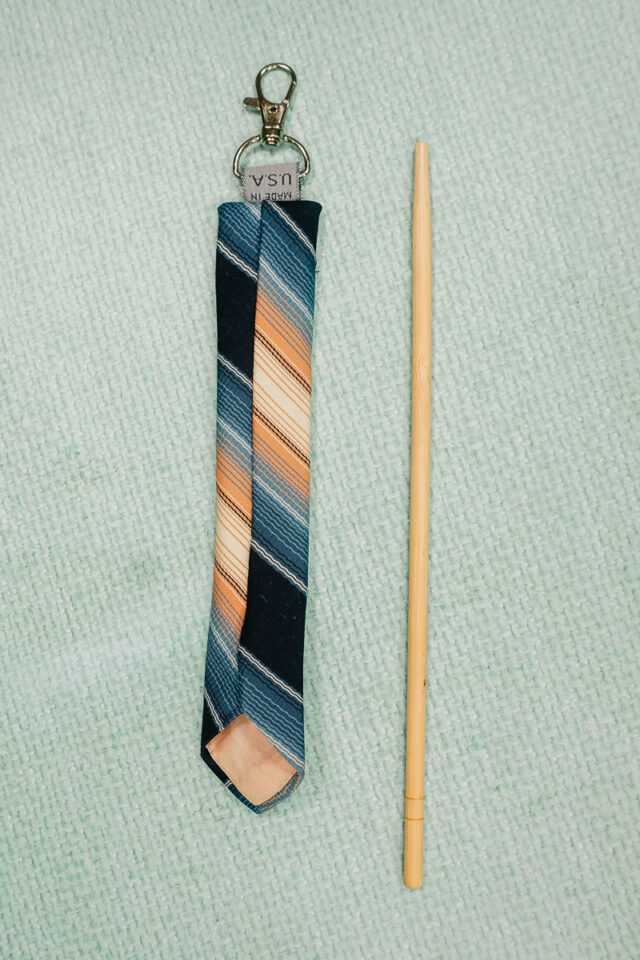
Pen Pouch
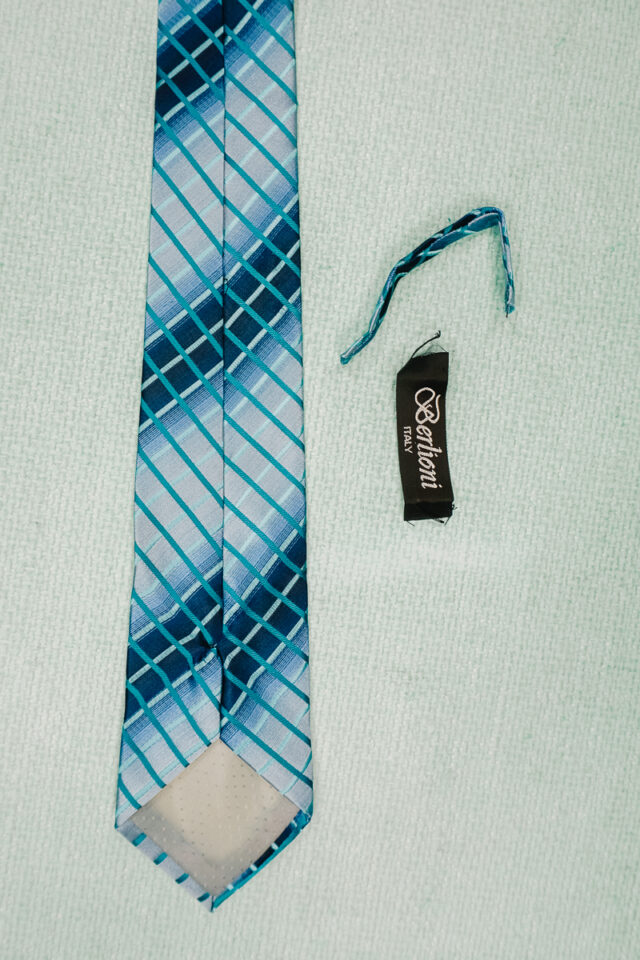
Start by removing the tags and loops on the back of the tie. Sometimes there is a visible thread at the top of the center stitching that goes through multiple layers. Cut that thread.
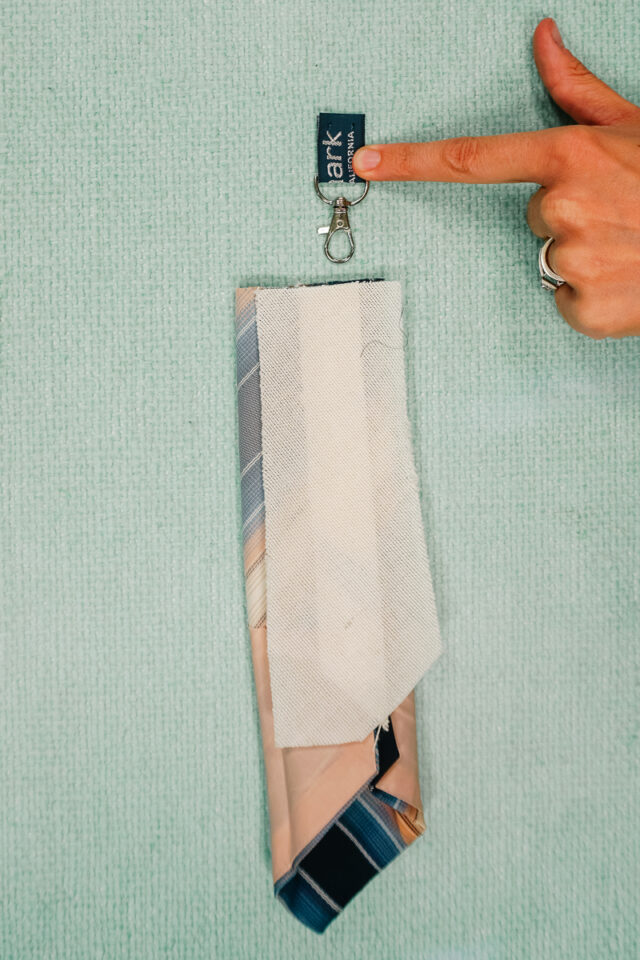
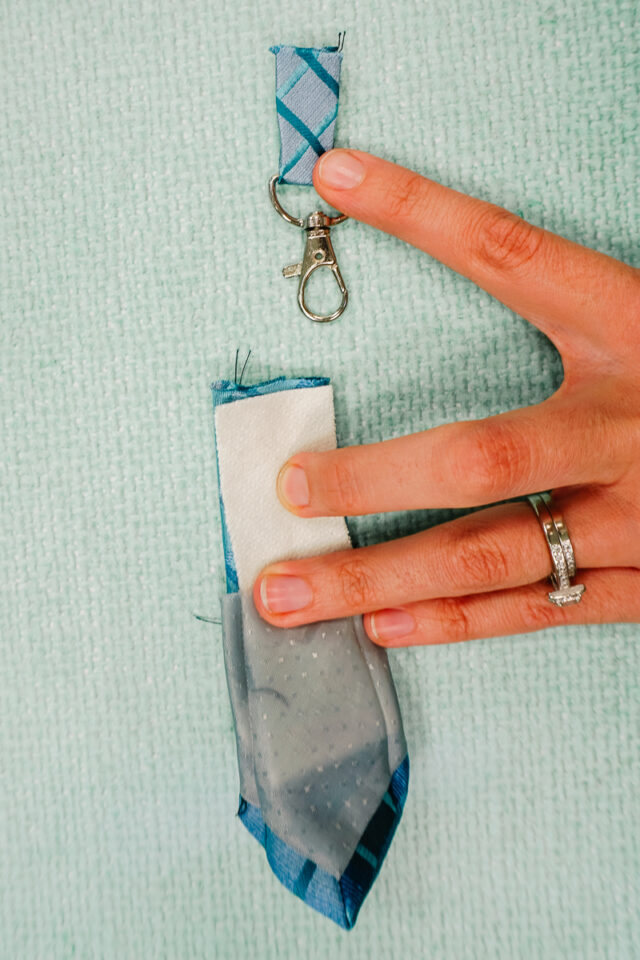
Take the thinner side of the tie. Cut 7.5 inches from the point. Turn the tie loop right side in.
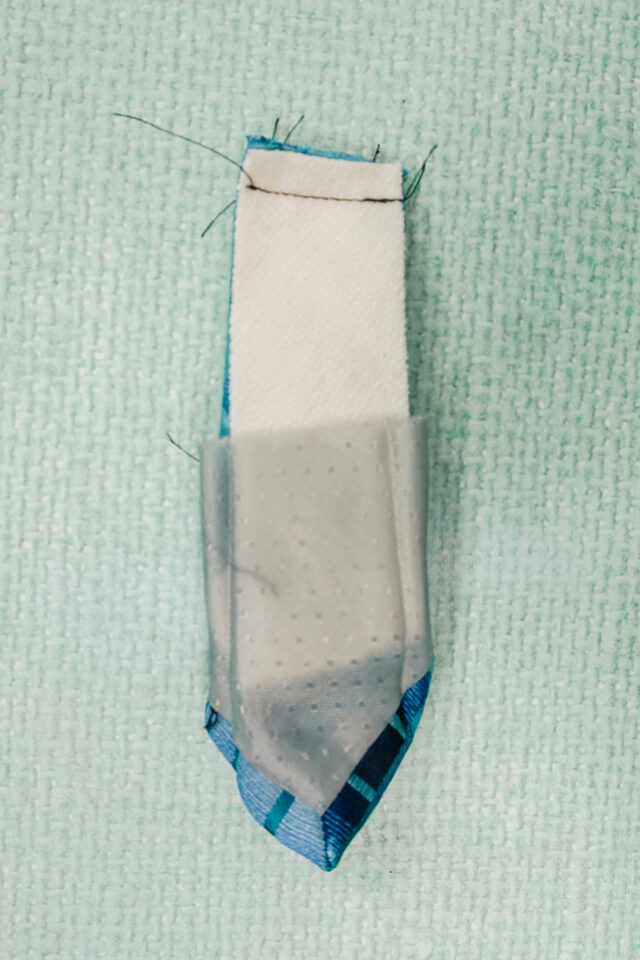
Wrap one of the tags around the lobster clasp to become the loop. Slide the lobster clasp and loop into the cut end of the tie. Match up the edges of the tag with the cut edge of the tie.
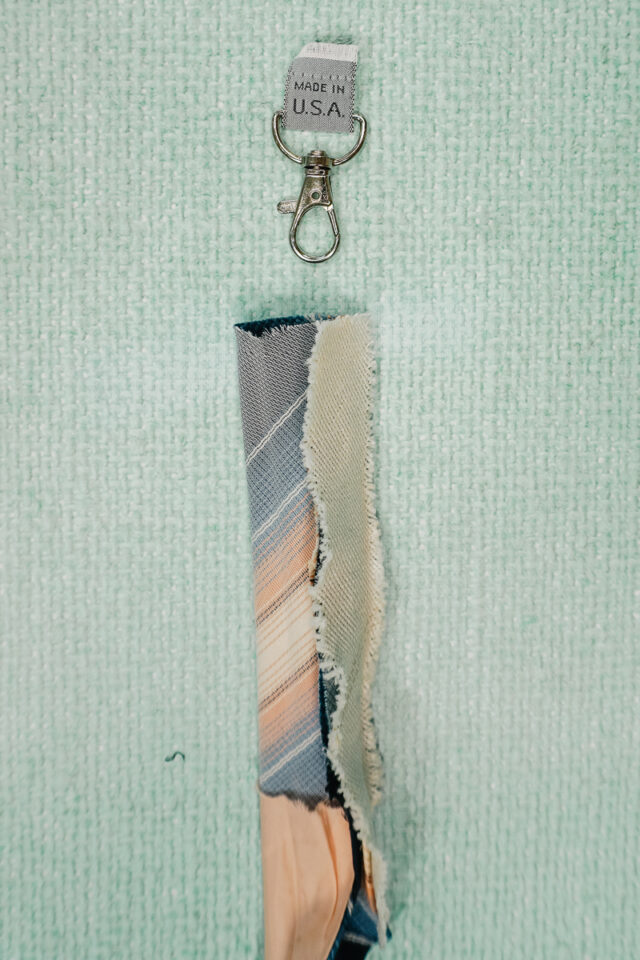
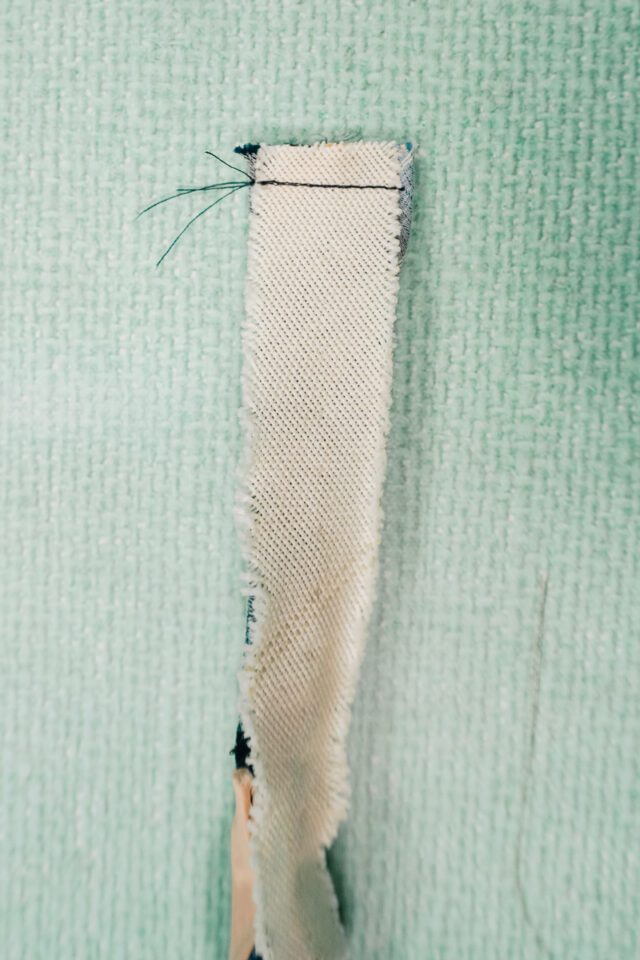
Sew the cut edge of the tie closed. Backstitch when you start and when you stop.
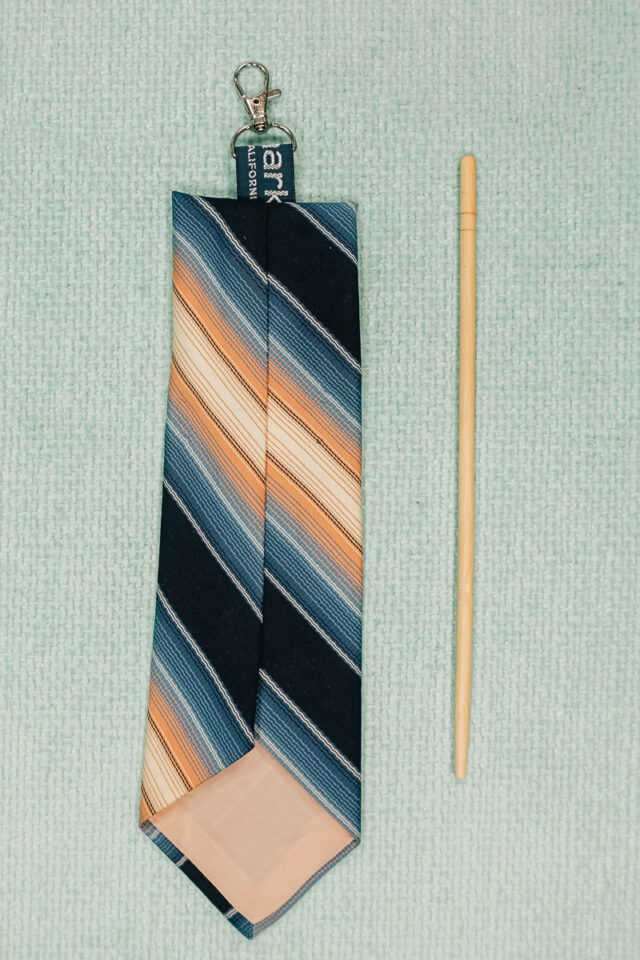
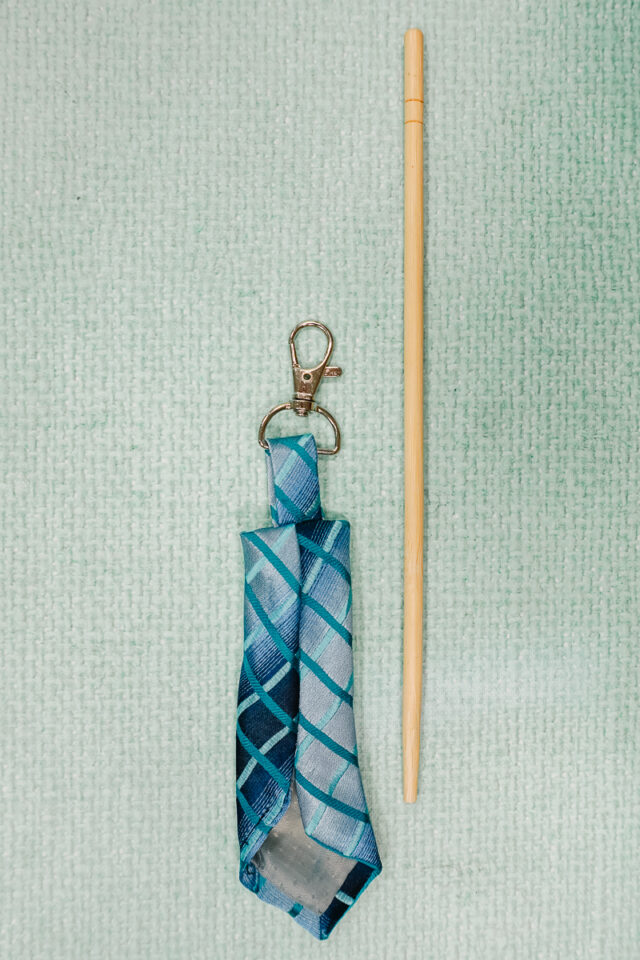
Turn the tie right side out and poke out the corners.
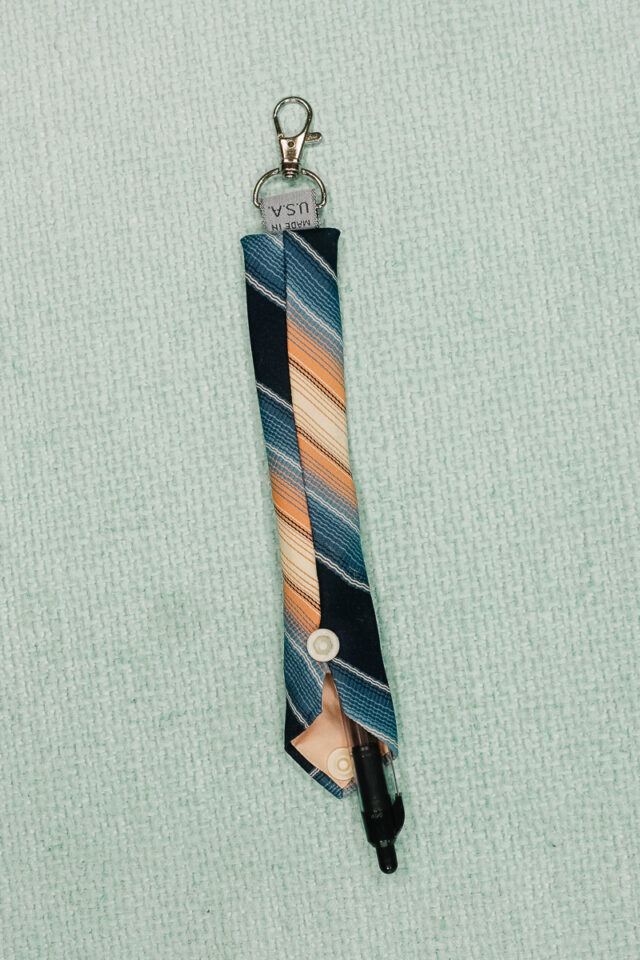
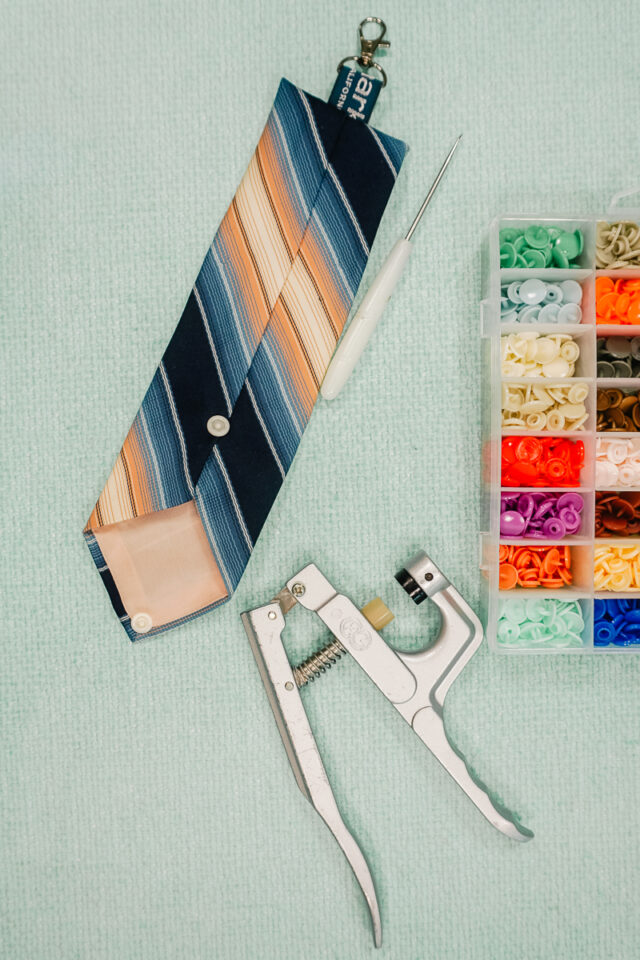
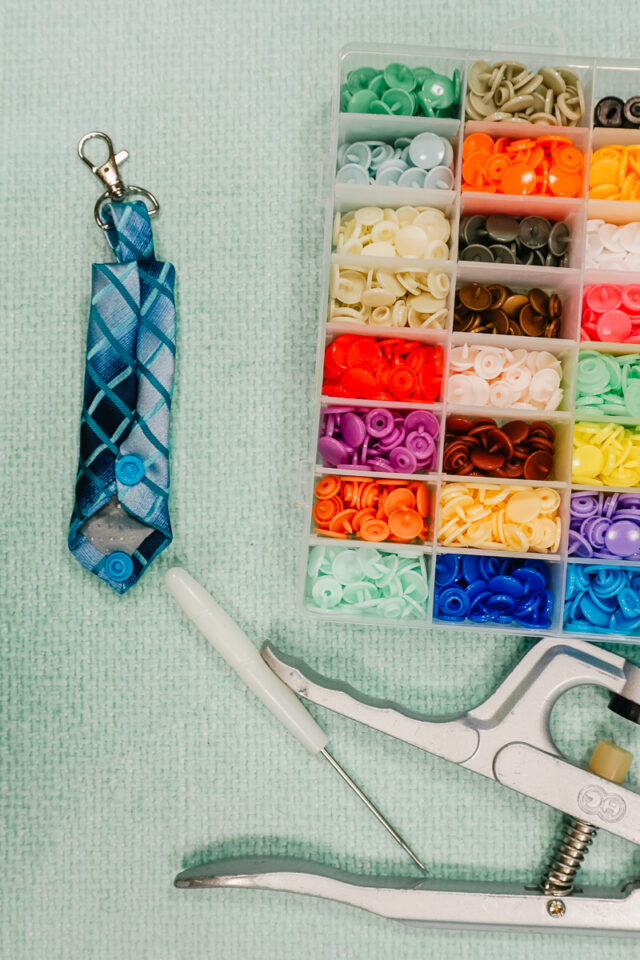
Add a snap set to the point of the tie and where you want it to connect. When I add the lower snap on the center, I like to overlap the two center seams and attach the snap through both sides to help keep that center seam together.
Insert a pen and snap the pouch closed. You finished!
Glasses Pouch
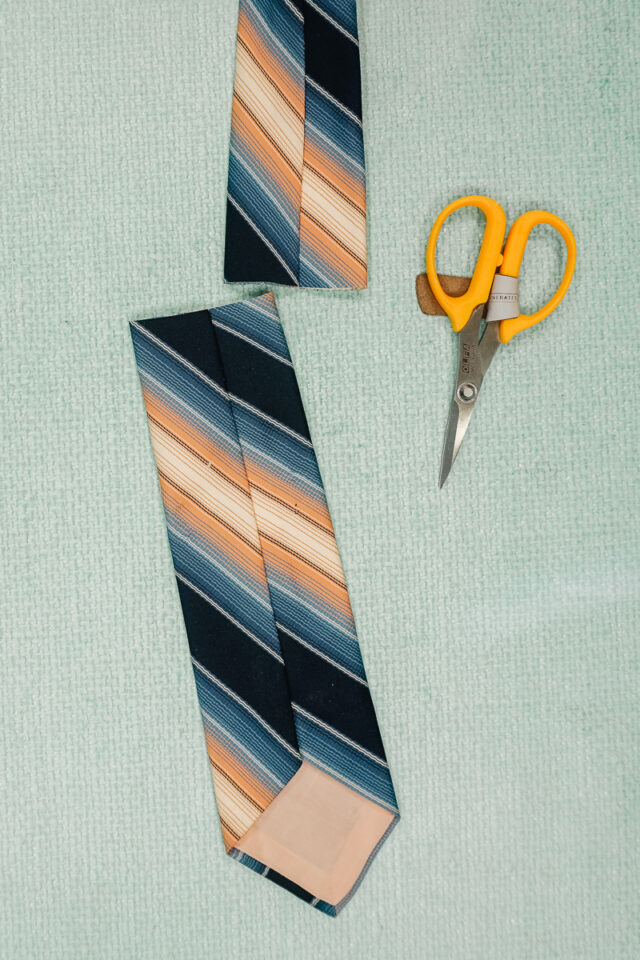
Cut the wide edge of the tie 10 inches from the point.
Turn the tie right side out.
Wrap one of the tags around the lobster clasp to become the loop. Slide the lobster clasp and loop into the cut end of the tie. Match up the edges of the tag with the cut edge of the tie.
Sew the cut edge of the tie closed. Backstitch when you start and when you stop.

Turn the tie right side out. Poke out the corners.
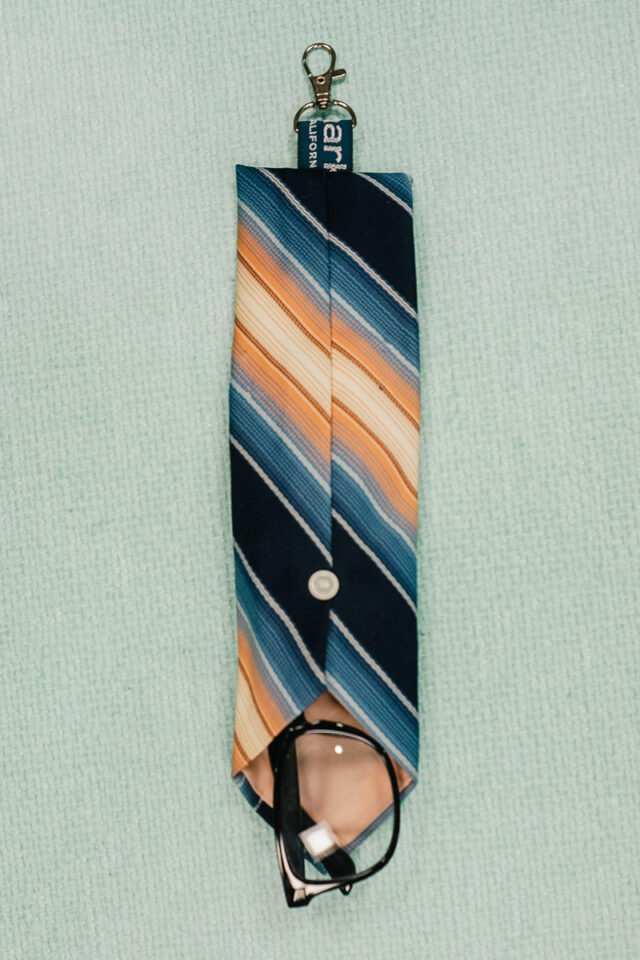
Add a snap set to the point of the tie and where you want it to connect. When I add the lower snap on the center, I like to overlap the two center seams and attach the snap through both sides to help keep that center seam together.
Add glasses and snap the pouch closed. You finished!
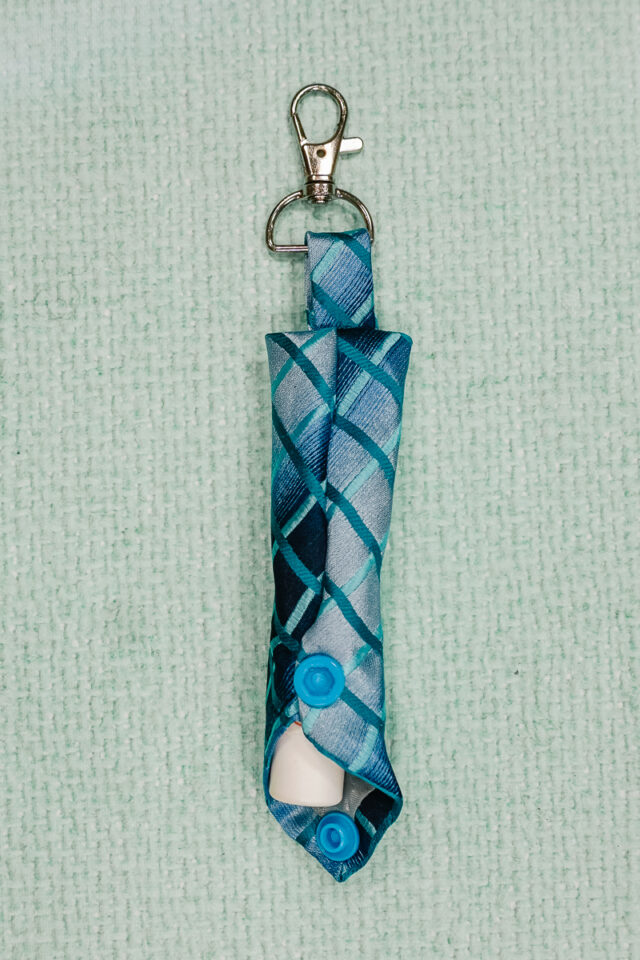
Chapstick Pouch
Start by removing the tags and loops on the back of the tie. Sometimes there is a visible thread at the top of the center stitching that goes through multiple layers. Cut that thread.
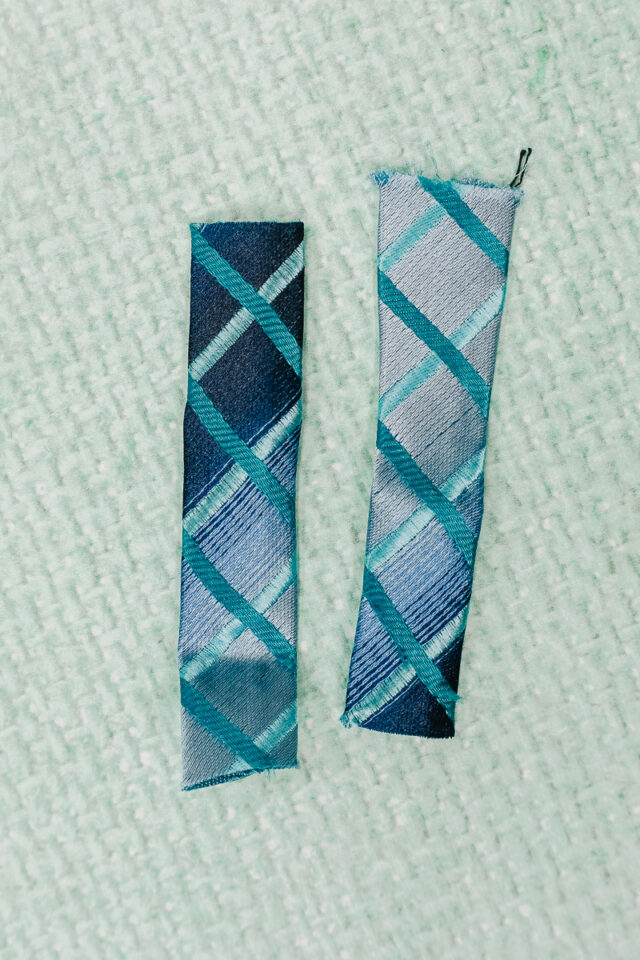
Cut the loop that is tie fabric into two pieces.
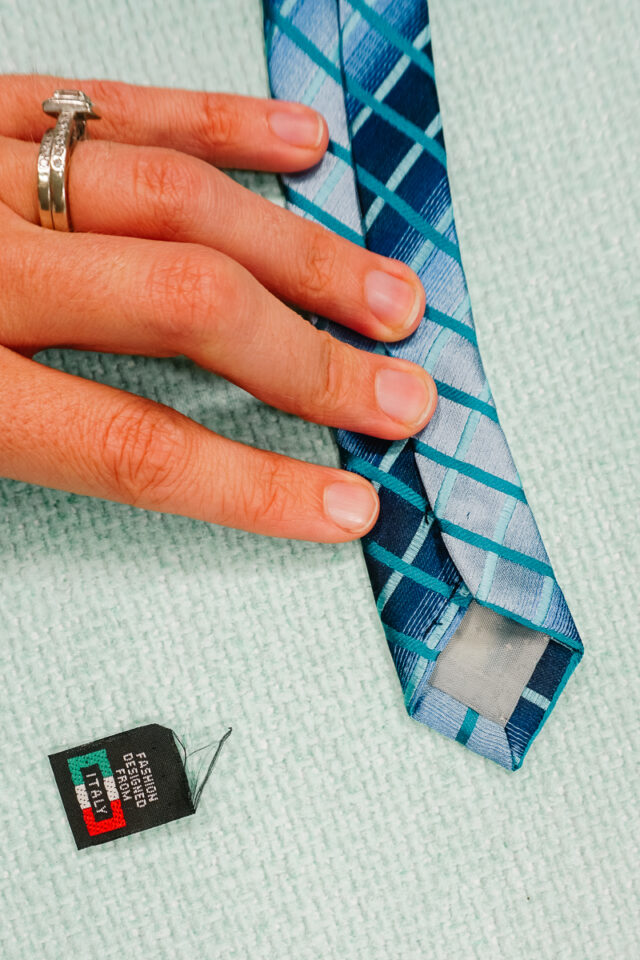
You might have to remove a tag that is in the end seam. Remove it and topstitch the hole closed.
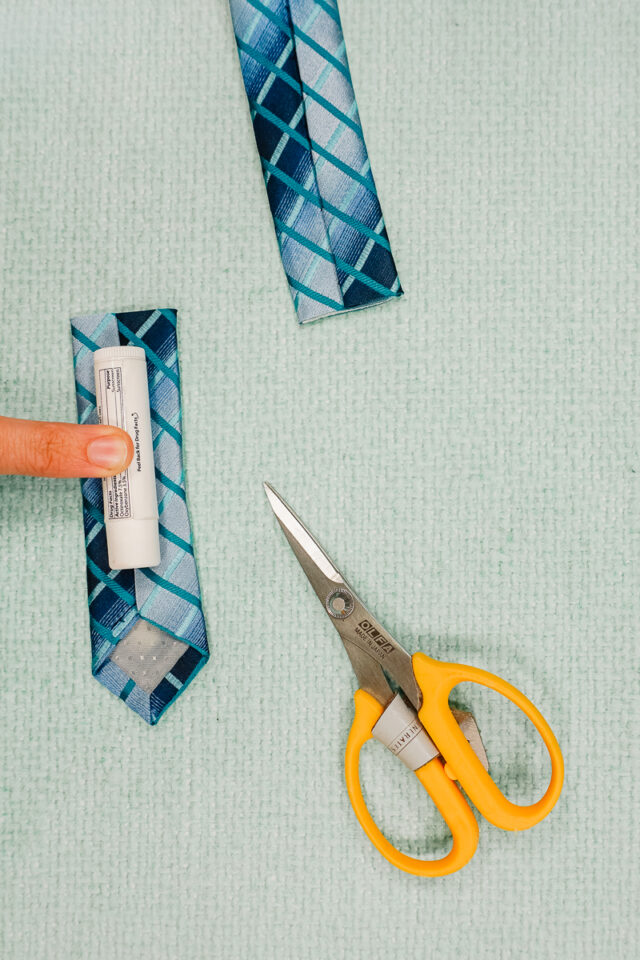
Cut the thin end of the tie 5 inches from the point.
Turn the tie piece right side in.
Wrap one of the loops around the lobster clasp to become the loop. Slide the lobster clasp and loop into the cut end of the tie. Match up the edges of the loop with the cut edge of the tie.
Sew the cut end of the tie closed. Backstitch when you start and when you stop.
Turn the tie right side out. Poke out the corners.
Add a snap set to the point of the tie and where you want it to connect. When I add the lower snap on the center, I like to overlap the two center seams and attach the snap through both sides to help keep that center seam together.
Add chapstick and snap the pouch closed. You finished!
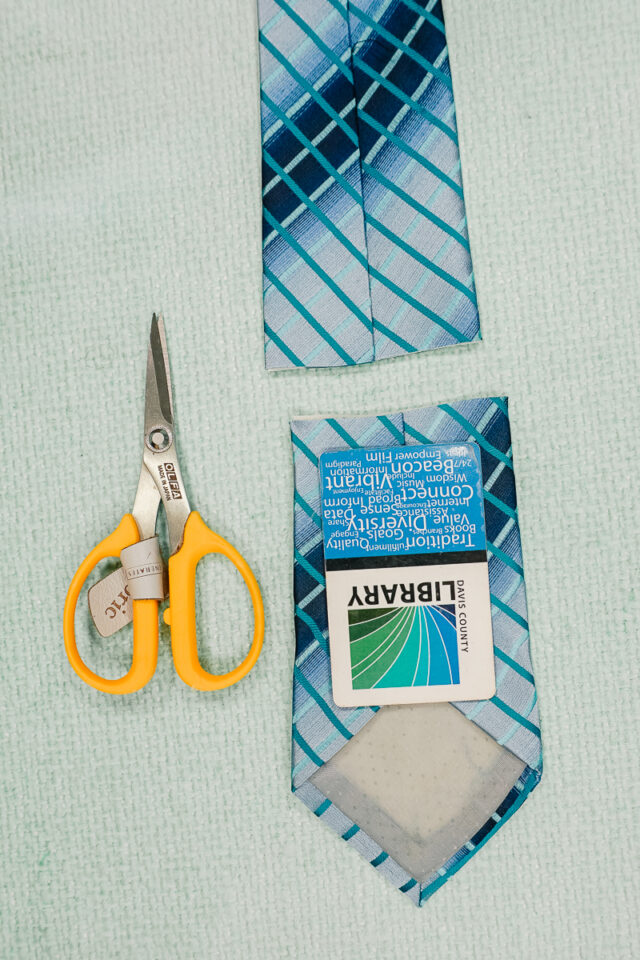
Card Pouch
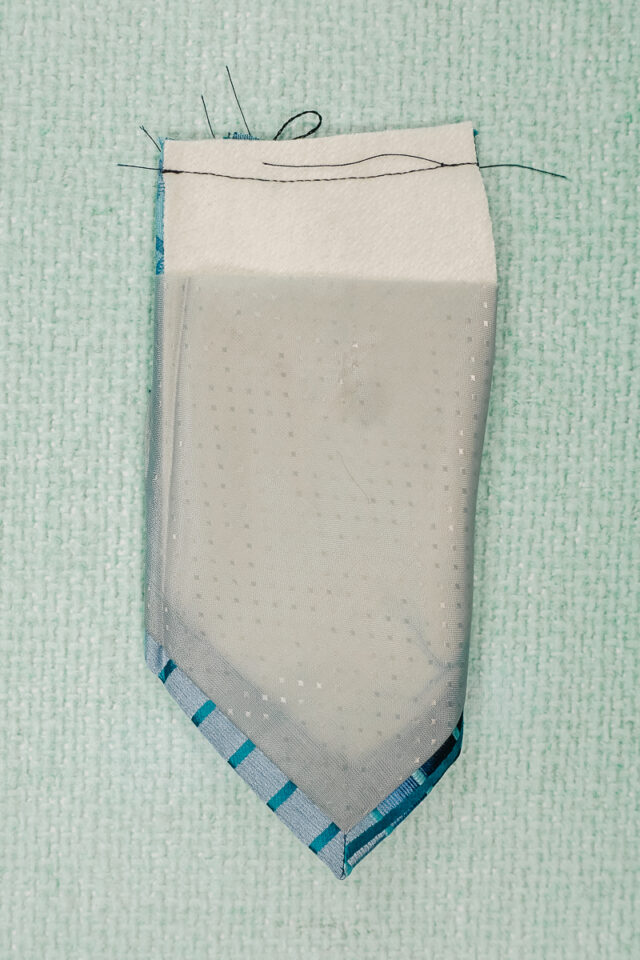
Cut the wide end of the tie 6.5 inches from the point.
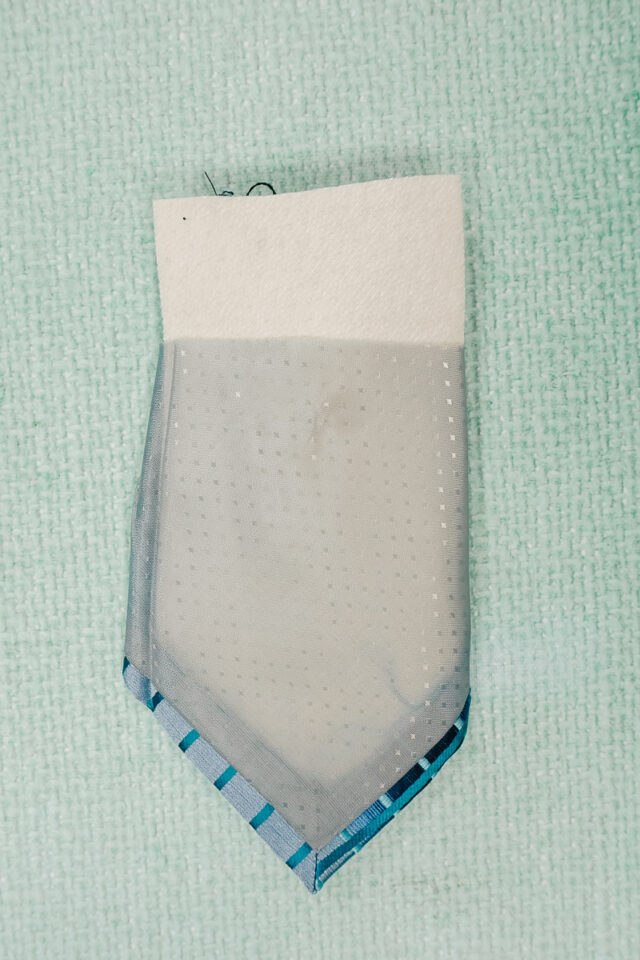
Turn the tie piece right side in.
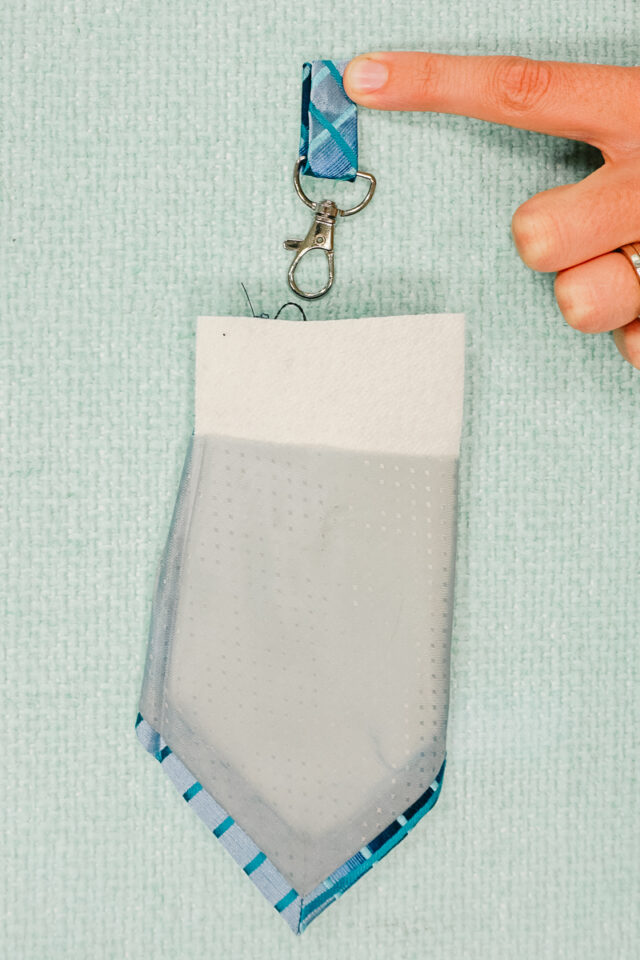
Wrap one of the loops around the lobster clasp to become the loop. Slide the lobster clasp and loop into the cut end of the tie. Match up the edges of the loop with the cut edge of the tie.
Sew the cut end of the tie closed. Backstitch when you start and when you stop.
Turn the tie right side out. Poke out the corners.
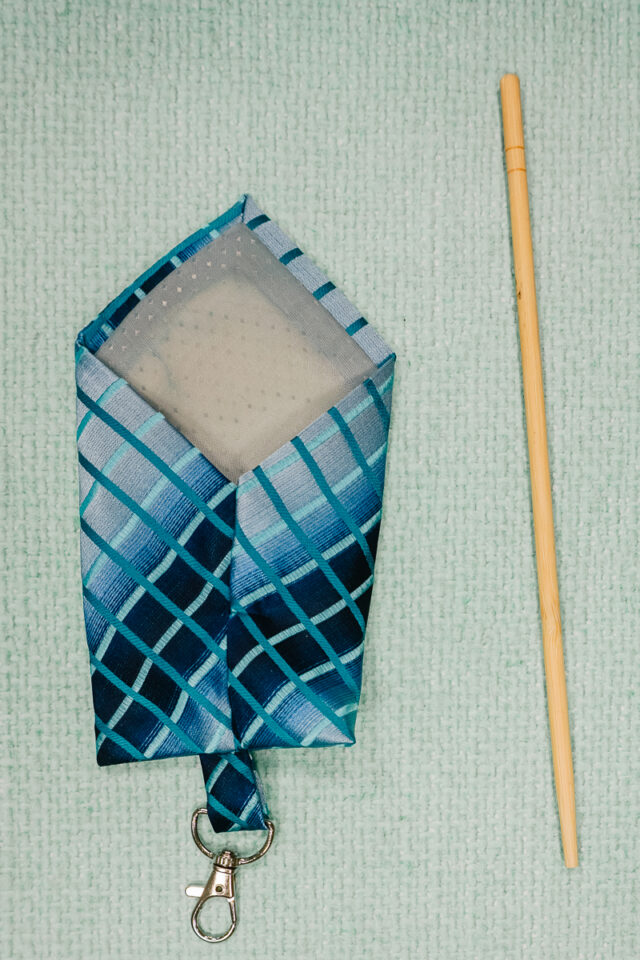
Add a snap set to the point of the tie and where you want it to connect. When I add the lower snap on the center, I like to overlap the two center seams and attach the snap through both sides to help keep that center seam together.
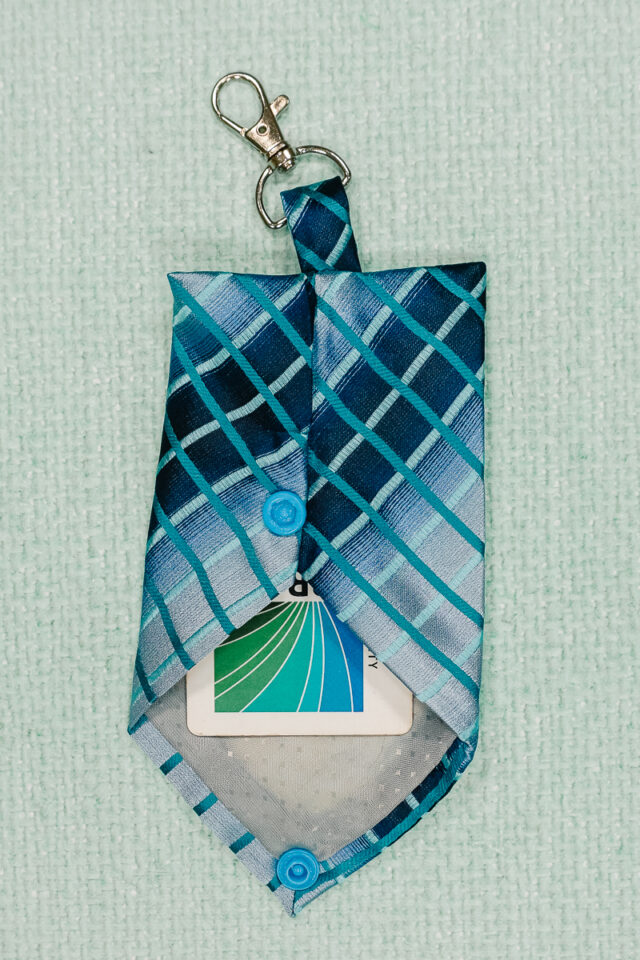
Add a credit card, ID card, or library card and snap the pouch closed. You finished!
If you make something using this sewing project, I’d love to see! Please share it on social media with the hashtag #heatherhandmade and tag me!

I believe small sewing moments can create great joy. Find your own “right” way to sew. -Heather