
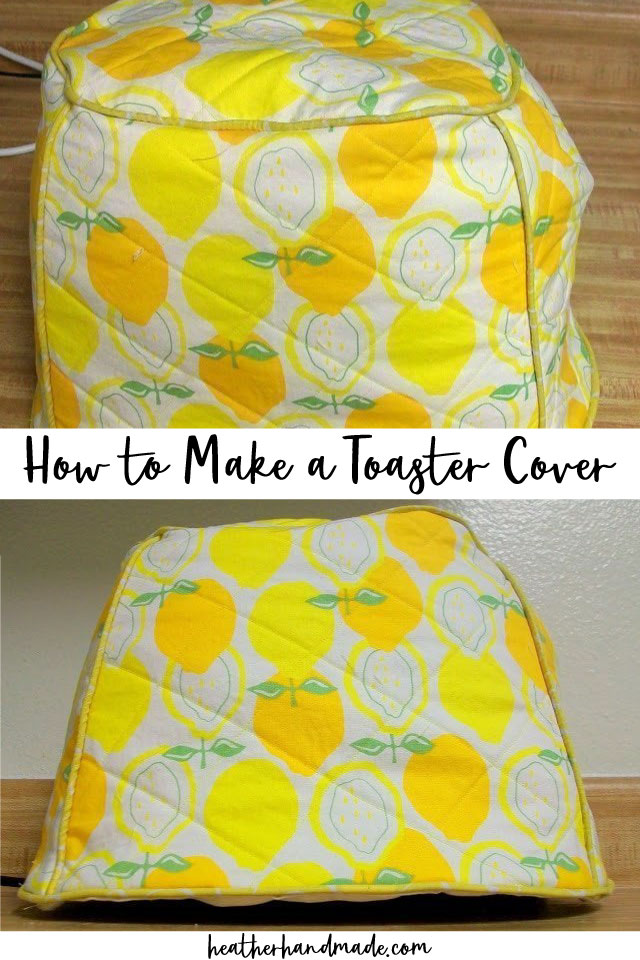
How to Make a Toaster Cover

This post may contain affiliate links.
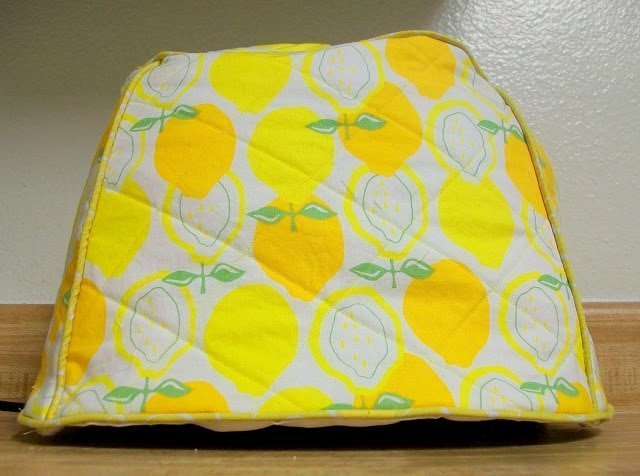
Learn how to make a toaster cover by making a custom sewing pattern. This kitchen sewing project is a great way to decorate the kitchen!
With some of my pretty lemon fabric, I decided to make a toaster cover to decorate my kitchen. I love having handmade items for my kitchen to brighten my day! This lemon fabric makes me smile every time I see it!
I’ll teach you how to measure your own toaster so that you can make your own quilted toaster cover with any fabric you choose. Add piping for an extra detail!


Do you love to sew? Try some of these sewing projects:
- Beginner sewing projects
- Scrap fabric projects
- kitchen sewing projects
- Gift ideas to sew
- home sewing projects

How to make a toaster cover
Make the toaster cover sewing pattern
First, trace the shape of your toaster. Mine is an oval, yours might be a rectangle.

Measure the side of your toaster. Mine is 8″ tall.

These are my measurements. I drew the shapes with the measurement on each side. I also measured the circumference on the top, the middle, and the bottom and made sure all my measurements added up to the circumferences.
Once you have the measurements, DON’T FORGET TO ADD SEAM ALLOWANCE. I forgot and had big problems.
Cut out each pattern piece out of outer fabric, lining fabric, and batting.

Cut out all the pattern pieces from the fabric and batting.
Layer the outer fabric on top of the batting piece and pin together. Quilt the two layers together by sewing straight lines across the fabric.

Make sense?

Sew a Toaster Cover
Once the pieces are quilted then I sewed piping onto all the edges. (Learn how to make and sew piping.) Sew the pieces together with the piping sandwiched in the seams. I also sewed piping around the bottom edge.
Sew the lining together without piping.
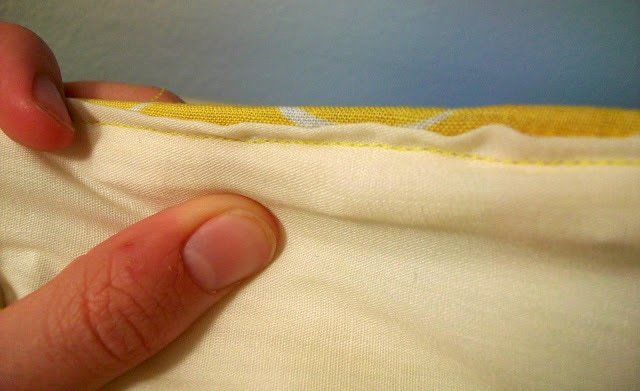
To sew the lining to the cover, fold the edge of fabric or piping down inside.

Put the lining inside the cover wrong sides together.

Fold about 1/2″ of the lining edge down and pin it to the edge of the cover, like this.

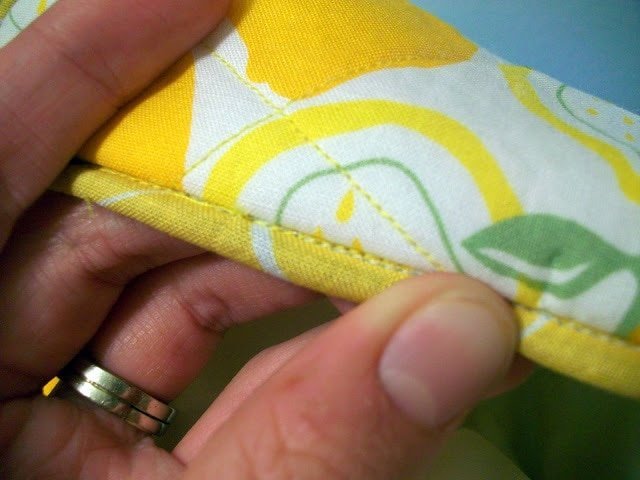
Pin all around. Then sew from the top in the area right between the fabric and the piping. This is called stitching in the ditch.

This is what it looks like from the top with the piping rolled down. The white stitching is from making the piping the first time.
When you finishing sewing, this is what the inside will look like.
Then you’re done! Oh, and because I didn’t add seam allowance to my top, I had to add a pleat to one side. It worked out well because it put space in for the lever on the toaster. Some accidents turn out well.

If you make something using this sewing project, I’d love to see! Please share it on social media with the hashtag #heatherhandmade and tag me!


I believe small sewing moments can create great joy. Find your own “right” way to sew. -Heather
thank you Heather
How cute! I was wondering, how much fabric did you start out with? I have the same toaster, so I'd be able to steal your measurements, too. 🙂
I started out with half a yard, I think but probably only used half?
I love your honesty about the seam allowances. Most bloggers have a "perfect everytime" attitude. I think yours is just charming my dear. From one very seasoned sewer…
Hey this is too cute! I will try to make one because my toaster is next to the sink and I always worry that is going to get wet when the dishwasher (me) does the dishes. =D
I LOVE it! I am super excited to see how your quiet book turns out 🙂