How to Stitch in the Ditch

This post may contain affiliate links.
Learn how to stitch in the ditch to create an almost invisible stitch while sewing! This is great for cuffs, waistbands, and facings!
To be able to stitch in the ditch is a great basic sewing skill. When I say basic I don’t mean easy, I mean it’s a good stitch to know so that you can use it when needed. It’s not the most common sewing skill, but you really need to know how to do it before you can use it.
In apparel sewing you stitch in the ditch most often when finishing a waistband, cuff or collar. In quilting you stitch in the ditch when finishing the bias binding by machine.
To stitch in the ditch is to attach the inside or back as invisibly as possible. Stitching in the ditch means sewing right on the seam which helps hide the stitch in the “ditch”. Learn more about all the basic sewing stitches you need to sew clothing.
Before we get started I want to talk a little bit about sewing machine feet. I have always stitched in the ditch with my regular sewing machine foot.
I line up the little center guide on the foot with my seam and carefully watch where my sewing machine needle is going in an out. If I go slow and am deliberate I never have a problem.
If you want a little more guidance, you can purchase and use a special sewing machine foot*. I linked to a brother version, but any brand will work.
A stitch in the ditch sewing machine foot has an extra line to guide you, and it’s more open in the middle so you can see better what the needle is doing. I used to want to do everything with my basic sewing machine foot, until I realized how successful I am when using the correct foot for the correct application.
How to Stitch in the Ditch
In my sample I will be using a big main piece and a small rectangle. Think of the small rectangle as either a waistband or bias binding.
Sew the small rectangle to the top of the main piece. Using a matching thread color.
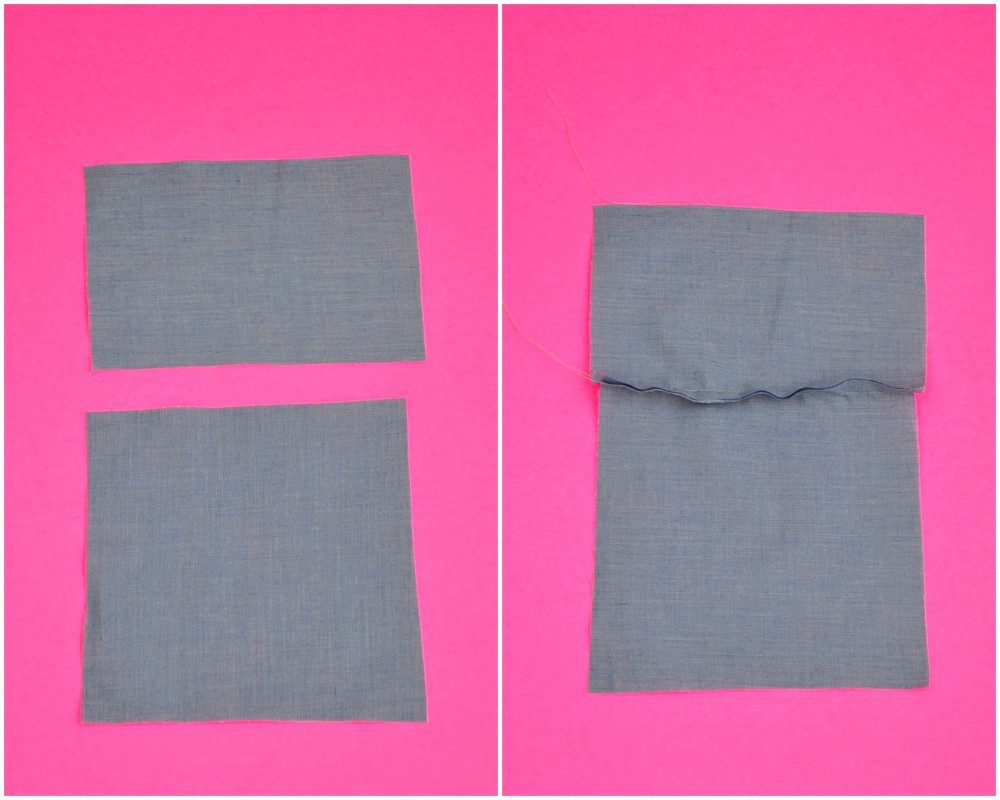
Press the seam allowance up towards the small rectangle.
Fold a seam allowance down (whatever amount is recommended in the pattern you’re working with or the bias binding size) and press.
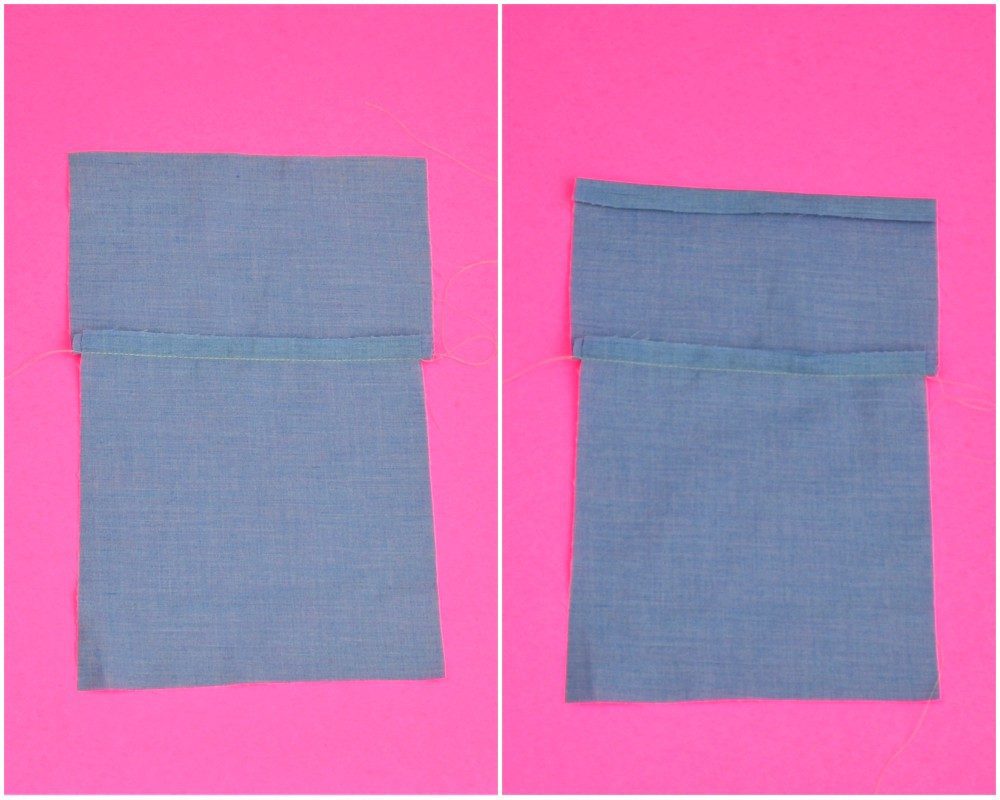
Fold the small rectangle over until it just covers the original stitching. Pin in place.
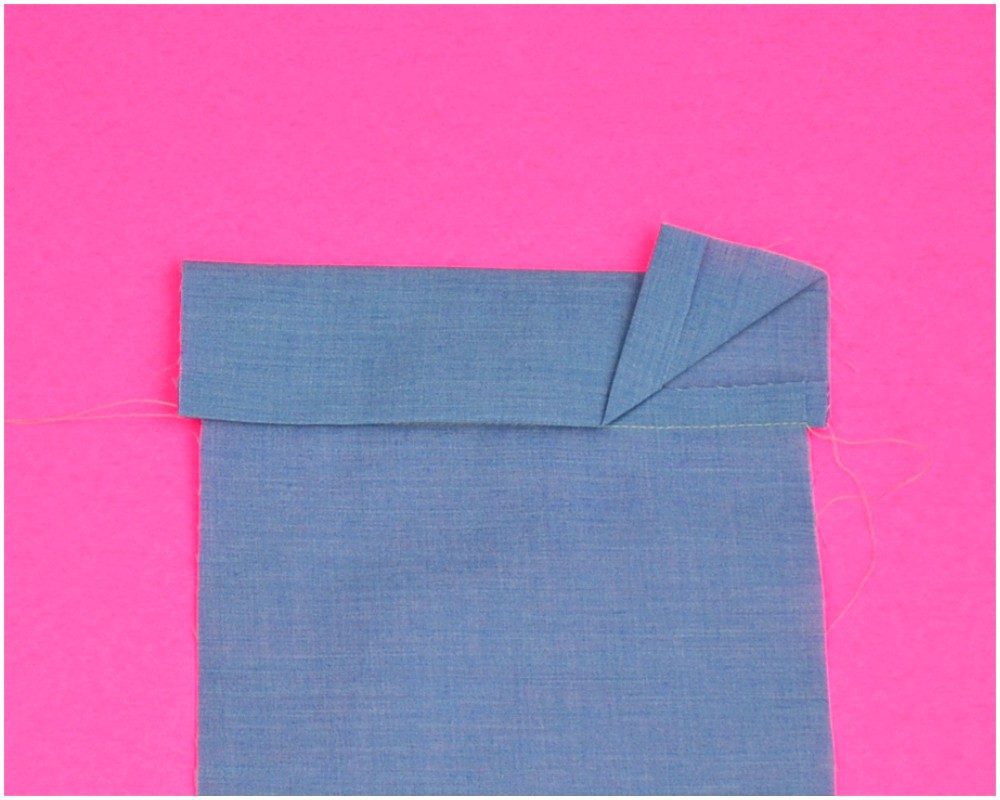
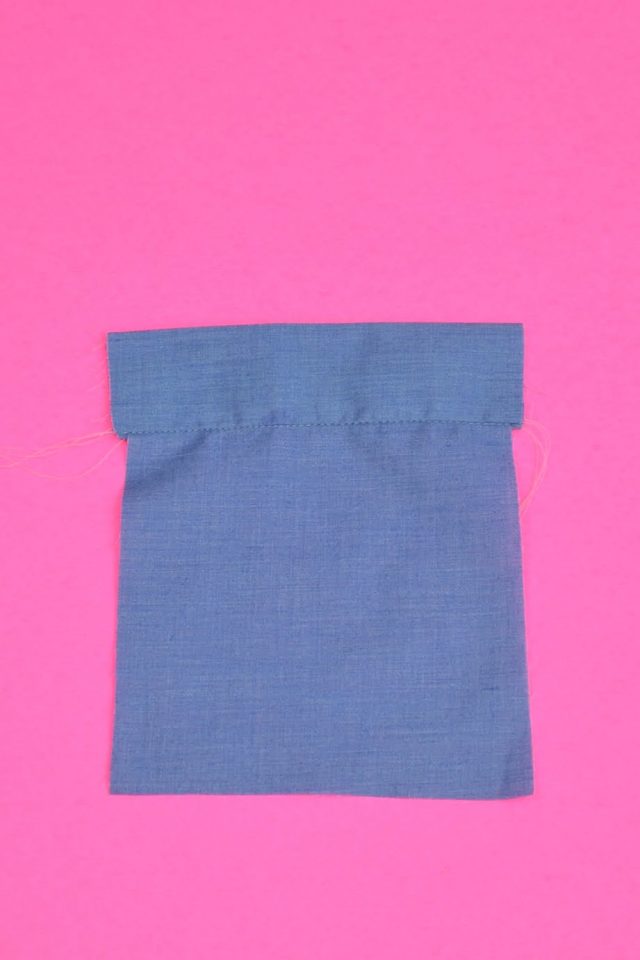
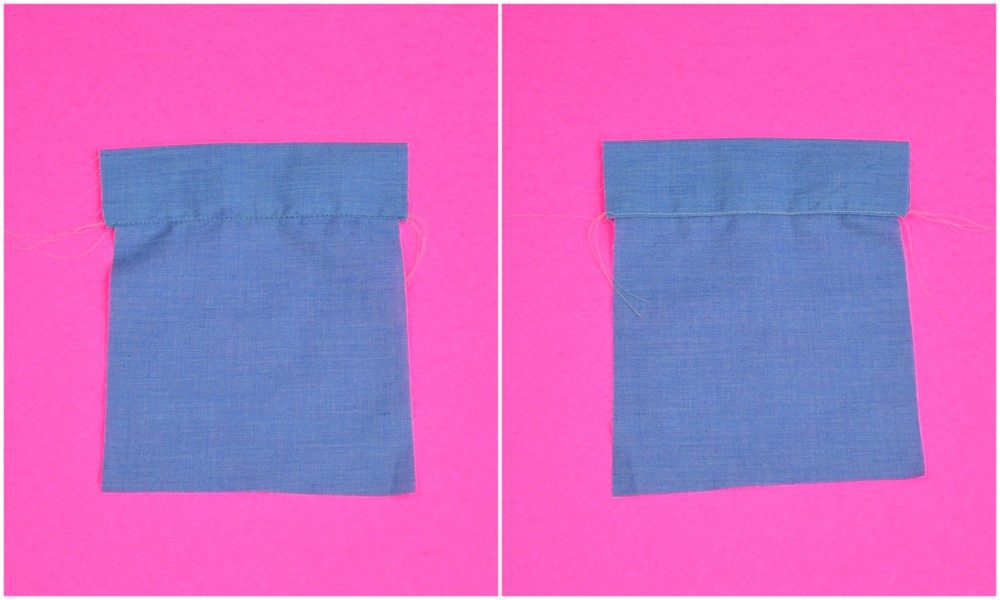
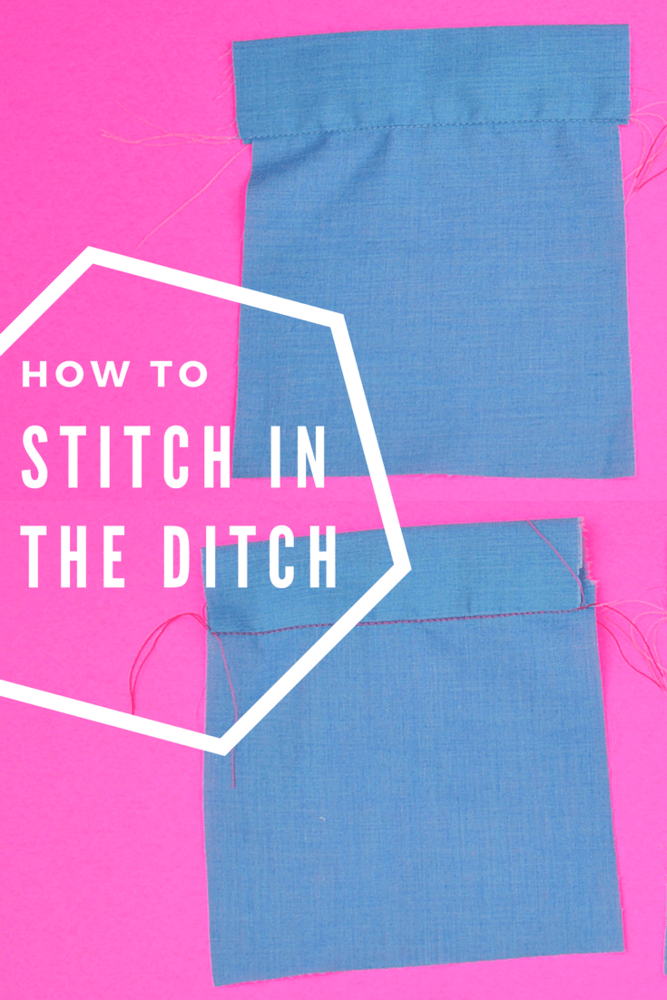
Using your regular sewing foot and the needle in center position, line up the middle with the seam. Sew with the stitches falling right in the seam. The seam is the “ditch.” When stitching in the ditch with a band, one side of the seam is thicker than the other. It makes it a little more difficult to follow the seamline, but it is possible.
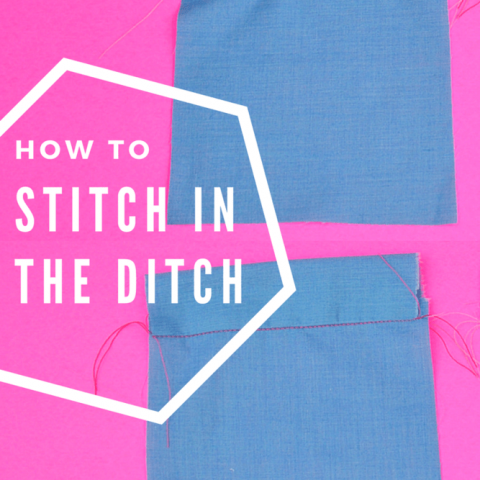
When finished you can hardly see the stitching. I purposely used a lighter stitch in the back, so you could see it a little better. It’s securing the fold and enclosing all the raw edges inside.
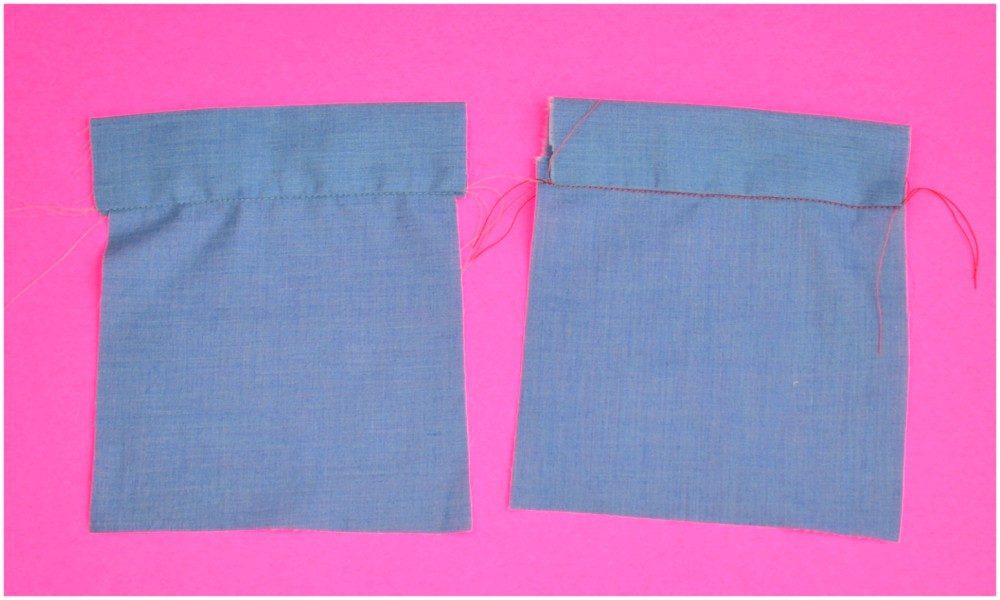
I also made a sample with thick pink thread so you could see the difference: invisible stitching on the left and hot pink stitching on the right. The closer your color of thread is to the fabric the better it will blend in. If you are used a printed fabric, use the color that is over the majority of the print or is the background.
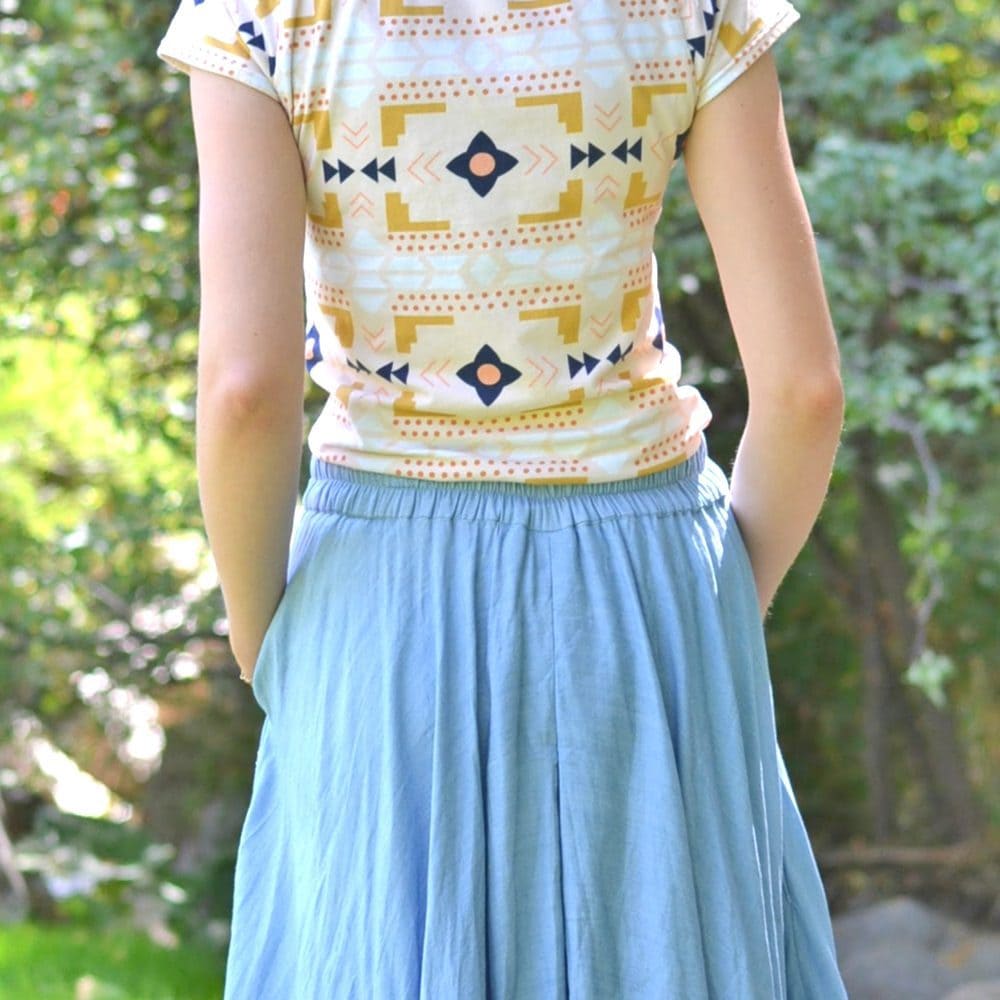
I stitch in the ditch most often when attaching a waistband to a skirt or a pair of pants. It’s a nice virtually unnoticeable way of enclosing all the raw seams inside the waistband without seeing stitching from the front. Below is my chambray Tania Culottes where I stitched in the ditch at the waistband.
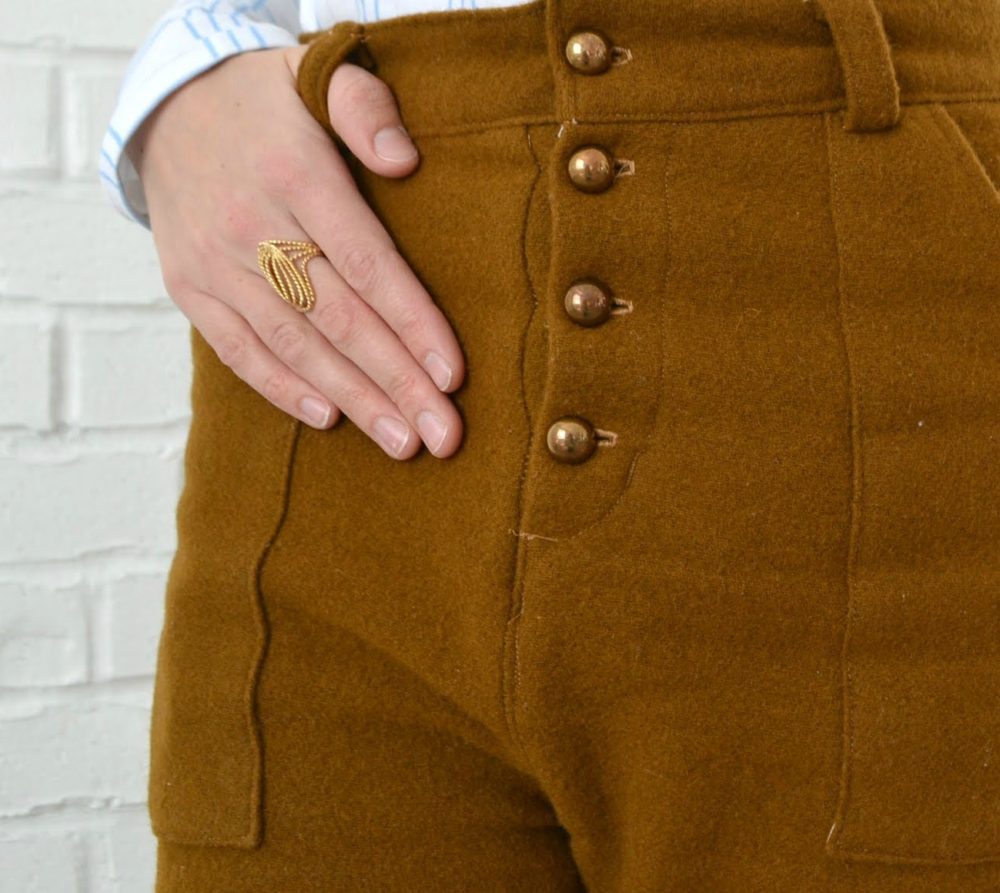
Below is my wool Lander pants which has topstitching at the waistband, but I also stitched in the ditch at the waistband.
How to Stitch in the Ditch
Learn how to stitch in the ditch to create an almost invisible stitch while sewing! This is great for cuffs, waistbands, and facings!
Materials
- Fabric
- Matching thread
Tools
- Sewing tools
- Sewing machine
Instructions
- Sew the small rectangle to the top of the main piece. Using a matching thread color.
- Press the seam allowance up towards the small rectangle.
- Fold a seam allowance down (whatever amount is recommended in the pattern you're working with or the bias binding size) and press.
- Fold the small rectangle over until it just covers the original stitching. Pin in place.
- Using your regular sewing foot and the needle in center position, line up the middle with the seam. Sew with the stitches falling right in the seam. The seam is the "ditch." When stitching in the ditch with a band, one side of the seam is thicker than the other. It makes it a little more difficult to follow the seamline, but it is possible.
- When finished you can hardly see the stitching. I purposely used a lighter stitch in the back, so you could see it a little better. It's securing the fold and enclosing all the raw edges inside.
- I also made a sample with thick pink thread so you could see the difference: invisible stitching on the left and hot pink stitching on the right. The closer your color of thread is to the fabric the better it will blend in. If you are used a printed fabric, use the color that is over the majority of the print or is the background.
Recommended Products
As an Amazon Associate and member of other affiliate programs, I earn from qualifying purchases.
Good luck with your stitching in the ditch! Practice stitching in the ditch so that you will happy with the result every time you need to use it!
If you are learning how to sew, you can start with sewing 101 for beginners!
If you make something using this tutorial, I’d love to see! Please share it on social media with the hashtag #heatherhandmade and tag me!

I believe small sewing moments can create great joy. Find your own “right” way to sew. -Heather


hello, I want to learn the basics of sewing, to add a skill and looking for other income source that can help me and my family…thank you for this project sounds interesting…
please help me find the different basic stiches…it says it can’t be found
try this: https://www.heatherhandmade.com/sewing-101-for-beginners/
[…] how to stitch in the ditch […]
Catchy title. I haven't sewn in a while but may take it back up. This will be a handy stitch to know. Thanks for showing the front and back photos, they made it easier to understand.
Thank you! 🙂 Your directions & photos are easy to follow…I am making a prom dress for my daughter & have 9 days to finish…you've saved me from a breakdown! 😀
I enjoy your sewing tutorials. Keep up the good work!
I am passing on the Stylish Blogger Award to you in appreciation for being a follower of my blog. Check it out here: http://tru-featsandaccomplishments.blogspot.com/2011/03/blog-award-2.html
Enjoy!