
Easy Bookmarks to Sew with a Free Pattern

This post may contain affiliate links.
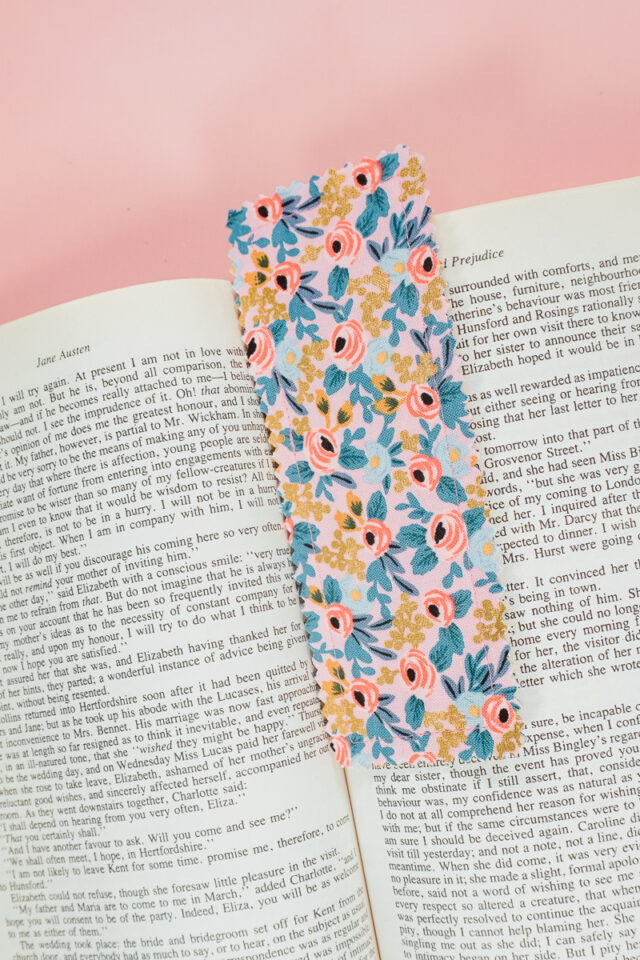
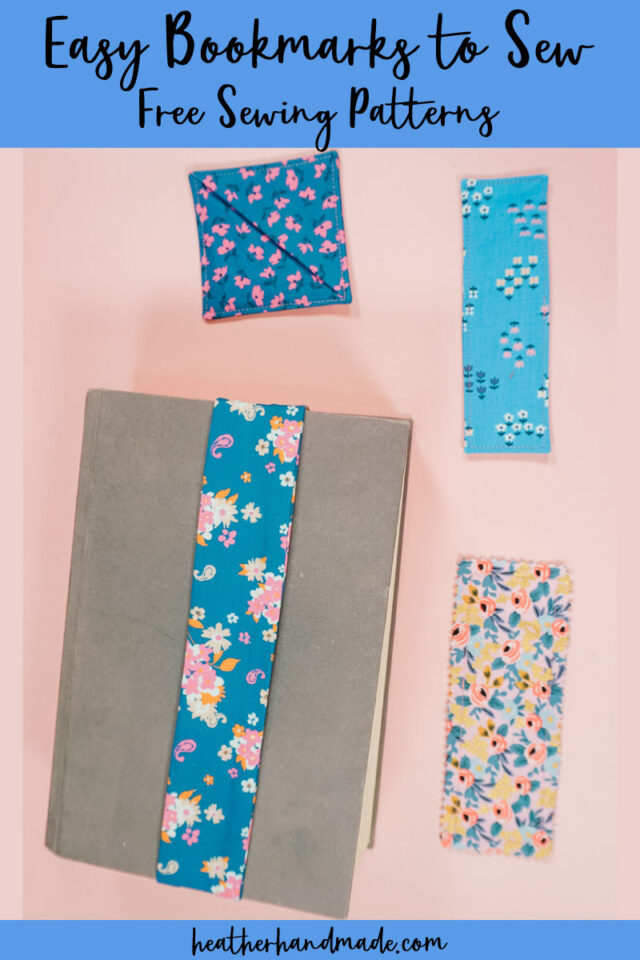
Check out these easy bookmarks to sew with a free sewing pattern. These four bookmarks use scraps of fabric for a quick beginner sewing project!
Have your kids been reading this summer? Are your kids read for back to school with some new bookmarks to start the school year? Make a cool bookmark to encourage reading!
I’ve put a tutorial together for four different bookmarks to sew. They are all easy, but some are quicker than others. Choose the one with your favorite design to make the best bookmark.
To get the free sewing pattern, scroll to the end of the tutorial. Put your email address in the form under “Get the Free Sewing Pattern Here.” Once you confirm that you want to receive emails from Heather Handmade, the free pattern will be sent to your email address. Check your spam and promotions for the email.
We take our kids to the library a lot to get them excited about reading, but we are always misplacing our bookmarks. We often end up using ripped pieces of paper. We needed some new fabric bookmarks that we love and keep using.
The best thing about these bookmarks are that they are so easy to customize. You can use a fun and colorful fabric print, or you can add a name to personalize it.
What fabric should I use to make a bookmark?
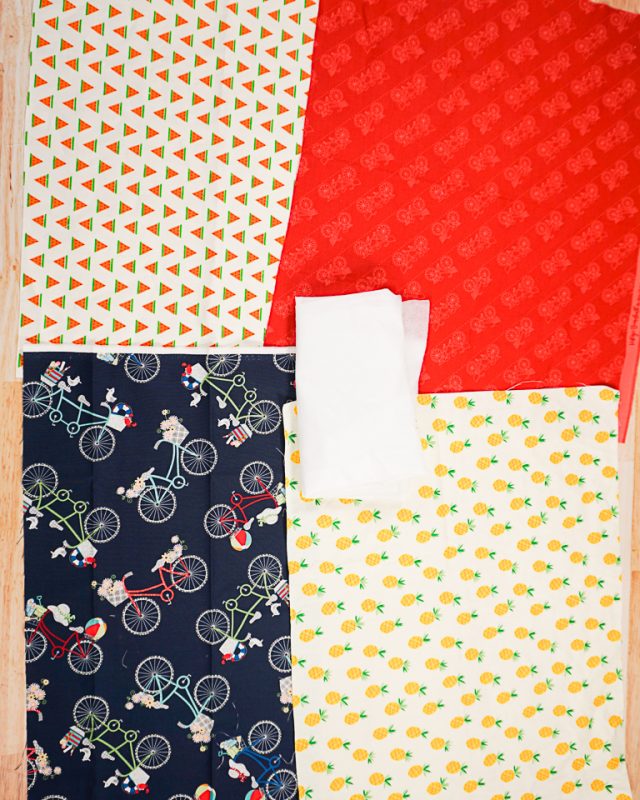
The best fabric to use for bookmarks is quilting cotton. Its easy to find, easy to sew, and it comes in every print and color imagineable. Since these bookmarks are small, you can use up all your favorite small scraps of fabric!
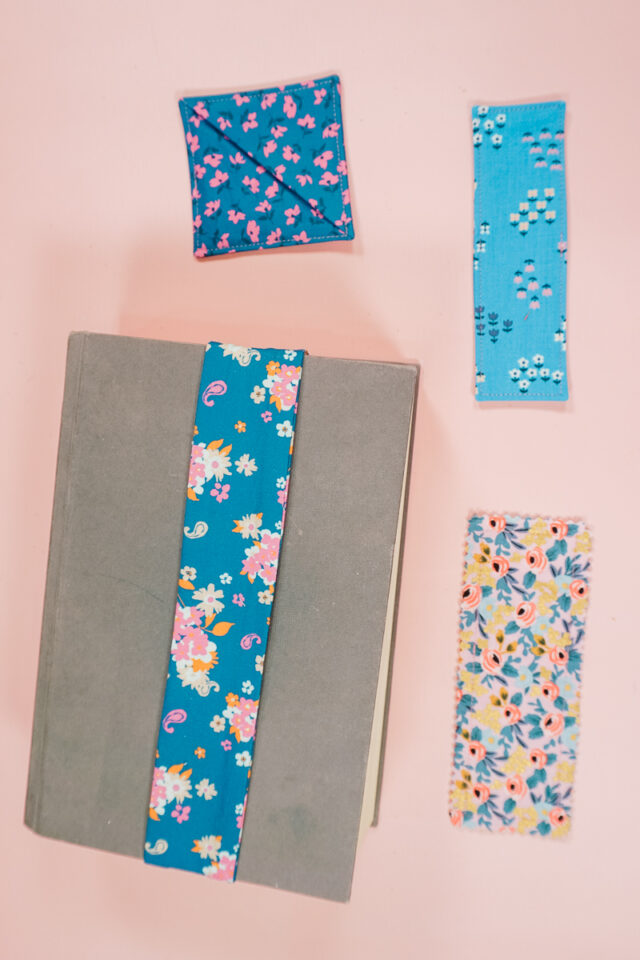
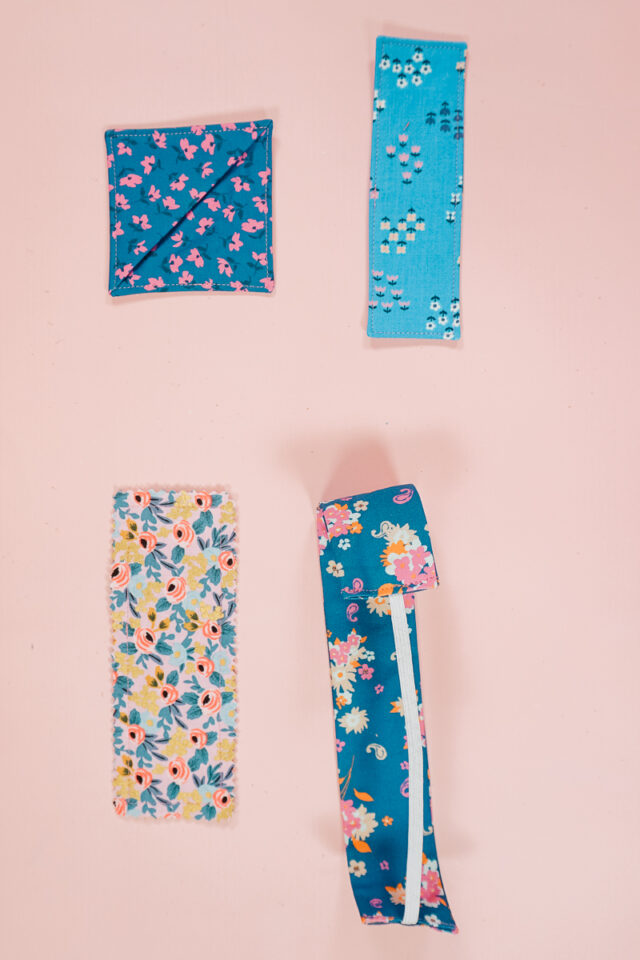
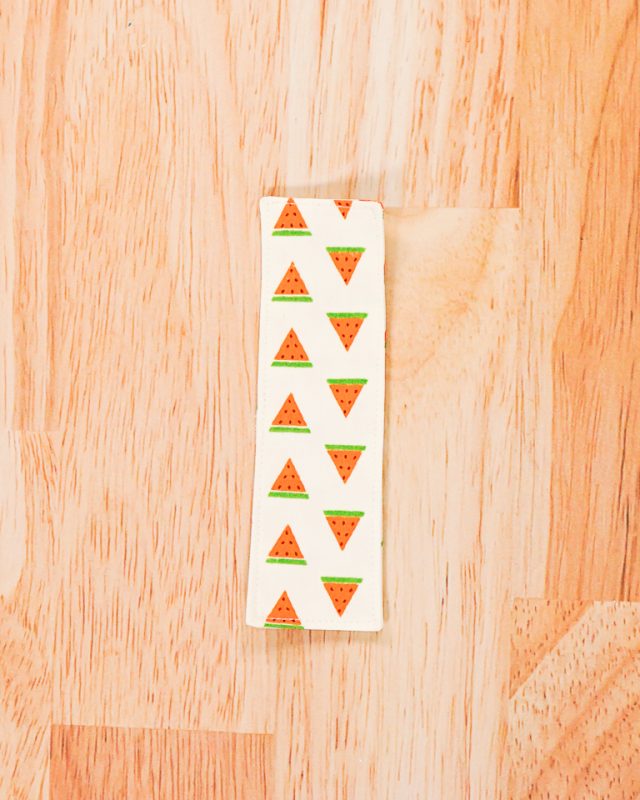
There’s a rectangle bookmark with raw pinked edges, a rectangle bookmark with enclosed edges, a fabric corner bookmark, and a fabric and elastic bookmark. Which is your favorite design?
What is a PDF sewing pattern?
A PDF pattern is a sewing pattern designed on the computer and organized so that it can be printed on several letter or A4 size pieces of paper.
I love using PDF sewing patterns because if the pattern gets ruined or if my children or I changed sizes, I can always print it again. It’ll never be destroyed since I have a digital version!
How do you use a PDF sewing pattern?
Open the PDF on a computer and click print. When printing make sure that the scaling is set to 100% or no scaling so that the pattern prints at the correct size.
Once the pattern is printed it can be taped together to get the full size. Then the pattern can be cut for each pattern piece size or individual sizes can be traced so that the pattern can be used again and again. Learn how to use PDF sewing patterns.
Do you love to sew? Try one of these fun sewing projects:
- Beginner sewing projects
- Scrap fabric sewing projects
- Handmade gifts to sew
- Back to school sewing projects
- Fat Quarter sewing projects
- Quilting cotton sewing projects
- Sewing projects for kids
- Sewing projects for teens
- Free sewing patterns for kids
- Small sewing projects
Easy Bookmarks to Sew
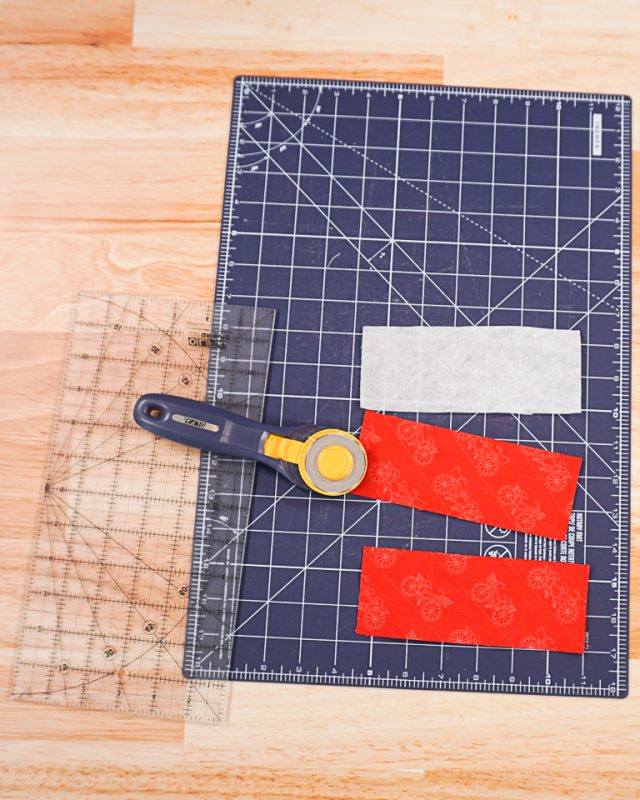
Supplies
- Free bookmark sewing patterns – get it at the end of the post
- Scraps of quilting cotton fabric
- Scraps of lightweight interfacing
- Sewing tools
- Sewing machine
Do you just want the pattern and tutorial as a PDF? Get the pattern and tutorial for just $5. You won’t need to access the internet every time you want to make it. Or get the Pattern Bundle with ALL the PDF tutorials!
Easy Pinked Bookmark
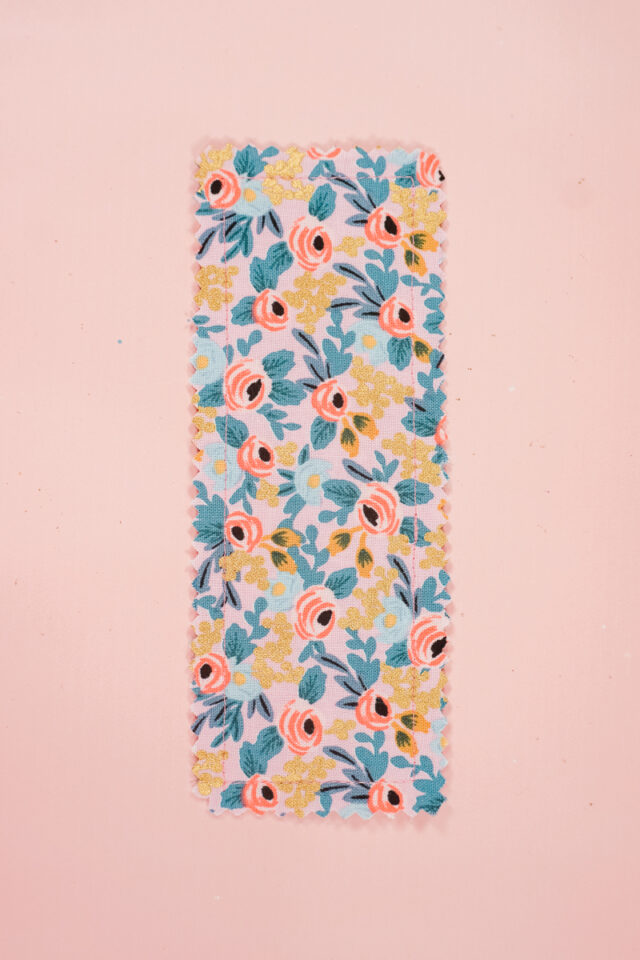
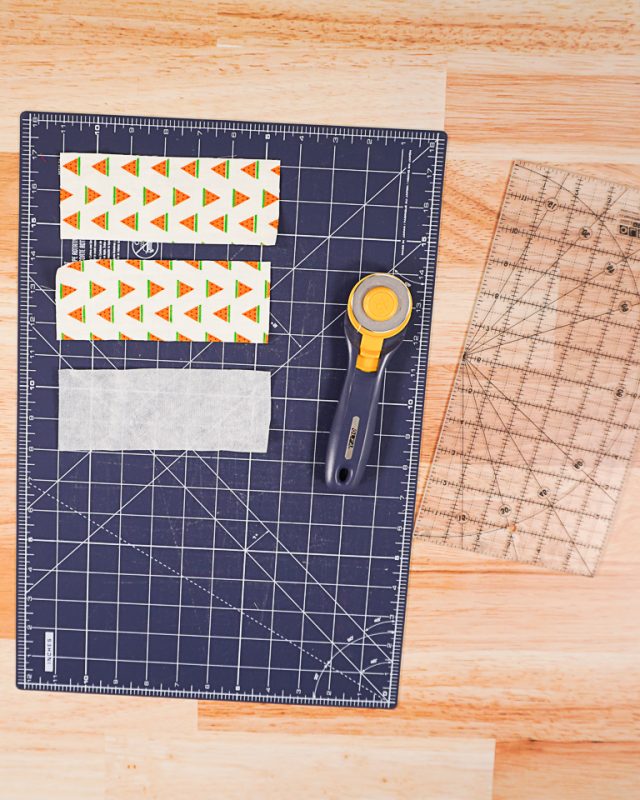
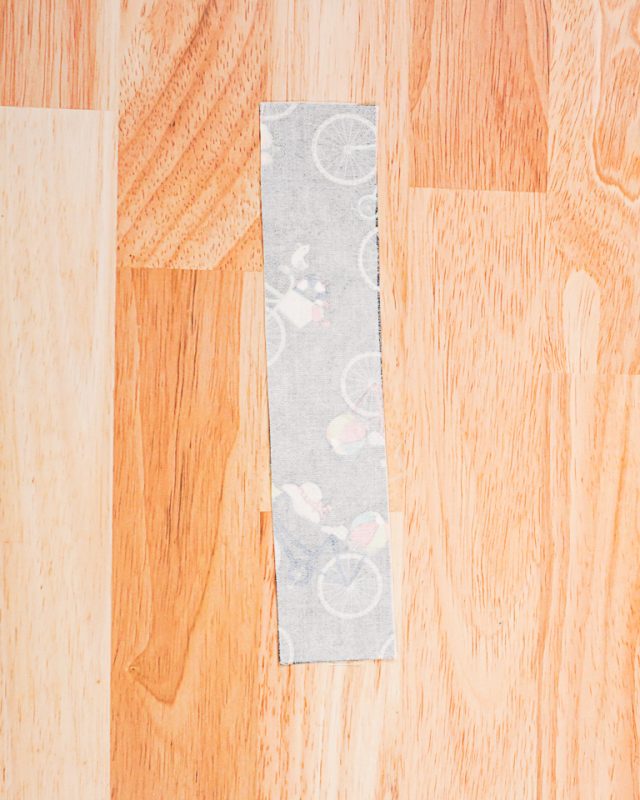
Cut two fabric rectangles with the pattern piece. Cut one interfacing rectangle with the pattern piece.
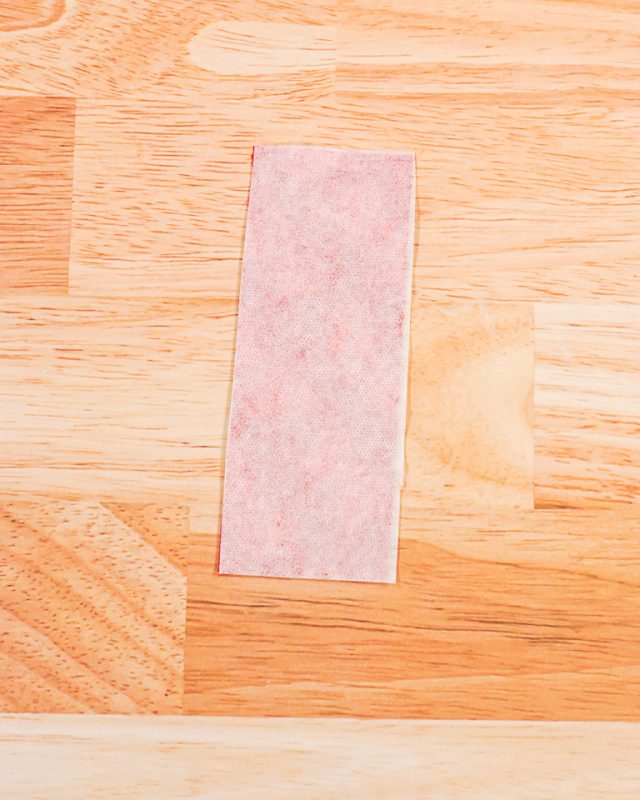
Apply the interfacing to the back of one fabric rectangle.
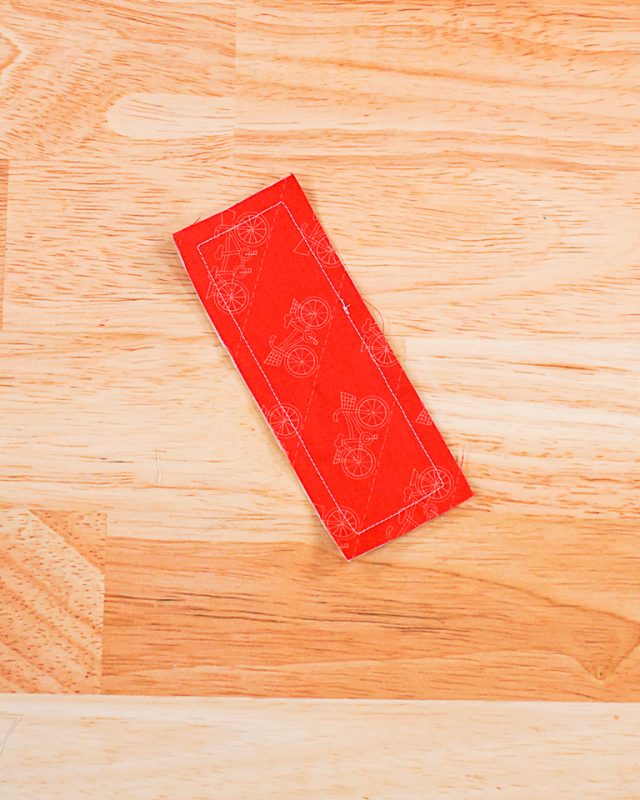
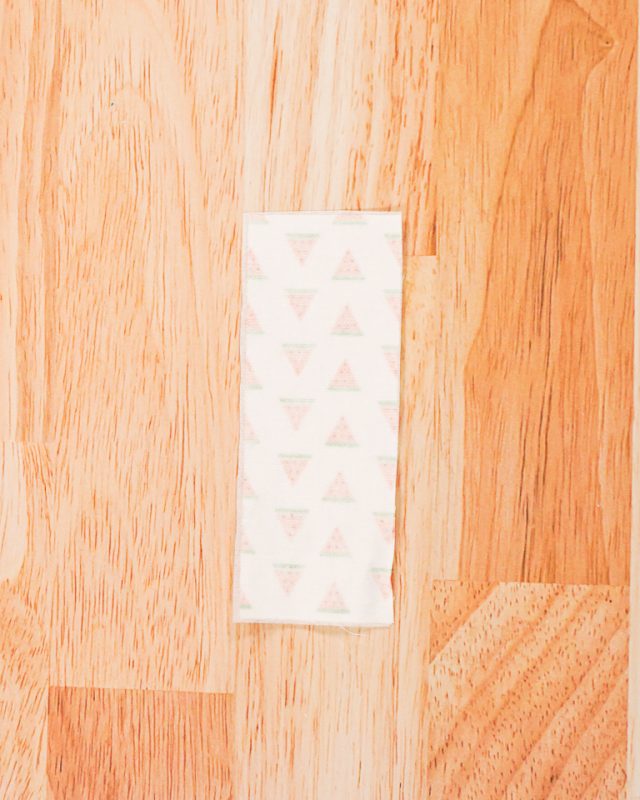
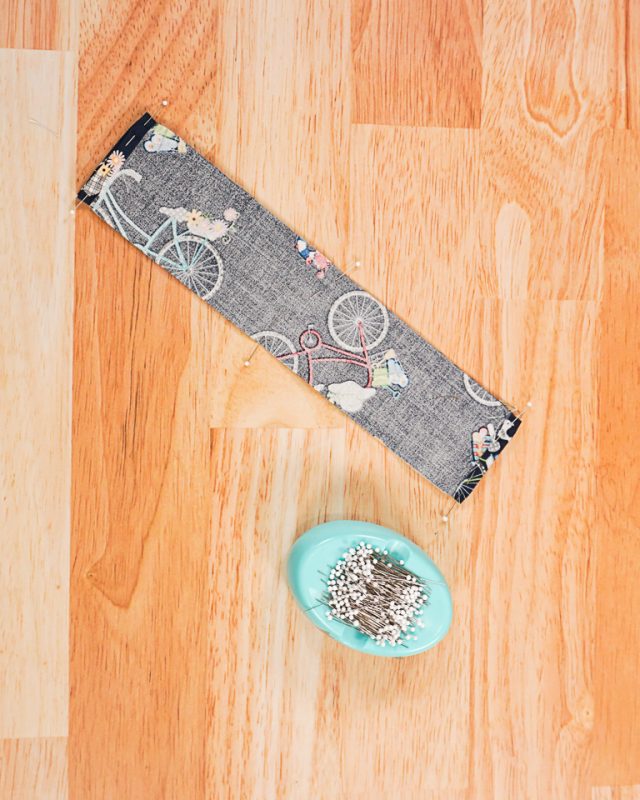
Pin the two rectangle WRONG sides together.

Sew around the rectangle with a 3/8 inch seam allowance. Pivot at the corners and backstitch when you start and when you stop.
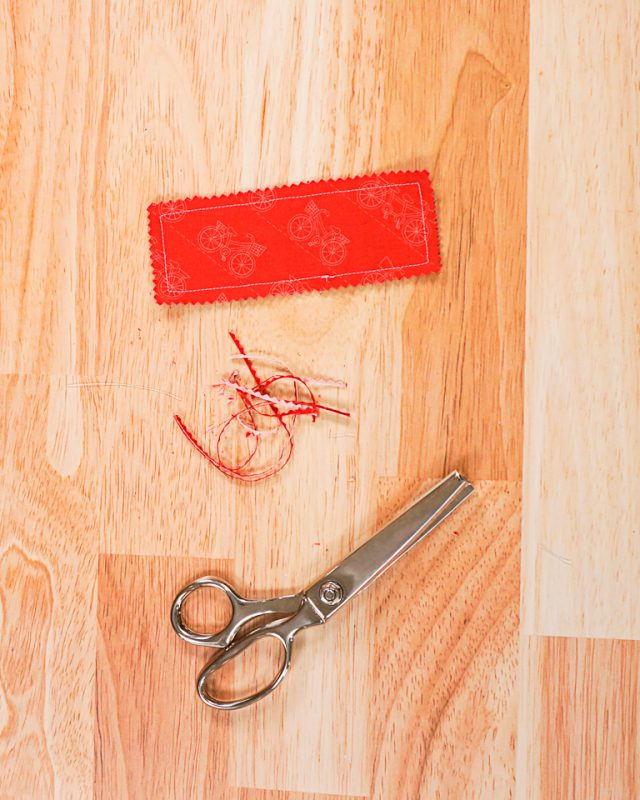
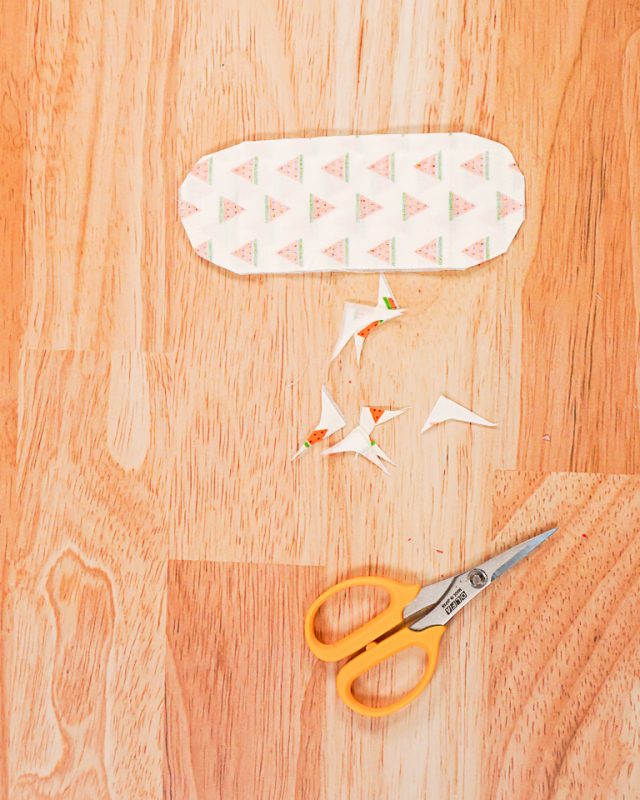
Trim the edges with pinking shears. Make sure you don’t cut through the stitches. You finished!
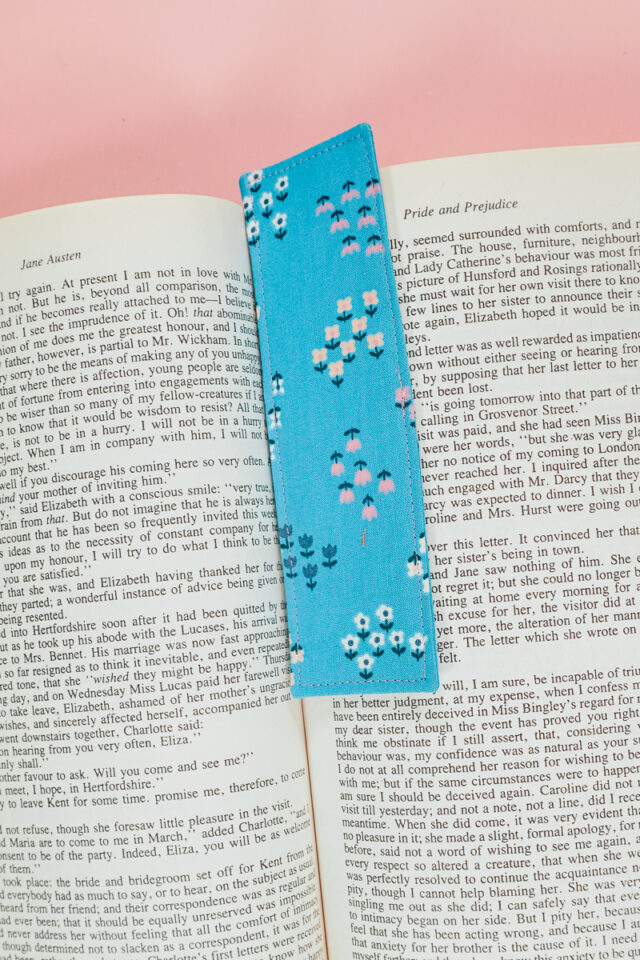
Easy Rectangle Bookmark

Cut two fabric rectangles with the pattern piece. Cut one interfacing rectangle with the pattern piece.
Apply the interfacing to the back of one of the rectangles.
Pin the two rectangles with right sides together. Sew around the rectangle with a 3/8 inch seam allowance. Leave a 2 inch hole for turning. Backstitch when you start and when you stop.
Trim the corners to reduce bulk.
Turn the bookmark right sides out and poke out the corners. Press the bookmark flat.
Edgestitch around the edges 1/8 inch from the edge and close the hole. You finished!
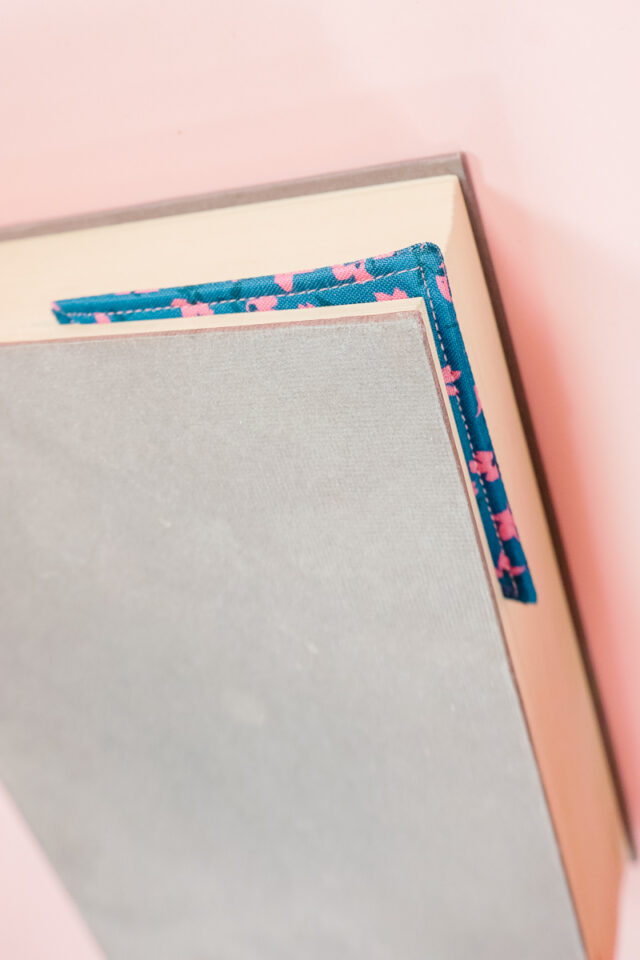
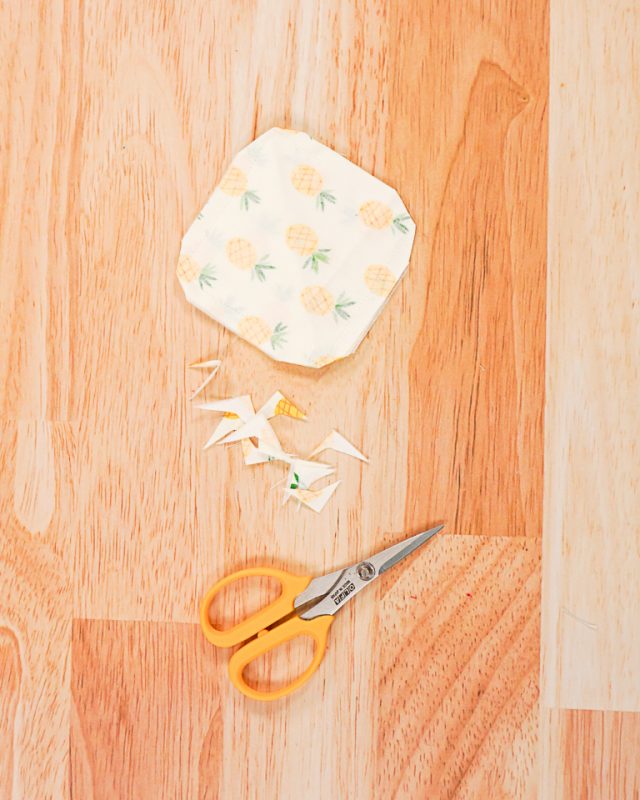
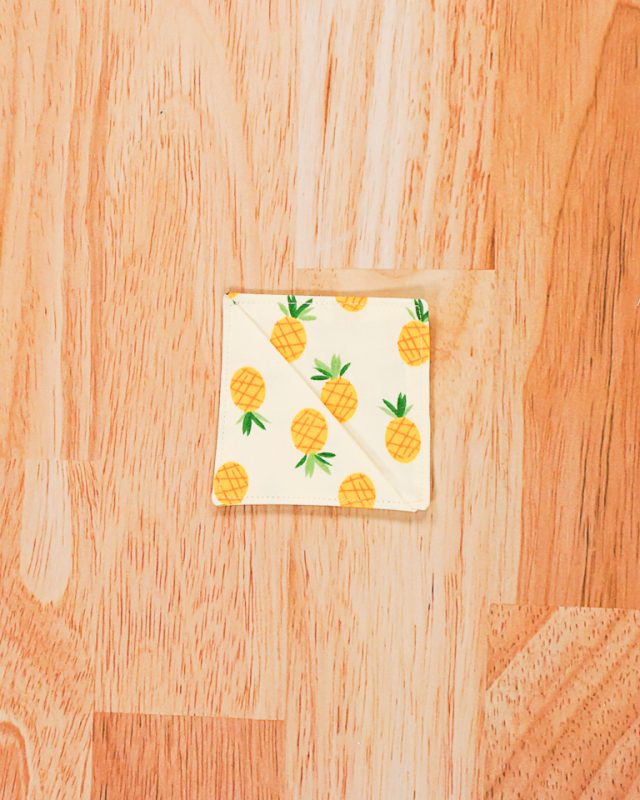
Fabric Corner Bookmark

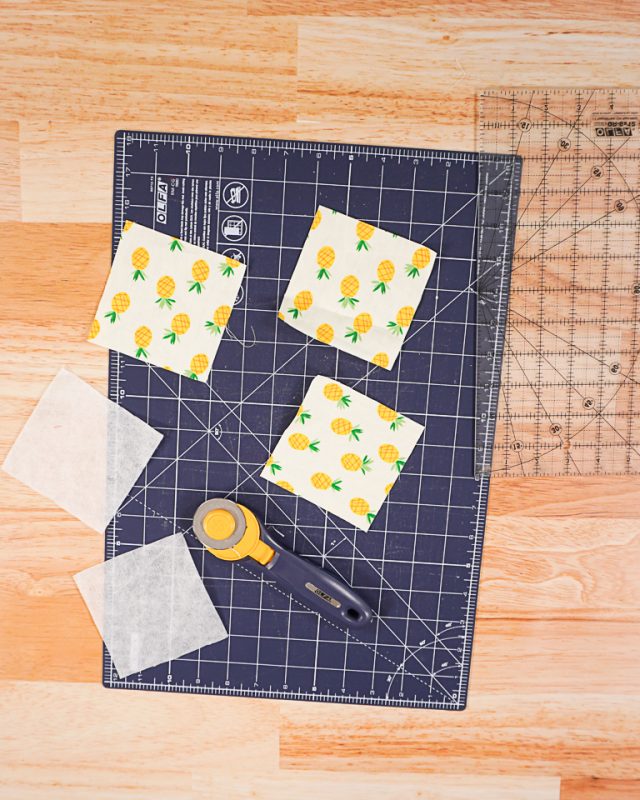
Cut out three fabric squares with the pattern piece. Cut out two interfacing squares with the pattern piece.
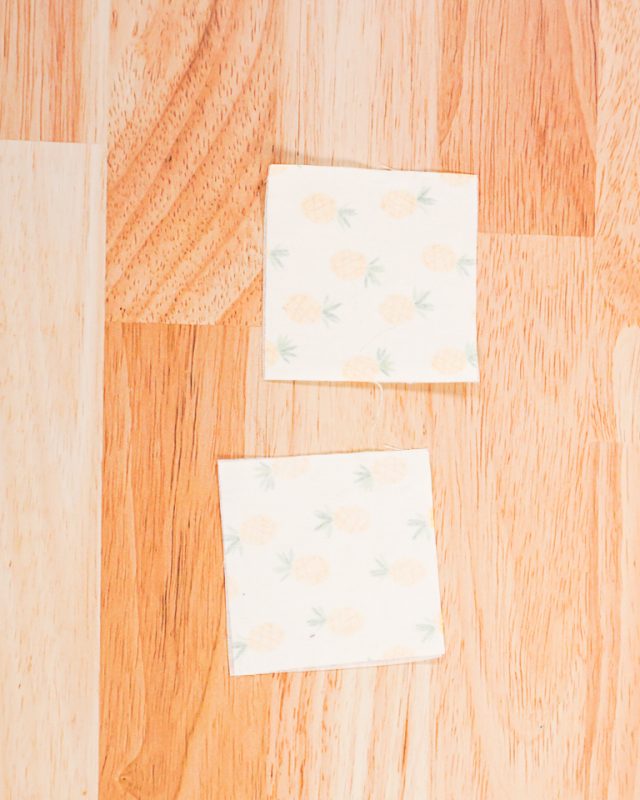
Apply the interfacing to 2 of the fabric squares.
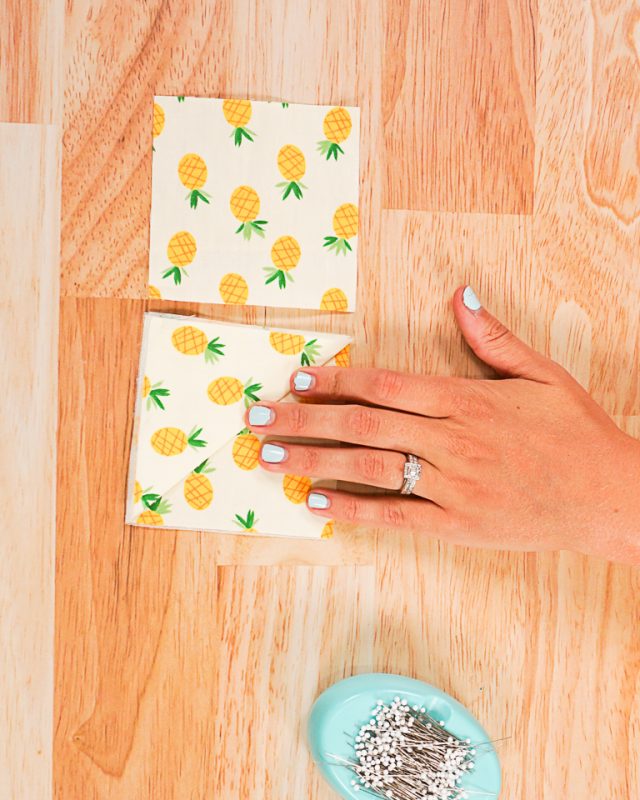
Fold one interfaced square in half diagonally. Press the fold in place. Place the triangle on top of the interfaced square matching up the two sides.
Place the remaining square on top with right sides together. Pin all the layers together.

Sew around the square pivoting at the corners with a 3/8 inch seam allowance. Leave a 2 inch hole for turning.
Trim the corners to reduce bulk.
Turn the bookmark right sides out and poke out the corners. Press the bookmark flat.
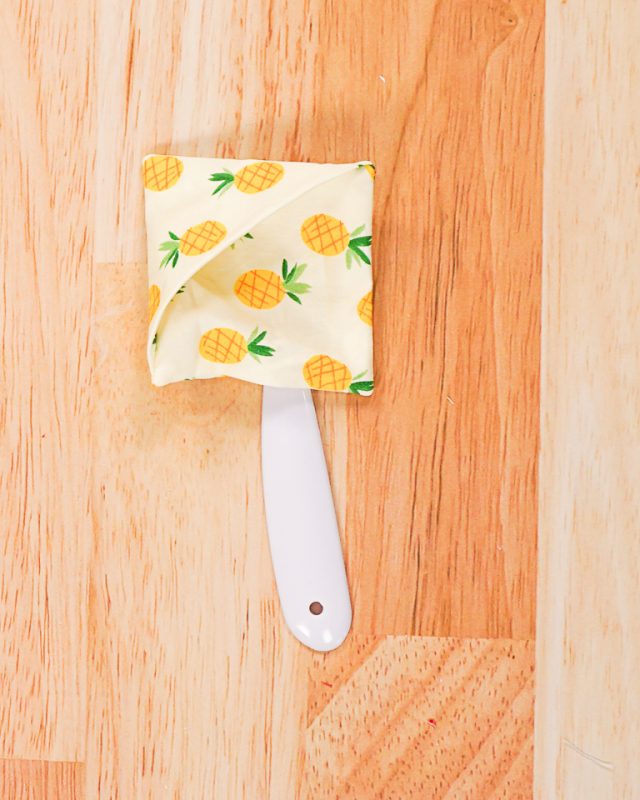
Edgestitch around the edges 1/8 inch from the edge and close the hole. You finished!
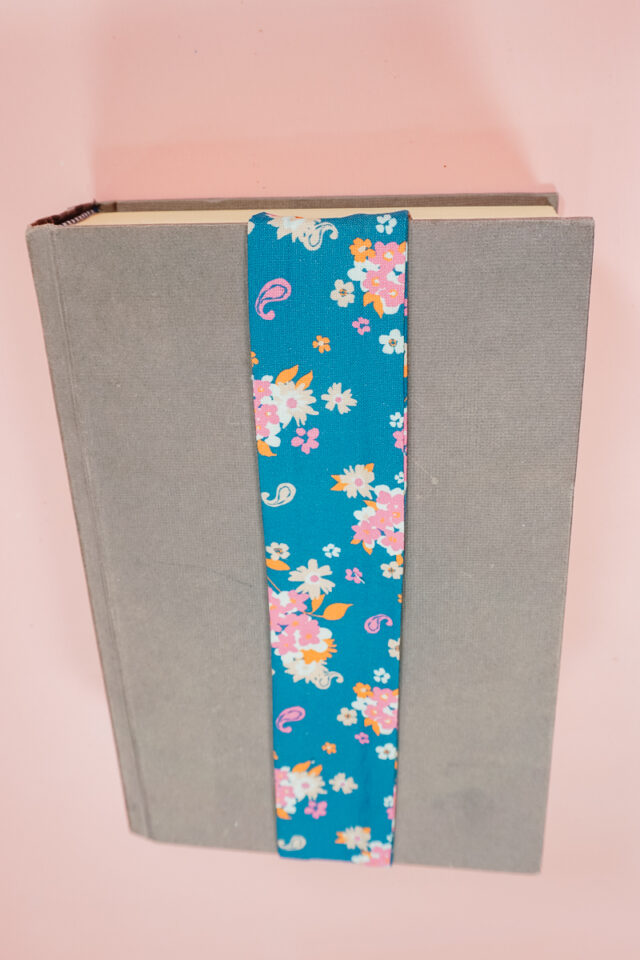
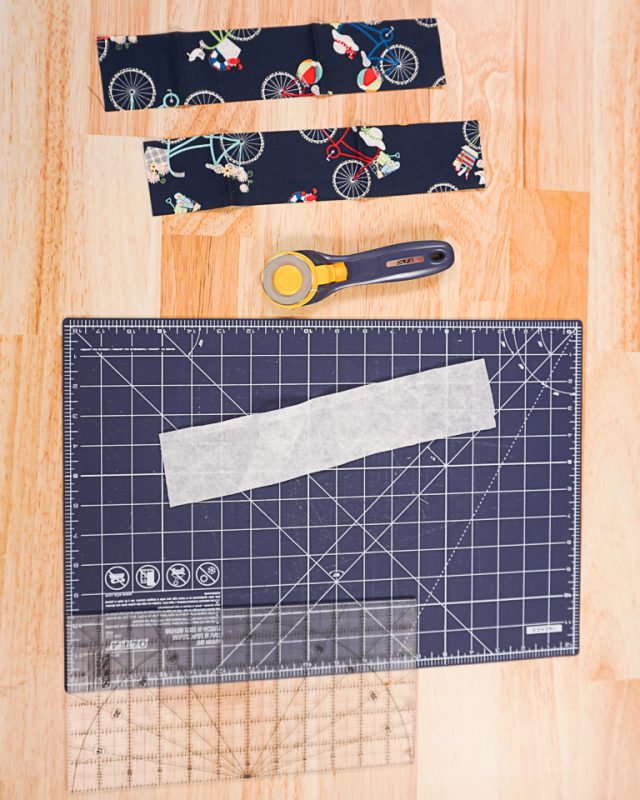
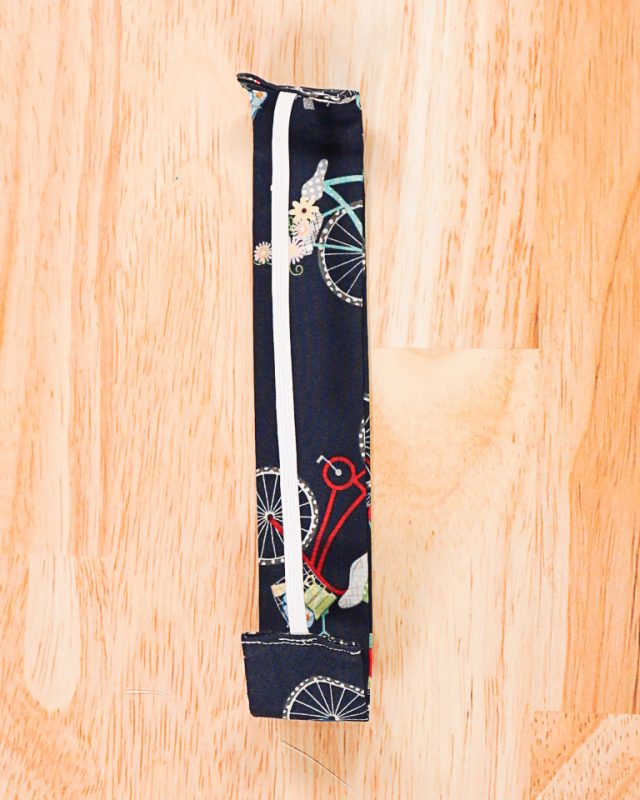
Fabric and Elastic Bookmark

Cut two fabric rectangles with the pattern piece. Cut one interfacing rectangle with the pattern piece.
Cut a piece of 1/4 inch elastic that is 8 inches long.
Apply the interfacing to the back of one of the fabric rectangles.
Pin the two fabric rectangles together with right sides together. Fold all four of the short ends down 1/4 inch.
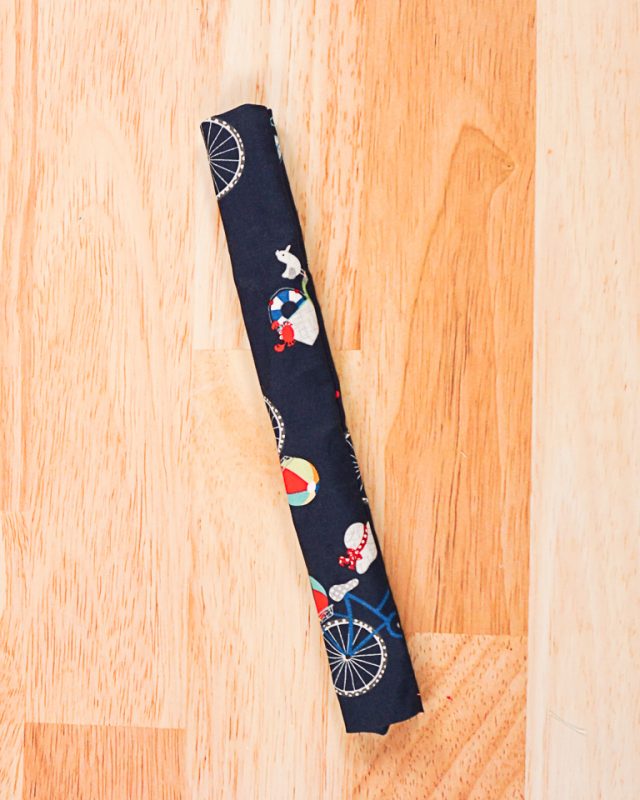
Sew the two long sides 3/8 inch from the edge. Backstitch when you start and stop.
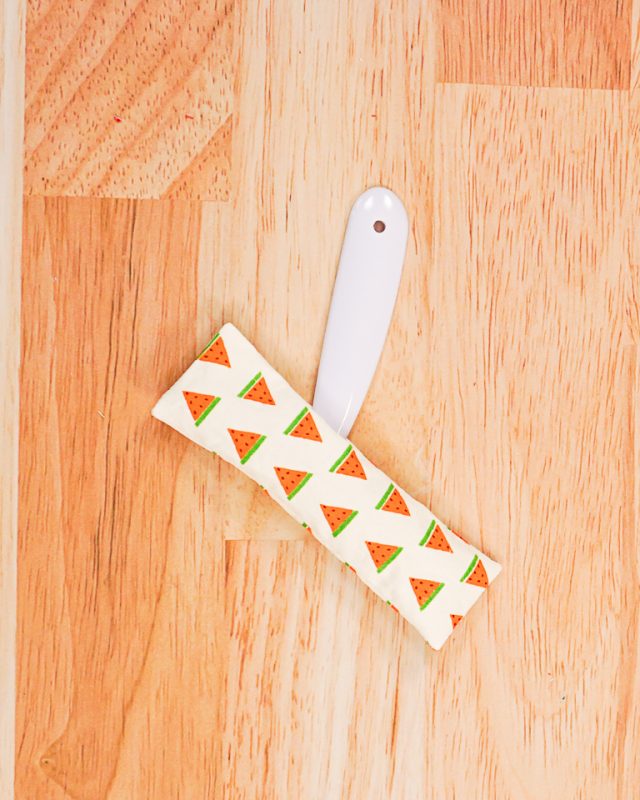
Turn the tube right sides out. Press the bookmark flat making sure that the short ends are tucked inside.
Pin the ends of the elastic into the short ends of the bookmark.
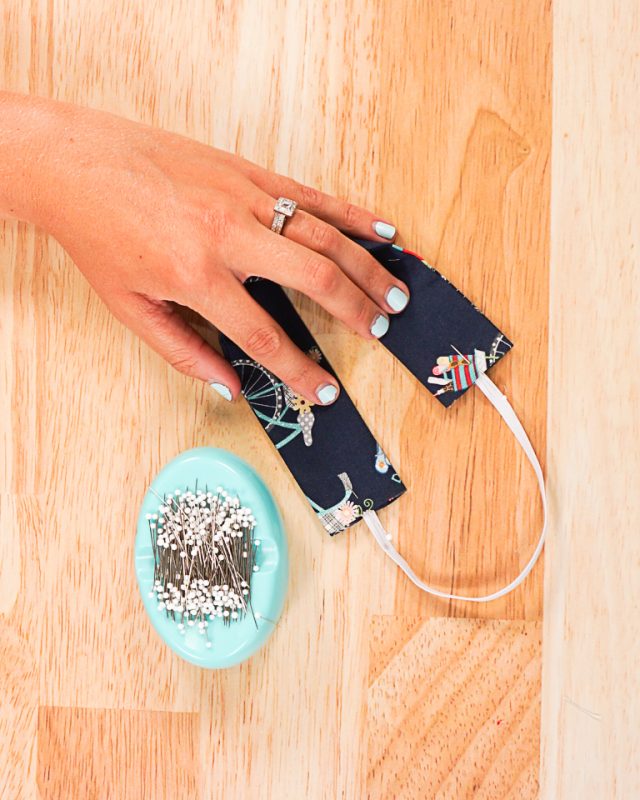
Sew across the short ends 1/8 inch from the edge securing the elastic inside and closing the holes. Backstitch when you start and stop. You finished!
Get the Free Sewing Pattern here!
If you make something using this sewing project, I’d love to see! Please share it on social media with the hashtag #heatherhandmade and tag me!

I believe small sewing moments can create great joy. Find your own “right” way to sew. -Heather
I plan to make the rectangular shape bookmark with elastic for my great granddaughters. I have machine embroidered a butterfly on the fabric prior to cutting. I also plan to make some of the square/triangle bookmarks as little stocking stuffers. Thank you for the cute ideas.
Oh, I bet they will turn out great! I love that you are adding special details!
Thanks Heather, what is the purpose of the interfacing here? Do you think it would work without it?
It helps make the bookmark stiffer and it keeps the bookmark from wrinkling
Would it still work without it tho?
It would