Sew a Clear Vinyl Zipper Pouch

This post may contain affiliate links.
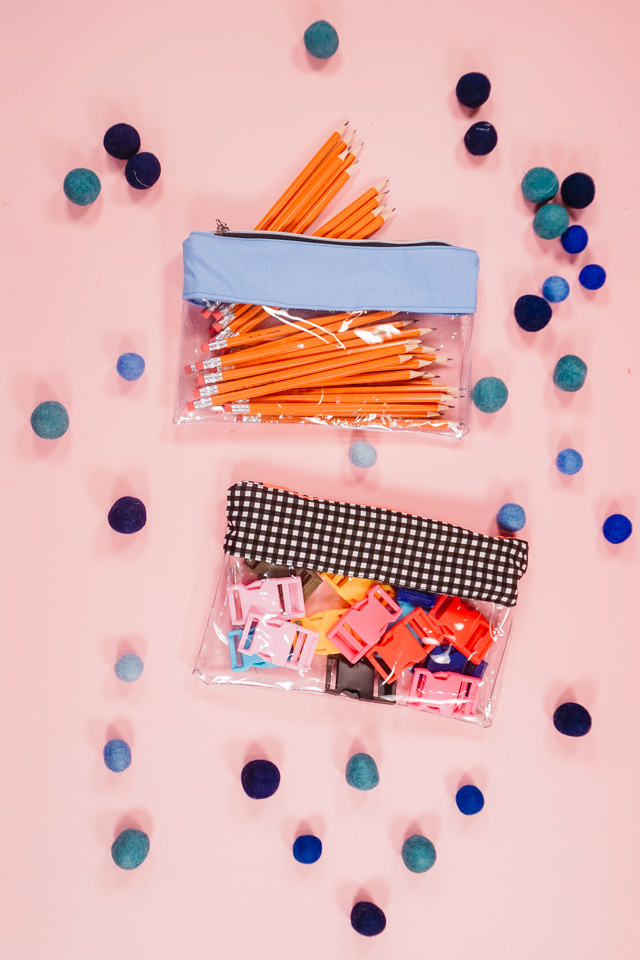
Learn how to sew a clear vinyl zipper pouch with a free sewing pattern. This beginner sewing project is great for organizing!
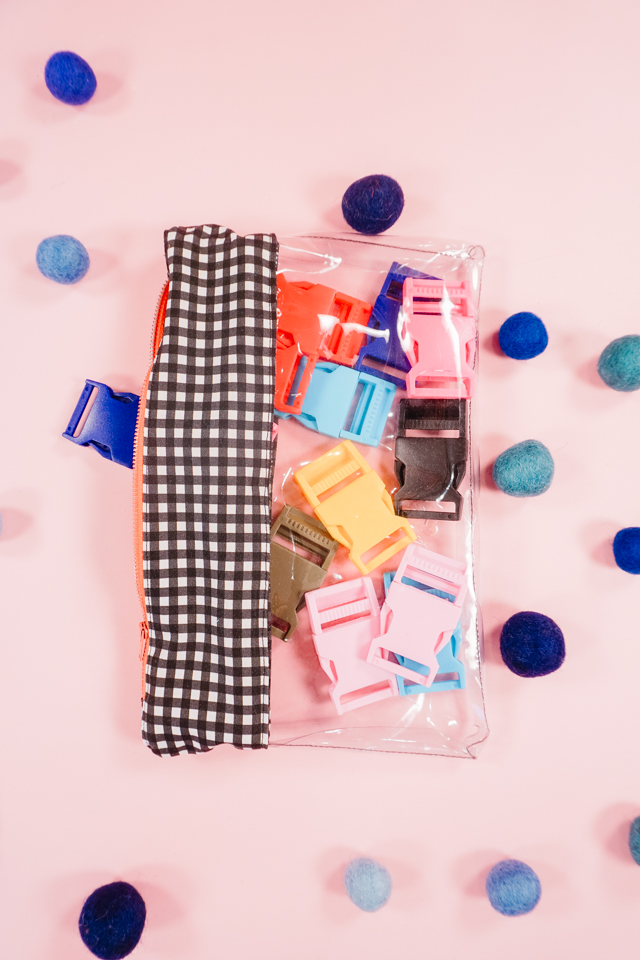
Get organized in an easy way with this fun clear vinyl zipper pouch. Keep things separate in each pouch but still have the ability to still see what’s inside.
I can’t wait to ues these to organize my games and kids activities! It would be great in a purse or tote so that you can keep items separate and still be easy to find.
What is vinyl fabric?
Vinyl fabric is a man-made material that feels like a flexible plastic. It can stretch slightly, and it comes it lots of different thicknesses colors and prints. It can be found at fabric stores and craft stores and used for all sorts of projects.
Check out these tips for how to sew vinyl.
What thickness of vinyl can I sew?
My favorite vinyl fabric to sew is 10 guage. This thickness is strong and sturdy without being to thick or hard to sew. It’s really easy to find at the store or online.
What is a zipper?
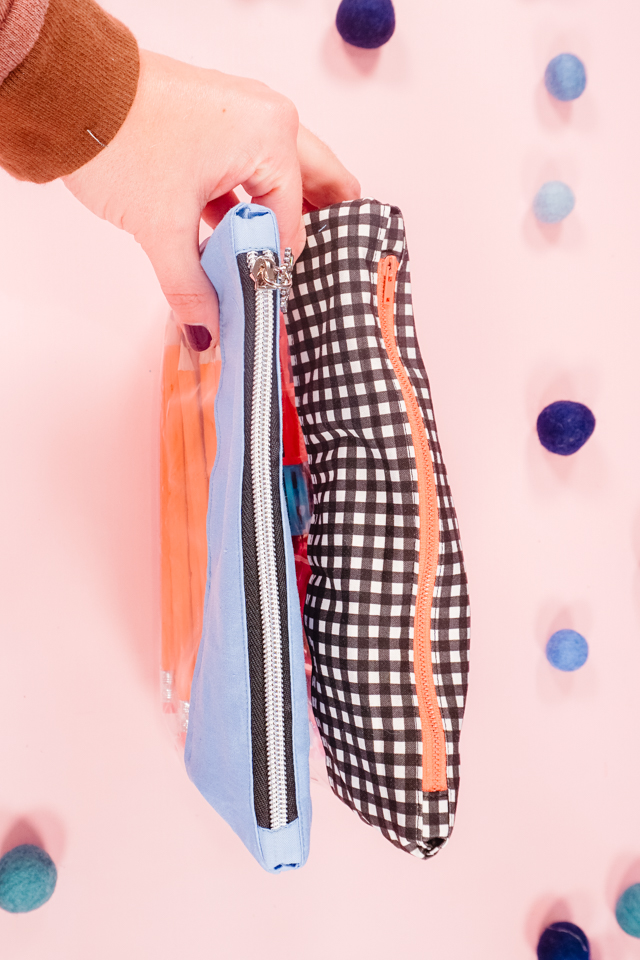
A zipper is two strips of fabric tape with interlocking metal or plastic teeth that are closed or open with a metal or plastic pull or slide. It’s used to fasten clothing and bags.
In this tutorial I use the words “teeth” meaning the interlocking projecting metal or plastic teeth, “zipper tape” meaning the two strips of fabric along each side, and “pull” meaning the slide that connects or disconnects the teeth.
What is a PDF sewing pattern?
A PDF pattern is a sewing pattern designed on the computer and organized so that it can be printed on several letter or A4 size pieces of paper.
I love using PDF sewing patterns because if the pattern gets ruined or if my children or I changed sizes, I can always print it again. It’ll never be destroyed since I have a digital version!
How do you use a PDF sewing pattern?
Open the PDF on a computer and click print. When printing make sure that the scaling is set to 100% or no scaling so that the pattern prints at the correct size.
Once the pattern is printed it can be taped together to get the full size. Then the pattern can be cut for each pattern piece size or individual sizes can be traced so that the pattern can be used again and again. Learn how to use PDF sewing patterns.

Do you love to sew? Try one of these fun sewing projects:
- Beginner sewing projects
- Zipper pouch sewing projects
- Handmade gift ideas to sew
- Back to school sewing projects
- Free PDF sewing patterns
- Free sewing patterns for kids

How to Sew a Clear Vinyl Zipper Pouch
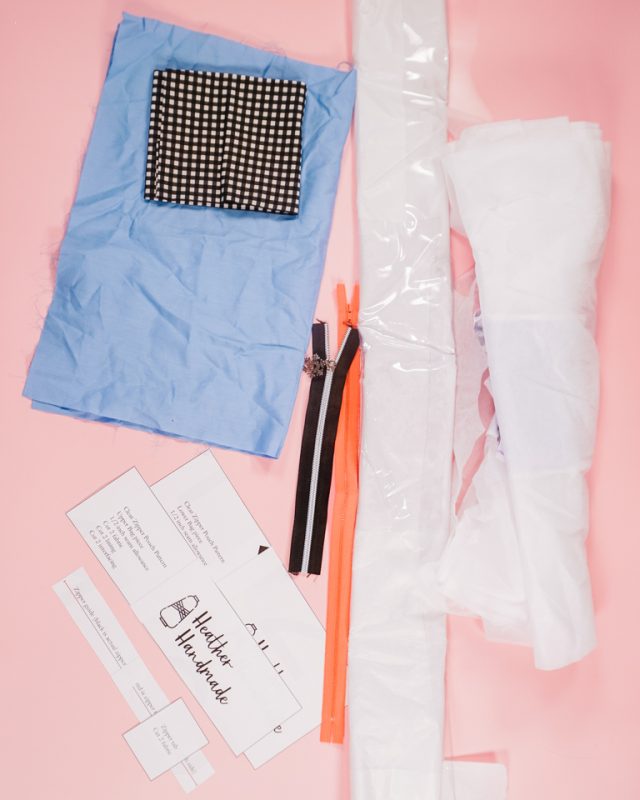
Supplies
- Free clear vinyl zipper pouch sewing pattern – get it at the end of the post
- Scraps of quilting cotton
- 10 gauge clear vinyl
- Lightweight fusible interfacing
- 10 inch zipper
- Sewing tools
- Sewing machine
Do you just want the pattern and tutorial as a PDF? Get the pattern with four different sizes and tutorial for just $5. You won’t need to access the internet every time you want to make it. Or get the Pattern Bundle with ALL the PDF tutorials!
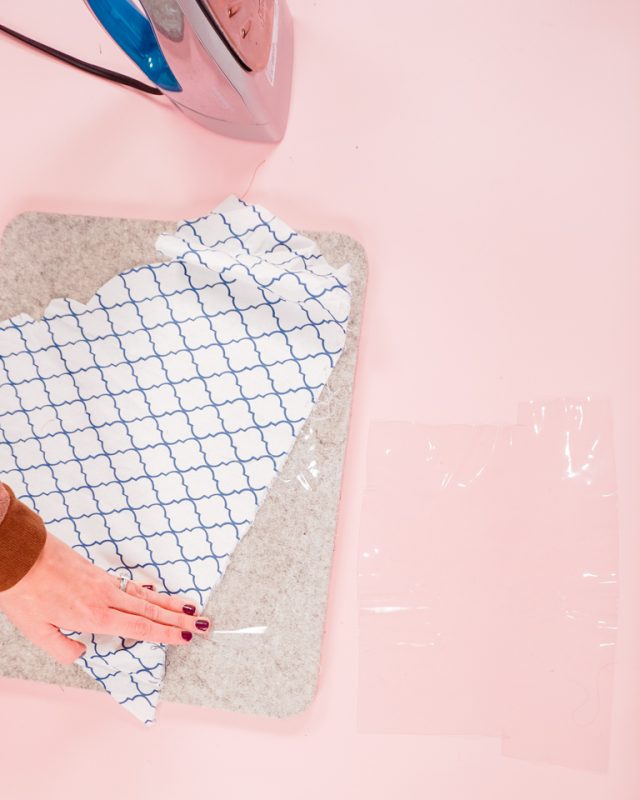
If your clear vinyl is wrinkled you can carefully iron it to flatten it. Use a low heat iron, no steam, and a press cloth and carefully press the vinyl.
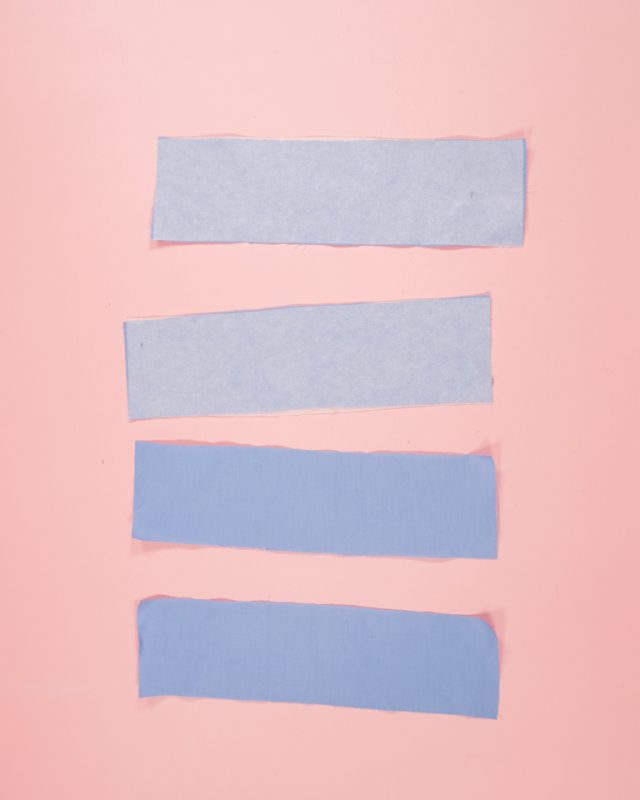
Cut out all the pattern pieces and use the zipper guide to cut the zipper to the right size.

Fuse the interfacing to the back of two upper fabric pattern pieces.
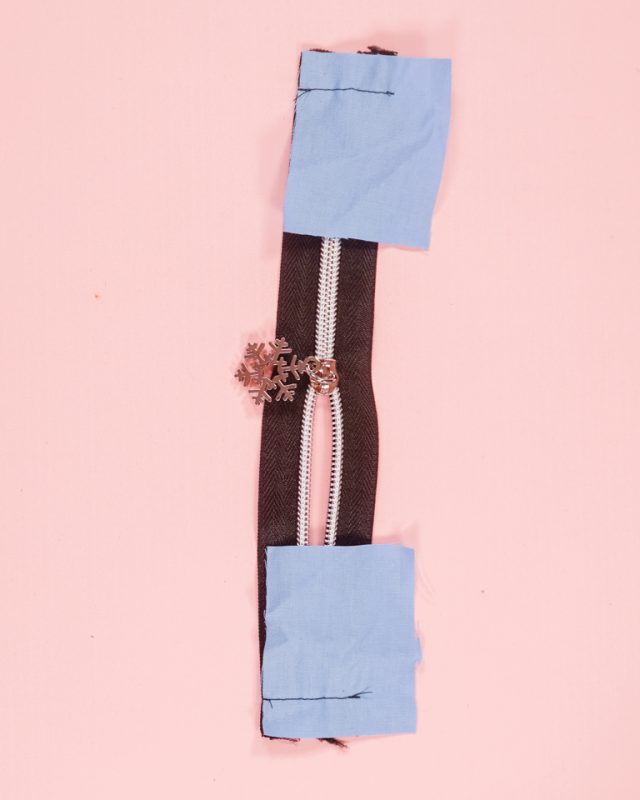
Match up the short ends of the tabs with the ends of the zipper. Sew 1/2 inch from the end and backstitch when you start and when you stop.
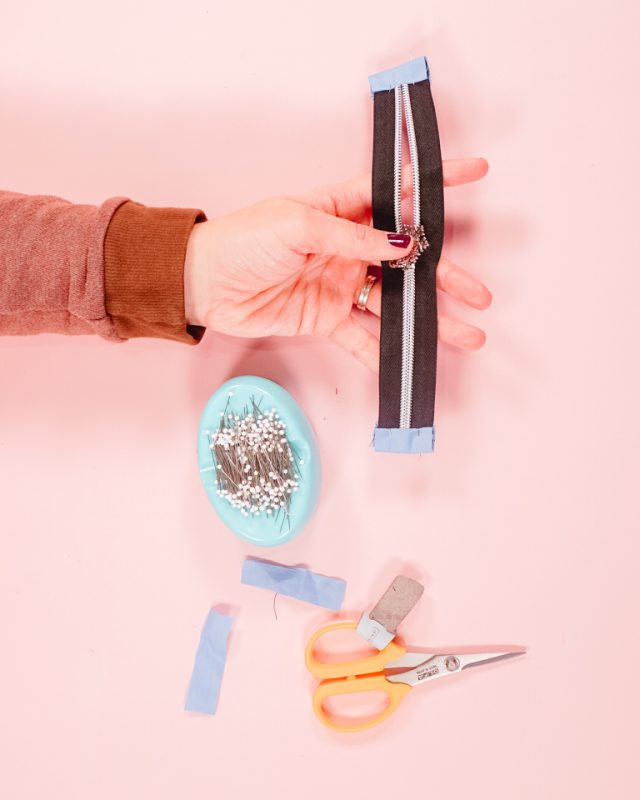
Trim the tab down to be with width of the zipper. Fold the short end of the tab in to meet the end of the zipper and then fold again to enclose the end of the zipper.
Sew across the tab to secure the back.
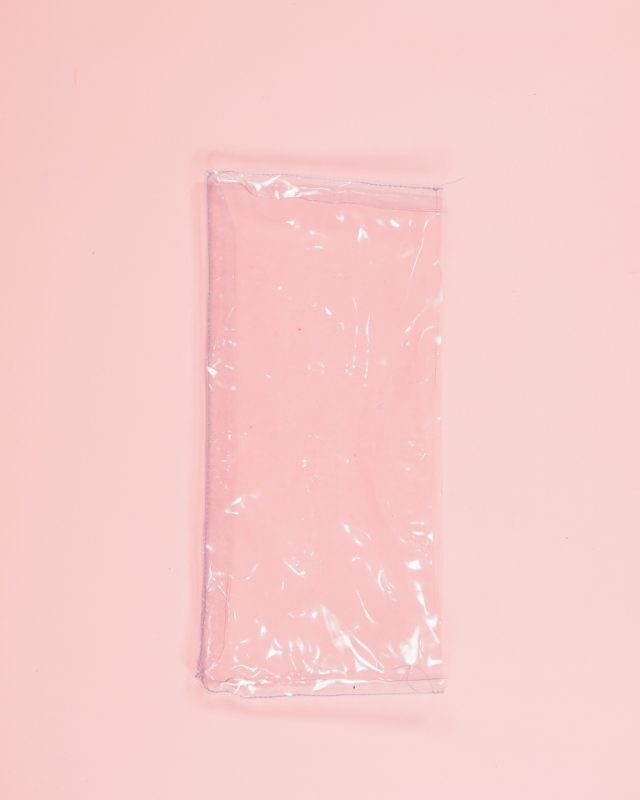
Match up the vinyl right sides together and sew three side (leave one long side open.) Use a 1/2 inch seam allowance and backstitch when you start and when you stop.

Trim the corners.

Turn right side out.
Sandwich the zipper between two of the upper pouch pattern pieces. One piece should be interfaced (outer piece), and one piece should not be interfaced (lining piece). Sew the seam with a zipper sewing machine foot.
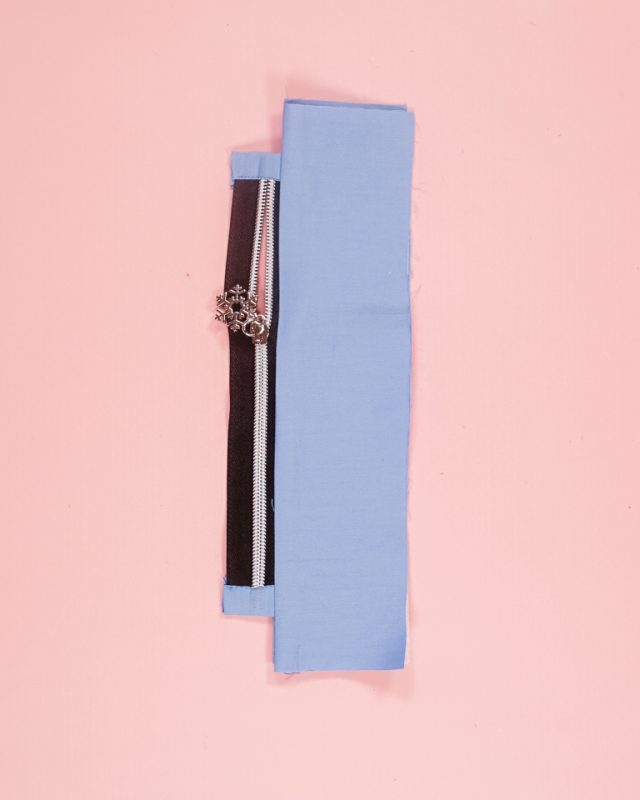
Press the fabrics away from the zipper. Topstitch the fabrics away from the zipper.

Do the same to the other side.
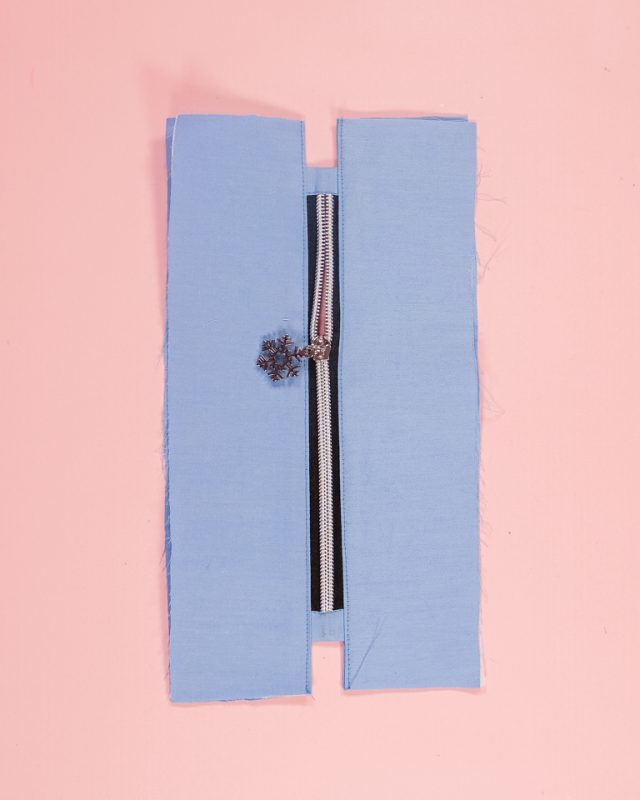
Open the fabrics around the zipper and match the interfaced pieces and the lining pieces. Sew the side seams with a 1/2 inch seam allowance and backstitch when you start and when you stop.
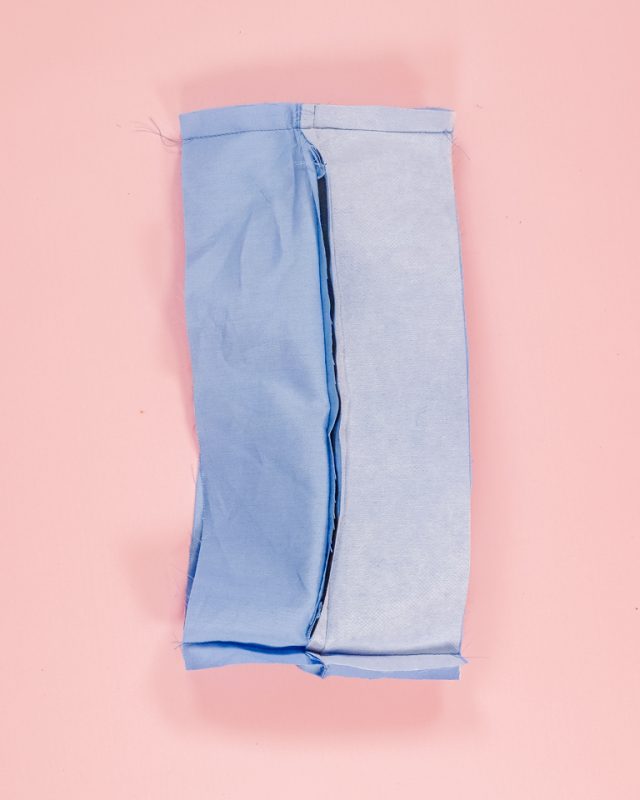
You now have the top of the pouch all done and the bottom of the pouch all done.
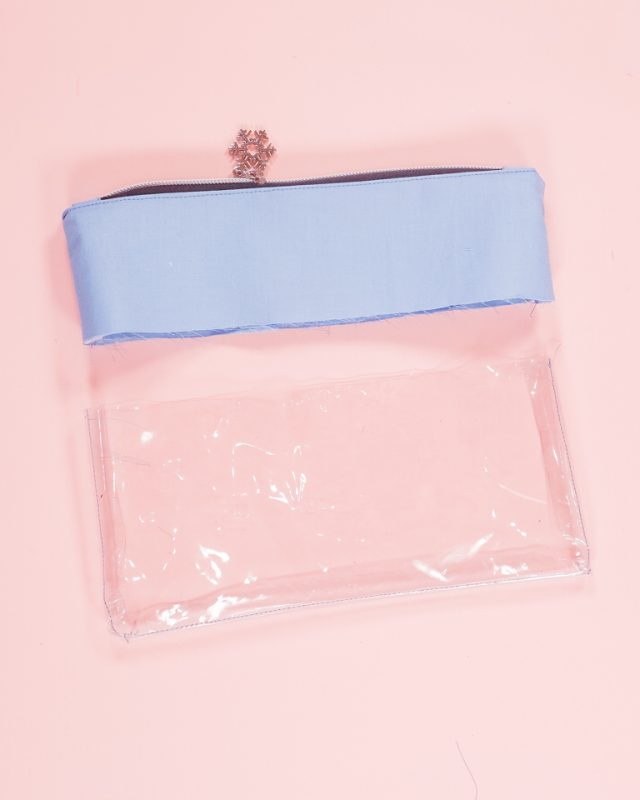
Match up the right side of the outer bag piece with the right side of the vinyl pouch and clip in place.
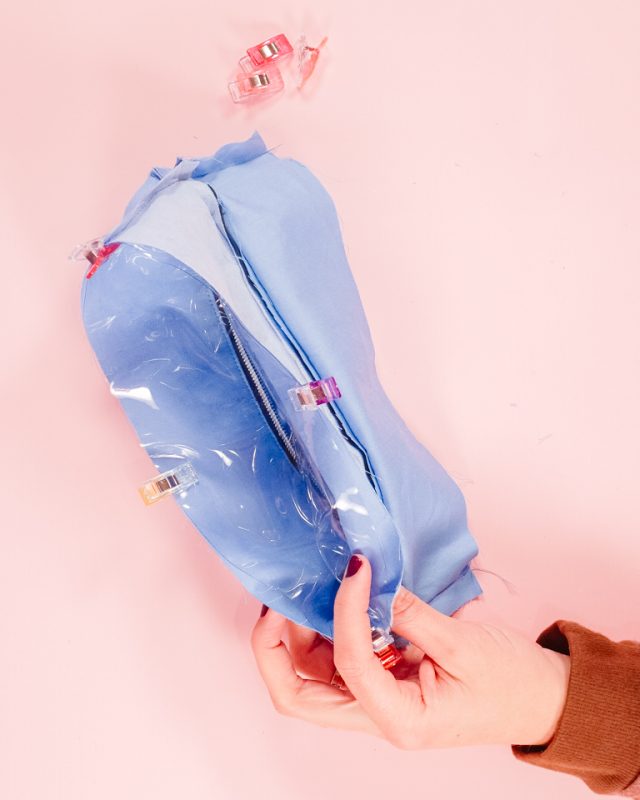
Sew the pieces together with a 1/2 inch seam allowance.

Turn the pouch right side out and push the lining down inside. Fold the lining seam allowance up and matched with the upper pouch seam allowance. Pin or glue in place.

Edgestitch around the edge of the upper bag 1/8 inch from the edge to secure the lining in place.
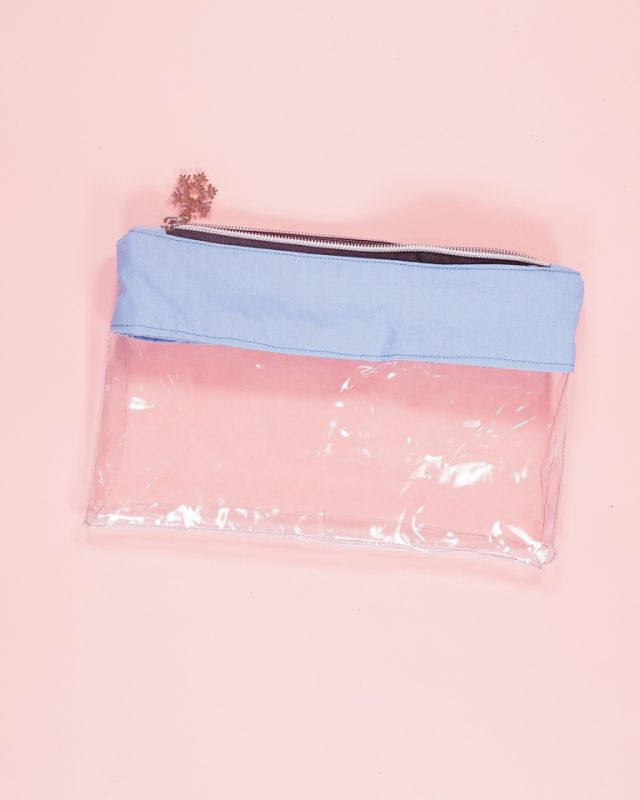
Make more zipper pouches and fill them up!

Get the Free Sewing Pattern here!

If you make something using this sewing project, I’d love to see! Please share it on social media with the hashtag #heatherhandmade and tag me!

I believe small sewing moments can create great joy. Find your own “right” way to sew. -Heather

Could I use wider grosgrain ribbon instead of fabric at the top of the bag?
You would have to find a way to finish the edges in the side seam but I think that would work.