
How to Sew a Zipper Pouch

This post may contain affiliate links.
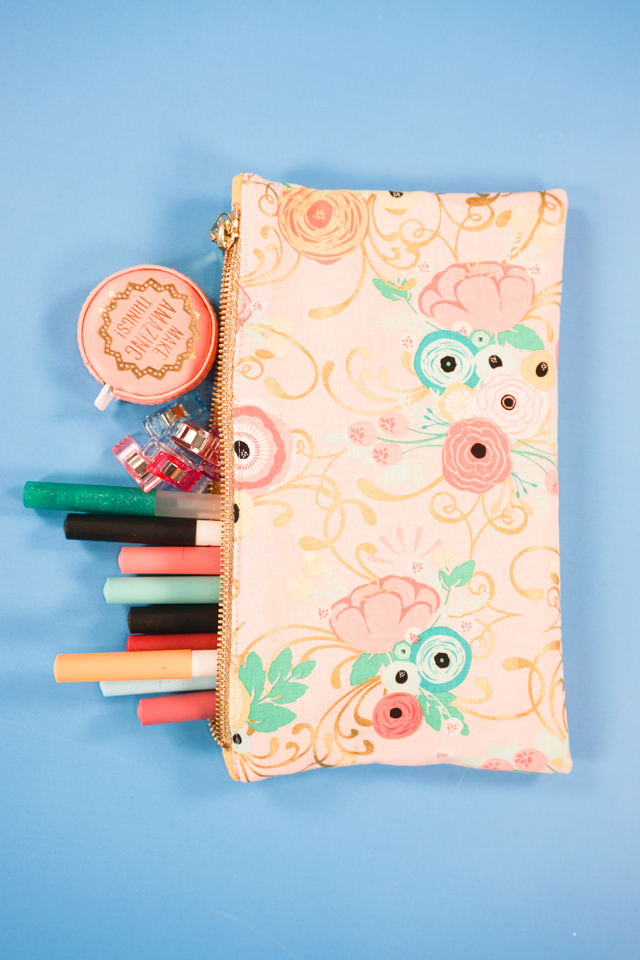
Learn how to sew a zipper pouch with a free sewing pattern. This easy sewing project is great for beginners and makes a great handmade gift!
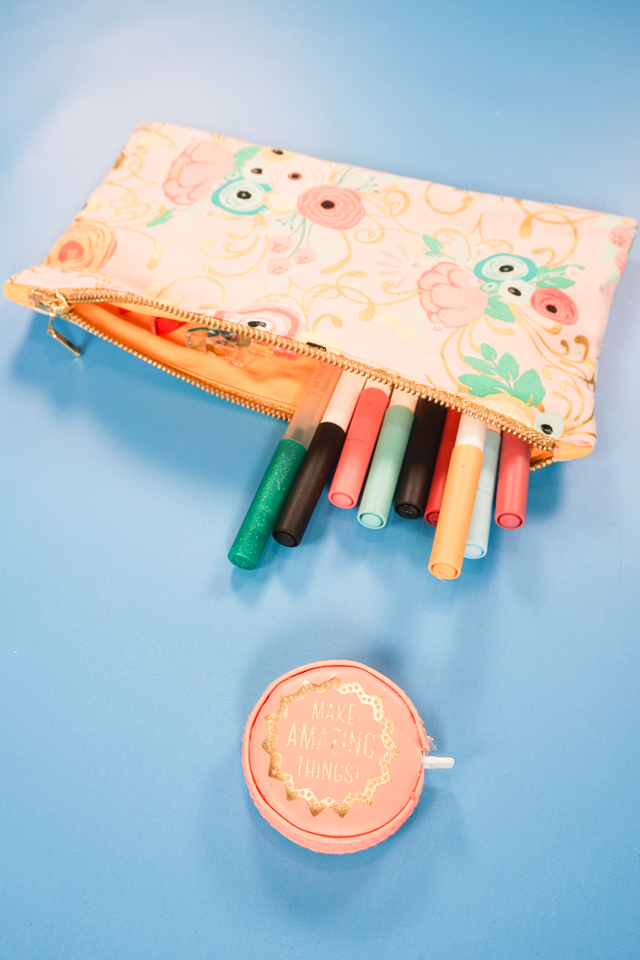
I love have little bags to organize my purse and tote bags. I also love having zipper pouches to grab when I’m on the go or even when I travel. They are also great to make for my kids to use as wallets or to organize their backpacks.
Zipper pouches are just so handy and useful. I love using them, my kids love using them, and I love give them as gifts! It’s easy to make a zipper pouch with scraps of fabric, and it helps you practice sewing zippers.
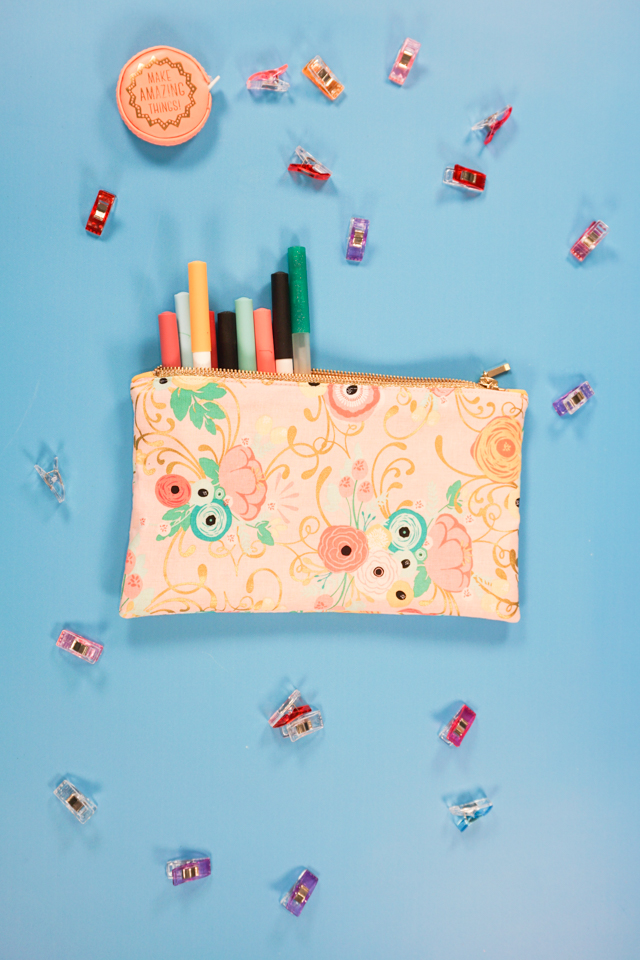
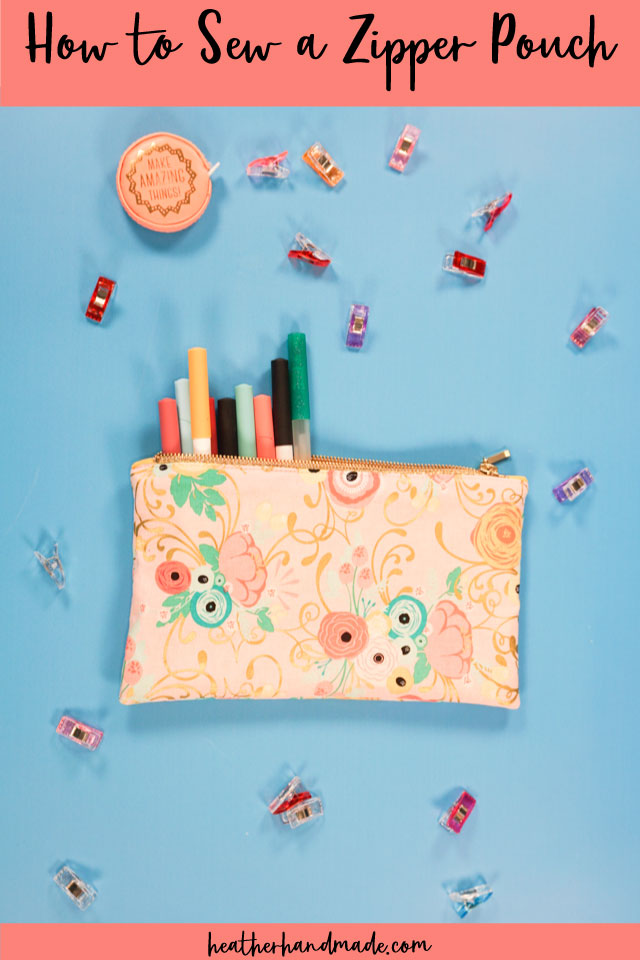
I found this pretty floral fabric in the remnant section and fell in love. Then I noticed the gold metallic details and fell even more in love. Since it’s a remnant it works really well for a zipper pouch!
I had a gold metallic zipper in my stash which coordinated with the gold metallic detail so it was the perfect match. You can just use a regular plastic zipper instead or whatever you have in your stash.
What is a zipper?
A zipper is two strips of fabric tape with interlocking metal or plastic teeth that are closed or open with a metal or plastic pull or slide. It’s used to fasten clothing and bags.
In this tutorial I use the words “teeth” meaning the interlocking projecting metal or plastic teeth, “zipper tape” meaning the two strips of fabric along each side, and “pull” meaning the slide that connects or disconnects the teeth.
What fabric works for a zipper pouch?
The fabric that works best for a zipper pouch is quilting cotton for both the outer fabric and the lining fabric. There are so many prints that will be fun to use. Add interfacing to give stability to the pouch and help it hold its shape.
What is a PDF sewing pattern?
A PDF pattern is a sewing pattern designed on the computer and organized so that it can be printed on several letter or A4 size pieces of paper.
I love using PDF sewing patterns because if the pattern gets ruined or if my children or I changed sizes, I can always print it again. It’ll never be destroyed since I have a digital version!
How do you use a PDF sewing pattern?
Open the PDF on a computer and click print. When printing make sure that the scaling is set to 100% or no scaling so that the pattern prints at the correct size.
Once the pattern is printed it can be taped together to get the full size. Then the pattern can be cut for each pattern piece size or individual sizes can be traced so that the pattern can be used again and again. Learn how to use PDF sewing patterns.
Do you love to sew? Try some of these fun sewing projects:
- Zipper pouch sewing projects
- How to sew a zipper
- How to fix a zipper if the pull came off
- How to fix a zipper: replacing the pull and stops
- How to shorten a zipper
- Beginner sewing projects
- Scrap fabric projects
- Easy gifts to sew
- Fat quarter sewing projects
- Accessory sewing projects
How to sew a zipper pouch
supplies
- Free zipper pouch sewing pattern – get it at the end of the post behind
- Scraps for the outer fabric (at least 12 inch by 12 inch)
- Coordinating scraps for the lining fabric (at least 12 inch by 12 inch)
- 9 inch zipper
- Optional: interfacing – I did not add interfacing so my pouch is really soft, but you can add interfacing to the outer fabric before sewing
- Sewing tools
- Sewing machine
Do you just want the pattern and tutorial as a PDF? Get the pattern and photo tutorial for $5. You won’t need to access the internet every time you want to make it. Or get the Pattern Bundle with ALL the PDF tutorials!
Zipper pouch sewing pattern
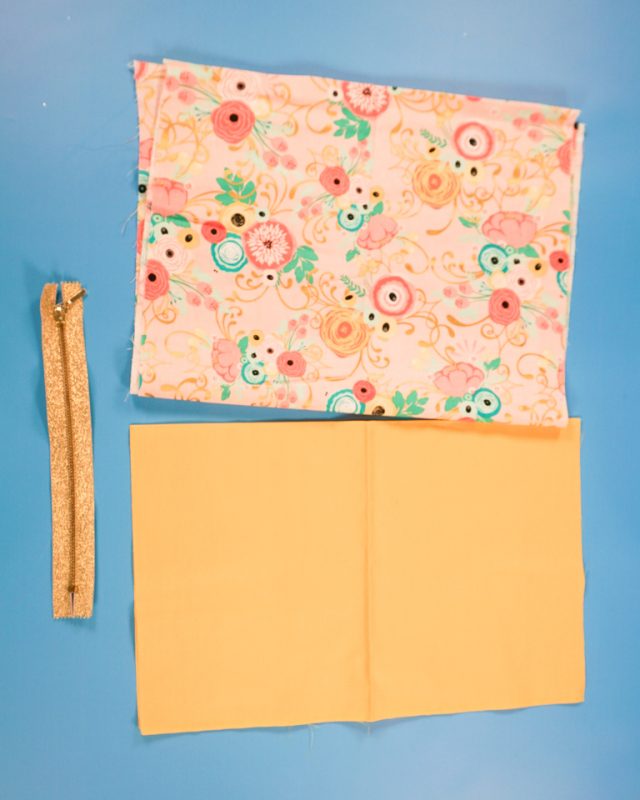
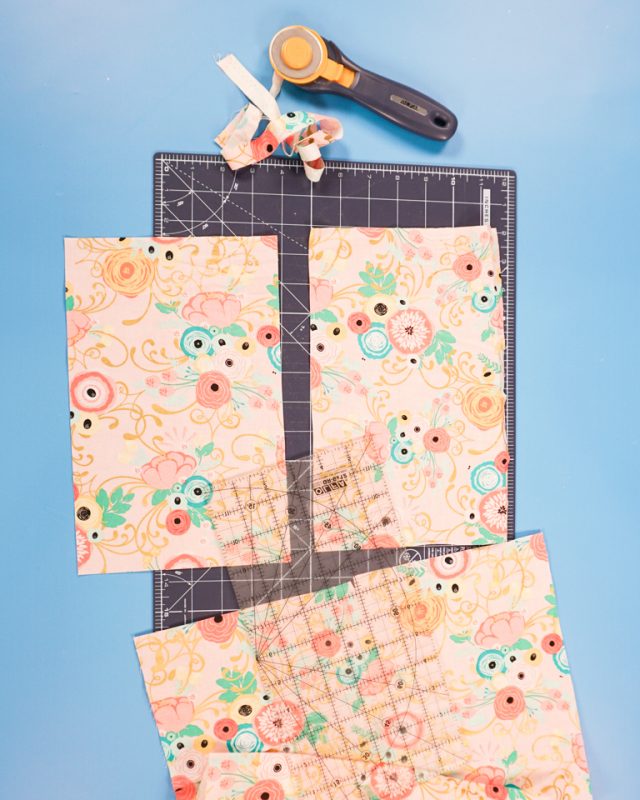
Cut two rectangles 11 inch wide by 7 inch tall from the outer fabric.
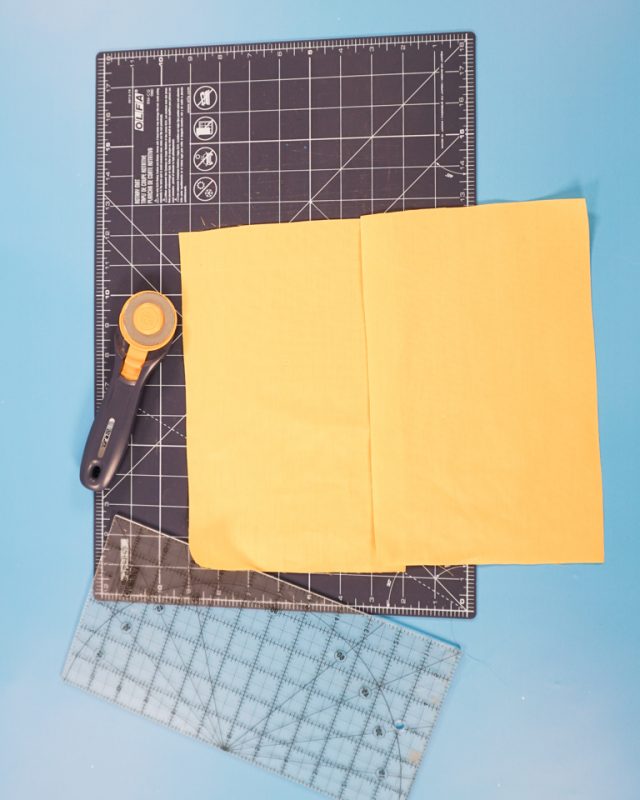
Cut two rectangles 11 inch wide by 7 inch tall from the lining fabric.
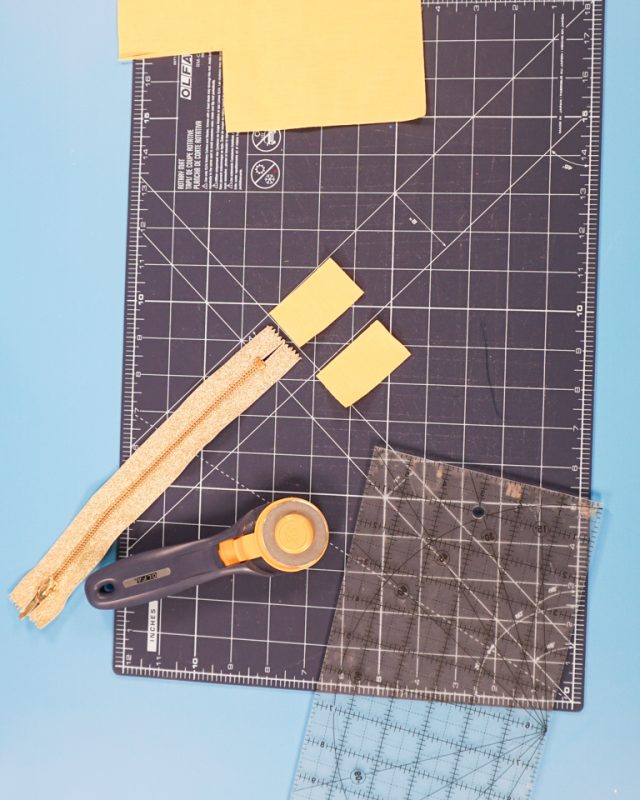
Measure the width of your zipper. Cut two small rectangles from the lining fabric that are 2.5 inch tall by the width of the zipper.
Instructions
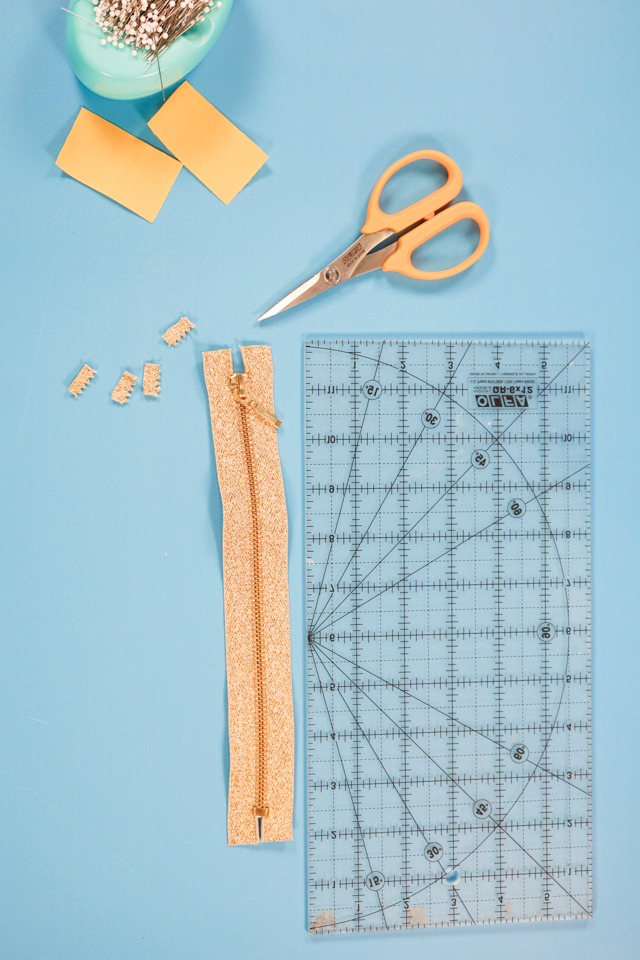
Measure the zipper tape that goes past the top of the zipper and the bottom of the zipper. Trim it so it only goes 1/2 inch past.
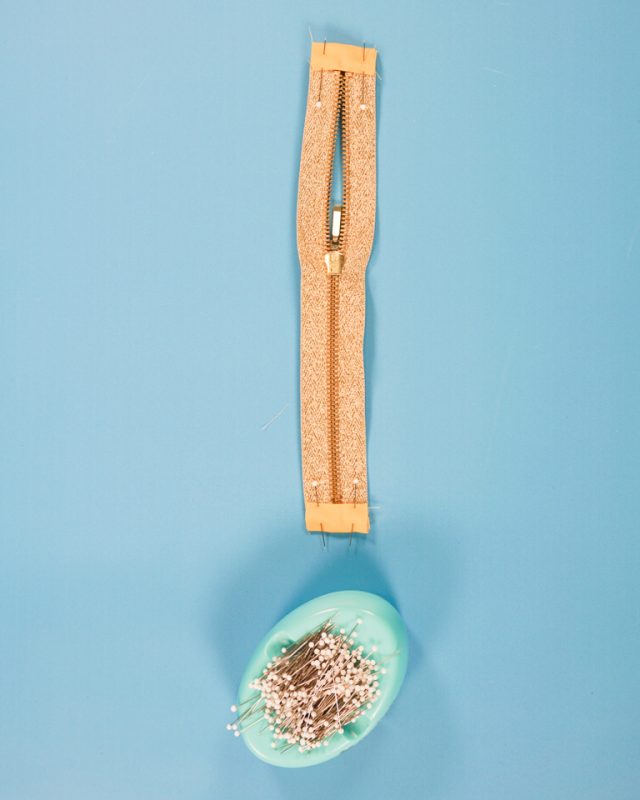
Pin the short end of the small rectangles to the top of the zipper and the bottom of the zipper. To make it easier to sew you’ll need to put the zipper pull in the center of the zipper, but you’ll need to keep the two sides of the zipper together by pinning the fabric in place.

Using a zipper foot sew the fabric rectangles to the zipper with a 1/2 inch seam allowance or right next to the bottom or top of the zipper and only sewing on the zipper tape.

Fold the short end of the small rectangles in to meet the edge of the zipper tape. Fold it again so that it covers the stitching on the zipper tape.
Use a zipper foot to sew the tab in place. Sew right along the fold without sewing onto the bottom or top of the zipper.

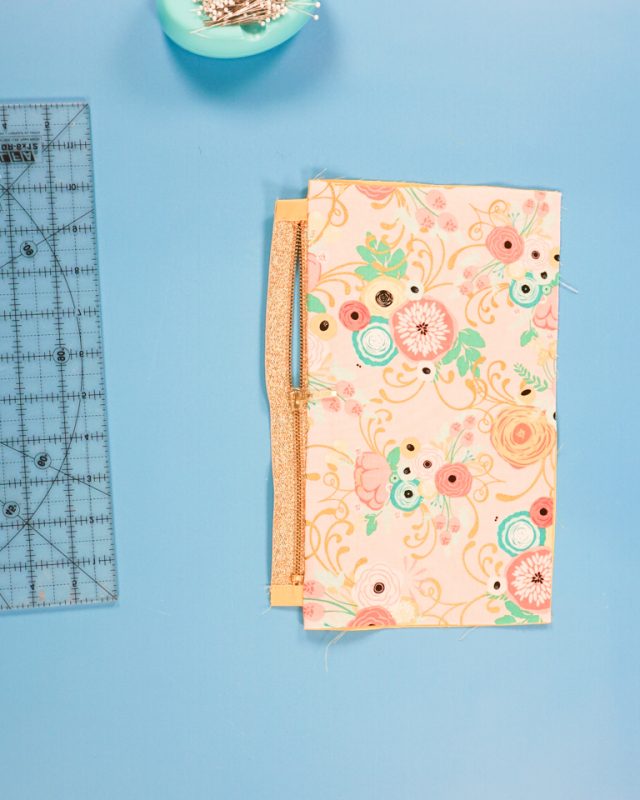
Pin the right side of the zipper to the right side of the outer fabric. You will be lining up the zipper with one of the long sides of the rectangle. Make sure there is a 1/2 inch gap on each side of the zipper.

Pin the right side of the lining fabric to the wrong side of the zipper. Make sure there is a 1/2 inch gap on each side of the zipper.
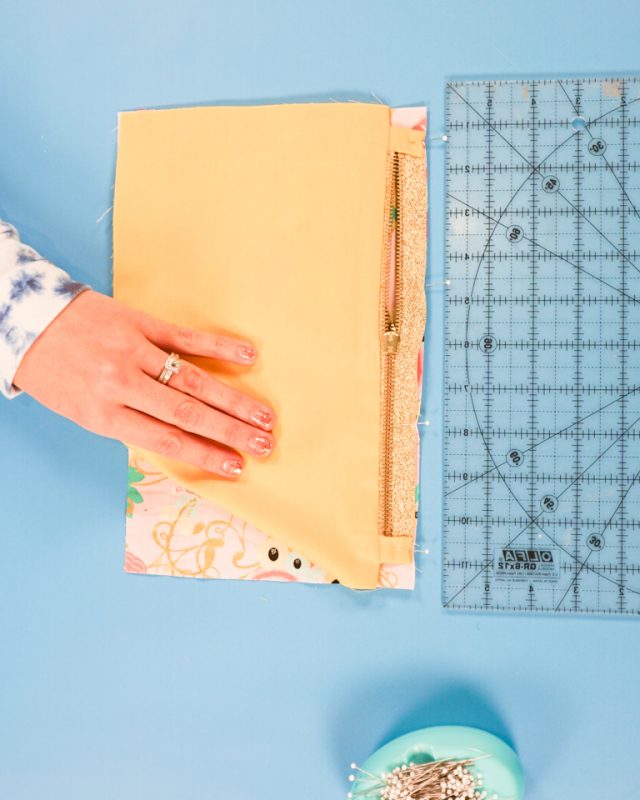
Sew the three layers together with a zipper foot at 1/2 inch seam allowance. Keep the zipper pull in the center when you start sewing.
While you are sewing and you get close to the pull, stop with the needle in the fabric and lift the sewing machine foot. Move the zipper pull to the side you’ve already sewn. Lower the sewing machine foot and finish sewing the rest of the seam.
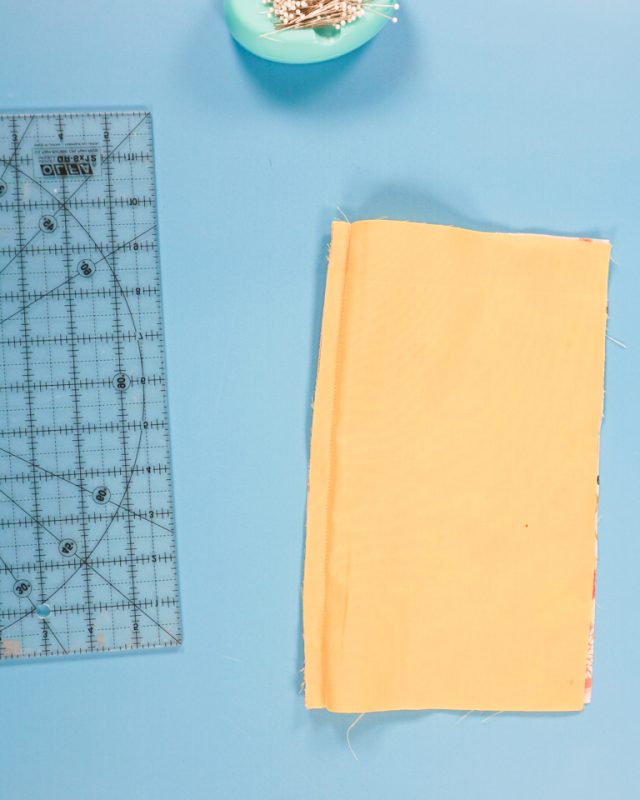
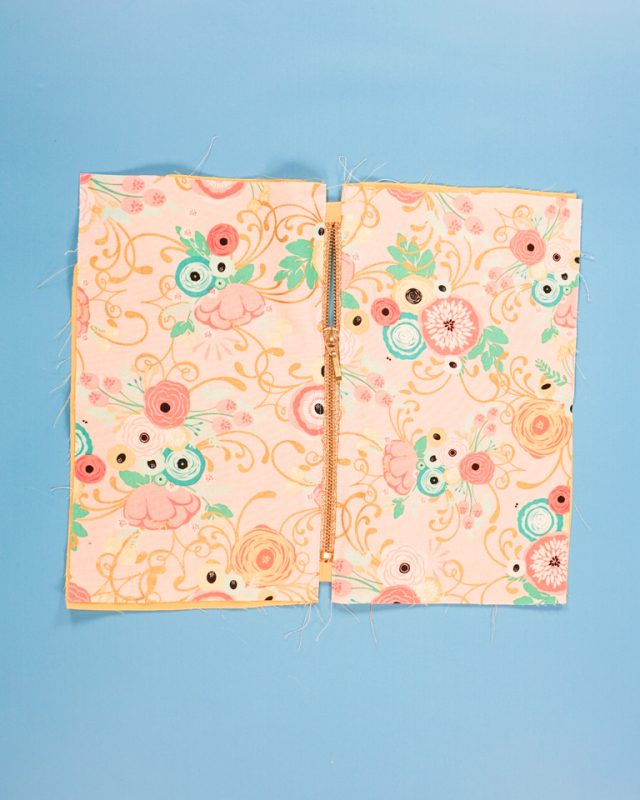
Fold the fabric so that only the right sides are showing. Press the fabric away from the zipper.
Do the same to the other side of the fabric by pinning the right side of the outer fabric to the right side of the zipper. (Make sure there’s a 1/2 inch gap on each side of the zipper.)
Pin the right side of the lining to the wrong side of the zipper with the 1/2 inch gaps.
Sew the three layers with a 1/2 inch seam allowance next to the zipper teeth.
Open up the fabric. Press all the fabrics away from the zipper.
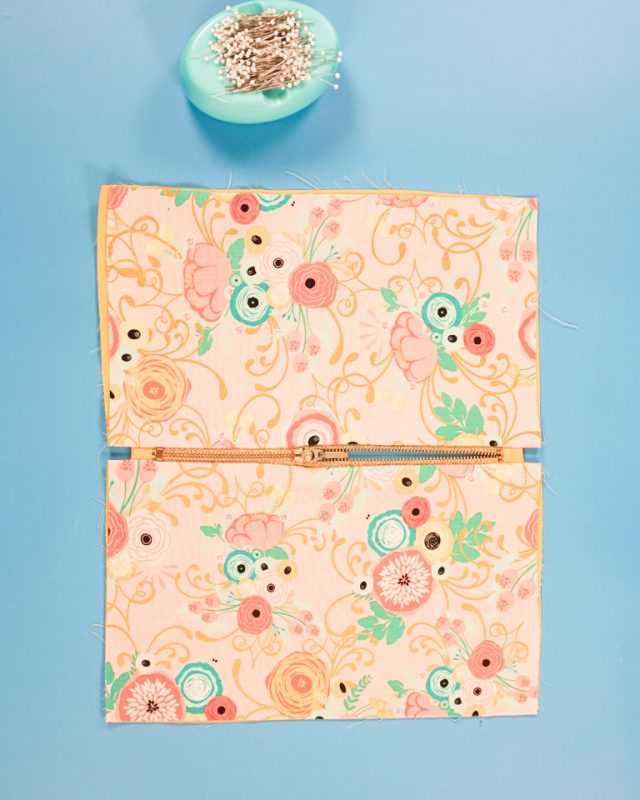
With the zipper foot still in the sewing machine, topstitch the fabric in place away from the zipper teeth. This keeps the fabric away from getting stuck in the zipper.
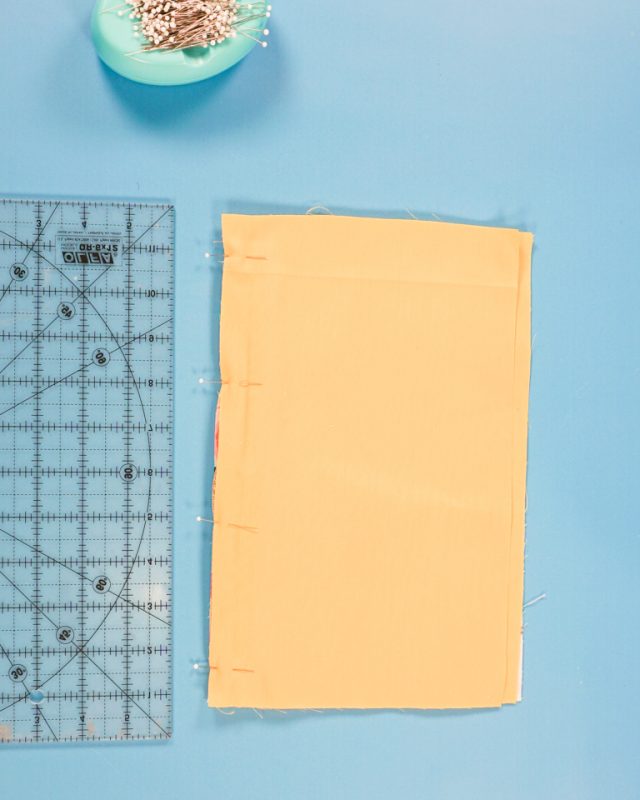
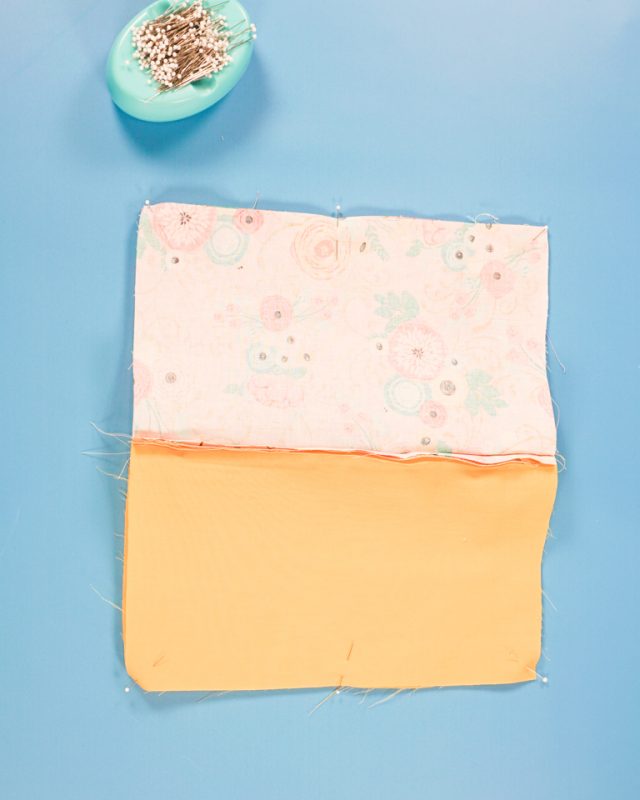
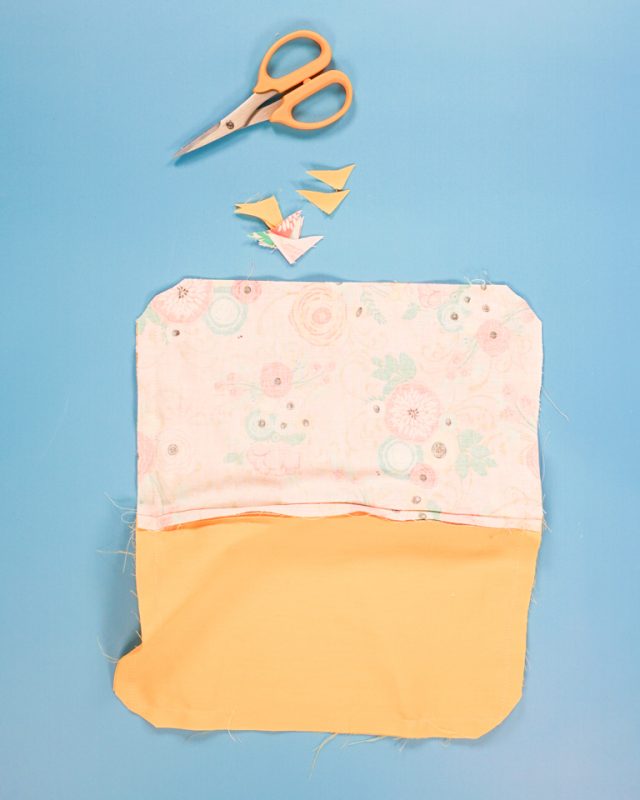
Open the fabric and match the right side of the outer fabric to the right side of the outer fabric. Match the right side of the lining to the right side of the lining. Pin along the sides and at the corners.
To make the zipper part look nice fold the zipper and tab towards the outer fabric. When you sew make sure you DO NOT sew over the tab.
Start on the lining and sew all the way around at 1/2 inch seam allowance. Leave a hole in the lining for turning.
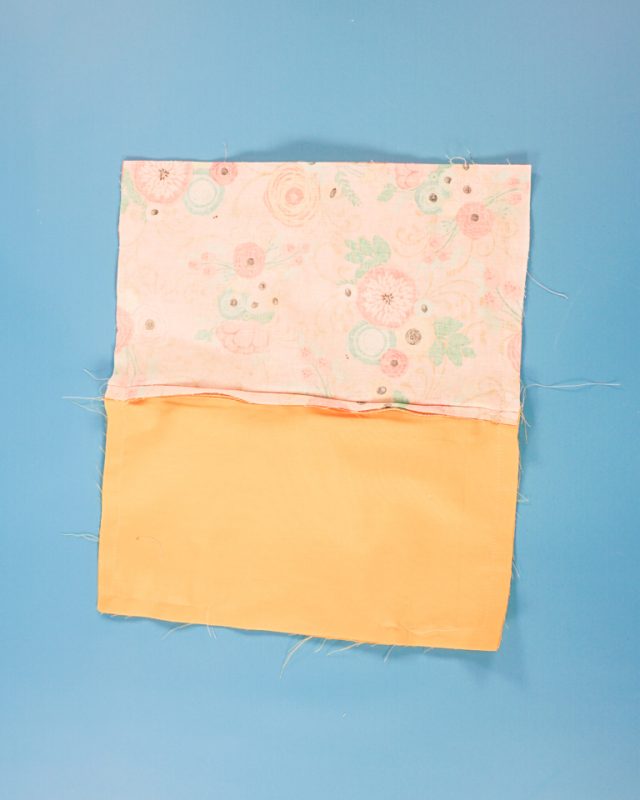
Trim the corners to reduce the bulk.
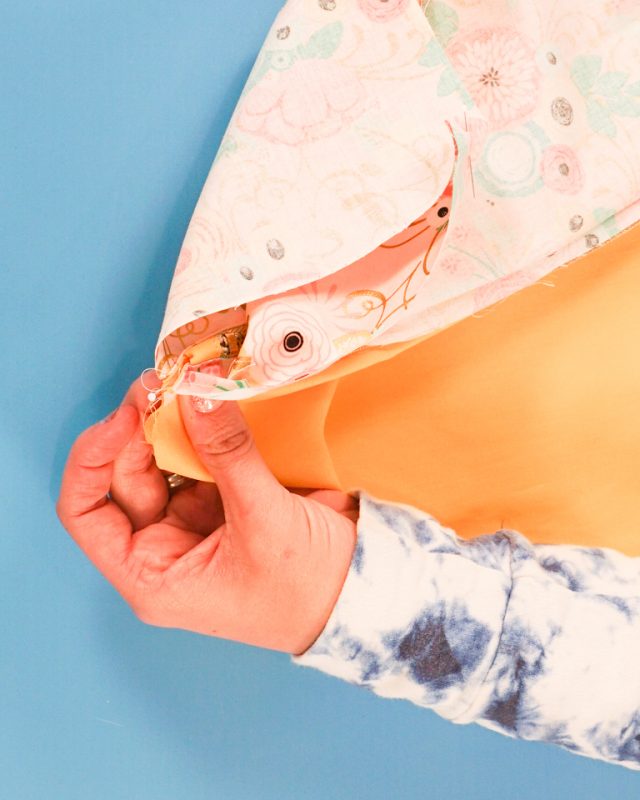
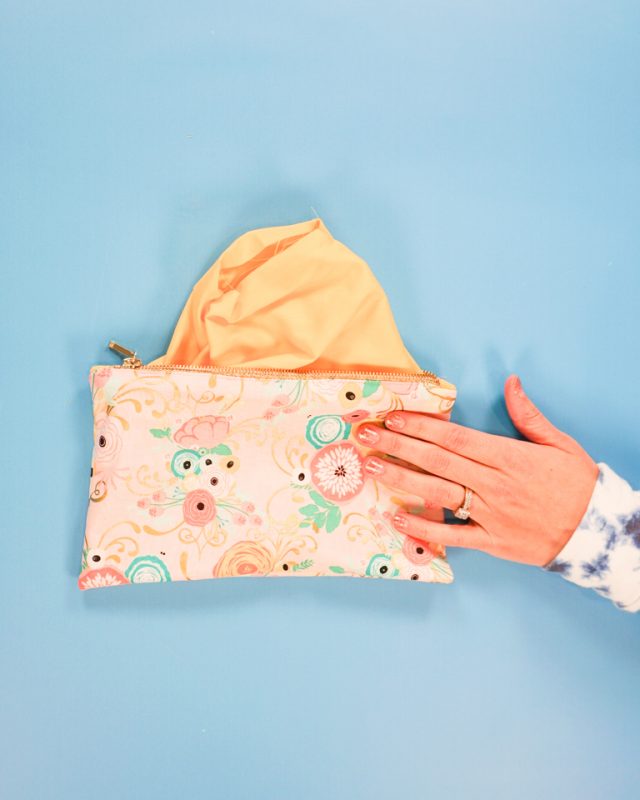
Turn the bag right side out and poke out all the corners. Poke out the corners of the tabs and make sure you didn’t sew through them.
Pin the hole closed and topstitch in closed.
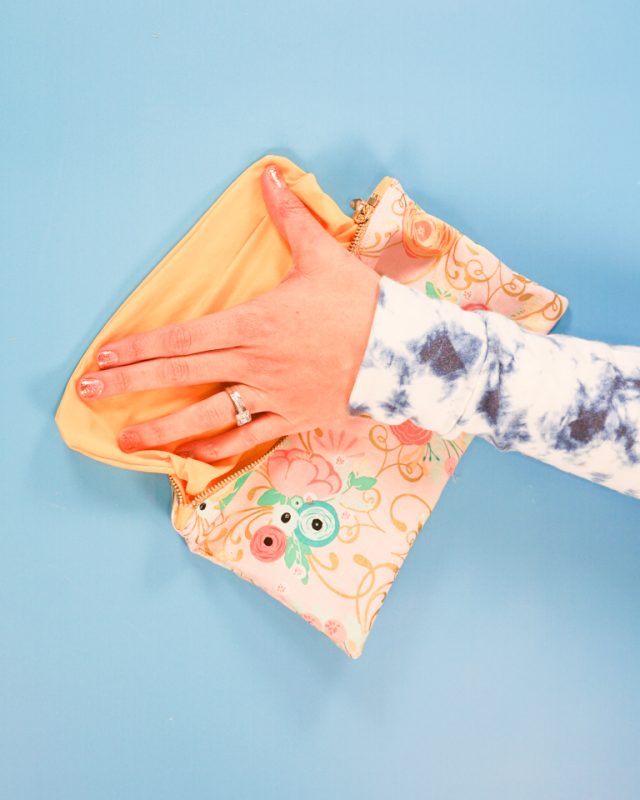
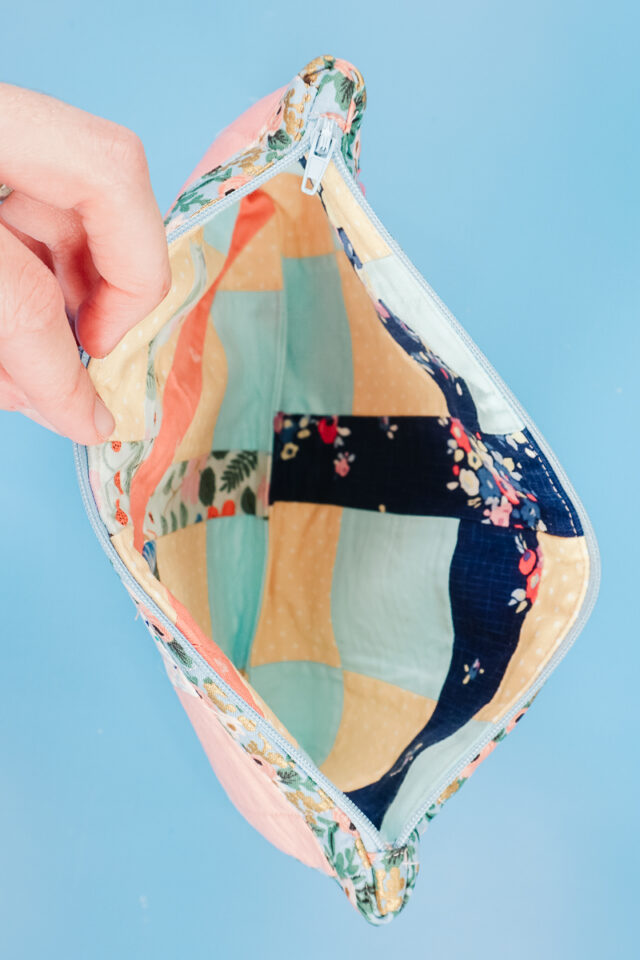
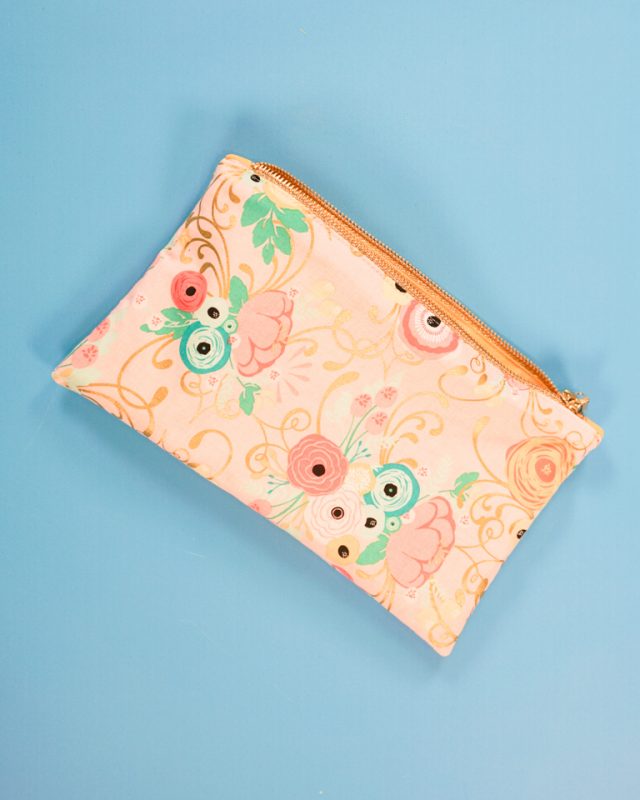
Push the lining down inside and you finished!
Get the Free Sewing Pattern here!
If you make something using this sewing project, I’d love to see! Please share it on social media with the hashtag #heatherhandmade and tag me!

I believe small sewing moments can create great joy. Find your own “right” way to sew. -Heather
Heather, thanks so much for sharing.
You’re welcome!
Do I need a zipper foot?
yes, you do!
Im really confused why it says not to sew over the tabs? if you don’t sew over them wont there be a hole? Sorry, I’m kinda new to this.
There will be a tiny hole. But it’s so small and miniscule, it’s not noticable. This method is used to give the zipper a really clean look and it won’t get stuck in the seam allowance. It makes sewing the zipper easier and using the zipper easier in the end.
I want to do this, but printing 25 pages to carry to my sewing machine is environmentally unconscionable. Can we perhaps get the directions w/out photos in a condensed list, please?
I print 2-4 pages on each sheet and use both sides of the paper.
Hi! Love your zipper pouch! Going to make one! One question-Is it necessary to add the two tabs next to the zipper? Or can you make the pouch just as long as the zipper?
You technically don’t have to, it just makes the ends of the zipper look nice. The tabs cover the ends but don’t get sewn into the seam allowance so there’s a chance that the ends of the zipper tape will end up showing from the outside.
Lisa, you’ll be much happier with the pouch if you add the tabs. It makes it look much neater.
I wish that the instructions were more organized (?). There are too many pages to print.