
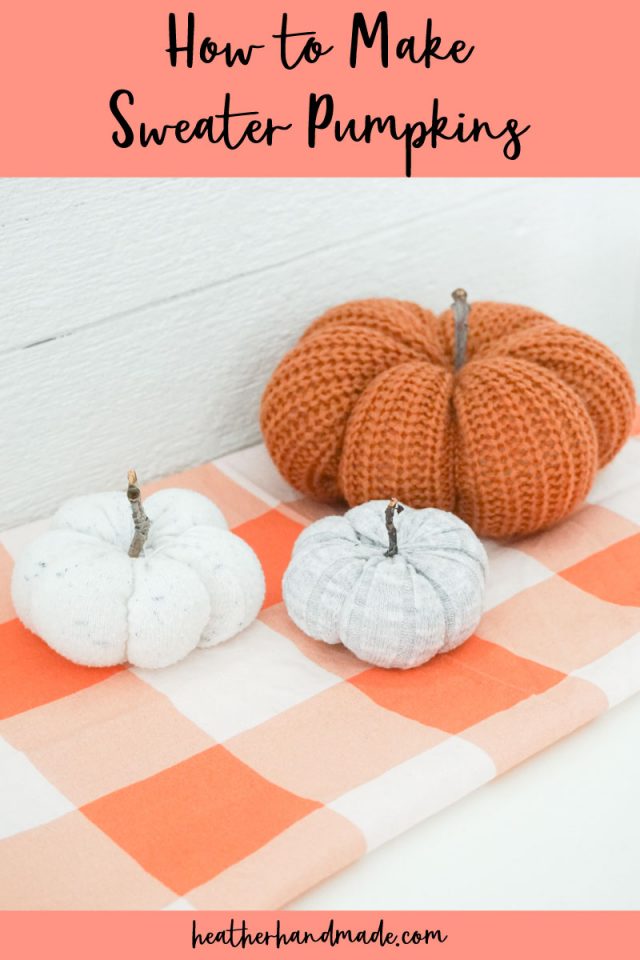
How to Make a Sweater Pumpkin

This post may contain affiliate links.
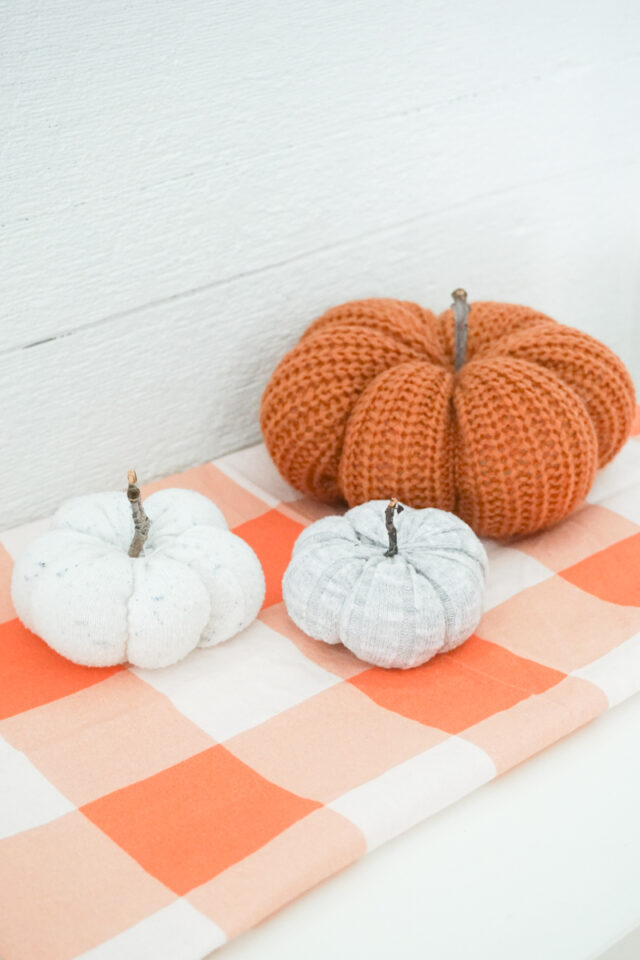
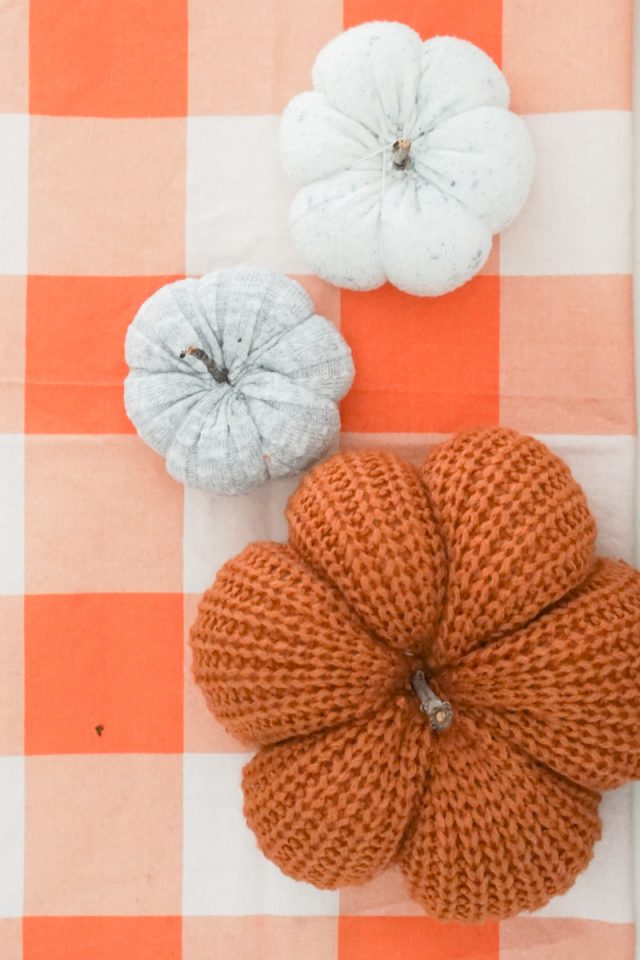
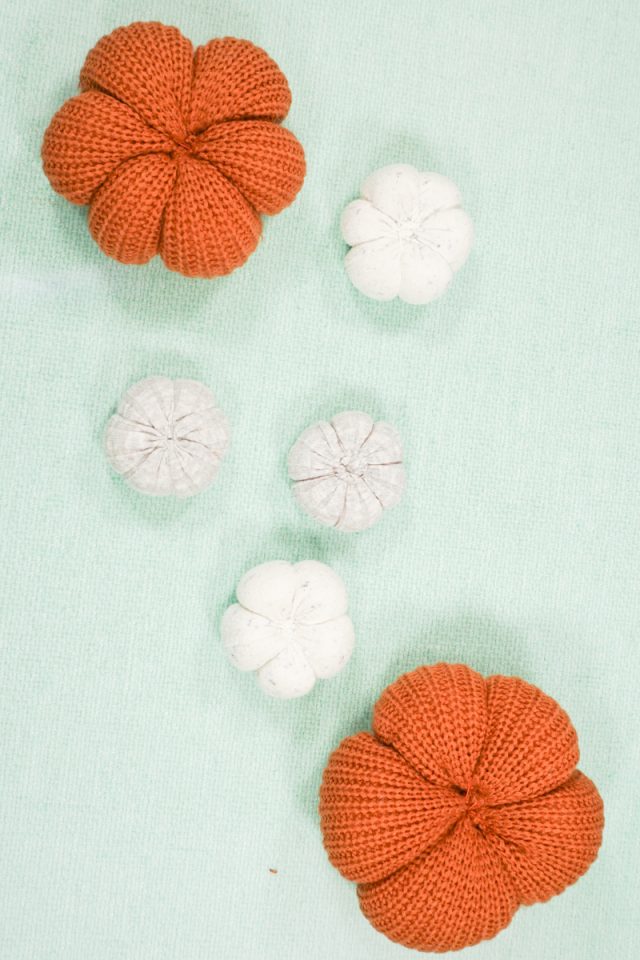
Learn how to make a sweater pumpkin by upcycling sweater sleeves into pumpkins. This fall sewing project is cute and easy.
I have a collection of fabric pumpkins that I get out every year. I love them so much and really look forward to it. Pumpkins are cute and happy and work throughout Fall, Halloween, and Thanksgiving.
Sweater pumpkins can be touched and played with by little kid hands without getting broken. I have two other tutorials for making pumpkins with other fabrics, but today I have a tutorial for making sweater pumpkins. The best part is you can do it all by hand without a sewing machine!
What sweater should I use for the pumpkin?
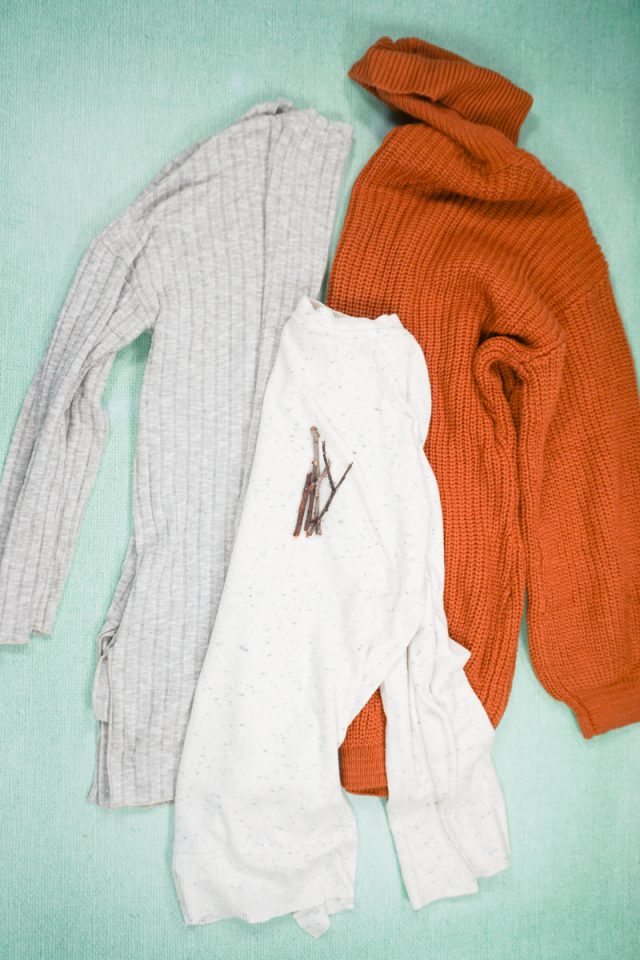
Any sweater that has a good amount of stretch and that can be chopped up is a great sweater to use. Choose either bright and bold colors or relaxing neutrals so the pumpkins with work with your home decorations.
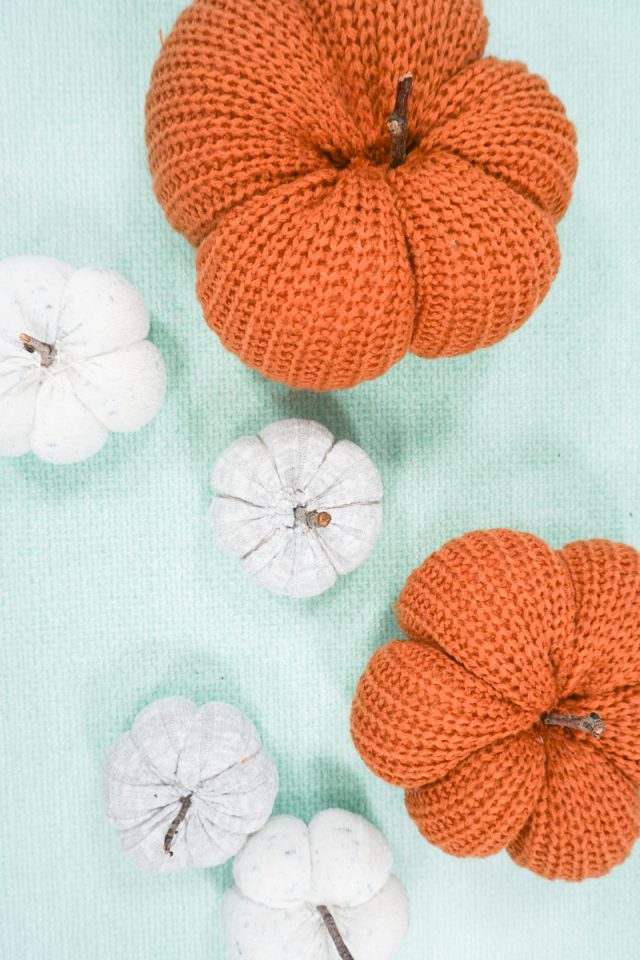
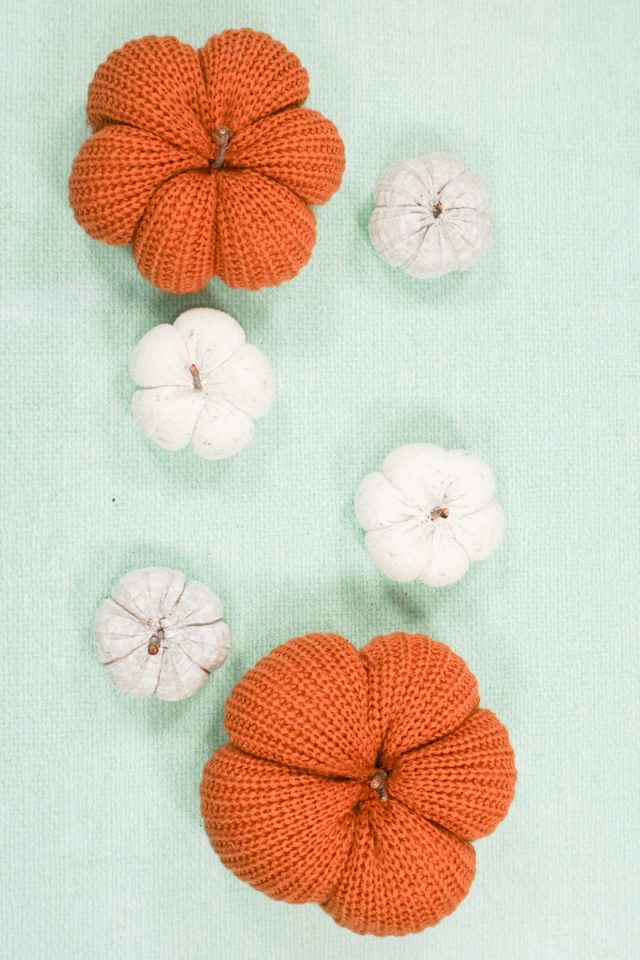
I like the chunky sweater pumpkin look. I want to see the knitting stitches and the thick yarns, but a thinner, simpler sweater will also work.
I found that the thicker sweaters had a harder time gathering up tight. The hand stitching seems to gather better no matter the sweater type.
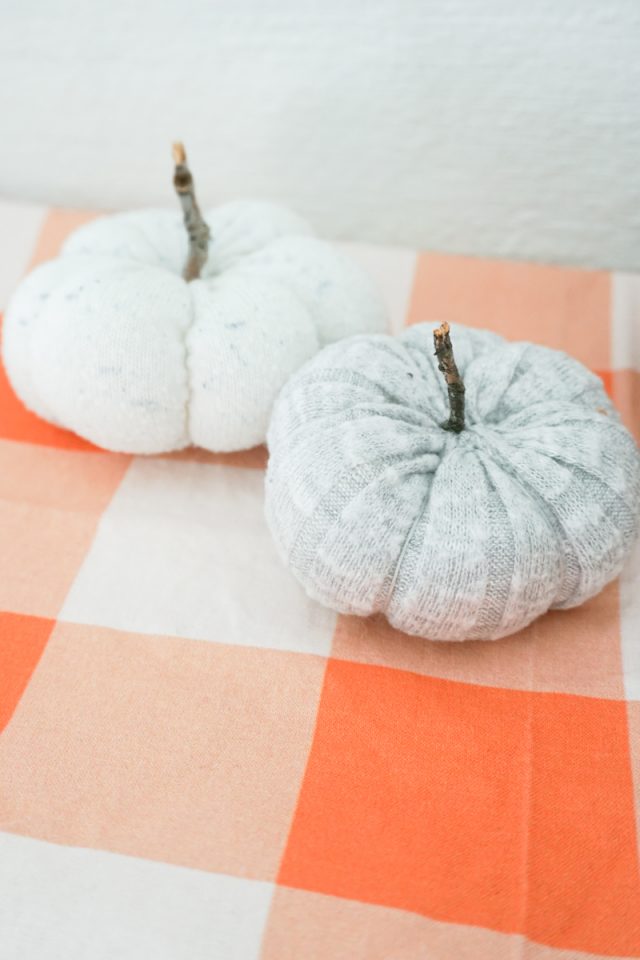
What should I use for the stem?
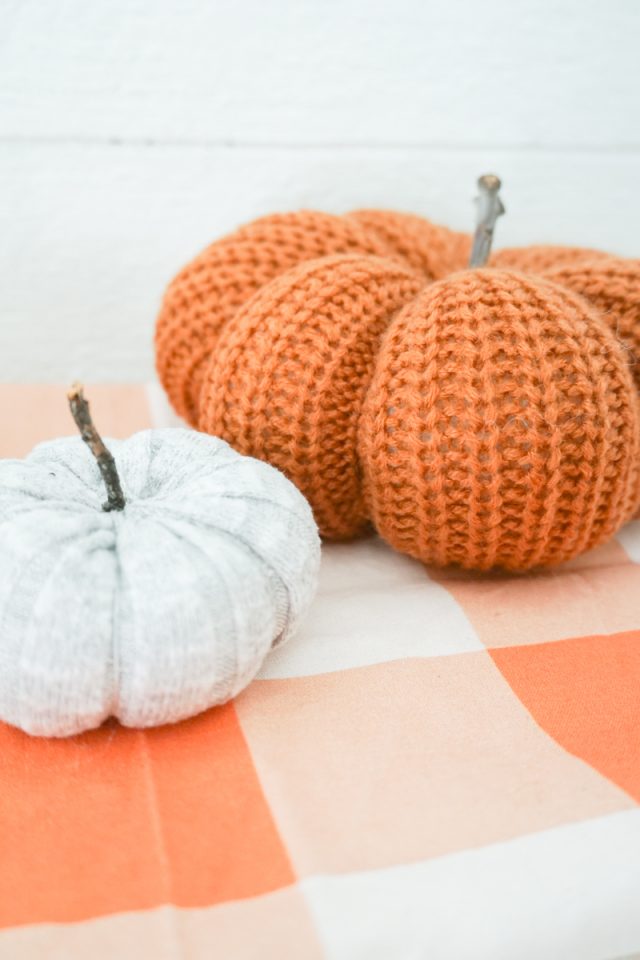
I used small sticks from my backyard for the pumpkin stems. I just gathered them up, and broke them into small pieces.
You can also use cinnamon sticks as stems which would add a nice, subtle smell to the pumpkins. You can also use ribbon that is rolled and hot glued into a tube as stems.
What is upcycling?
Upcycling is to reuse material to create something better than the original. I usually use this to describe when I’m sewing adult clothing into clothing for children or I’m sewing clothing into an accessory or house item.
Upcycling saves time, saves money, saves the environment, and saves memories.
Save time by reusing details from the original shirt. Save money by using something you already have.
Save the environment by keeping t-shirts out of the landfill. Save memories by reusing a favorite adult t-shirt for your toddler or child.
Do you love to sew? Try one of these fun sewing projects:
How to Make a Sweater Pumpkin
Supplies
- Sweater to cut up
- Poly-fil
- Long hand needle and embroidery floss
- Small sticks
- Sewing tools
- Optional: sewing machine
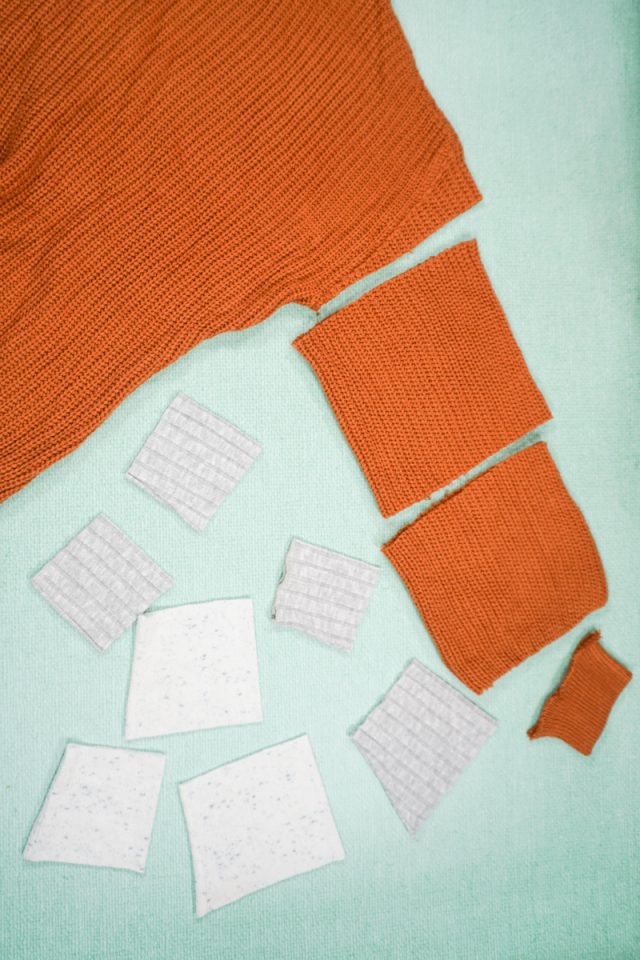
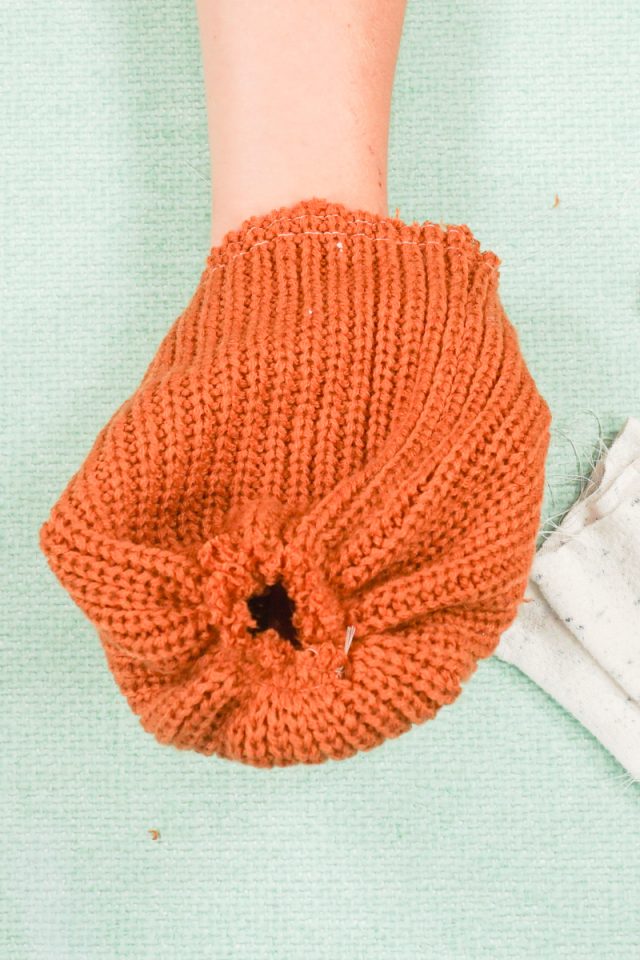
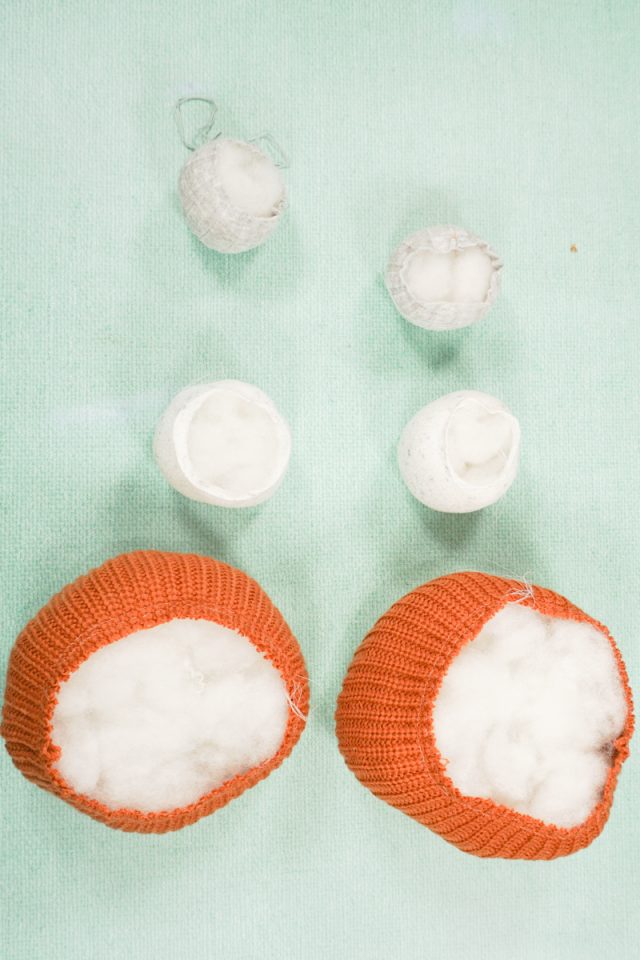
Cut the sleeves into “squares” meaning the height is about the same as the width of the sleeve. If the sleeves are skinnier then you will have a smaller pumpkin, and if the sleeves are wider then you will have a larger pumpkin.
If you are using a sewing machine, then sew two rows of basting stitches along the open top edge and the open bottom edge. Sew one row 1/4 inch away from the edge and one row 3/8 inch away from the edge.
Pull the bobbin threads to gather the fabric as much as possible. Try to close the hole with tight gathering. Tie the thread ends.
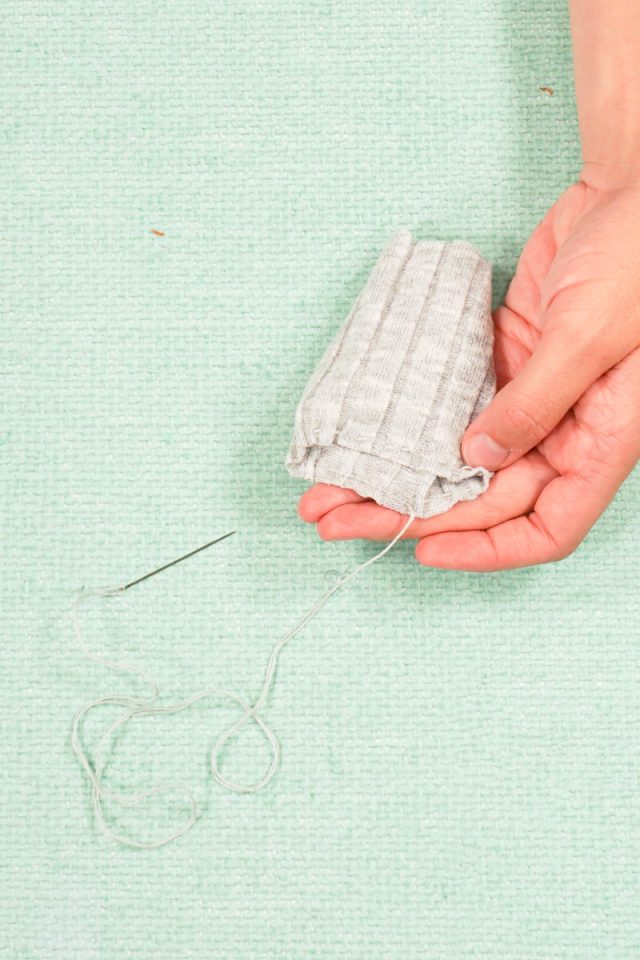
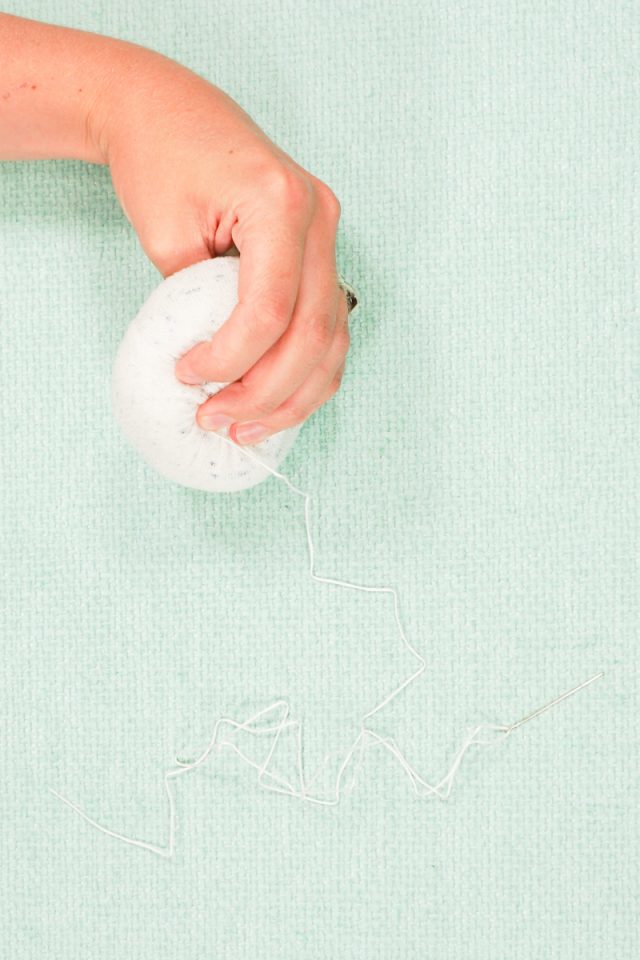
If you are using a hand needle and thread, pull the thread through the eye of the needle and tie a thick knot on one end.
Sew a large stitch (about 1/4 inch apart) around one opening. Pull it tight to gather and close the hole. Tie the thread off.
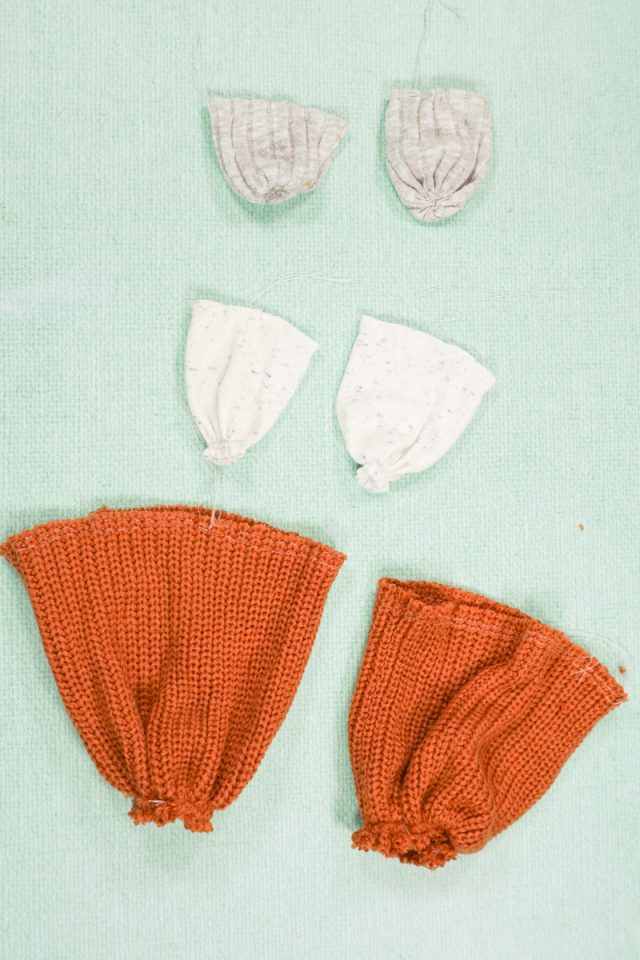
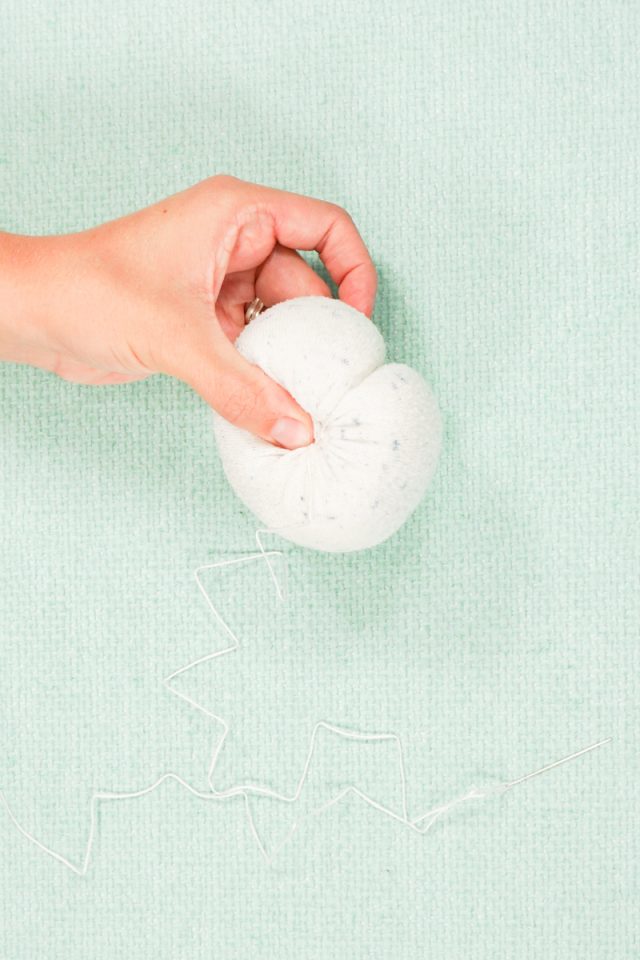
Close one side of each pumpkin you are making by gathering and knotting.
If any of the pumpkins don’t gather enough and there’s a large hole, then hand sew a giant “X” pulled tight to close it.
When all the pumpkins have one closed side and one open side, stuff each pumpkin full of poly-fil. It’s always better to overstuff than understuff. You want your pumpkins to be nice and plush.
Pull the gathering at the top of the hole to close each pumpkin. Tie the threads in place.
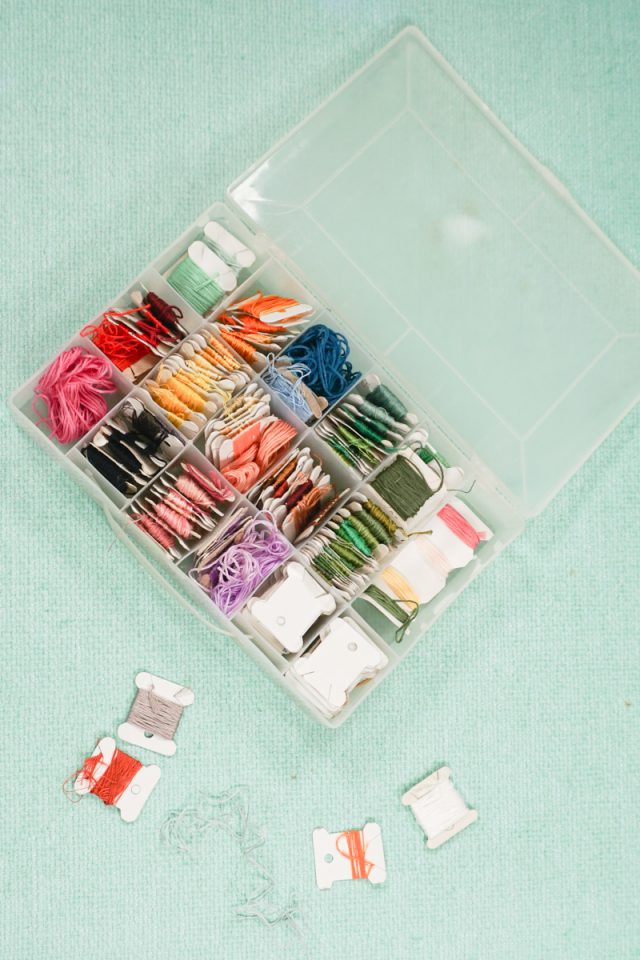
Choose embroidery thread that matches closely to your pumpkin color. You’ll need a lot of floss for each pumpkin, more than you think you need especially for larger pumpkins.
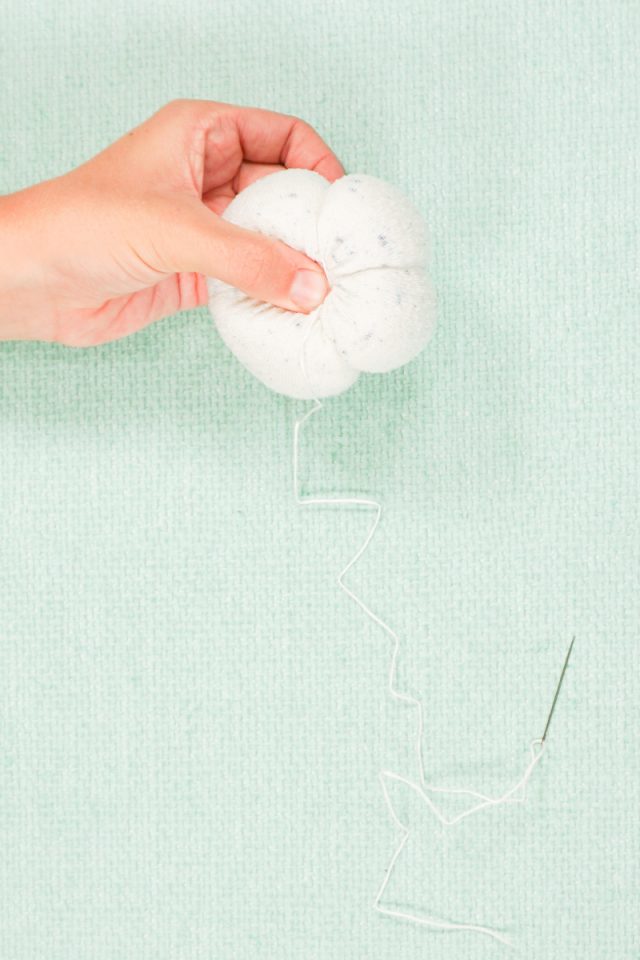
Start by threading the needle and tying a knot on one end. Push the needle through the center of the pumpkin from the bottom to the top. The knot should get stuck and not pull all the way through.
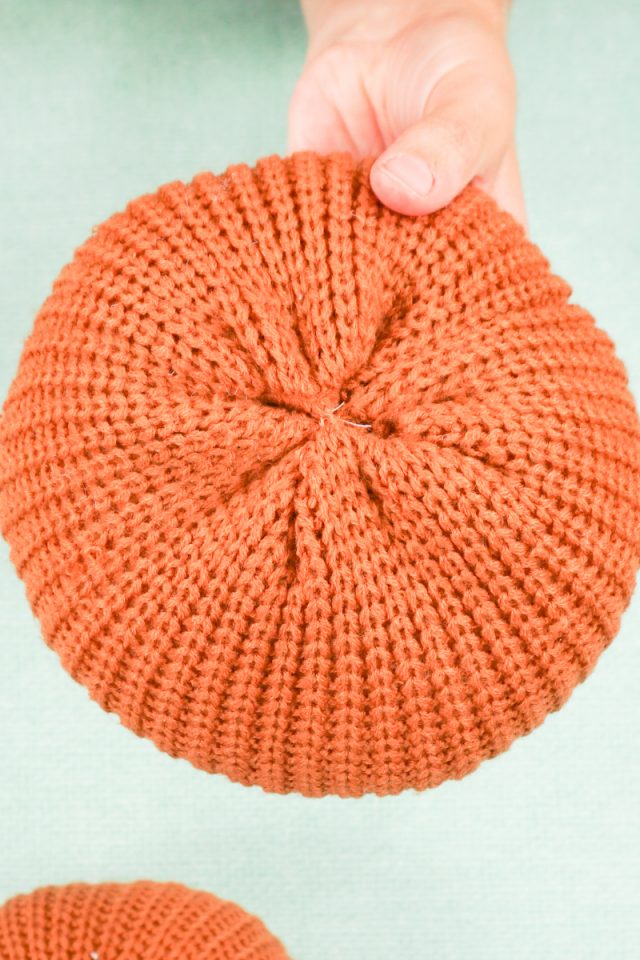
Wrap the thread around the outside of the pumpkin and through the middle starting on the bottom side and coming out the top. Pull it tight to create a “line” in the pumpkin.
Again, wrap the thread around the outside of the pumpkin and through the middle starting on the bottom side and coming out the top. Pull it tight.
Again, wrap the thread around the outside of the pumpkin and through the middle starting on the bottom side and coming out the top. Pull it tight.
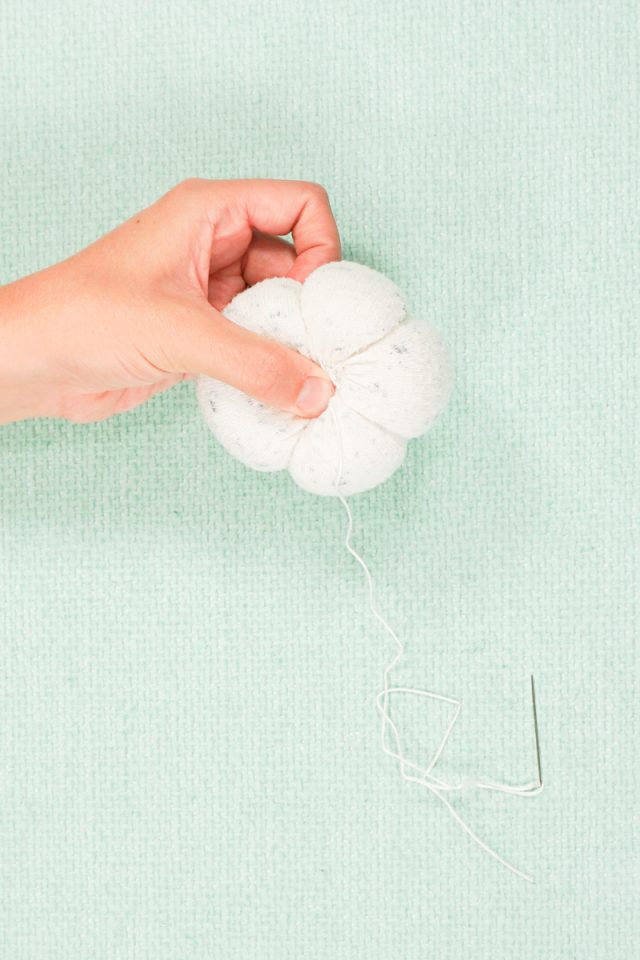
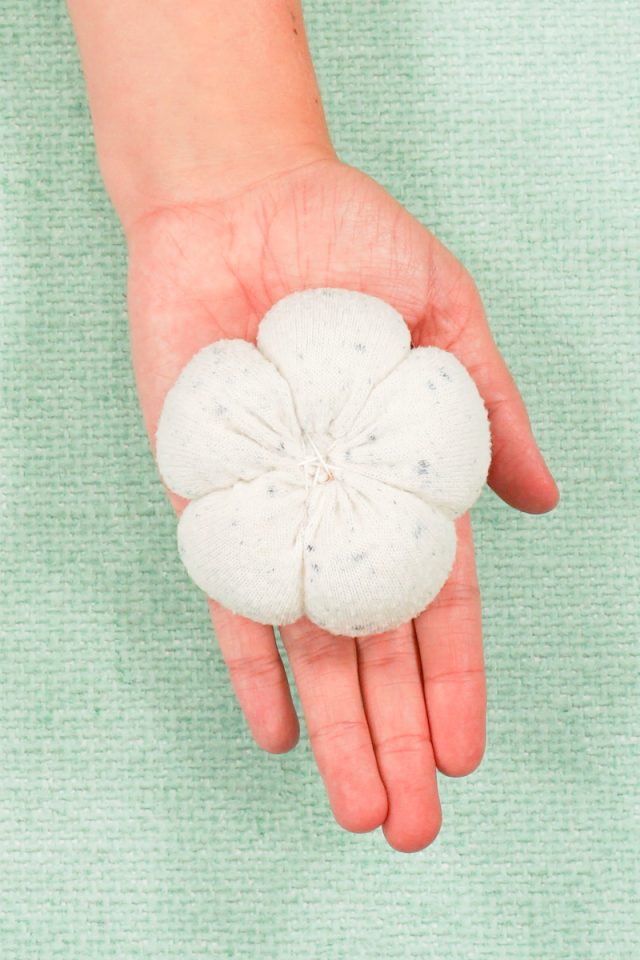
Keep wrapping the thread around the pumpkin in different places until you are satisfied with your pumpkin shape. I usually did 5 or 6 “lines” per pumpkin.

Tie the thread off and cut it.
It works the same for the chunky sweater pumpkins and it looks even more exaggerated.
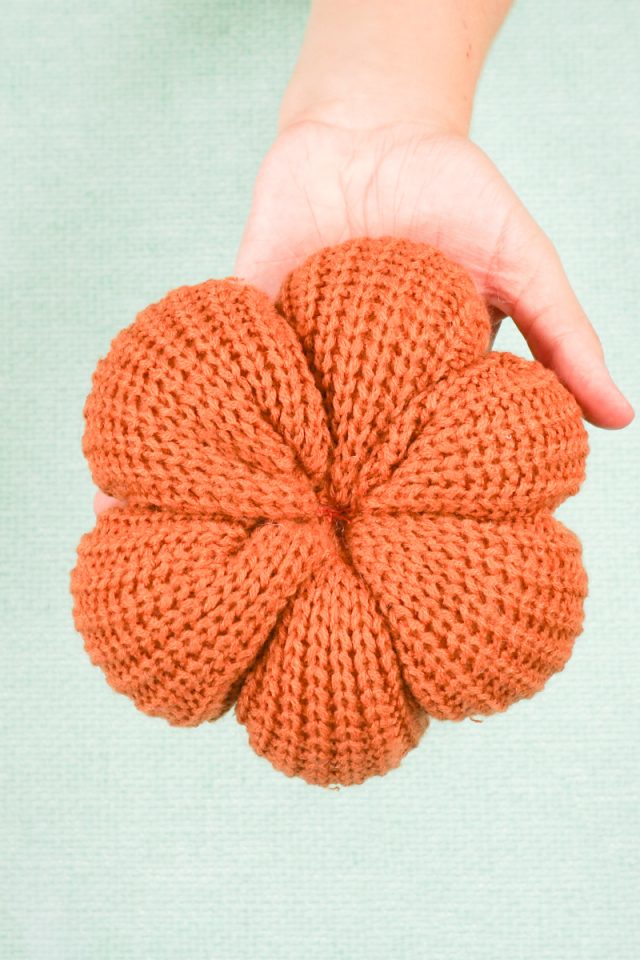
Wrap the thread around every pumpkin until they are all done.
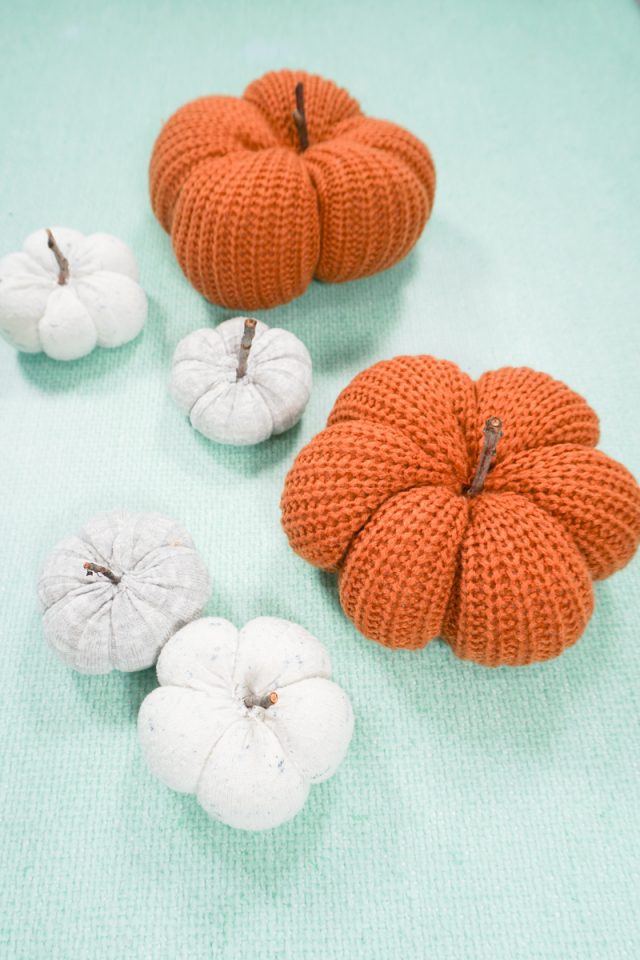
Break your sticks into small stems and poke them into the hole at the top of the pumpkin. You can hot glue them in place or not. My stems stay in just fine and I like the idea of switching them out if I need to.
You finished!
If you make something using this sewing project, I’d love to see! Please share it on social media with the hashtag #heatherhandmade and tag me!

I believe small sewing moments can create great joy. Find your own “right” way to sew. -Heather
Very nice!!!👍