
Free Pumpkin Placemat Pattern

This post may contain affiliate links.
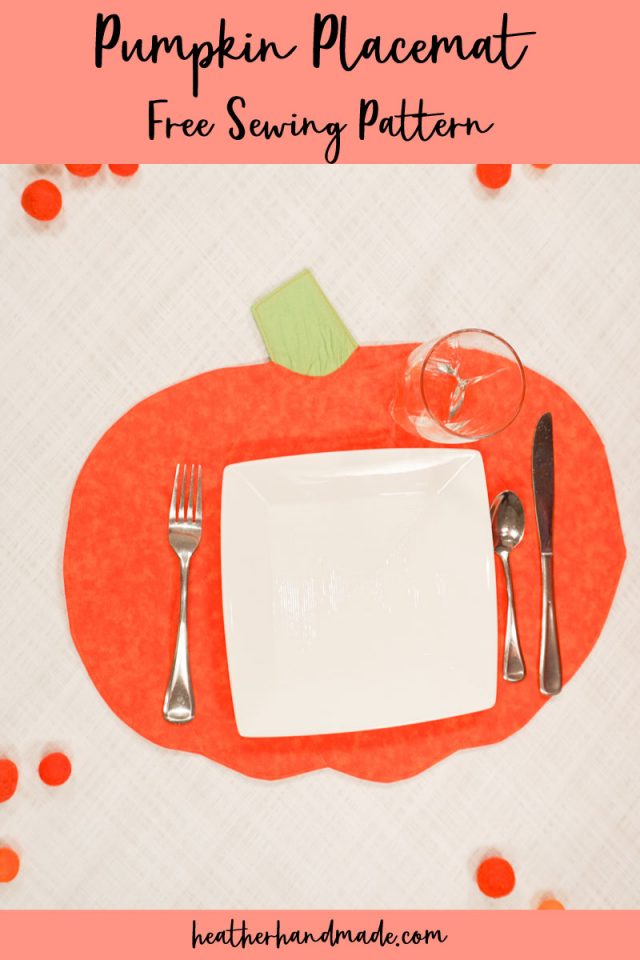
Learn how to make a pumpkin placemat with a free sewing pattern. This fall sewing project is great for decorating and easy to sew.
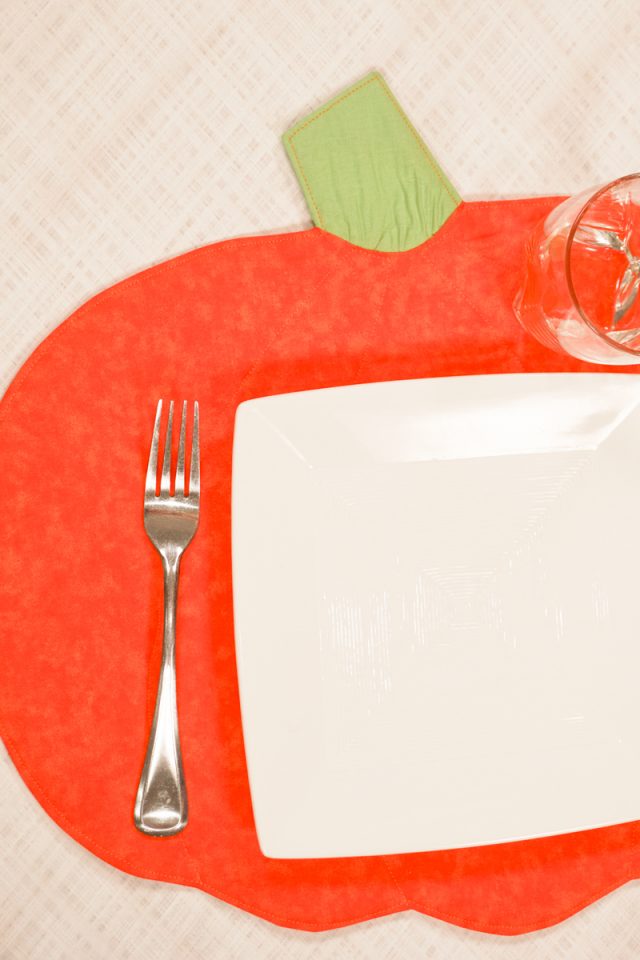
Any extra touch that I can add to the table makes my kids so excited to sit down and eat together as a family. I love adding placemats every once in a while or during a holiday. They suddenly feel fancy and special.
Besides using placemats at the table, I also love to use them underneath my holiday decorations throughout my home. It adds a bit of color or a bit of extra details.
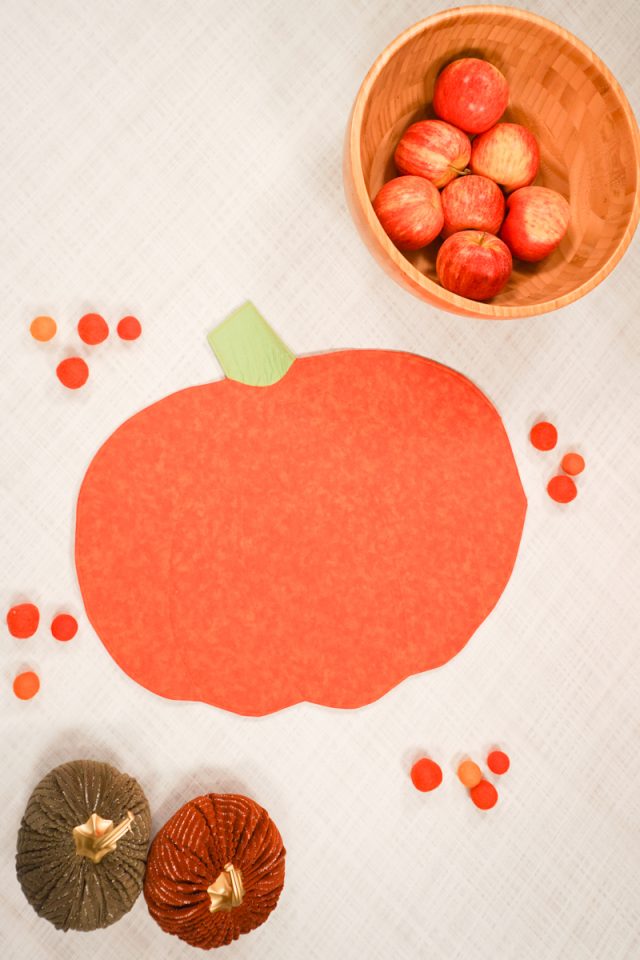
I made a cute pumpkin shaped placemat, and I’m sharing the free pattern with you today! Don’t miss the video to help walk you through all the steps.
To get the free sewing pattern, scroll to the end of the tutorial. Put your email address in the form under “Get the Free Sewing Pattern Here.” Once you confirm that you want to receive emails from Heather Handmade, the free pattern will be sent to your email address. Check your spam and promotions for the email.

What fabric should I use to make a pumpkin placemat?
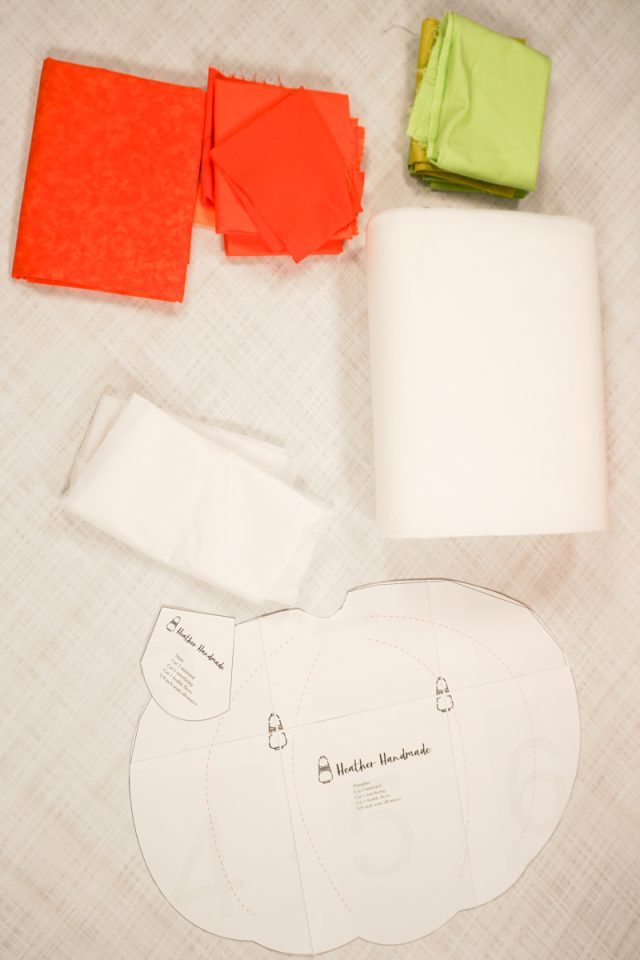
The best fabric to use for a pumpkin placemat is quilting cotton. Get a solid orange or a pretty orange print for a clear pumpkin look. It would be also fun to piece together scraps of orange fabric for a very fun pieced look.
In between the fabric you will need both fusible interfacing and fusible fleece. This will give strength, stability, and a little bit of cushion to the placemat.
What is a PDF sewing pattern?
A PDF pattern is a sewing pattern designed on the computer and organized so that it can be printed on several letter or A4 size pieces of paper.
I love using PDF sewing patterns because if the pattern gets ruined or if my children or I changed sizes, I can always print it again. It’ll never be destroyed since I have a digital version!
How do you use a PDF sewing pattern?
Open the PDF on a computer and click print. When printing make sure that the scaling is set to 100% or no scaling so that the pattern prints at the correct size.
Once the pattern is printed it can be taped together to get the full size. Then the pattern can be cut for each pattern piece size or individual sizes can be traced so that the pattern can be used again and again. Learn how to use PDF sewing patterns.
Do you love to sew? Try one of these sewing projects:
- Fall sewing projects
- Halloween sewing projects
- Kitchen sewing projects
- Free PDF sewing patterns
- Home sewing projects
- Free Halloween sewing patterns

How to Make a Pumpkin Placemat
Supplies
- 1/2 yard of orange quilting cotton fabric for EACH pumpkin placemat
- Scrap of green fabric
- 1/2 yard of fusible interfacing
- 1/2 yard of fusible fleece
- Free pumpkin placemat pattern – get it at the end of the post
- Sewing tools
- Sewing machine
Do you just want the pattern and tutorial as a PDF? Get the pattern and tutorial for just $5. You won’t need to access the internet every time you want to make it. Or get the Pattern Bundle with ALL the PDF tutorials!
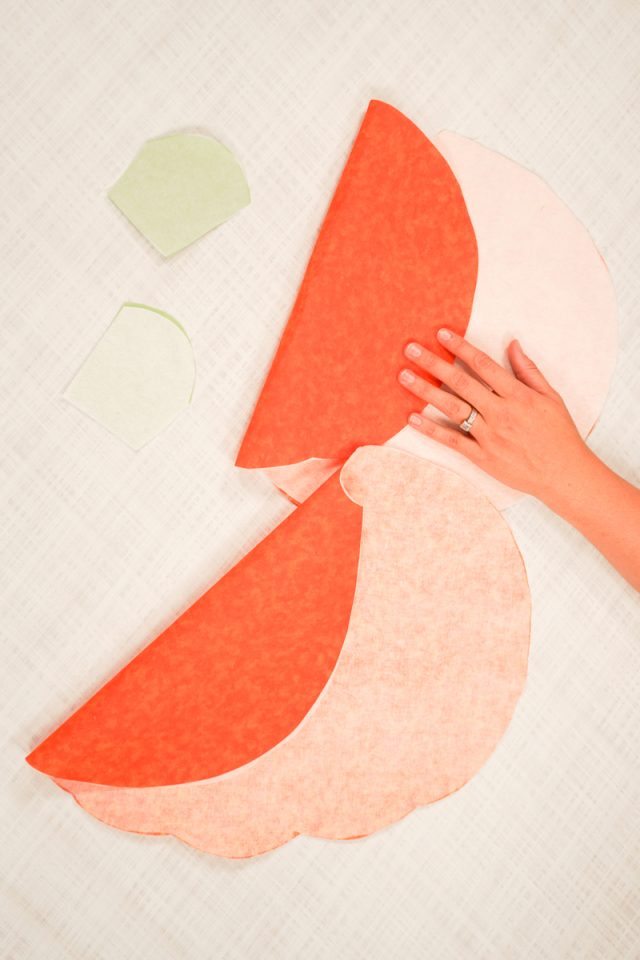
Cut out two orange pumpkin pieces mirrored, cut out two green stems mirrored.
Cut out one stem and one pumpkin from the fusible interfacing. Cut out one stem and one pumpkin from the fusible fleece opposite direction from the interfacing.
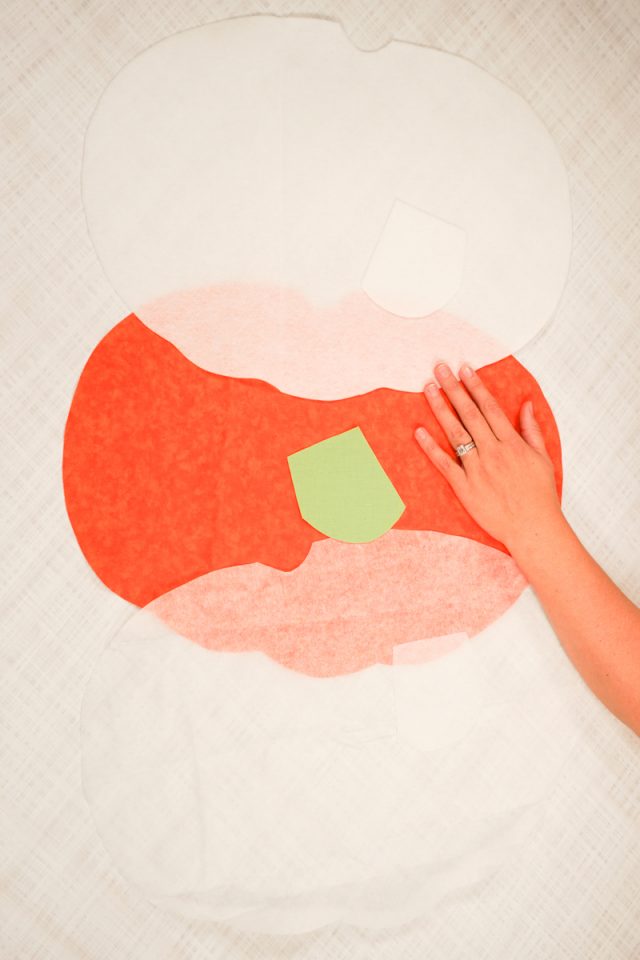
Fuse the interfacing to the back of a pumpkin and the back of a stem. Fuse the fleece to the back of a pumpkin and the back of a stem.
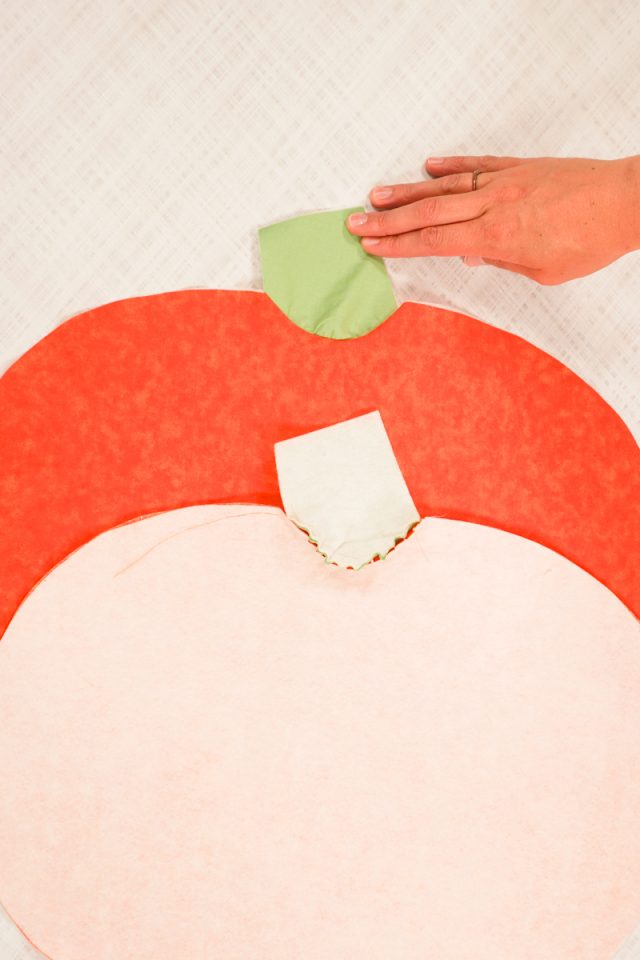
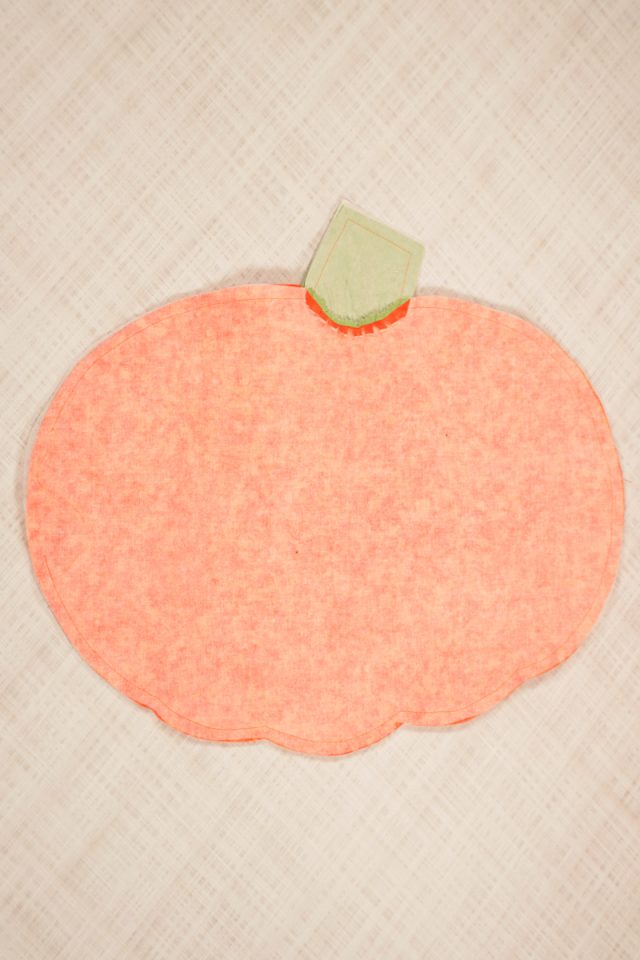
Sew around the curve where the stem goes at the top of the pumpkin pieces just inside 3/8 inch. Clip into the seam allowance up to the stitching to stretch the seam allowance open.
Pin the stem into the curve at the pumpkin with right sides together. Match up the center and then each side. Make sure the interfaced stem is pinned to the interfaced pumpkin, and the fleece stem is pinned to the fleece pumpkin.
Sew each stem to each pumpkin with a 3/8 inch seam allowance. Go slow and adjust a lot as you sew. You are sewing opposing curves together, and it gets a little tricky.
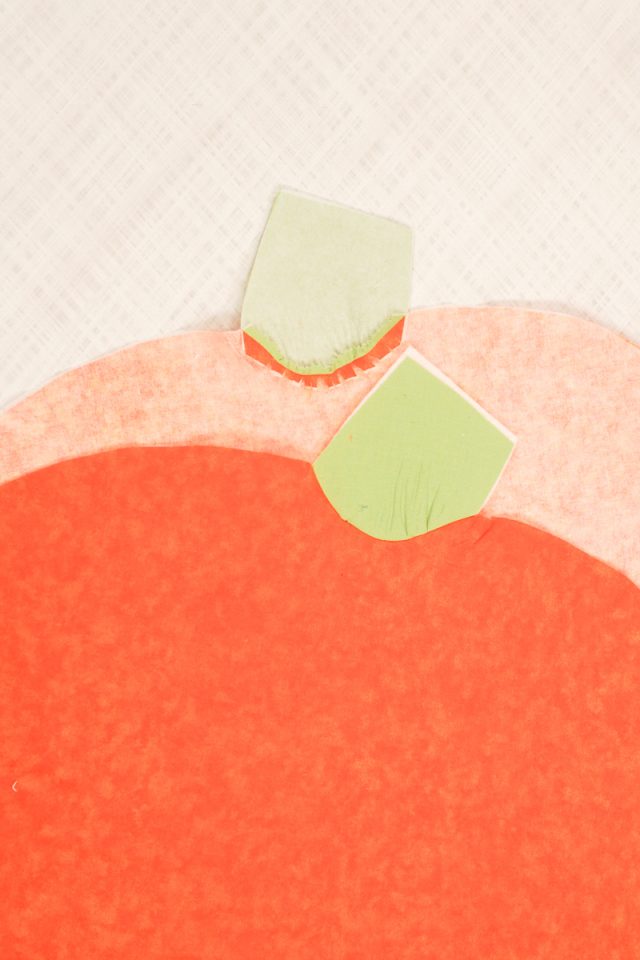
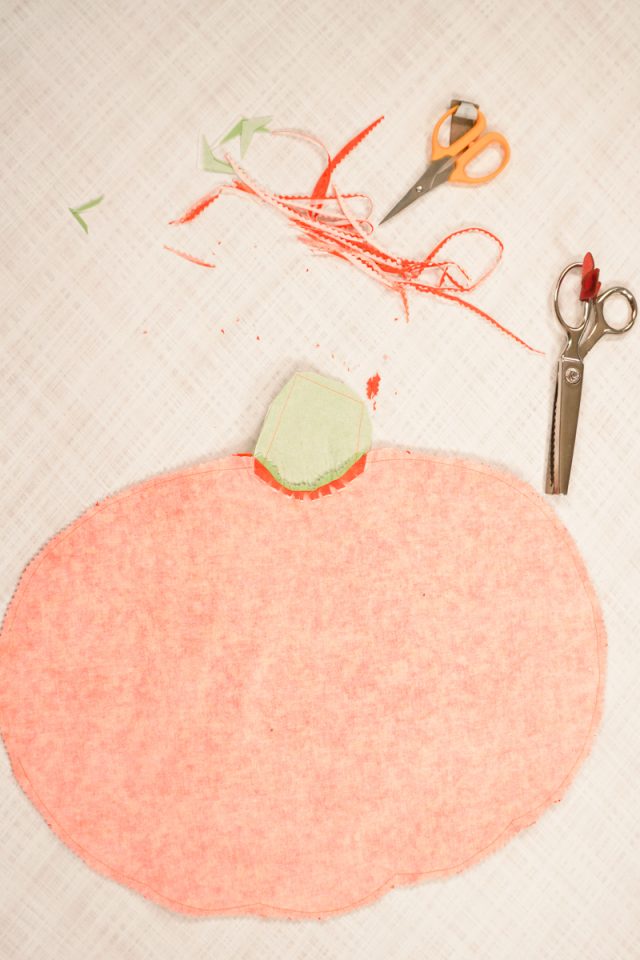
Pink or notch the stem seam allowance. Clip the pumpkin seam allowance even more if needed.
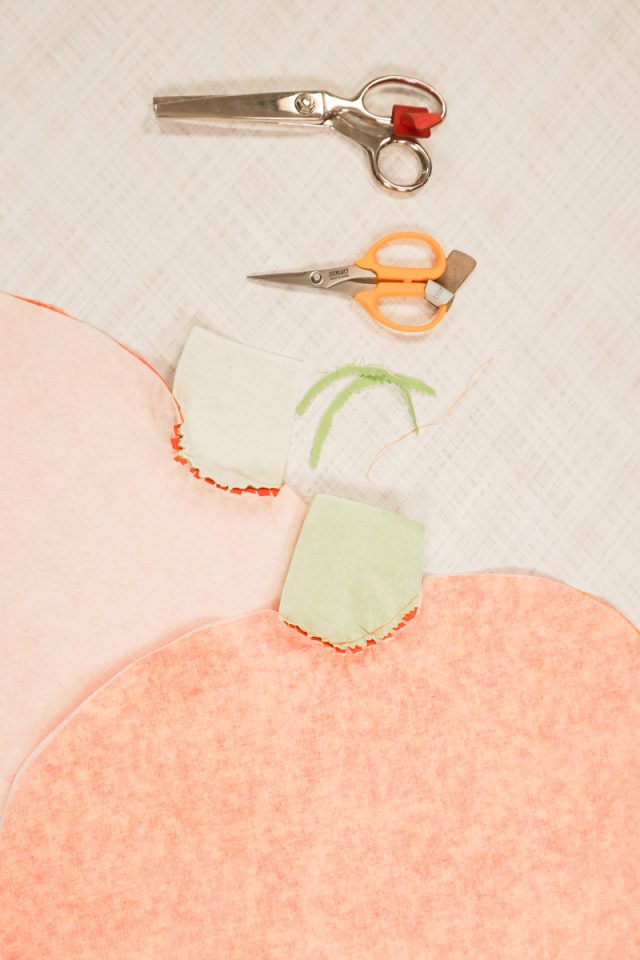
Press the seam allowances open and flat.
Place the pumpkins right sides together and pin. Sew around the edge with a 3/8 inch seam allowance and backstitch when you start and when you stop. Leave a 3 inch hole for turning the placemat right side out.
Clip into the inner corners and curves. Trim the outer corners. Notch the outer curves.
Turn the placemat right side out. Poke out all the corners and curves.
Press the placemat flat making sure that the seam allowance of the hole is pressed folded inside.
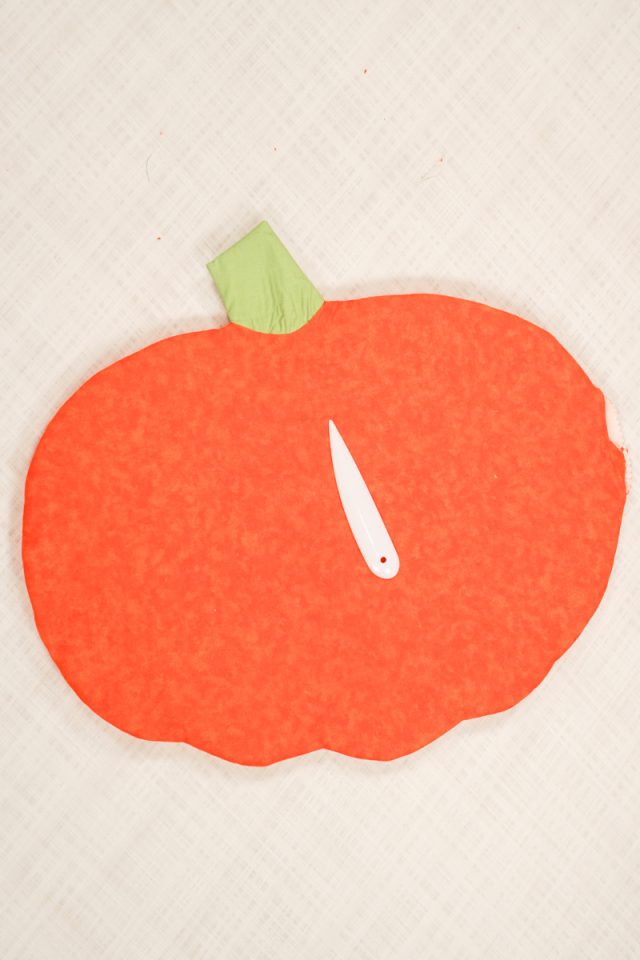
Edgestitch around the edge of the placemat to give it a finished look and the close the hole.
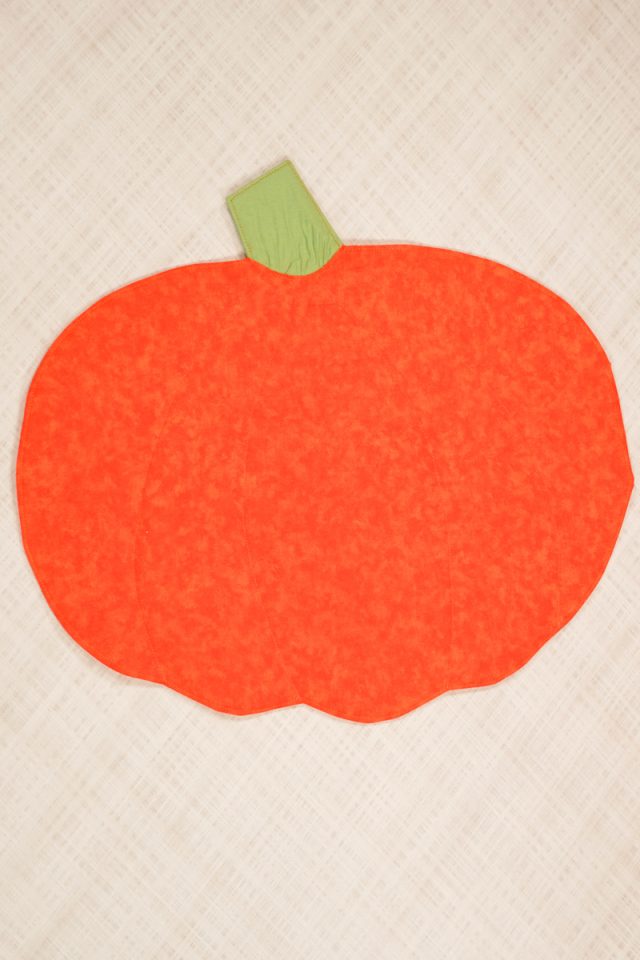
Sew pumpkin lines through the placemat to give extra details.
Get the Free Sewing Pattern here!
If you make something using this sewing project, I’d love to see! Please share it on social media with the hashtag #heatherhandmade and tag me!

I believe small sewing moments can create great joy. Find your own “right” way to sew. -Heather
This is such an easy pattern and with a lot of fall fabrics would make great placemats.
you can make such pretty placemats!
the pumpkin pattern is not download to my email
Did you get it yet? Did it go to your spam or promotions folder?
No didn’t
It was just now sent to you!
I look in spam nothing there