
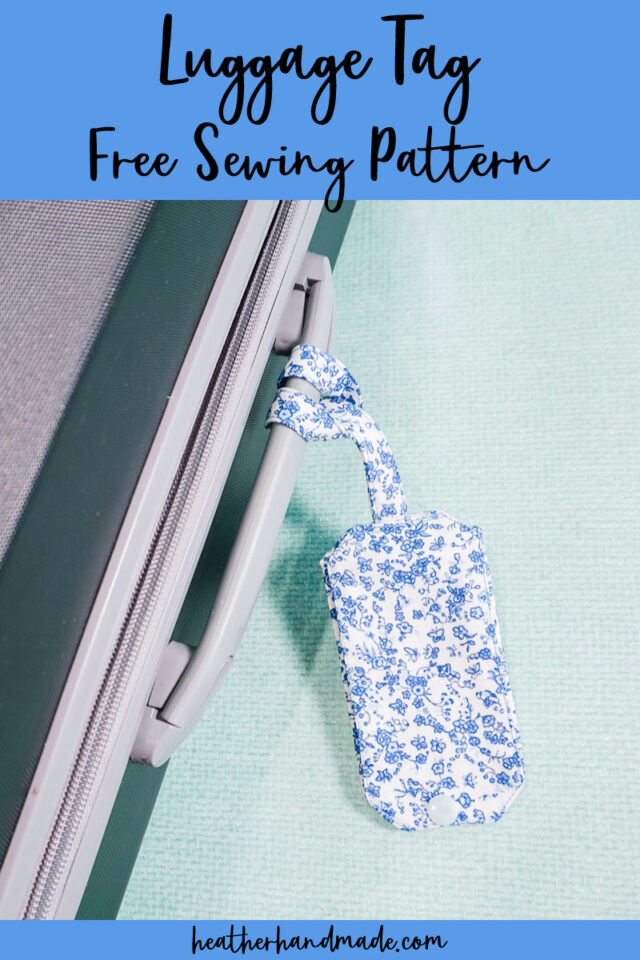
Free Luggage Tag Sewing Pattern with a Flap

This post may contain affiliate links.
Learn how to sew a luggage tag with a free sewing pattern. This beginner sewing project identifies luggage and protects your information.
Have you ever mixed your luggage up with someone else’s? Do your family members all have the same luggage so you need a way to differentiate between everyone’s suitcases and bags?
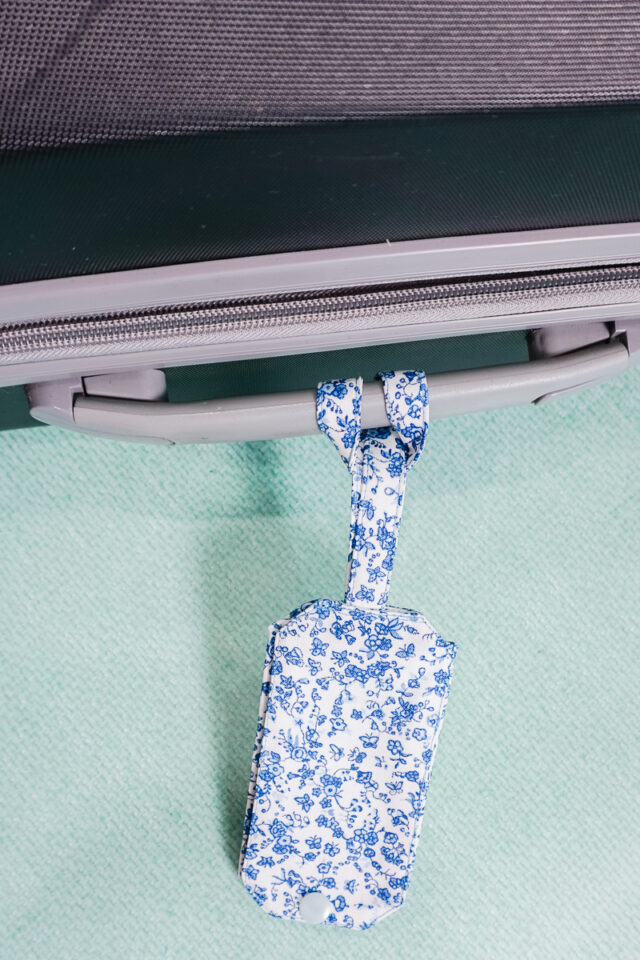
Make a luggage tag with this fun and easy sewing project. It is a great way to label and identify your luggage. The flap keeps your information private, and you get to see and enjoy the pretty fabric.

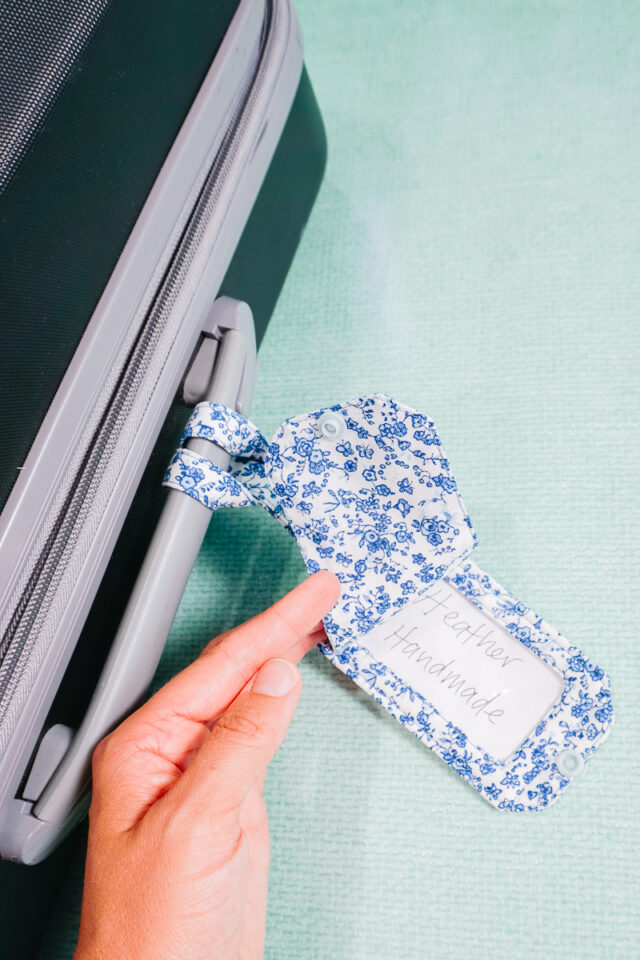
How does this luggage tag with a flap work?
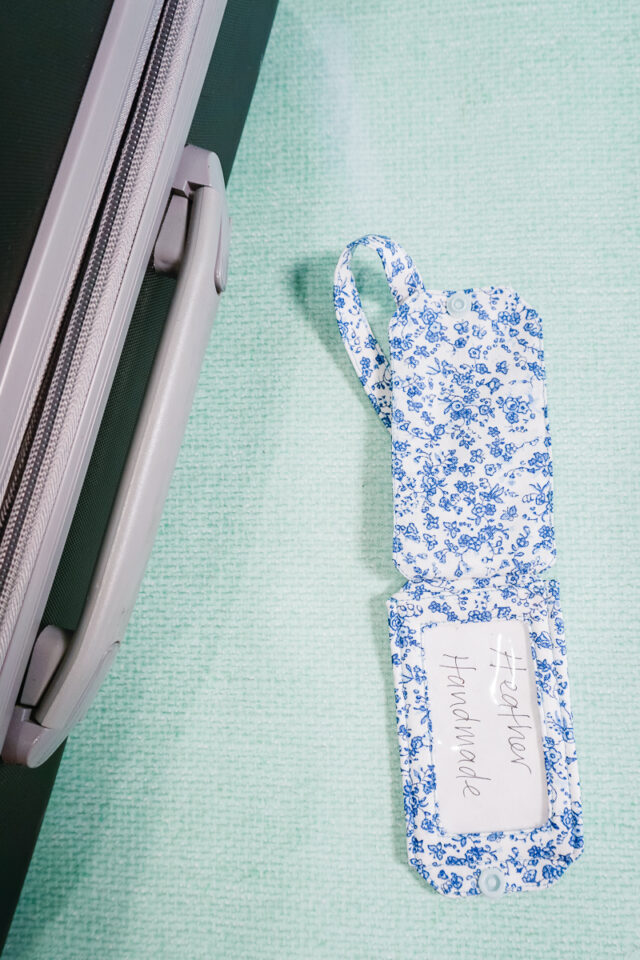
This luggage tag has a loop to loop around a luggage handle. It has a window to slide in a paper or card with your information, and then there is a flap that snaps closed to protect the information.

What fabric works for a luggage tag?
This luggage tag can be made with quilting cotton. Quilting cotton is easy to find and easy to sew, and it comes in every color and print imaginable. It’s also a great scrap fabric project since all the pattern pieces are so small!

Do I need to use interfacing?
Yes! You actually need to use midweight fusible interfacing, a piece of felt, and clear vinyl. All of these work together to be a strong and durable luggage tag.
Love to sew? Try one of these sewing projects:
- Beginner sewing projects
- Free PDF sewing patterns
- Sewing projects to sell
- Small sewing projects
- Scrap fabric sewing projects
- Travel sewing projects
- Handmade gifts to sew
How to Sew a Luggage Tag
Supplies
- Free luggage tag sewing pattern – get it at the end of the post
- 1/8 yard of quilting cotton
- Piece of 10 guage clear vinyl
- Medium weight fusible interfacing
- Washable glue stick
- Piece of felt
- Plastic snaps and pliers*
- Sewing tools
- Sewing machine
Do you just want the pattern and tutorial as a PDF? Get the pattern and tutorial for just $5. You won’t need to access the internet every time you want to make it. Or get the Pattern Bundle with ALL the PDF tutorials!

Instructions
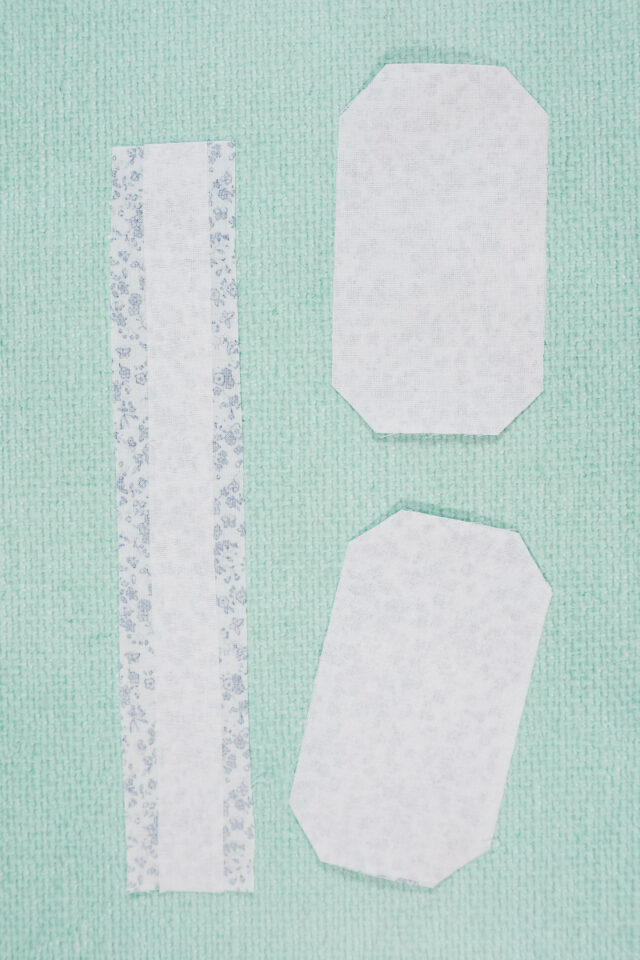
From fabric cut out two fronts and two backs, cut out one loop, cut out one window piece.
From interfacing cut out the inner loop, one front, and one back.
From felt cut out one inner window. From the clear vinyl cut out one rectangle.

Use an iron to fuse the interfacing to the wrong side of the front and the wrong side of the back. Fuse the loop to the center of the loop.
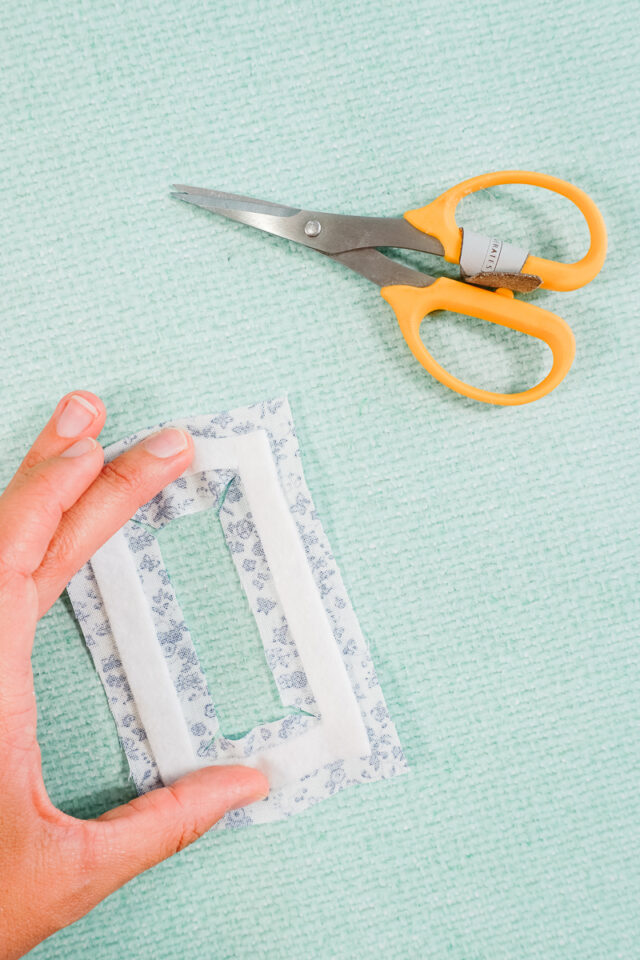
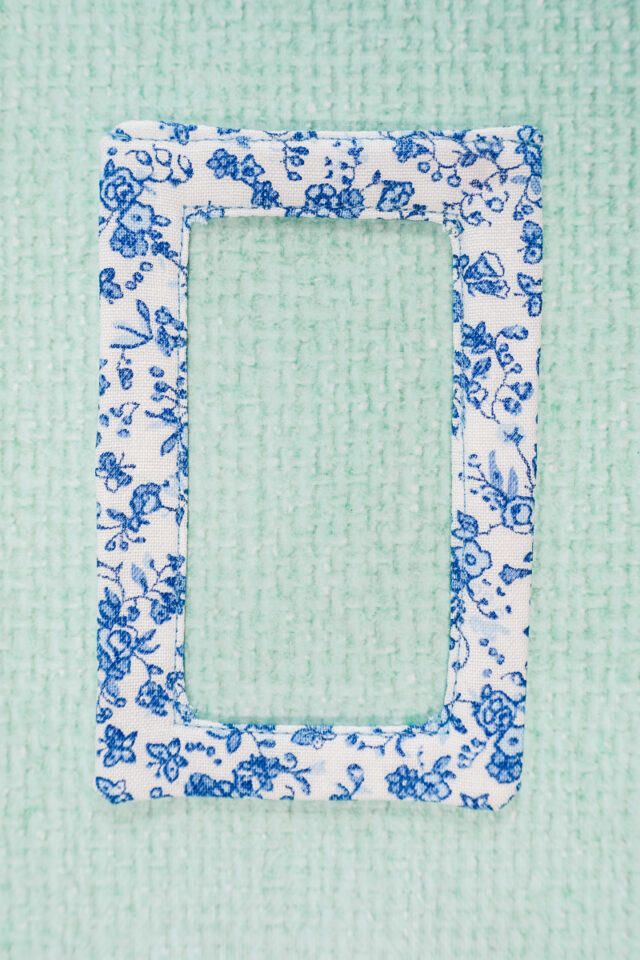
Rub glue onto one side of the felt. Push the glued side of the felt down on the center of the wrong side of the window piece.

In the center of the window, cut into the fabric at each corner to the felt.
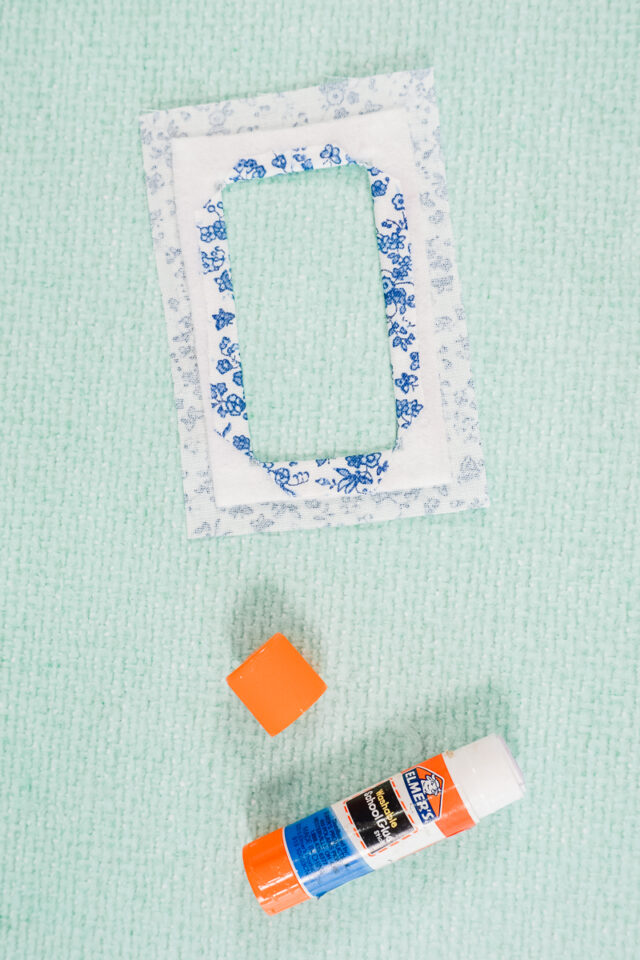
Glue the inner edges over and onto the felt so the inside of the window is folded edges.
Glue each outer corner down over the felt.
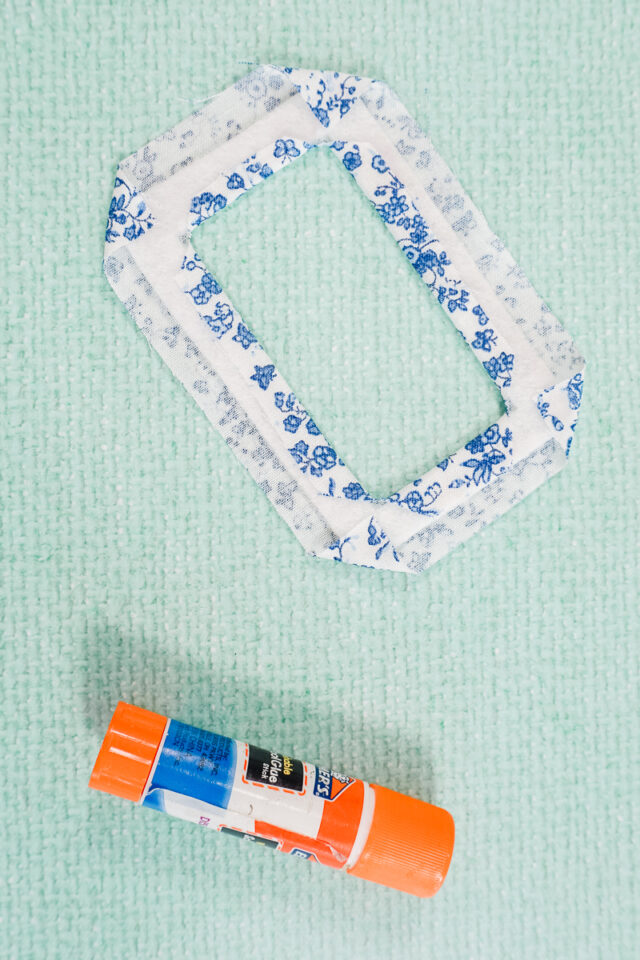
Glue and fold all the edges down onto felt. Now all the outer edges are folded edges.
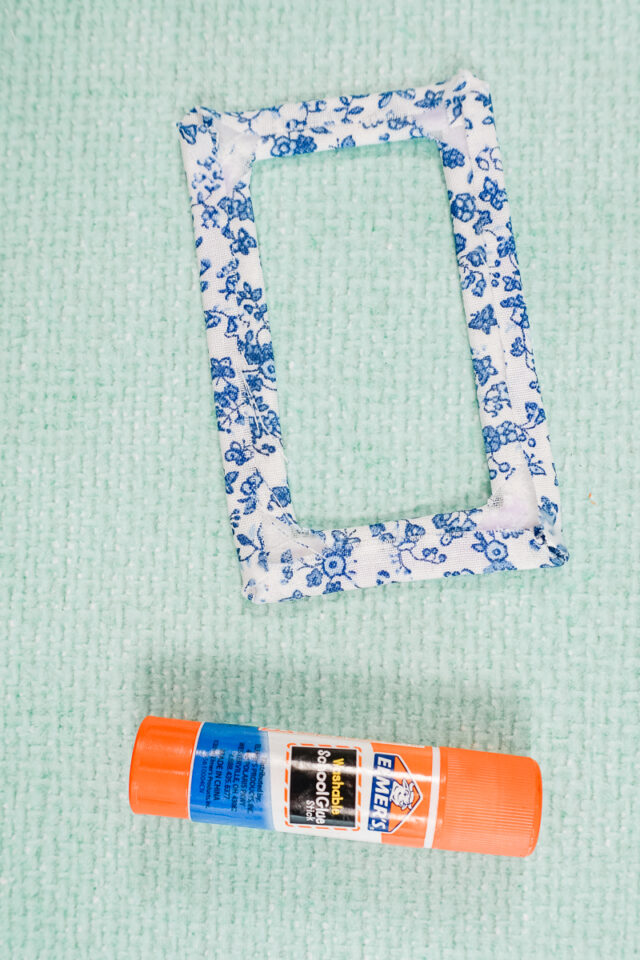
Glue the clear vinyl centered to the back of the fabric window.

Edgestitch the inner edges of the window securing the clear vinyl in place. Edgestitch one short edge of the window piece. Backstitch when you stop and when you stop.
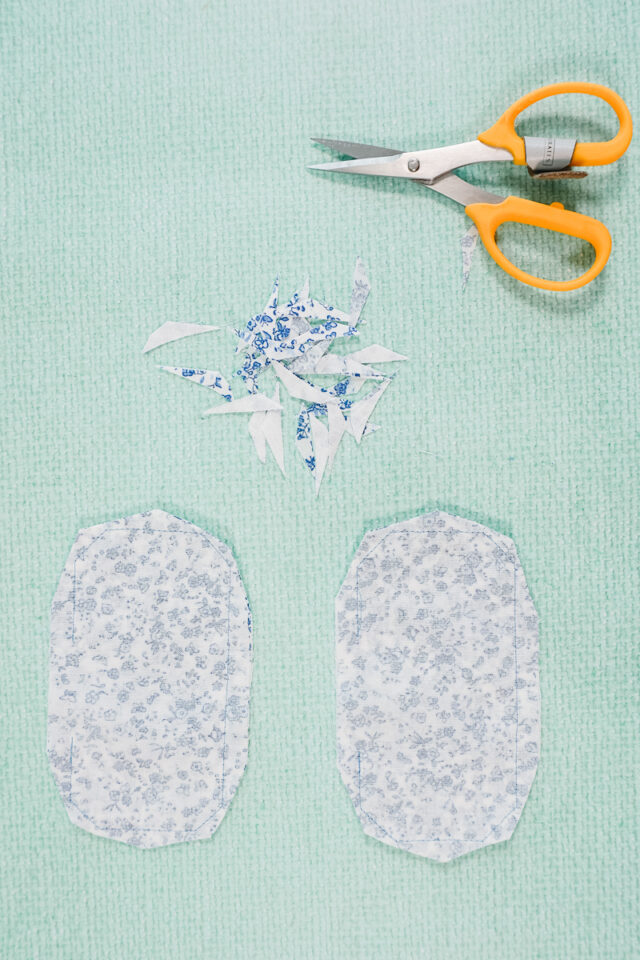
Pin the front pieces right sides together. Pin the back pieces right sides together. Sew around the edges 3/8 inches from the edge and leave a 2 inch hole for turning. Pivot at all the corners and backstitch when you start and when you stop.

Use scissors to trim all the corners to reduce bulk.
Carefully turn the front and back right side out through the hole. Use a point turner to poke out all the corners.
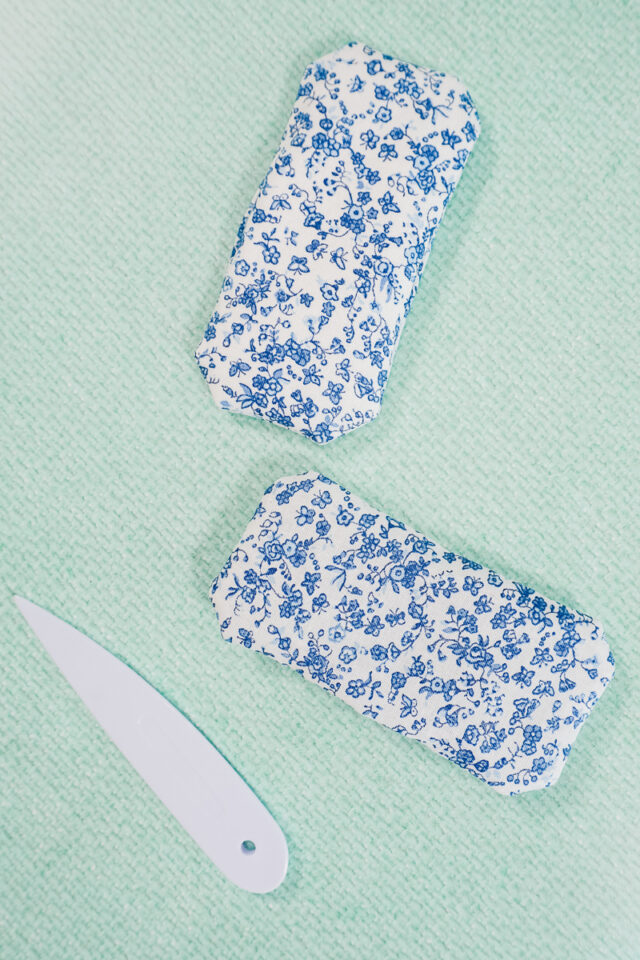
Press the front and back flat with the seam allowances of the holes tucked inside.

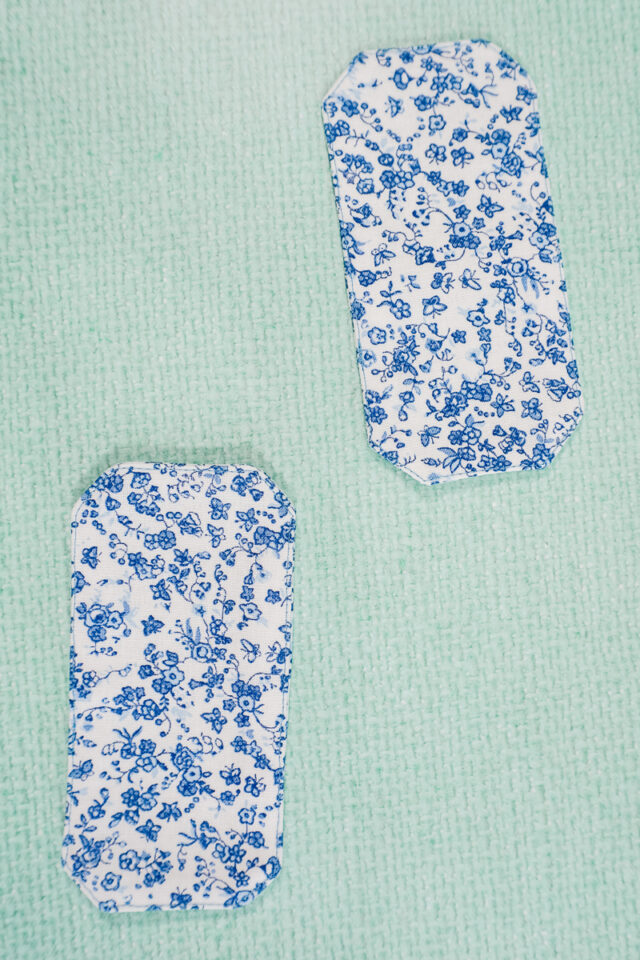
Edgestitch around the front and back to neaten the edges and close the hole. Pivot at all the corners.
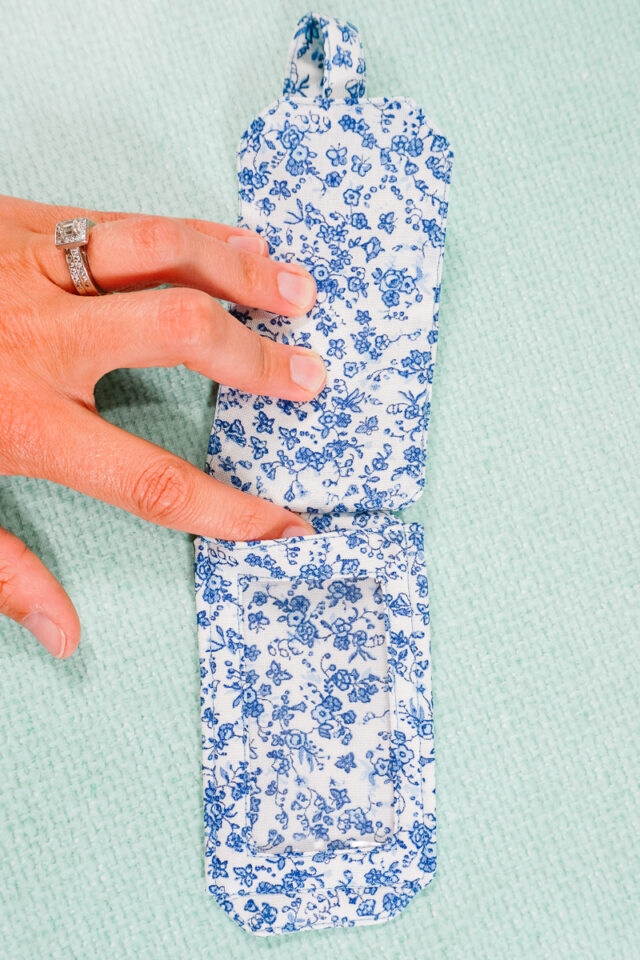
Take the window and clip it to the back. Edgestitch around the sides and edge that wasn’t previously stitched. Now the window is secured to the back, and there is only one side open to slide a piece of paper in.

Fold the loop wrong sides together matching up the long edges and press. Take each long edge and fold it into to meet at the center fold. With the long edges folded in, fold the first fold so that the long edges are enclosed inside. Press.

Edgestitch along each side of the loop to keep the folds folded and secure the loop.

Fold the loop so that the short edges are lined up. Place it on the edge of the back next to the opening of the window. Sew it in place.

Place the front over the back. Sew across the short edge where the loop is sewn. Sew two rows of stitching to secure the loop and the flap.
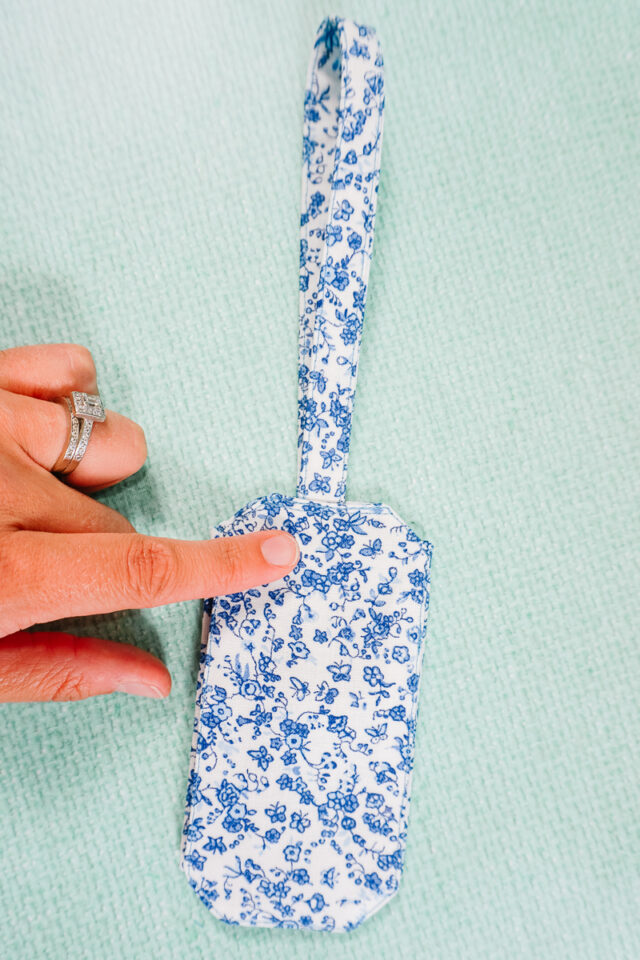
Open the flap and check to make sure you can still access the window.
Close the flap. Add a plastic snap to the flap and back so that the flap can be snapped when closed. You finished!

Get the Free Sewing Pattern here!
If you make something using this sewing project, I’d love to see! Please share it on social media with the hashtag #heatherhandmade and tag me!

I believe small sewing moments can create great joy. Find your own “right” way to sew. -Heather
I love this idea! It would be much sturdier than the paper ones. Thanks so very much for the pattern!!!!!
You’re welcome!
I only see the link for Pinterest; how do i get the patten? Thanks!
https://www.heatherhandmade.com/free-luggage-tag-sewing-pattern/#get-the-free-sewing-pattern-here
Great explanation of this pattern. Thank you
I would like to see how it will come out.