
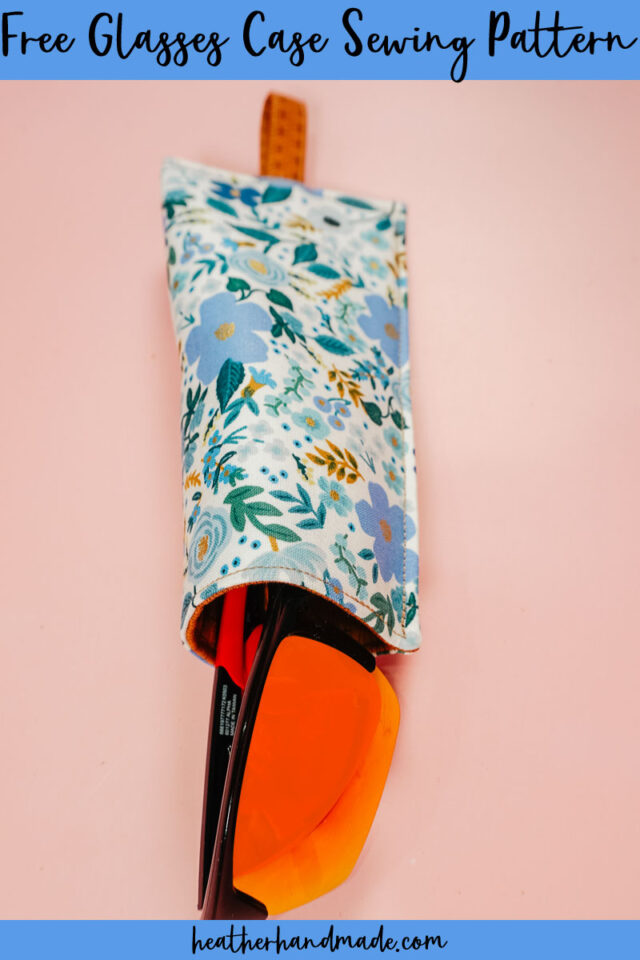
Free Glasses Case Sewing Pattern

This post may contain affiliate links.
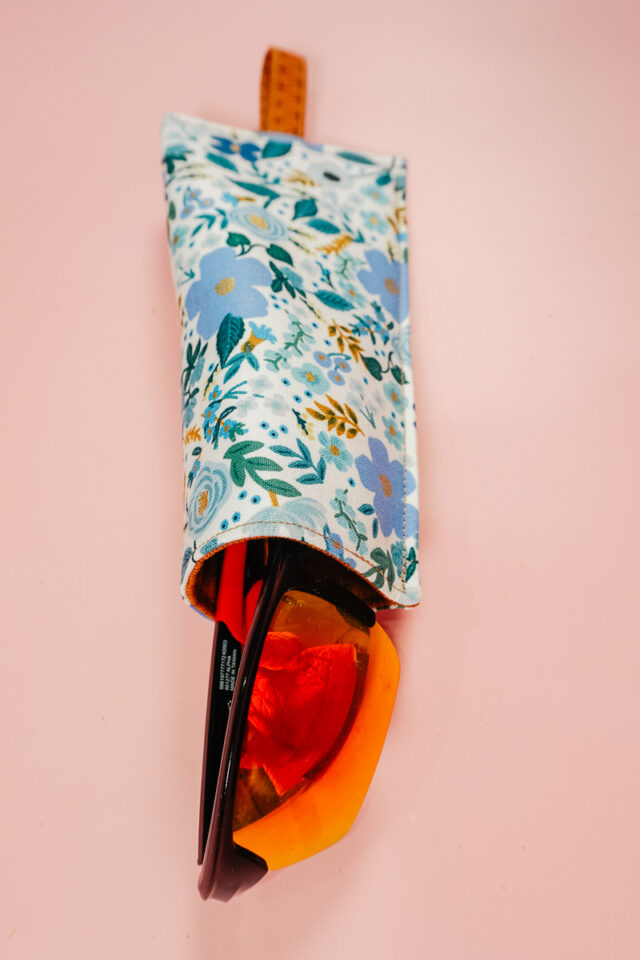
Learn how to make a glasses case with a free sewing pattern. This beginning sewing project uses fabric scraps and makes a great handmade gift.
Do you need a way to protect your glasses? Do you want a quick sewing project that uses small pieces of fabric? This glasses case is a sewing project that protects glasses, is quick to sew, and only uses a little bit of fabric.
The other great thing about this glasses case is that it can be gender neutral. I made a blue floral one for myself that is so pretty, but I also made a simple one with brown printed fabric for my husband. You could even use a character print for a child or teen!
To get the free sewing pattern, scroll to the end of the tutorial. Put your email address in the form under “Get the Free Sewing Pattern Here.” Once you confirm that you want to receive emails from Heather Handmade, the free pattern will be sent to your email address. Check your spam and promotions for the email.

What fabric should I use to make a glasses case?
The best fabric to use for a glasses case is a woven cotton like quilting cotton. It is easy to sew, easy to find, comes in every print and color imaginable, and the cotton won’t scratch the glass of the glasses.

What batting and interfacing should I use to make a glasses case?
I used a lightweight fusible interfacing and a fusible fleece. I use the basic and cheapest versions of each, and they do the job well. You don’t need a lot of cushion to protect the glasses, and the interfacing is there to give strength and stability to the case.

Love to sew? Try one of these fun sewing projects:
- Beginner sewing projects
- Free PDF sewing patterns
- Small sewing projects
- Gift ideas to sew
- Scrap fabric sewing projects

How to Make a Glasses Case Sewing Pattern
Supplies
- Scraps of fabric at least 8 inches by 8 inches
- Scrap of fusible interfacing at least 10 inches by 8 inches
- Scrap of fusible fleece at least 8 inches by 8 inches
- Sewing tools
- Sewing machine
Do you just want the pattern and tutorial as a PDF? Get the pattern and tutorial for just $5. You won’t need to access the internet every time you want to make it. Or get the Pattern Bundle with ALL the PDF tutorials!
Instructions
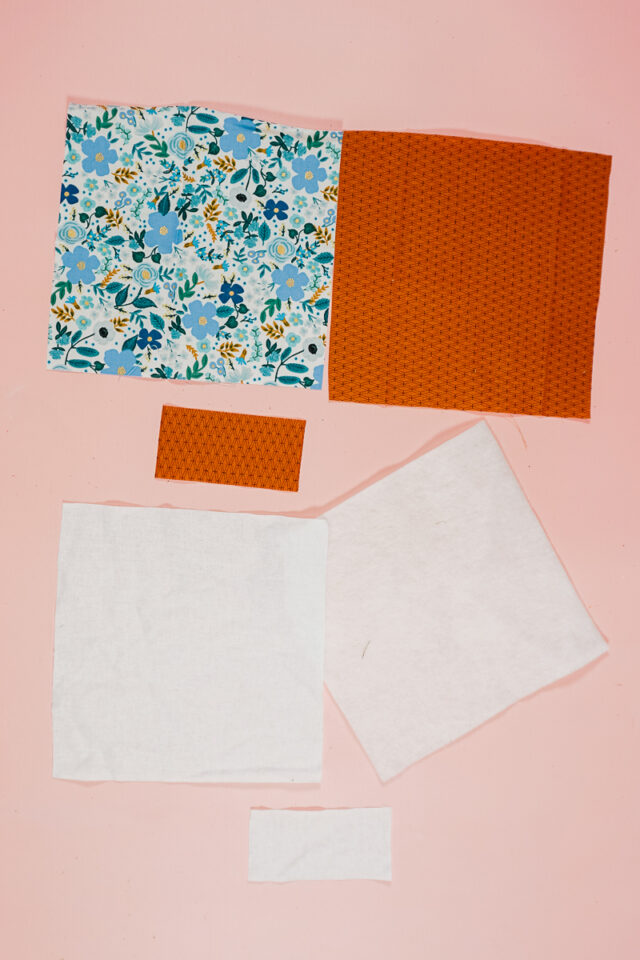
- Cut out two squares of fabric that are 7.5 inches by 7.5 inches. You can use two pieces of the same fabric or two difference pieces of fabric.
- Cut out one rectangle that is 2 inches by 4 inches.
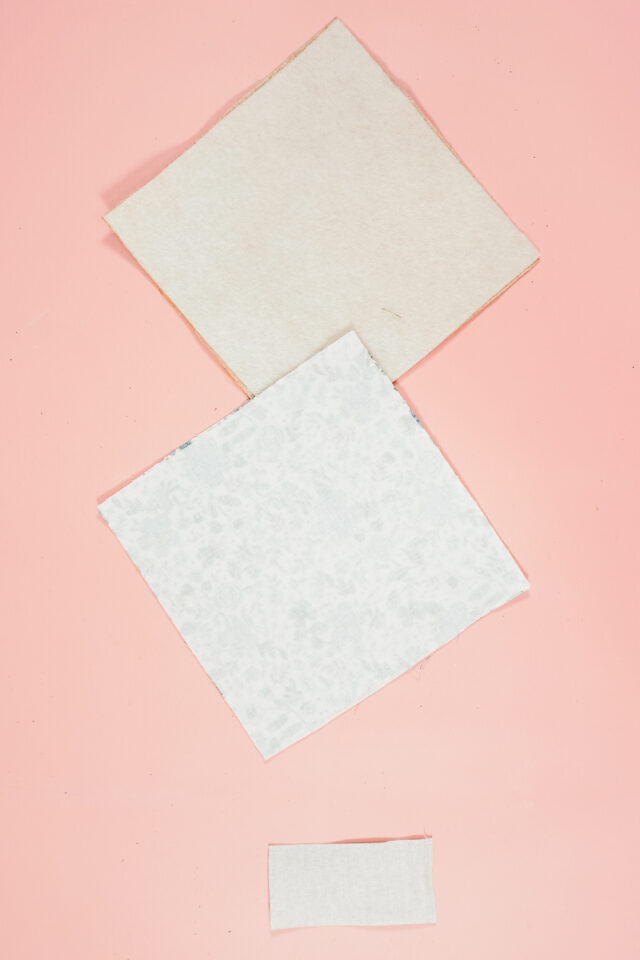
- Cut the fusible fleece to 7.5 inches by 7.5 inches.
- Cut a square from the fusible interfacing that is 7.5 inches by 7.5 inches. Cut a rectangle from the fusible interfacing that is 2 inches by 4 inches.
With an iron apply the interfacing to the back of one fabric square and the back of the small rectangle. Apply the fusible fleece to the back of the other fabric square.
Pin the squares of fabric right sides together. Sew around the edges with a 3/8 inch seam allowance. Pivot at the corners. Leave a 2 inch hole for turning and backstitch when you start and when you stop.

Trim the corners to reduce the bulk.

Turn the case right side out through the hole. Use a point turner to carefully poke out the corners.

Press the case flat with and iron. Roll the seam allowances to get a nice crisp edge. Make sure the seam allowances are tucked inside the hole when you press.

Sew around the edge 1/8 inch from the edge. Pinch the hole closed when you sew over to close it. Pivot at the corners and backstitch when you start and when you stop.

Fold the rectangle wrong sides together matching up the long edges. Press. Open the rectangle. Fold each long edge wrong sides together in to meet at the center fold you just created. Press each fold.
Fold all three folds so that the long raw edges are enclosed inside. Press all three folds.
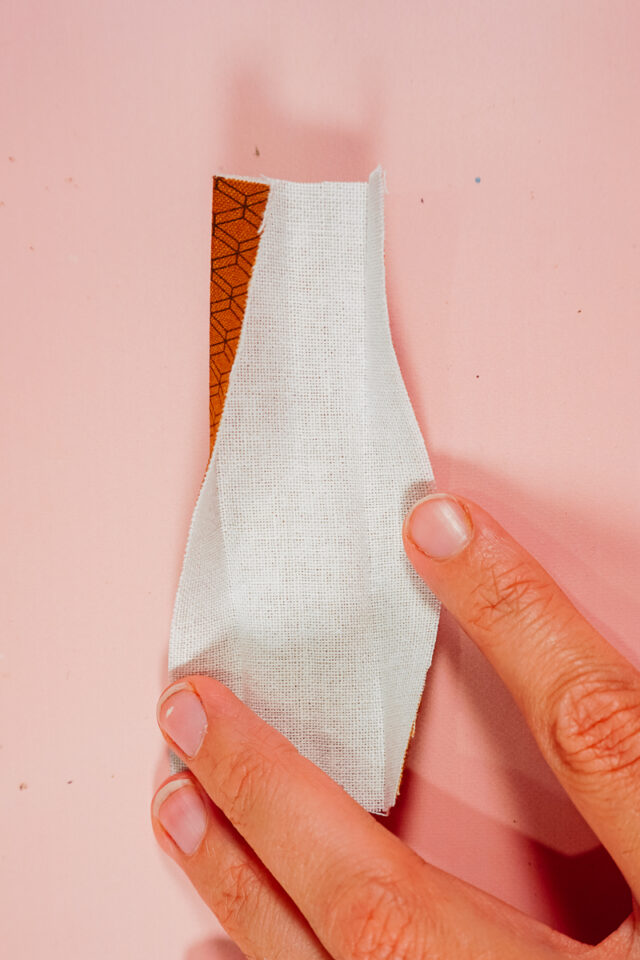
Sew 1/8 inch from the edge up and down each long edge to secure the raw edges inside.

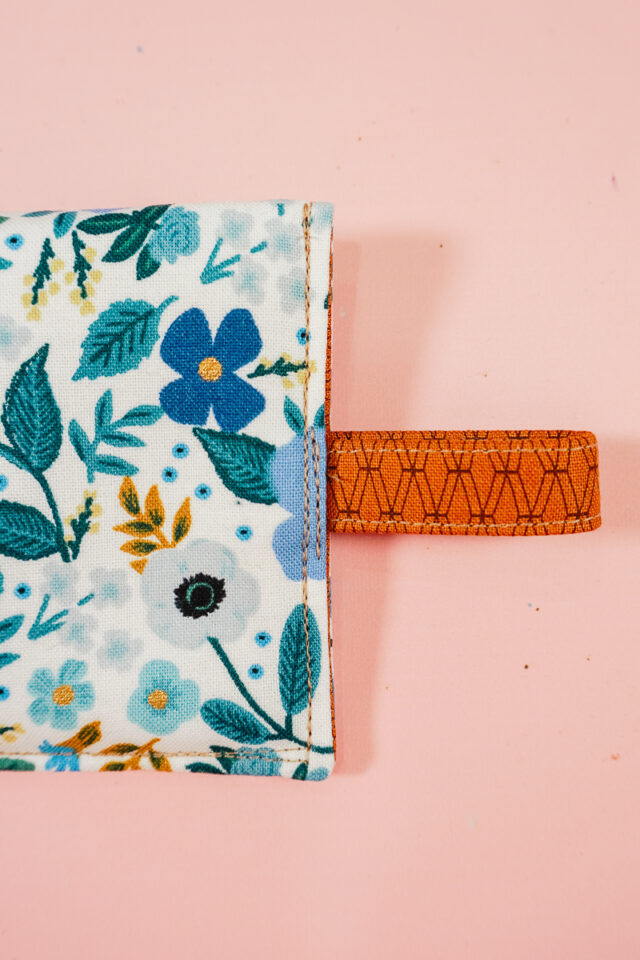
Fold the case in half with the lining on the inside. Match up two sides. Clip the edges together. Fold the loop in half and slide it into one of the short ends of the case.

Leave one short end open and unsewn. Sew along the previous stitching down one long side and across the short end with the loop poking out. Backstitch when you start and when you stop.

I was worried about the loop being secure so I added another row of stitching between the stitching and the loop.
Slide glasses inside. You finished!

If you make something using this sewing project, I’d love to see! Please share it on social media with the hashtag #heatherhandmade and tag me!

I believe small sewing moments can create great joy. Find your own “right” way to sew. -Heather
Looks great although I am just wondering why you have a loop on the closed end and not a fastening loop on the other? Seems to me that your glasses would slip out and possibly be lost. Personally I think I would put the loop on the open end. Good idea for presents though! Thank you, Vicki
I purposely put the loop on the closed end to so that you would have something to grab when pulling your glasses out. It might be hard to grab the corner of the case when your glasses are inside. The loop is not for hanging the case up on anything.