
Free Drip Catcher Sewing Pattern

This post may contain affiliate links.
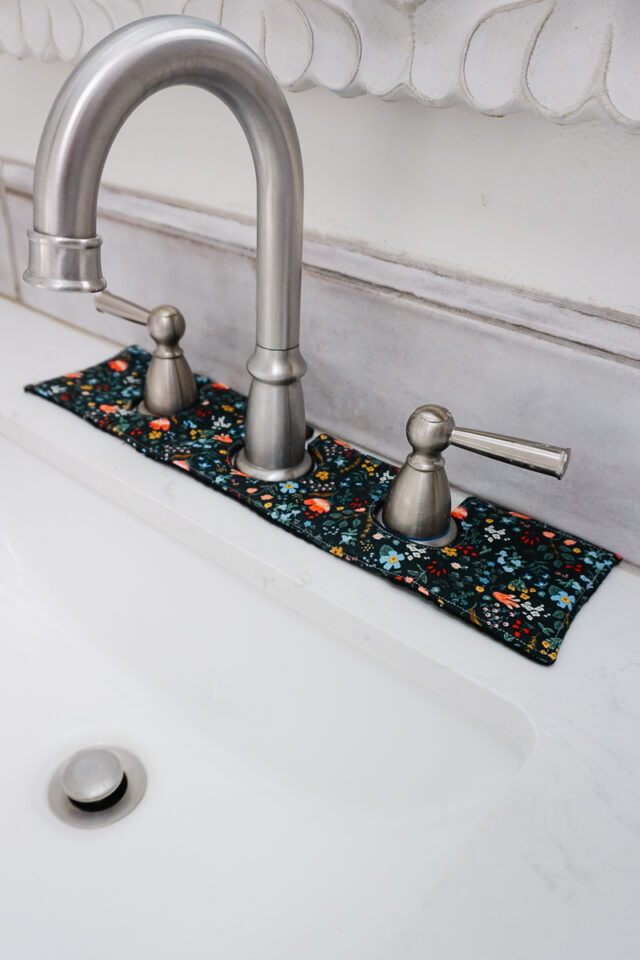
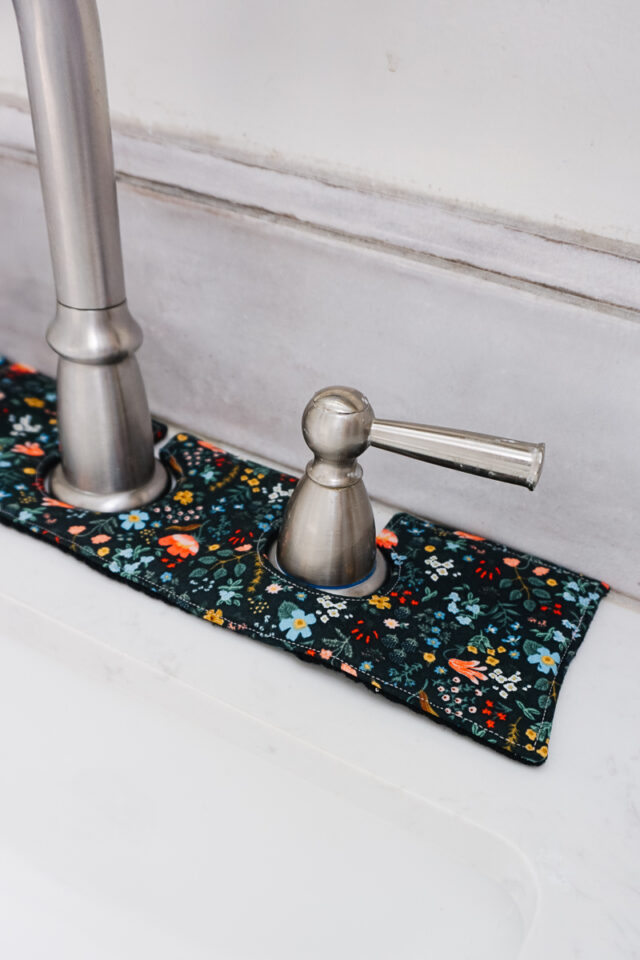
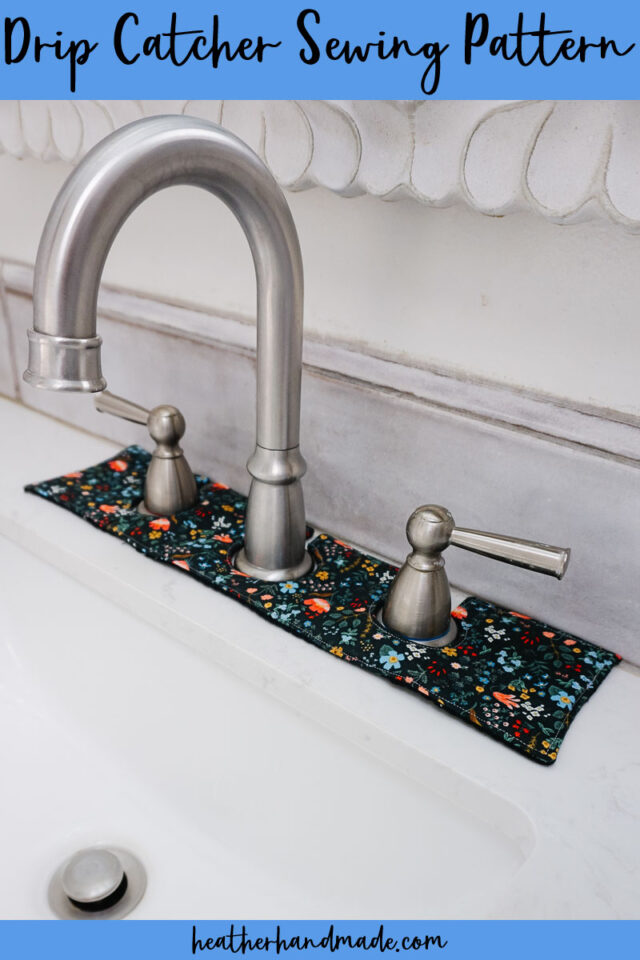
Learn how to make a drip catcher with a free sewing pattern. This kitchen sewing project keeps a sink area dry and is a great handmade gift.
I had never heard of a drip catcher until a reader reached out for me to make one. I started researching them and loved the functionality and usefulness.
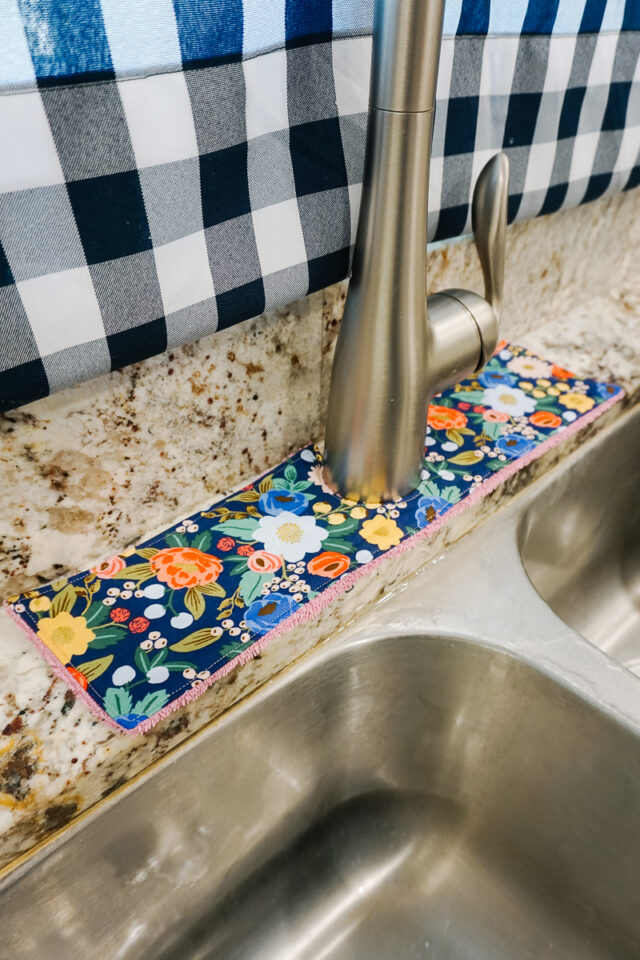
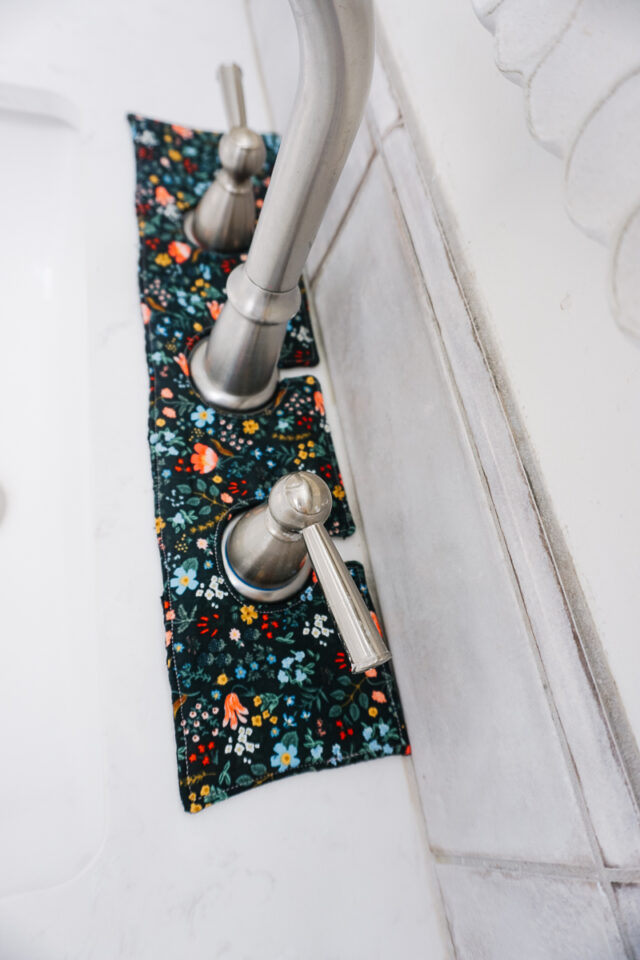
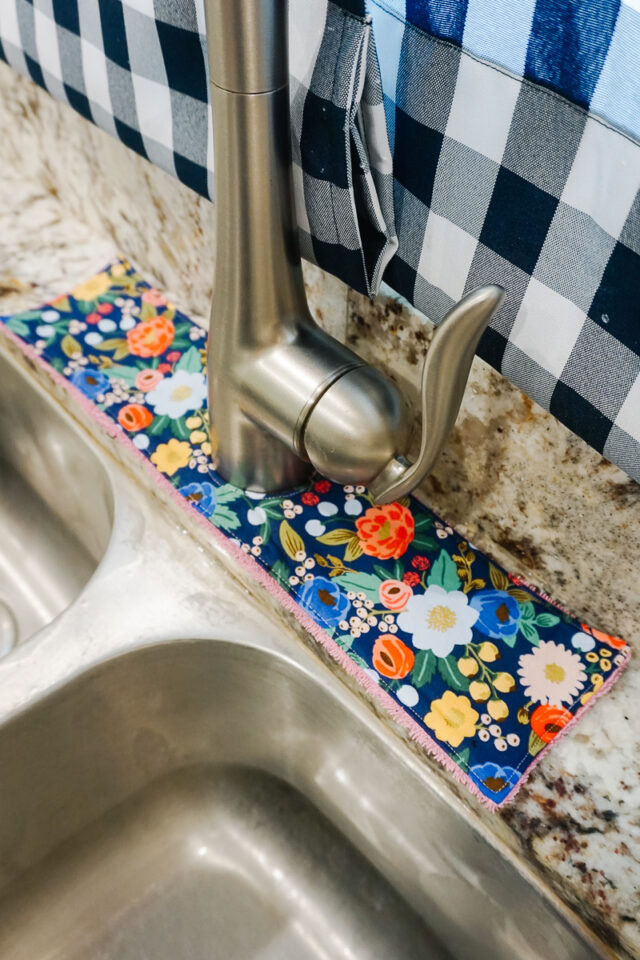
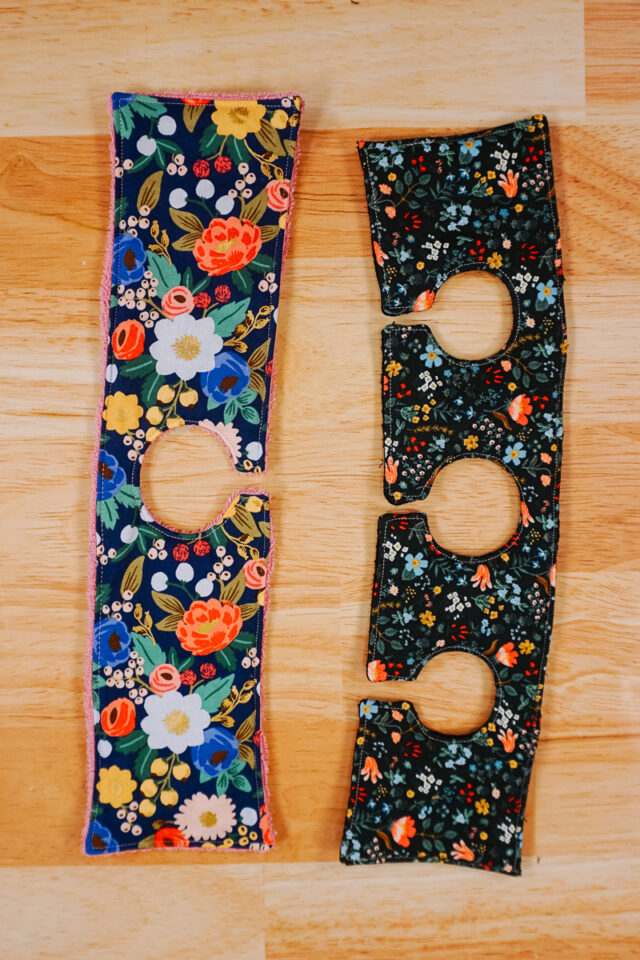
I designed a pattern and made two different versions. I found that faucets come in all shapes and sizes, so this is really more of a guideline. You’ll have to measure your faucet diameter and spaces to make one that fits your area.
To get the free sewing pattern, scroll to the end of the tutorial. Put your email address in the form under “Get the Free Sewing Pattern Here.” Once you confirm that you want to receive emails from Heather Handmade, the free pattern will be sent to your email address. Check your spam and promotions for the email.
What is a drip catcher?
A drip catcher is fabric or silicone that sits next to a sink around the faucet. You can buy a silicone one, or you can make a fabric one. It catches water splashing up to keep the area at the base of the faucet from getting soaked.
What fabric should I use to make a drip catcher?
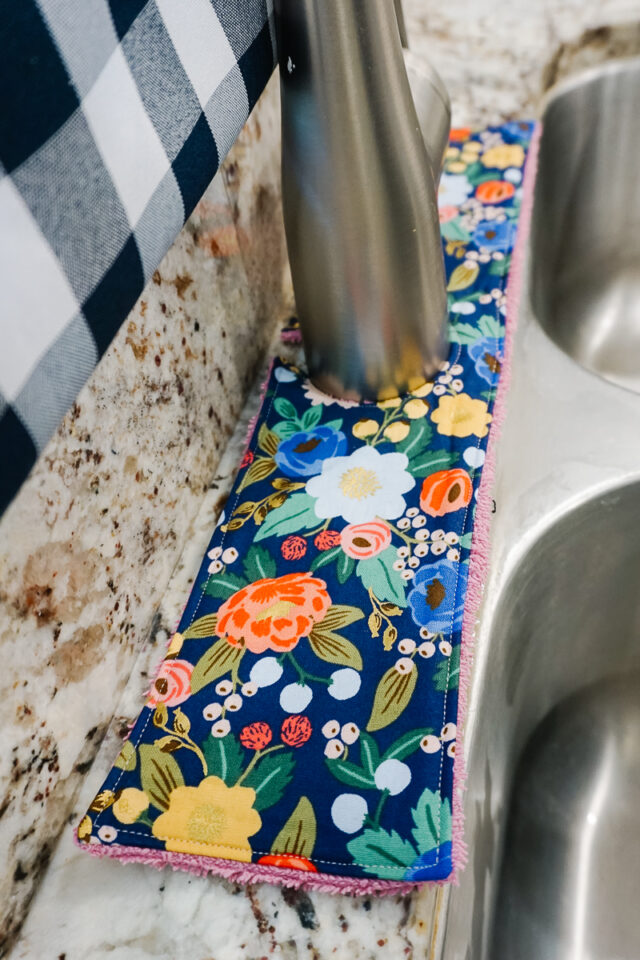
You’ll want to use absorbent material for a drip catcher. I recommend using cotton fabric and an actual towel. Make sure you interface the fabric so that it holds its shape and makes it more durable.
How can I make the drip catcher absorbent?
Use a towel for the bottom! If your towel is really thick you can use one layer, if your towel is thin you should use two layers. You can also add a layer of cotton batting in the middle, but this will make the sewing and turning much trickier. I did not because my drip catchers were thick and absorbent without any batting.
How do I prevent mildew and mold from growing?
In my research I found that a lot of people think a drip catcher is a bad idea because of the wetness. The best way to use a drip catcher is to put it in place while doing dishes to catch splashes and then to either wash it or hang it somewhere to dry. It should not sit next to the faucet for a long time while wet.
What is a PDF sewing pattern?
A PDF pattern is a sewing pattern designed on the computer and organized so that it can be printed on several letter or A4 size pieces of paper.
I love using PDF sewing patterns because if the pattern gets ruined or if my children or I changed sizes, I can always print it again. It’ll never be destroyed since I have a digital version!
How do you use a PDF sewing pattern?
Open the PDF on a computer and click print. When printing make sure that the scaling is set to 100% or no scaling so that the pattern prints at the correct size.
Once the pattern is printed it can be taped together to get the full size. Then the pattern can be cut for each pattern piece size or individual sizes can be traced so that the pattern can be used again and again. Learn how to use PDF sewing patterns.
Love to sew? Try one of these sewing projects:
- Kitchen sewing projects
- Hostess gifts to sew
- Beginner sewing projects
- Free PDF sewing patterns
- Easy gifts to sew
How to Make a Drip Catcher
Supplies
- Free drip catcher sewing pattern – find it at the end of the post
- 1 fat quarter of quilting cotton
- Lightweight fusible interfacing
- Hand towel or kitchen towel that can be cut up
- Sewing tools
- Sewing machine
Do you just want the pattern and tutorial as a PDF? Get the pattern and tutorial for just $5. You won’t need to access the internet every time you want to make it. Or get the Pattern Bundle with ALL the PDF tutorials!
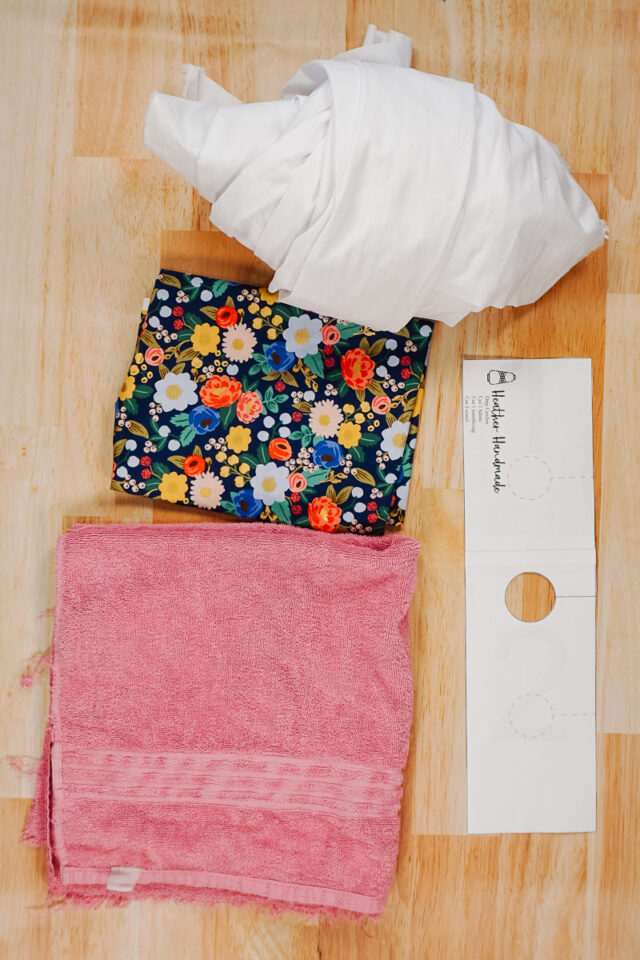
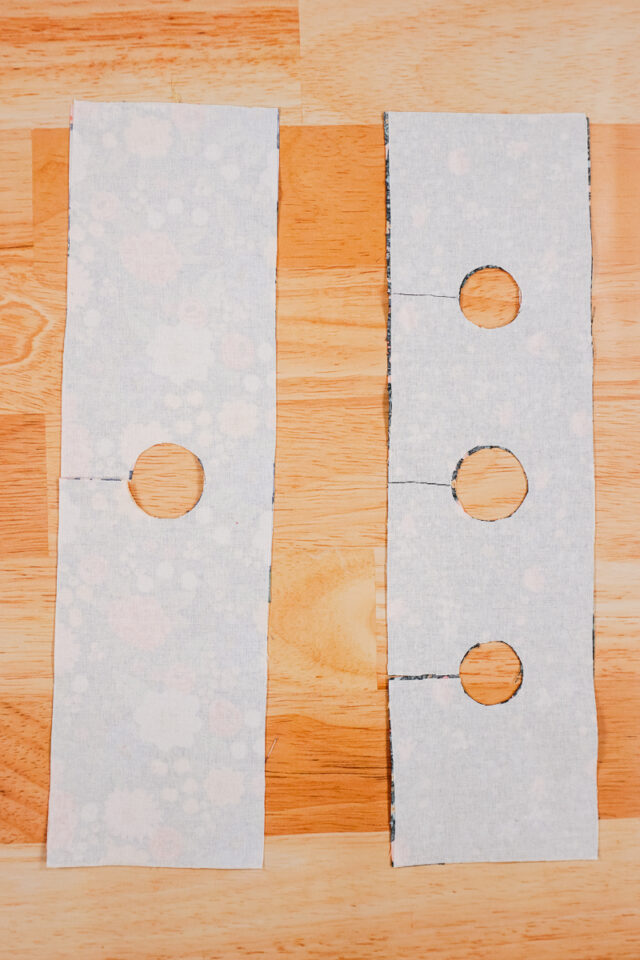
If you are using a thick towel, cut one pattern piece from the towel. Do not cut the inside circles out of the towel. Use the pattern piece to cut one piece of fabric and one piece of interfacing.
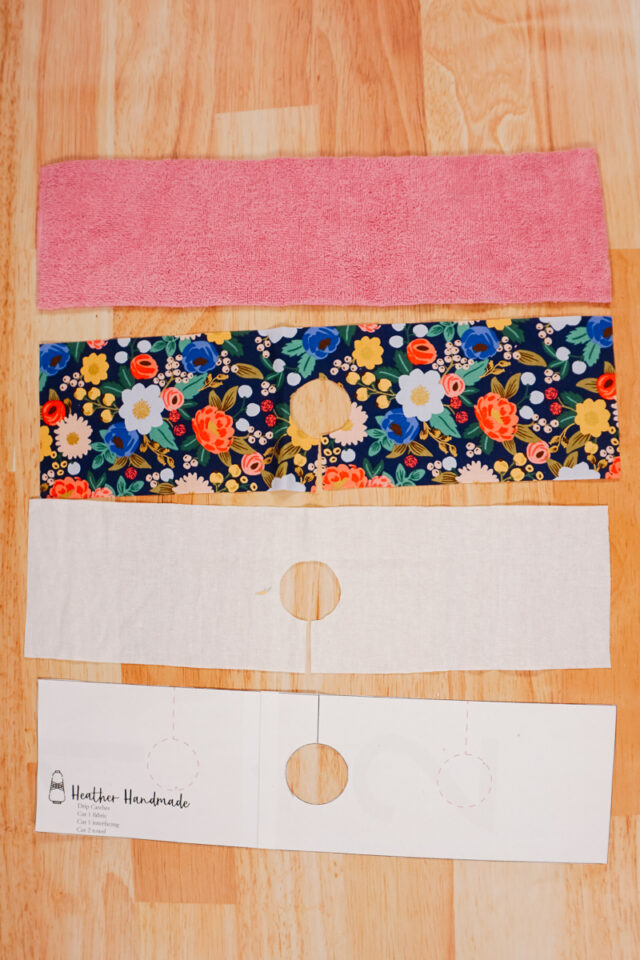
If you are using a thin towel, cut two pattern pieces from the towel. Do not cut the inside circles out of the towel. Use the pattern piece to cut one piece of fabric and one piece of interfacing.

Fuse the interfacing to the back of the fabric with an iron.
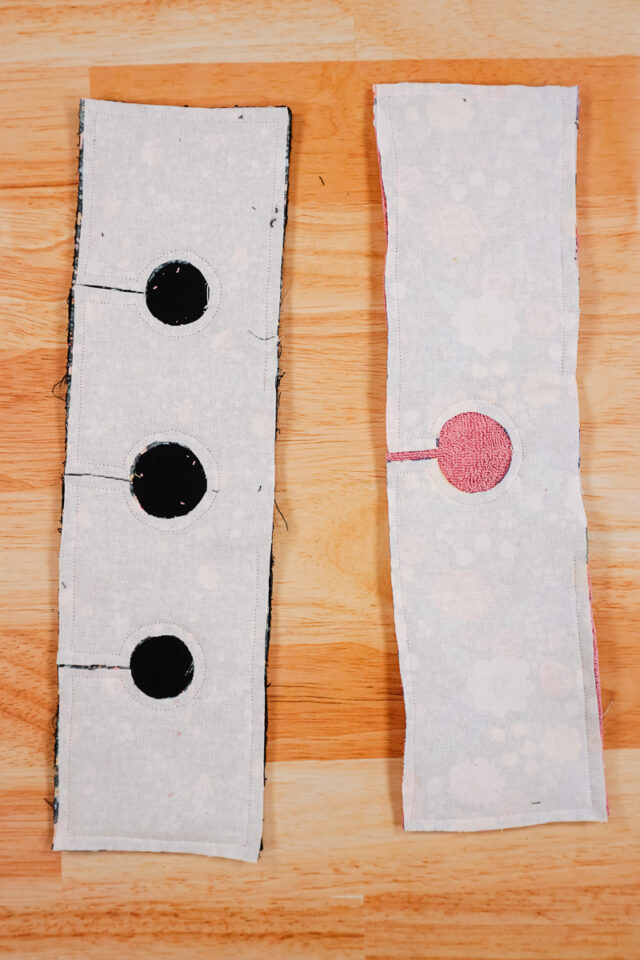
Pin the fabric right sides together with the towel (or with both layers of the towel).

Sew around the edges 1/4 inch from the edge. Leave a 3 inch hole on the long side for turning. Backstitch when you start and when you stop. Pivot at all the corners and carefully sew the curves to get a smooth curve.
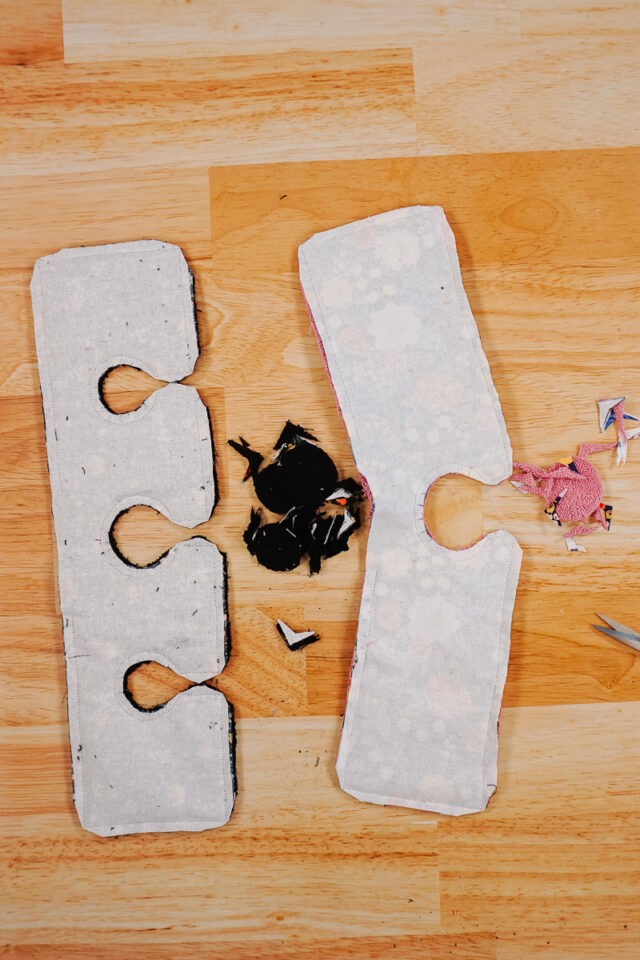
Trim all the corners to reduce the bulk. Clip the inner circles.
Turn the drip catcher right side out through the hole. Carefully poke the corners with a point turner.
Fold the seam allowances of the hole in and pin. Press the drip catcher flat to get crisp edges.
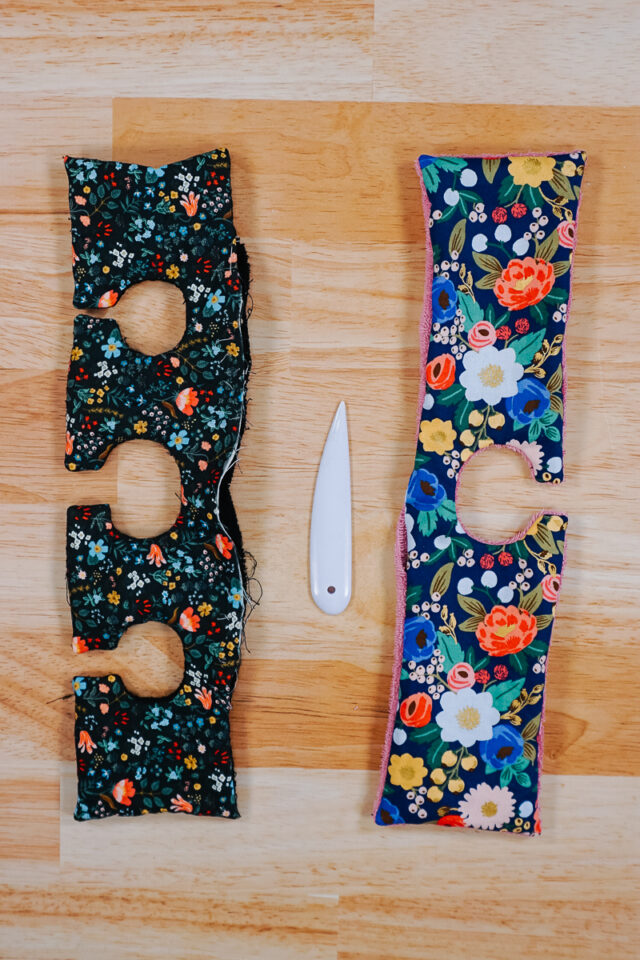
Edgestitch around the edges to close the hole and to keep the edges neat and crisp. Pivot at the corners and carefully sew the curves.
You finished!
Get the Free Sewing Pattern here!
If you make something using this sewing project, I’d love to see! Please share it on social media with the hashtag #heatherhandmade and tag me!

I believe small sewing moments can create great joy. Find your own “right” way to sew. -Heather
I don’t see in the directions when you cut out the circles and no instructions for sewing around them after they are cut out
What do you think about adding quilting lines? Does this hold up to machine washing and drying? I’m excited to make this! I just made a template from my faucet measurements.
That’s a great idea!
This is so “right-on-time”. Thank you A rightthisminute project.
Awesome!
Me encanta excelente trabajo enhorabuena felicidades por su tutorial y su tiempo muchísimas gracias un saludo feliz día de bendiciones
I think you could also use a dish drying mat and cut to fit your sink. Just finish the edges with binding, or overcast. Add a loop to hang for drying.
great idea!