Free Dog Paw Stocking Pattern

This post may contain affiliate links.
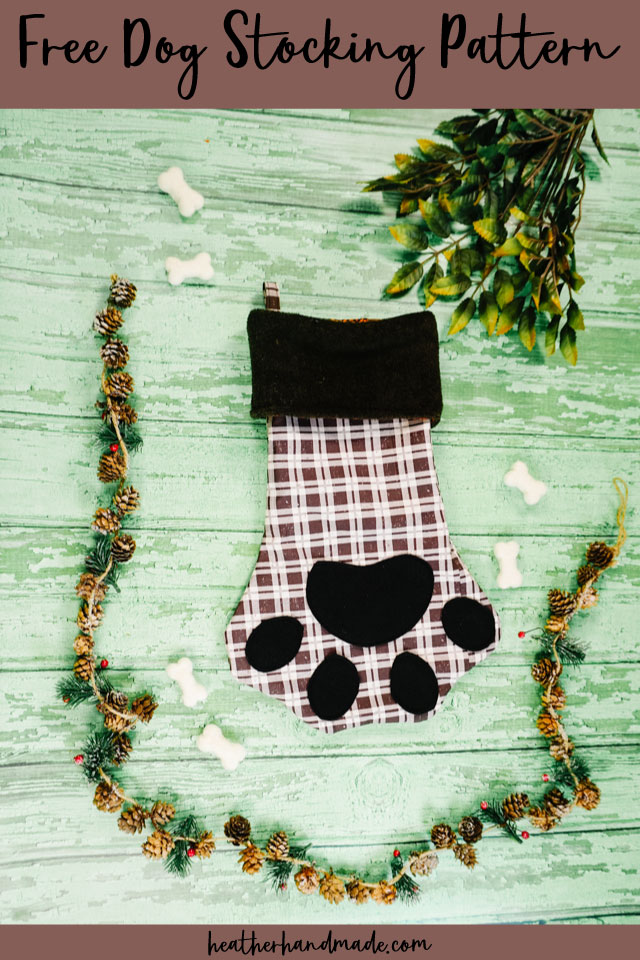
Learn how to make a dog paw stocking with a free sewing pattern. This is a great pet Christmas stocking and works for cats or dogs!
Since we got a dog last year we’ve slowly been incorporating him into our family and into our family traditions. When Christmas came around my kids begged for a stocking for the dog, and that’s when I started working on this pattern.
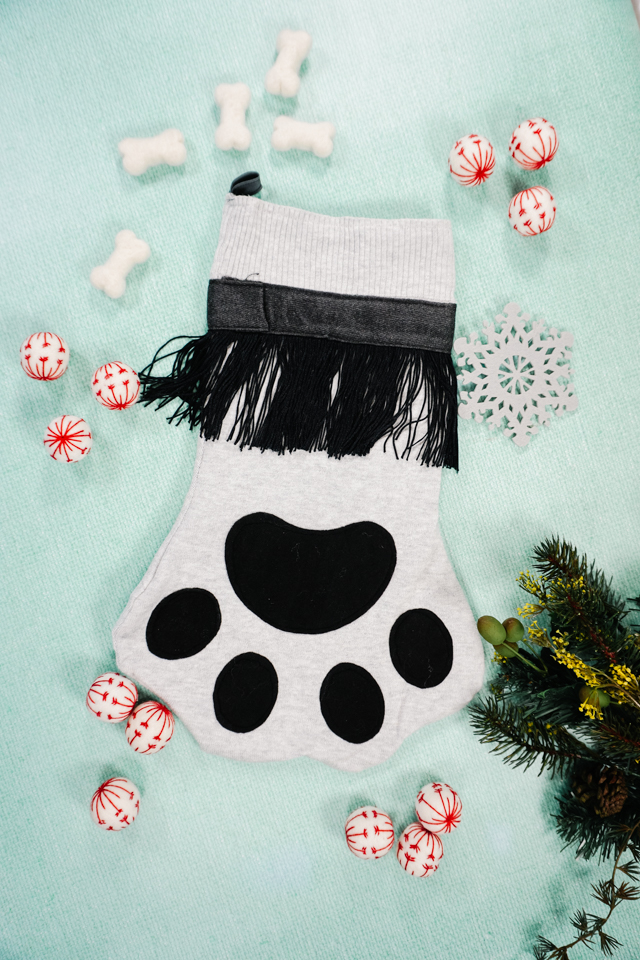
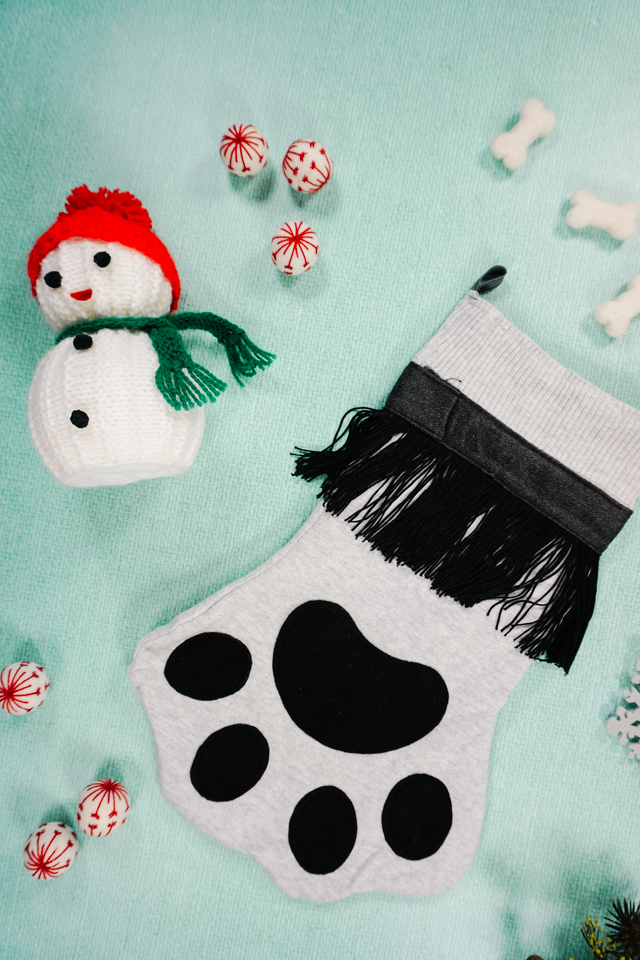
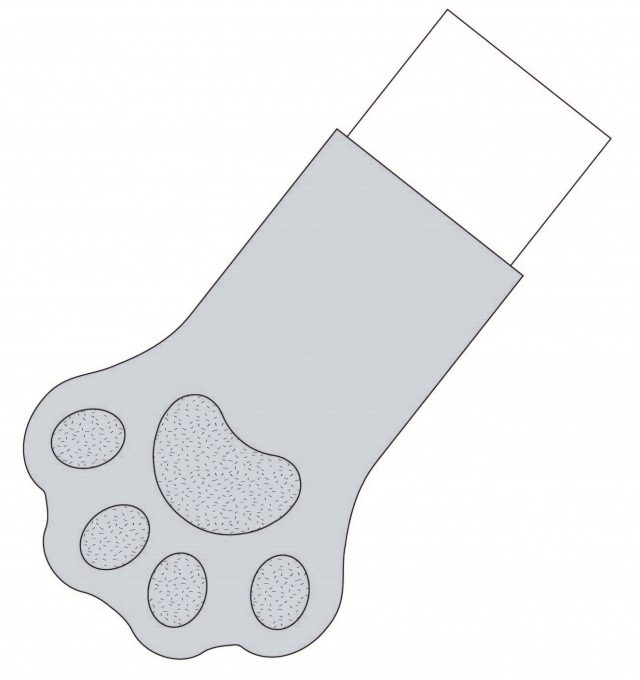
I designed this pattern to look like a paw and to be a similar size to traditional stockings so that it’ll fit in with the family’s stockings. Our stockings are upcycled from sweaters so the paw stocking you see in the photos is that design, but the free pattern I share has a cuff at the top to look like a traditional stocking. It just means I need to make another stocking for him!
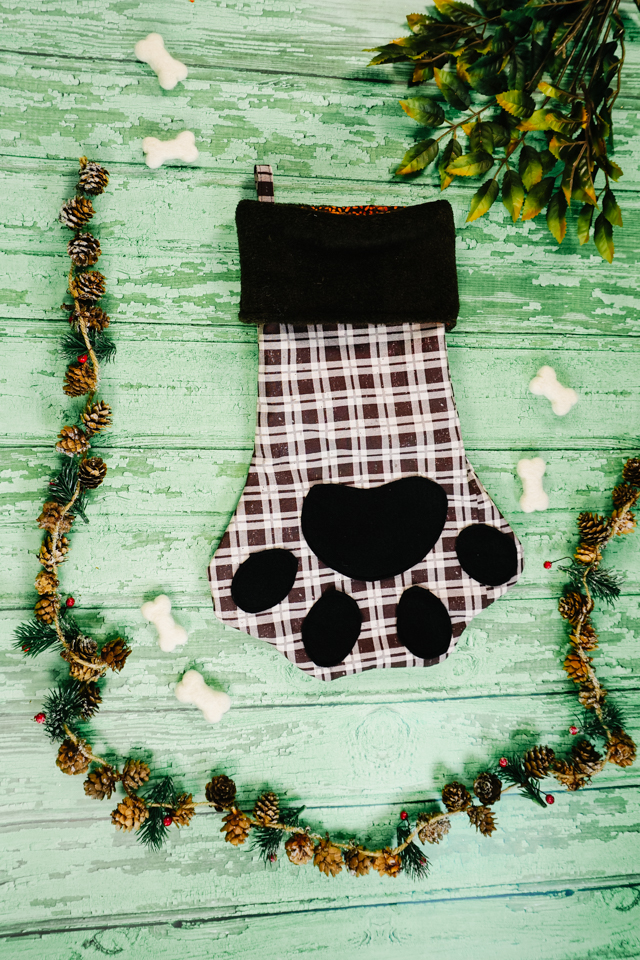
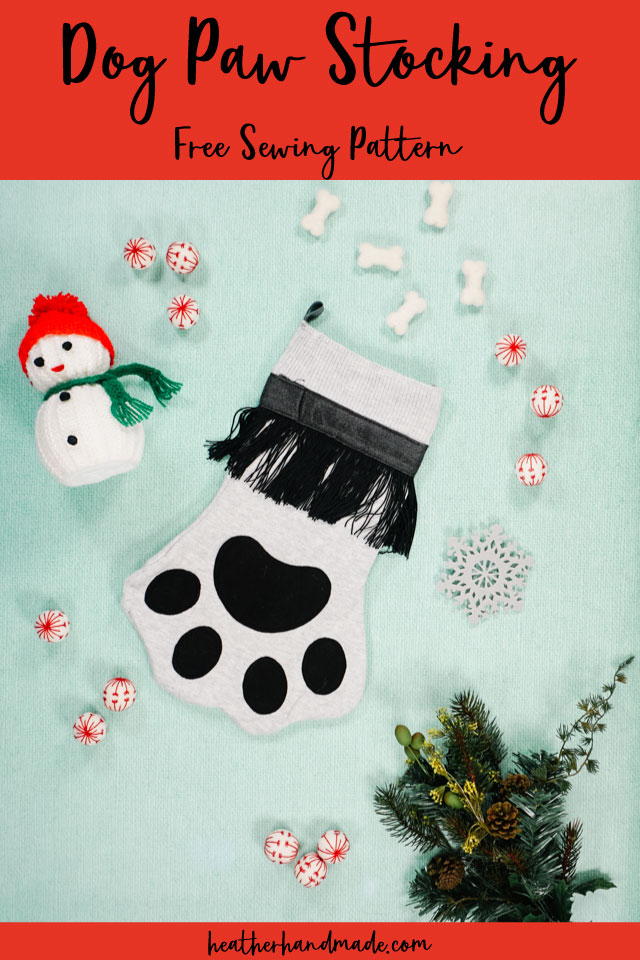
Not only is this stocking from an old sweater, I also added a grosgrain ribbon and black fringe to the top with black dog feet details. It’s great because our dog is black and gray so the stocking fits him perfectly.
What fabric should I use to make a stocking?
The best fabric for a stocking is cotton or quilting cotton. It’s easy to find in solids and prints, and it’s easy to sew. You can quilt the fabric, embroider the fabric, add an applique, or add all sorts of trim. There are so many possibilities!
Should I prewash my fabric?
Since the stocking will not be washed that much, it’s not important to prewash the fabric. If you think the stocking will get dirty and will need to be washed, then I would prewash the fabric.
What is a PDF sewing pattern?
A PDF pattern is a sewing pattern designed on the computer and organized so that it can be printed on several letter or A4 size pieces of paper.
I love using PDF sewing patterns because if the pattern gets ruined or if my children or I changed sizes, I can always print it again. It’ll never be destroyed since I have a digital version!
How do you use a PDF sewing pattern?
Open the PDF on a computer and click print. When printing make sure that the scaling is set to 100% or no scaling so that the pattern prints at the correct size. Learn how to use PDF sewing patterns.
Do you love to sew? Try one of these sewing projects:
- Free DIY stocking patterns and tutorials
- Christmas sewing projects
- DIY Christmas pillow ideas
- DIY stocking stuffer ideas
- Free Christmas sewing patterns
- Sewing projects for dogs
Free Dog Paw Stocking Pattern
Supplies
- Free dog paw stocking pattern – get it at the end of the post
- 1/2 yard of quilting cotton (outer fabric)
- 1/2 yard of quilting cotton (lining fabric)
- 1/2 yard of lightweight fusible interfacing
- Scraps of felt (black, gray, or pink)
- Sewing tools
- Sewing machine
Do you just want the pattern and tutorial as a PDF? Get the pattern and tutorial for just $5. You won’t need to access the internet every time you want to make it. Or get the Pattern Bundle with ALL the PDF tutorials!
Cutting out:
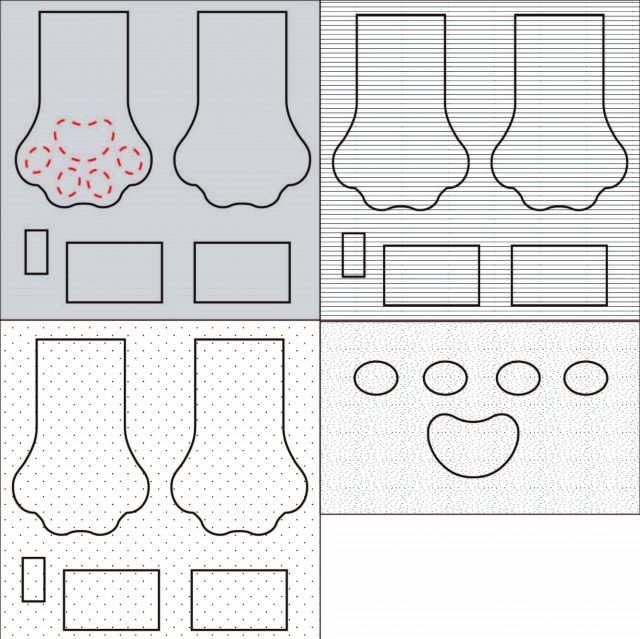
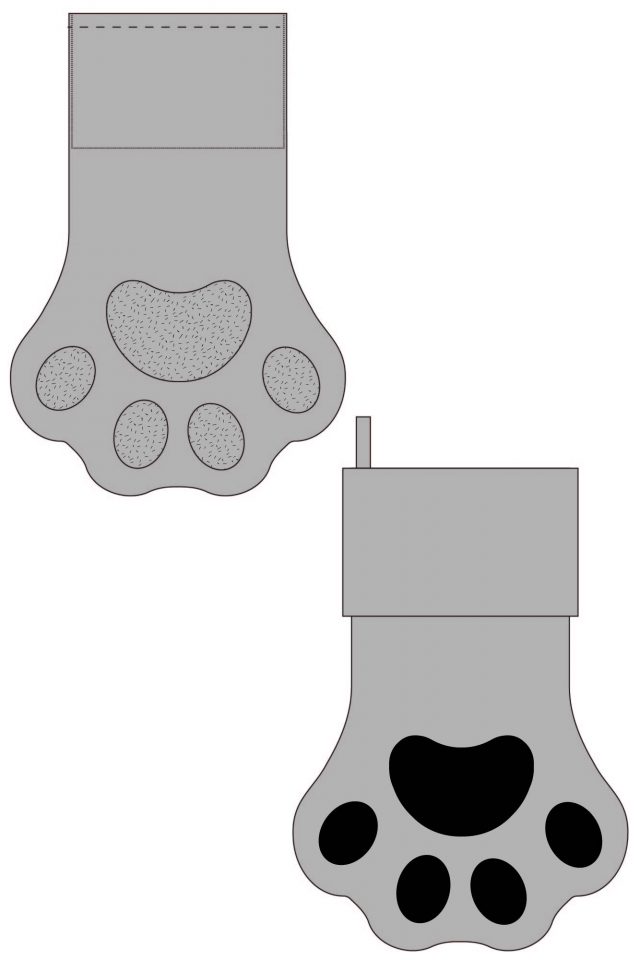
- Outer fabric (gray): Cut out two stocking pieces, cut out two cuff pieces, and cut out one loop piece
- Lining fabric (striped): Cut out two stocking pieces and cut out two cuff pieces
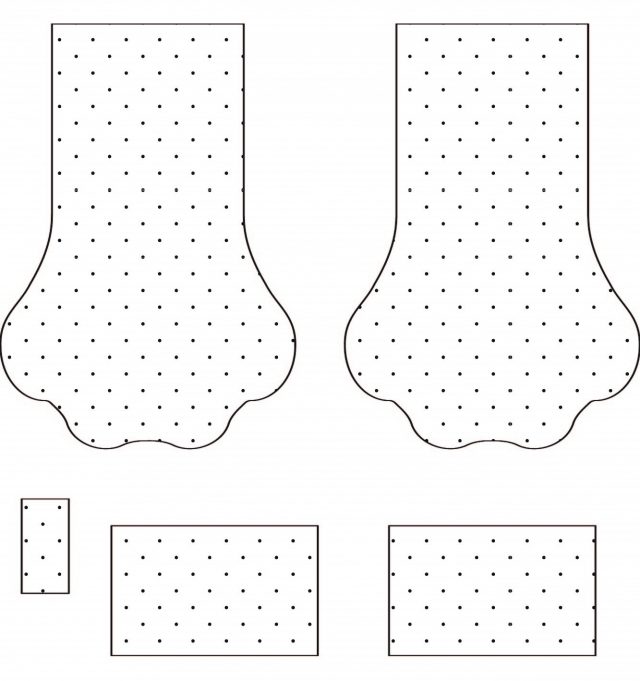
- Interfacing (dotted): Cut out two stocking pieces, cut out two cuff pieces, and cut out one lopp piece
- Felt (textured): Cut out one foot detail and cut out four toes
Iron the interfacing pieces to the wrong sides of all the outer pieces: stockings, cuffs, and loop.
Sewing:
All seam allowances are 1/4 inch unless otherwise noted.
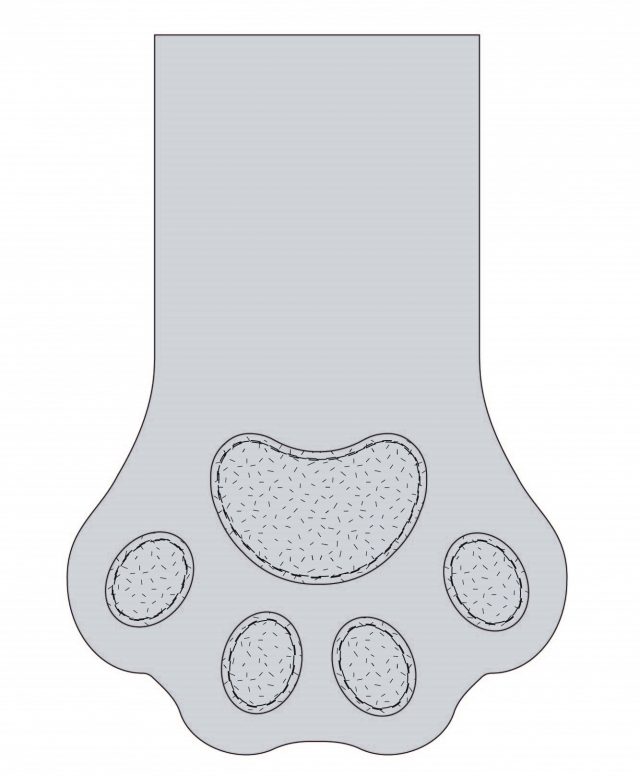
Transfer the feet detail markings to one of the outer stocking pieces. Pin the felt feet details onto the stocking. Sew around the edges of the felt 1/8 inch from the edge to secure.
Place the outer stocking pieces right sides together and pin. Sew around the edges starting at the side, going around the toes, and up the other side. DO NOT sew across the top! Backstitch when you start and when you stop.
Do the same to the lining stocking pieces.
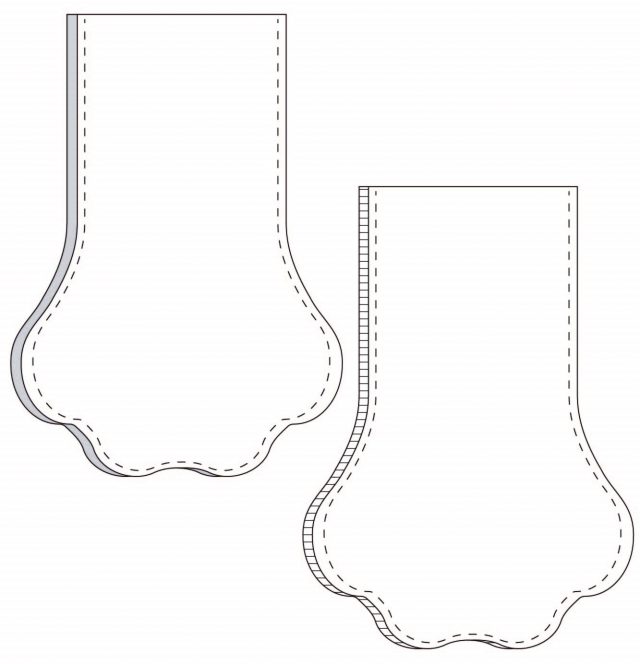
Turn the outer stocking right side out. Leave the lining stocking wrong side out. Slide the lining stocking inside the outer stocking matching up the seams.
Baste the two layers together all the way around the top circle.
Place the outer cuff pieces right sides together and pin. Sew down each side. DO NOT sew across the top or the bottom! Backstitch when you start and when you stop.
Do the same to the lining cuff pieces.
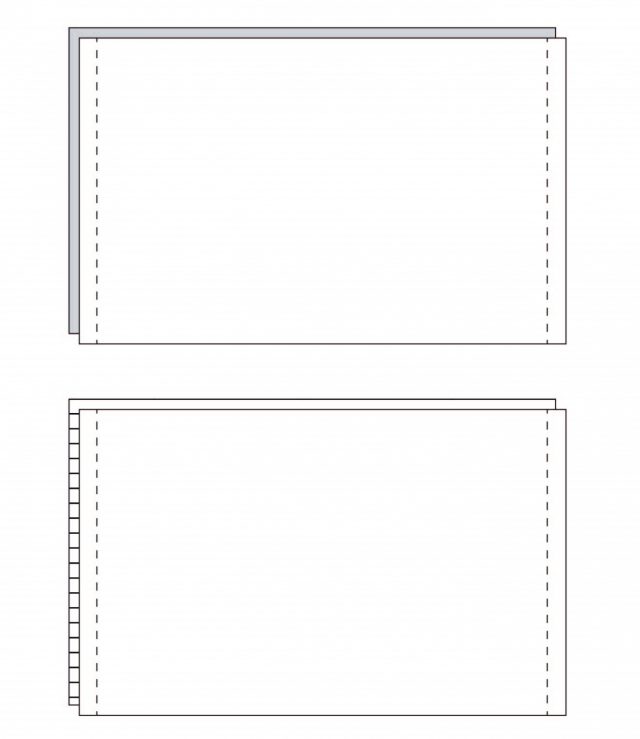
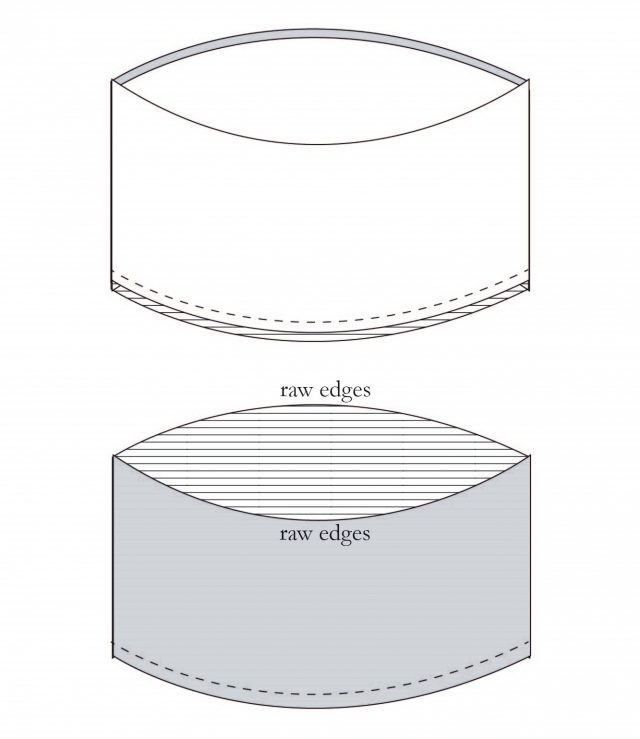
Open the cuffs into tubes. Turn the outer cuff right side out. Slide the outer cuff inside the lining cuff and match up the side seams. Sew around the bottom of the cuffs.
Turn the cuff right side out with the outer fabric facing out and the lining facing in. The seam you just sewed will be the bottom of the cuff.
Edgestitch around the bottom of the cuff 1/8 inch away from the edge. Roll the seam as you sew to keep the lining cuff fabric from showing.
Take the loop and press it in half matching up the long edges. Take each long and fold them in to meet at the center fold. Press two new folds. Fold the center fold again (so there’s three folds all folded and the raw edges are enclosed) and press.
Sew down each side of the loop 1/8 inch from the edge.
Fold the loop in half. Match up the raw edges of the loop with the top side of the stocking. Baste in place.
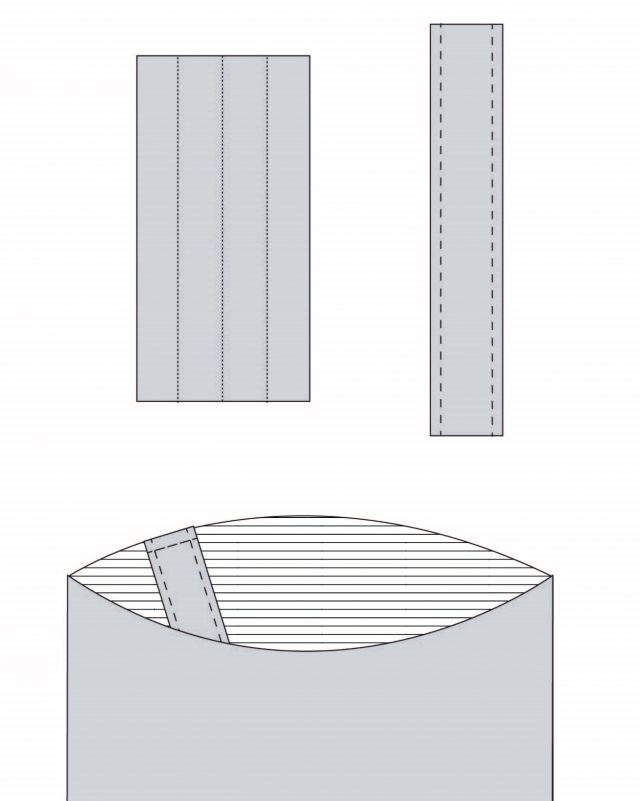
Turn the cuff right side in. Place the cuff inside the stocking lining up the top edges. (The lining of the stocking will be facing the outer fabric of the cuff.) Line up the side seams and make sure the loop is down inside and away from the seam.
Sew around the top of the cuff and stocking. Pull the cuff out and then fold it down over the top of the stocking. Pull the loop up. You finished!
Get the Free Sewing Pattern here!
If you make something using this sewing project, I’d love to see! Please share it on social media with the hashtag #heatherhandmade and tag me!

I believe small sewing moments can create great joy. Find your own “right” way to sew. -Heather

I got mine done today and I’ll post it on my page (Facebook) later today, if you want to look at it, find it at Kayla,HeartsOfThread 😉
Hi, I having trouble with getting the cuff not to pucker when I put it inside the stocking and sew it. I cut out the fabric exactly the right size but the piece seems too large when I start pin in inside. Any advice? Thanks
The cuff feels smaller since its inside the stocking. I kind of ease it in and when I flip the cuff to the outside it’s the right size.