
Free Cat Zipper Pouch Pattern

This post may contain affiliate links.
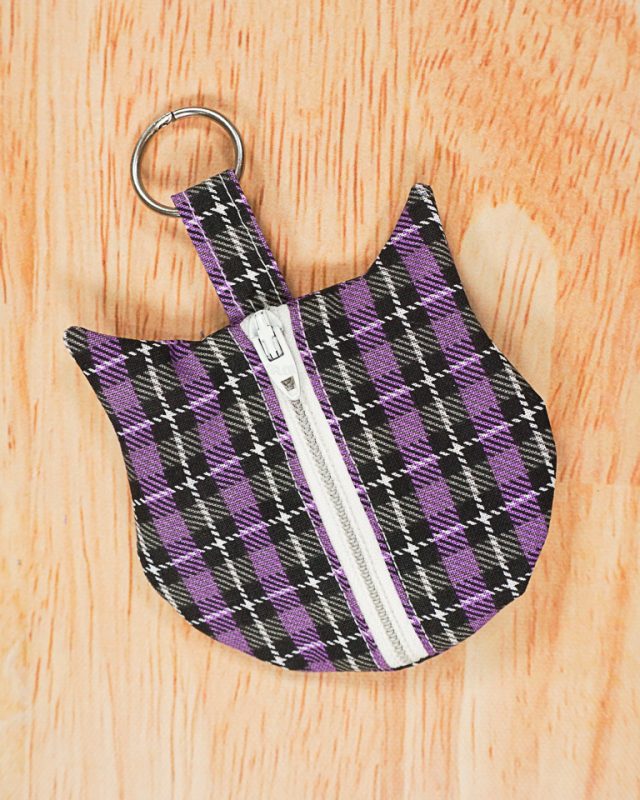
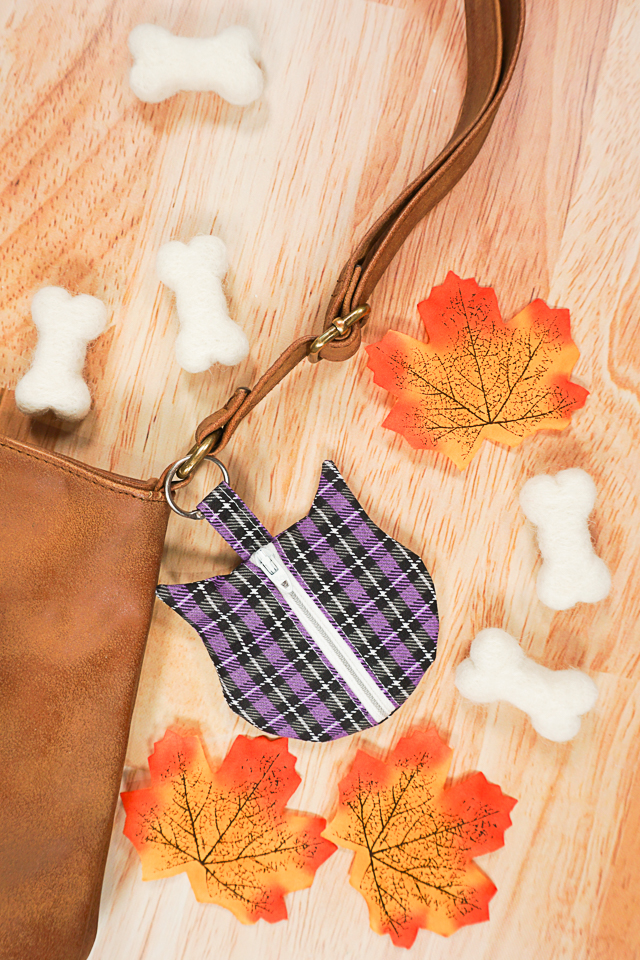
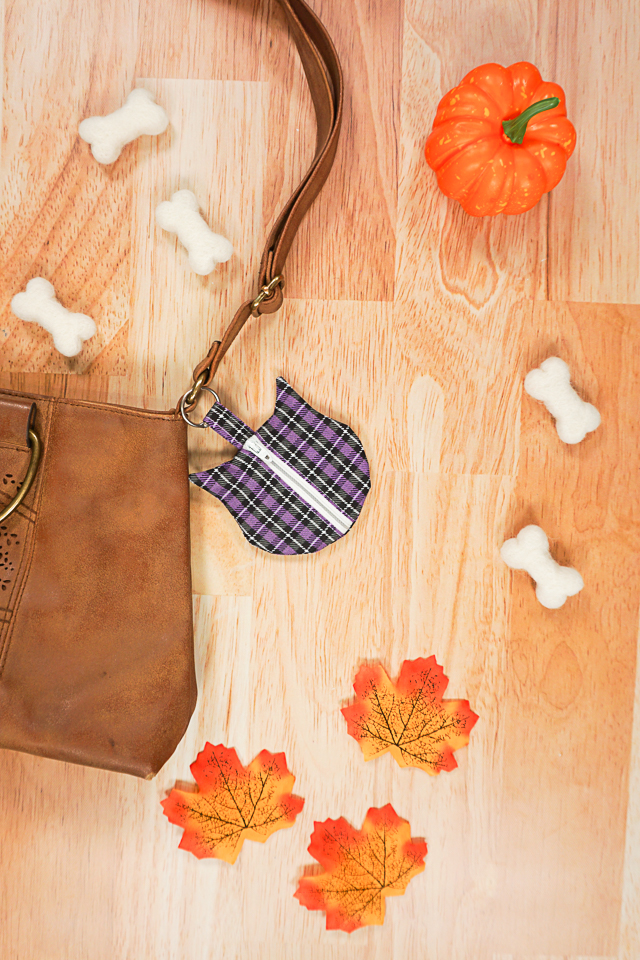
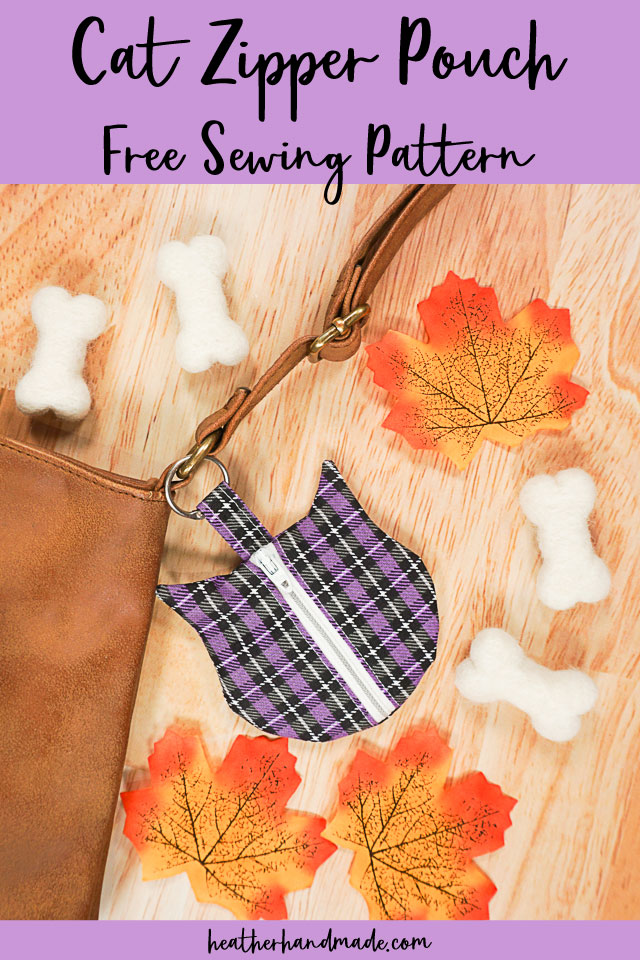
Make a cute cat shaped, mini zipper pouch with this free cat zipper pouch pattern. It’s perfect for Halloween or as a handmade gift for anyone who loves cats!
I have fallen in love with making small little pouches for organizing and keeping things safe. My kids need specific things tools at school and need little pouches to keep track of them.
I had so much fun making a little cat shaped zipper pouch for my daughter. It didn’t need to be a cat shape, but my daughter loves cats, and I love sewing anything with a touch of whimsy. In the process I made a free mini zipper pouch to share with you!
What fabric works for a zipper pouch?
The fabric that works best for a zipper pouch is quilting cotton for both the outer fabric and the lining fabric. There are so many prints that will be fun to use. Add interfacing to give stability to the pouch and help it hold its shape.
What is a PDF sewing pattern?
A PDF pattern is a sewing pattern designed on the computer and organized so that it can be printed on several letter or A4 size pieces of paper.
I love using PDF sewing patterns because if the pattern gets ruined or if my children or I changed sizes, I can always print it again. It’ll never be destroyed since I have a digital version!
How do you use a PDF sewing pattern?
Open the PDF on a computer and click print. When printing make sure that the scaling is set to 100% or no scaling so that the pattern prints at the correct size.
Once the pattern is printed it can be taped together to get the full size. Then the pattern can be cut for each pattern piece size or individual sizes can be traced so that the pattern can be used again and again. Learn how to use PDF sewing patterns.
Do you love to sew? Try one of these zipper projects:
- Accessory sewing projects
- zipper pouch sewing projects
- Free sewing patterns
- Halloween sewing projects
- Sewing projects for teens
- Free Halloween sewing patterns
Free Cat Zipper Pouch Pattern
Supplies
- Free mini cat zipper pouch – get it at the end of the post behind the locked content box
- 2 different colors or prints of scraps of quilting cotton
- 5 inch regular plastic zipper that matches your fabric
- Lobster clip or ring
- Sewing tools
- Sewing machine
Do you just want the pattern and tutorial as a PDF? Get the pattern and photo tutorial for just $5. You won’t need to access the internet every time you want to make it. Or get the Pattern Bundle with ALL the PDF tutorials!
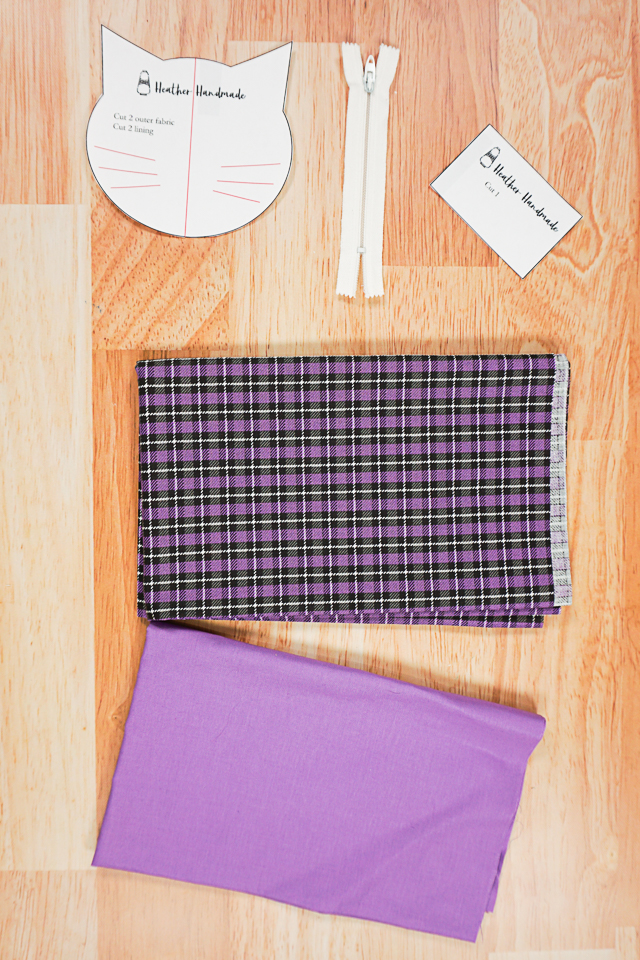
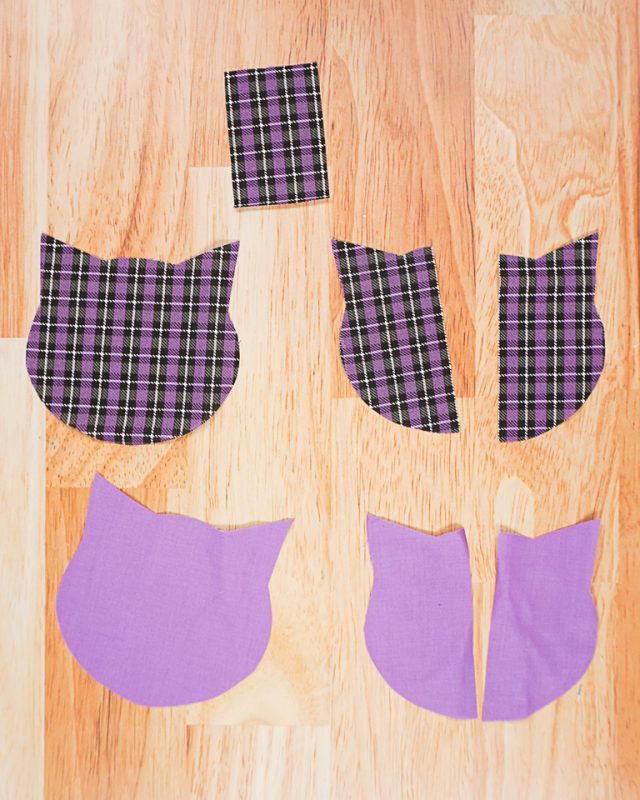
Cut out a cat face from the outer fabric and from the lining fabric. Cut out a chopped cat face from the outer fabric and from the lining fabric. Cut out one rectangle from either fabric.
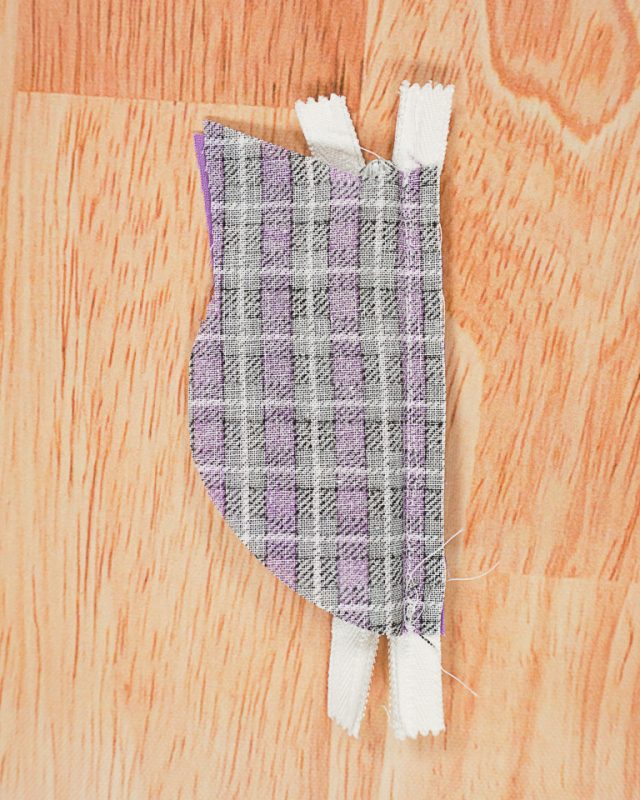
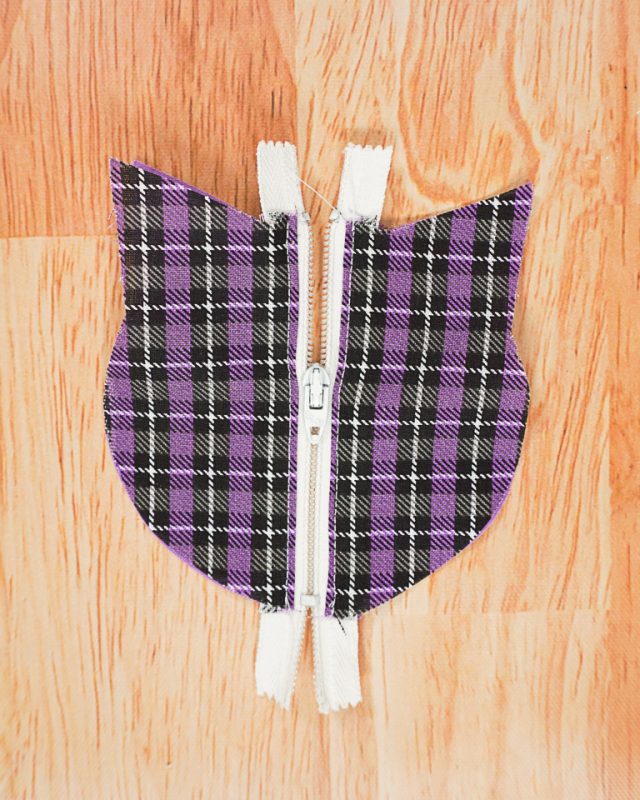
Place the outer half cat face on the right side of the zipper. Place the lining half cat face on the wrong side of the zipper. If the zipper is a longer than the straight edge then center the cat faces over the zipper.
Use a zipper foot to sew the fabric to the zipper tape.
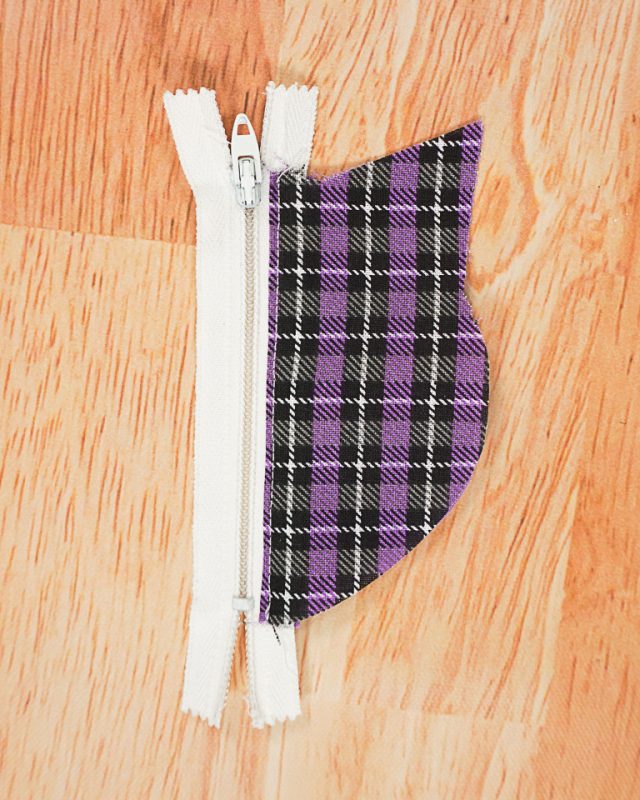
Fold both fabrics away from the zipper and press. Edgestitch the fabric in place.
Place the other outer half cat face on the other right side of the zipper. Place the other lining half cat face on the other wrong side of the zipper. Center it with the other side of the face.
Use a zipper foot to sew the fabric to the zipper tape.
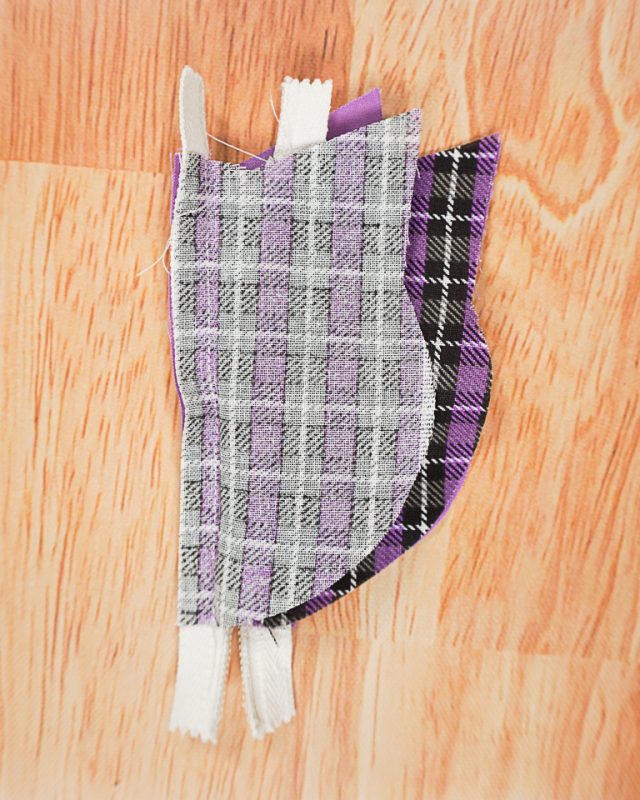
Fold both fabrics away from the zipper and press. Edgestitch the fabric in place.
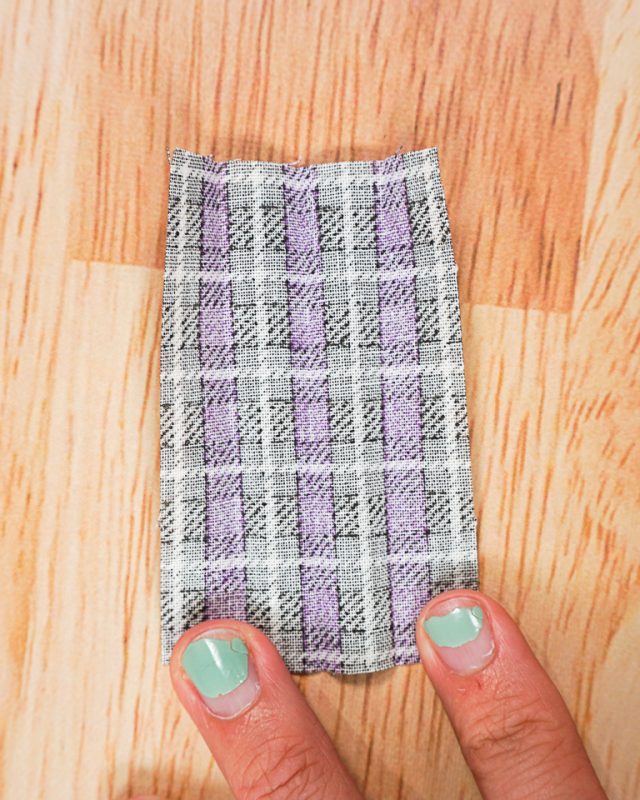
Fold the small rectangle in half lengthwise and press. Fold the two long sides into the middle and press. Fold all three folds and press.
Edgestitch along each side 1/8 inch from the edge.
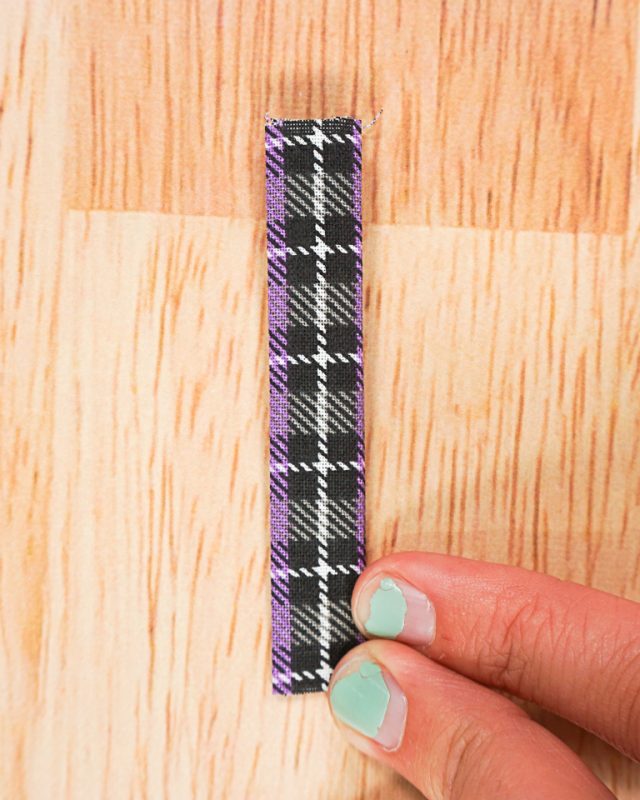
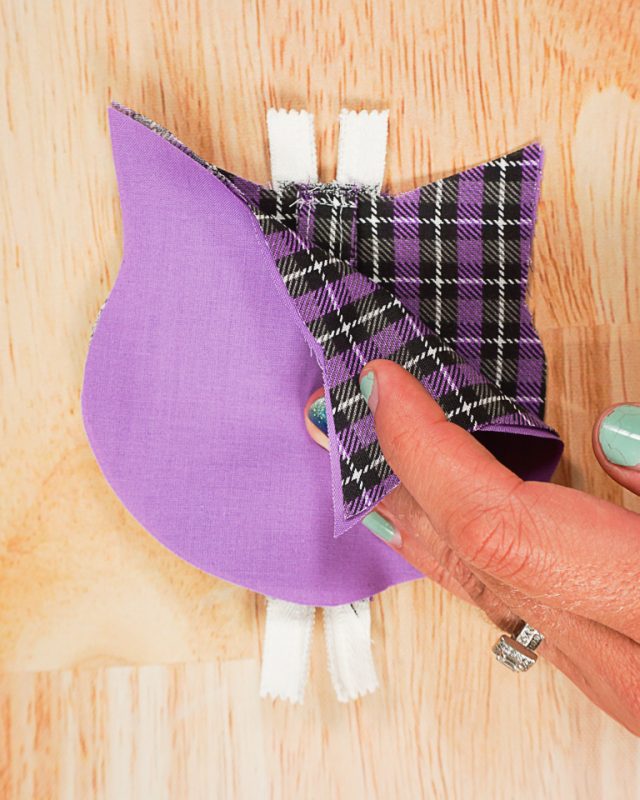
Fold rectangle in half matching up the short raw ends. Loop a lobster claw on now if using, or add a metal ring later. Place it at the top of the head and the top of the zipper. Move the zipper pull down into the middle of the zipper tape. Baste it in place.
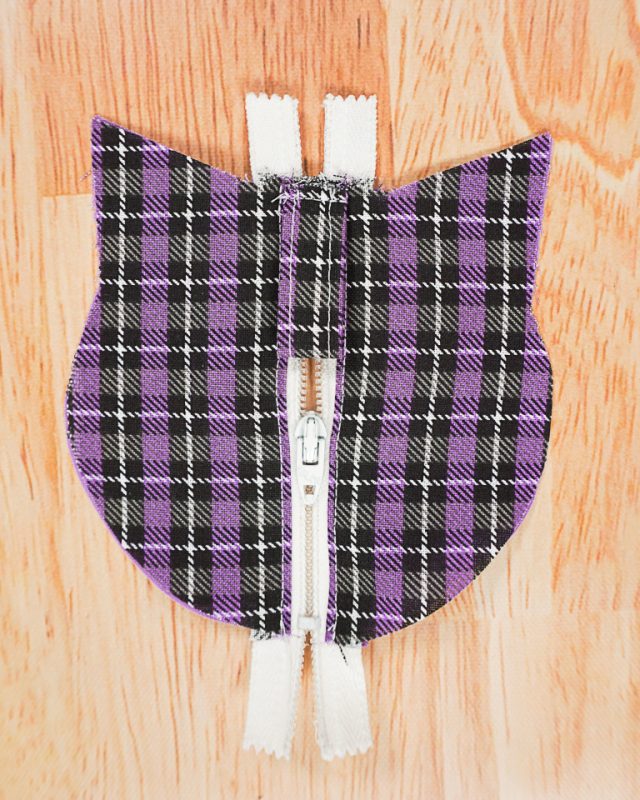
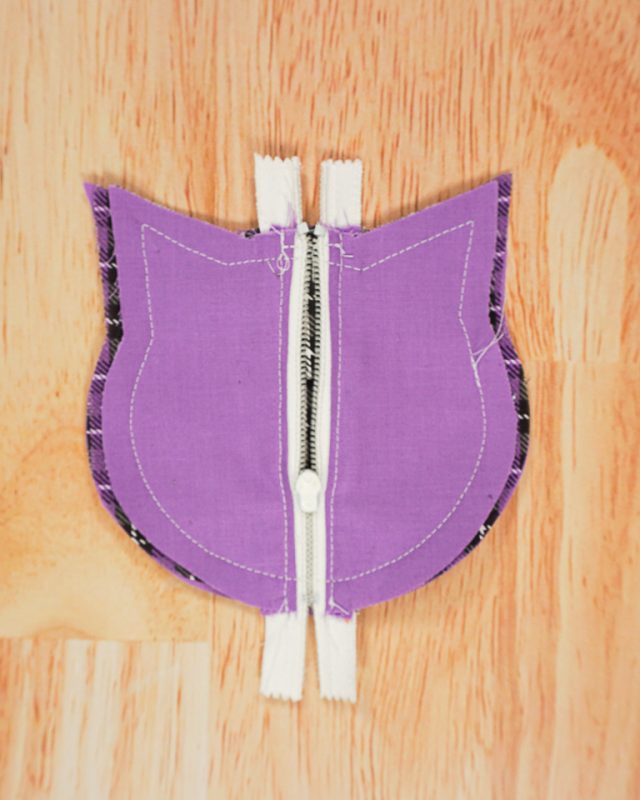
Place the right side of full cat head to the right side of the zipper cat head. Place the lining wrong side facing the wrong side of the full cat head. Pin all the layers together. Move the zipper pull towards the bottom of the head but not past the bottom of the head.
Sew around the edge with a 1/4 inch seam allowance. There’s a chance that the back pieces will be slightly wider or thinner depending on the size of the zipper you used. Just follow the seam allowance for whichever piece was thinner.
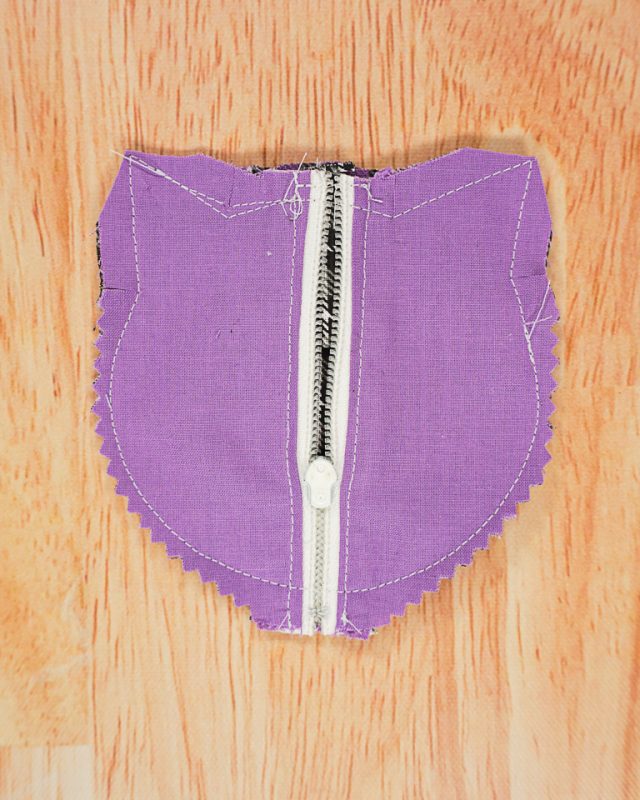
Trim corners. Clip inner curves and notch outer curves.
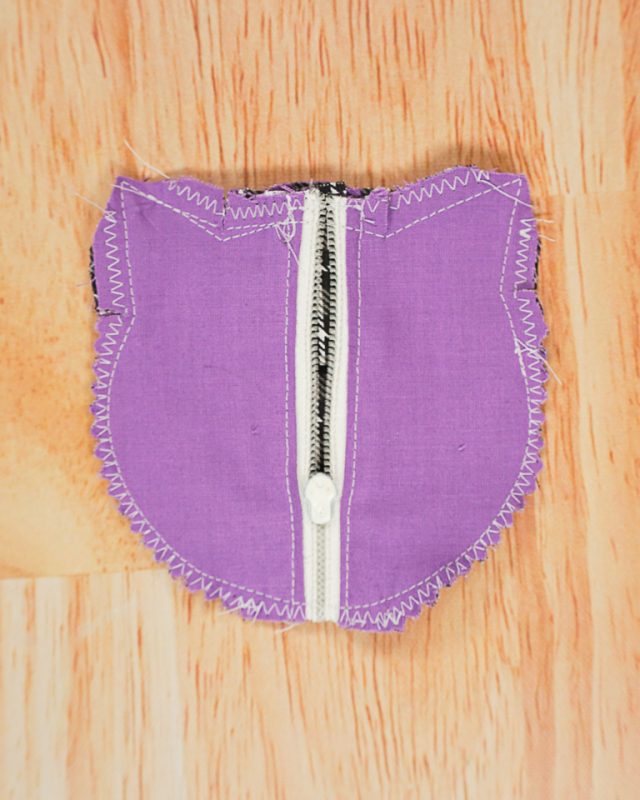
Zigzag any raw edges you are worried about fraying.
Turn the cat head right side out and poke out the corners. Press it flat.

Zip up the zipper. You finished!
Get the Free Sewing Pattern here!
If you make something using this pattern, I’d love to see! Please share it on social media with the hashtag #heatherhandmade and tag me!

I believe small sewing moments can create great joy. Find your own “right” way to sew. -Heather
Is there a fee for signing up?
There is no fee for signing up
Can’t get the pattern. Only download software that I don’t want or need.
Really cute cat want to make for my granddaughter