Free Casserole Carrier Sewing Pattern

This post may contain affiliate links.
Learn how to make a casserole carrier with a free sewing pattern. This beginner sewing project keeps food warm and is a great handmade gift.
Getting together with family and friends is so great. Especially when you can enjoy all the delicious homemade food together.
It gets tricky keeping food hot or cold when you are traveling someone else’s house, protecting the surface it’s resting on, making sure it doesn’t tip or spill, and keeping it safe from someone snacking on it before you serve it.
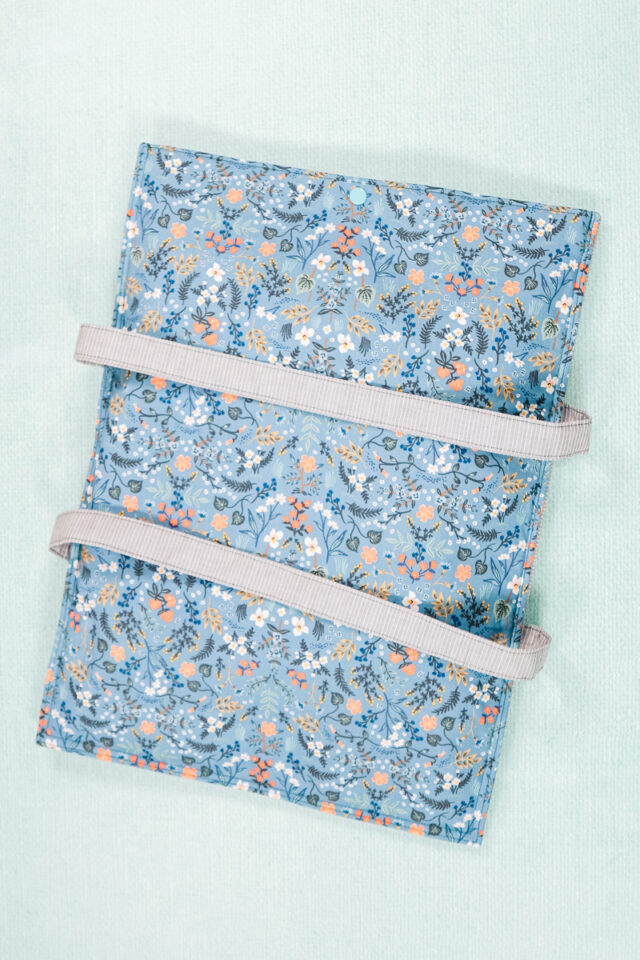
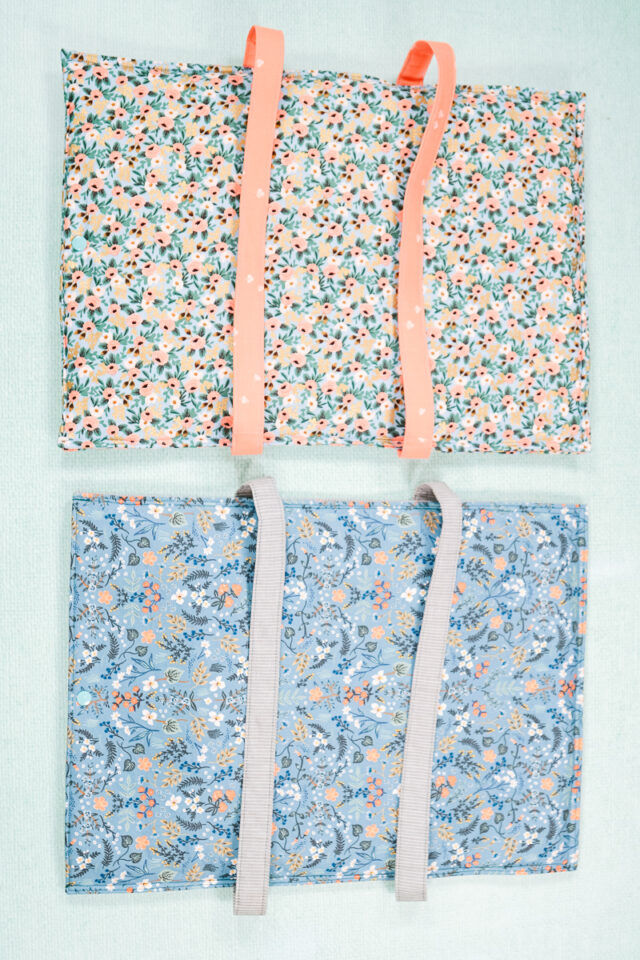
Make a casserole carrier that does it all with this fun sewing pattern. It keeps food hot or cold, it protects the surface it’s on, and it keeps the food flat and safe. It’s extra fun using a gorgeous fabric that you love looking at.
Get the free pattern at the end of the post or buy the PDF version in my shop!
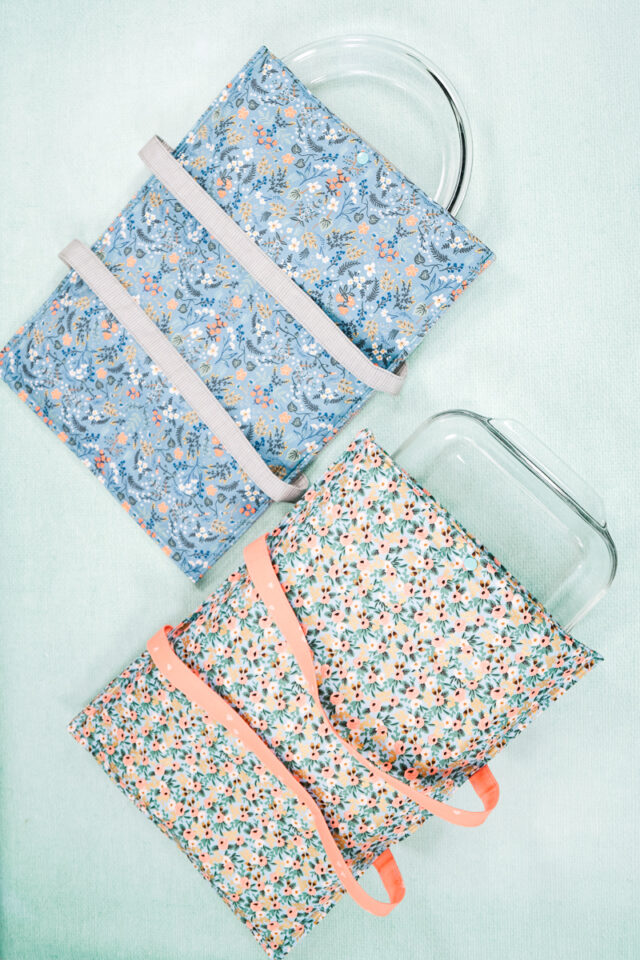
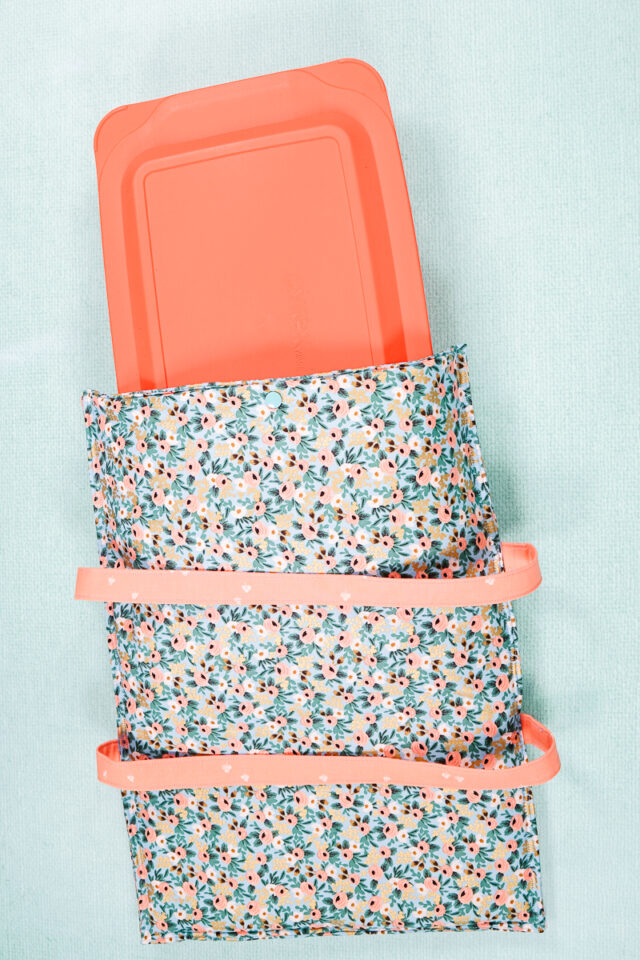
What is a casserole carrier?
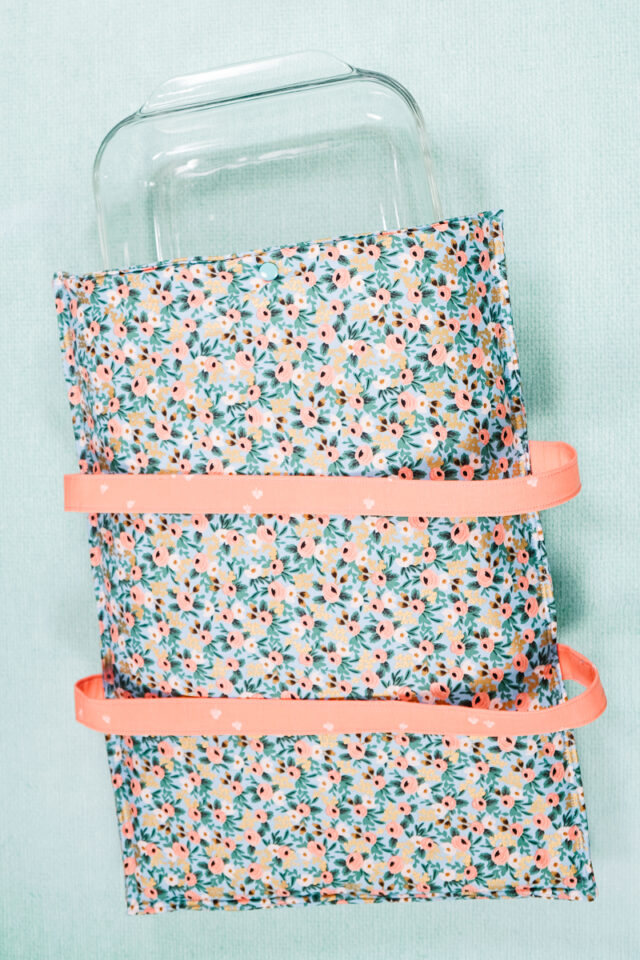
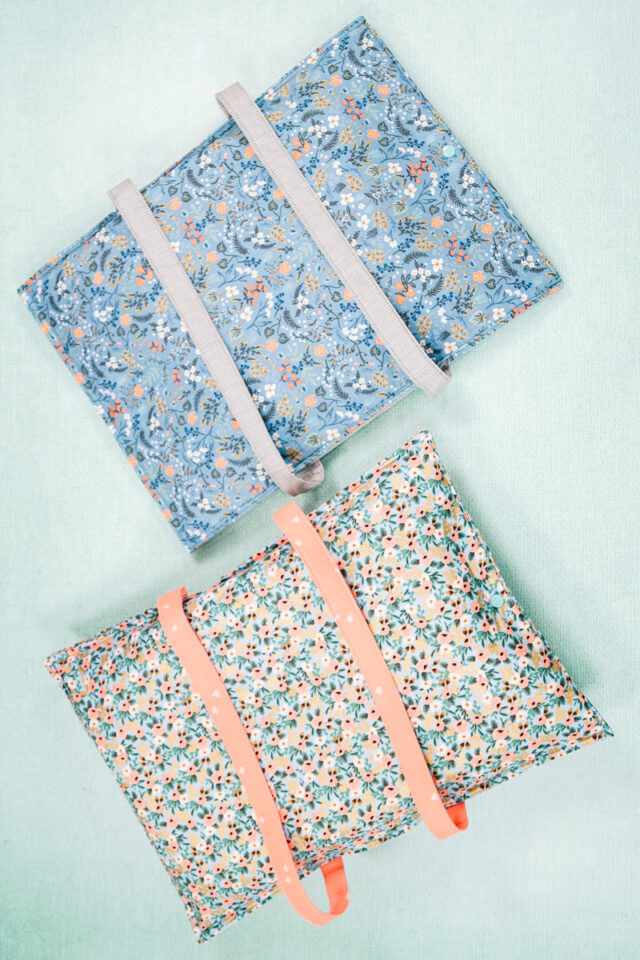
A casserole carrier is an insulated carrier type bag made to keep food hot or cold while it’s being transported. There are straps to make carrying easy, and enough space inside to add the serving utensil.
When you make them, they are usually made from cotton fabric and cotton batting so it won’t melt from too much heat.

What fabric should I use for a casserole carrier?
The best fabric to use for a casserole carrier is cotton. Cotton fabric and cotton batting is material you can access from fabric stores, but it will not melt if the pan gets too hot.
Cotton can still insulate the food to keep it hot or cold, but it’s also easy to find, easy, to sew, and comes in all sorts of colors and prints.
How do I insulate a casserole carrier?
With what you have access to at a fabric store, you can insulate a casserole carrier but not in the same way it would be insulated if you purchased it.
To insulate a casserole carrier you can use cotton batting or fusible fleece. The fusible fleece is easier to sew, but it has a chance of melting under high heat. The cotton batting is loftier and harder to sew, but it can hold up to the heat.
You can also add a layer of Insul-Bright* with cotton batting for a really good layer of insulation. It’ll keep the food hot or cold. I added Insul-Bright to one of my casserole carriers, and it was definitely harder to sew but I love having one really insulated casserole carrier.
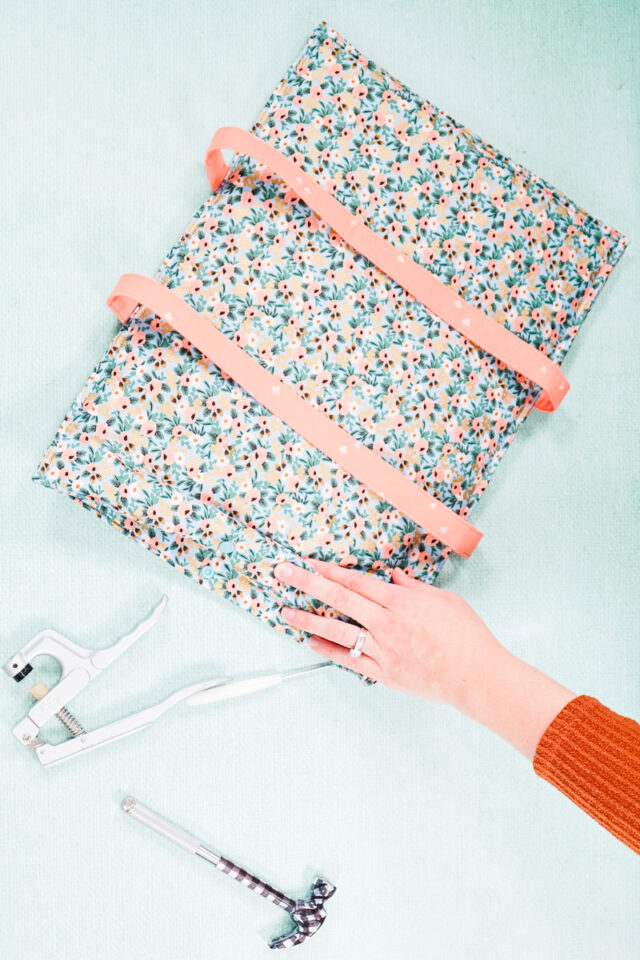
*If your piece ever gets to thick and hard to sew through, hammer it flat with a hammer. This will help squish the fabric enough to make it easier to sew.*
What is a PDF sewing pattern?
A PDF pattern is a sewing pattern designed on the computer and organized so that it can be printed on several letter or A4 size pieces of paper.
I love using PDF sewing patterns because if the pattern gets ruined or if my children or I changed sizes, I can always print it again. It’ll never be destroyed since I have a digital version!
How do you use a PDF sewing pattern?
Open the PDF on a computer and click print. When printing make sure that the scaling is set to 100% or no scaling so that the pattern prints at the correct size.
Once the pattern is printed it can be taped together to get the full size. Then the pattern can be cut for each pattern piece size or individual sizes can be traced so that the pattern can be used again and again. Learn how to use PDF sewing patterns.
Want more sewing ideas?
How to make a casserole carrier
Supplies
- Free casserole carrier sewing pattern – get it at the end of the post by entering your email
- 1 yard of quilting cotton fabric if you want the carrier to be all the same fabric OR 1/2 yard for the outer fabric and 1/2 yard for the inner fabric
- 1/8 yard of quilting cotton for the straps OR 1 fat quarter but you have to piece the straps together
- 1/2 yard of cotton batting (hard to sew, better insulation) OR 1/2 yard of fusible fleece (easy to sew, less insulation)
- 1 yard of fusible interfacing
- Optional: 1/4 yard of Insul-Bright*
- Plastic snaps and pliers, Velcro, or buttons
- Sewing tools
- Sewing machine
Do you just want the pattern and tutorial as a PDF? Get the pattern and tutorial for just $5. You won’t need to access the internet every time you want to make it. Or get the Pattern Bundle with ALL the PDF tutorials!

Instructions
Cut out from the fabric: four large rectangles and two straps
Cut out from the batting: two large rectangles
Cut out from the fusible interfacing: two large rectangle and two straps
Optional cut out from the Insul-Bright: two rectangles just thinner than the large rectangle
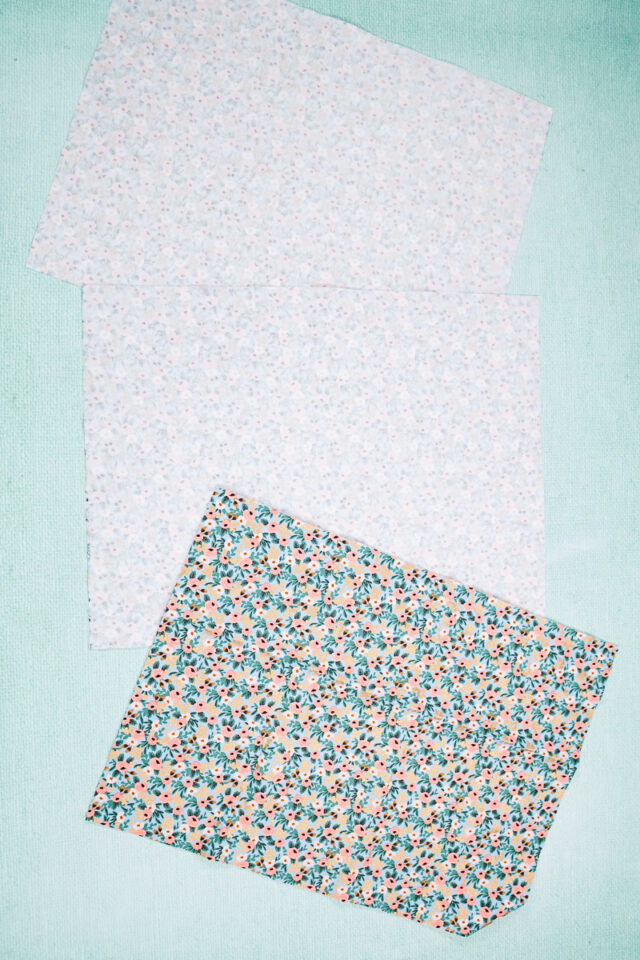
Fuse the interfacing to the back of two large fabric rectangles.
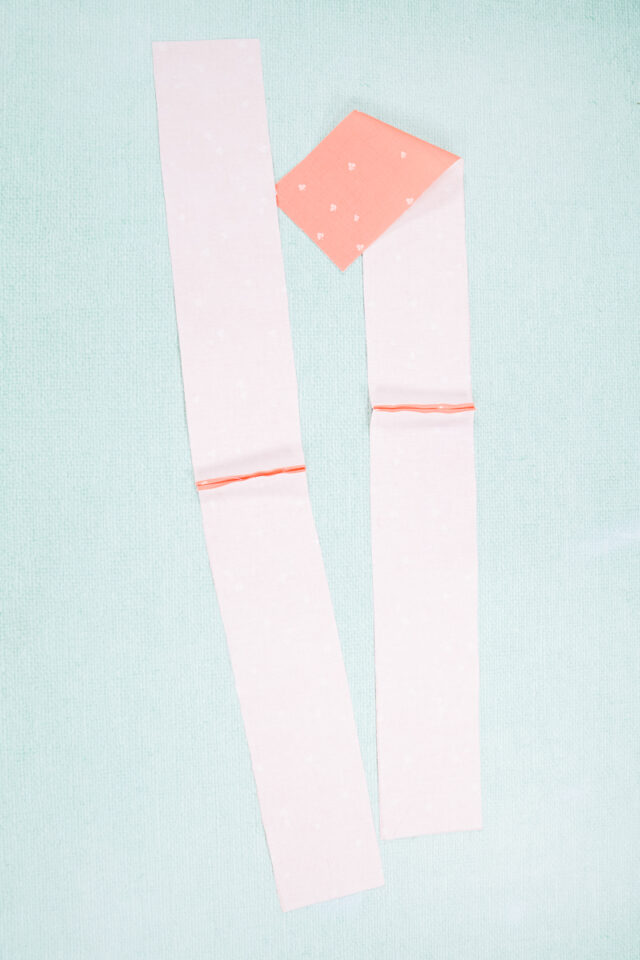
Fuse the interfacing to the back of the straps. (If you used a fat quarter then sew your straps together to create two long straps.)
To create the carrier lay the interfaced fabric piece facing up. Lay down the un-interfaced fabric piece facing down. (The fabrics are now right sides together.)
Place the batting on top. If you are using the Insul-Bright center it on top of the batting.
Pin all the layers together. Do the same to the other large rectangle pieces.
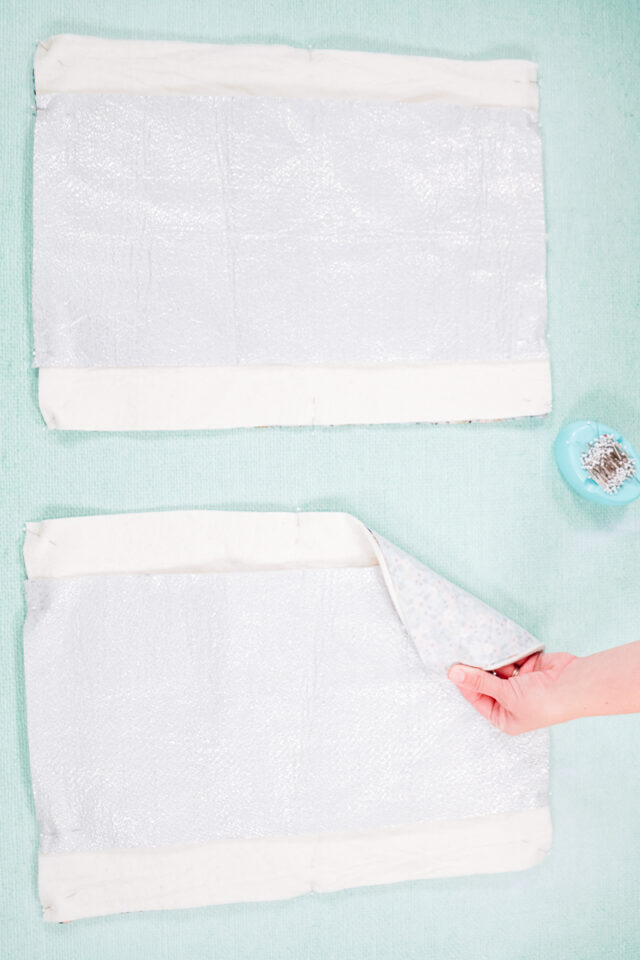
Sew around the edge with a 3/8 inch seam allowance. Pivot at the corners and leave a 4 inch hole for turning it right side out. Backstitch when you start and when you stop.

Trim the corners to reduce the bulk. Trim all the batting (and Insul-Bright) seam allowances down to 1/8 inch.

Turn the pieces right side out through the hole. Use a point turner to carefully poke out the corners.
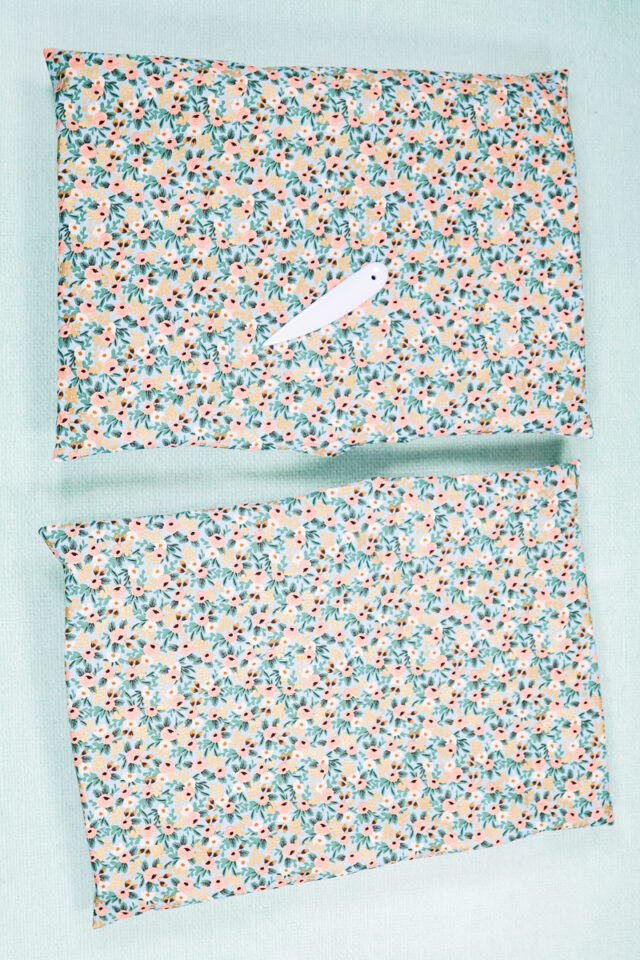
Press each rectangle flat with nice, crisp edges.

Sew around each rectangle 1/8 inch from the edge to close the hole.

Fold the straps in half matching the long edges and press. Open the fold. Fold the long edges in to meet at the center fold and press. Fold all three folds and press. (This is just like bias binding.)
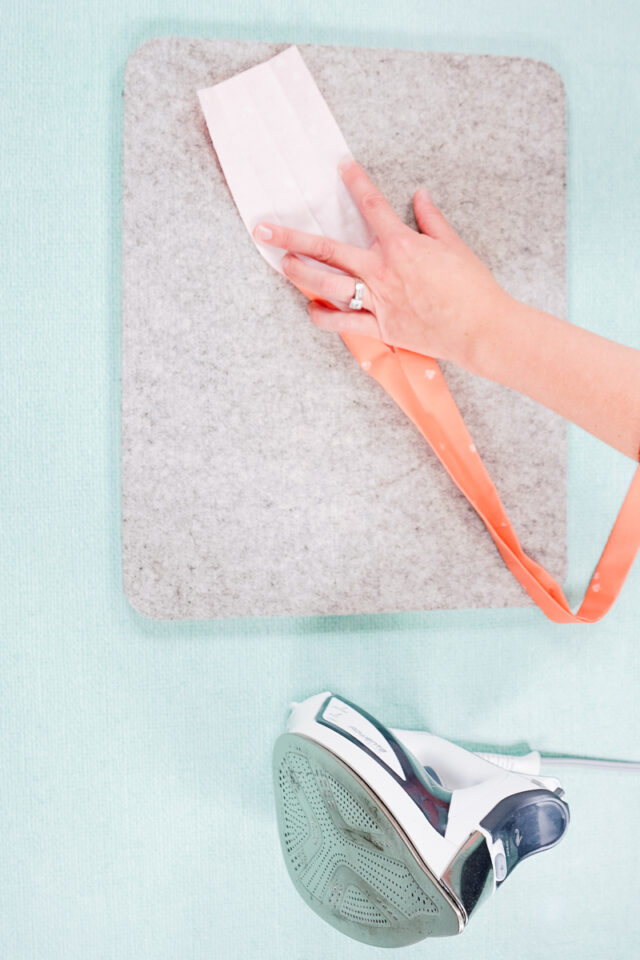
Match up the short ends of the straps with right sides together. Make sure it’s not twisted. Sew the ends together with a 3/8 inch seam allowance and backstitch when you start and when you stop.

Fold the straps up the way they were pressed. Sew 1/8 inch from each long edge to enclosed the edges and strengthed the straps.

Take one of the carrier pieces. This will become the bottom. Place the straps on the outside of the bottom piece dividing it into thirds.
Pin the straps in place.
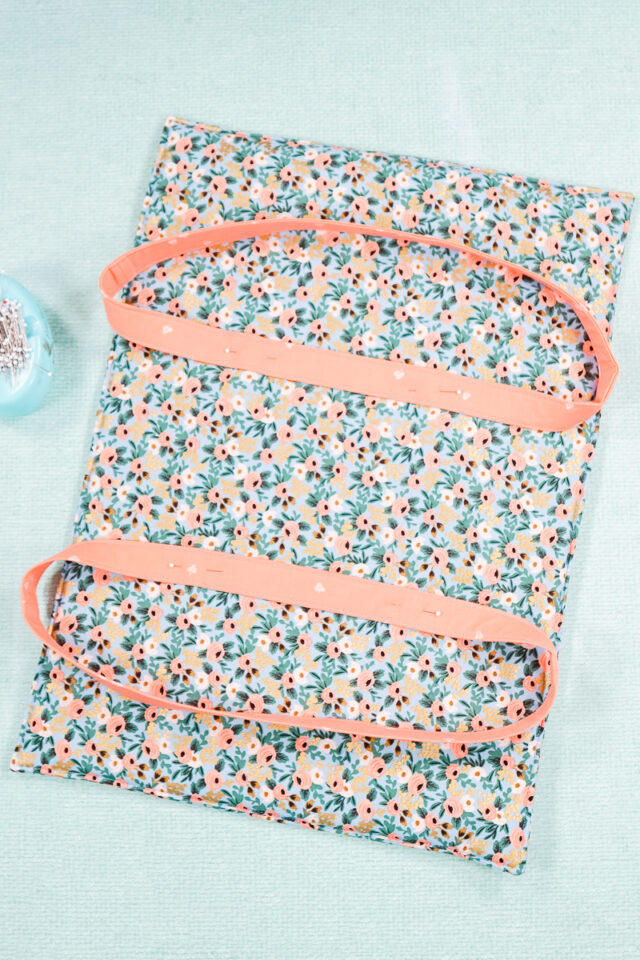
Sew a 6 inch rectangle on the center of each strap to secure it to the bottom.
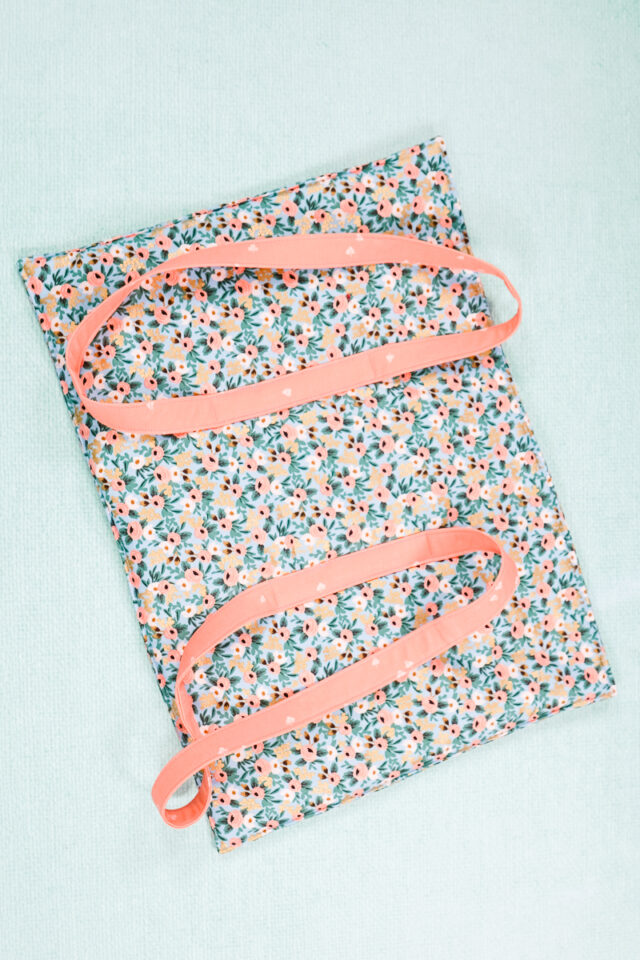
Pin the straps into the middle to keep them away from the side seams. Place the two carrier pieces inner side together and straps on the outside. Pin two long sides and one short side together.
Sew around the three sides (leaving one short side open) with a 1/4 inch seam allowance. Backstitch several times at the opening to strengthen the seam.
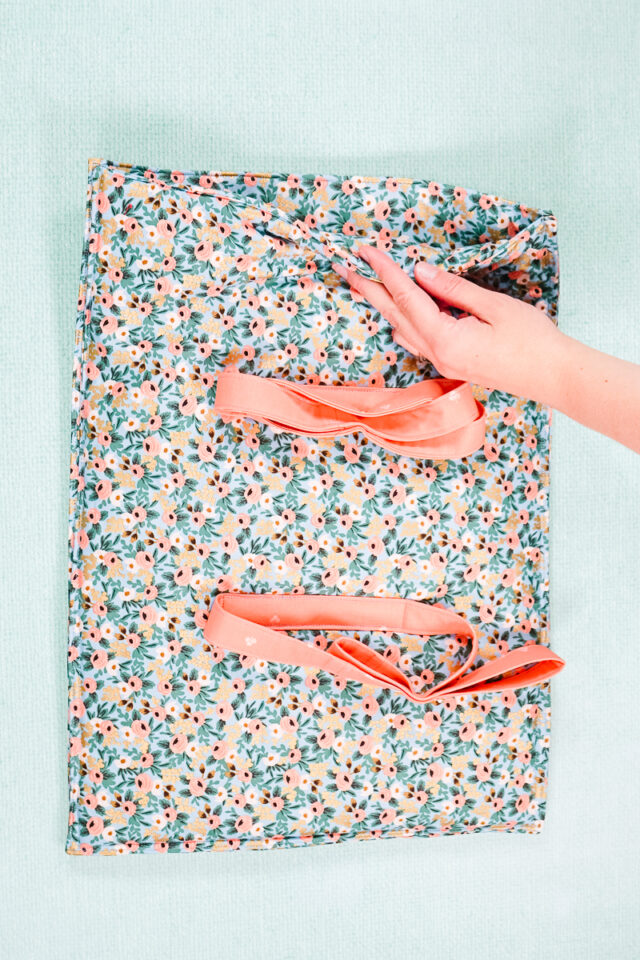
Pull the straps around from the bottom to the top. For extra strength tack the straps to the side seam allowance.

Add some sort of closure to the casserole carrier like velcro, a snap, or a button. I added a plastic snap to the center of the opening. You finished!
Get the Free Sewing Pattern here!
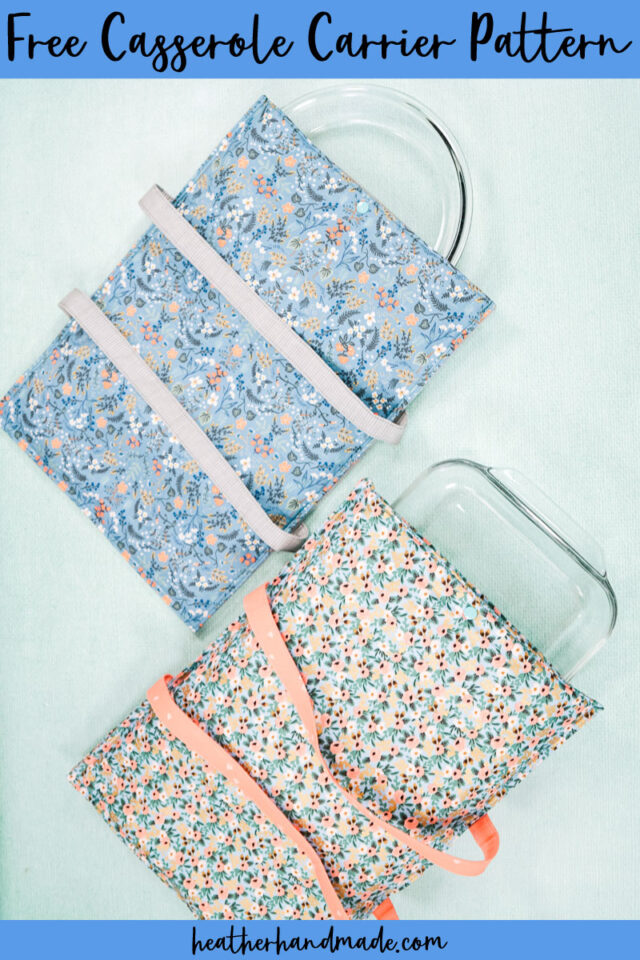
If you make something using this sewing project, I’d love to see! Please share it on social media with the hashtag #heatherhandmade and tag me!

I believe small sewing moments can create great joy. Find your own “right” way to sew. -Heather

How can I easily access your patterns?
Sign up for me email list! https://www.heatherhandmade.com/free-casserole-carrier-sewing-pattern/#get-the-free-sewing-pattern-here If you approve to be on my list, you can go put your email in any form for the free sewing pattern. You are also kept up to date with everything else sewing related!
I’m still looking for measurements
Wanting to make a 9×13 carrier
You can get the free pattern and measurements by signing up here:https://www.heatherhandmade.com/free-casserole-carrier-sewing-pattern/#get-the-free-sewing-pattern-here
Love this, thank you and hope you have a wonderful Thanksgiving
Thank you so much! I have been looking for a simple casserole carrier and I’ve finally found it. And I’ve been one of your fans for quite awhile. 🙂 While this carrier is not fancy shmancy, it’s simple, and it does the job! Looking forward to making some gifts. Thank you!
Yay! I was going for simple and easy. I’m so happy it checked that box for you!