
Charming Fabric Nesting Ghosts: Free Sewing Pattern

This post may contain affiliate links.
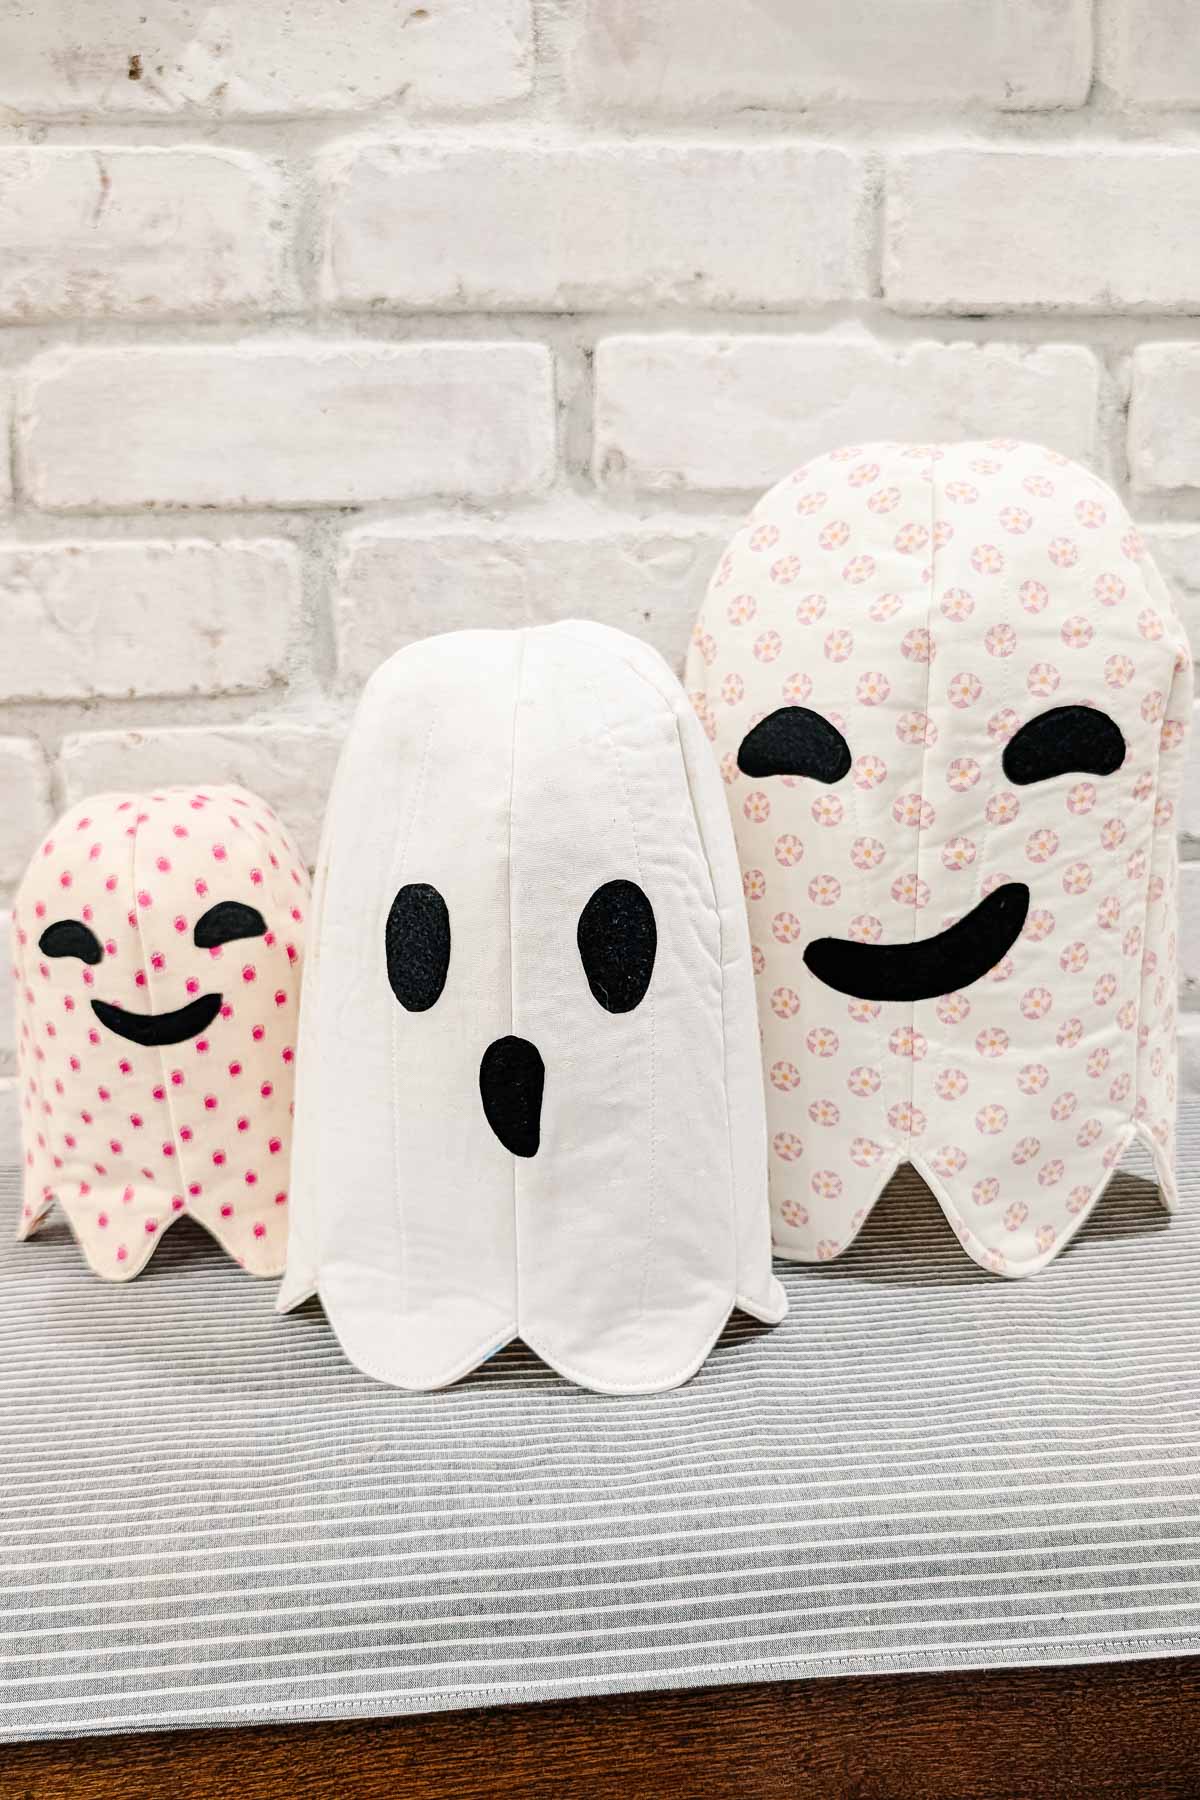
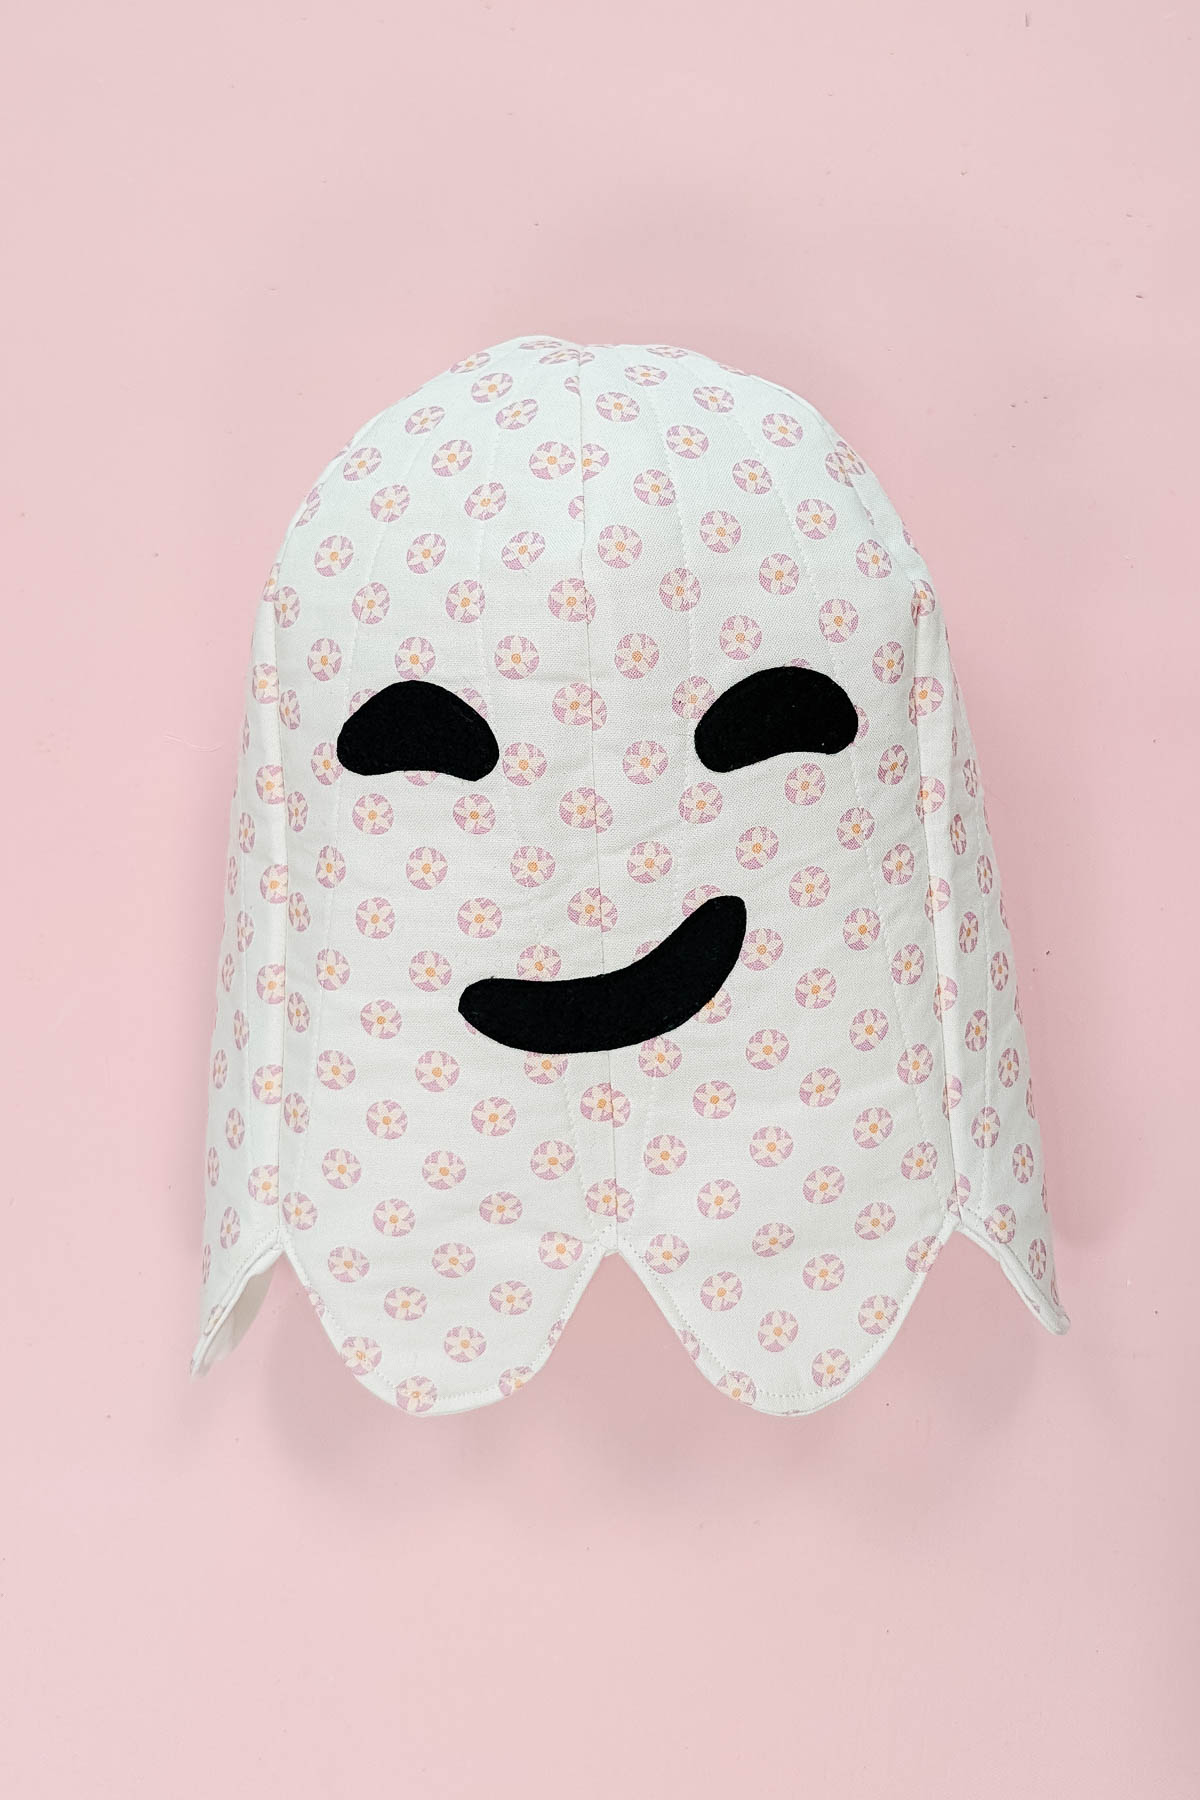
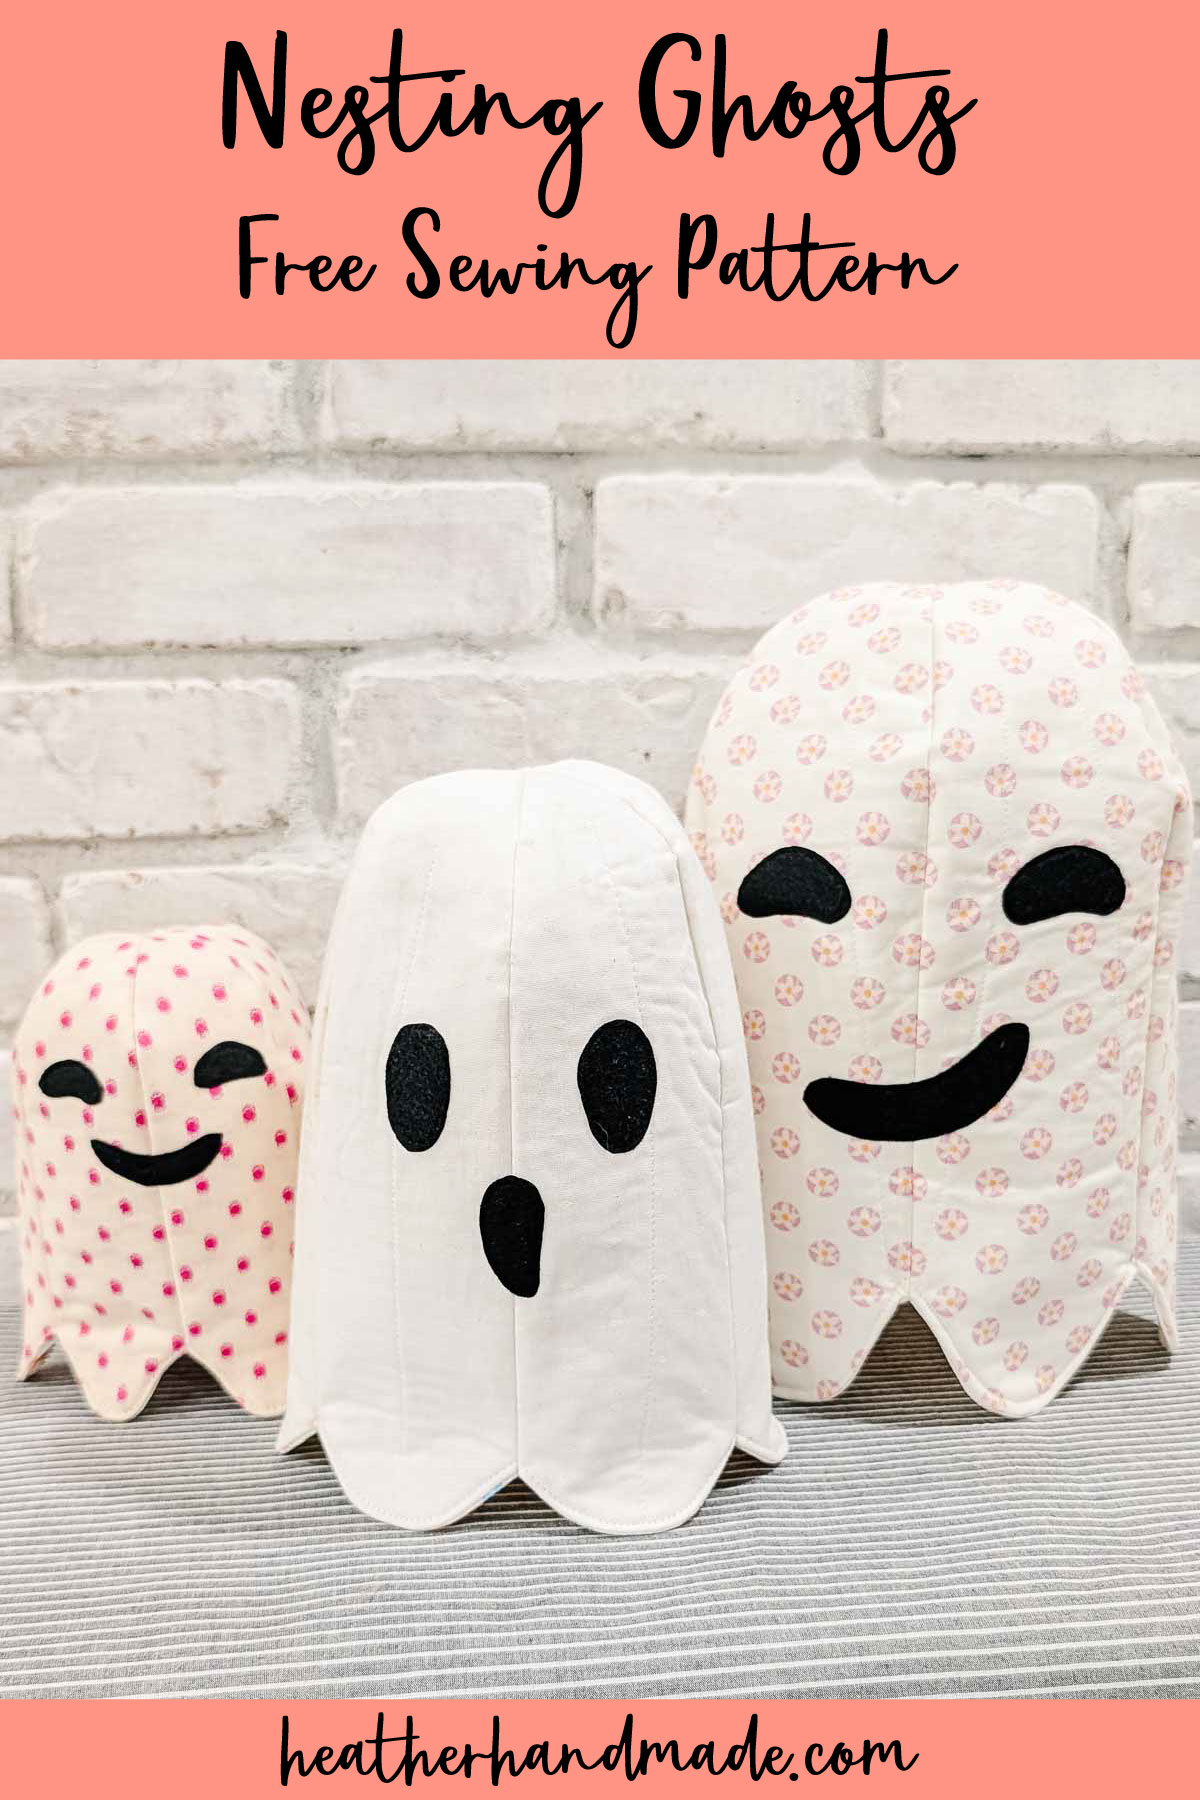
Learn how to sew fabric nesting ghosts with a free sewing pattern. This Halloween sewing project is cute home decor with custom faces.
I saw cute nesting ghost baskets in the store the other day, and I wanted them but didn’t want to buy them. I realized I could easily make them out of fabric, I could make them look exactly how I wanted, and I could create an easy sewing pattern to share with you. They can also be touched and played with by kids without any worry that they’ll get broken or break something else.
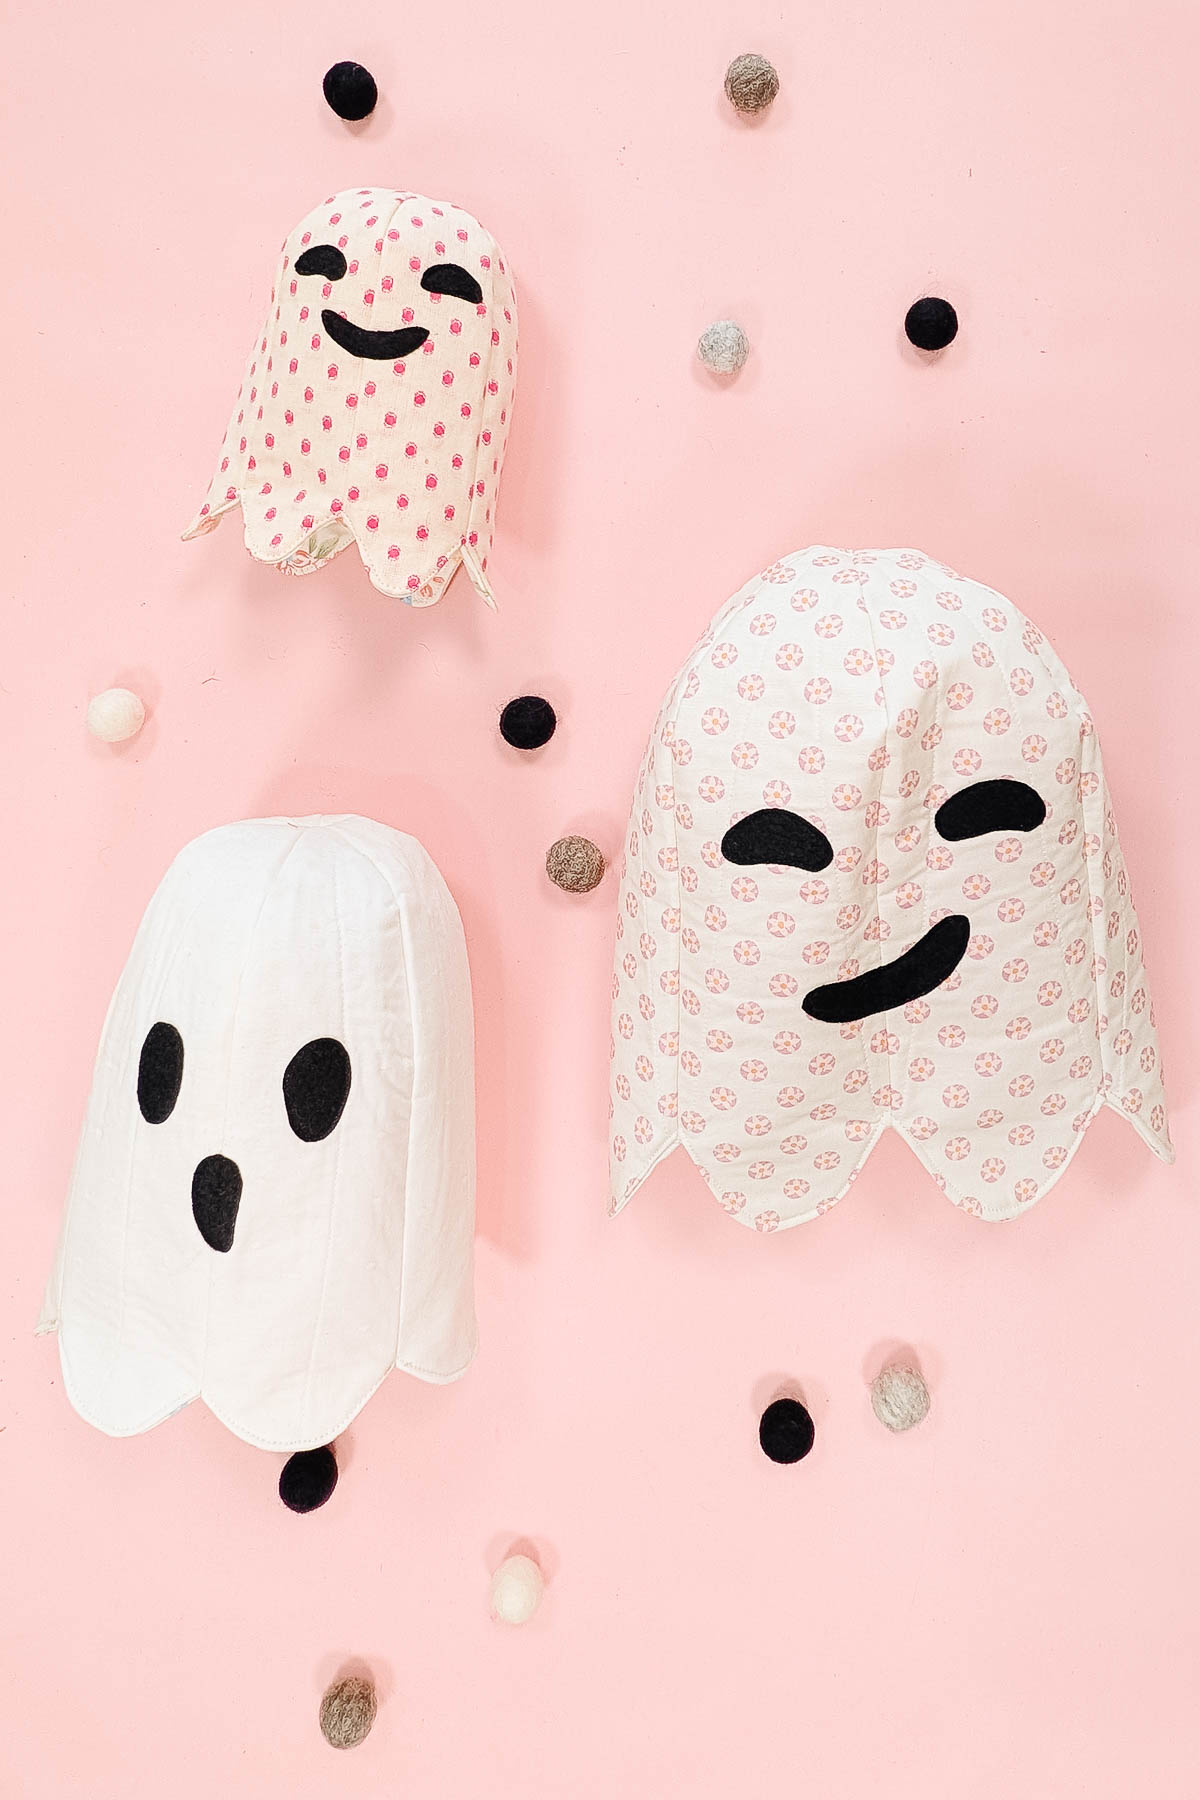
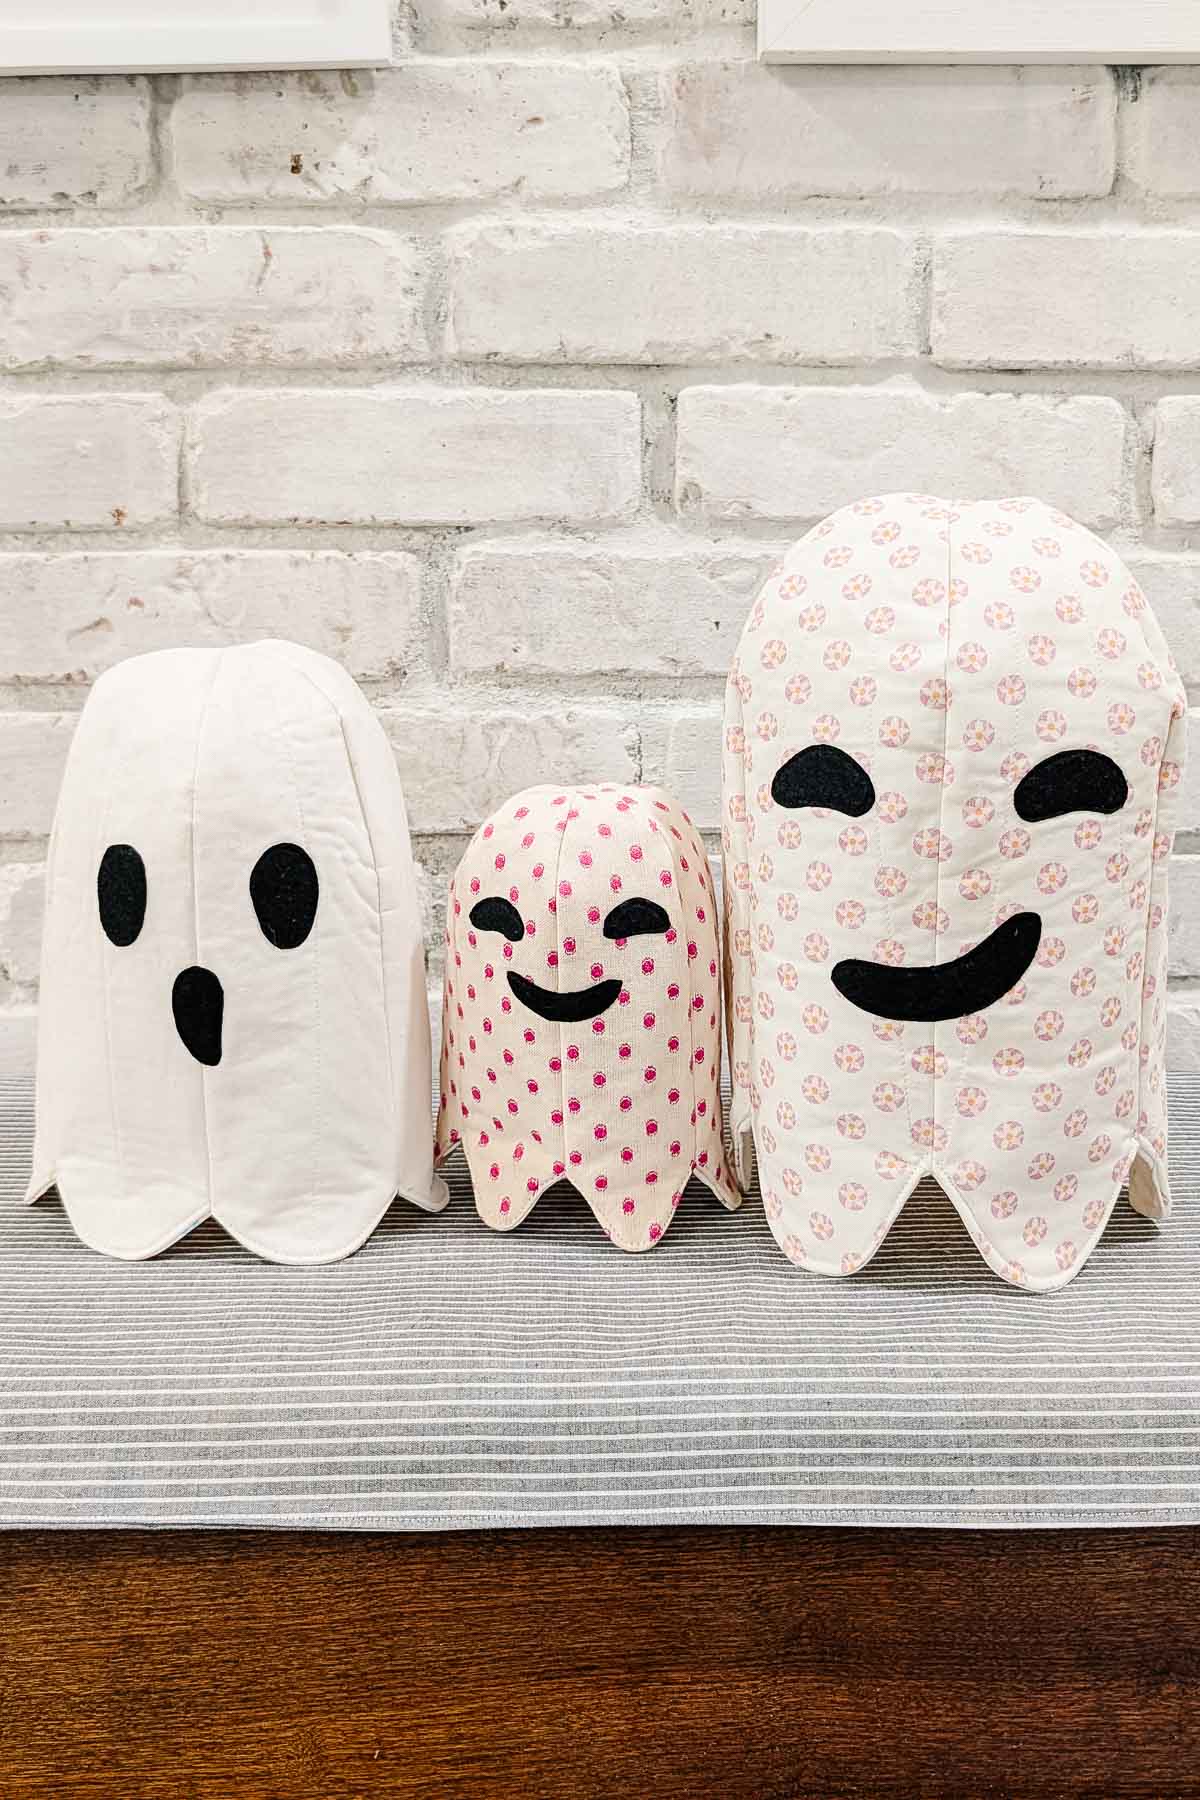
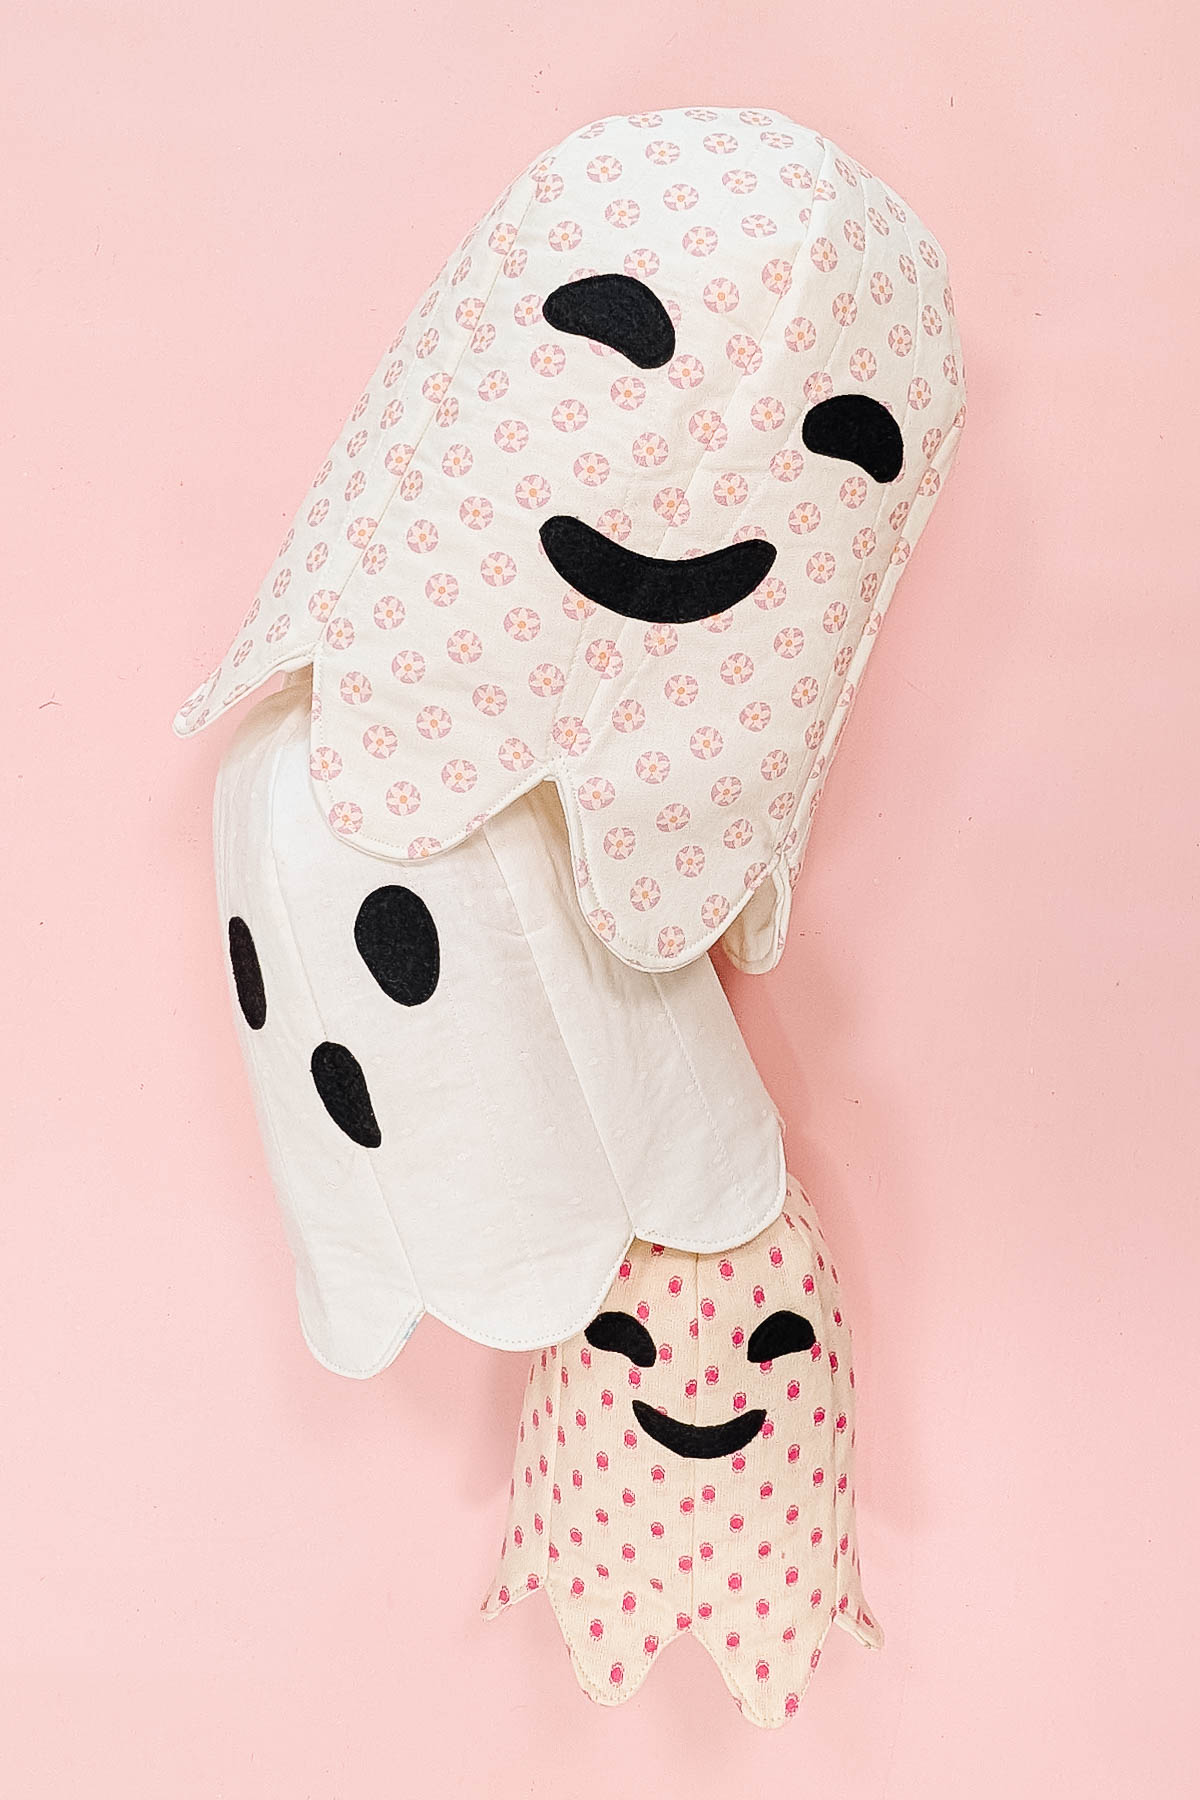
These fabric nesting ghosts are so cute and so fun. I love that they nest and fit inside each other, but each face is it’s own character. They are fun and easy to sew, and you can use whatever fabric you want. You can also switch up the face pieces for different looks.
To get the free sewing pattern, scroll to the end of the tutorial. Put your email address in the form under “Get the Free Sewing Pattern Here.” Once you confirm that you want to receive emails from Heather Handmade, the free pattern will be sent to your email address. Check your spam and promotions for the email.
What fabric should I use for the nesting ghosts?
The best fabric to use for these ghosts is quilting cotton. Quilting cotton is easy to find and easy to sew. There’s so many prints, and it’s fun to find subtle white and cream prints for these ghosts.
Then I used felt for the face to make it easy to sew the faces.
What interfacing and fusible fleece should I use for the nesting ghosts?
You want the ghost to have and hold shape, so you’ll be using both fusible interfacing and fusible fleece to make these ghosts. You can even add quilting lines to the fusible fleece and fabric for a quilted ghost look.
What is a PDF sewing pattern?
A PDF pattern is a sewing pattern designed on the computer and organized so that it can be printed on several letter or A4 size pieces of paper.
I love using PDF sewing patterns because if the pattern gets ruined or if my children or I changed sizes, I can always print it again. It’ll never be destroyed since I have a digital version!
How do you use a PDF sewing pattern?
Open the PDF on a computer and click print. When printing make sure that the scaling is set to 100% or no scaling so that the pattern prints at the correct size. Learn how to use PDF sewing patterns.
Love to sew? Try one of these sewing projects:
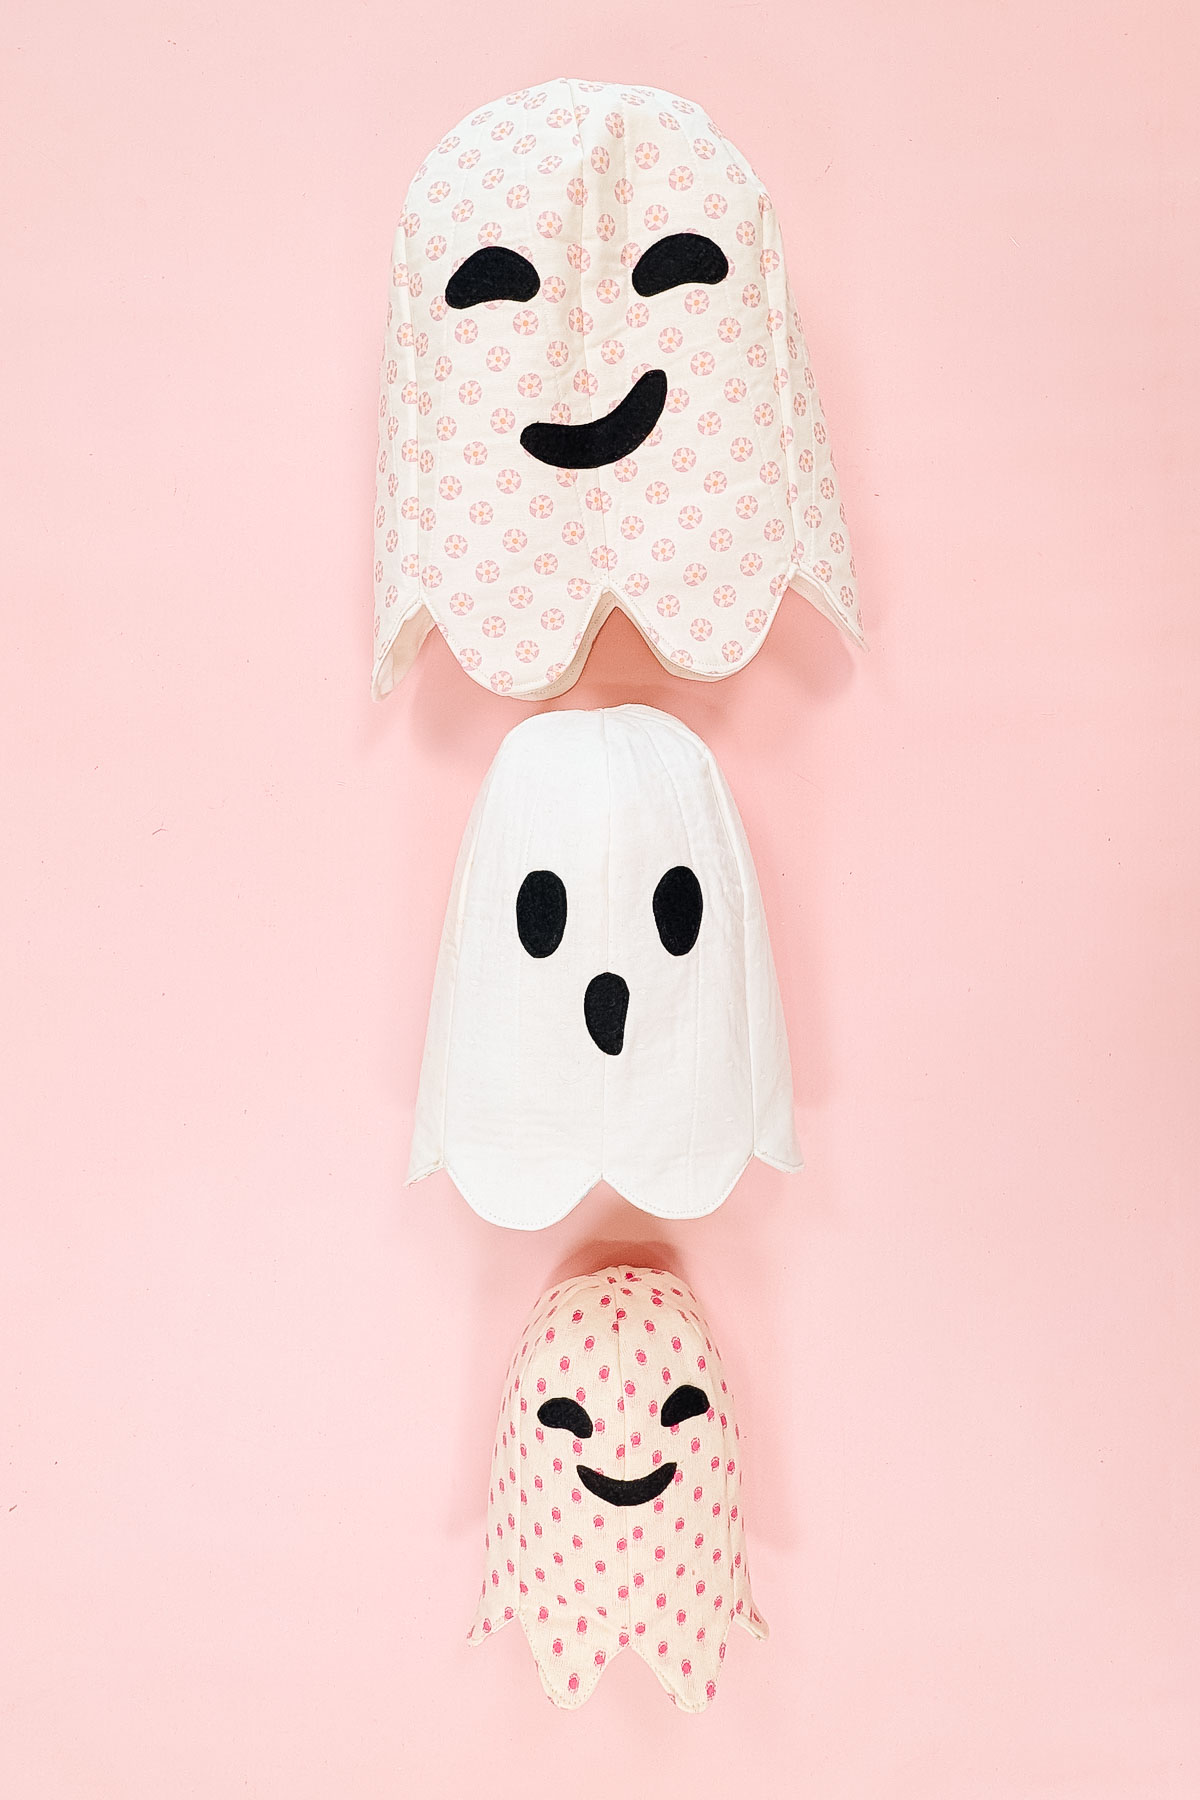
How to Make Fabric Nesting Ghosts
Supplies for One Ghost
- Free sewing pattern – get it at the end of the post
- 1 fat quarter for outer fabric in cream or white
- 1 fat quarter for inner fabric
- Scraps of black felt
- Scraps of fusible double sided adhesive
- 1 fat quarter of fusible fleece
- 1 fat quarter of medium weight fusible interfacing
- Sewing machine
- Sewing tools
Do you just want the pattern and tutorial as a PDF? Get the pattern and tutorial for just $5. You won’t need to access the internet every time you want to make it. Or get the Pattern Bundle with ALL the PDF tutorials!
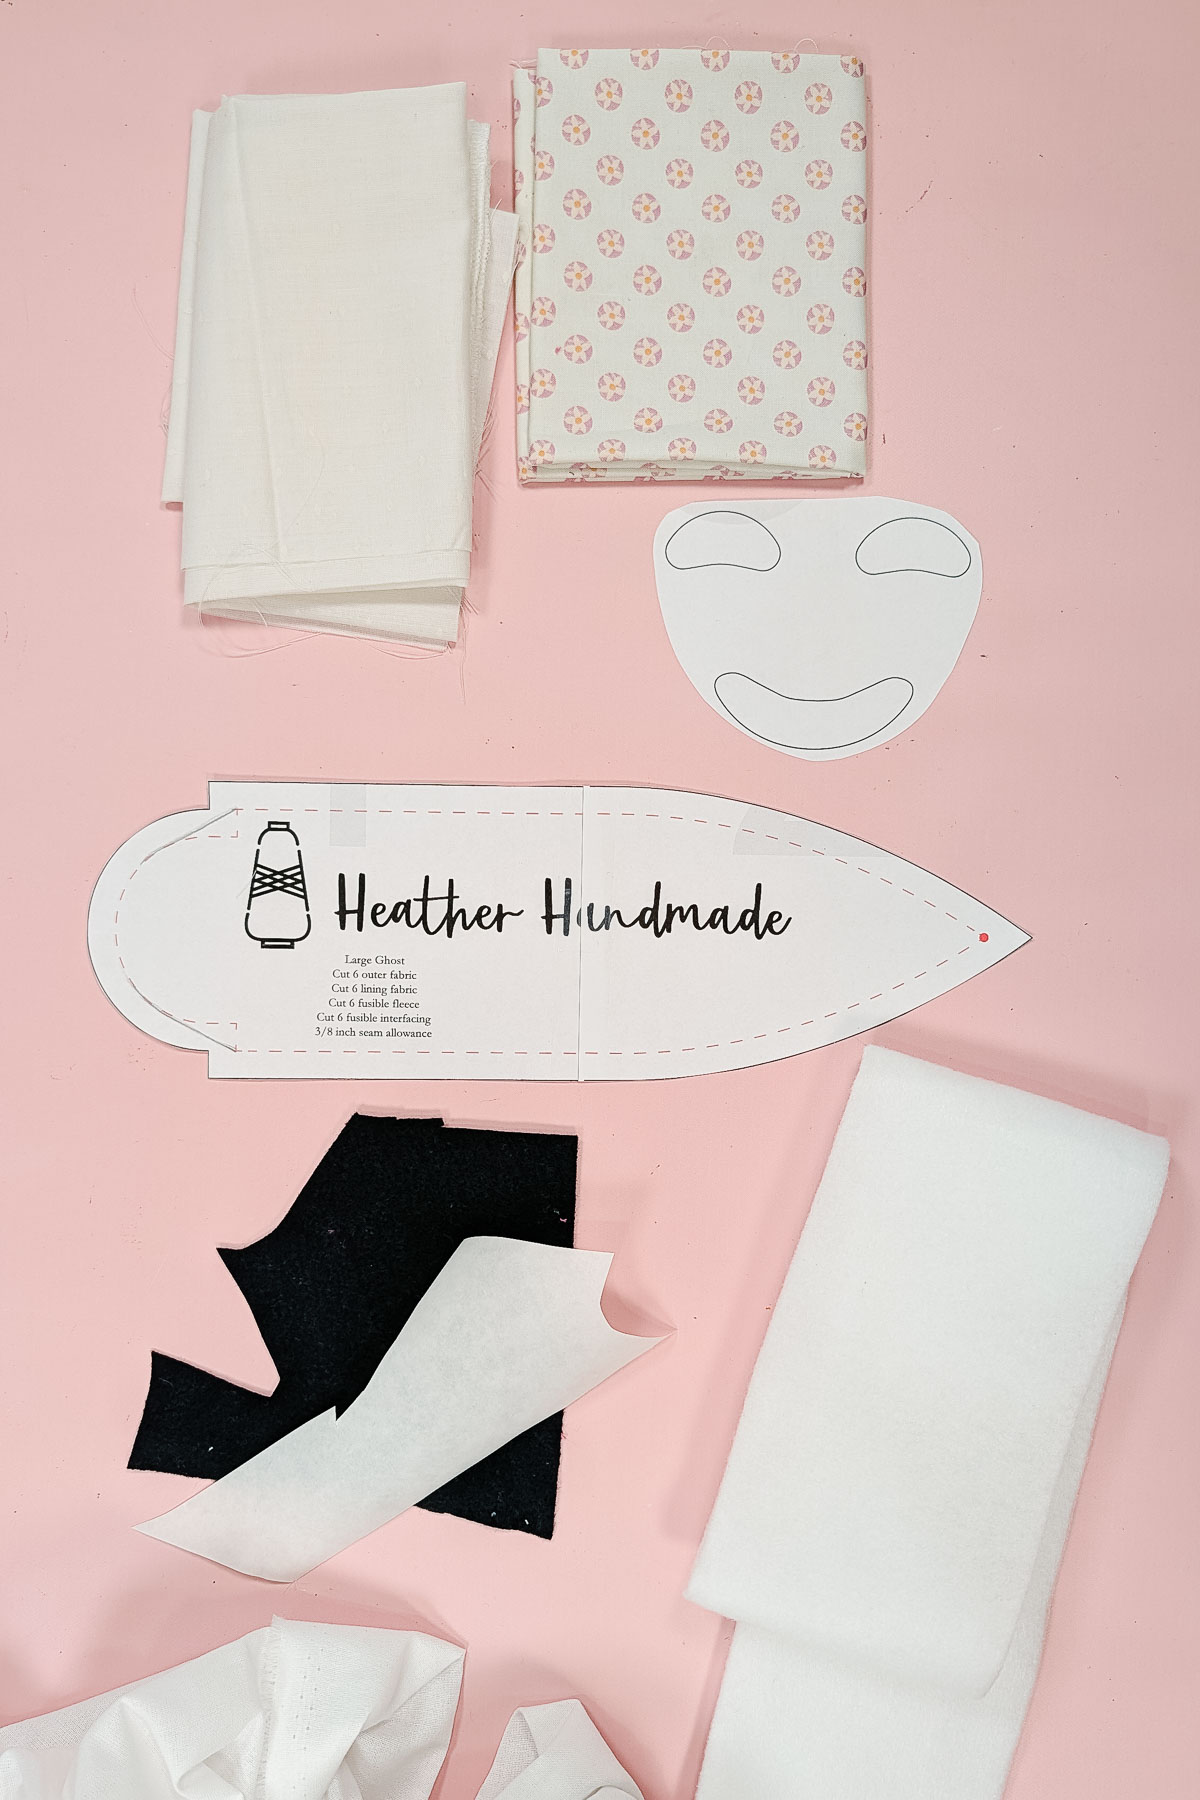
Instructions
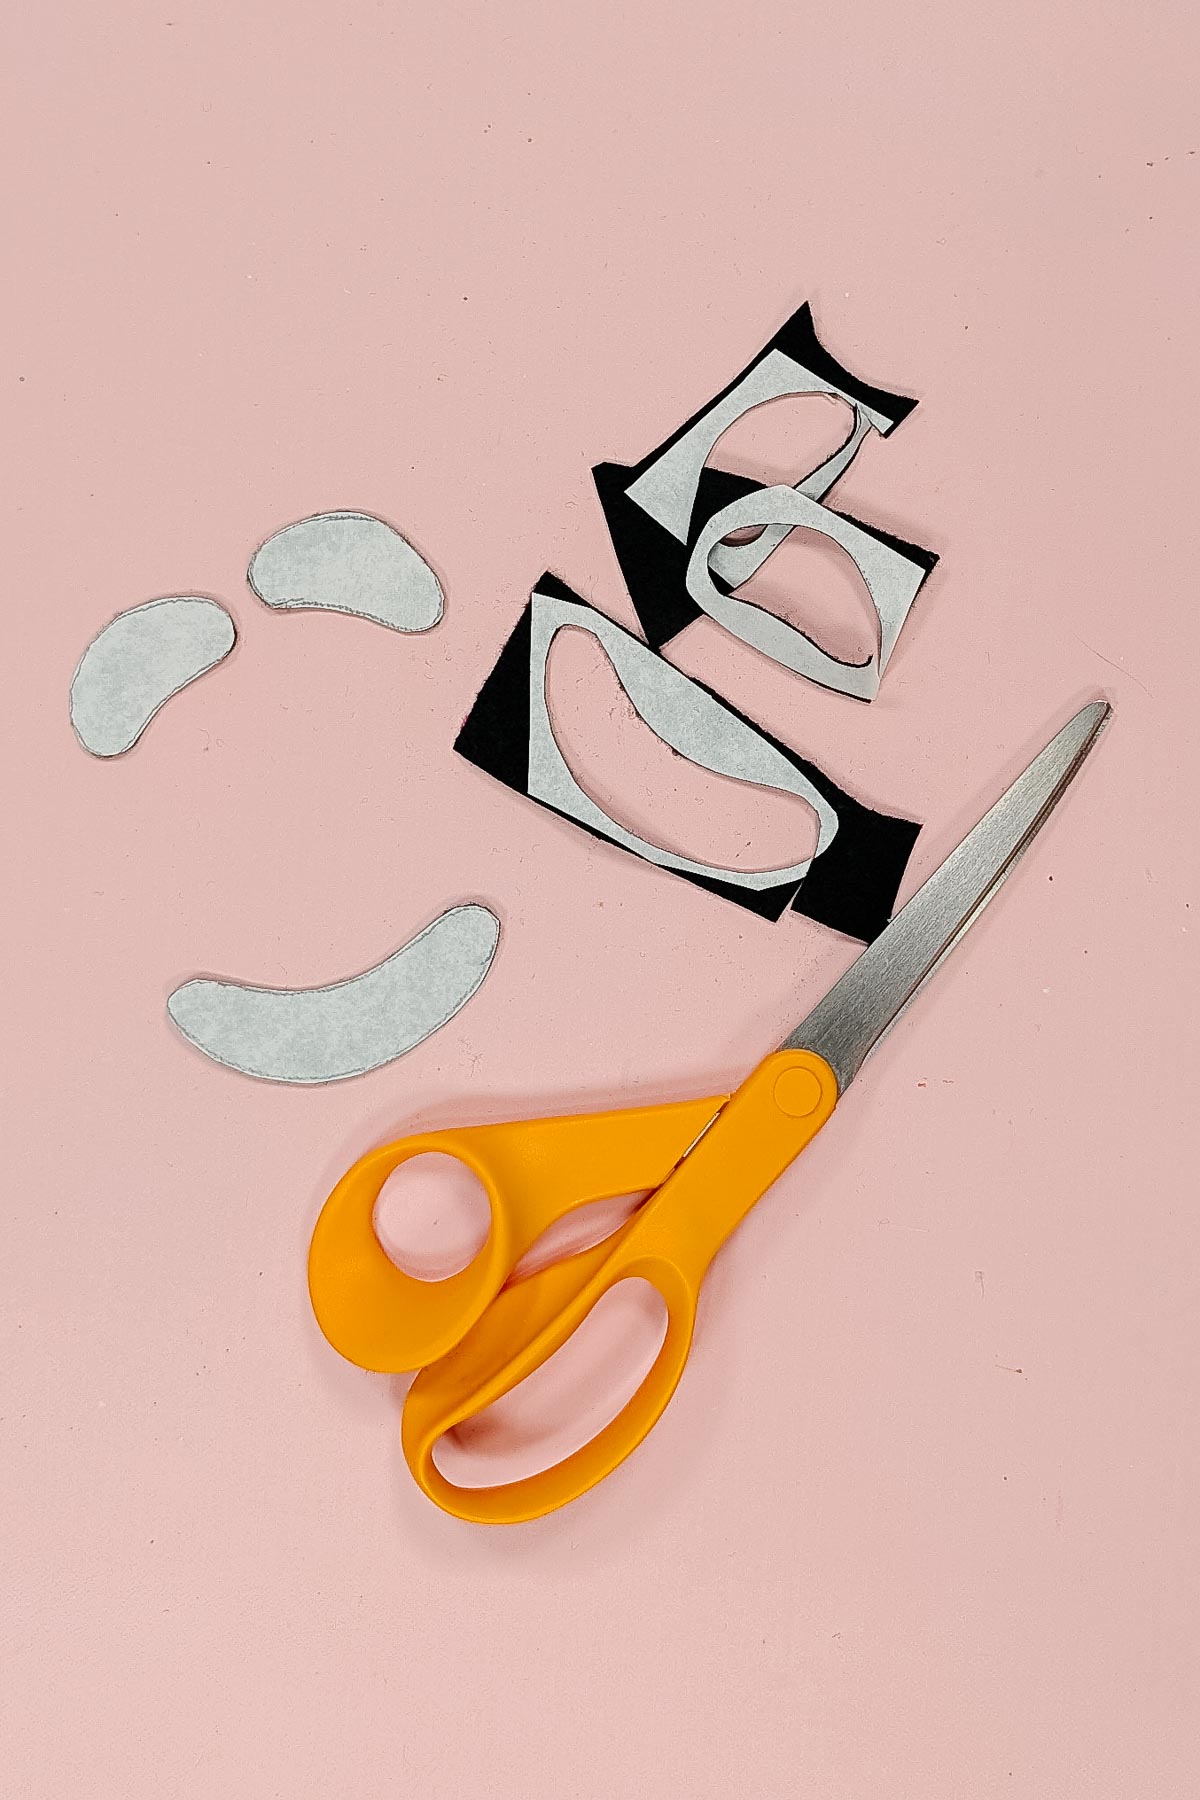
Trace the face onto the paper side of the fusible double sided adhesive.
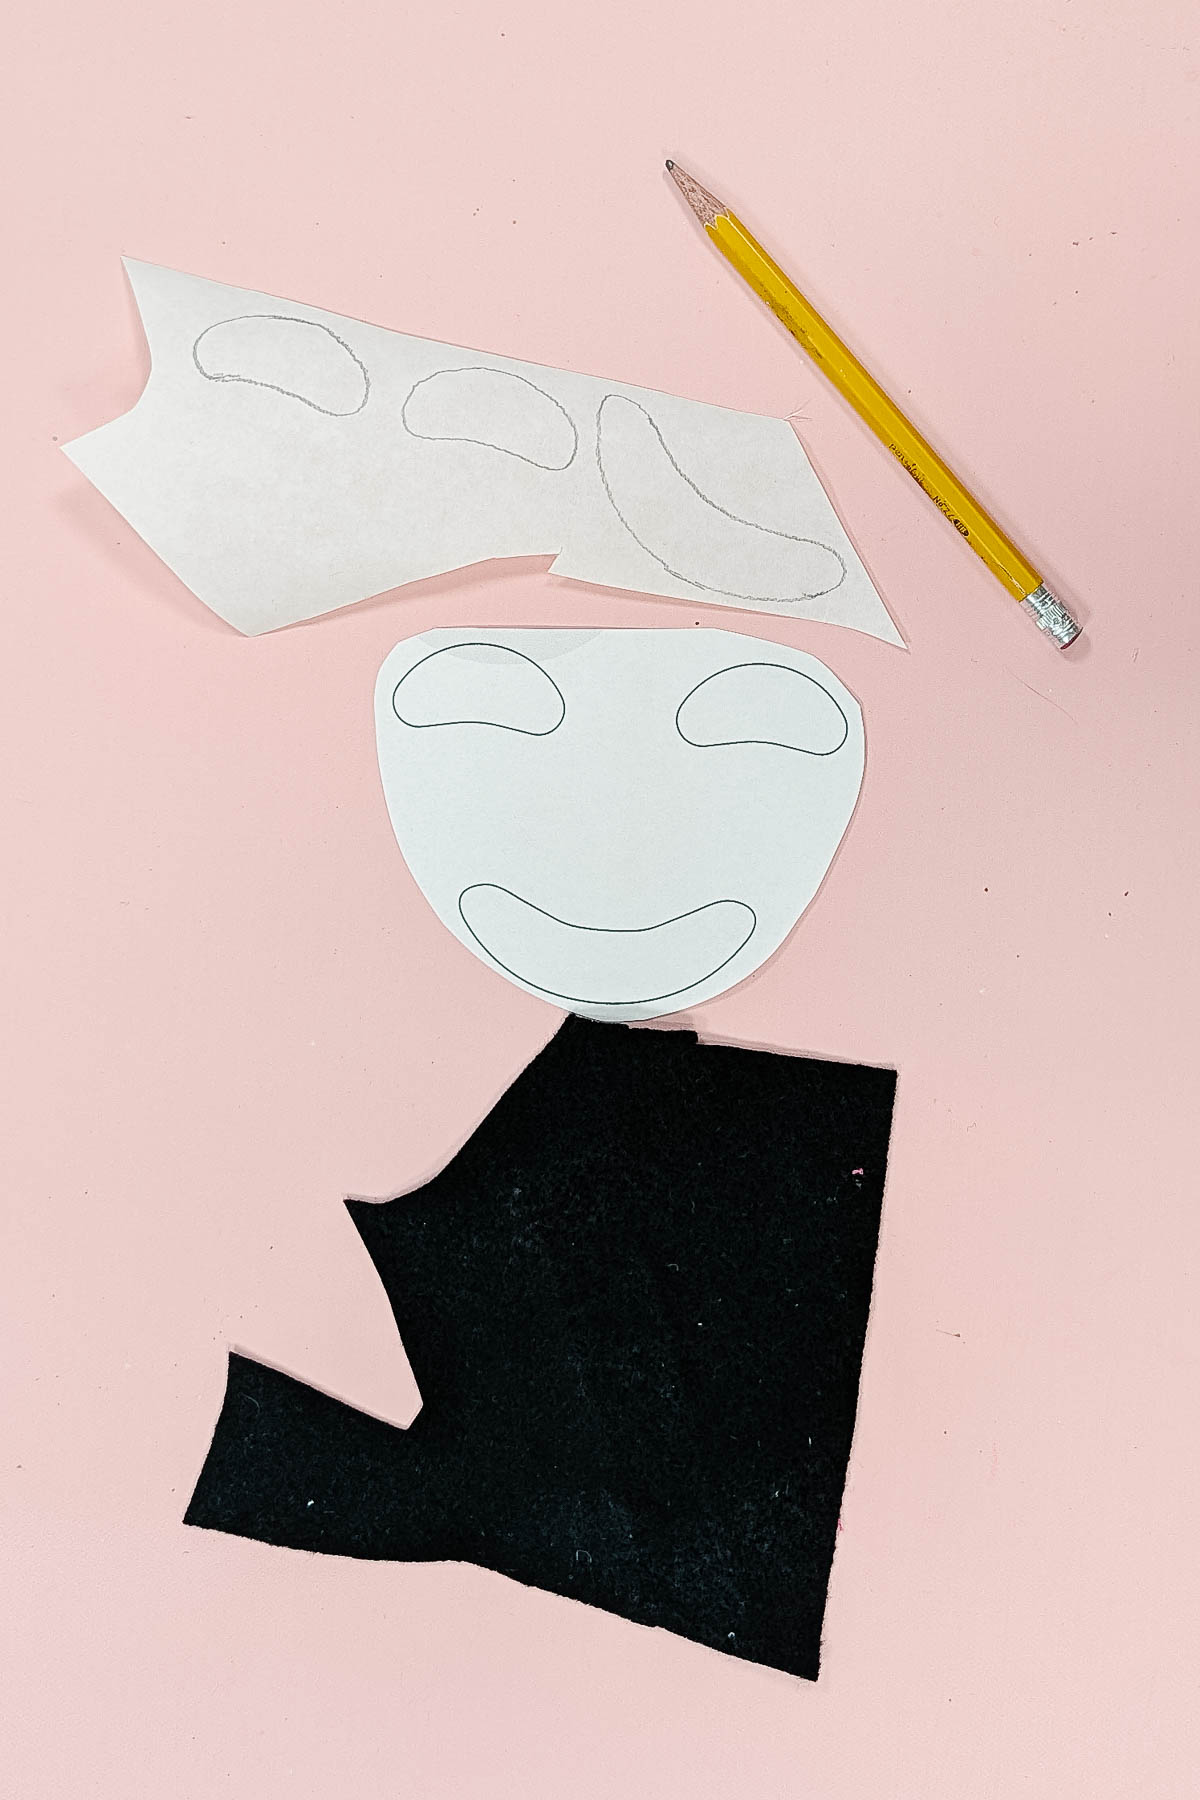
Iron the fusible double sided adhesive onto the felt.
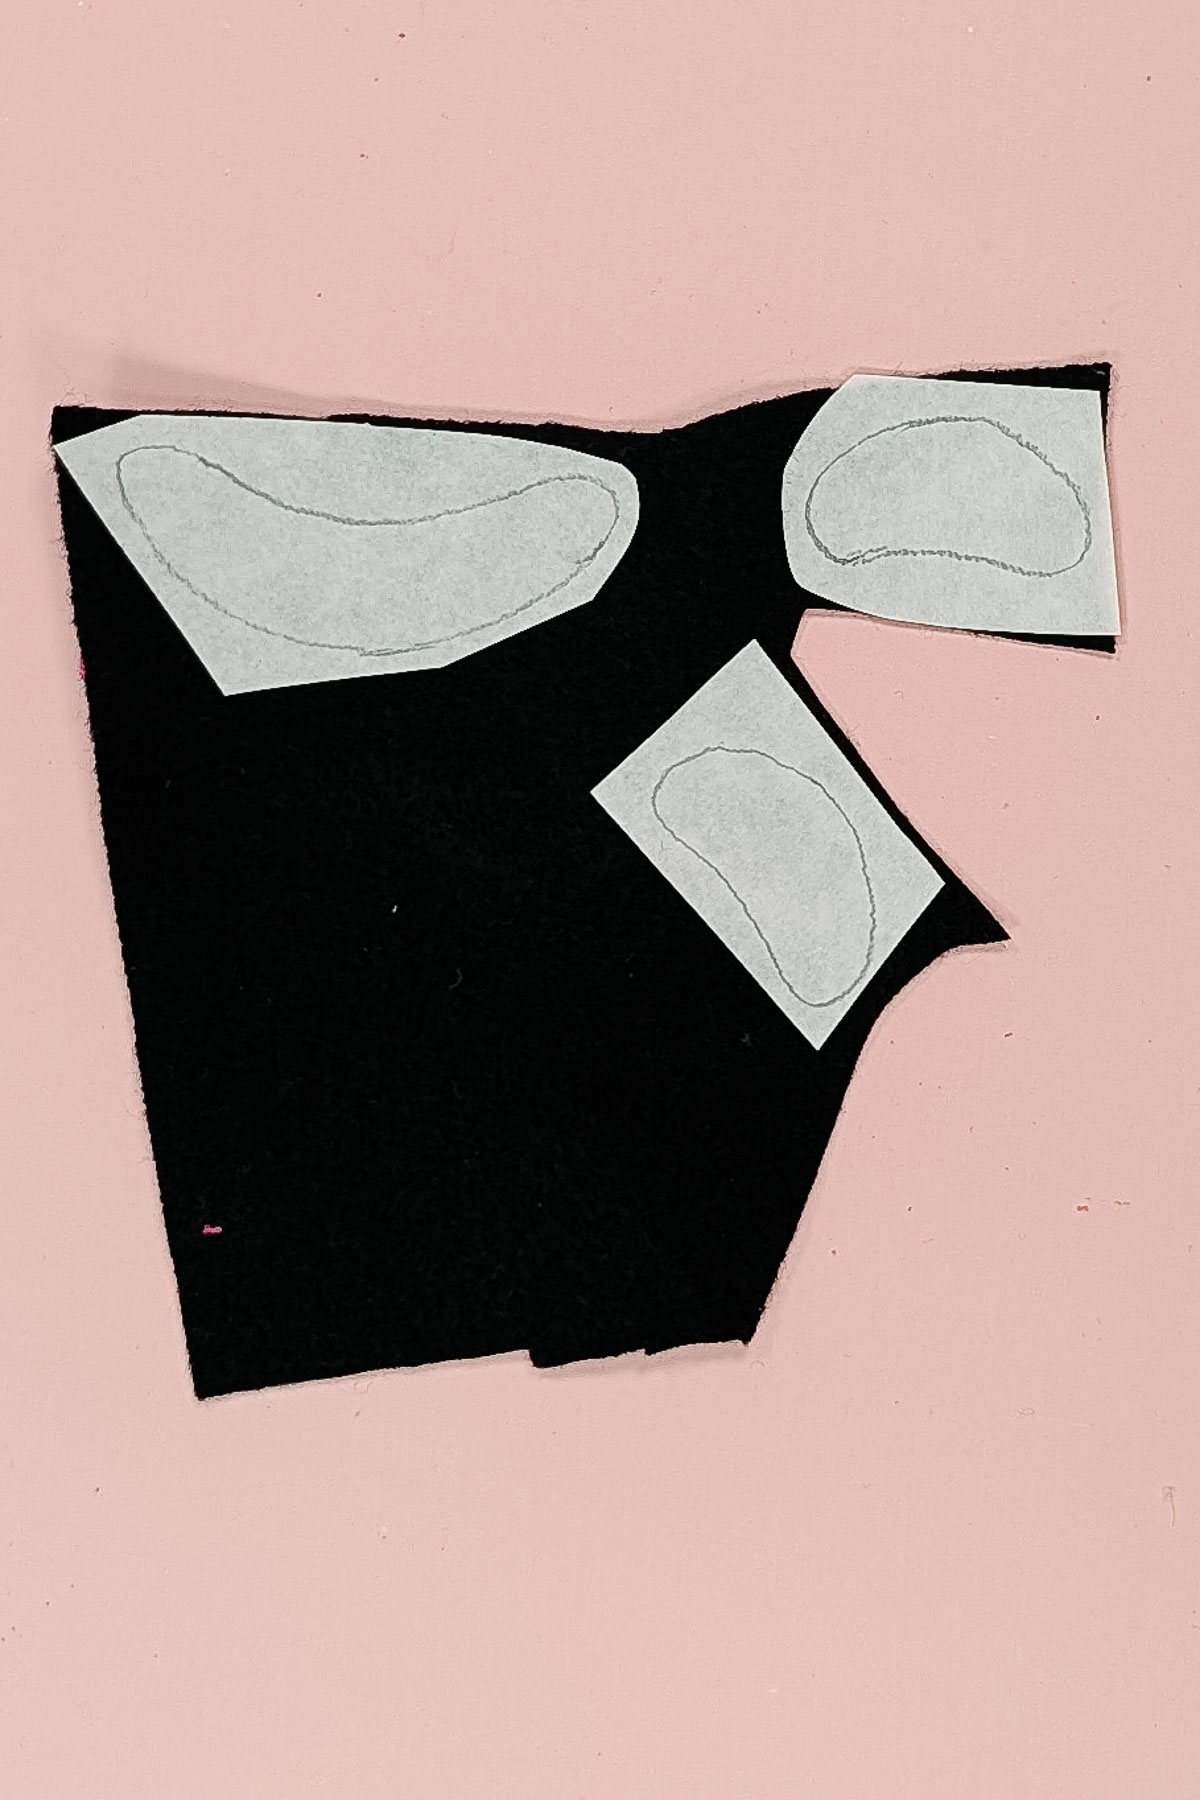
Cut out the pieces along the pencil lines.
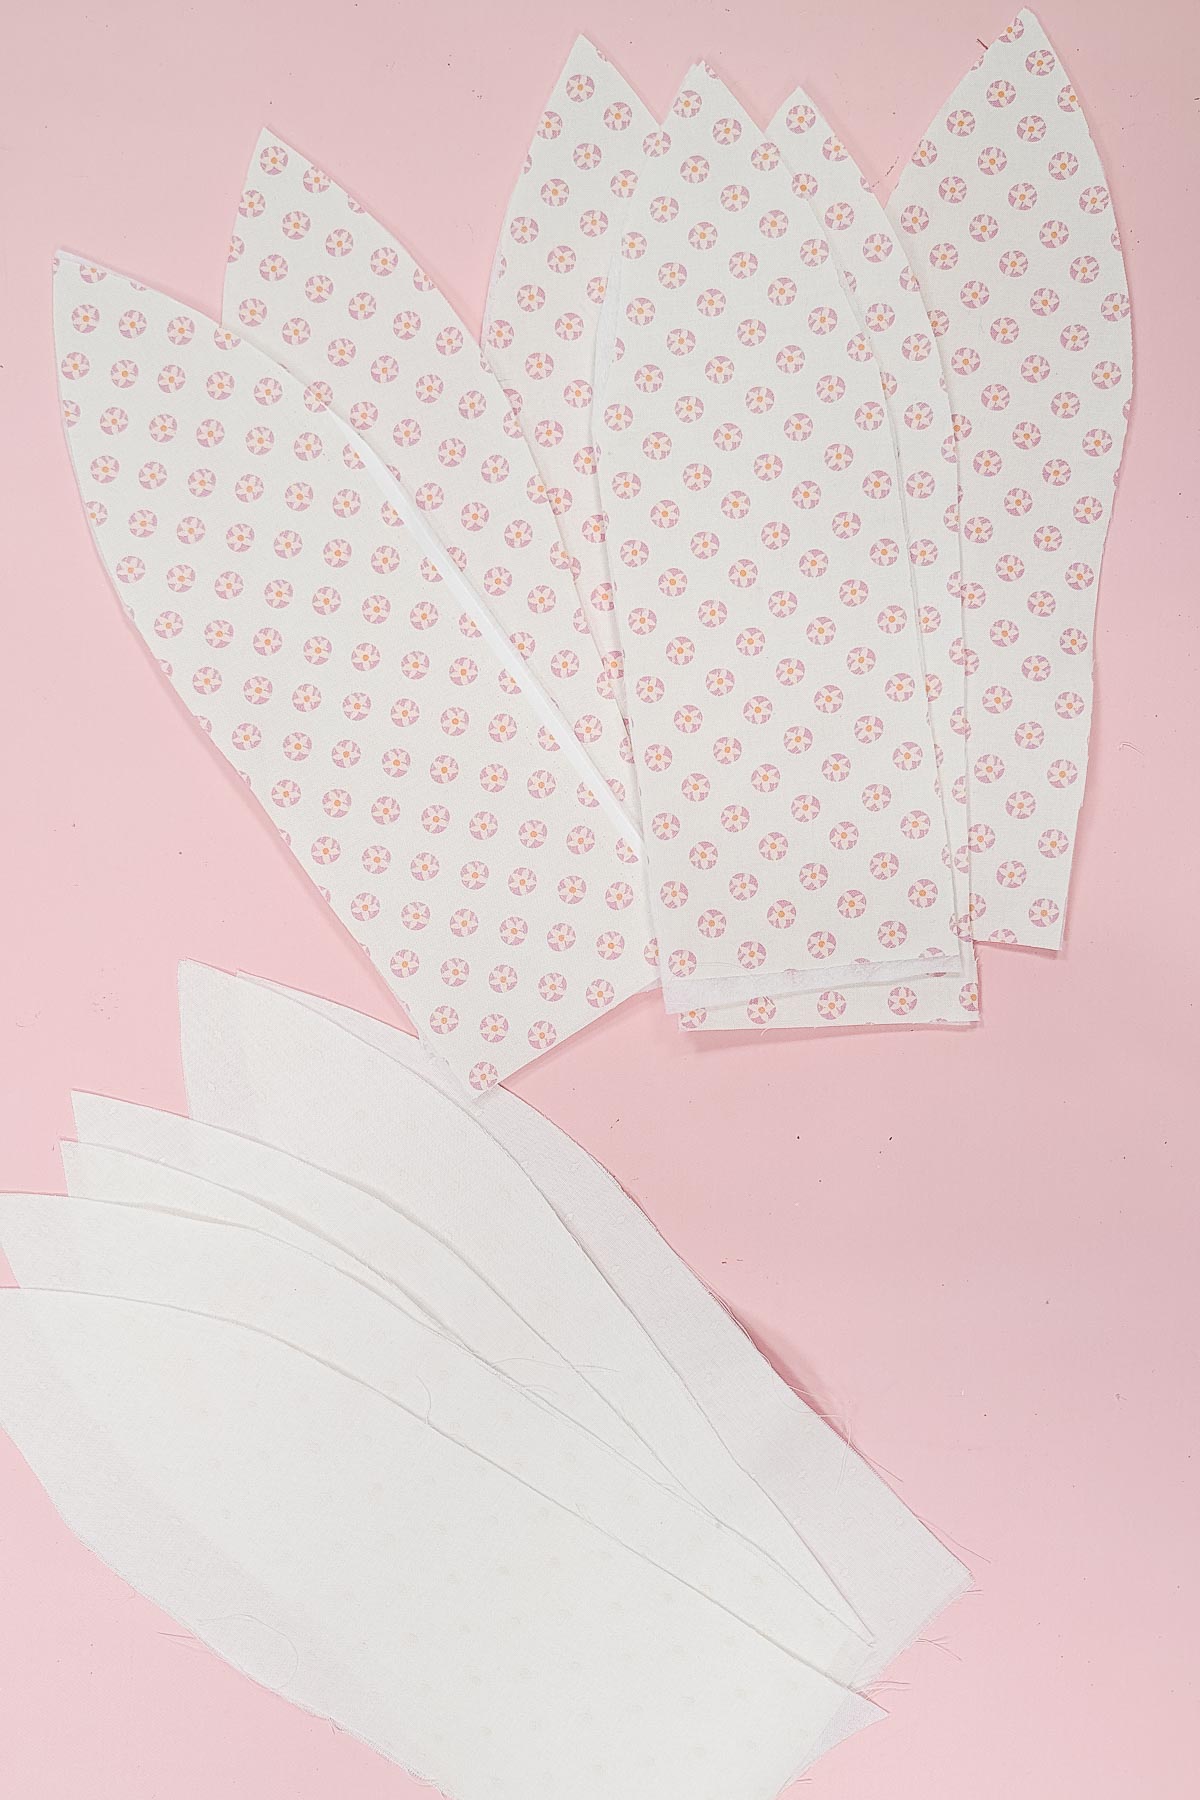
Cut out six pieces of: the outer fabric, the inner fabric, the fusible interfacing, and the fusible fleece.
I didn’t cut the shape at the bottom until the interfacing and fleece was fused to the fabric so I could get stiffer fabric for a more accurate cut.
Fuse the fusible fleece to the outer fabric pieces and fuse the fusible interfacing to the inner fabric pieces.
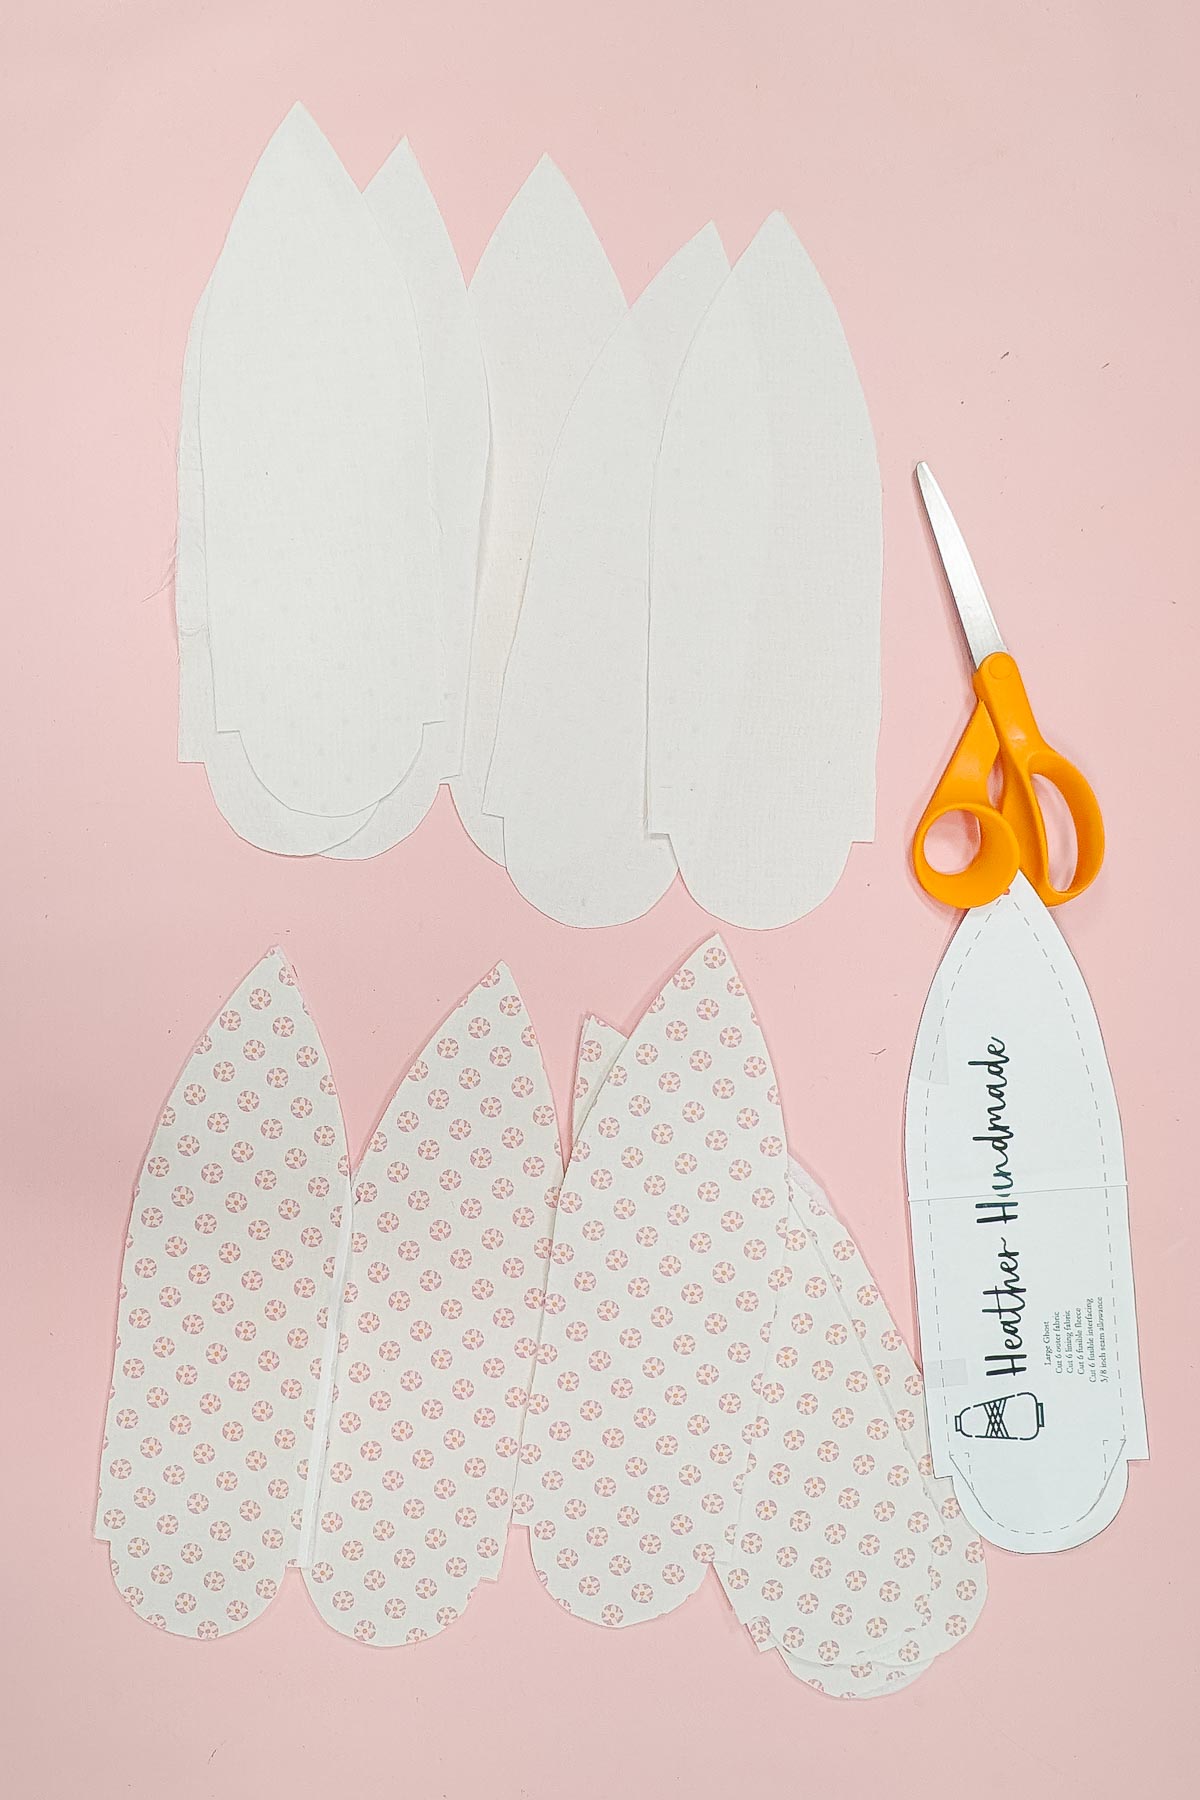
Cut the curved shape at the bottom on all the pieces.
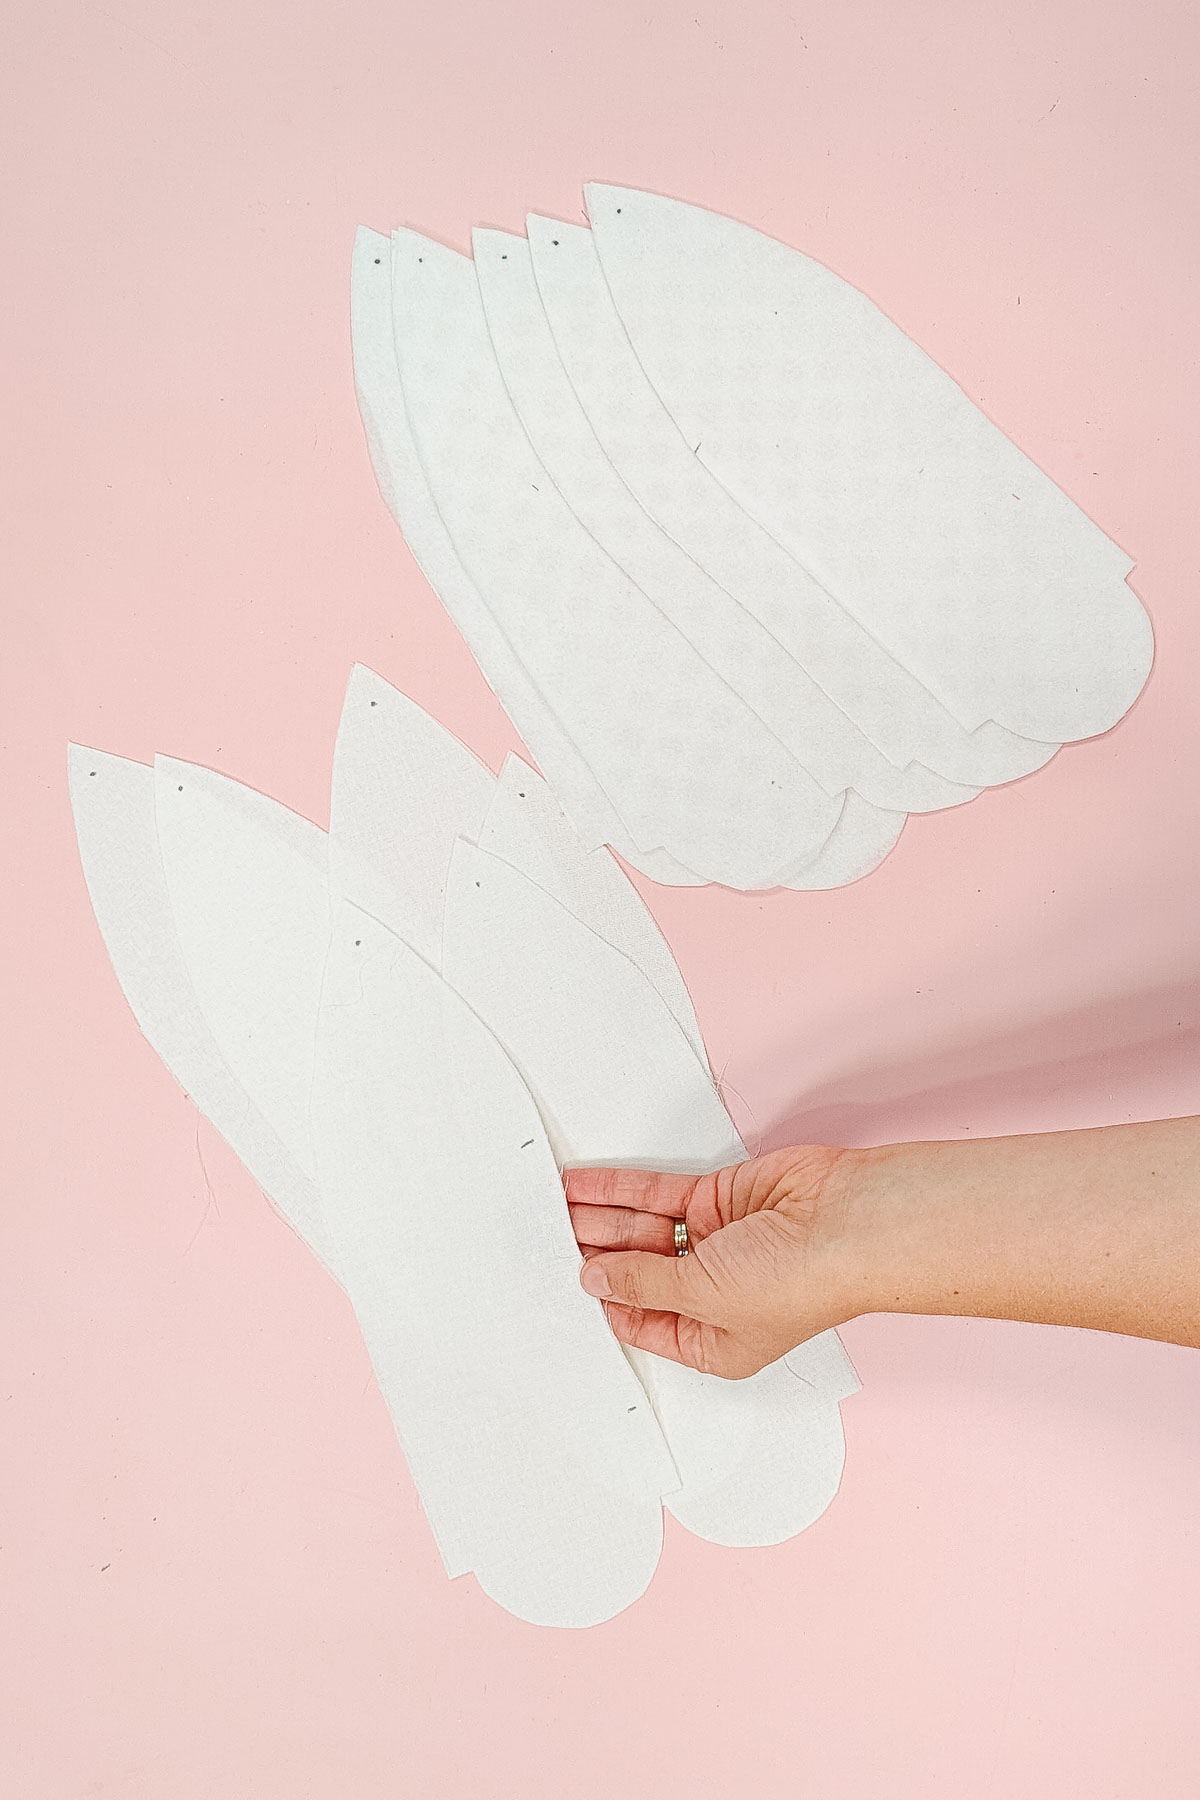
Transfer the mark onto the top of each piece. Mark an opening on one of the lining pieces to remind you to leave a hole for turning.
Add quilting lines to the out fabric pieces. You can choose whatever style of quilting you like.
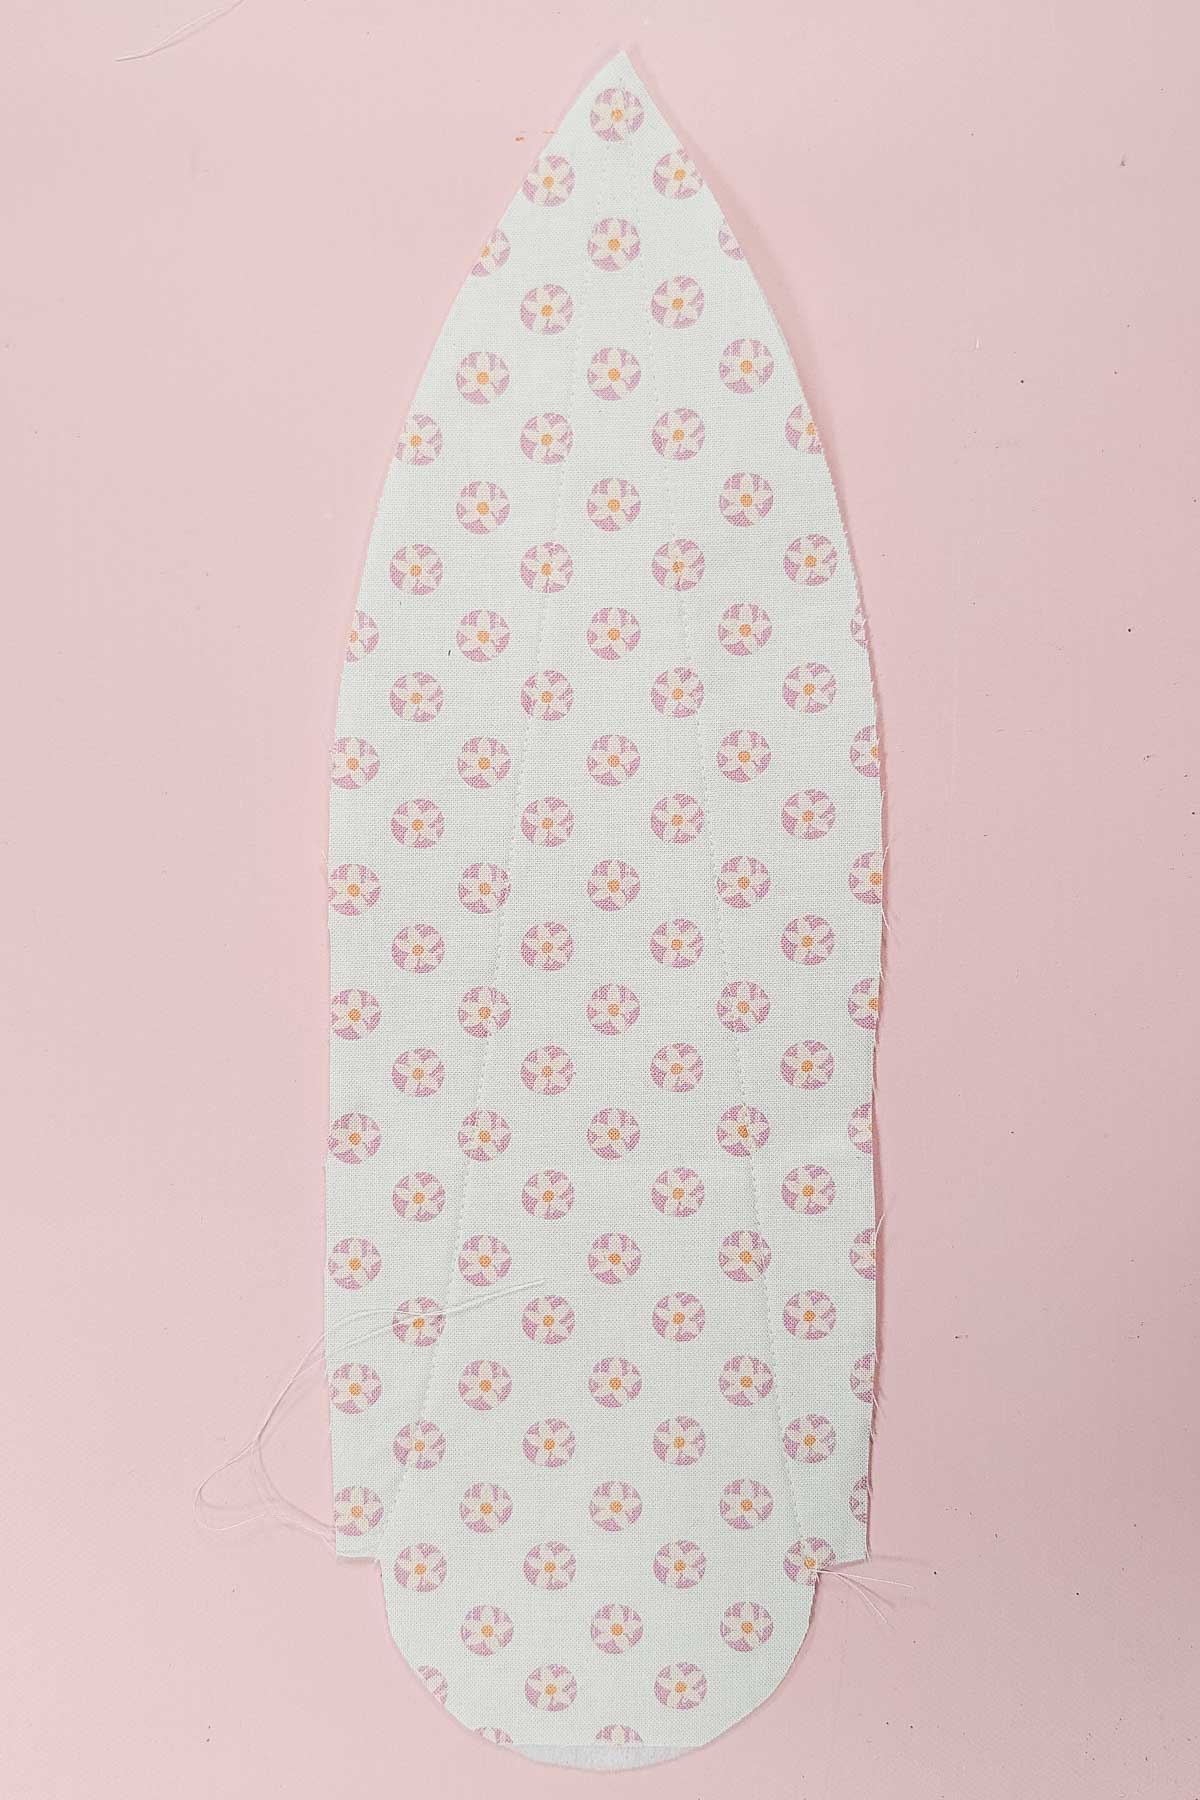
Take two of the outer ghost pieces. Sew the side seam with a 3/8 inch seam allowance up to the curve and stop. Press the seam to one side.
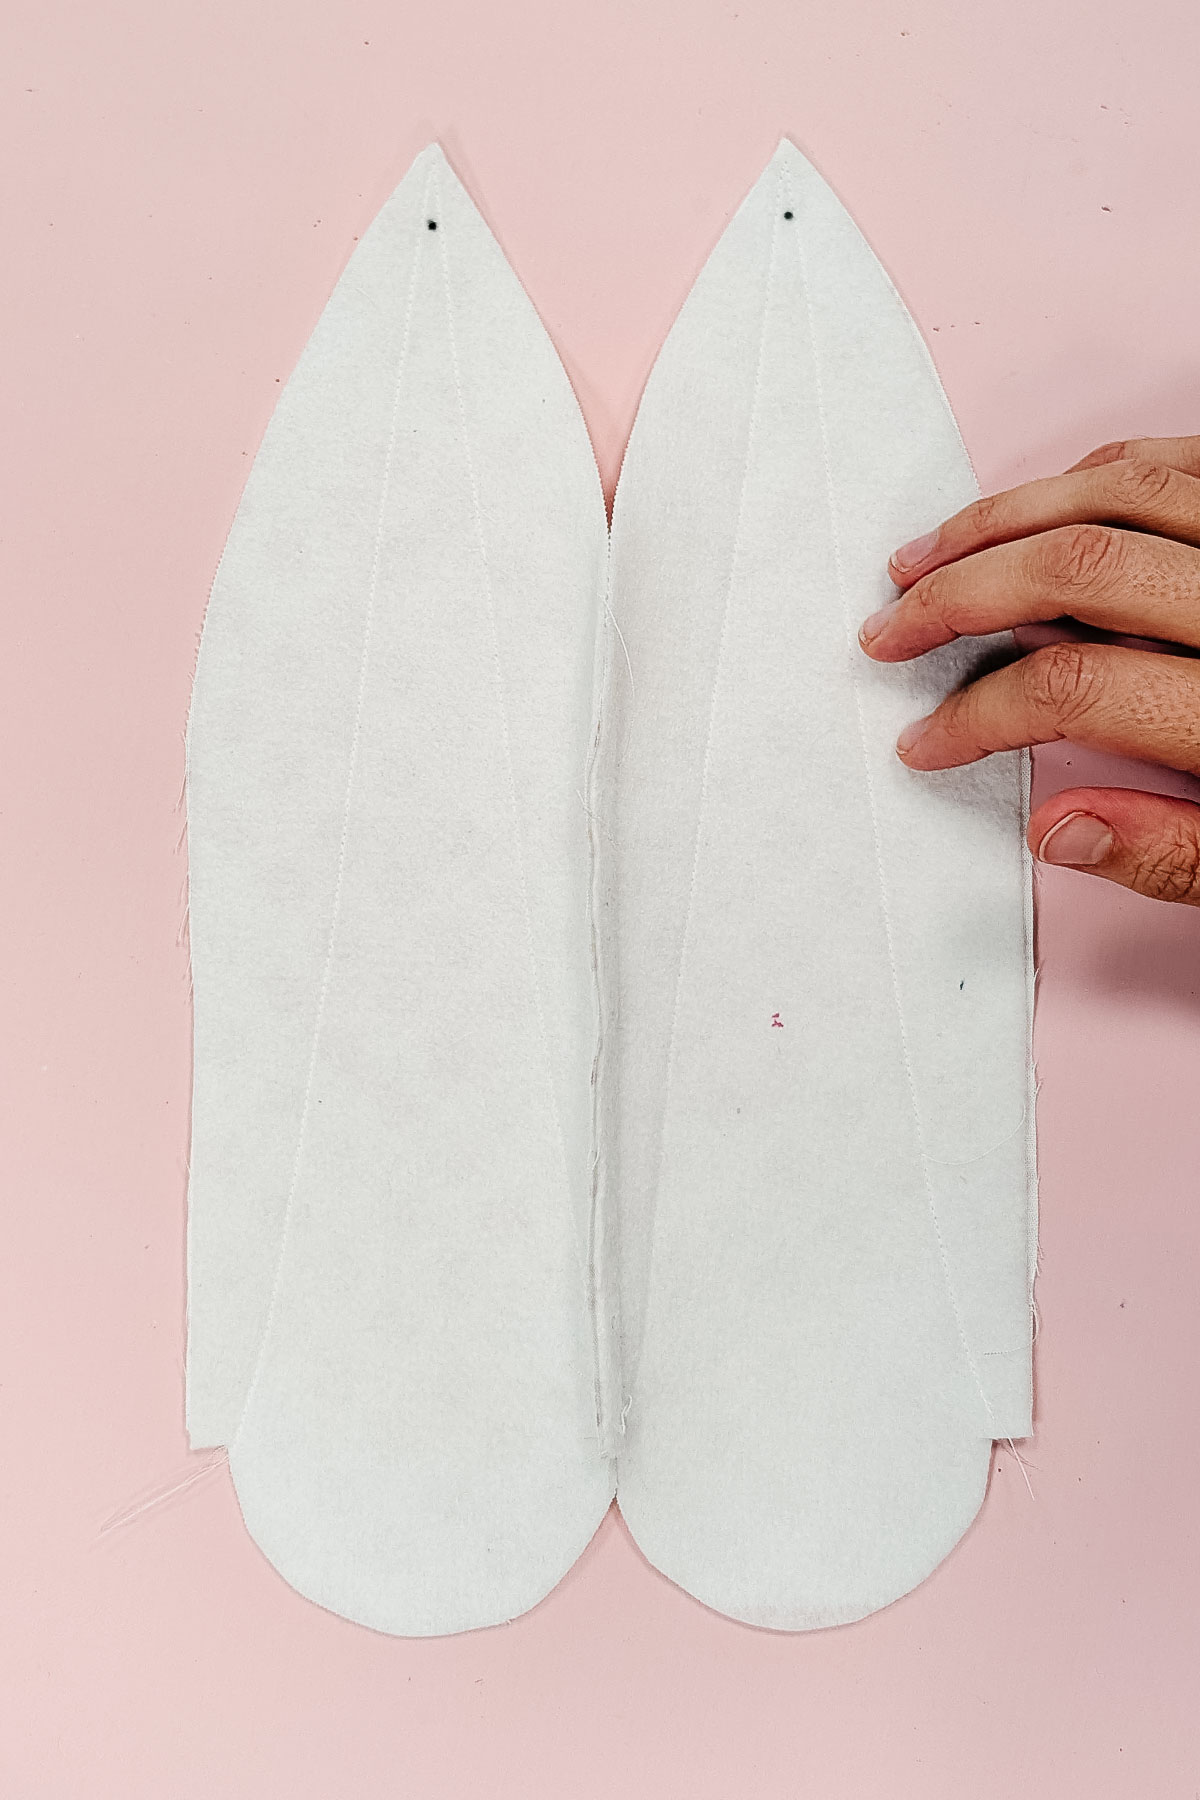
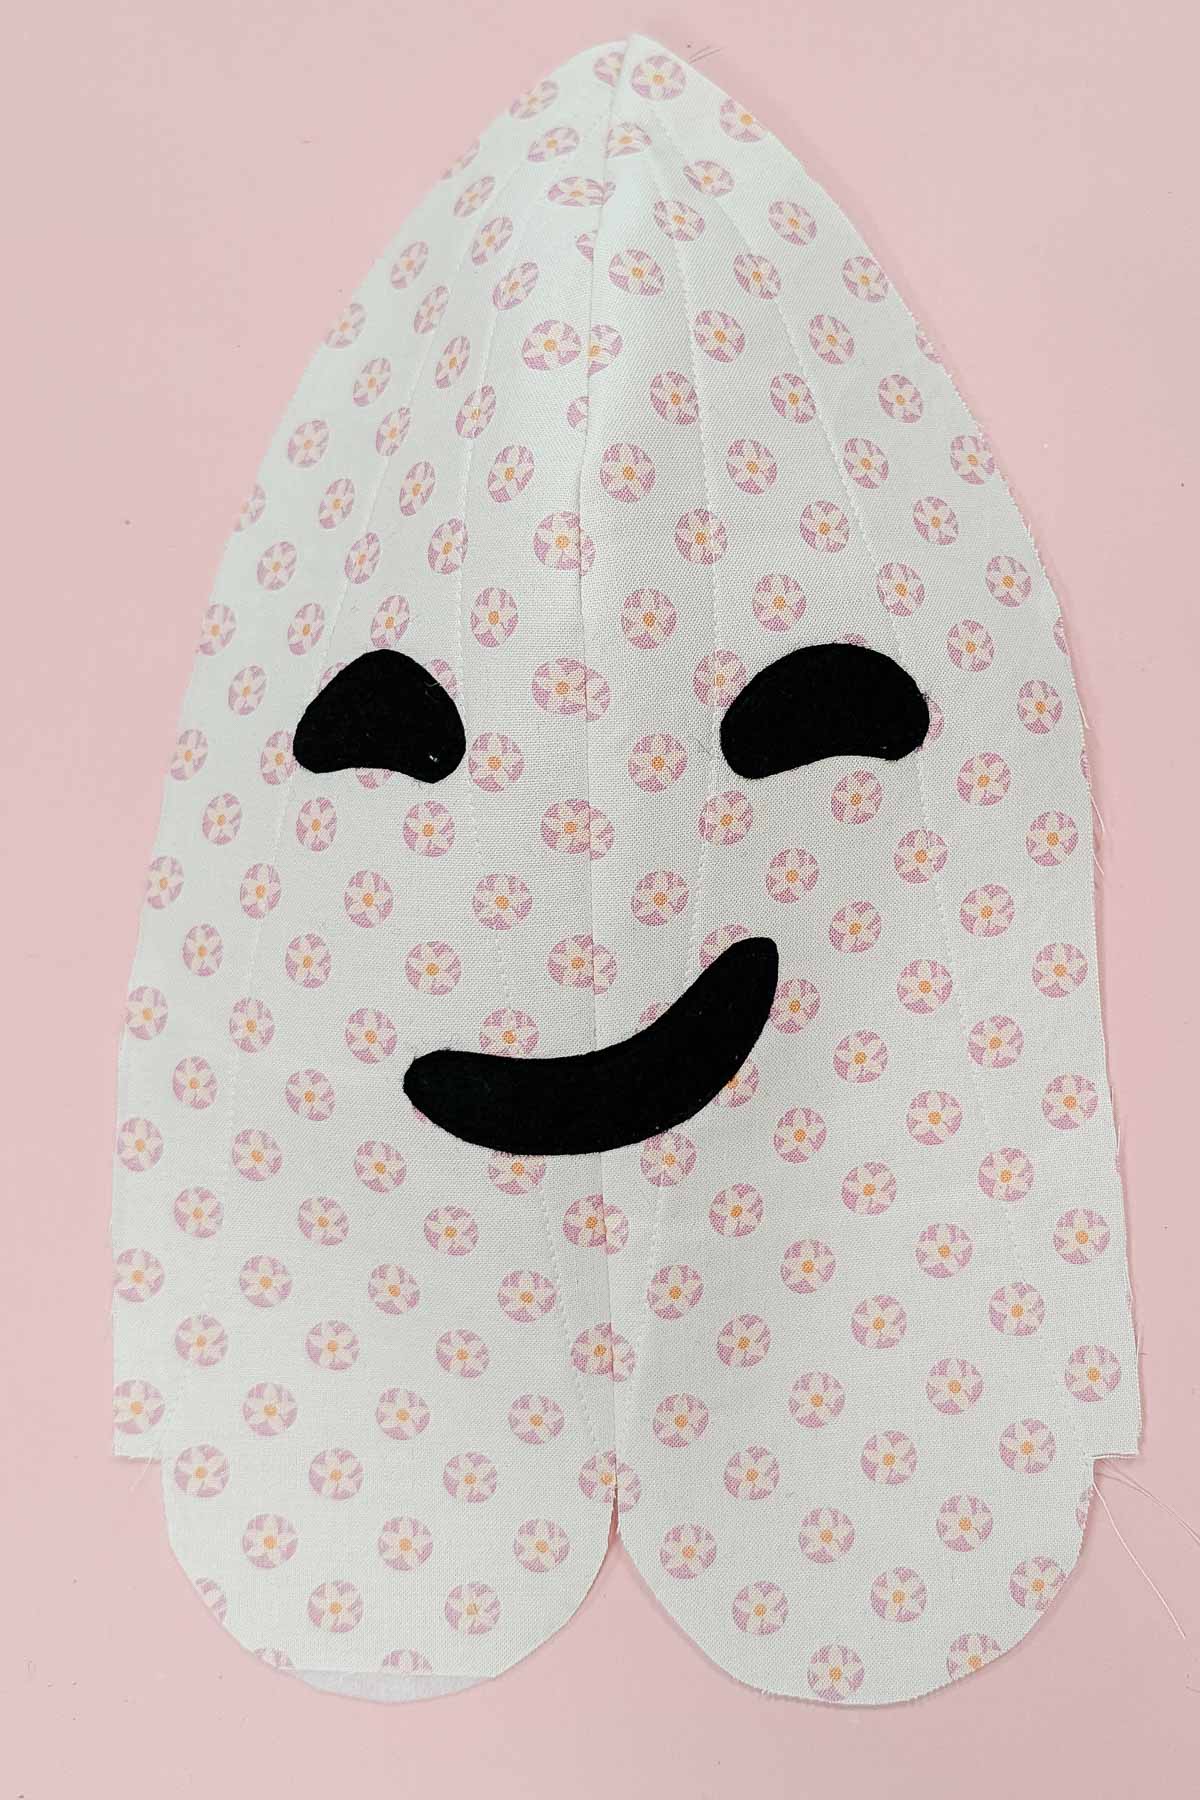
Peel the paper backing off of the ghost face pieces. Place them onto the ghost where you want the face and fuse in place.
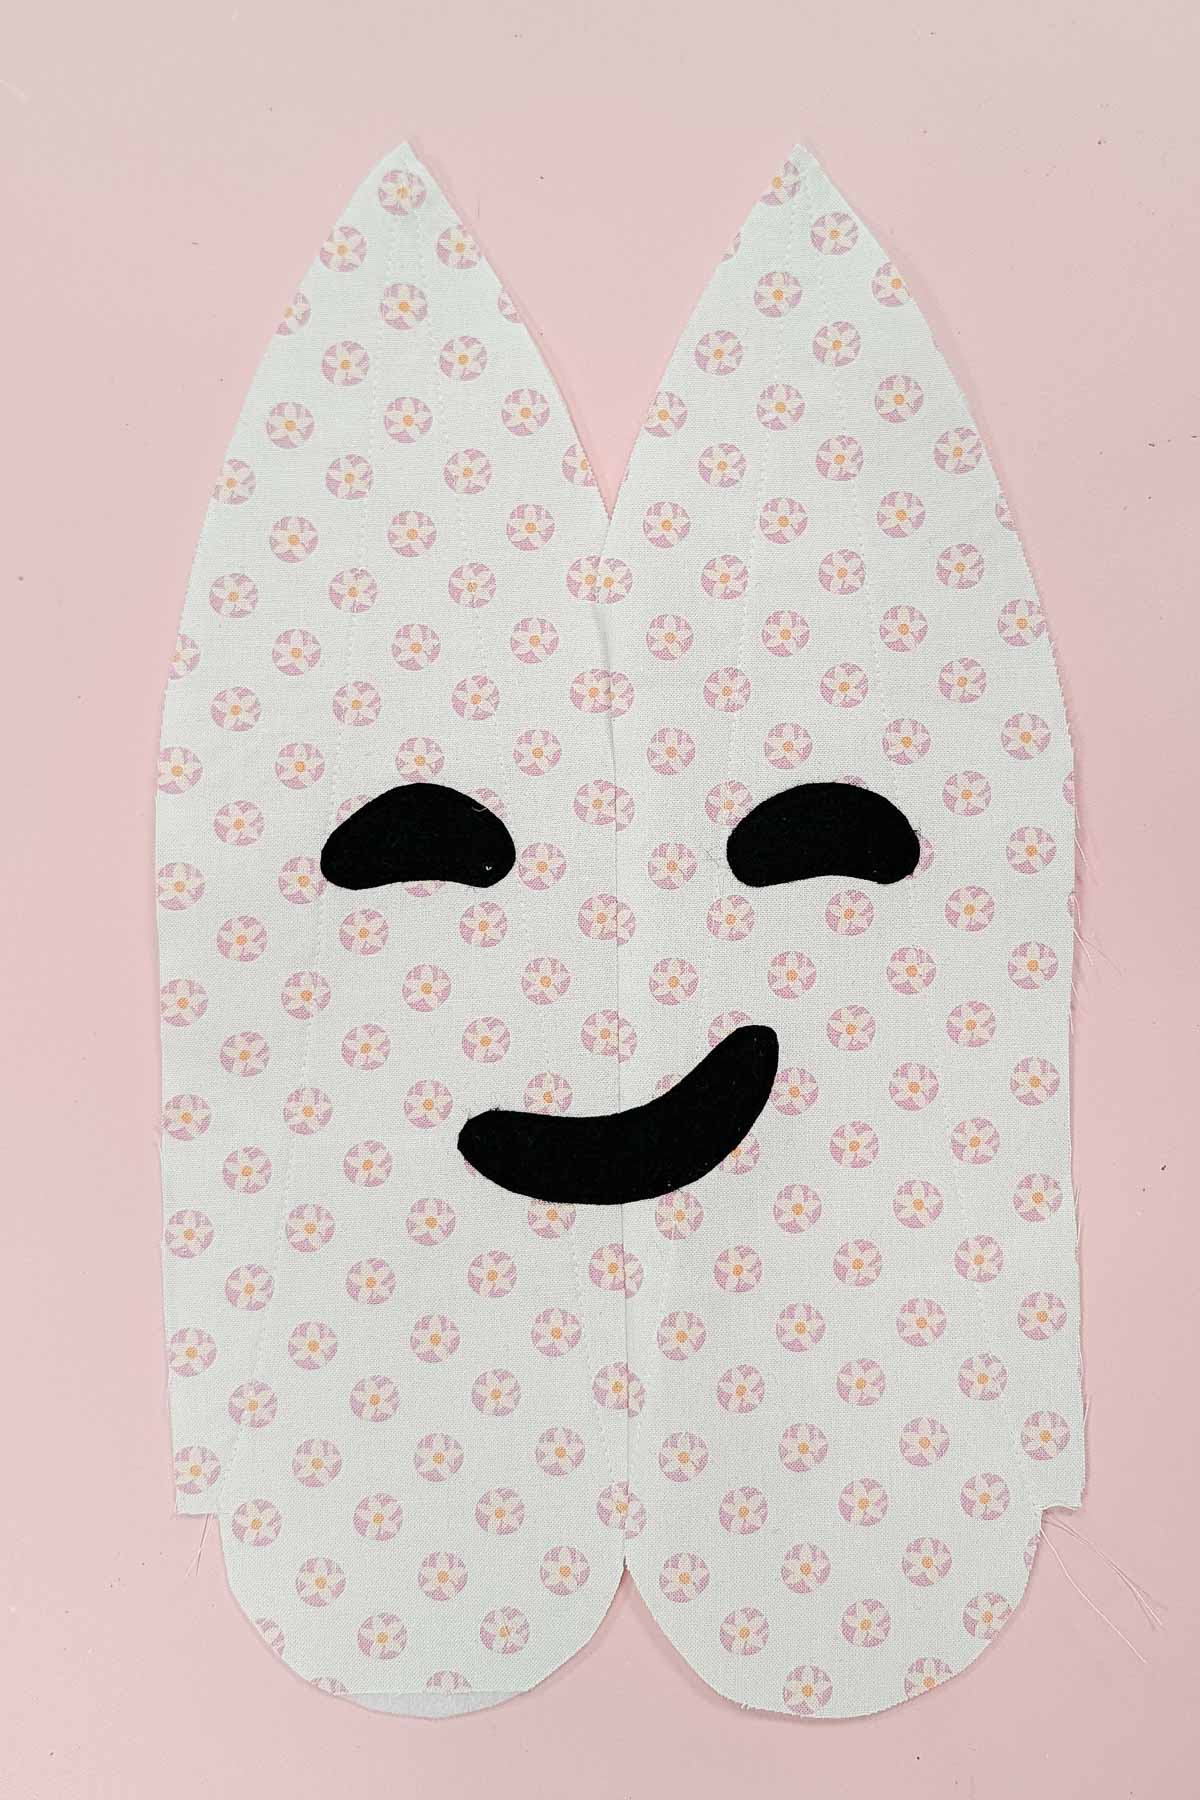
Sew around each face piece with black thread.
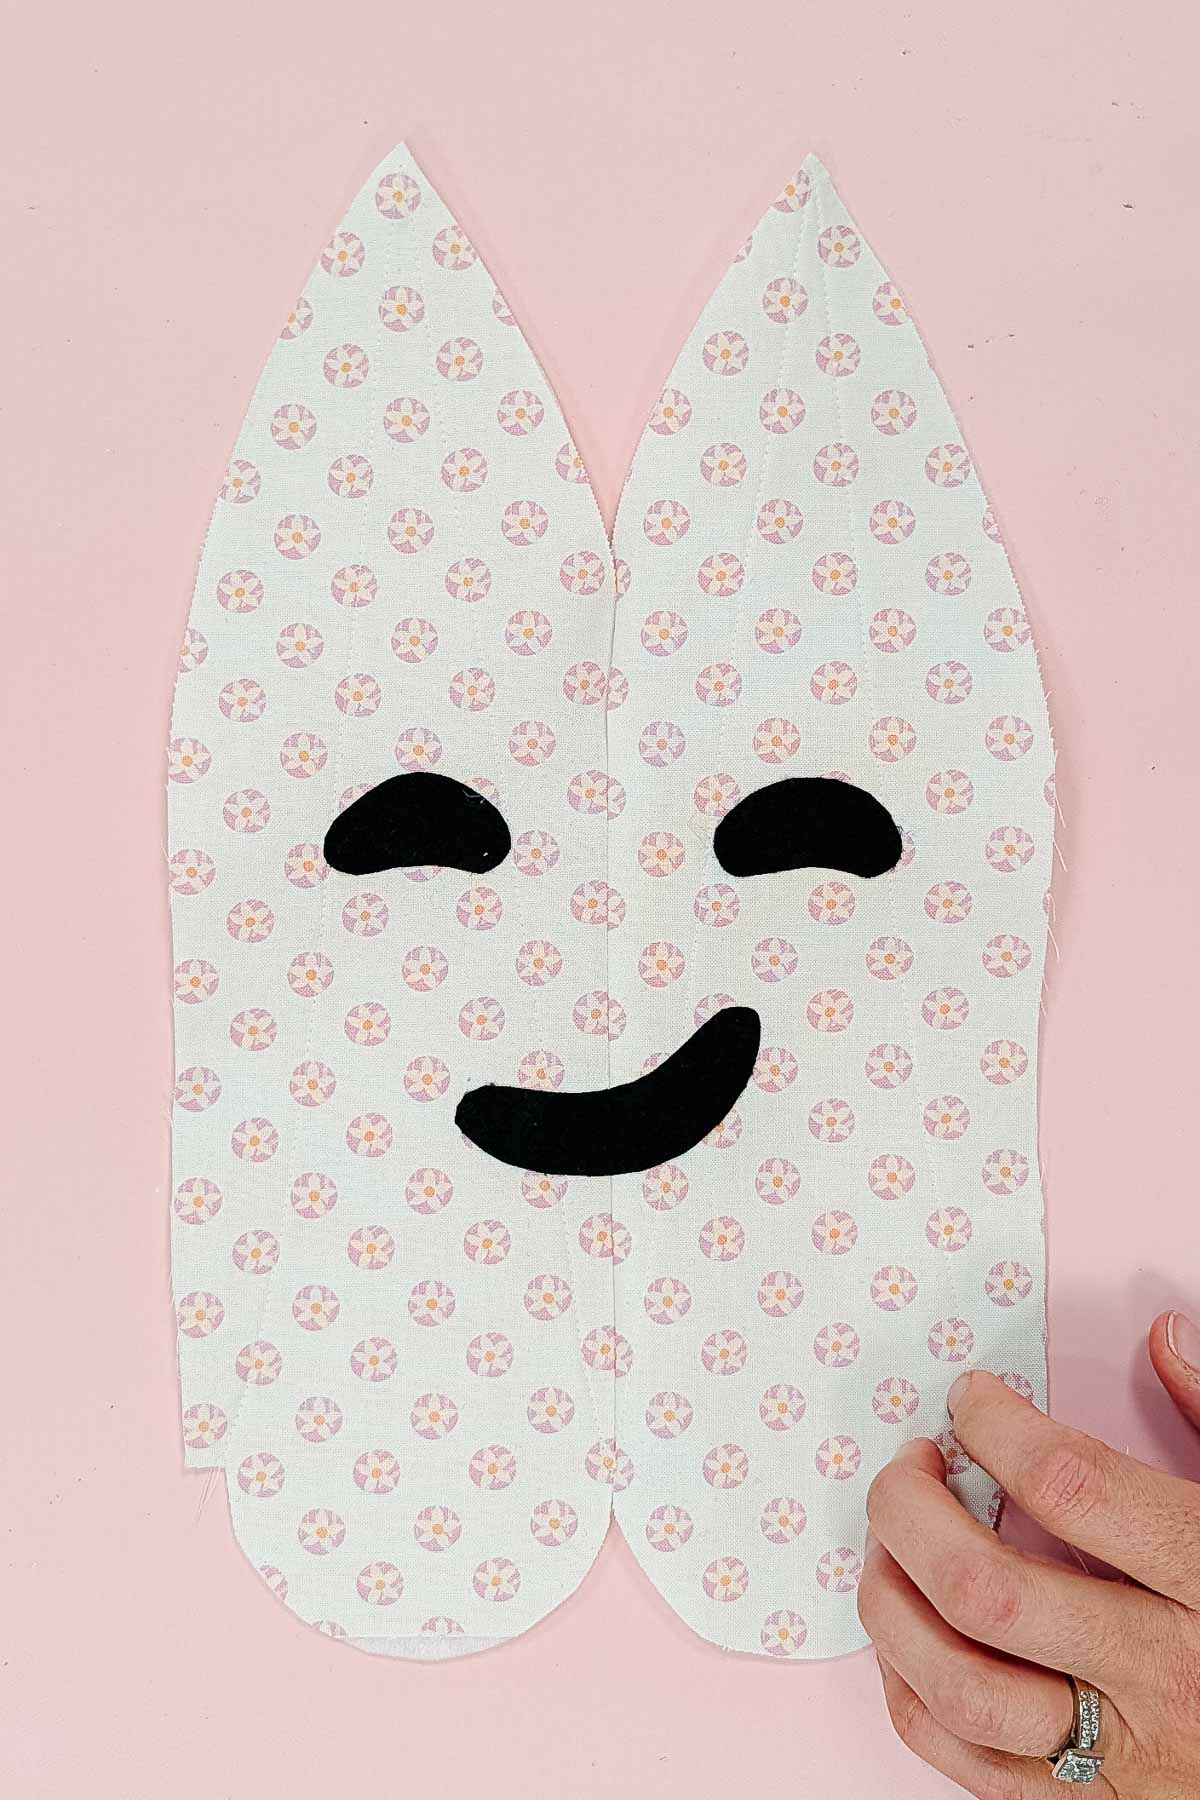
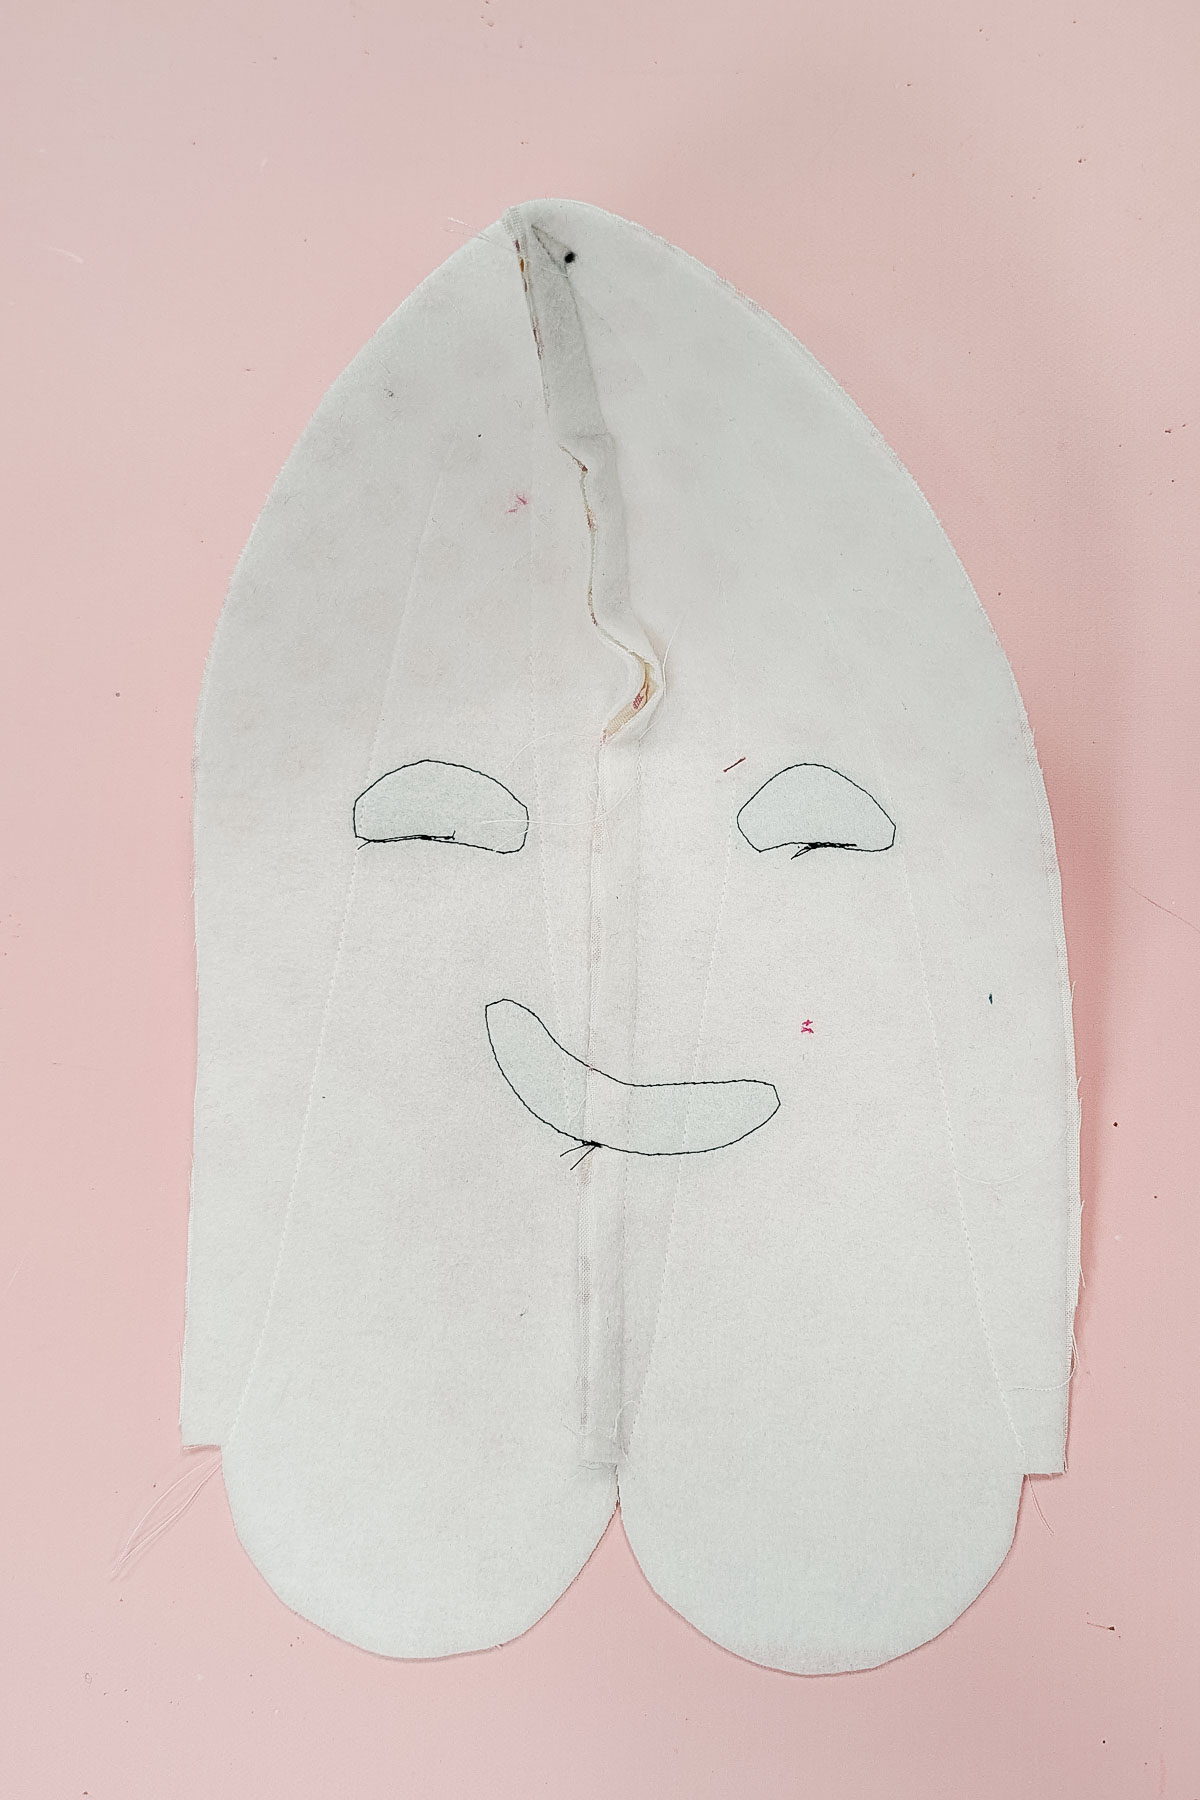
Sew the rest of the side seam up to the mark and backstitch.
This is what the inside looks like.
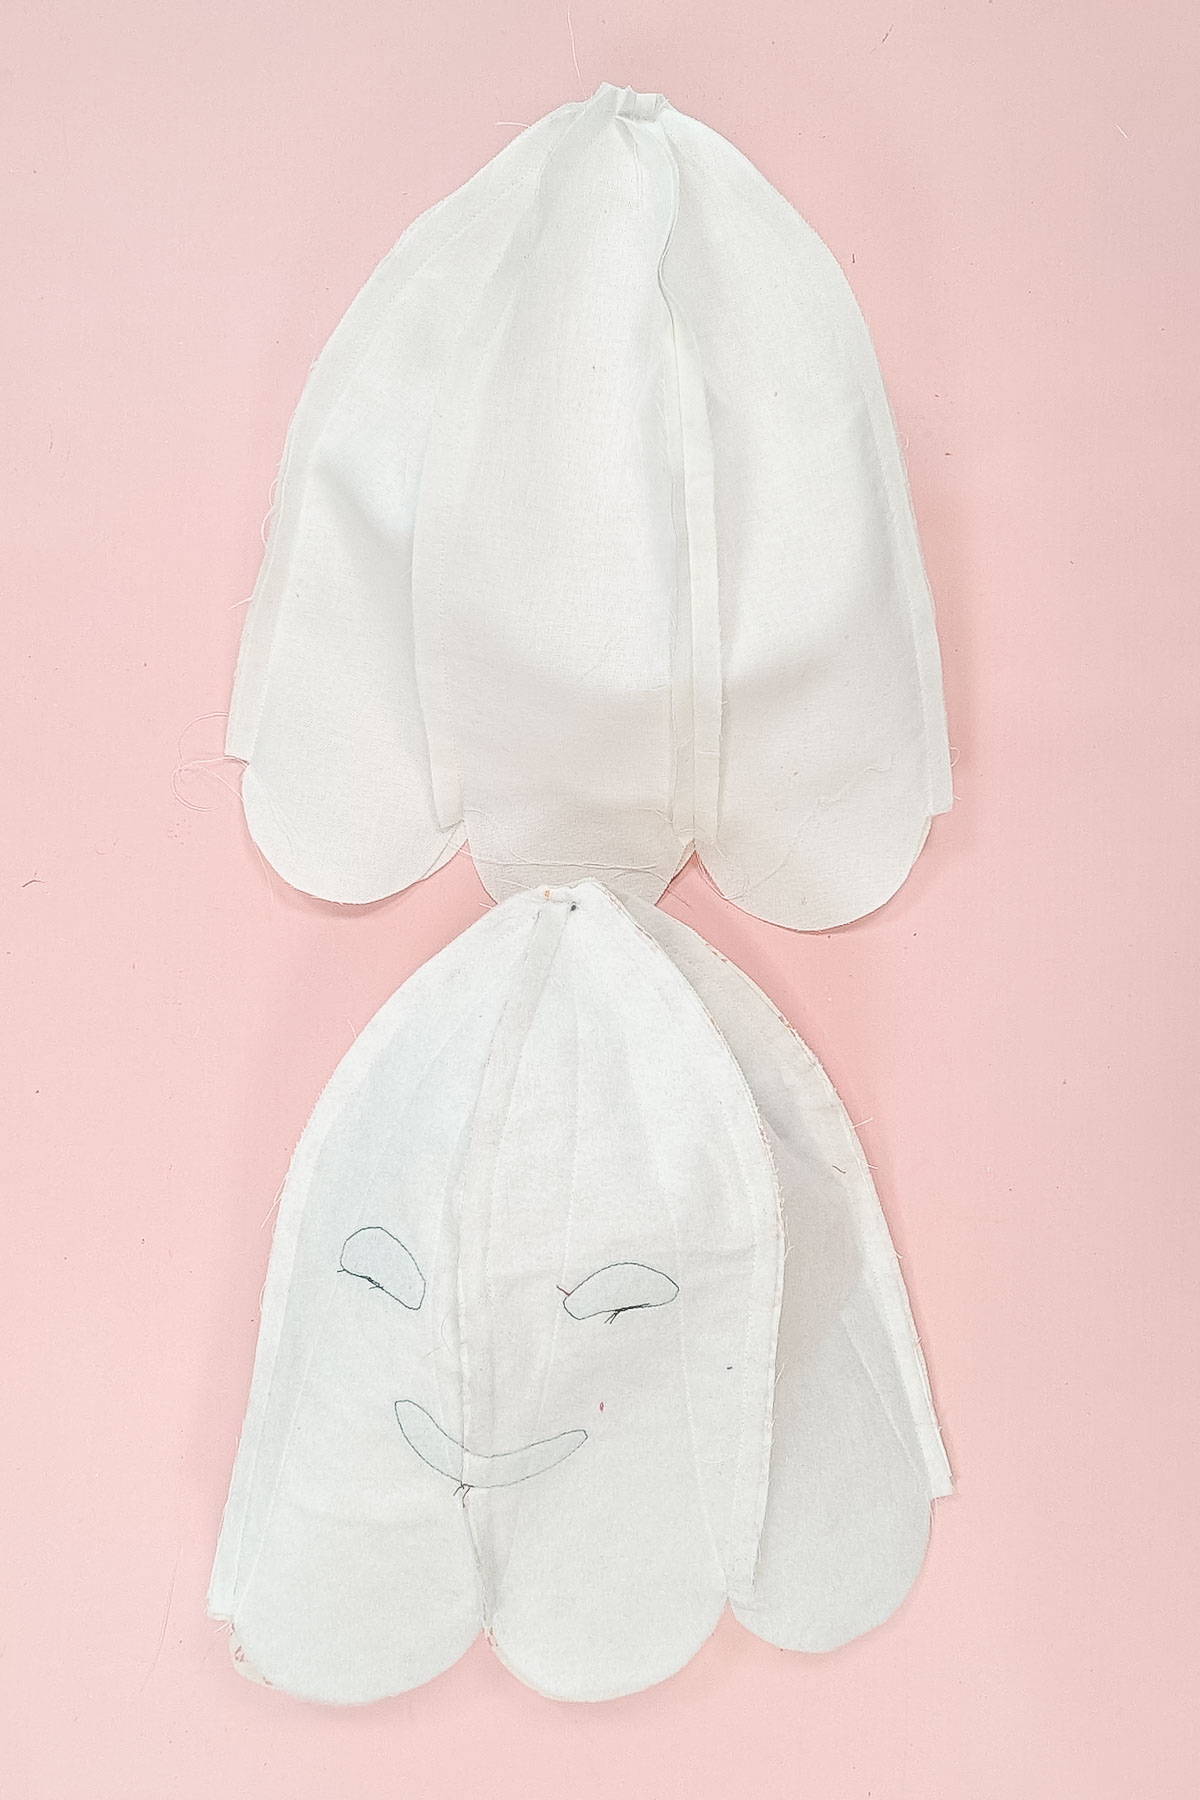
Sew all six of the outer pieces together stopping at the mark. Sew all six of the inner pieces together stopping at the mark. Make sure to the leave 3 inch hole open on the inner ghost so you can turn it right side out later. Press all the seams to the side point in the same direction.
If you find there is still an opening at the top, you can add a little stitch at the mark to close it.
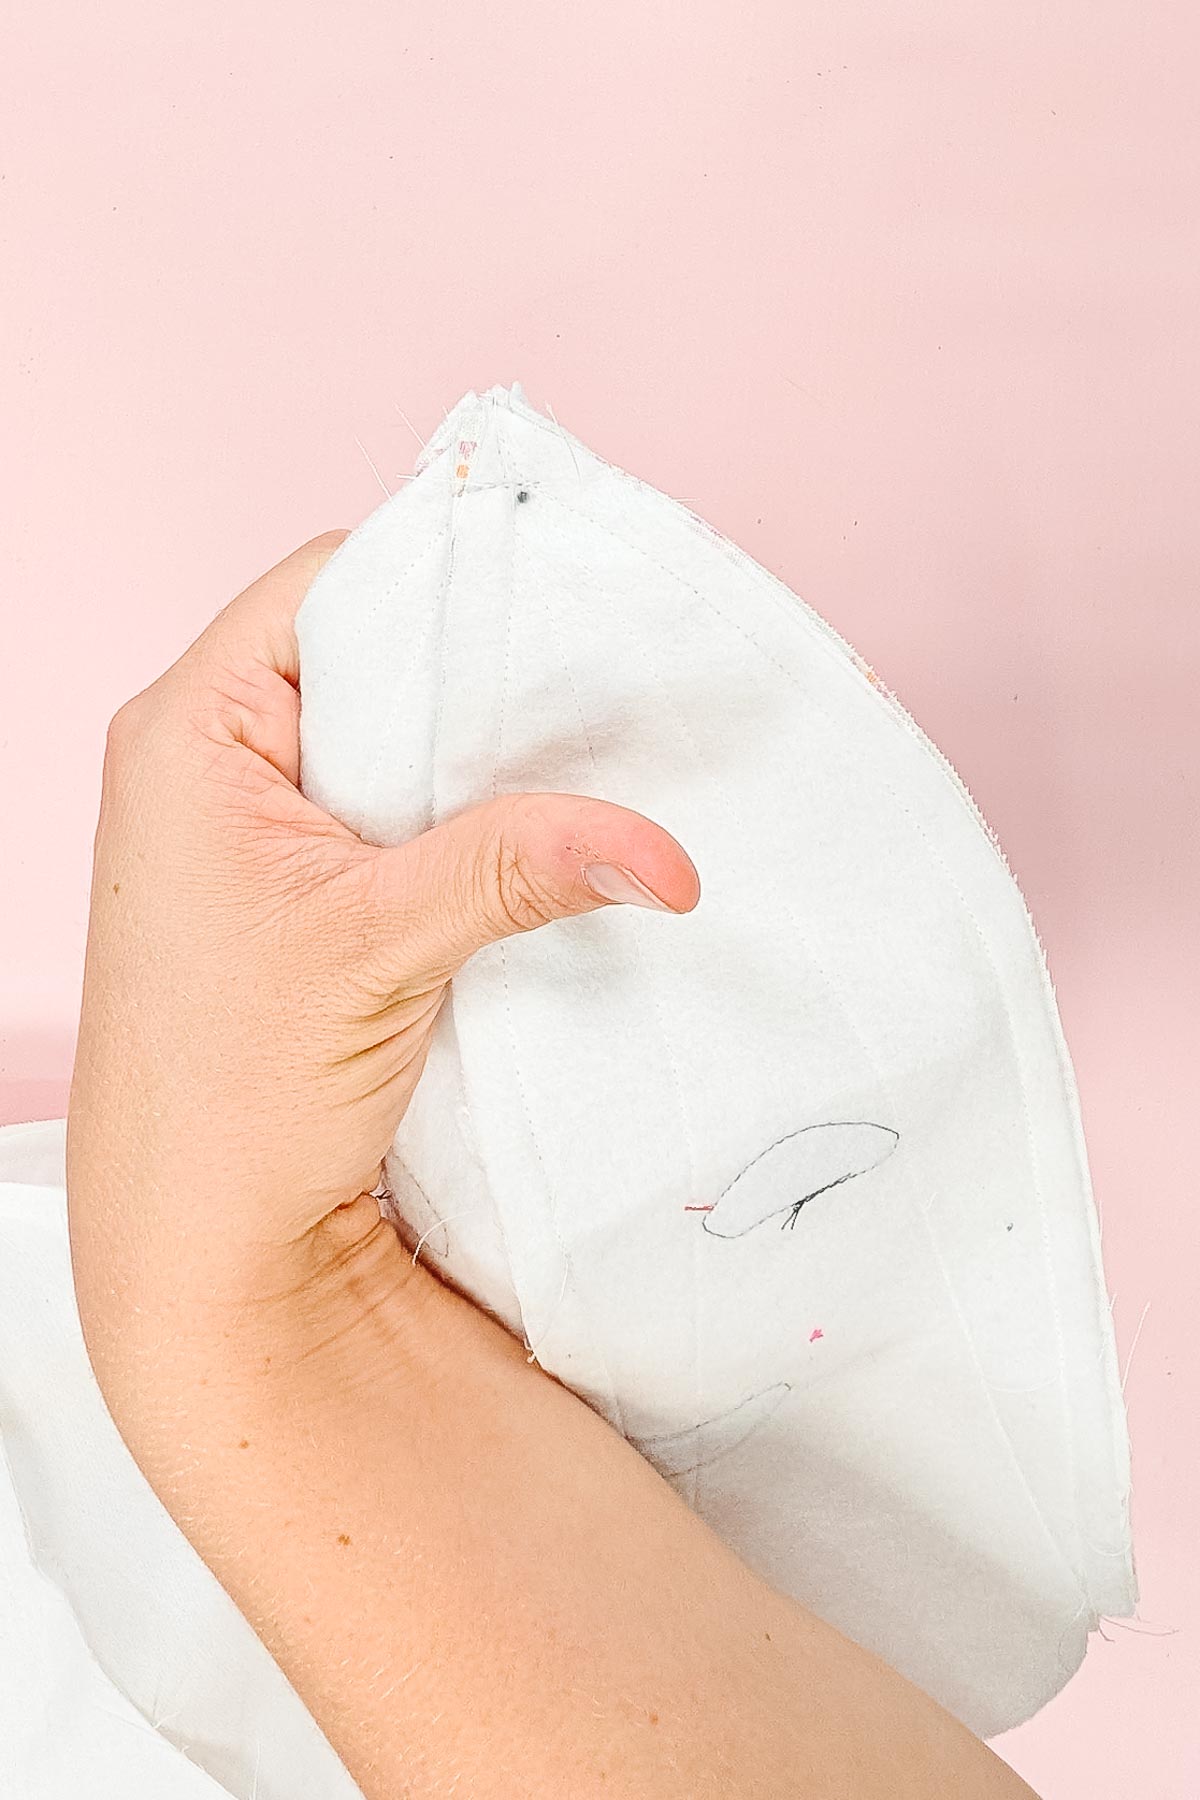
Trim the seam allowance at the top.
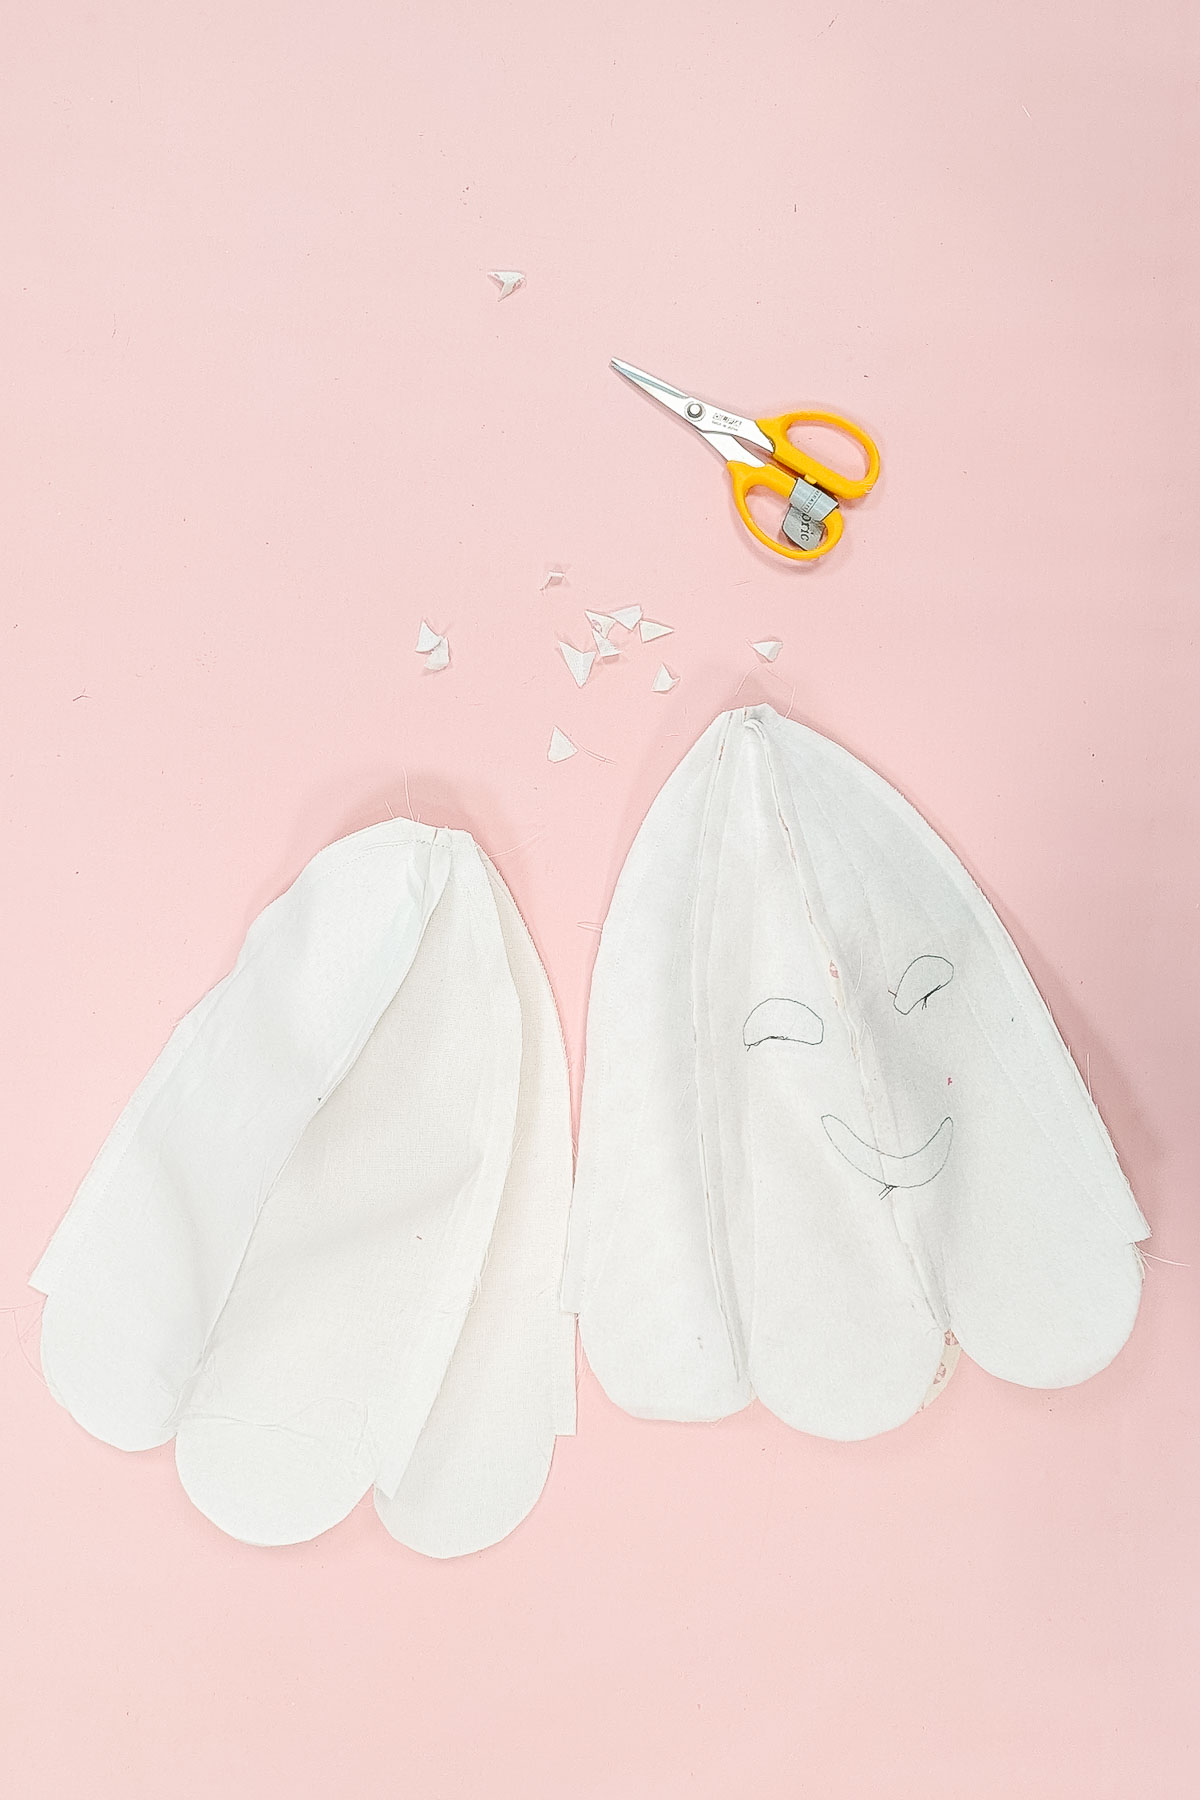
Turn the inner ghost right side out. Push it inside the outer ghost. Pin the points and curves together.
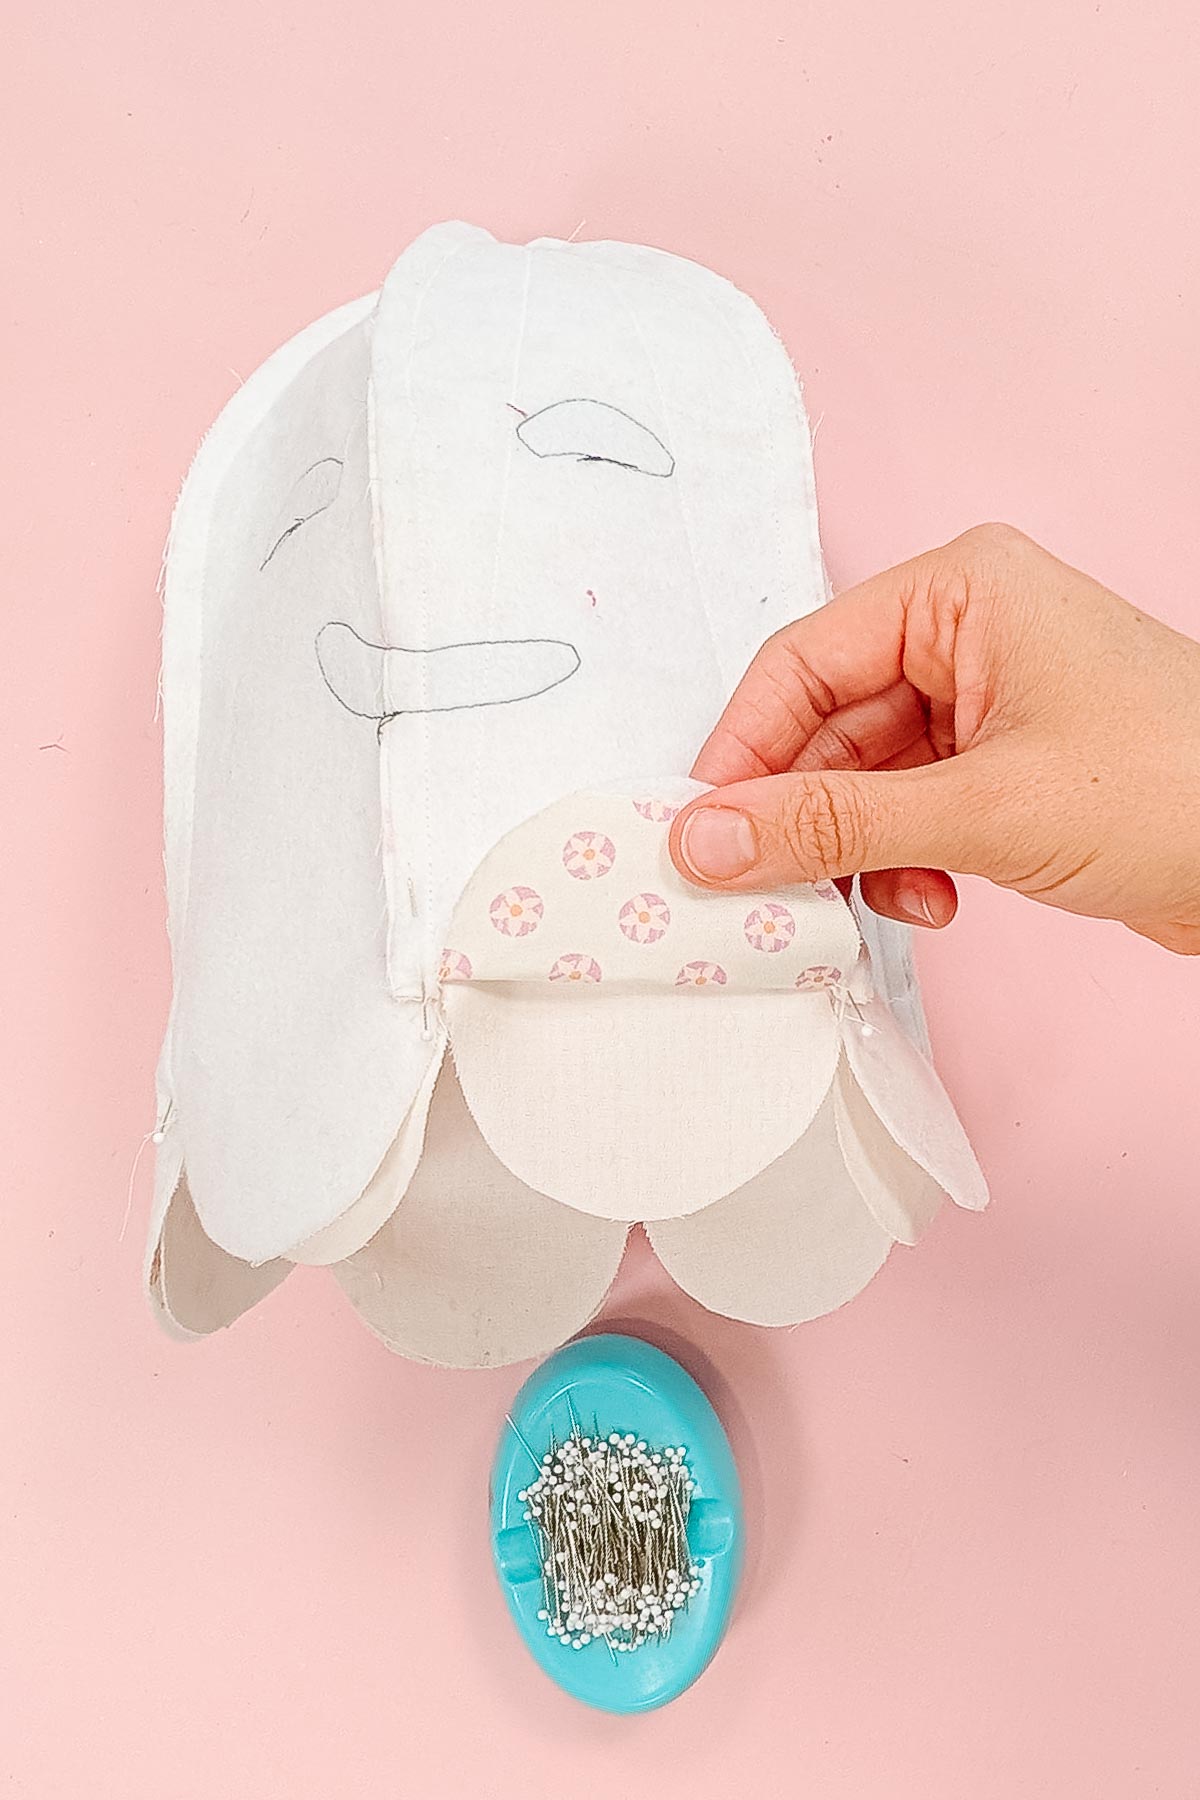
Sew the bottom edges together with a 3/8 inch seam allowance. Clip into the inner points and notch the outer curves.
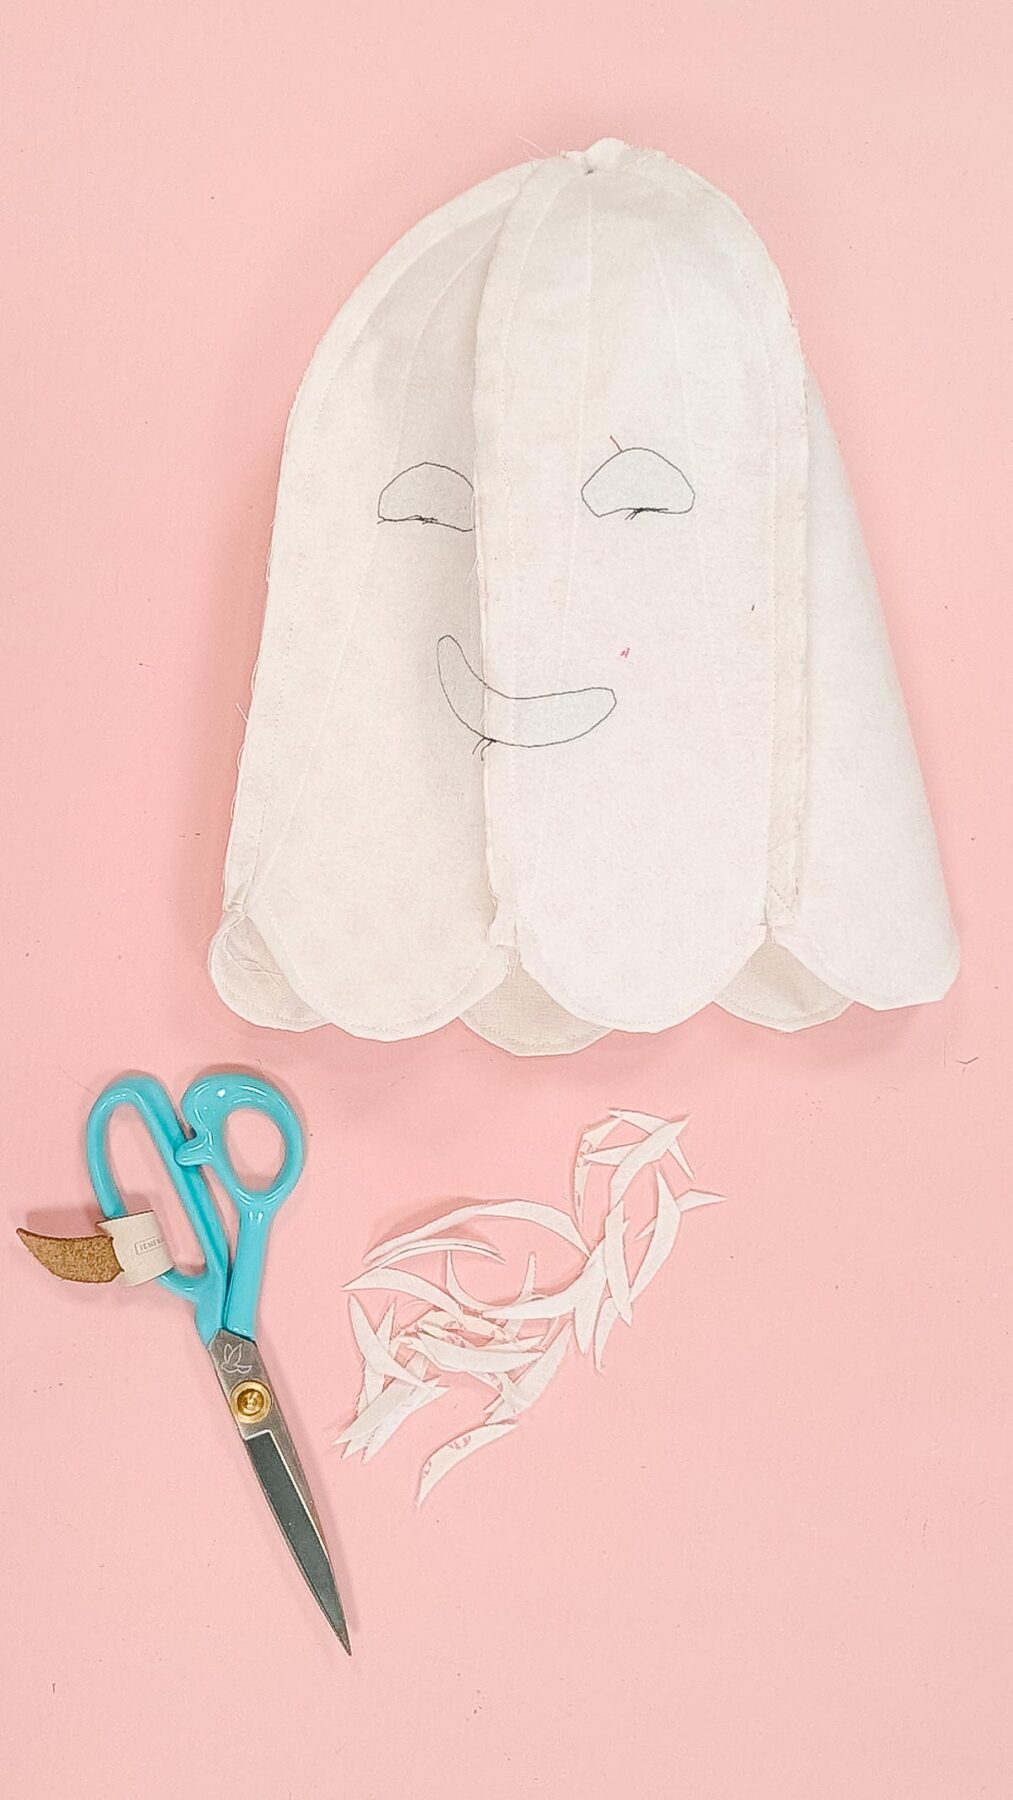
Pull the inner ghost out and find the hole.
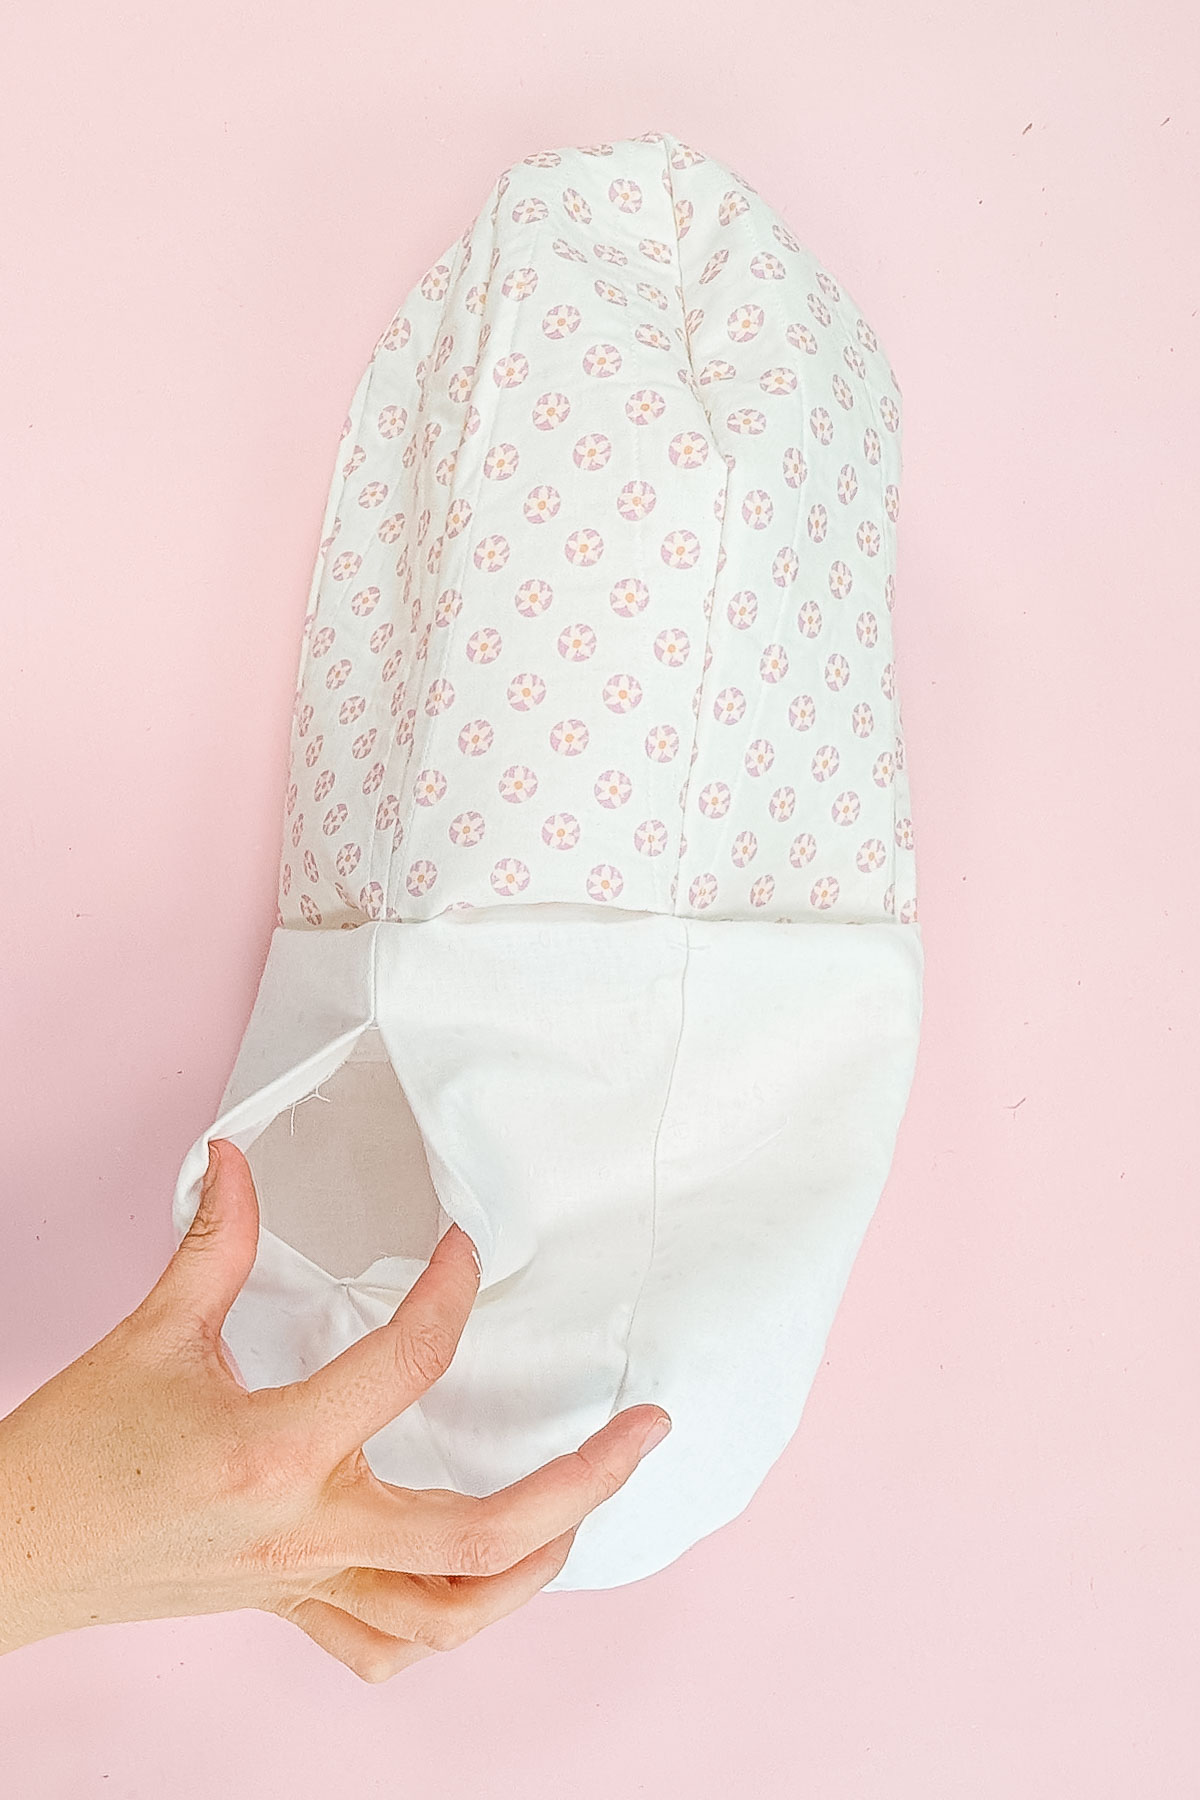
Turn the ghost right side out through the hole. Use a point turner to carefully push out all the curves.
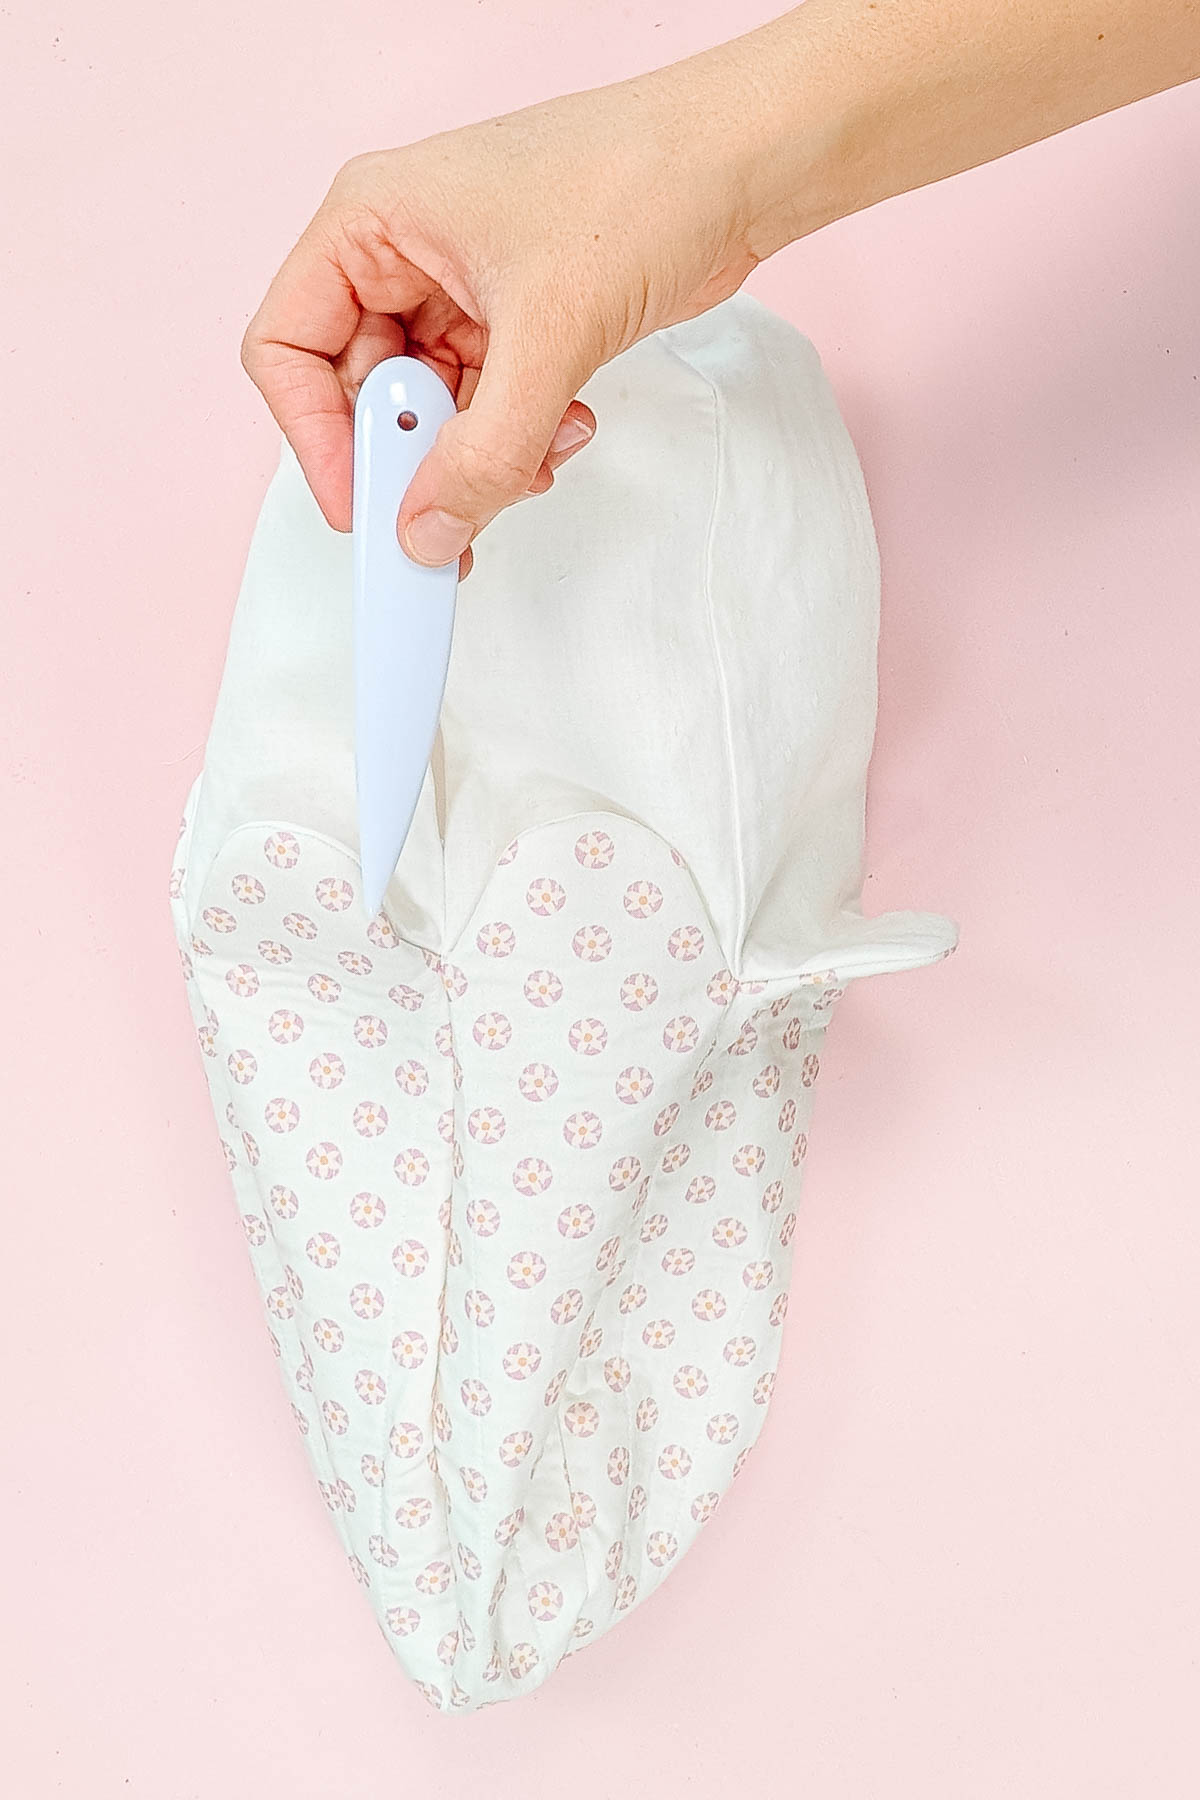
Pinch the hole and topstich it closed. Backstitch when you start and when you stop.
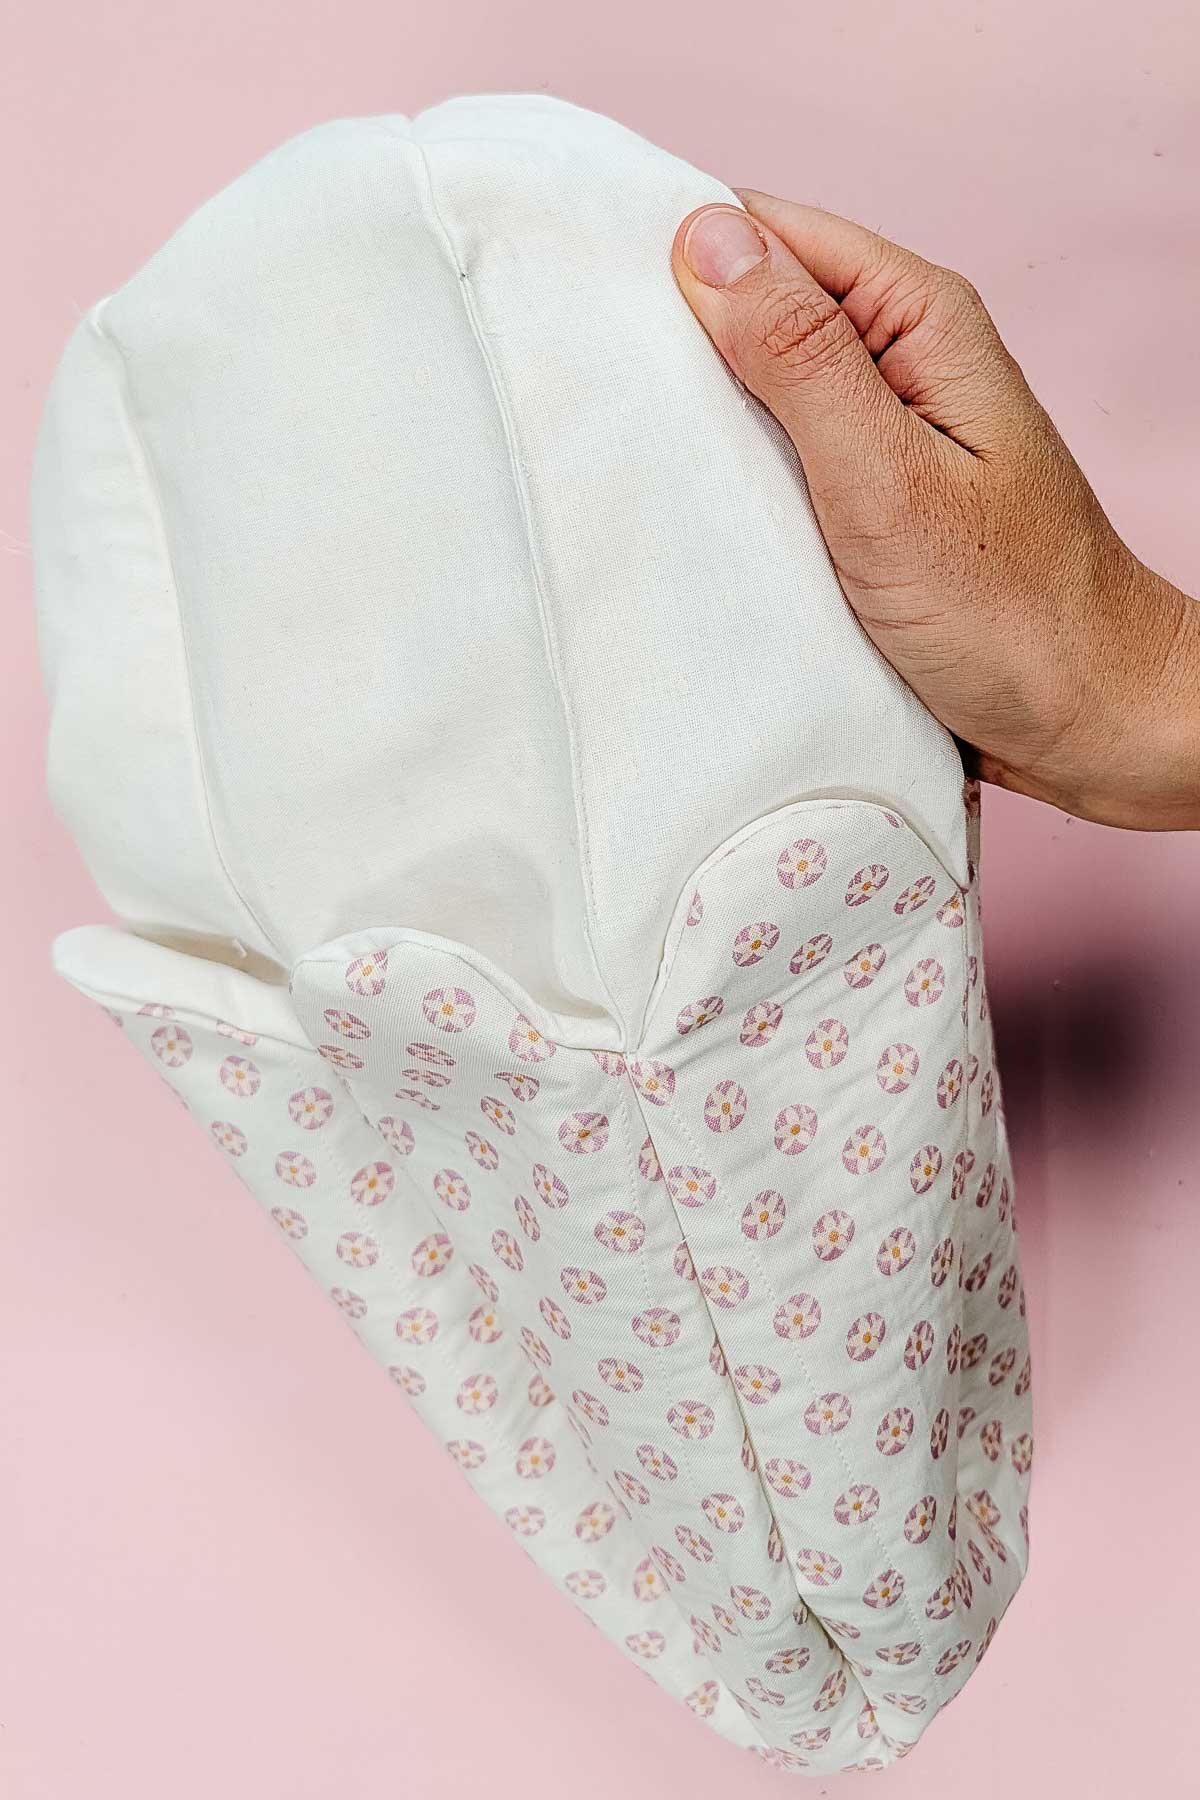
Push the inner ghost inside the outer ghost. Press the bottom edge to make it nice and crisp.
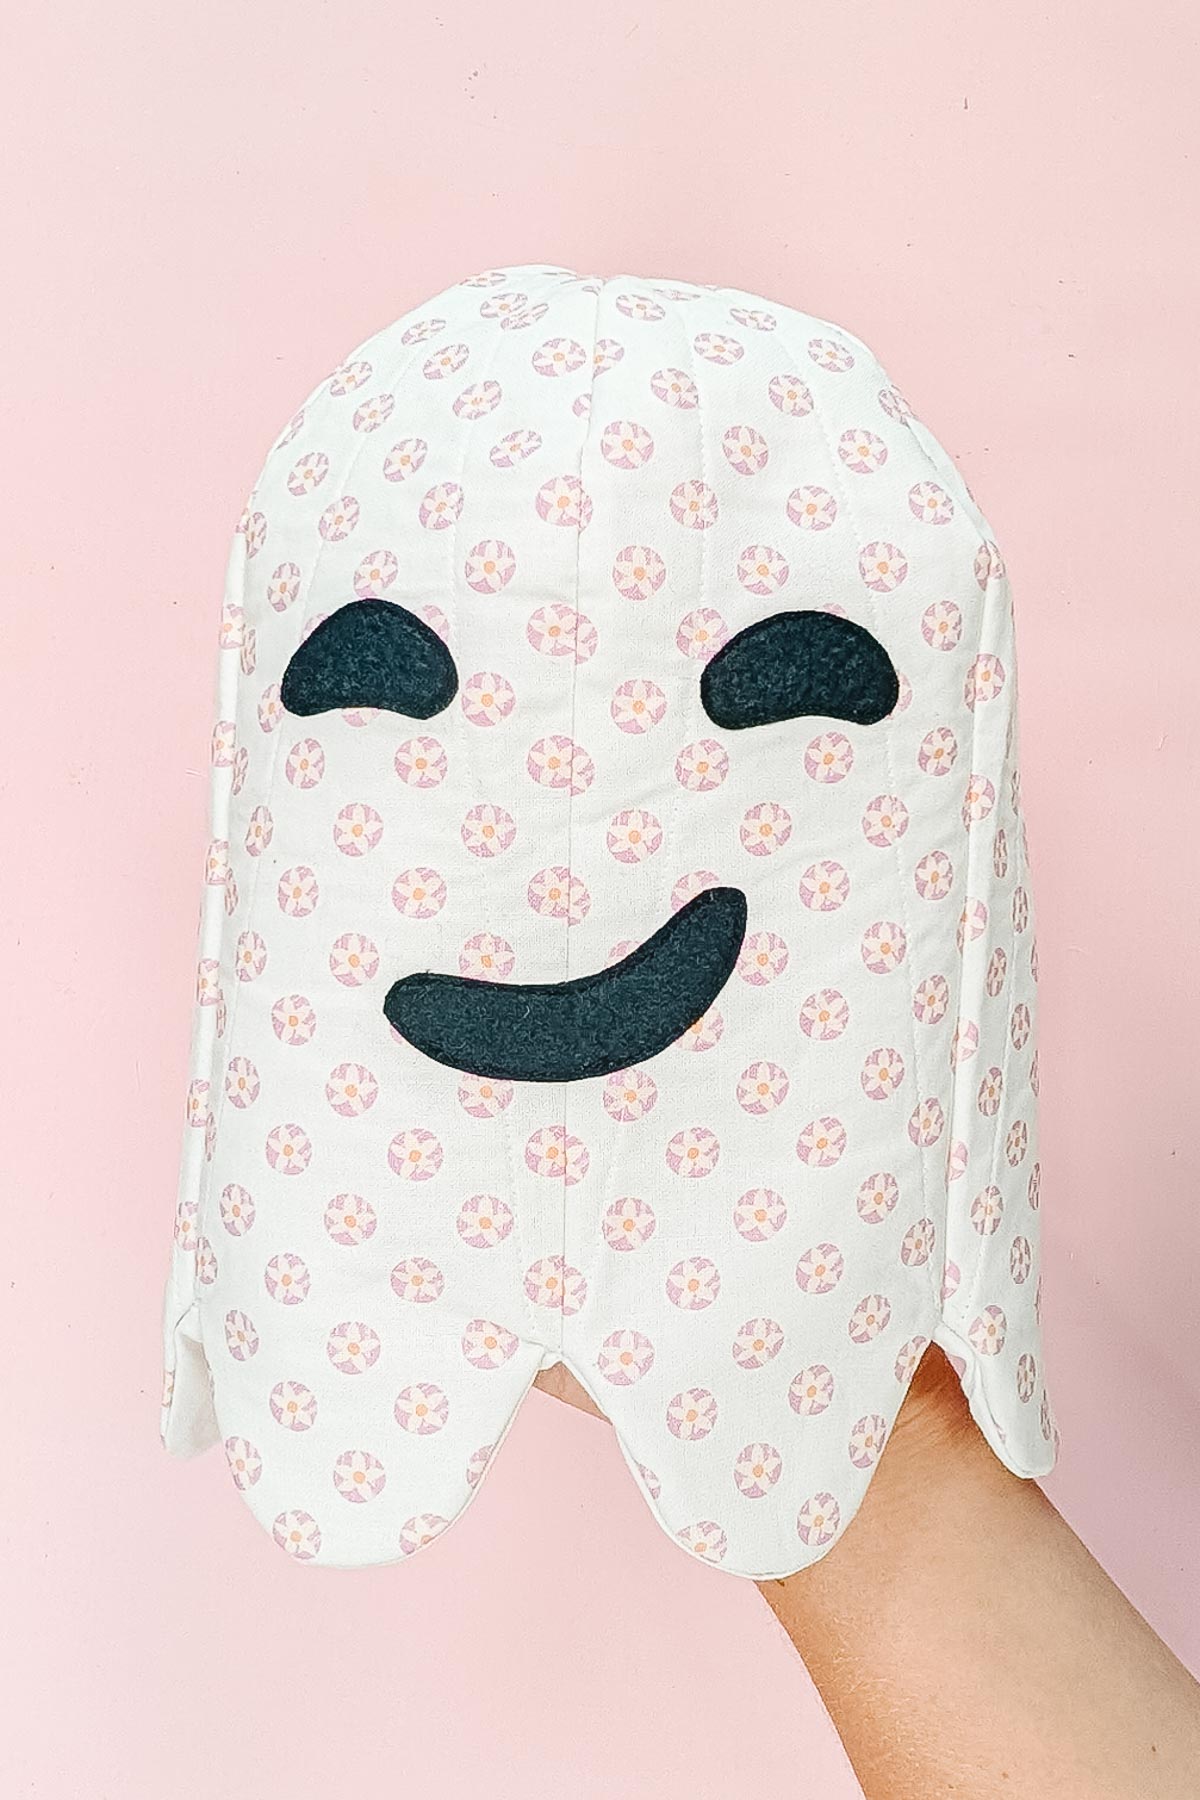
Topstitch the bottom edge to secure the edges and give them strength.
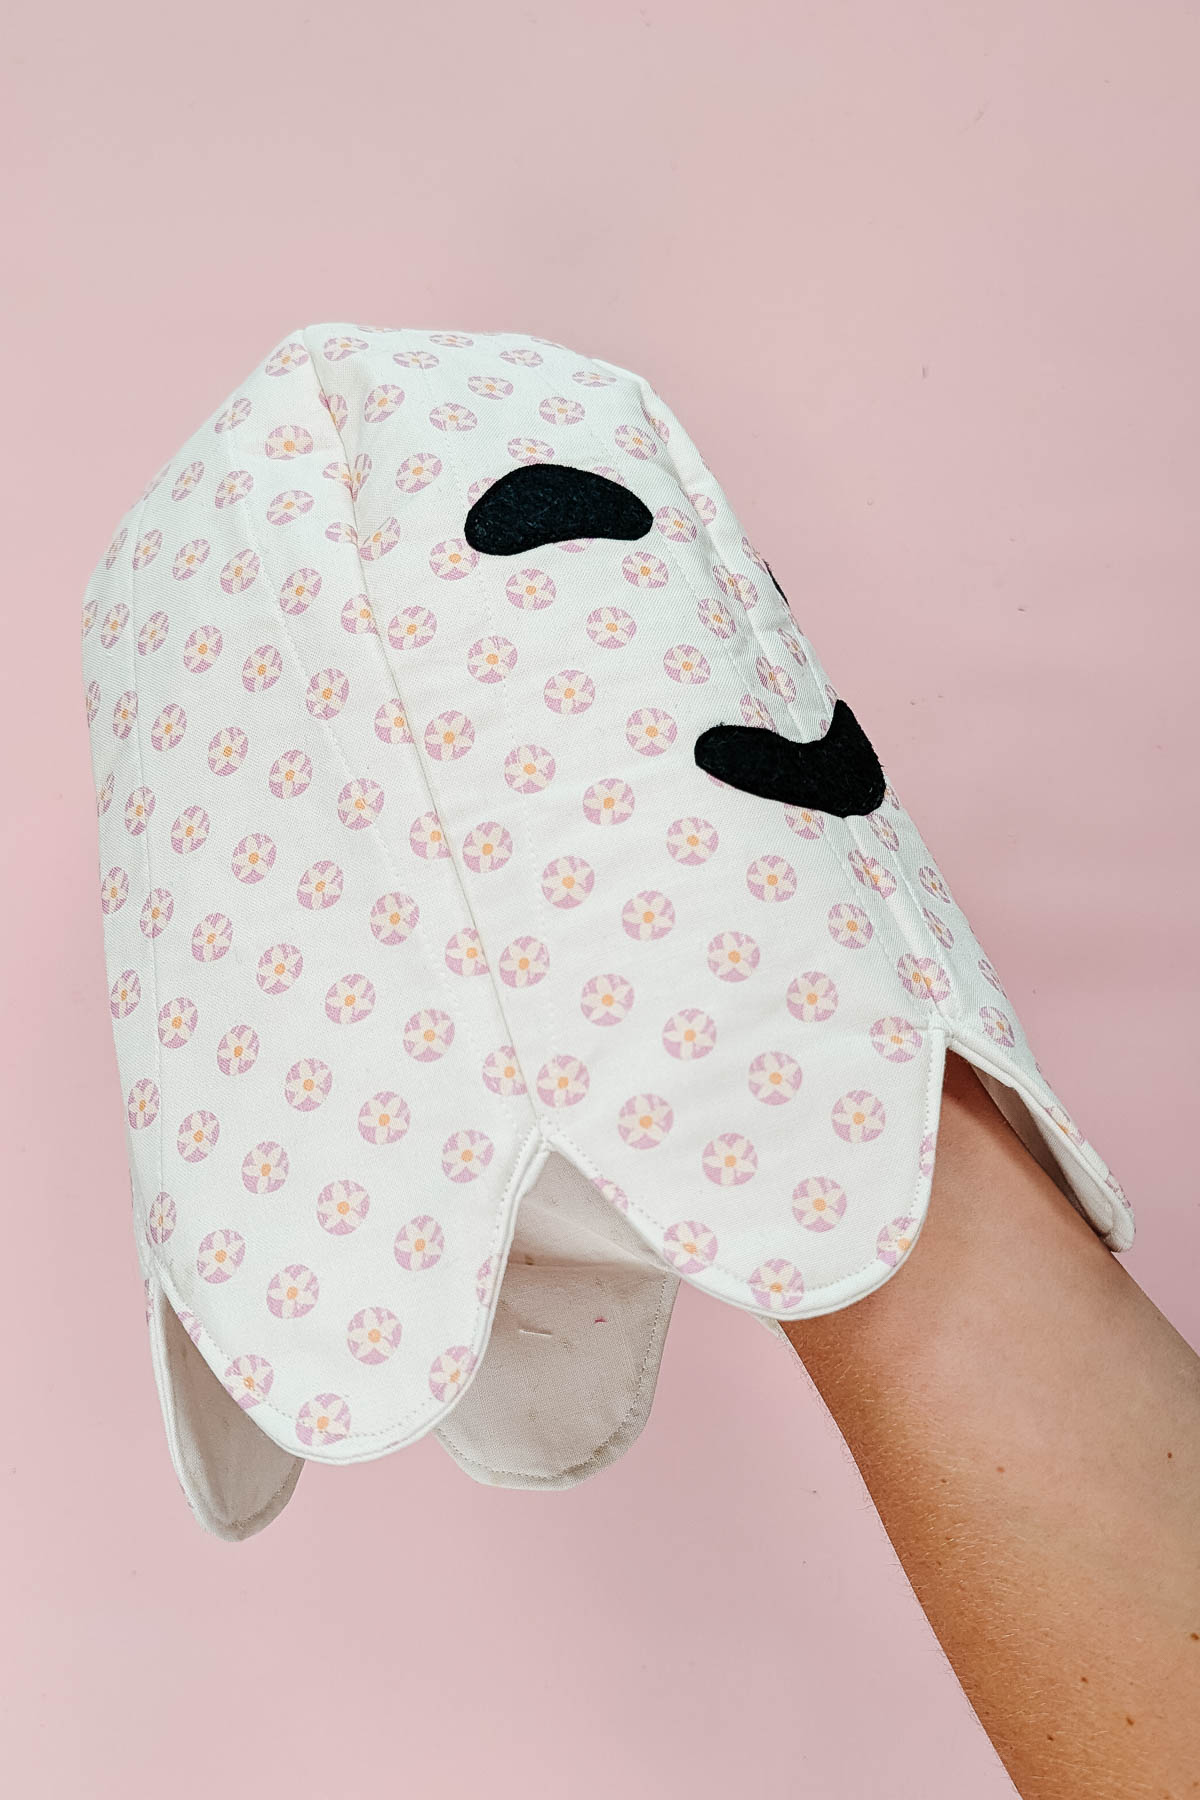
You finished!
Get the Free Sewing Pattern here!
If you make something using this sewing project, I’d love to see! Please share it on social media with the hashtag #heatherhandmade and tag me!

I believe small sewing moments can create great joy. Find your own “right” way to sew. -Heather
Really cute idea!
thank you!
Ordered and excited to make!
thank you!